 *I first posted this recipe in February 2015 and it was the second recipe I ever shared on the blog! I’m back today with updated photos and a few pro tips to help you achieve the perfect Pavlova every single time!
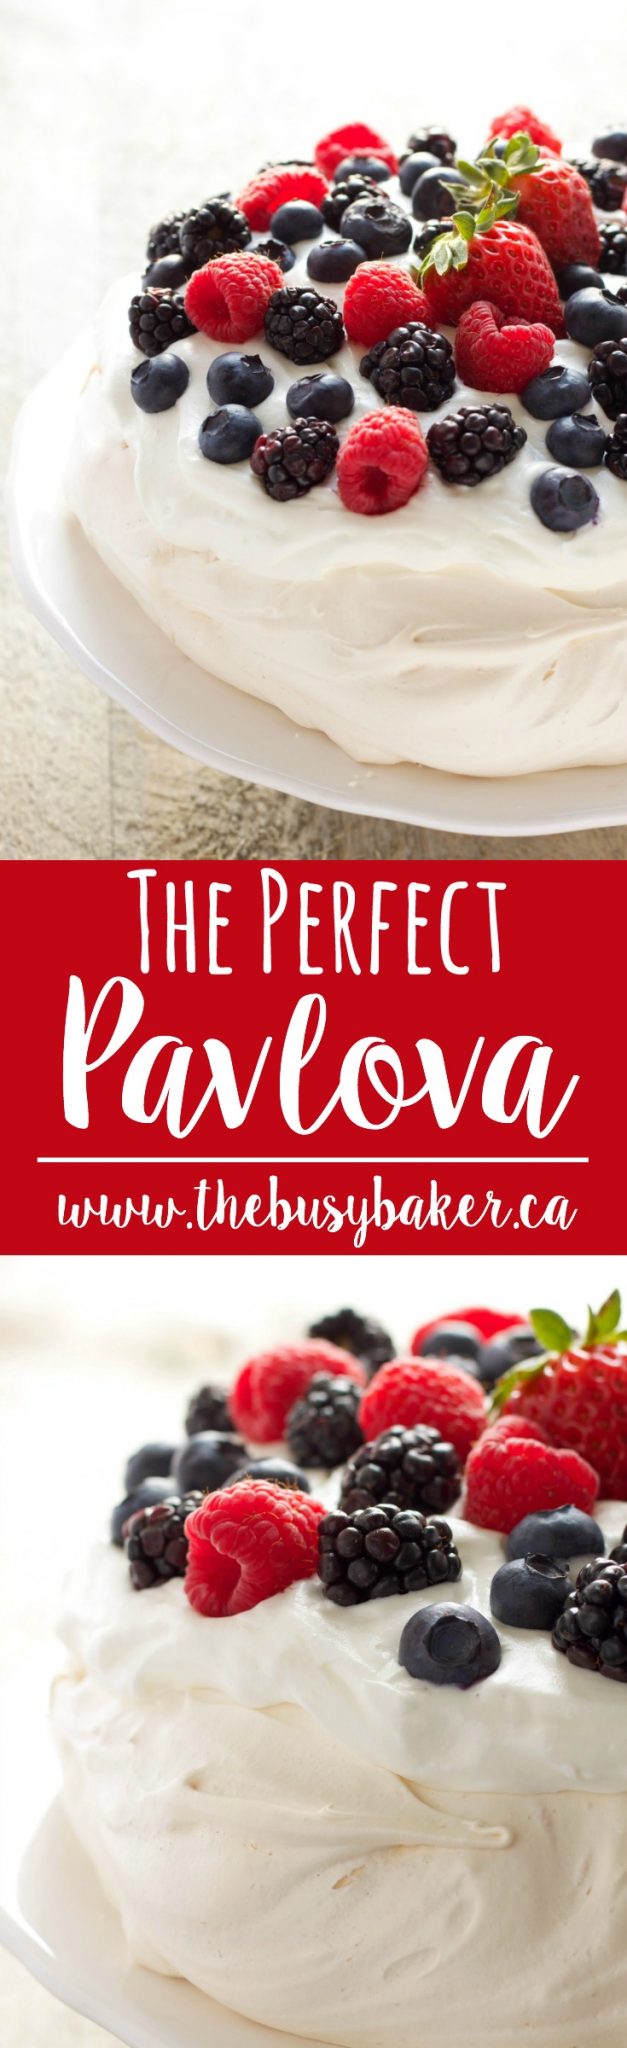
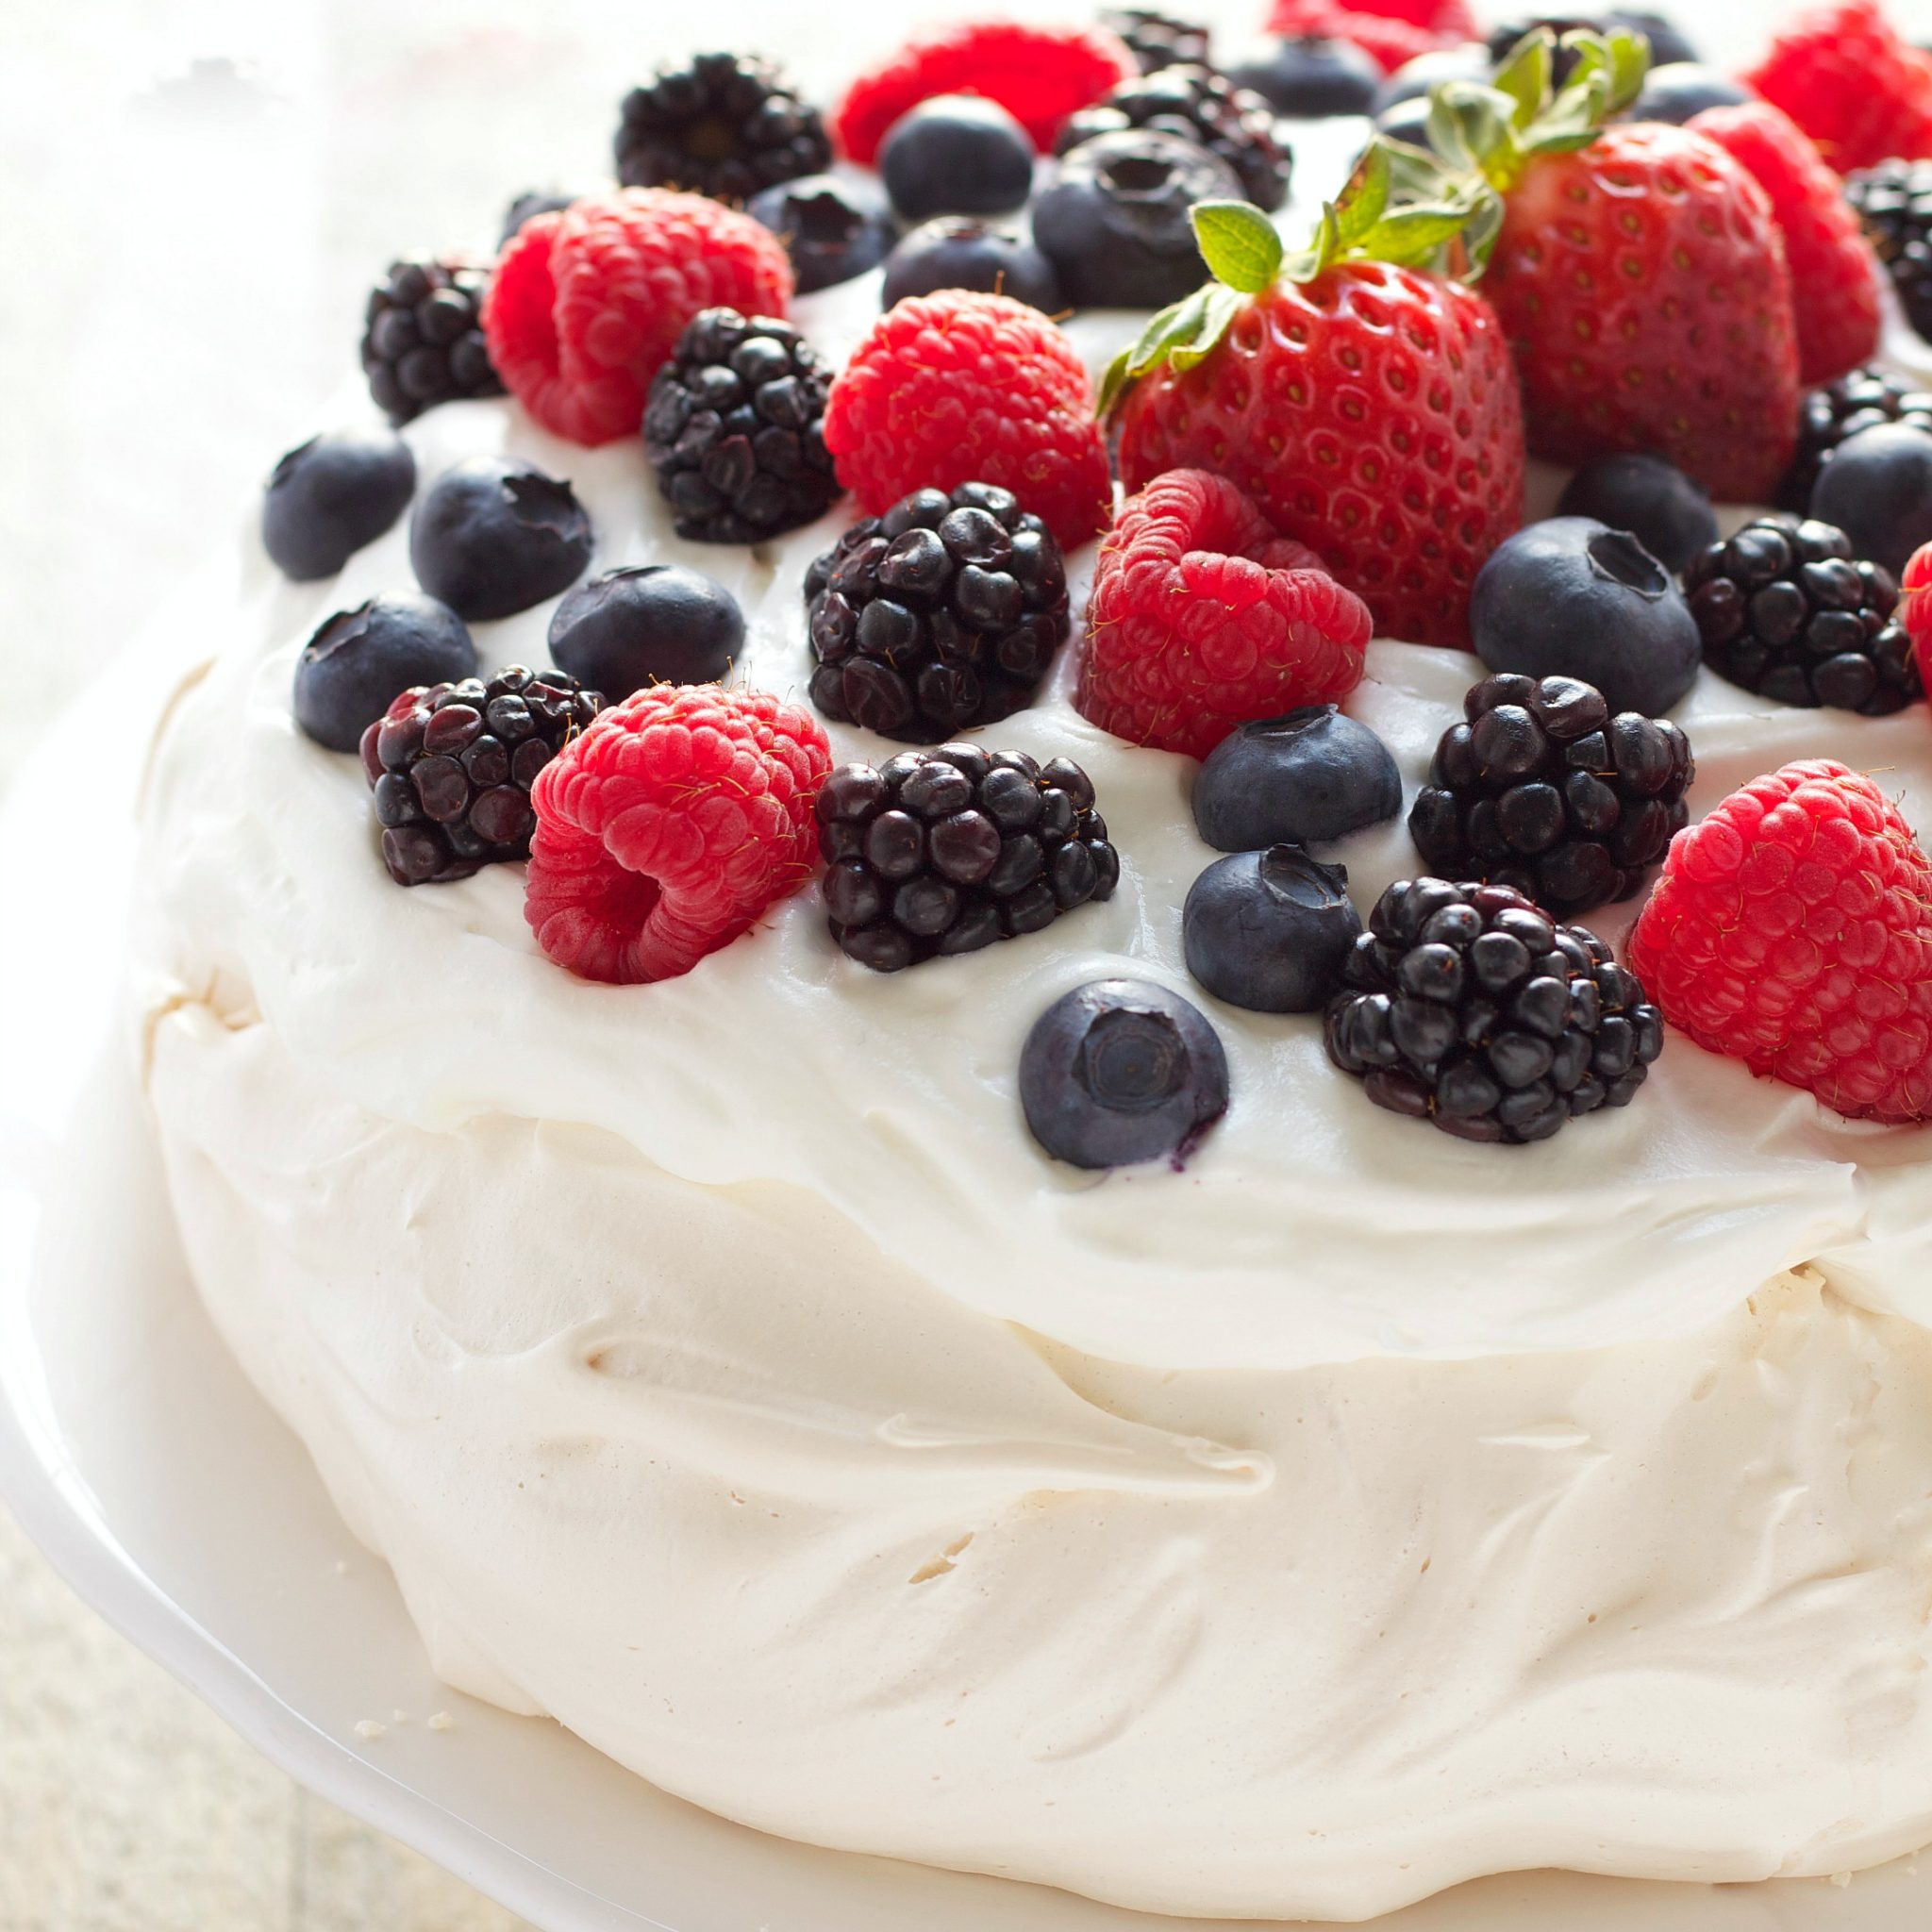
The Perfect Pavlova is an impressive dessert that’s far easier to make than it looks! Top it with fresh whipped cream and delicious, juicy berries for a decadent dessert no one will be able to resist! It’s on the healthier side, and it’s the perfect gluten-free dessert!
*I first posted this recipe in February 2015 and it was the second recipe I ever shared on the blog! I’m back today with updated photos and a few pro tips to help you achieve the perfect Pavlova every single time!
The Perfect Pavlova is an impressive dessert that’s far easier to make than it looks! Top it with fresh whipped cream and delicious, juicy berries for a decadent dessert no one will be able to resist! It’s on the healthier side, and it’s the perfect gluten-free dessert!

Looking for more impressive desserts? Try my Vanilla Bean Rosette Cake or this Decadent Chocolate Layer Cake!
NEVER MISS A POST! FOLLOW ME ON:
FACEBOOK | PINTEREST | INSTAGRAM | TWITTER
Pavlova is one of the most show-stopping desserts even though it’s made with simple ingredients and a straightforward method that any home baker can follow! Homemade pavlova is a rustic-looking meringue that’s beautifully simple when it’s topped with fresh cream and berries, and really, who doesn’t love simple??

LOOKING FOR MORE MUFFIN BAKING RECIPES AND TIPS?
Get my guide to Easy No-Fail Muffin Baking!

Doesn’t it almost look too beautiful to eat?? It may look like perfection, but trust me, it tastes even better than it looks!!

NEVER MISS A POST! FOLLOW ME ON:
FACEBOOK | PINTEREST | INSTAGRAM | TWITTER
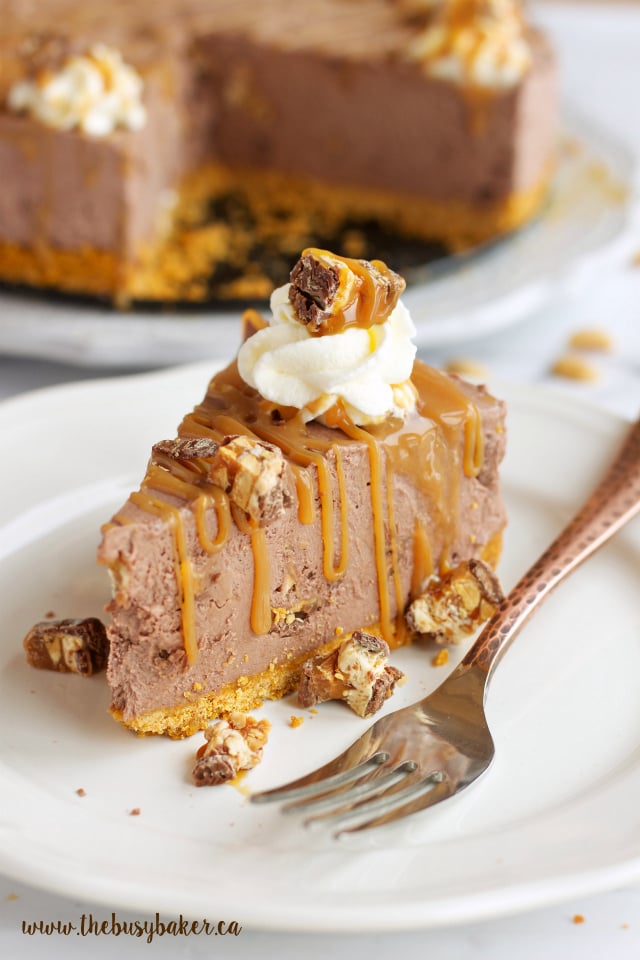
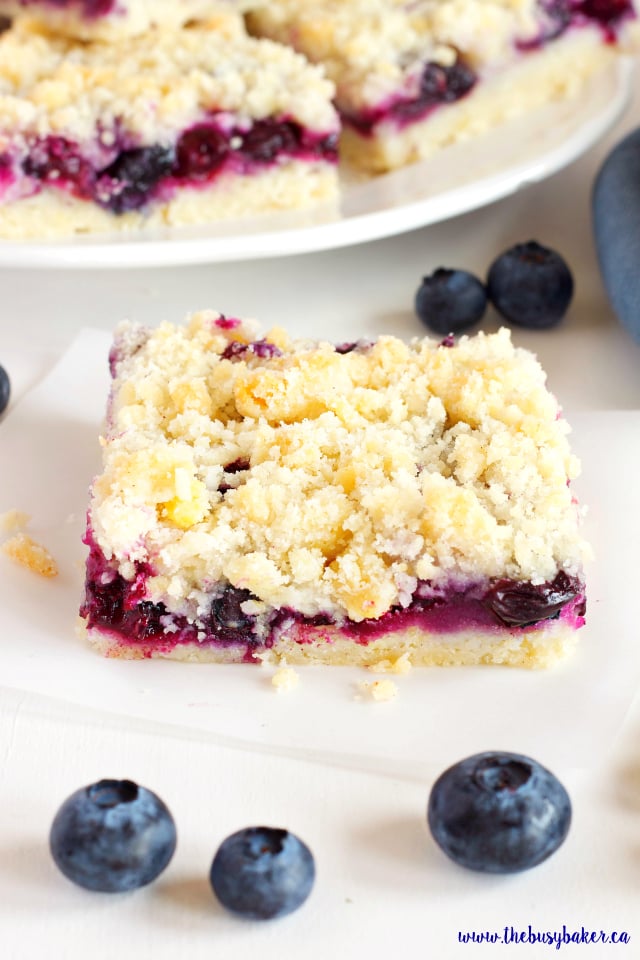
Looking for more impressive desserts? Try my Vanilla Bean Rosette Cake or this Decadent Chocolate Layer Cake!
LOOKING FOR MORE MUFFIN BAKING RECIPES AND TIPS?
Get my guide to Easy No-Fail Muffin Baking!
If you made this, share a photo!
Are you trying this recipe? Use the comment form below to share your take; now with support for image uploads and comment voting!
The Perfect Pavlova
This Perfect Pavlova is a delicious gluten-free dessert that's easy to make!
Recipe: Ingredients
- 4 eggs whites at room temperature
- 1 cup sugar
- 1 tbsp corn starch
- a few drops of vanilla
- whipped cream or whipped topping of your choice
- a variety of berries washed and dried, or other fruit of your choice - Traditional Australian Pavlova is usually served with fruits like mango, bananas, and passion fruit
- Parchment Paper for baking
Recipe: Instructions
- Preheat the oven to 275 degrees Fahrenheit (135 C).
- You'll need to start with a stand mixer fitted with a whisk attachment and a clean, dry bowl.
- Pro Tip #1: The trick to the perfect pavlova is making sure you whip enough air into the egg whites, so if you start with a bowl that's even a little bit wet or contains even a trace of oil, the egg whites won't aerate properly and the pavlova will sink in the middle. Avoid using a plastic bowl since plastic can absorb oil. Glass bowls are best, and metal bowls work well too.
- Add the 4 egg whites to the bowl. When you're separating your egg whites from the yolks, make sure the yolks are intact. If any yolk gets into the whites they won't aerate properly and you'll have a hard time achieving the correct consistency for the meringue mixture . When you notice the egg whites have become quite foamy, begin to add the sugar very gradually, 1/4 cup at a time.
- Once you've added all the sugar let the mixture continue to whip on high speed until stiff peaks form and all the sugar has dissolved.
- Pro Tip #2: You will know you've allowed the mixture to whip long enough when you can see a stiff peak when you pull the whisk attachment out of the mixture and turn it upside down, and when you're able to rub a small amount of the mixture between your fingers and it feels smooth (no grains of sugar present). Don't stick your finger directly into the mixture! Your skin has oils on it that can affect the texture of the meringue so it's best to grab a clean, dry spoon and grab a bit of the mixture that way so you can rub it between your fingers.
- Next, add the cornstarch and a few drops of vanilla and whip only until it's combined, scraping down the sides of the bowl once.
- Pro Tip #3: Trace a circle (about 8 inches in diameteon a piece of parchment paper with a Sharpie. Turn over the piece of parchment paper and place it on a rimless baking sheet (a pizza pan also works welwith the marked side down. Scrape the mixture out of the bowl and onto the parchment paper, using the circle you traced as a guide for the size and shape of the pavlova. It's important to trace the shape on the underside of the parchment, and not the side that actually touches the pavlova as the marker will transfer to the pavlova during baking and discolour it.
- Pro Tip #4: Using a pallet knife or hard spatula, pull up the sides of the pavlova in a swirling motion to create a very shallow "crater" in the middle. This will help it keep its shape during baking. It may be tempting to shape the pavlova with a larger diameter than 8 inches, but try to keep it small and tall. This will create a more impressive appearance and ensure there's a thick layer of that delicious marshmallowy interior!
- Bake the pavlova in a 275 degree oven for about 80-90 minutes. A good thing to remember is that your pavlova will not over-bake unless it starts to brown.
- Pro Tip #5: The real danger is in under-baking as this will cause the pavlova to remain raw in the middle and collapse as soon as it begins to cool. Trust me, it's a huge disappointment when you have to start over because you under-baked it!
- Pro Tip #6: After the pavlova has finished baking turn the oven off and crack it open with a wooden spoon, allowing the pavlova to cool inside the oven. This will help it maintain its shape and allow the outer "shell" that develops to protect the marshmallowy interior.
- It is completely normal for the pavlova to crack during the baking or cooling process; this lends to its rustic appearance. Don't stress about cracks (but do cool it in the oven with the door cracked open to help prevent cracking!), but if cracks form and the pavlova collapses at all during the cooling stage, this means it is under-baked (insert sad face emoticon here).
- Once the pavlova has cooled completely (I usually leave the it in the oven like this for several hours, but you can also leave it overnight), carefully remove it from the oven and slide it off the parchment paper and onto a serving plate.
- Serve with whipped cream and fresh berries!
Recipe: Notes
This Pavlova is best served the day it's made or one day after it's made. Just make sure to assemble it with the whipped cream and fruit right before serving.
Recipe: Nutrition
Nutrition Facts
The Perfect Pavlova
Amount Per Serving (1 serving)
Calories 108
Calories from Fat 9
% Daily Value*
Fat 1g2%
Sodium 25mg1%
Potassium 24mg1%
Carbohydrates 26g9%
Sugar 25g28%
Protein 2g4%
* Percent Daily Values are based on a 2000 calorie diet.
Notice: Nutrition is auto-calculated, using Spoonacular, for your convenience. Where relevant, we recommend using your own nutrition calculations.
Looks lovely! This is been on my to do list for a while now but I've always lacked the courage to give it a shot. Feeling inspired now. Maybe I will give it a whirl this week!
Thanks Sara! Let me know how it goes!
Do you know if it works to use the cartons of egg whites (like simply egg whites) instead of the real thing?
Yes! I tried this just a few weeks ago and it worked well. The only difference I found is that it required a slightly longer baking time (around 10 minutes longer for my oven). Just watch it towards the end of the baking time and I'm sure it'll be fine!
Pavlova is my favorite cake ever!! I already have like 3 variations on my blog, but I never get tired of reading about it on other blogs too! Love your pro tips, there are totally on point! 🙂
Thanks!!
I love berries on a cake!
Me too!! 🙂
I can't wait to try this! It truly looks perfect.
80 min was too long in the oven. I had no marshmallowy centre and it turned brown
Thanks! Let me know how you like it!!
Help.
Have made pavlva many time.
But mine always goes brown.
Can you tell me how to keep it white
Just curious…no cream of tartar like the recipe you adapted this one from?
Great question! I don’t add the cream of tartar because I find the recipe works beautifully without it 🙂
For the sugar, do you use regular granulated sugar? Or something with a finer grind like castor sugar? Can’t wait to try this!
Yes, regular granulated sugar is fine. You’ll know the pavlova is ready for the oven when you can’t feel the grains of sugar in the batter anymore. Hope you love it!
I made this tonight and it’s delicious! I want to serve it on Father’s Day but I would need to double or even triple it. What’s the easiest way to do that?
Hmm I wouldn’t suggest doubling it as it might not set up as it bakes (it might overbake on the outside and underbake on the inside). It might be best to just make 2 separate pavlovas. I have made this recipe hundreds of times and doubling it has never gone well, although multiplying the recipe by 1 1/2 is ok. I hope that helps!
I use 6 egg whites and 2 cups of sugar (regular sugar put in blender to make it fine grain ) .
Awesome hack with the sugar. Thanks for sharing!
Oh Pavlova is just the perfect recipe for summer with fresh sweet strawberries on top oh Heaven !
You’re so right! 🙂
a Can we freeze these?
No, Pavlova (or any meringue, really) doesn’t freeze all that well. It’s best to make it and enjoy it fresh!
To clear this up straight away, this is a Kiwi dessert, not Australian. I have had several pavlova living in New Zealand and was keen to give one a go myself. All of your tips made this much easier, so cheers for those! My first collapsed after 90 minutes of baking even though I only propped open the oven door after it was done. I let the second one go for much longer and then left it in the oven overnight and it turned out amazing.
Thanks for clarifying!! And I’m so glad you liked it!
I don’t have a stand mixer… any tips for using a hand electric mixer instead? Thanks!
Using a hand mixer works great too! Just be sure to follow the instructions for achieving the correct texture!
Could you double up the recipe during prep, but make two Pavlova’s?
You could, although unless you have a very large oven you may run into trouble baking them both at once. The baking time would have to be adjusted, and because meringue is kind of sensitive, you’d risk having one or both of them collapse. But it’s worth a try!
looking forward to making this! Re the country of origin; both Kiwis and Australians claim to have invented the desert in honor of the ballerina Anna Pavlova. The Oxford Dictionary did say it found a reference first in a Kiwi cookbook, but most people, when aware of the long standing debate refer to it as coming from both countries. In actual fact though, an Austrian dish of meringue , whipped cream and berries came even earlier..Thank you again for the wonderful recipe ( As an aussie, looking forward to making a good Australian desert 🙂 )
Thanks so much for taking the time to leave a comment!!
It is amazing! I need to learn how to prepare it as one of my favored author of the moment, Liane Moriarty often cited it in her novels (well she is entitled, she is Aussie, after all). Thank you for your detailed instructions
Thanks so much Anna Lia!!
I have a question? This recipe is perfect for my gluten free friend but I also need something dairy free. Can you suggest something I can use as a filling besides whipped cream?
I’d suggest going to your local health food store and picking up a tub of vegan whipped topping. Any brand will do, and it’ll be dairy-free! 🙂
I’ve made your recipe a few times always with fantastic results! Your Pro Tips were really helpful and I was able to achieve the same look as in your photos every time. Amazing!
I’m so glad you love this recipe! Thanks for sharing your feedback!
Just found your site and looking forward to making many of your delicious recipes! I plan to make the pavlova for guests, my concern is moving it from the parchment paper to a plate. Is that tricky or once it is cooled is it movable?
If it’s cooked through completely it should be moveable. I’d suggest moving it to the serving plate on the parchment and then sliding the parchment paper out from underneath it.
I made a coconut easter cake at my home by referring to your recipe. My kids liked it very much. Thanks for sharing. Keep up the good work!
You’re welcome! Thanks so much for the comment!😊
Is it normal that there was an inch of space between the top crust and the marshmallow middle? And the marshmallow was a touch sticky.
Yes, this can be normal. The marshmallow in the middle can be a little bit sticky or tacky.
I just made the pavlova but it turned out somewhat brown. What could I’ve donde wrong. I followed every step in the recipe!
It sounds like your oven is too hot. Baking at too hot a temperature will cause the pavlova to brown and not simply dry out. I’d suggest checking your oven temperature with a thermometer or reducing the temperature by 25 degrees.
These meringues are AMAZING !! Thank you for sharing this recipe 🙂
Thank you Hannah!! You’re welcome🙂
Can I refrigerate leftovers
I wouldn’t recommend it as it will get soggy.
This recipe it’s just perfect. I have done it at least 5 times and it never fails! Delicious and great texture!
We’re so happy you enjoyed it! Thank you for taking the time to leave your feedback!