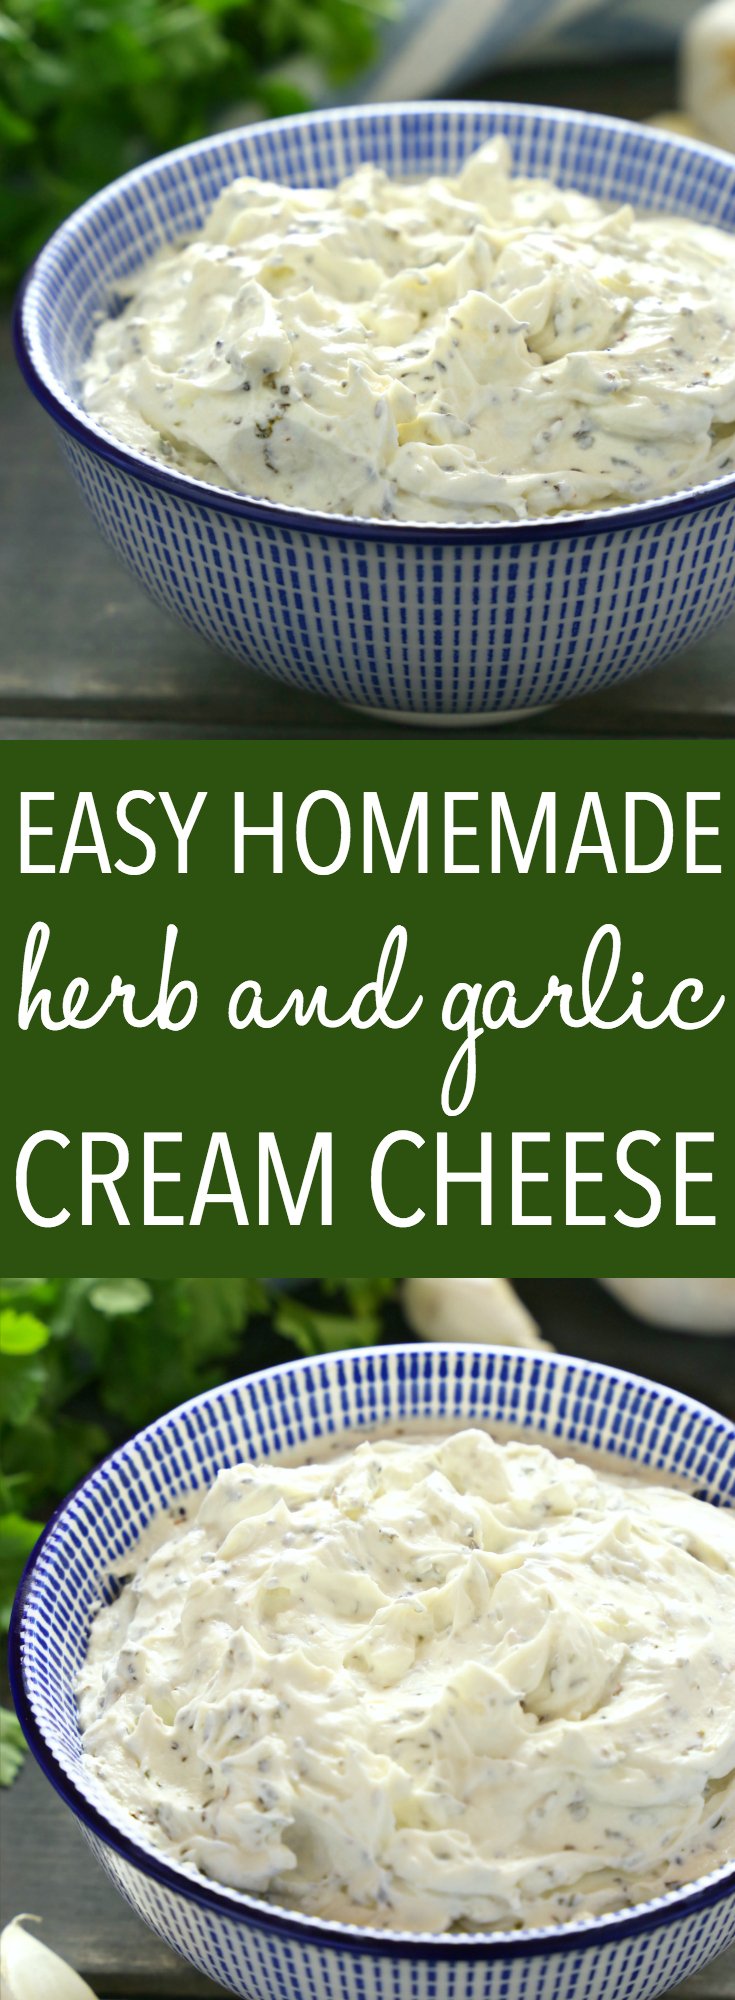
This easy homemade garlic and herb cream cheese spread is made with 5 simple ingredients in under 5 minutes of hands-on time. Soft, creamy, packed with fresh garlic and herbs, and a thousand times better than the tub you’d buy at the grocery store. Perfect for bagels, toast, crackers, or any appetizer that needs a little something extra.
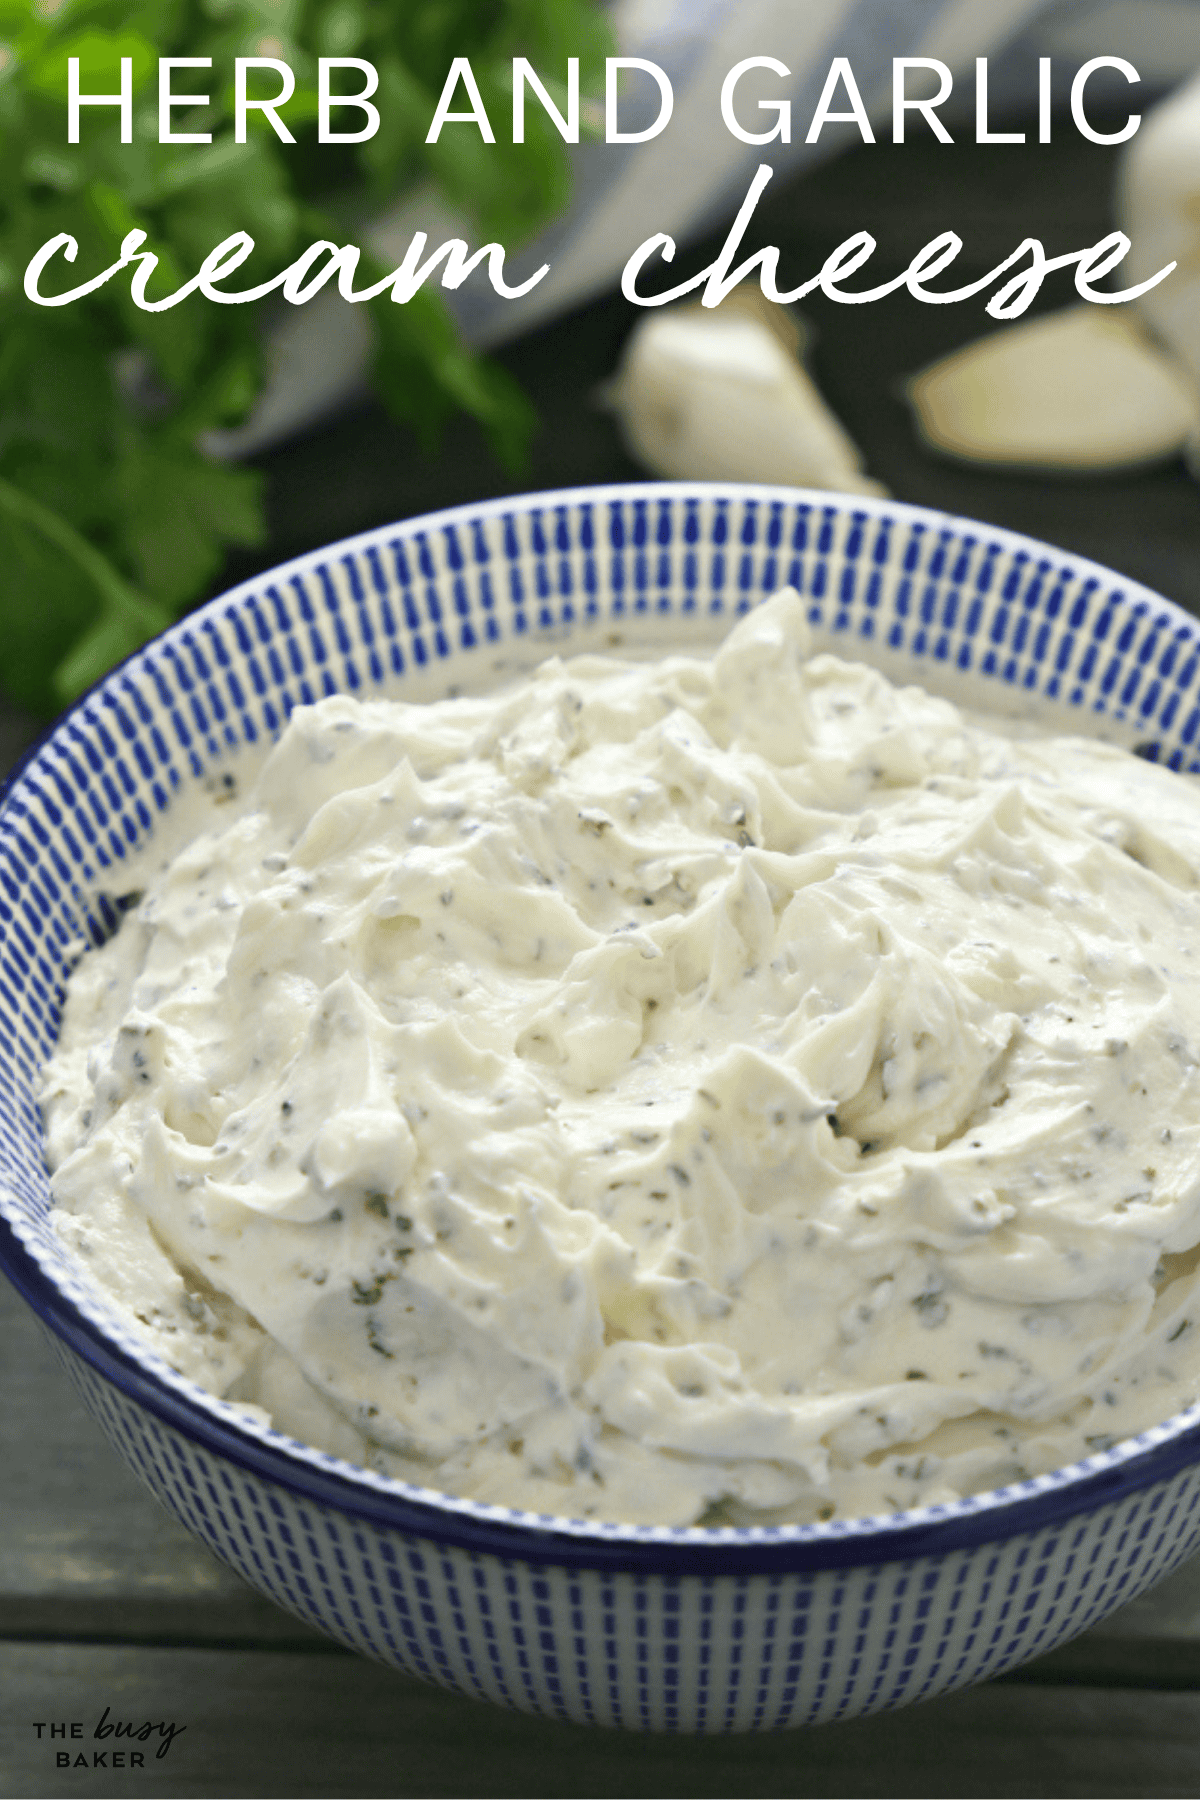
This Easy Homemade Garlic & Herb Cream Cheese is the recipe I make every time we’ve got bagels in the house! Full-fat cream cheese, fresh garlic, dried (or fresh) thyme, basil, and parsley, salt, and pepper. That’s it. Stir together, chill for an hour to let the flavours meld, and you’ve got a spread that costs a fraction of the store-bought version and tastes a hundred times better.
This is the kind of recipe that will become a permanent fixture in your fridge. Make a batch on Sunday, spread it on weekday bagels, use it as the base for a quick appetizer board, stir it into a pasta for a 10-minute dinner, or stuff it inside chicken breasts for a simple weeknight meal. One bowl, endless uses!
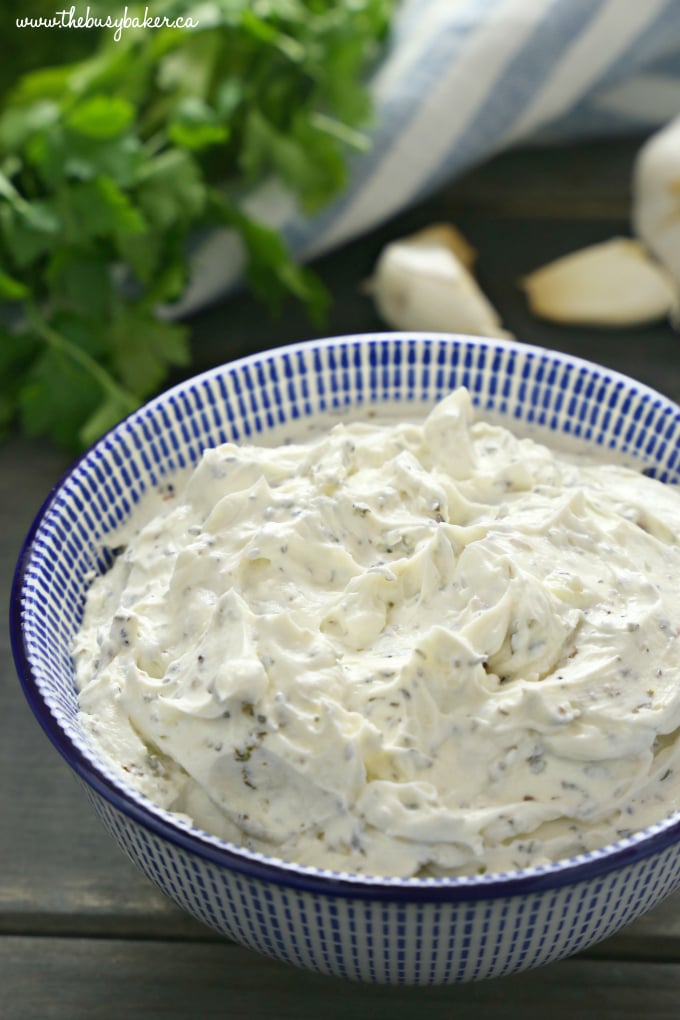
Five ingredients, real garlic-and-herb flavour. Store-bought garlic and herb cream cheese is fine in a pinch but it’s often loaded with stabilizers, gums, and preservatives. This homemade version uses just five simple ingredients: cream cheese, fresh garlic, thyme, basil, and parsley. The flavour is brighter, the texture is fresher, and you control every ingredient.
Pressing the garlic (instead of mincing) is the secret. A garlic press crushes the garlic into a paste that distributes evenly through the cream cheese. Mincing leaves little chunks that bite hard in one spot and not at all in others. Pressed garlic flavours the whole spread without overwhelming any one bite.
Chilling for an hour is non-negotiable. The hour-long chill in the fridge lets the garlic and herbs bloom into the cream cheese. Skip the chill and the spread tastes flat and disjointed. Wait the hour and you get a melded, well-rounded spread that tastes like it took way more effort than it did.
It’s endlessly versatile. This isn’t just a bagel spread. Use it as a base for chicken or pasta, stuff it inside a roast, dollop it on baked potatoes, melt it into mashed potatoes, or spread it on crackers for a 5-minute appetizer. Make one batch, and you’ll have dozens of ways to use it.
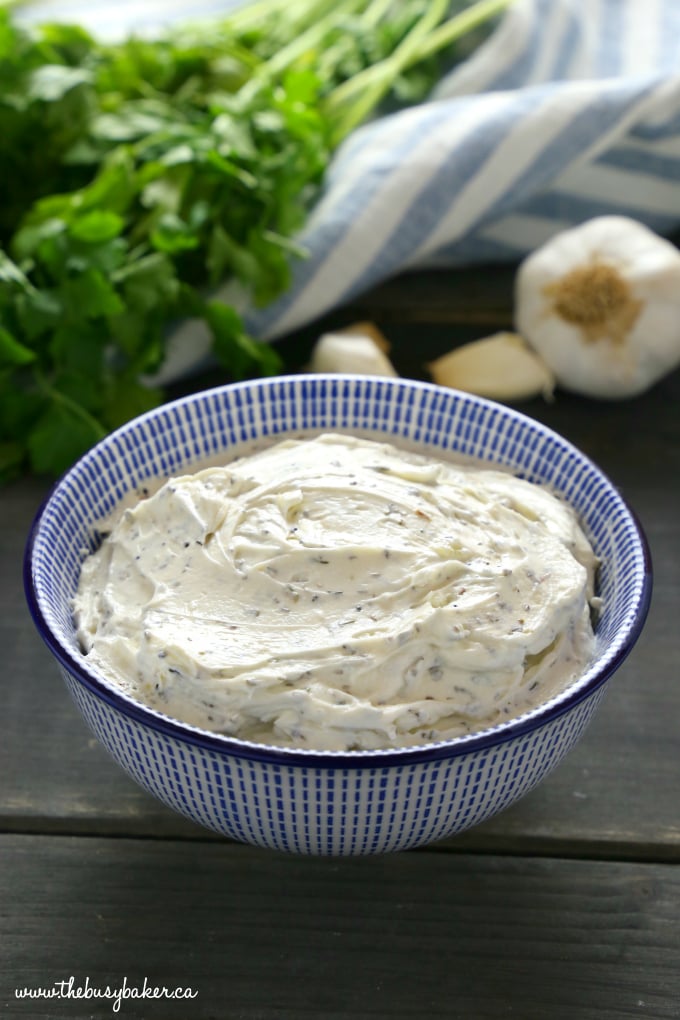
A few small calls make the difference between a great homemade cream cheese spread and a mediocre one. These are the PRO tips that matter most.
Full-fat cream cheese has the richest flavour and the smoothest texture. Low-fat or fat-free cream cheese works in a pinch (it’s still much better than store-bought herb cream cheese) but the texture is slightly grainier and the flavour is less rich. Splurge on the full-fat brick for the best result.
Cold cream cheese is hard to whip smooth and leaves you with lumpy spread. Take the cream cheese out of the fridge 30 to 60 minutes before you start so it softens to room temperature. If you’re in a hurry, microwave the unwrapped block on 50% power in 10-second increments until just soft.
A garlic press crushes the cloves into a smooth paste that mixes evenly into the cream cheese. Mincing with a knife leaves chunks that bite hard. A $10 garlic press is the single best small kitchen tool for recipes like this!
The recipe calls for dried herbs as the default (they’re always available and always reliable). If you have fresh thyme, basil, and parsley from the garden or the grocery store, use them in a 3:1 ratio (3 teaspoons fresh for every 1 teaspoon dried). Fresh herbs add visible flecks of green and a brighter flavour.
The chill time is what lets the flavours develop. Wait the hour (or longer — overnight is even better) and the flavours meld into something super flavourful!
Cream cheese is naturally salty, so you don’t need much added salt. Start with just a pinch, taste after the chill, and add more if needed. You can always add more, but you can’t take it back.
Whether you use a whisk, a rubber spatula, or a hand mixer on low, give the cream cheese a good 30 to 60 seconds of mixing to incorporate a little air. The spread becomes lighter and more spreadable instead of dense and gluey.
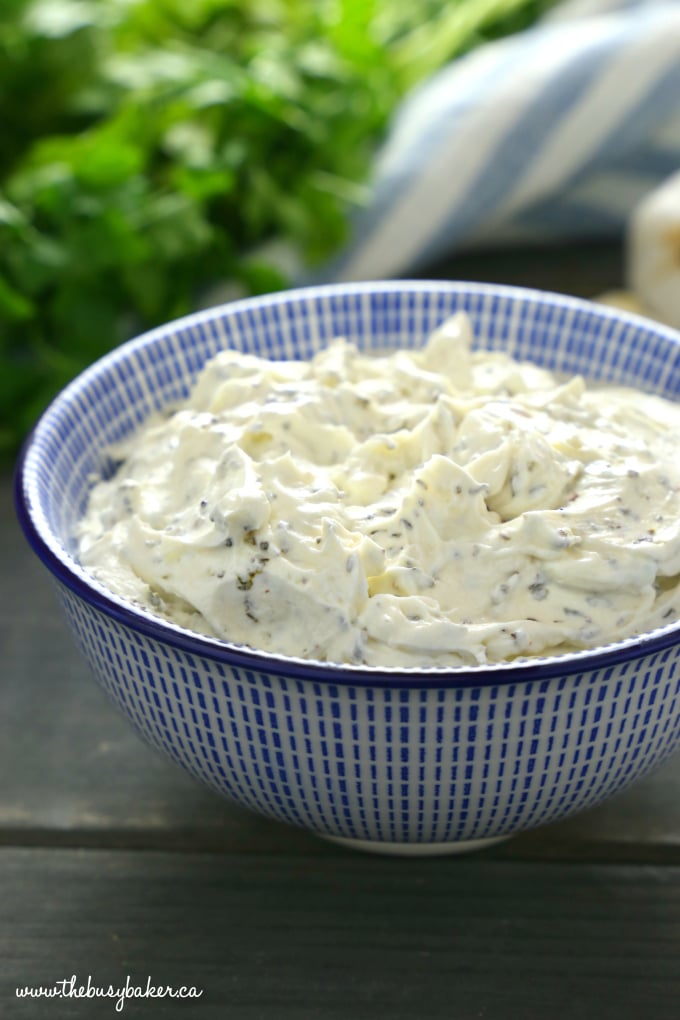
Here’s how the recipe comes together. Hands-on time is 5 minutes; chill time is 1 hour. Read through the PRO Tips above before you start.
- Soften the cream cheese. Take 16 ounces (about 440 grams, or two 8-ounce blocks) of full-fat cream cheese out of the fridge 30 to 60 minutes before you start. It should be soft enough to dent with light pressure from your finger.
- Combine the ingredients. Add the softened cream cheese to a medium bowl. Press 3 cloves of fresh garlic through a garlic press (or mince very finely) and add to the bowl. Add 1 teaspoon of dried (or fresh chopped) thyme, 1/2 teaspoon of dried basil, 1/2 teaspoon of dried parsley, and a pinch each of salt and pepper.
- Whip until smooth and combined. Use a whisk, rubber spatula, or hand mixer on low speed to whip everything together until smooth and fully combined. About 30 to 60 seconds of mixing is enough.
- Cover and chill. Cover the bowl with plastic wrap and refrigerate for at least 1 hour, or up to overnight, to let the flavours develop.
- Taste and adjust. After the chill, taste and add more salt or pepper if needed.
- Serve. Spread on bagels, toast, crackers, or vegetables. Use as a base for an appetizer board, stuff into chicken, or stir into pasta.
This recipe is endlessly adaptable. Here are the best variations to try:
- Add fresh chives or green onion. Stir in 2 tablespoons of finely chopped fresh chives or thinly sliced green onion. Adds a mild oniony brightness that pairs beautifully with the garlic.
- Make it lemony. Add the zest of 1 lemon and 1 teaspoon of fresh lemon juice. Bright, fresh, and especially good on smoked salmon bagels.
- Add some spice. Stir in 1/4 teaspoon of red pepper flakes or 1 finely minced jalapeño for some heat.
- Make it everything-bagel style. Stir in 1 tablespoon of everything bagel seasoning (sesame seeds, poppy seeds, dried garlic, dried onion, salt). Spread on toast or your favourite homemade Easy Homemade Everything Bagels for a perfect breakfast.
- Use as a stuffing for chicken or pork. Stuff this cream cheese inside butterflied chicken breasts or pork tenderloin before baking. The cream cheese melts into the meat as it cooks for a flavour-packed dinner. Reader Kristin used it exactly this way and loved it.
- Make it a pasta sauce. Stir 1/4 to 1/2 cup of this cream cheese into hot pasta with a splash of pasta water. The cream cheese melts into a quick creamy garlic-and-herb sauce. Add cooked chicken or shrimp for a 15-minute dinner.
- Dairy-free version. Use a full-fat dairy-free cream cheese and follow the rest of the recipe as written. The texture is slightly different but the flavour holds up beautifully.
This cream cheese is one of the most versatile spreads in your fridge. Here are my favourite ways to use it:
- Spread thick on a toasted bagel (try our Easy Homemade Everything Bagels)
- Smeared on warm slices of Easy White Sandwich Bread or Everyday Whole Grain Bread
- As the base layer for Creamy Bruschetta Bites or any appetizer-on-a-cracker situation
- Dolloped onto sliced cucumber rounds, carrot sticks, or celery for a quick low-carb snack
- As the spread on a finger sandwich (cucumber, smoked salmon, or roasted turkey)
- Stuffed inside chicken breasts before baking for a simple weeknight dinner
- Stirred into hot pasta with a splash of pasta water for an instant creamy sauce
- Dolloped on baked potatoes alongside roast chicken or steak
- On a charcuterie board with crackers, fresh vegetables, and cured meats
- Spread on toast with sliced tomato, fresh basil, and a sprinkle of salt for an easy lunch
This spread keeps beautifully in the fridge. Here’s how to handle it:
In the refrigerator – Store in an airtight container in the fridge for up to 2 weeks. The flavours actually improve overnight, so day-two cream cheese is often even better than fresh.
Freezing – Cream cheese spreads don’t freeze well…the texture becomes grainy and watery after thawing. Make smaller batches more often instead.
Make-ahead tip. Make a batch on Sunday and you’ve got spread for the week’s bagels, sandwiches, appetizers, and quick dinners. Five minutes of hands-on work, and seven days of payoff!
Bringing to room temperature. Cream cheese is hardest to spread cold. Take the container out of the fridge 15 to 20 minutes before serving for the smoothest spread.
Do I need to soften the cream cheese first?
Yes! Cold cream cheese is hard to whip smoothly and it’ll leave you with a lumpy spread. Take the cream cheese out of the fridge 30 to 60 minutes before you start. If you’re in a hurry you can microwave the unwrapped block of cream cheese on 50% power in 10-second bursts until just soft.
How long does this cream cheese last in the fridge?
It lasts up to 2 weeks in an airtight container in the fridge. The flavours actually improve overnight, so it gets even better with time.
Can I freeze this?
No, I don’t recommend freezing cream cheese spreads. The texture becomes grainy and watery after thawing. Make smaller batches more often instead, or scale up only when you’ll use it within 2 weeks.
Can I use low-fat or fat-free cream cheese?
Yes, but I recommend full-fat for the richest flavour and smoothest texture. Low-fat and fat-free versions work, and they’re still much better than store-bought herb cream cheese, but the texture is slightly grainier and the flavour is less rich.
Can I use fresh herbs instead of dried?
Yes! Use a 3:1 ratio (3 teaspoons fresh for every 1 teaspoon dried). Fresh herbs add visible flecks of green and a brighter, more vibrant flavour.
Can I scale this recipe up for a crowd?
Yes! The recipe scales beautifully. Multiply every ingredient by the number of batches you need. One reader successfully scaled it 15x for a wedding. For batches larger than 4x, use a stand mixer with the paddle attachment for the easiest mixing.
Can I use garlic powder instead of fresh garlic?
Fresh garlic is much better here because the flavour is brighter and more aromatic. If you absolutely have to use garlic powder, substitute 3/4 teaspoon of garlic powder for the 3 cloves of fresh garlic.
What if I don’t have a garlic press?
Mince the garlic as finely as you can with a sharp knife. Or use the side of the knife to crush the cloves into a paste with a pinch of salt. The goal is small, evenly distributed garlic.

More Easy Spread and Appetizer Recipes You’ll LOVE
- Creamy Bruschetta Bites
- Spinach Artichoke Dip
- Whipped Feta Dip
- Easy Homemade Garlic Bread
- Cheddar Bacon Ranch Dip
- Easy 3-Ingredient Chia Seed Jam
- Spinach and Ricotta Stuffed Mushrooms
- Mexican Taco Dip Wonton Cups
- Easy Tomato Cucumber Salad
If you made this, share a photo!
Are you trying this recipe? Use the comment form below to share your take; now with support for image uploads and comment voting!
Easy Homemade Garlic & Herb Cream Cheese (5 Ingredients)
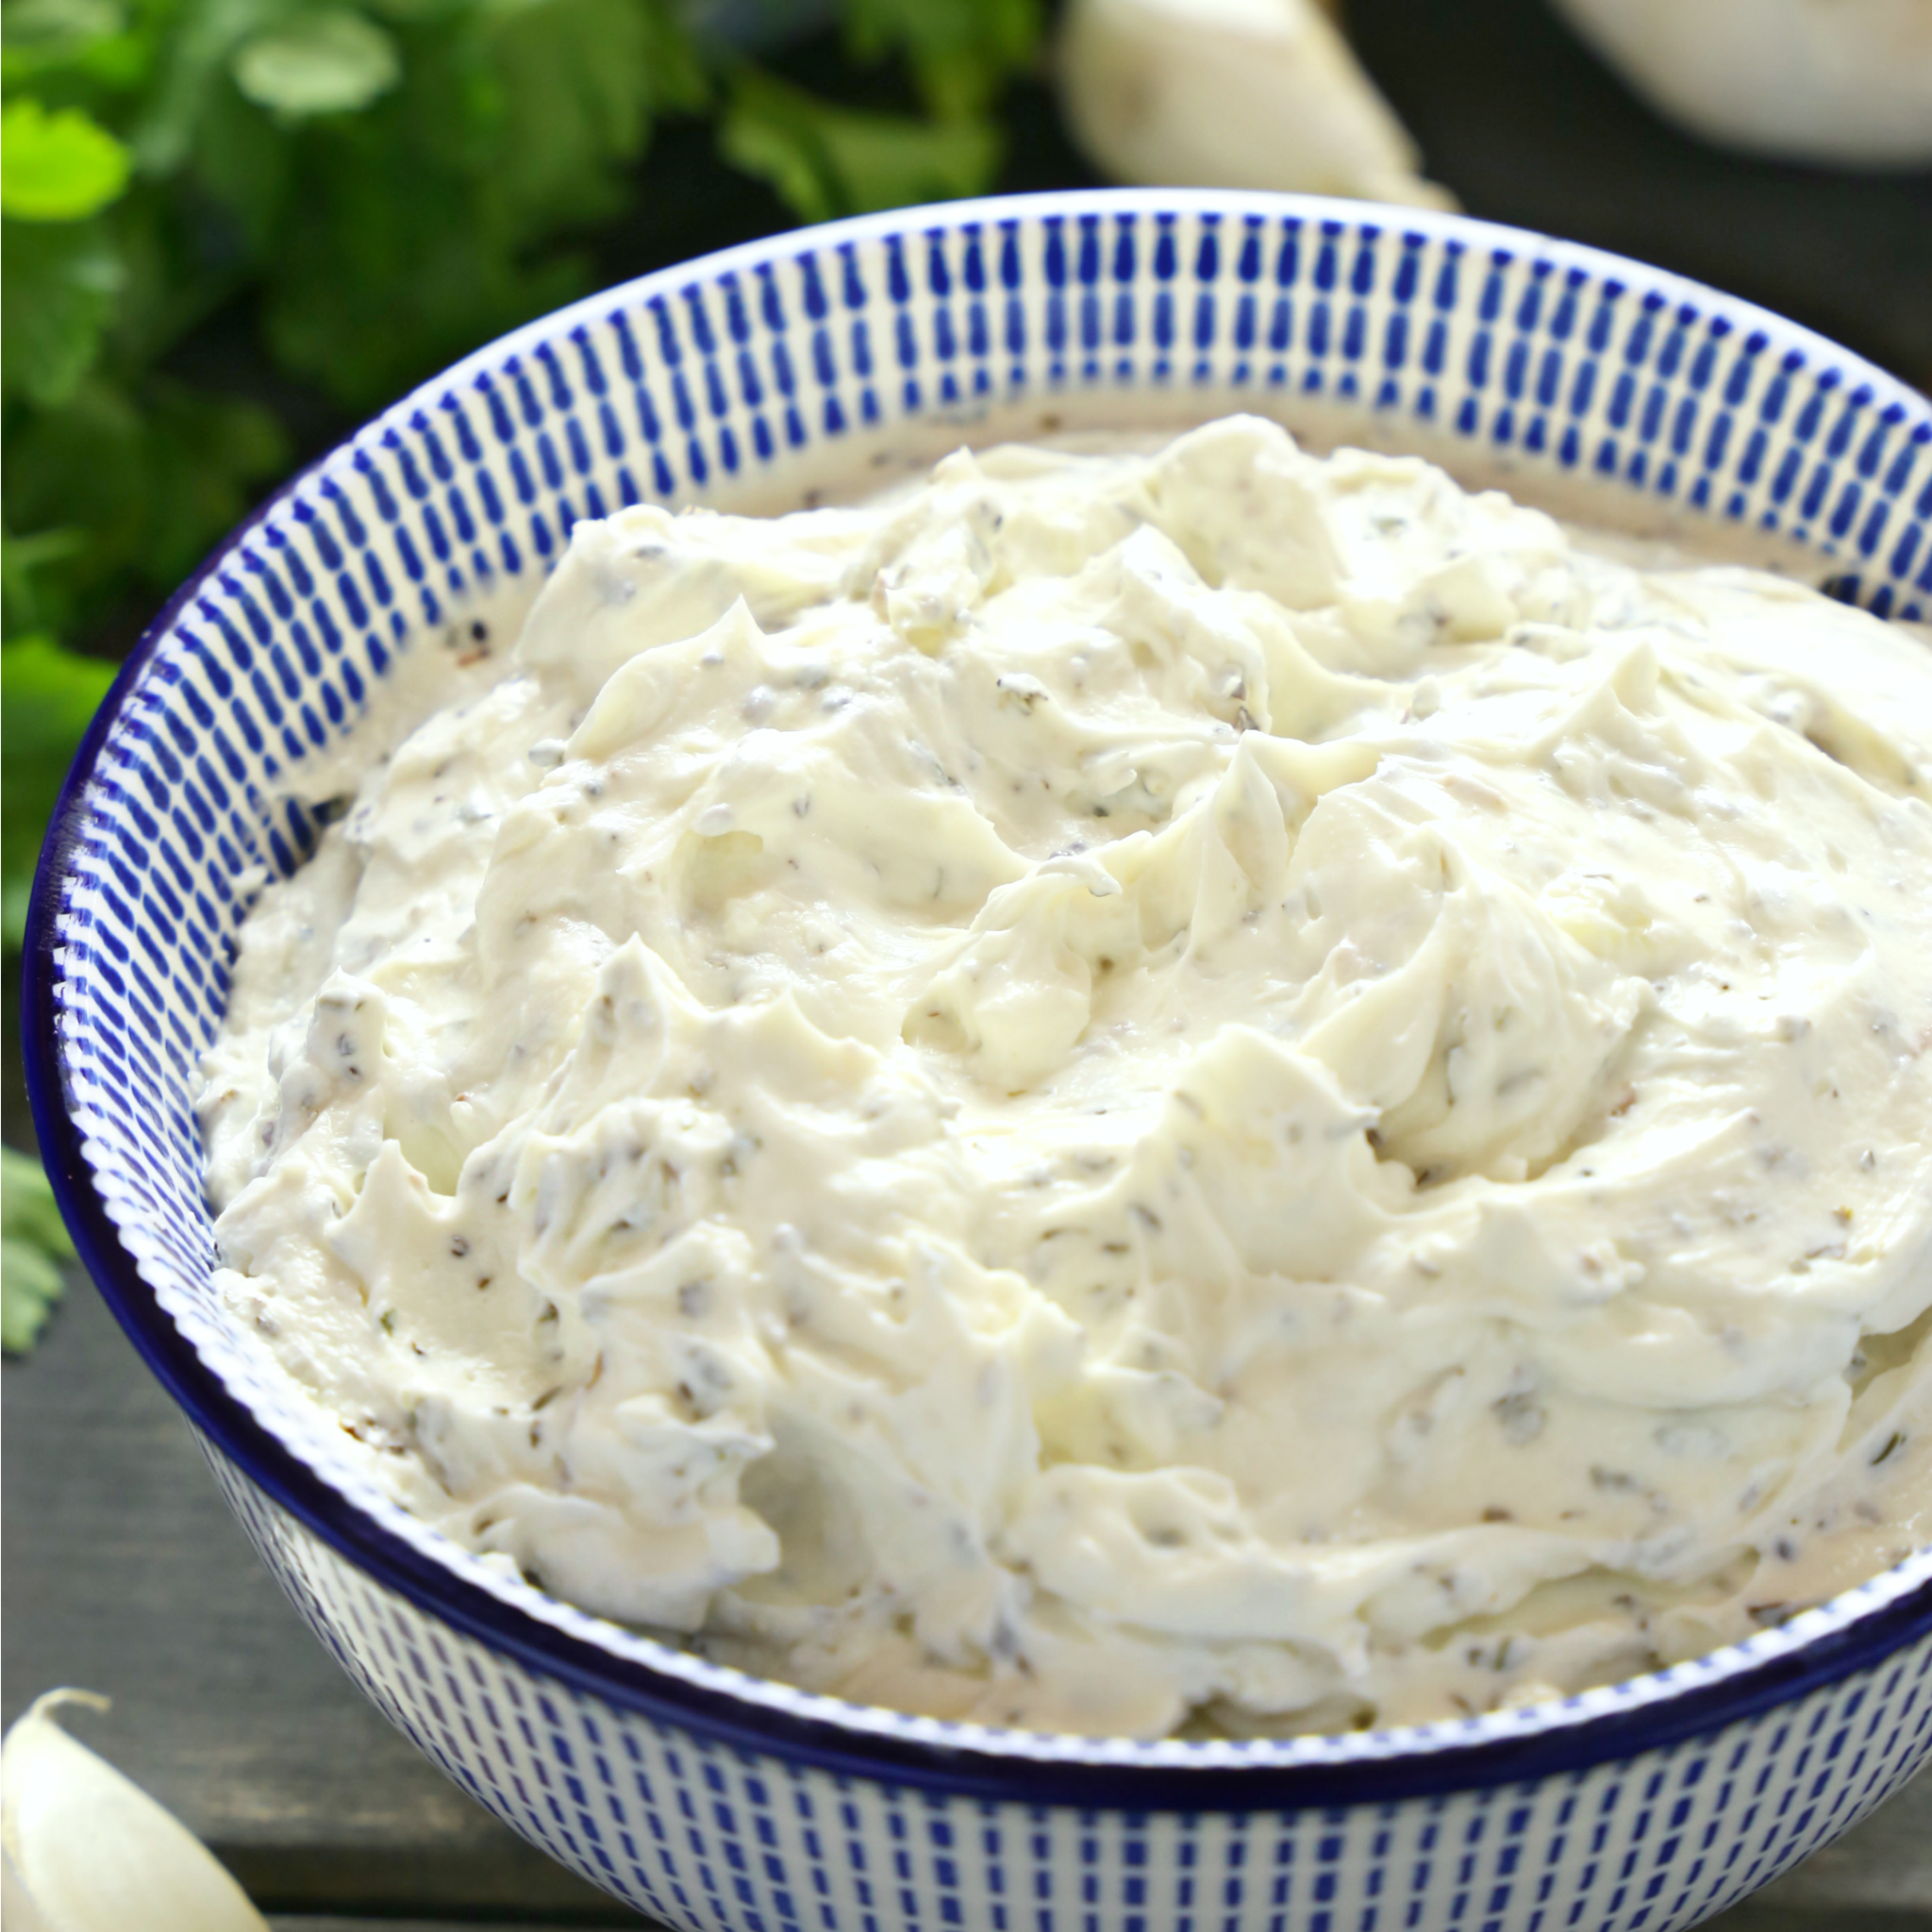
Recipe: Ingredients
- 16 ounces cream cheese approximately 440 grams (can also be made with low fat or even fat free cream cheese)
- 3 cloves fresh garlic, pressed or very finely minced
- 1 teaspoon dried or fresh chopped thyme
- 1/2 teaspoon dried basil
- 1/2 teaspoon dried parsley
- salt and pepper to taste (optional)
Recipe: Instructions
- Add the cream cheese to a bowl and add the garlic, herbs and some salt and pepper.
- Whip by hand with a whisk or rubber spatula, or use a hand mixer on low speed to combine all the ingredients well.
- Cover and place in the fridge for at least 1 hour before serving, to let the flavours develop.
- Enjoy on toast, bagels, crackers, or however you desire.
Recipe: Notes
Storage Instructions
Store in an airtight container in the fridge for up to 2 weeks. Do not freeze — cream cheese spreads don’t thaw well.Recipe: Nutrition
Notice: Nutrition is auto-calculated, using Spoonacular, for your convenience. Where relevant, we recommend using your own nutrition calculations.
This recipe is fantastic! Better than store bought and my family loves it better too!
I’m so happy you enjoyed it! Thank you for taking the time to leave your feedback!
Excellent recipe! My family loved it better than store bought. Very simple to make!
We’re so happy you enjoyed our recipe! Thank you for taking the time to leave your feedback!
How long is its shelve life? Thanks
You can keep it in the fridge in an airtight container for up to a week!
I needed this for a garlic herb cream cheese chicken recipe I want to make and didn’t want to spend the extra money for store bought. This recipe sounds easy and delicious, and I can’t wait to try it!
Let us know how it turns out!
It was really good!1!! i want to make this batch x15 for a wedding i am doing. could you calculate that for me?
Hi Frank, feel free to multiply each of the ingredients by 15 and you can make a bigger batch 🙂
Math is hard. Hahahaha
Tried this out at the last minute. My family’s favorite now. Thank You!!!
You’re welcome Sue Anne!!🙂
I used to work for a coffee shop and most days had a bagel with herb and garlic cream cheese. This beats it by FAR. So very good….
Thanks so much Mary Jane! Glad you like the recipe🙂
so simple. love it. I make small batches of this as needed but always turns out great!
So glad you like the recipe!! 🙂
Best recipe ever!! You could spread this on cardboard & it would be great!! No more store bought! (Wish I could give it 10 stars!)
So glad you enjoyed it! Thanks for the positive feedback!
Easy and delicious!
Thanks!
Is cream cheese supposed to be softened?
Yes, it should be at room temperature.