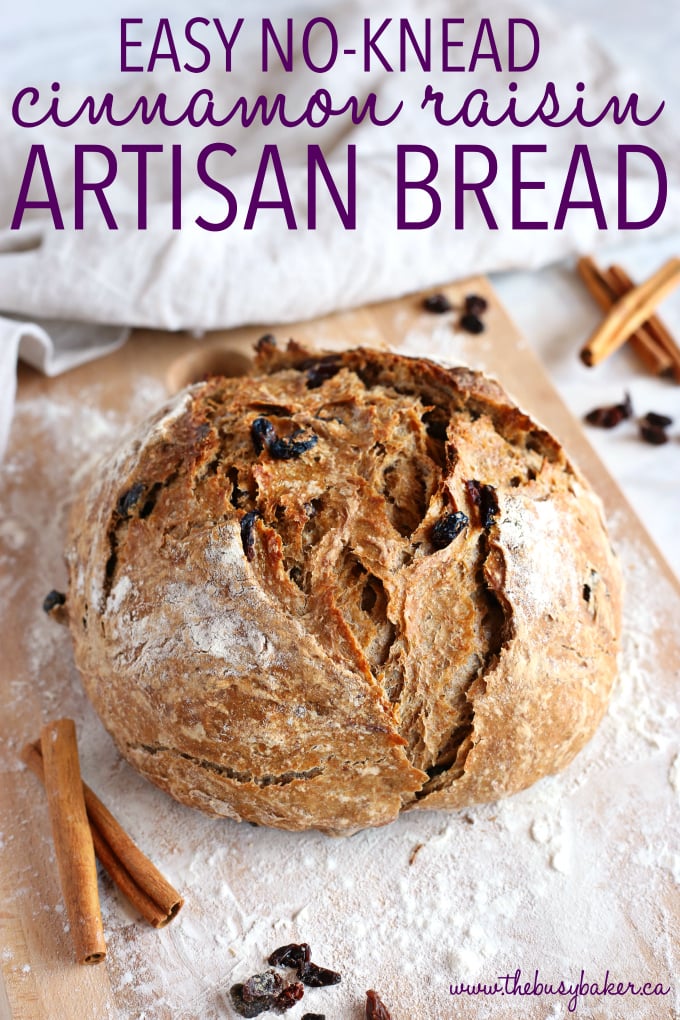
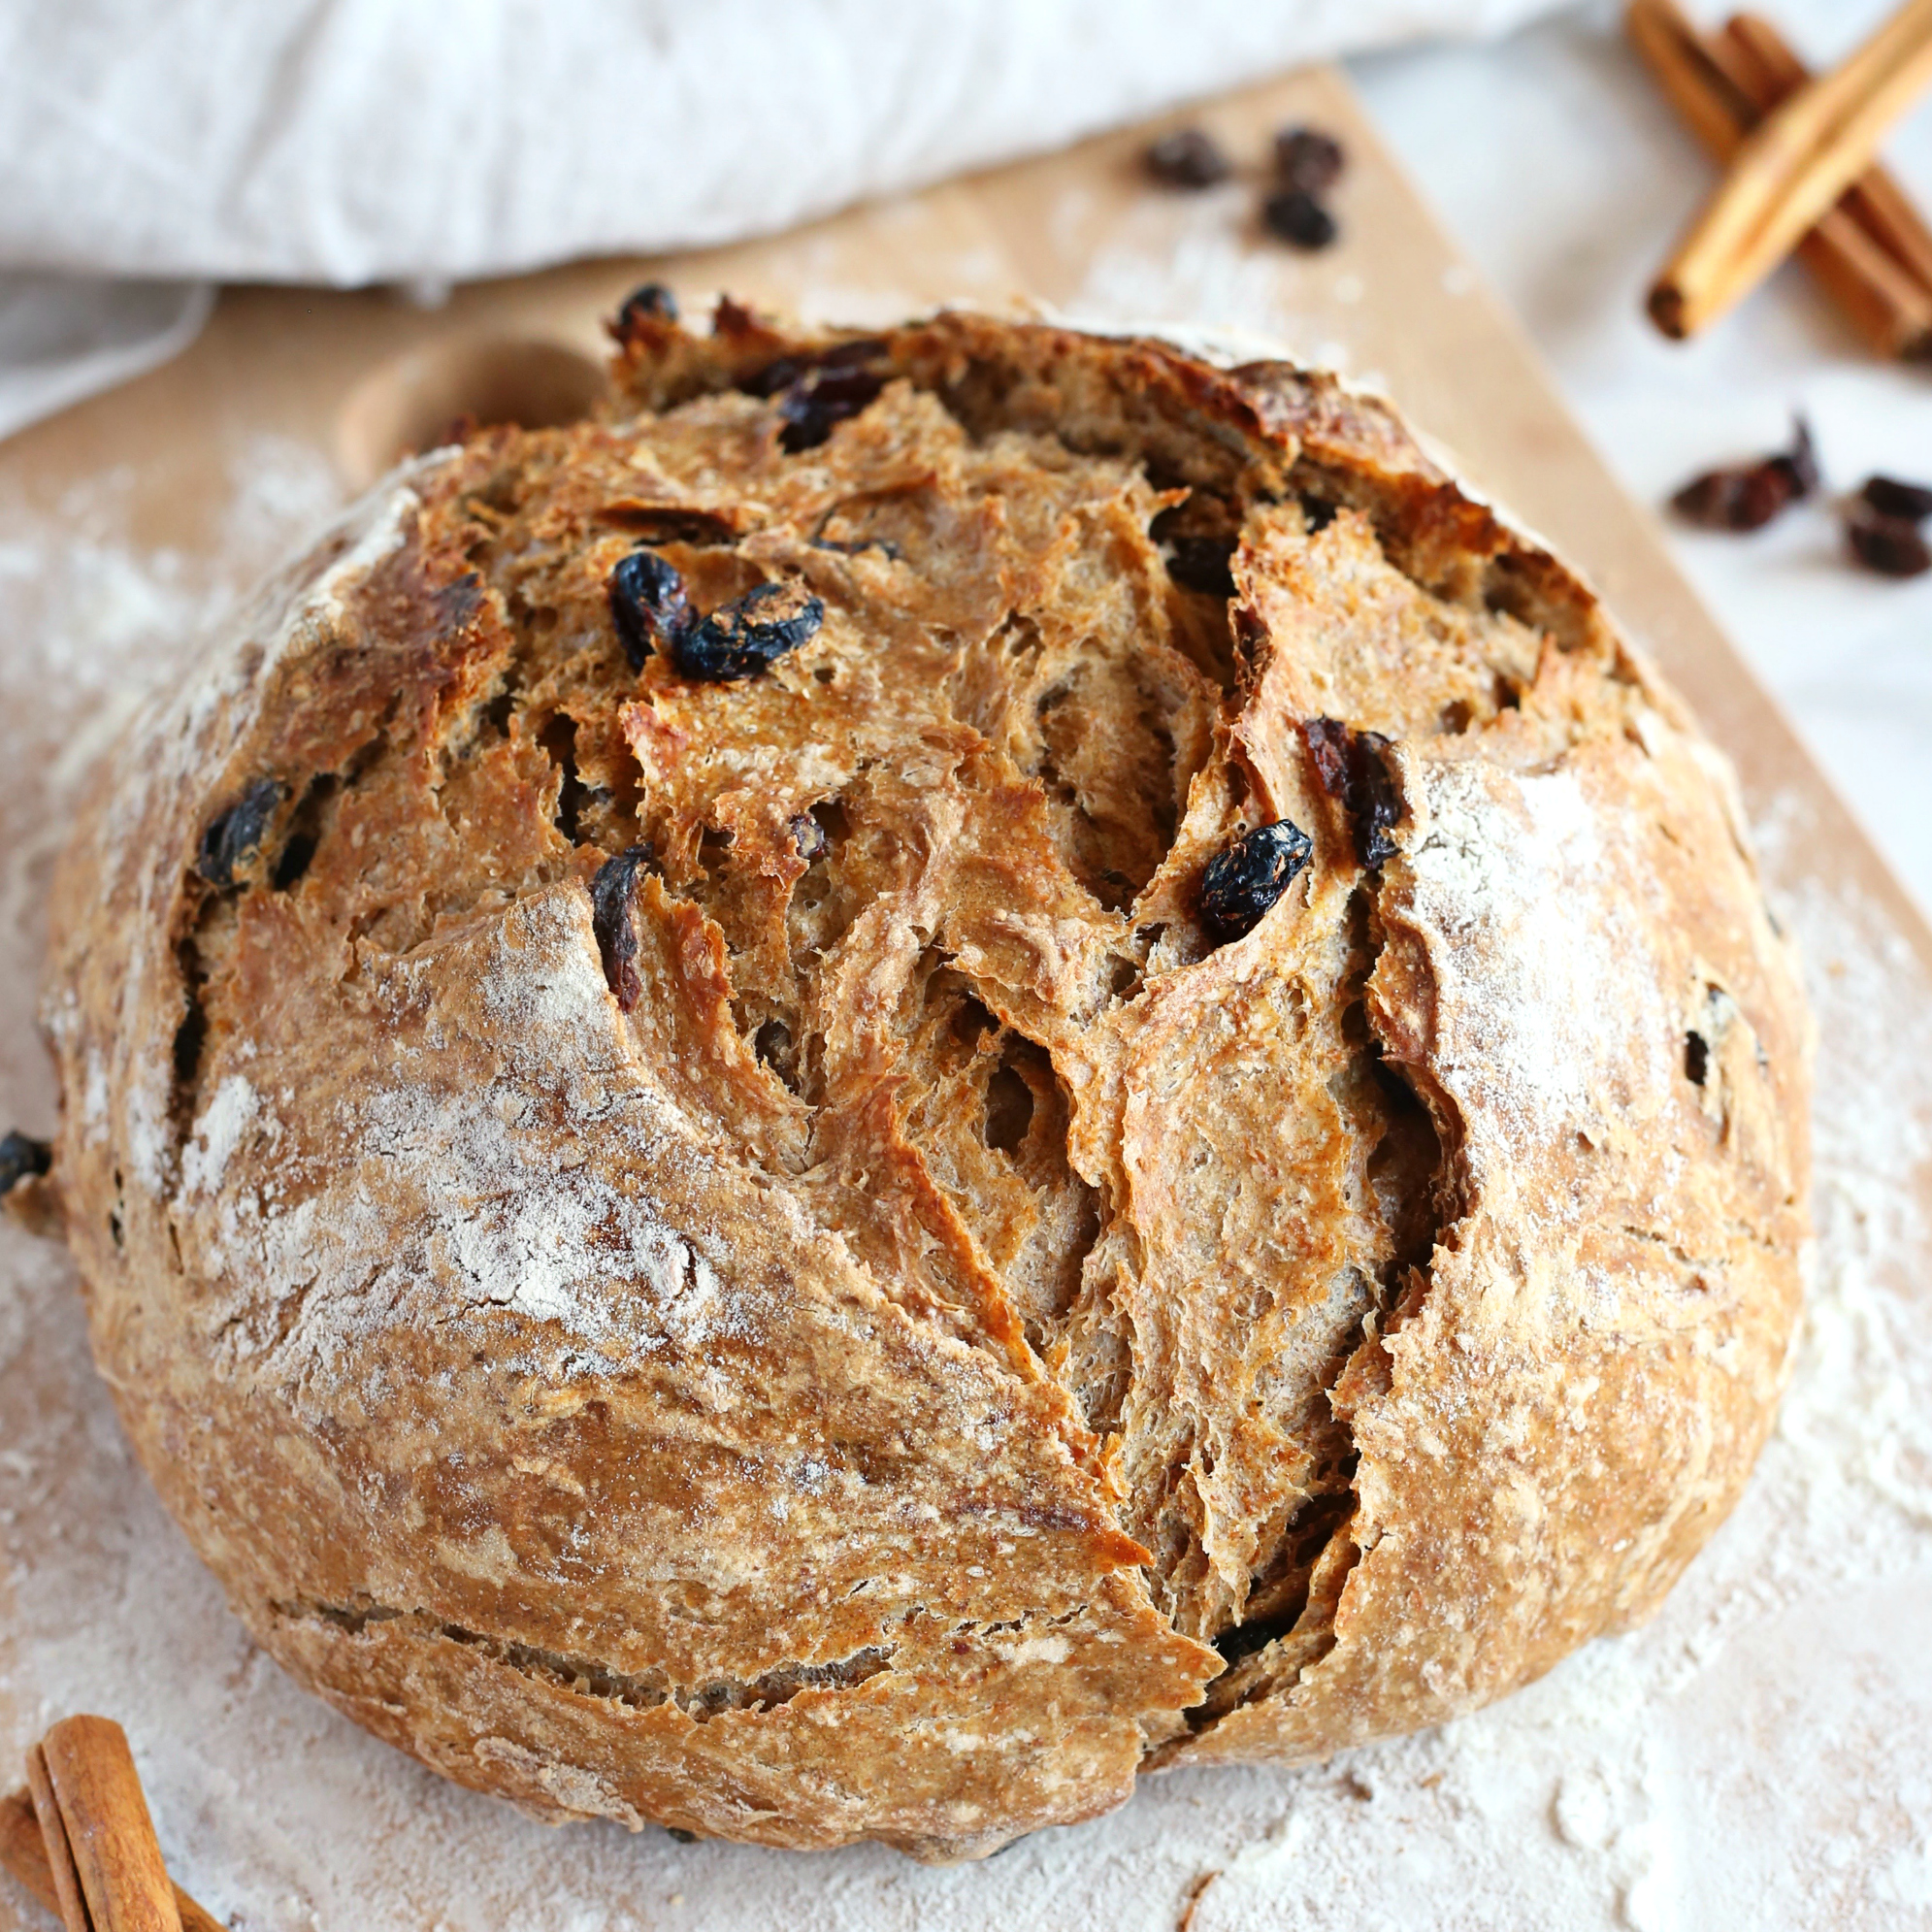
This Easy No Knead Cinnamon Raisin Artisan Bread is one of the best bread recipes I’ve ever made. It’s crusty on the outside, tender and fluffy on the inside and packed with sweet cinnamon flavour and juicy raisins. And it’s SO easy to make this bakery-style loaf at home in your own kitchen! No one will ever know it didn’t come from a bakery! Follow my Pro Tips for the perfect loaf!
NEVER MISS A POST! FOLLOW ME ON:
FACEBOOK | PINTEREST | INSTAGRAM | TWITTER
I don’t know about you but I absolutely LOVE making bread at home. We live in Romania, the land where people eat bread with every single meal and more. We’ve never been quite as into bread as the Romanians, but every now and then we love a good homemade loaf to dunk in homemade soup or a slice with some fresh butter. Since bakeries are a dime a dozen here it’s easy enough to grab a bakery-style loaf of crusty french bread, but there’s just something so satisfying about making a homemade loaf yourself, don’t you think?
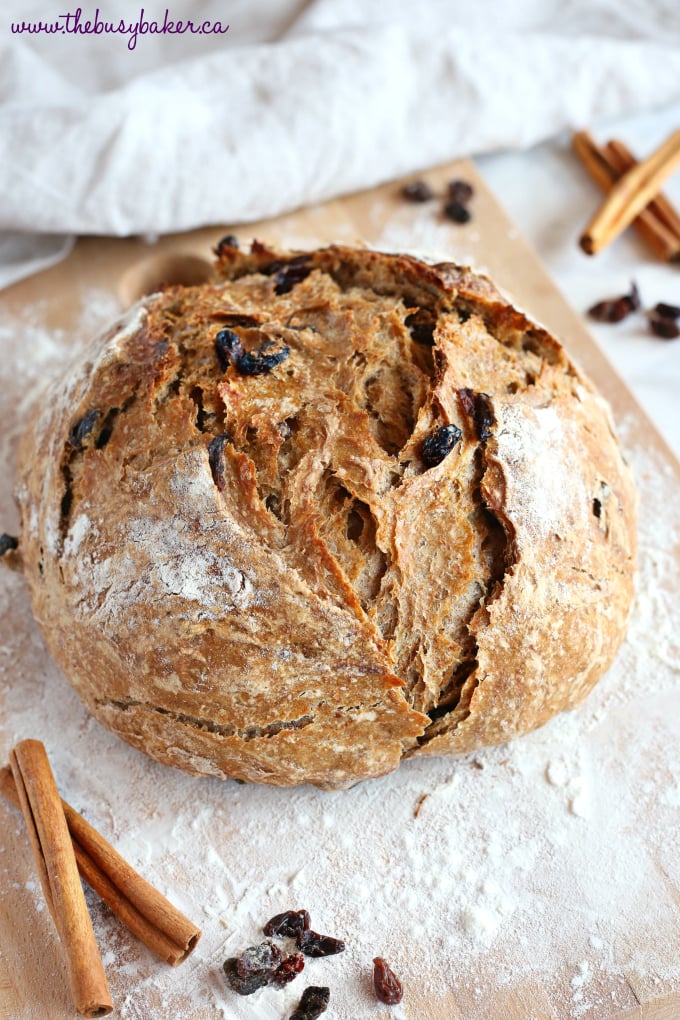 Way back when I first started my blog I shared this Easy No Knead Artisan Bread recipe with you and it’s a recipe I’ve made more than a hundred times I’m sure. One of my favourite things about that recipe is how easy it is to customize – I’ve been making this Easy No Knead Cinnamon Raisin Artisan Bread from the base recipe and it has quickly become one of our family’s favourites!! It’s delicious for breakfast or with a cup of tea in the afternoon, and it is a simply gorgeous loaf of bread that everyone will love.
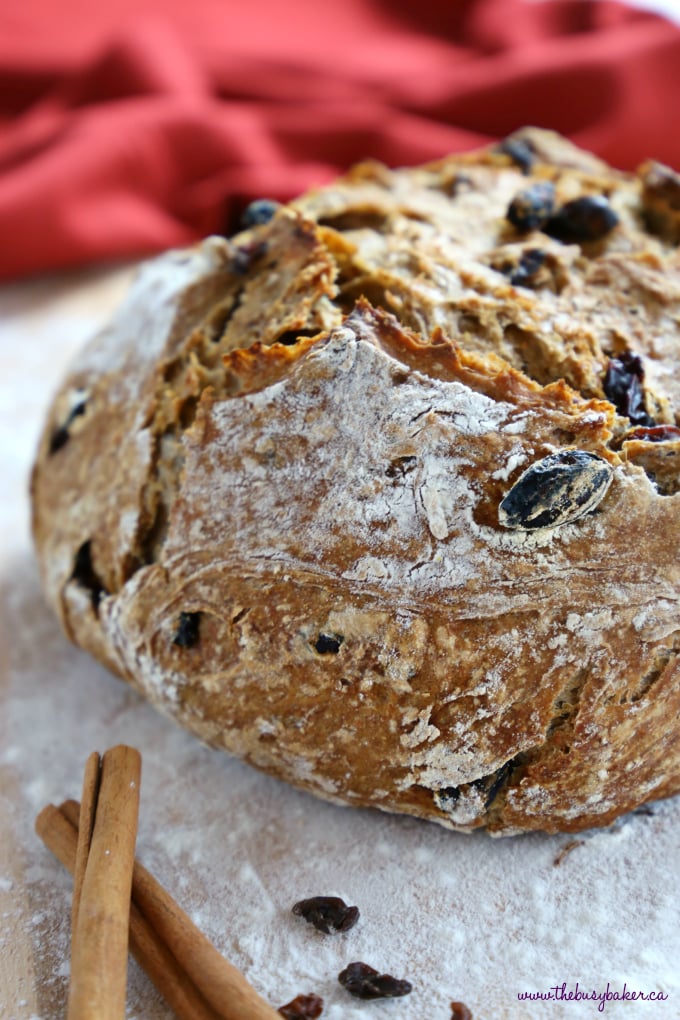 This Easy No Knead Cinnamon Raisin Artisan Bread is such a classic recipe and if you follow my pro tips below, you’ll be able to make this gorgeous loaf of bread at home in your own kitchen too! I know you can do it!!
Pro tip#1: Pre-heat your Dutch Oven pot before baking.
This bread is baked in an oven-safe Dutch Oven pot which traps in steam, making the crust of the loaf extra crispy. Pre-heating the pot before baking helps make the crust even more crispy and golden brown! If you’re looking for a great Dutch Oven pot, I will tell you that it’s one of the best investments you can ever make for your kitchen. Mine is a total beauty from Le Creuset (affiliate link) and I use it at least weekly throughout the year for soups, stews, sauces, curries, and of course for baking bread (if you want my original Dutch Oven Crusty Bread recipe, find it HERE!). A pot like this one is definitely a financial investment, but considering how much I use mine and considering its high quality, it’s definitely a worthy investment. I’ve also used similar cast iron pots from other brands, like THIS ONE from KitchenAid and THIS ONE from Lodge Cast Iron (both affiliate links) if you’re looking for something a little less expensive but still high quality.
 Looking for more?
EASY NO-FAIL HOMEMADE BREAD RECIPES AND BAKING TIPS
Get my easy no-fail bread baking e-cookbook!
Click here to learn more!
EASY NO-FAIL HOMEMADE BREAD RECIPES AND BAKING TIPS
Get my easy no-fail bread baking e-cookbook!
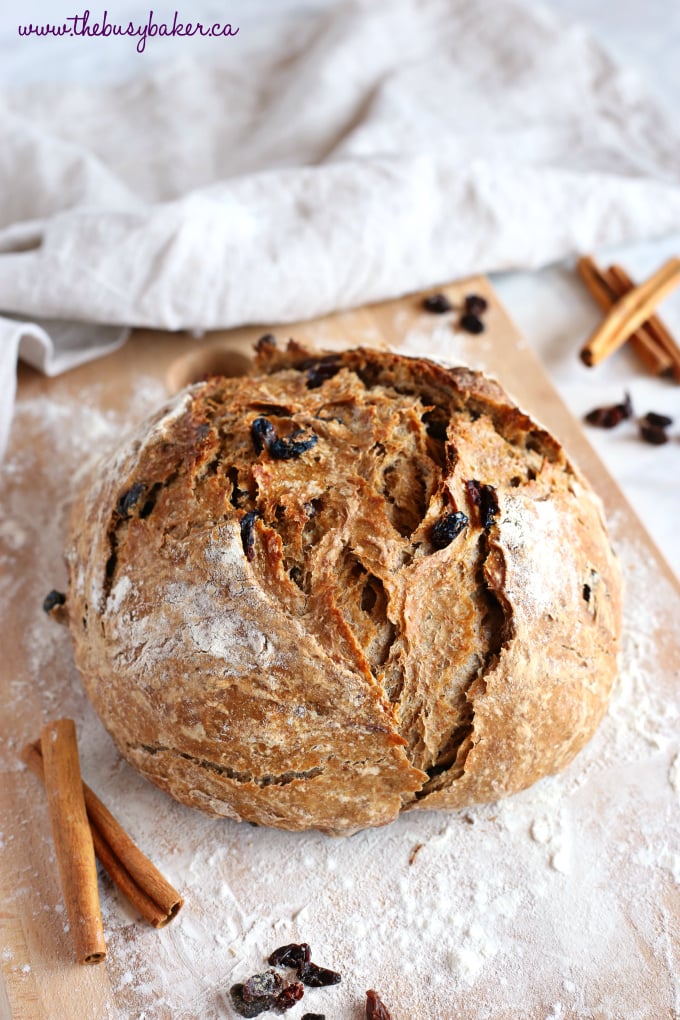
Pro Tip #2: Shape your loaf firmly but gently and dust the top of the loaf with flour.
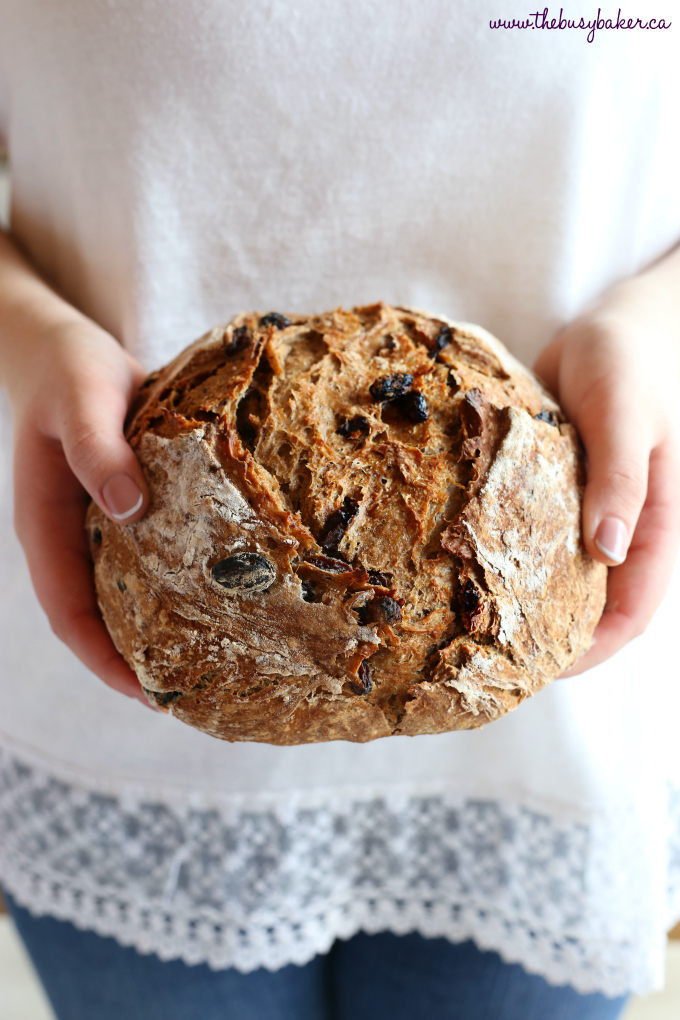
Creating a round shape will help the loaf bake evenly and dusting the top with flour will create that gorgeous, bakery-style appearance that everyone loves!
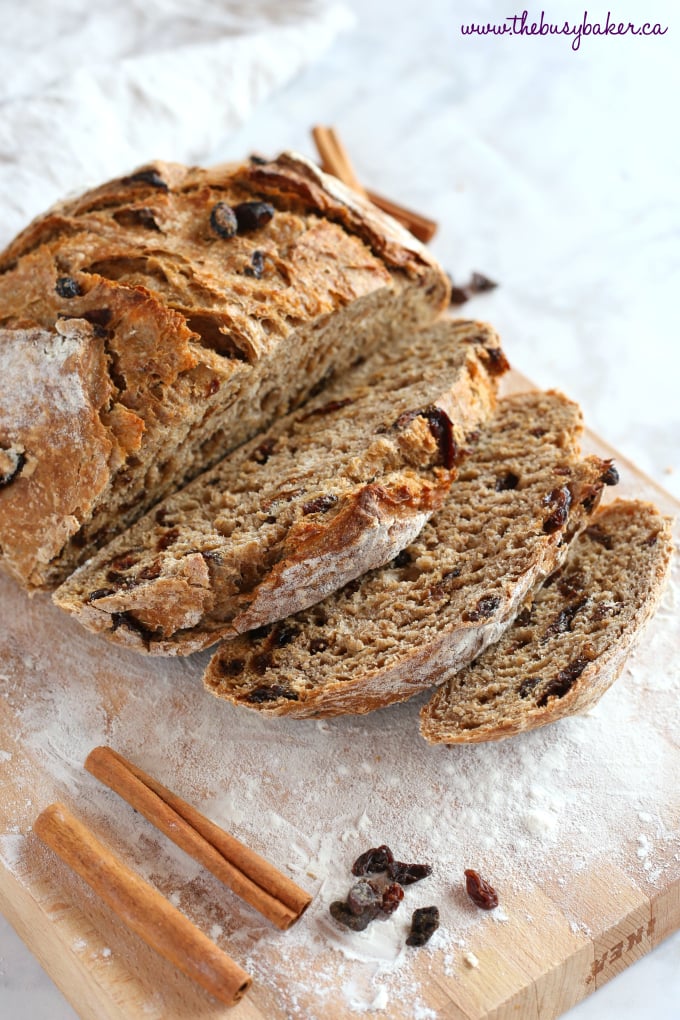
Pro Tip #3: Let the loaf cool completely before cutting into it!!
Resist the urge to slice the bread while it’s hot. Did you know that after removing a loaf of bread from the oven it continues to bake inside as it cools?? Slicing into this gorgeous loaf too early will cause the inside of the loaf to be under-cooked and gummy. Letting the loaf cool completely before slicing ensures the perfect fluffy texture when you slice into it!
NEVER MISS A POST! FOLLOW ME ON:
FACEBOOK | PINTEREST | INSTAGRAM | TWITTER
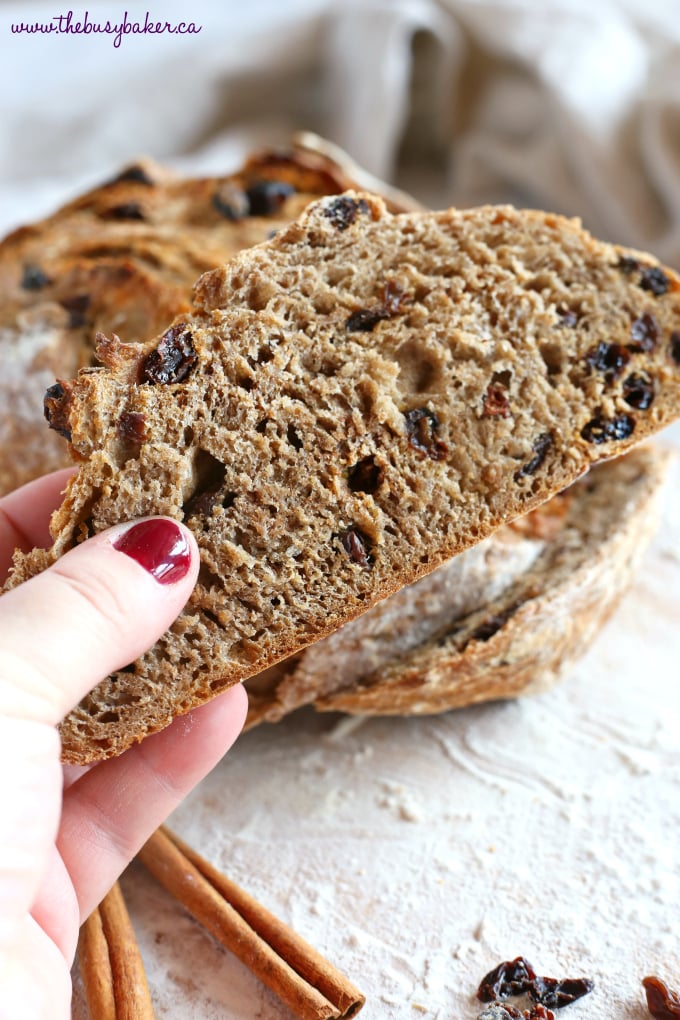 I hope you enjoy this Easy No Knead Cinnamon Raisin Artisan Bread recipe and my top 3 Pro Tips to making the perfect crusty artisan bread at home! Let me know in the comments below, do you have a favourite artisan bread you’d like to see on thebusybaker.ca?
KITCHEN PRODUCTS I RECOMMEND:
Looking for even more delicious bakery-style recipes? Before you grab the recipe for this delicious Easy No Knead Cinnamon Raisin Artisan Bread below, check out these delicious recipes!!
 Looking for more?
EASY NO-FAIL HOMEMADE BREAD RECIPES AND BAKING TIPS
Get my easy no-fail bread baking e-cookbook!
Click here to learn more!

EASY NO-FAIL HOMEMADE BREAD RECIPES AND BAKING TIPS
Get my easy no-fail bread baking e-cookbook!
Recipe Video
Watch the video below to see exactly how I make this quick snack. You can find more delicious recipe videos on my YouTube channel
If you made this, share a photo!
Are you trying this recipe? Use the comment form below to share your take; now with support for image uploads and comment voting!
Easy No Knead Cinnamon Artisan Bread
Recipe: Ingredients
- 2 cups all purpose flour (plus 1-2 tablespoons if necessary)
- 1 cup whole wheat flour
- 3/4 cup raisins
- 1/2 teaspoon active dry yeast
- 1 1/2 teaspoons sea salt
- 2 teaspoons ground cinnamon
- 3 tablespoons brown sugar
- 1 1/2 cup room temperature water (plus 1-2 tablespoons if necessary)
- a few tablespoons extra flour for shaping the loaf
Recipe: Instructions
- Add the flours, raisins, yeast, salt, cinnamon, and brown sugar to a large bowl. Be sure to add the yeast and the salt to separate sides of the bowl.
- Stir the dry ingredients together well.
- Add the water and stir until a thick, rough dough forms. Add 1-2 more tablespoons of water or flour if needed.
- Flour your hands and shape the dough into a ball, placing it into the bottom of the bowl and covering the bowl with plastic wrap.
- Place in a warm spot in your kitchen and let rise for 12-18 hours. When I make this bread, I prepare the dough in the evening and bake the next morning. For quick rise instructions, see the Recipe Notes below.
- After the rising time, preheat your oven to 450 degrees Fahrenheit.
- Place an oven-safe Dutch Oven pot in the cold oven and let it preheat with the oven.
- Flour your hands well and shape the dough into a round ball and set it on a piece of parchment paper on the counter dusted with flour.
- Dust the top of the dough ball with flour and cover with a clean kitchen towel, letting it rise for 25 minutes.
- After the dough has risen remove the Dutch Oven pot from the oven and using the parchment paper, pick up the dough and place it carefully in the bottom of the Dutch Oven. Make two very shallow slices in the top of the risen loaf in the shape of an X.
- Replace the lid of the Dutch Oven, place it back into the hot oven, and bake for 30 minutes.
- After 30 minutes of baking time, remove the lid from the Dutch Oven and continue baking for an additional 10 minutes uncovered.
- After the baking time, remove the pot from the oven and transfer the loaf to a cooling rack using the parchment paper.
- Cool completely before slicing.
Recipe: Notes
Quick rise method:
- Add 2 1/2 teaspoons of active dry yeast instead of the amount listed in the recipe.
- Rise for 2 hours and follow the recipe directions after the rise time as written.
No Knead Bread Troubleshooting Tips:
- If your dough seems too fluid after the first rise, simply add 1/3 cup of flour to the top of the dough and mix it in, shaping the loaf into a round shape to rise again while the oven pre-heats.
- If your loaf falls or flattens during the second rise, simply re-shape before baking into as tight a ball as possible (creating surface tension should prevent the dough from falling).
- Add 1 tablespoon of Vital Wheat Gluten to the dough with the flour to create a very voluminous dough that rises beautifully every single time and isn't too dense.
- If the bottom crust of your bread burns or becomes too hard or tough, it's likely that the bottom burner of your oven is too hot OR you're using a pot that's black on the inside (these conduct heat more efficiently than one that's a light colour on the inside). Try lowering your oven temperature by 25 degrees, using the convection setting, or using a different pot that's light in colour on the inside.
- Use an oven thermometer to make sure your oven temperature is correct. If your oven runs hot, lower the temperature of your oven by 25 degrees to be sure you don't burn the bread.
Recipe: Nutrition
Notice: Nutrition is auto-calculated, using Spoonacular, for your convenience. Where relevant, we recommend using your own nutrition calculations.
I have this bread sitting on my counter, covered ready to pop into the oen Saturday morning.Cast iron pot ready to be heated. The hard part will be waiting for it to cool before slicing. Thank you for this recipe.
Thanks so much for taking the time to leave a comment! I’m so glad you like the recipe! Enjoy your fresh bread!!
My dutch over is safe to 400. What cooking time would i need then?
Yes, absolutely. You might need to extend the baking time a bit 🙂
Affordable option on that Dutch oven is the crockpot brand enameled cast iron, up to 500 degrees and under $60 on Amazon. I have a Le Creuset and this brand and have not seen any difference performance so far! I bake bread in both, roasts, short ribs etc. very pleased.
How much should the dough rise throughout the course of the 12-18 hours? When I came downstairs this morning the dough had not grown as much as I would have expected.
Great question! The dough should just about double, or maybe a little more than double, in 12-18 hours. Be sure to place it in a warm, draft-free place for rising overnight like on top of your fridge, inside your oven (turned off!), etc.
Looks delicious! Could I add oats to make it heartier? How much before it would make the bread too dry?
I wouldn’t suggest adding more than 1/2 cup oats to this recipe.
This bread was absolutely delicious clear instructions I will make it over and over again I’ve been baking bread for 45 years and I love this bread!!!
I’m so happy you enjoyed it! Thank you for taking the time to leave your feedback!
This looks so yummy. What size cast iron pot should I be using? I only have a 3.5 qt.
Your 3.5 qt should be just fine. I hope you give it a try!
Omg. This is delicious. I had to share so I didn’t eat the entire loaf. Made my first loaf yesterday. Second loaf is ready to go in the oven to gift to my parents. Thanks for the fab recipe.
Ha ha! I understand! I’m so glad you loved it! Thanks so much for taking the time to leave a comment!
HI Busy Baker!
I am going to to make the quick rise version. My question is, after a two hour rise, do i shape it into a ball then let it rise for an additional 25 minutes? (new to bread making)
rosemarie
Hello! Yes, that’s exactly how it’s done. Good luck!
How did the quick rise method work for you? I want to try making it today!
I waited as long as I could!!! It was just barely warm so I sliced a small piece…it was delicious. Thank you so much for a wonderful recipe I’ll be making again and will try to share with my family!
So glad you loved the recipe! Thanks!
I baked the honey cranberry walnut yesterday and it turned out great! So easy! I just took the raisin cinnamon and it looks beautiful. Can’t wait for it to cool. Thanks so much for the recipes!
I’m so glad you liked it!! 🙂
I have a question about this bread. I am baking it now but the bottom is burnt! I don’t know what I did wrong?! The bread isn’t done yet.
Hmmm – could your oven be too hot? I’ve NEVER had that happen to me before. My suggestion would be to use an oven thermometer to make sure your oven is the correct temperature. Also, what are you baking it in?
Question…do you include the parchment paper in the cast iron pot when cooking as you also mentioned using it to take it out of the pan after it’s been in the oven?
You can, and I usually do, but it’s definitely not completely necessary.
Can you please explain why the salt and yeast should go on opposite sides of the bowl when the very next thing you do it mix it all together? Thanks
Salt can deactivate yeast, so mixing them on opposite sides of the bowl ensures that as little yeast as possible comes into direct contact with the salt.
I have the berghoff enamelled dutch oven it says oven safe up to 400 degrees 🙁 can i still make these breads?
I think I’m going to try making this with dried cherries and pecans! Sounds delicious the way it is..but I don’t have raisins!
You’ll love it either way! 🙂
Please give us a no knead black Russian bread recipe!
I’m working on one at the moment, still testing it 🙂
Fresh from the oven! Wow smells amazing canteiat to try it. Thanks for great recipe. Made with sourdough starter (1/2c) instead of yeast – looks perfect!
So glad you enjoyed it! Thanks so much for taking the time to leave a comment! 🙂
Question: Do you think I could bake this bread in my 9 qt Dutch oven or would that be too big? Looking forward to giving this recipe a try. Many thanks!
That would be fine 🙂
Christie, My husband and I made this bread yesterday and it is delicious. We cooked it at 450 for 30 mins and then took the lid off and baked again per your recipe.
The first 3-5 slices were delicious but when we got the cutting the middle of the bread it was gooey. Not horribly but enough that we didn’t know what we had done. Any thoughts? We love the bread just aren’t sure about the little pockets of gooey. We did exactly as you say in the recipe.
Jasmine
Hmm. That’s interesting – never happened to me before. Perhaps you didn’t mix quite enough and there were some parts that were too wet…? It could also be slightly underbaked, but it sounds like you baked it enough.
I’d love to make this cinnamon artisan bread. Being new to making no knead bread I’d love to follow the recipe exactly. But being in Australia I’m thinking our measurement are different. Would I use the standard American measurements as opposed to our Australian measurements? Thank you.
Yes, this recipe calls for the standard American measurements.
This recipe is a keeper! We made it once sticking to the recipe and the second time adding dates and dried apricots to the raisins. I can’t find a recipe for dates & apricots artisan bread, so I added them to this one. It was lovely just baked but became quite dry later. Could you tell me what I have to change to make it work? Love your recipes and the videos 😋
Glad you liked it! This bread does get a little dry after a day or two, so it’s best fresh baked or made into toast.
I have found that after the first day putting a slice in the microwave for 10 seconds on full power restores the moisture/flavor….just like freshly baked!
Hello! This recipe looks amazing! Would you change the recipe in any way for baking at altitude (Denver, CO)? Thank you!
I’d add a little extra yeast for the added elevation.
Thank you!
This is the best recipe I’ve ever used. I’ve made 3 loaves in the past few days just to give to family and friends. My only problem is the bottom is always burnt. I place the dough on parchment paper inside my dutch oven and each loaf I have played with either adding flour or cooking spray or nothing at all to the paper before placing the dough ball on and still the bottom is always burnt but the bread and top crust are beautiful. Any ideas or suggestions to fix this?
If you have a convection setting on your oven, you should try that. Or move the rack up in your oven…it sounds like the bread is too close to the element in the bottom of your oven.
I don’t have an oven thermometer, but I’ve found 430 degrees cooks my bread fine without burning the bottom.
I don’t have any wheat flour, could I just use more AP flour or would that ruin it?
Yes, feel free to use all purpose flour 🙂
I baked it this morning and waited for it to cool. It looks amazing, tastes delicious and has a great consistency. When mixing the dough it was very sticky so I kept adding small amounts of flour. After the approx 18 hour rise it was still very sticky. Should I have added even more flour when mixing? Also, have you tried adding even more cinnamon?
This dough will be a little stickier than normal, but it makes for a crispy crust and great texture. And feel free to add more cinnamon if you like.
Ok, so I made bread about 31yrs ago…..”Absolutely horrible Shauna, your NOT a baker!” I trashed it! So looking at Pinterest I see your recipes. I gave jalapeno & cheddar a try……OMG! very easy, very delicious! I’ve made the garlic & rosemary, and making cinnamon & raisins tomorrow. I’m a baker!
Thank you, Thank you, Thank you!!!
I’m so glad!! Anyone can be a baker 😉
Trying to make multiple loaves in a day. Can this be mad by forming loaves oh a sheet pan instead of Dutch oven?
The steam that develops inside the dutch oven is what creates the crispy crust. If you make this on a sheet pan the loaf will not be the crispy artisan-style.
New to Artisan style bread making, but so far everything is turning out perfect!
Wife loves that hubby does all the baking, and she gets the easy part….eating it !!
Thanks for the great cinnamon raisin recipe.
Newly retired and have all kinds of time to bake
So glad you like it! 🙂
absolutely the best raisin bread that i have ever had in my 70 years on this earth. i did have to adjust as i didn’t have any whole wheat flour on hand and i was anxious to try it. i also didn’t have a cast iron dutch large enough for what i was seeing after the all night rise so i baked it in my cast iron skillet sprinkled with a little corn meal. same temp, 450 and 35 minutes. this will be part of my bread rotation and high on the priority list for sharing with friends and family. thanx for the recipe and like i said, absolutely the best i’ve had.
So happy that it turned out so well!!🙂
Hi,
I made this bread and it was delicious! I want to make it again using the quick rise method. Would I put the yeast in the bowl, as with the slow rise? Also, should I put in warm water about 90 degrees to active the yeast?
Sure! You just have to increase the yeast to 1 3/4 teaspoons. Yes, the method stay the same but the warmer water would definitely help. Happy baking!
Good morning Chrissie:
I don’t have any whole wheat flour.
Can I use all pupose flour instead?
Thank you.
Lily Lubianski
Yes! You can use all purpose flour instead.
Just started to get into baking. Tried this recipe as instructed, but I added another teaspoon of cinnamon and a total of 1 1/2 cups raisins. It is wonderful. I have made it about four times now. Thank you for this. I will make this again and again!
I’m so glad! Thanks for sharing 🙂
Just tried your recipe, except that I’ve halved the cinammon quantity (one of our family members is not a big fan of the taste); it worked out beautifully, hardest part was waiting for it to cool down 🙂
Will definitely put this on our favourites list.
Thank you!
Thank you for your feedback Ana!! Really great to hear it’s one of your favourites now!🙂
I also added dried cranberries and currants along with the raisins. Added 1/3 of a cup of each. Needless to say, we gobbled it up very quickly.sandy Lisk
Yes, we love it too! It disappears very fast😁
OMG. Thank you for this recipe! It is on the counter cooling so I have yet to taste it. Having said that if it is half as tasty as it smells I’ll be happy. Also, it was super easy, no fuss, no mess and sooo beautiful! I’m going to try your Jalapeño Cheddar tomorrow. During Covid as long as my yeast holds out I’ll be fine. Apparently yeast has become a coveted commodity.
So glad you loved it Judy! 🙂
Best recipe I have during our Covid Isolation!
Thank you.
Thanks for your feedback!🙂
This recipe makes the best cinnamon raisin bread! So easy & sooo delicious!!!!
Thank you Linda! Glad you like it so much!😊
First time I tried this – it was amazing!! Came out perfect – the bottom was a little more done than I like – so will lower temp to 430 degrees. I also did not bake an additional 10 minutes because it looked done when I took top off.
Trying the cranberry/ walnut next!!!
Thanks Sherry! Glad you like the recipe and let us know how the Cranberry Walnut one turns out!🙂
I’ve seen so many recipes for bread and purchased a dutch oven recently to try to make homemade bread. I want to try this recipe. Do I heat the lid of the dutch oven when preheating? Thank you.
Yes, I would recommend heating the lid as well.
Made this bread this morning after tasting my neighbor’s, and its so very hard not to cut it before it cools!! Thank you for sharing this recipe!! It’s wonderful!!!
I know, right!? You’re welcome Joyce!!🙂
The first time I made it , it did get too done on the bottom. This time I didn’t get to the oven when I should have and the bread tastes like it has a bitter taste. I am wondering if it tastes not so good, it is because I waited for 24 hours to bake and the yeast tastes like it must have fermented. Would that be possible? I ate 2 pieces just to be sure it wasn’t good. If I get this right and am going to be so excited.
It sounds like your pot was too close to the bottom of the oven. Using the convection setting (if you have one) helps with even baking. I’d recommend waiting no more than 18 hours before baking, but 12 is even better.
Hi…I am new to making bread…I bought instant dry yeast….can I use that and if I do, do I need to change anything with the recipe? Thanks so much!
Hello Lisa, you can use instant dry yeast and active dry yeast interchangeably without having to adjust the measurements! Happy baking!
This bread was fabulous. My son who does not like raisins loved it! I want to know if you have ever made the bread and froze it for another time. I am going away and will only have the use of a microwave, toaster or bbq grill. Really would love to bring this bread to share with friends.
I freeze this bread all the time after it’s baked. Glad you enjoyed it!!
I made this today – I used 3 tsp. Cinnamon, and 1 1/2 c. Craisins, as I prefer that to raisins. It came out great!! My Dutch oven is 7.5 quart, so my bread is bigger around and shorter. Could I double the recipe?
You could try but there’s a good chance that your bread might hit the top while baking.
Hi,
I can’t wait to try this recipe but I don’t own a dutch oven…yet. What is the smallest size dutch oven I can buy that will be sufficiently large enough to bake this bread? Would a 6 quart size be okay? Thanks.
Yes, a 6 quart would be fine. I wouldn’t actually buy anything smaller than a 5.5 qt if you want to make bread like this. I recommend this one https://amzn.to/3q4IafX (affiliate link) Happy baking! ☺️
I have Fleischmann’s bread machine yeast as well as quick rise/instant yeast on hand. Can either of these be used in your recipe or do I need to purchase regular yeast?
Thanks,
Siera
The yeast you have will work just fine! 🙂
You can use instant yeast. Happy baking!
just finished mixing my dough & left it to rise. the instructions say after the 1st rise to
only let it rise 25min before petting it in the dutch oven to bake. every other no-knead
recipe says for the 2nd rise, 1 – 2 hours. i was wondering why you recommend 25min.
thank you
The gluten in this recipe is developed enough with the 25 minutes second raise and the bread also rises a lot as it bakes in the oven. Happy baking!
Hello thank you for your recipes, I am finding the dough very sticky even with dusting my hands with lots of flour and lots of flour on parchment, am I not using a well balance of water and flour, how sticky should the dough be, I am struggling with forming into a ball
I’d recommend checking out the Notes section of the recipe card – there you’ll find all the troubleshooting tips you need to fix this issue 🙂
Hi, is it okay to use an oval Dutch oven instead of the round one?
Absolutely! Happy baking! ☺️
Just fabulous. How could I not know how wonderfully simple, easy and most of all amazingly delicious artisan breads were. This is by far the best recipe I have made. Now I have to devise a scheme to hide it from myself so I’m not tempted to gorge myself eating it. Thank you for sharing. BTW my husband has volunteered to hide it for me. 🙂
Thanks so much Karen!! Really happy to hear you find the recipe wonderfully simple!
Can this be made with all whole wheat flour?
For using whole wheat flour I suggest you use my No Knead Whole Wheat Bread recipe! Happy baking! https://thebusybaker.ca/no-knead-whole-wheat-artisan-bread/
I have made three of your breads and everyone is fantastic thank you for such a great recipe.
.
You’re welcome Barbara!! Thanks for your comment!!
I’d like to use all whole wheat flour instead of AP and whole wheat. Will that work with this recipe?
Do I need to make any adjustments to the ingredients?
Thanks so much!
Yes, you can, but i’d recommend adding a tablespoon or two of vital wheat gluten to give it a lighter texture. However, if you don’t have vital wheat gluten you can just replace it as is. Happy baking! ☺️