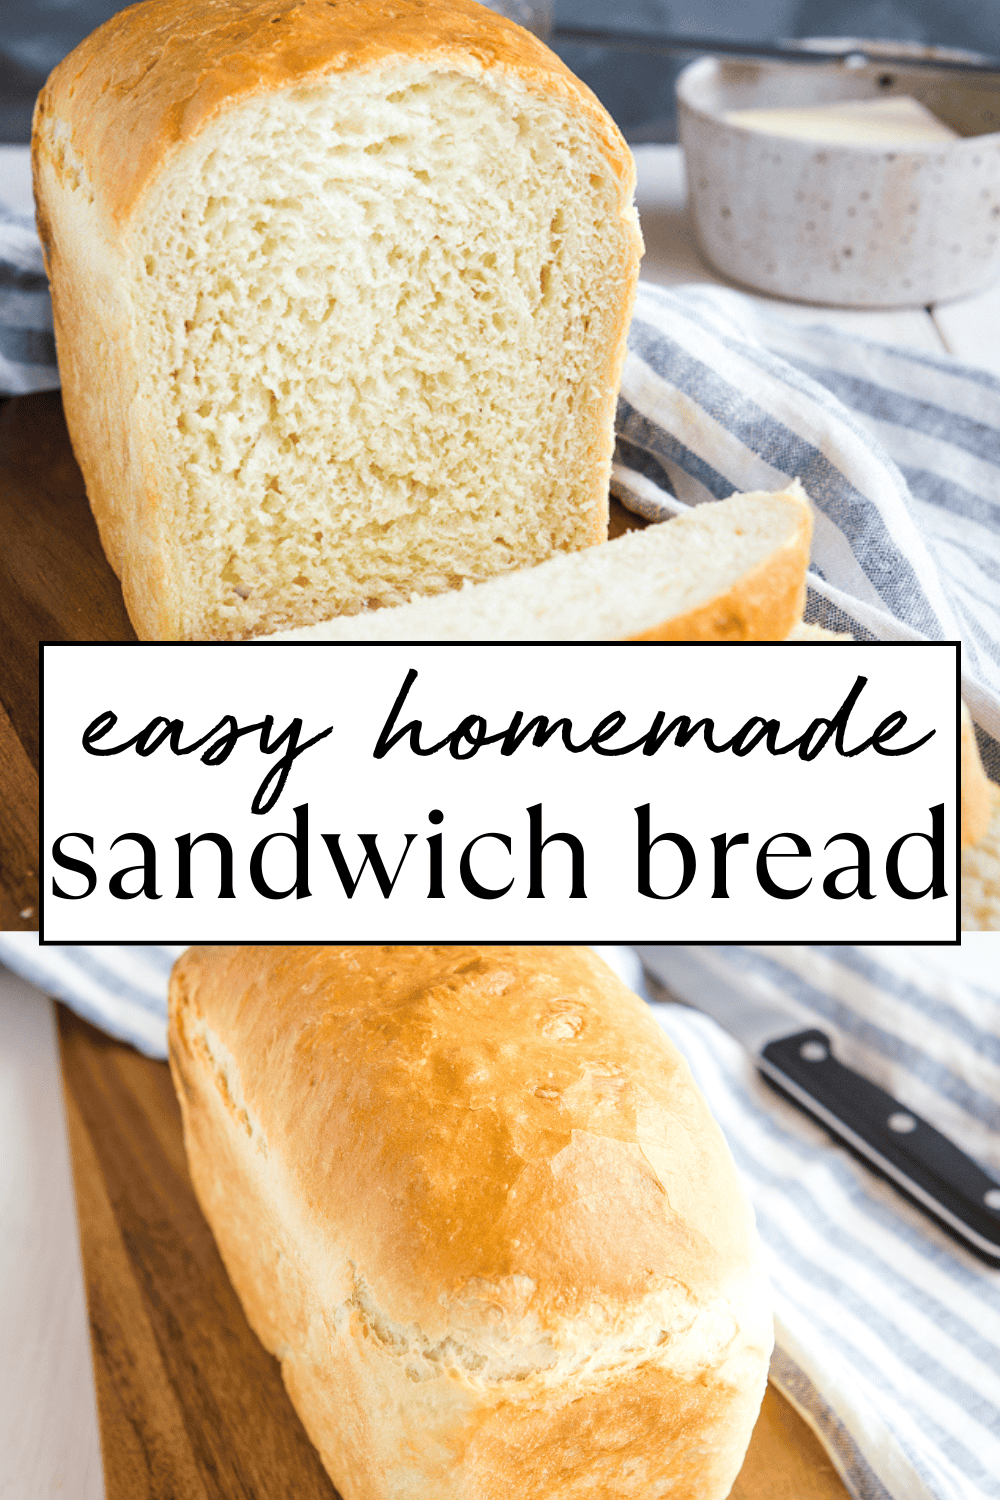
This Easy Sandwich Bread is soft, fluffy, and perfectly sliceable for sandwiches and toast. A simple homemade sandwich bread recipe made with pantry ingredients and easy enough for beginners. It’s perfect for sandwiches or for dipping in soups or stews!
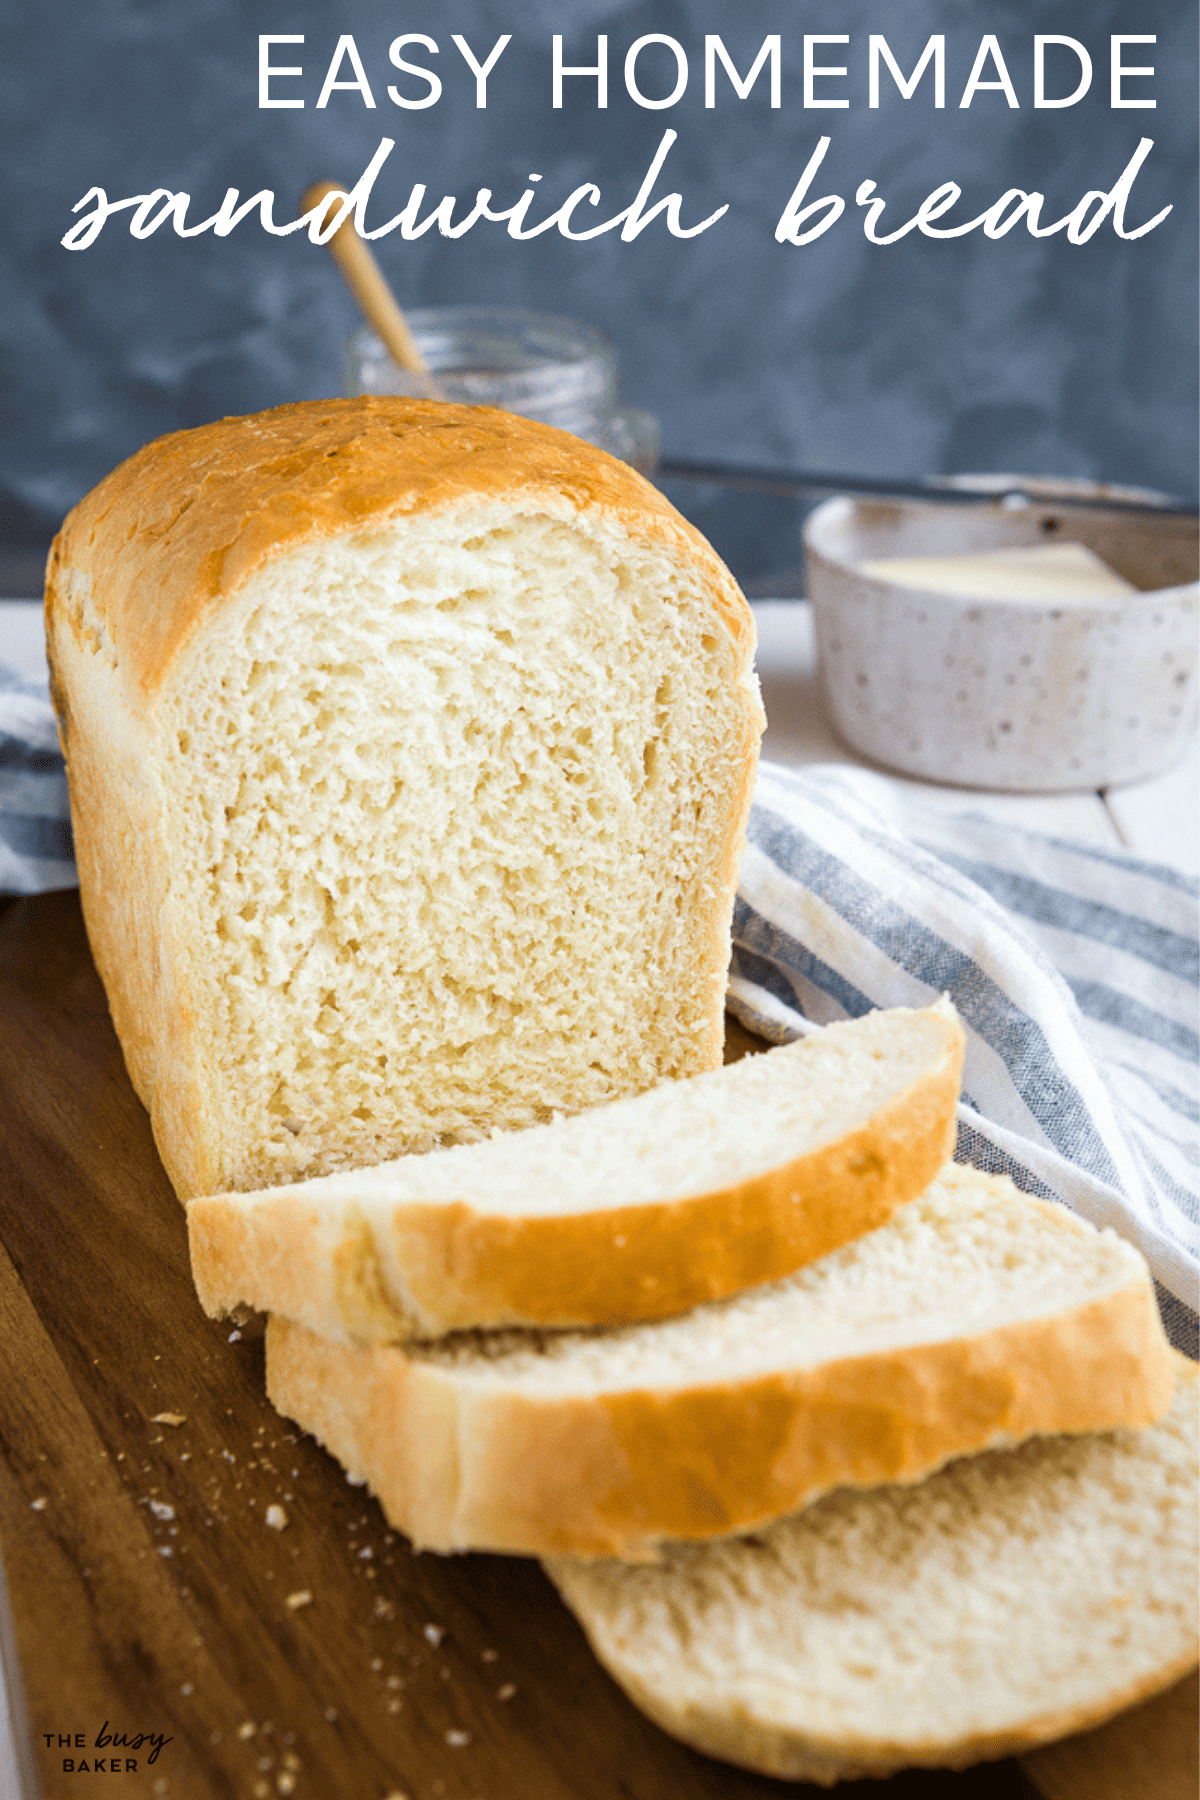
A good loaf of sandwich bread is one of the most useful things you can learn to bake at home. This Easy Sandwich Bread recipe makes the PERFECT soft, fluffy, and structured sandwich bread. It’s great for everyday meals, whether you’re making toast in the morning for breakfast before work, packing school lunches, or serving slices alongside soup or pasta. It has a tender crumb, a light golden crust, and slices beautifully for sandwiches.
What makes this recipe especially great is how easy and approachable it is for beginning bakers. The ingredients are simple pantry staples, the dough is soft and easy to work with, and the results are consistently reliable. This homemade sandwich bread is designed to be softer and more flexible than heartier, crusty artisan loaves so it holds sandwich fillings without tearing and stays tender for days on the counter, so you can use it throughout the week. Once you start baking your own sandwich loaves, it’s hard to go back to store-bought bread!
Looking for more sandwich bread? You’ll LOVE our Whole Wheat Sandwich Bread recipe and our Whole Grain Sandwich Bread recipe!

This easy sandwich bread recipe makes a classic soft sandwich loaf because it balances structure and moisture
Yeast breads like this one rely on gluten development to create their structure. As the dough is mixed and kneaded, the proteins in flour form a network that traps the gases produced by yeast. This is what helps the dough rise and creates the light, airy crumb filled with those small bubble holes inside the finished loaf.
The hydration level of the dough also plays an important role. A well-balanced dough is soft enough to rise easily but structured enough to hold its shape in a loaf pan. This creates the even-looking crumb texture and soft slices that make sandwich bread ideal for serving as toast and in sandwiches.
The slight sweetness from honey (or sugar) feeds the yeast and helps with browning in the oven as the bread bakes. Combined with proper kneading and rising time, it creates a loaf that’s perfectly tender, evenly textured, very easy to slice, and holds its shape even after slicing. It’s truly an AMAZING homemade sandwich bread in every way!

The secret to soft sandwich bread comes down to a few simple principles:
Too much flour is the most common cause of dense, dry bread. Spoon flour into your measuring cup and level it off instead of scooping it directly from the bag or container. Weighing your flour in grams is also a great way to ensure you don’t add too much or too little – aim for 125 grams of flour per cup the recipe calls for.
Warm liquid helps activate yeast, but if the water is too hot it can damage the yeast and prevent the dough from rising. Aim for water that’s just about body temperature.
Bread develops flavour and structure during rising. If the dough hasn’t doubled in size during the first OR the second rise, give it more time.
Proper kneading develops the gluten that gives sandwich bread its soft structure. Most of the time people under-knead homemade bread dough. Use a stand mixer to make it easier, or knead by hand for several minutes until the dough is smooth and very elastic.
The dough should feel soft and slightly tacky. Adding too much flour can make the loaf dry.
Cutting into warm bread releases steam too quickly and can make the crumb gummy. The bread continues to bake after it comes out of the oven so for the BEST texture, let it cool completely before slicing.

Time needed: 2 hours
- Activate the yeast.
Combine the warm water, yeast, and honey or sugar and allow the yeast to dissolve. This step helps ensure the yeast is active before mixing the dough.
- Build the dough.
Add the flour and salt gradually and mix until a soft dough forms. The dough should pull together but remain slightly soft.
- Knead, then knead some more.
Knead the dough until it becomes smooth and elastic. This step strengthens the gluten structure that allows the bread to rise properly.
- Allow the first rise.
Place the dough in a lightly greased bowl and let it rise until doubled in size. This stage develops both flavour and structure.
- Shape the loaf.
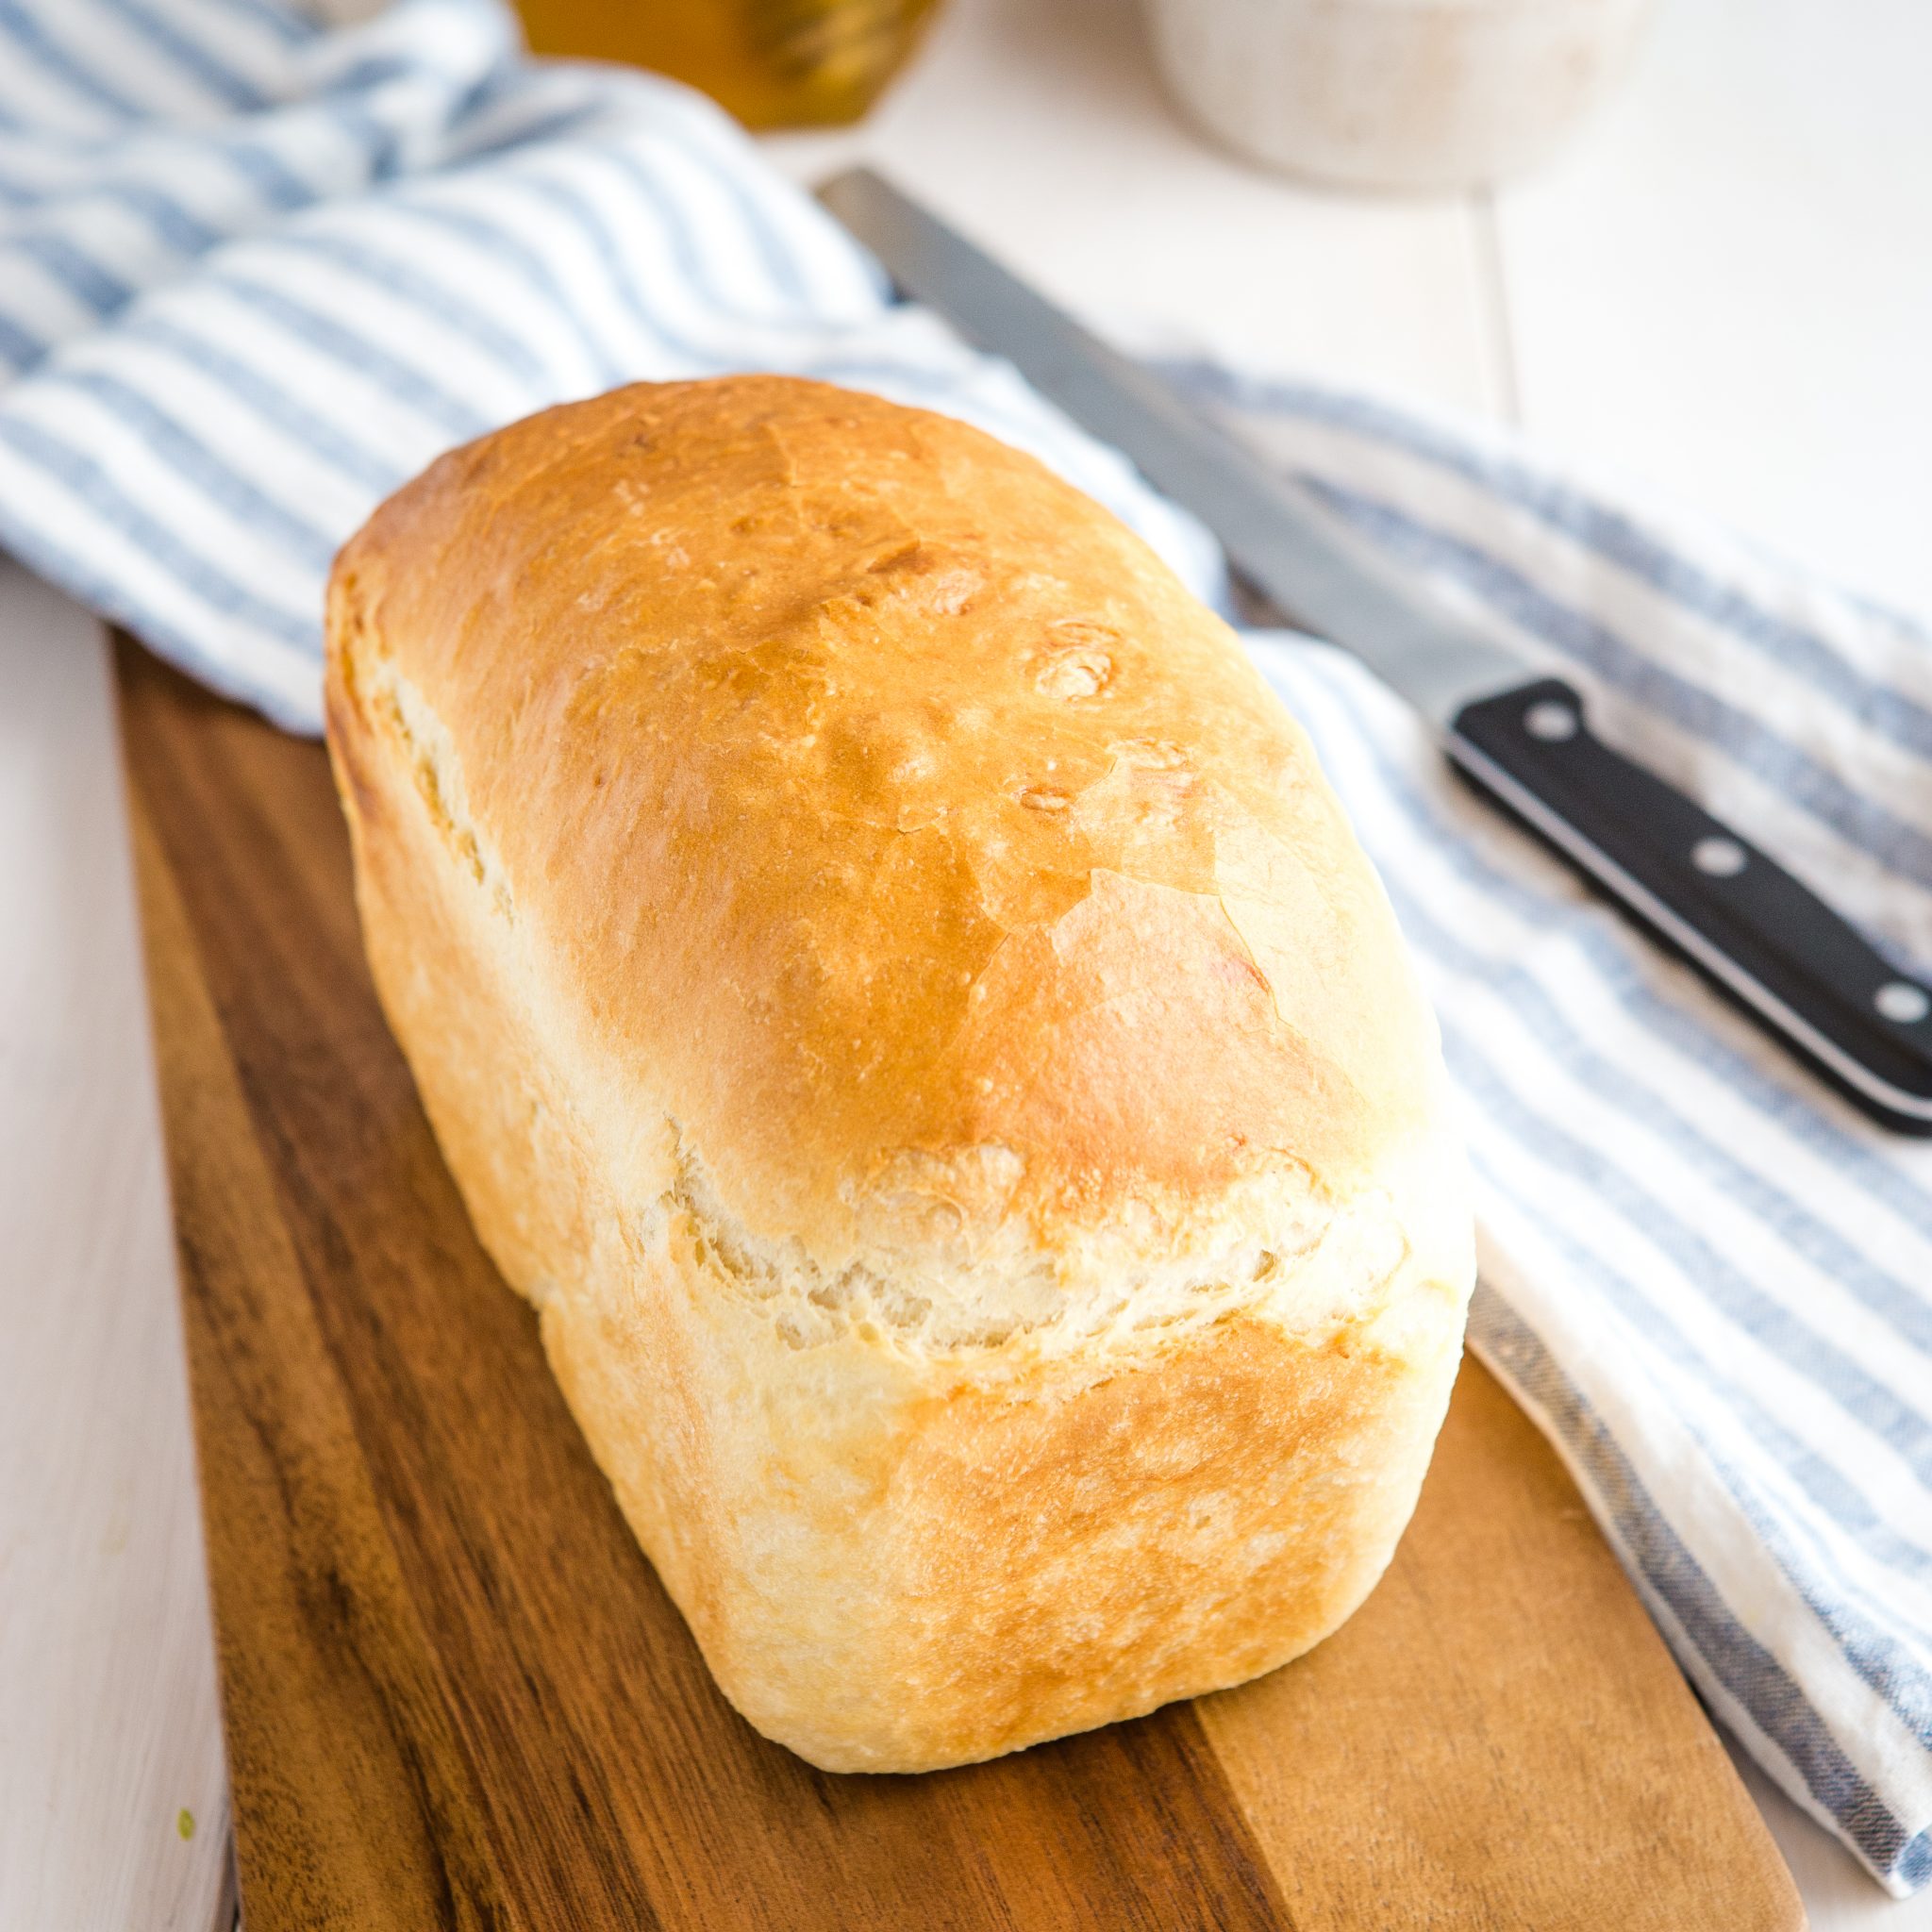
Gently shape the dough into a loaf that fits your pan. Shaping helps create an even crumb and consistent slices. Follow the guide provided below for exactly how to shape the perfect sandwich bread loaf.
- Let it rise again.
Allow the shaped loaf to rise until it crowns just above the rim of the pan.
- Bake until golden.
Bake until the loaf is golden brown and sounds hollow when tapped on the bottom.
There’s one trick I always use when making sandwich bread that makes it SO easy to shape the loaves to look just like sandwich bread from a bakery. When you punch down the dough after the first rise, lightly flour your work surface and let the dough rest on the work surface in a ball for about 5-10 minutes. This will allow the gluten in the dough to relax, and it’ll make the dough SO much softer and easier to shape! It’s a simple trick that works every time!
To shape the loaf perfectly for sandwiches, follow these steps:
- After letting it rest, shape the dough into a rectangle (with the short end about the same length as the long side of your loaf pan, and the longer length about 3-4 times the width of your loaf pan).
- Fold one short end into the middle and press with your fingers to seal.
- Fold the other short end into middle and press with your fingers to seal.
- Pinch the sides and pull them in slightly.
- Flip the whole thing over and tuck the ends under again.
- Place the loaf into the greased loaf pan and let rise a second time.
After making homemade bread for so many years I’ve learned that using the right loaf pan makes all the difference. A large, high-sided loaf pan like this one is ideal for sandwich bread (paid link). It’s non-stick, easy to clean, and it has high sides which creates the perfect loaf shape for sandwiches.

- Add whole wheat flour. Substitute up to half of the flour with whole wheat flour for a heartier loaf. Try my favourite Whole Wheat Sandwich Bread for the BEST whole wheat variation on this original recipe.
- Make a cinnamon raisin version. This cinnamon raisin swirl bread is my favourite variation of this easy sandwich bread with a simple cinnamon swirl!
- Add seeds and grains. Sunflower seeds, sesame seeds, or flax seeds add texture and nutrition. Try my favourite Whole Grain Sandwich Bread for a high-fibre version of this orginal recipe.
- Turn it into dinner rolls. Divide the dough into small portions and bake in a baking dish for soft rolls.

At room temperature: Store the loaf wrapped or in a bread bag for up to three days.
Refrigerator: Refrigeration can dry bread out, so room temperature storage is usually best.
Freezer: Slice the bread first, then freeze slices in a sealed bag for up to three months.
Reheating: Frozen slices can go straight into the toaster.

Why didn’t my bread dough rise?
Your yeast may have been expired, or the liquid may have been too hot and damaged the yeast, preventing it from rising.
Why is my sandwich bread dense?
Dense bread usually happens when you add too much flour or don’t knead it long enough.
Can I make this bread without a stand mixer?
Yes. The dough can easily be kneaded by hand.
Can I let the dough rise overnight?
Yes, but be sure to rise the dough in the fridge only for the first rise. A slower rise in the refrigerator can improve flavour, but rising the loaves in the fridge once you’ve formed them can cause the loaves to be misshapen with large holes throughout.
Why is my crust too hard?
Over-baking at too high a temperature or baking too long can create a thicker, harder crust. To soften the crust, brush with a little melted butter right after baking.
What pan size should I use?
A standard 2-pound loaf pan works best for sandwich bread to create even slices.
Why did my loaf collapse in the oven?
This usually means the dough rose too long before baking. Over-proofed dough loses strength and collapses.
Why is my bread gummy inside?
The bread may have been sliced too soon or slightly underbaked. Always allow the loaf to cool completely before cutting.
Watch the video below to see exactly how I make this recipe. You can find more delicious recipe videos on my YouTube channel
If you made this, share a photo!
Are you trying this recipe? Use the comment form below to share your take; now with support for image uploads and comment voting!
Easy Sandwich Bread
Recipe: Equipment
Recipe: Ingredients
- 2 1/2 cups lukewarm water
- 1 tablespoon instant yeast (or use active dry yeast)
- 1 tablespoon honey or other vegan honey substitute, or sugar
- 6 1/4 cups all purpose flour
- 1 teaspoon salt
Egg Wash (optional):
- 1 egg
- 1 tablespoon water
Recipe: Instructions
- Add the water, yeast, and honey to the bowl of your stand mixer and mix with a fork just until the yeast is moistened and the honey is dissolved.
- Let sit for about 4-5 minutes.
- Add the flour to the bowl of the stand mixer on top of the water and yeast mixture and then add the salt.
- Turn the mixer on low speed and mix until a soft dough forms.
- Continue mixing on medium-low speed and let the mixer knead the dough for about 4 minutes. The dough should have formed a soft ball and the sides of the bow should be clean. Only if the dough is too wet and sticking to the side of the bowl, add a tablespoon or two more flour as it kneads.
- Shape the dough with your hands into a ball and place it back into the bowl (oil the bowl, if you wish). Cover the bowl with plastic wrap and let rise for 60 minutes in a warm, draft-free place.
- Grease 2 loaf pans with butter or a high-quality non-stick baking spray.
- After the dough rises, punch it down and turn it out onto a floured work surface and divide it in half.
- Roll each piece of dough into a ball with your hands, eventually shaping it into an oblong round shape.
- Place each piece of dough into one of the greased loaf pans and cover the pans with a clean kitchen towel.
- Let them rise again in a warm, draft-free place for about 20 minutes.
- Preheat your oven to 400℉ (200℃).
- Whisk together the egg and water to make the egg wash (if using).
- Brush the egg wash over the tops of the loaves and bake at 400℉ (200℃) for about 25-35 minutes, until the tops of the loaves are a deep golden brown colour.
- After baking, remove from the pans and place the loaves on a wire rack to cool completely.
- Slice after the loaves have cooled completely to room temperature and use to make your favourite sandwiches or serve alongside soups or stews.
Recipe: Notes
To shape the loaf perfectly for sandwiches, follow these steps:
- After letting it rest, shape the dough into a rectangle (with the short end about the same length as the long side of your loaf pan).
- Fold one short end into the middle and press with your fingers to seal.
- Fold the other short end into middle and press with your fingers to seal.
- Pinch the sides and pull them in slightly.
- Flip the whole thing over and tuck the ends under again.
- Place the loaf into the greased loaf pan and let rise a second time.
Recipe: Nutrition
Notice: Nutrition is auto-calculated, using Spoonacular, for your convenience. Where relevant, we recommend using your own nutrition calculations.
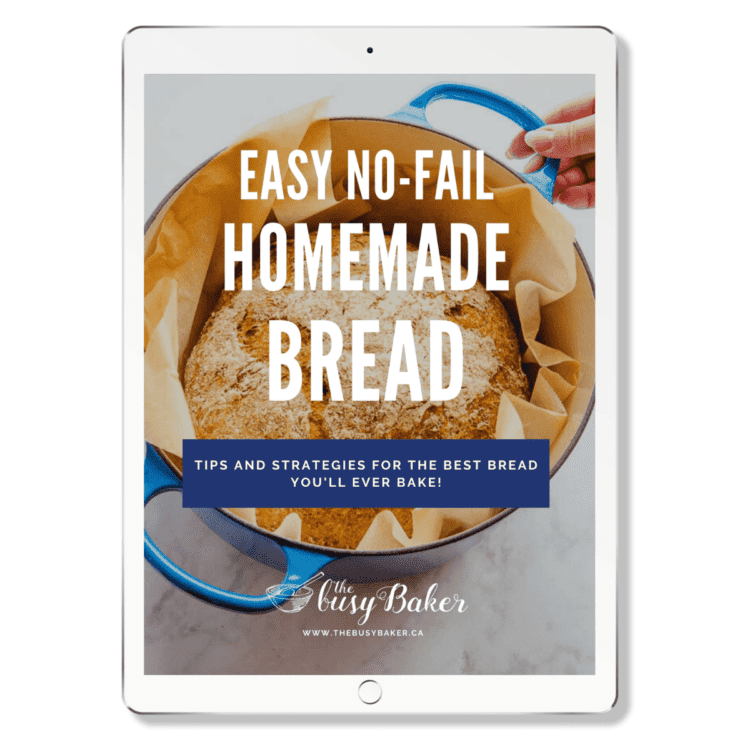
EASY NO-FAIL HOMEMADE BREAD RECIPES AND BAKING TIPS
Get my easy no-fail bread baking e-cookbook!
Hii! I’m new to bread baking and only have a glass bread dish. How should I adjust the cooking temp and time?
No, you should be fine using it. Happy baking 😊
Just baked 2 loaves. They are delicious! Thank you for the recipe and the video. I will make this again.
This recipe is amazing. I make break almost daily for my toddlers, i LOVE that this recipe is automatically for two loaves, i swapped honey for maple syrup and it is SOOO good!! i’ll be using this recipe from now on
Yeah, great, except not everyone has a stand mixer….
Good news! This bread absolutely can be made without a mixer, kneading by hand. While this recipe doesn’t include the directions for such, our Easy Whole Grain Sandwich Bread does in the recipe card! Those directions will transfer over to this recipe Easy White Sandwich Bread.
My husband has stopped buying bread. He says he likes mine better. This is a typical pair for me. One pretty and one Frankenloaf. 😆
Love how easy the recipe is, it’s currently baking and I just realized I forgot the salt! Hopefully it’s not too damaging. I’m excited to try it though. The house smells amazing!
Thanks for your feedback Hannah!
How long is the bread good for in an airtight container on the counter?
It keeps well for 3-5 days.
Perfection. So fast and easy amd absolutely delicious. This will be a new staple.
Thanks so much for the comment, so happy to hear you like the recipe!!
Pretty happy with this as it was my first try at making bread.
That’s so cool! Welcome to the homemade bread universe! Thank you for taking the time to leave your feedback.
Fantastic recipe, lovely fresh bread for absolute minimal effort.
My first loaves turned out well, but I decided to make a few adjustments for my second batch.
1 – I multiplied the recipe by 1.5 quantities still for 2 pans, as I noticed in my first batch that a standard sweet loaf pan (which I feel are more widely used in home kitchens than bread pans) widens out much more than a standard bread pan, so my first loaves turned out shorter despite rising well and having a soft crumb.
This adjustment made the loaf nice and tall and proportional.
2 – Bread Improver. I normally pass up on this if I don’t have it but had it on hand. I added half a tablespoon to my 1.5X batch. The crumb in this batch turned out denser and softer again, very similar to bakery loaves.
3 – 1 tablespoon of oil. There’s no particular reason I did this, mostly instinct as most of my other bread recipes use a tablespoon or so of oil 🤣 I did notice it came away from the sides of the bowl faster and was very supple.
4 – Loaf pan of water in the oven. I put an extra loaf pan in the bottom of the oven when preheating it. I prefer a softer crust so this is personal preference.
Hopefully this is helpful if any of my adjustments fixes an issue someone else has! Happy baking ❤️
Wow, that’s very insightful! Thanks Kayla. I must try some of those ideas for my own baking. Thanks for taking the time to leave your feedback.
First time making sandwich bread. This bread is amazing! I cheat and use dough setting on my bread machine.
My house smells so good too!
Thanks so much for the comment Eileen, so happy to hear you like the recipe!!
My first time baking sandwich bread so I was nervous. It turned out amazing. Easy for a beginner, beautiful, soft and delicious! Will be checking out your other recipes!
Thanks so much for the comment Lyndsey, so happy to hear you like the recipe!!
We tried it with both Bread Flour and AP Flour. The Bread Flour one is the winner for perfect airy goodness and rises at least a quarter higher than the AP Flour and also turns out with a beautiful golden brown crust (it’s the one on the left). They both were delicious though! One tip: Make sure your bowls that you rise in are at room temp or a little warm when you add the ingredients, it will really help the first rise. For the second rise in the bread pan, make sure the bread pans are warm – not hot.
Thanks for your feedback, Jen! The loaves look amazing.
I can’t seem to get this right… This is the second recipe I’ve tried and it’s the same problem. I don’t have a stand mixer. I have to mix by hand. The dough comes out tough and Its so hard to kneed. The dough rips instead of stretching. When I bake it, the bread comes out so dense. What am I doing wrong? It’s hard to think I’m over kneading if it’s hard to do that right from the start. I’m using bread flour and Fleischman rapid rise instant yeast. When I test the yeast it only foams a little bit. Is my yeast bad? I just bought it and it’s well within the expiration date…
Typically a dense bread and a tough dough are a result of not enough kneading, which is explainable if you’re kneading by hand. The dough is not really stretchy before the first raise . However, you might want to try our no knead bread recipe https://thebusybaker.ca/quick-and-easy-no-knead-crusty-bread/ Hope this helps!☺️