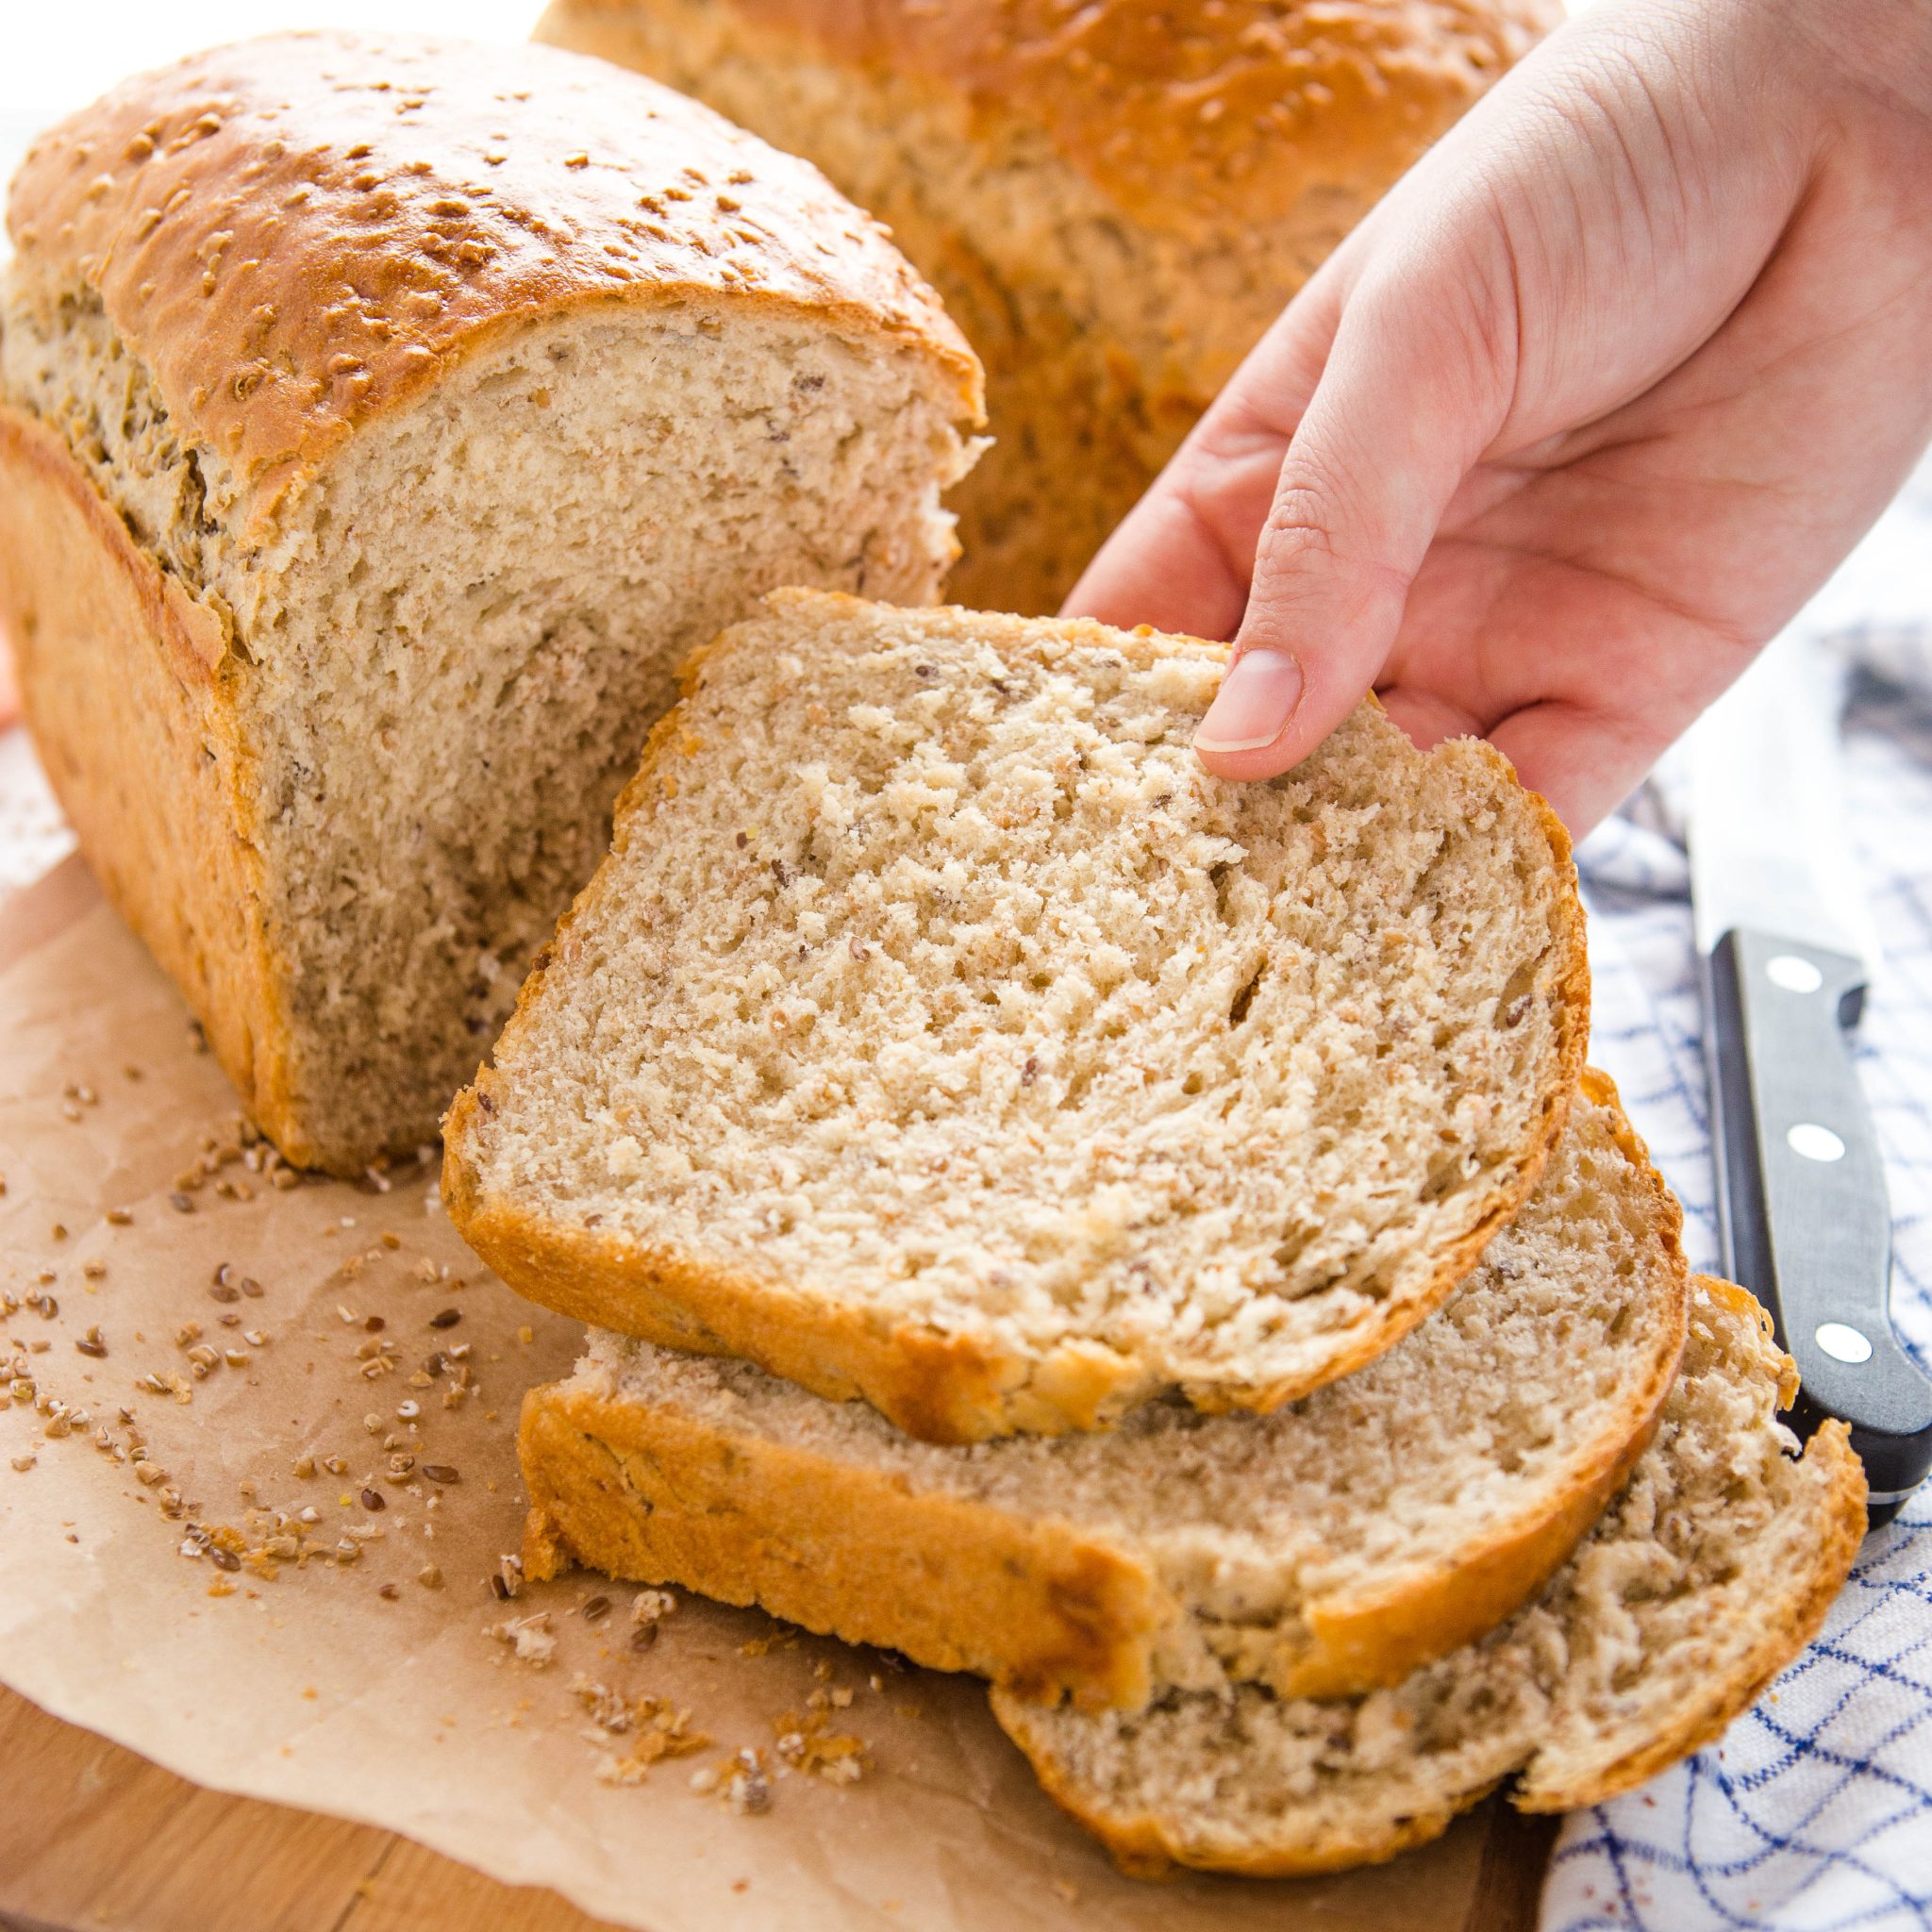
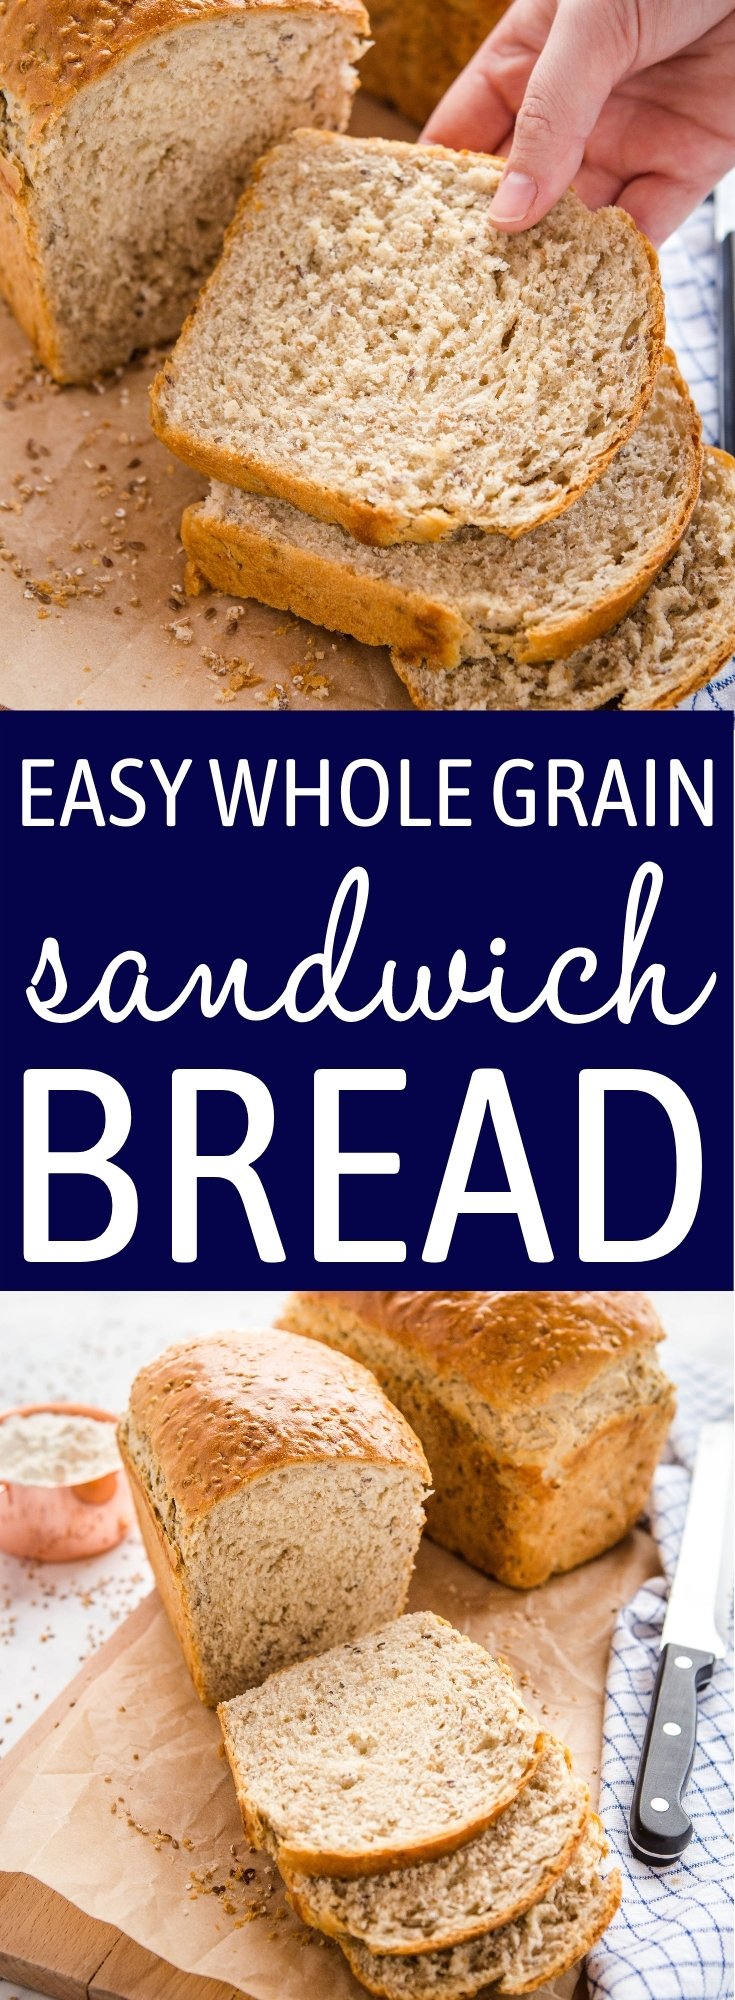
This Easy Whole Grain Sandwich Bread is a rustic-looking sandwich loaf that’s perfectly soft and fluffy, full of fibre and whole grain goodness and perfect for school lunches or serving with your favourite soups or stews. 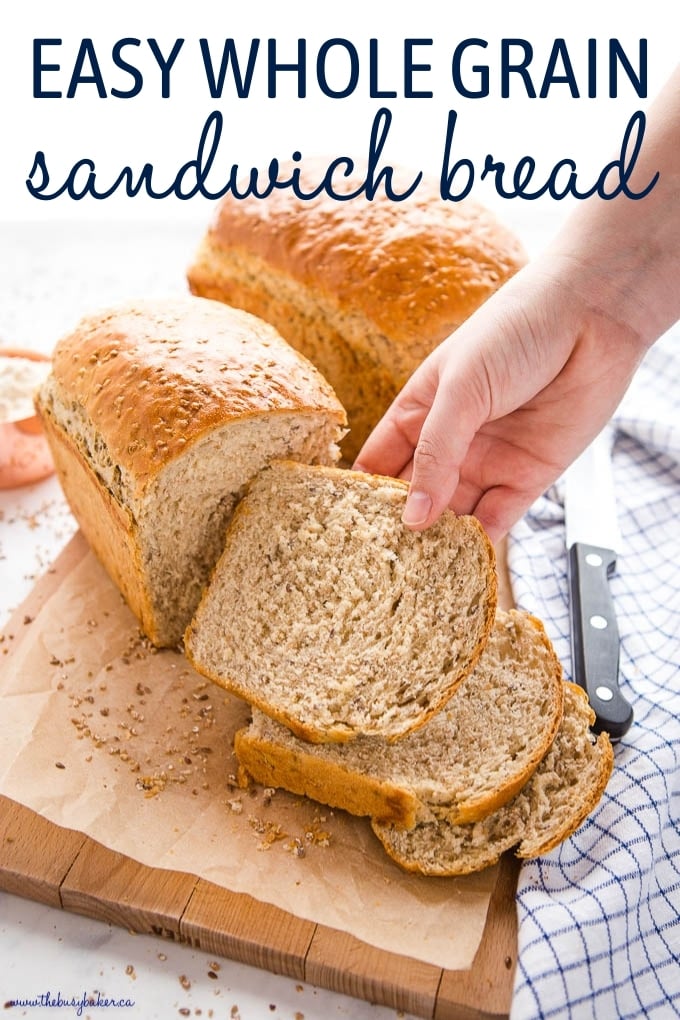
NEVER MISS A POST! FOLLOW ME ON:
FACEBOOK | PINTEREST | INSTAGRAM | TWITTER
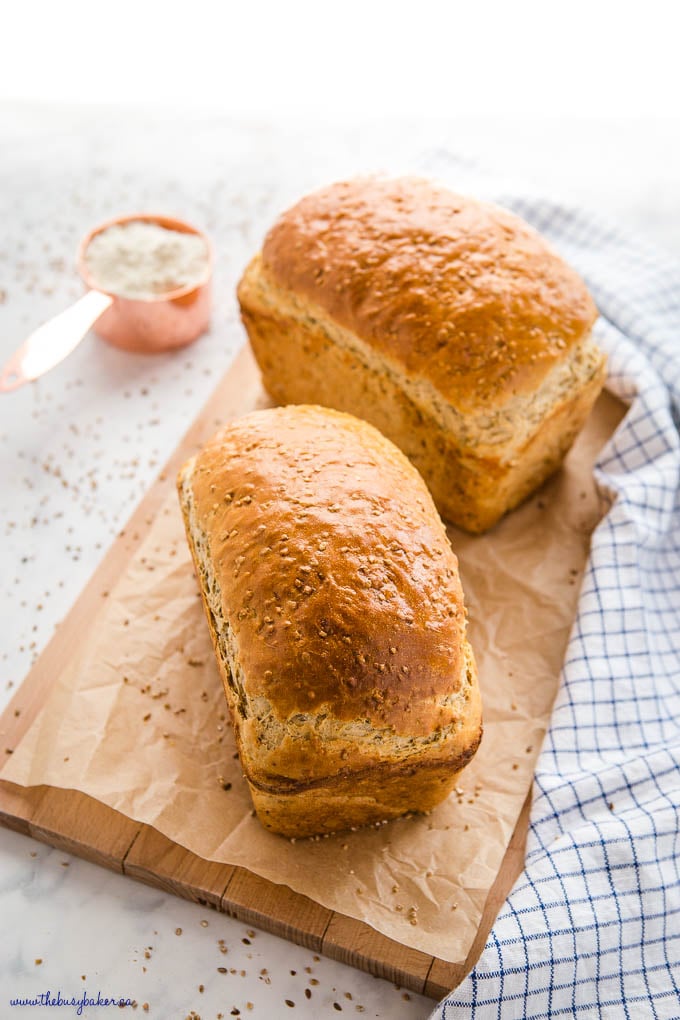
**I originally posted this recipe in February 2015. It was one of the first recipes I ever posted, so I’m re-sharing it today with a few small changes to make it even tastier, fluffier, and easier to make. And new (and improved) photos, of course!
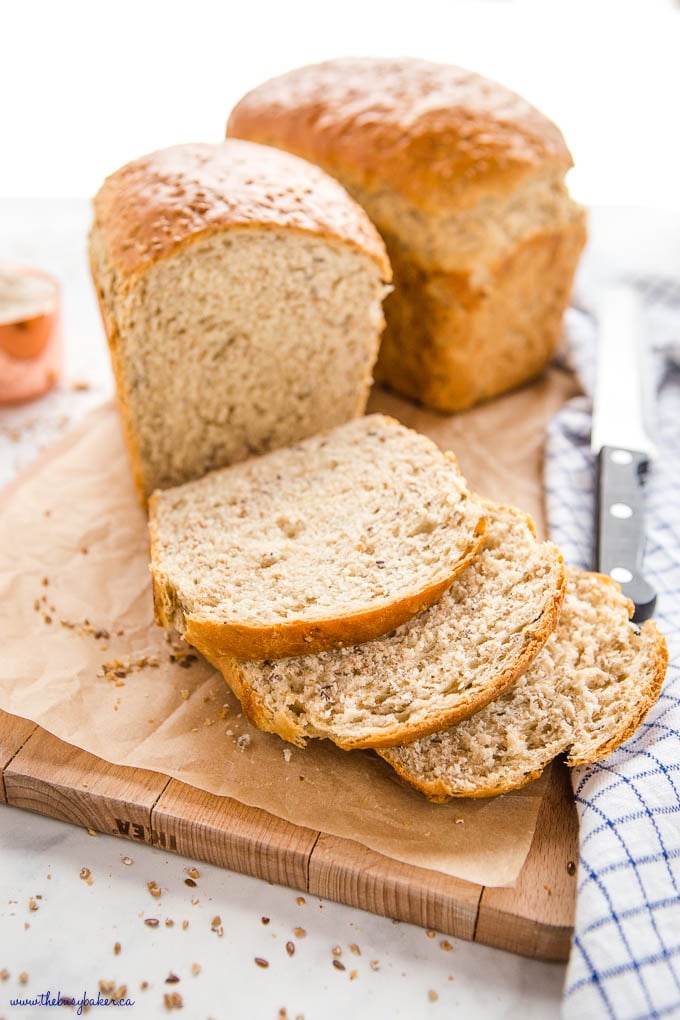
This Easy Whole Grain Sandwich Bread is the perfect healthy sandwich bread that’s packed with fibre. We love using it for making sandwiches for school lunches, and it’s absolutely delicious dipped in your favourite homemade soup or served along some hearty stew. Trust me, you’re going to LOVE it!
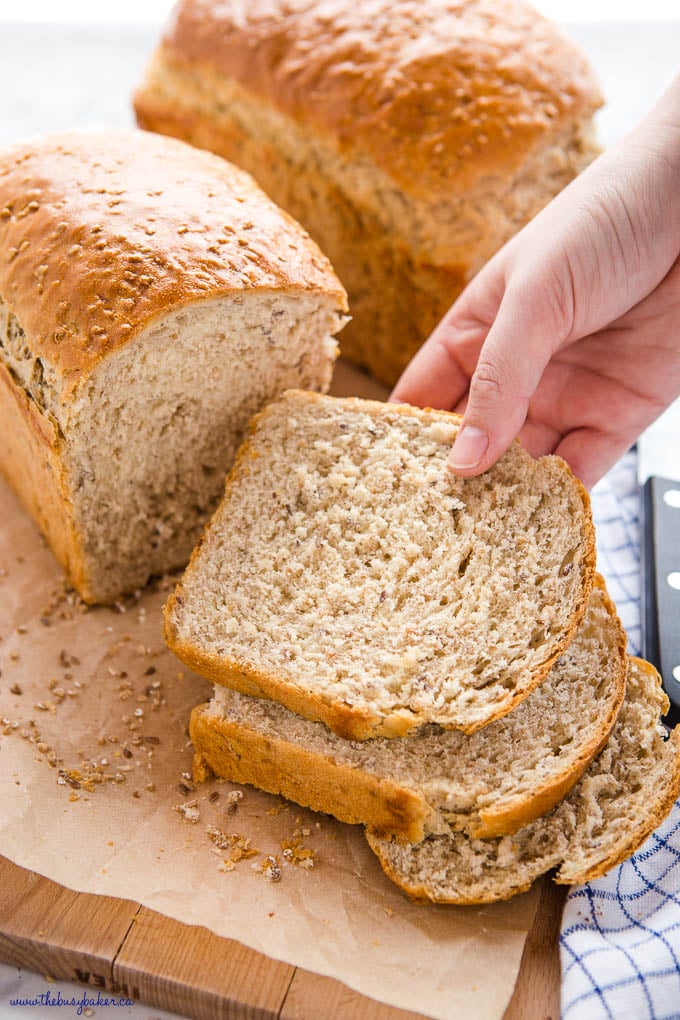
We seem to go through a fair amount of bread in our house (especially since my husband’s snack of choice is a peanut butter and jam sandwich) and so several years ago I made a commitment to skip the bread isle at the grocery store and develop a simple, healthy recipe that I could build into my weekly food prep routine. This Easy Whole grain Sandwich Bread Recipe is so simple to make, very forgiving, easy to modify (according to the ingredients you have on hand) and it freezes well. It’s perfect for beginners!
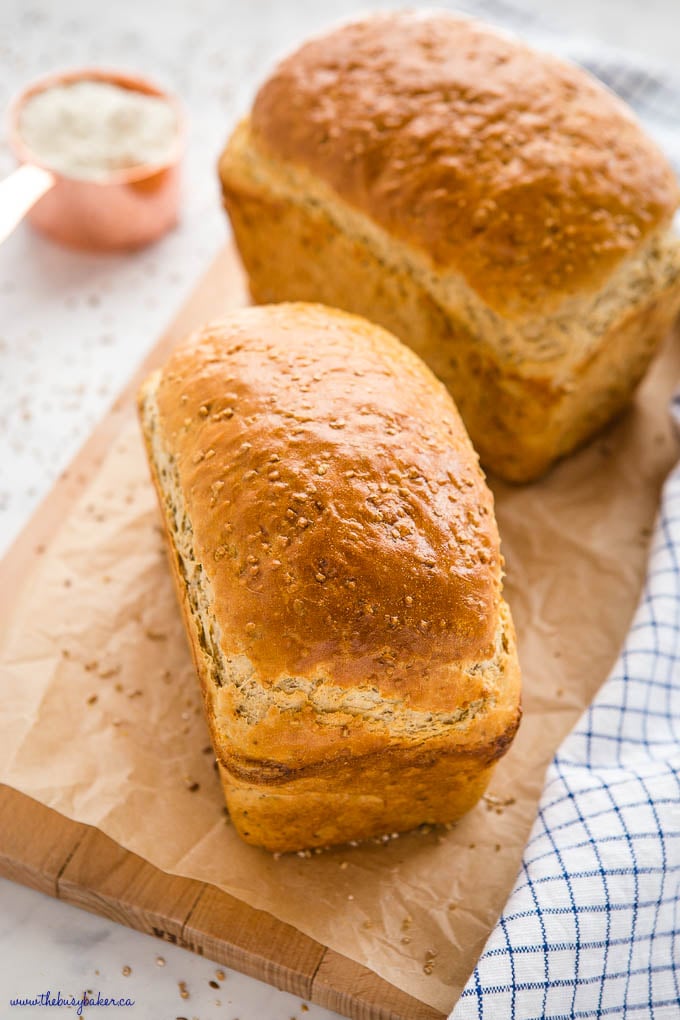
How to Make Soft and Fluffy Whole Grain Bread
- Use part all purpose flour and part whole wheat flour. Whole wheat flour has a lower gluten density than white flour which means bread made with all whole wheat flour doesn’t rise as quickly or as high, and it can tend to be more dense. Using part all purpose flour helps the bread rise well and gives it a great texture.
- Add some vital wheat gluten (a concentrated gluten flour). Adding 1 tablespoon for about every 3 cups of whole wheat flour in the recipe will help the bread rise beautifully and make it nice and fluffy.
- Soak your whole grains first. Soaking your whole grain mixture before you add it is a great way to soften the grains.
- Use honey instead of sugar. Mixing in a few tablespoons of honey with the yeast and water can also help keep your whole grain bread nice and soft.
- Replace the water with milk. Using milk instead of water makes the dough more tender and the crumb softer.
- Let the dough rest for 15-20 minutes or so before kneading. This will give the gluten time to develop a bit and help with the rise.
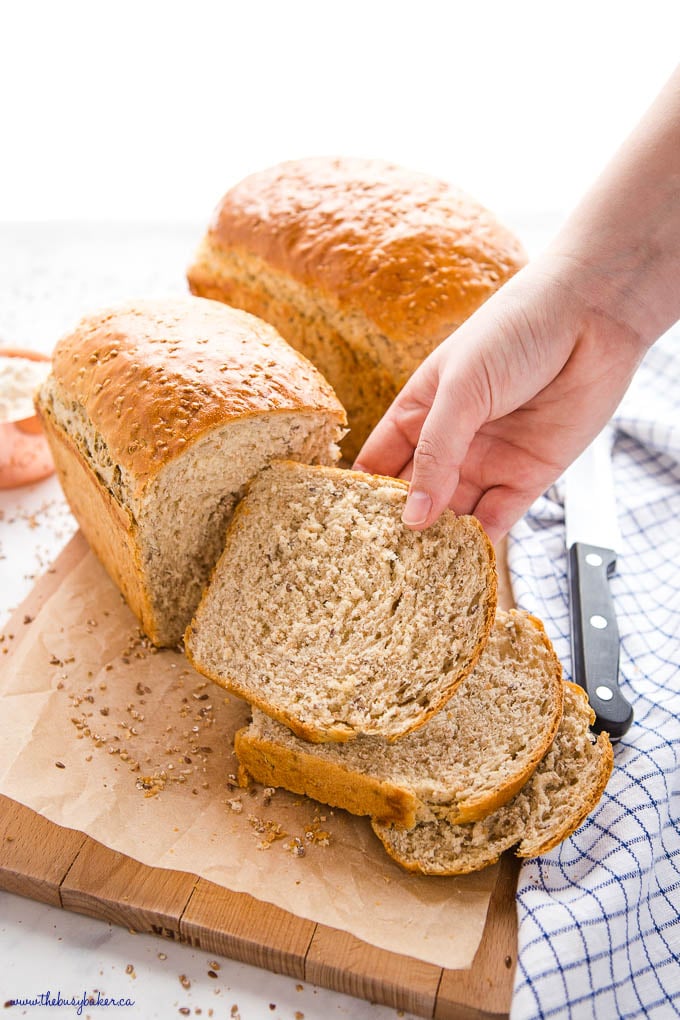
How to Shape Sandwich Bread
There’s one trick I always use when making sandwich bread that makes it SO easy to shape the loaves to look just like sandwich bread from a bakery. When you punch down the dough after the first rise, flour your work surface and let the dough rest on the work surface in a ball for about 5-10 minutes. This will allow the gluten in the dough to relax, and it’ll make the dough SO much softer and easier to shape! It’s a simple trick that works every time!To shape the loaf perfectly for sandwiches, follow these steps:
- After letting it rest, shape the dough into a rectangle (with the short end about the same length as the long side of your loaf pan).
- Fold one short end into the middle and press with your fingers to seal.
- Fold the other short end into middle and press with your fingers to seal.
- Pinch the sides and pull them in slightly.
- Flip the whole thing over and tuck the ends under again.
- Place the loaf into the greased loaf pan and let rise a second time.
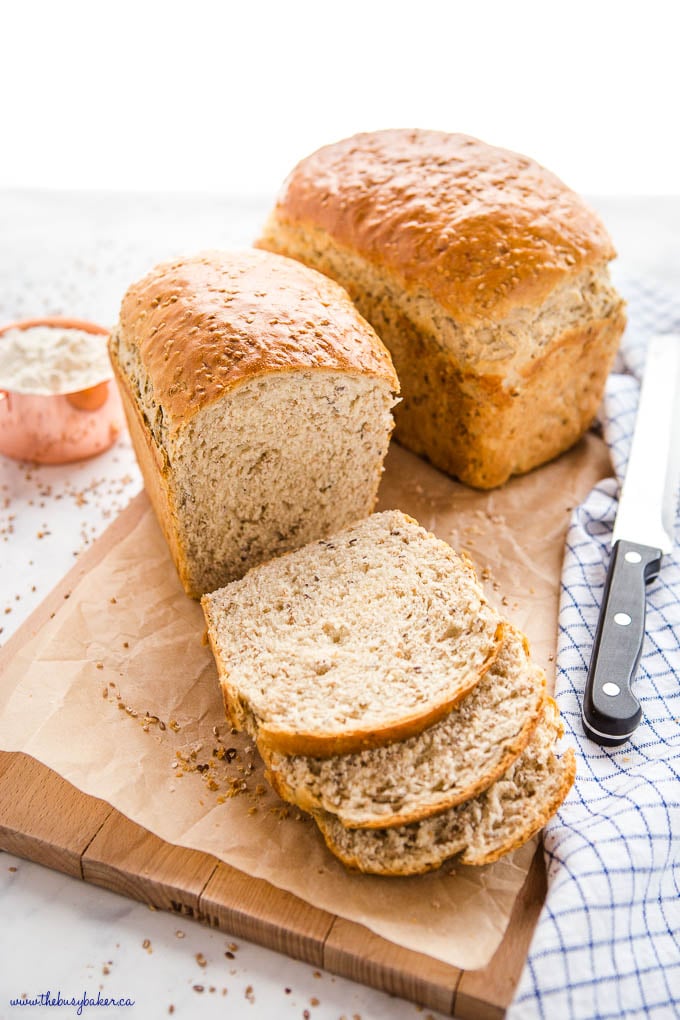
Ingredients for Whole Grain Bread
- lukewarm water
- yeast
- honey
- milk
- vegetable oil
- egg
- salt
- whole wheat flour
- all purpose flour
- multigrain mix (I use Red River Cereal that I keep in a bag in my freezer, specifically for this purpose)
- approximately 1/2 cup extra flour for kneading (if necessary)
- egg and water (to make an egg wash)
- butter for greasing the loaf pans
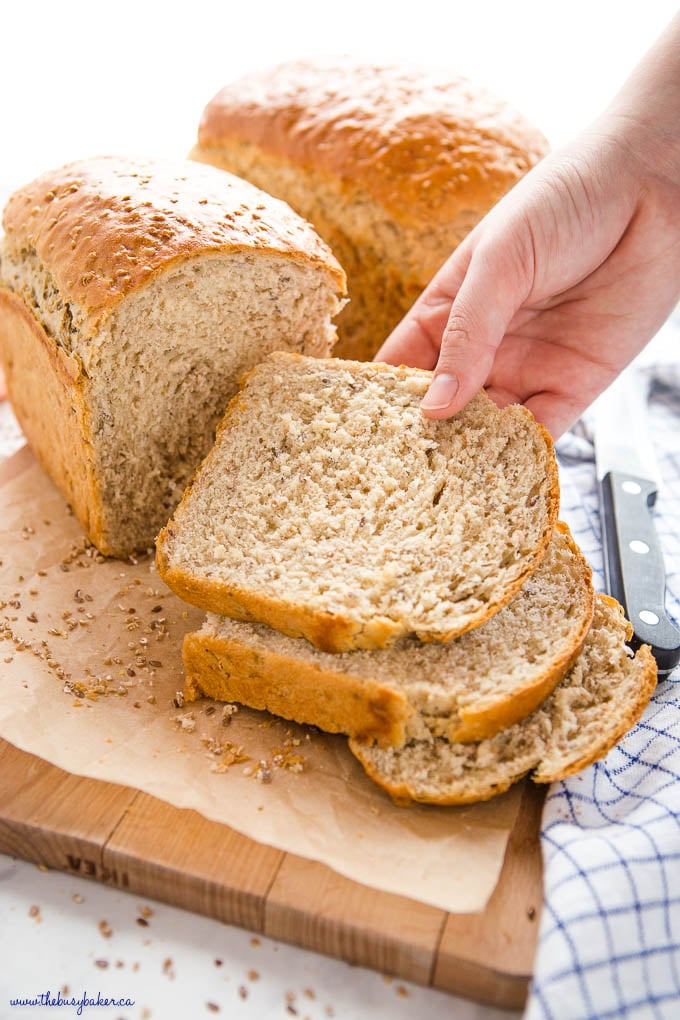
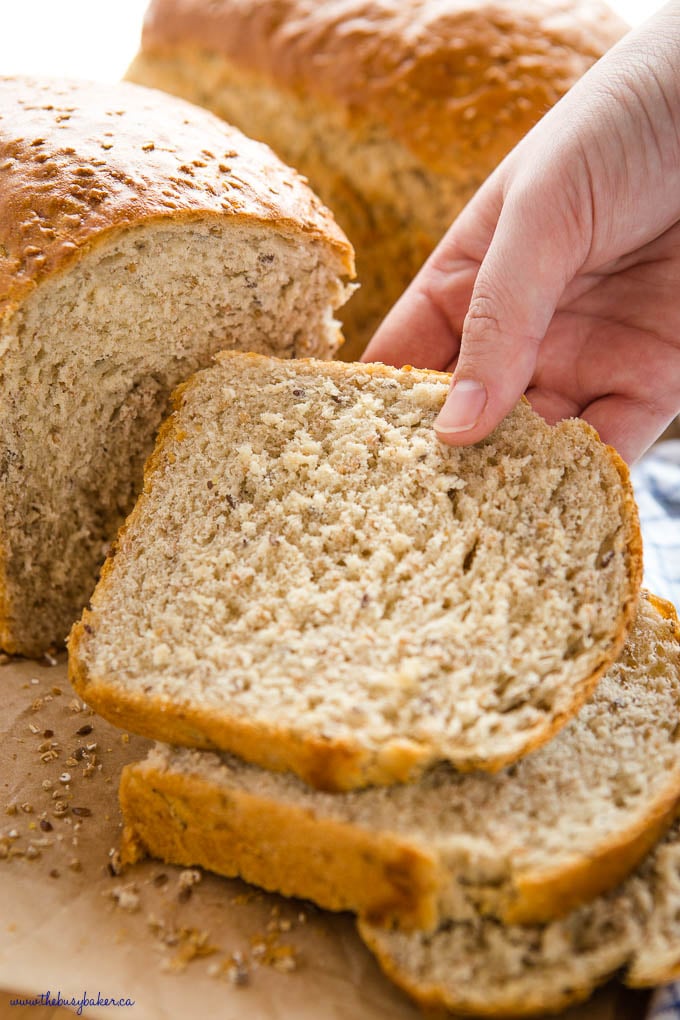
I hope you enjoy this recipe, and let me know how the bread-making process goes for you – Leave me a comment below!
KITCHEN TOOLS I RECOMMEND:
Looking for even more delicious bakery-style bread recipes?
-
- No Knead Honey Oat Artisan Bread
- No Knead Jalapeno Cheese Artisan Bread
- No-Knead Cranberry Honey Walnut Artisan Bread
- No Knead Whole Wheat Artisan Bread
- Quick and Easy No Knead Crusty Bread
- Easy White Sandwich Bread
- Garlic Butter Dinner Rolls
- Healthier Cornbread
- Pumpkin Cornbread Muffins
- Easy No Knead Artisan Bread
- Easy No Knead Cinnamon Raisin Artisan Bread
Recipe Video
Watch the video below to see exactly how I make this recipe. You can find more delicious recipe videos on my YouTube channel
If you made this, share a photo!
Are you trying this recipe? Use the comment form below to share your take; now with support for image uploads and comment voting!
Easy Whole Grain Sandwich Bread
This Easy Whole Grain Sandwich Bread is a rustic-looking sandwich loaf that's perfectly soft and fluffy, & full of fibre & whole grains.
Recipe: Ingredients
- 1/4 cup lukewarm water
- 1 tablespoon active dry yeast
- 1 tablespoon liquid honey
- 2 cups lukewarm milk
- 2 tablespoons vegetable oil
- 1 egg
- 2 teaspoons salt
- 4 cups whole wheat flour
- 2 cups all purpose flour
- 1 cup multigrain mix (like Red River Cereal or other multigrain cereal mix containing cracked wheat, rye, and flax seeds)
For the egg wash (optional):
- 2 tablespoons water
Recipe: Instructions
Making the Dough:
- Add the water to a liquid measuring cup and add the yeast and honey. Stir to combine and set aside for a few minutes.
- To the bowl of your stand mixer fitted with the dough hook, or to a large mixing bowl (if you plan to make the bread by hand), add the milk, oil, egg and salt and whisk together until combined.
- Add the yeast mixture to the milk mixture and add the flours and multigrain mix on top (you can soak the multigrain mix for a few minutes in hot water first, if you want, but be sure to drain it well before adding. This step is not necessary).
- Stir everything together well until a dough forms. Turn the dough out onto a floured work surface if making by hand, or knead the dough in your stand mixer with the dough hook attachment until the dough is smooth and elastic.
- If making by hand, flour your hands and begin the kneading process. When kneading bread dough, always start by putting your hand under the edge of the dough farthest away from you and pulling it up and toward you. Then, push it down and away from you, and into the rest of the dough. Keep repeating this motion while turning the dough 90 degrees clockwise every few kneads. It's also important to scoop up the doughy and floury bits on the counter and knead them into the dough as well. The goal is to end up with a smooth and elastic ball of dough.
- Add as little extra flour as possible when kneading, but continue kneading for about 5-10 minutes until the dough is very smooth and elastic. Under-kneading is a very common problem when making bread by hand and it results in loaves that are rock hard on the outside, too dense on the inside, and don't get enough height in the oven. It's almost impossible to over-knead bread when you're kneading by hand because it's such hard work. So if you think you've kneaded long enough, keep kneading for at least another few minutes.
- Return the dough to its bowl, cover it with plastic wrap and let it rest in a warm, draft-free place until it doubles in size (about 1 hour and 20 minutes should do).
- Once the dough has risen, grease 2 loaf pans with butter and set them aside.
- Flour your hands again and punch the dough down until it deflates completely. Divide the dough evenly into 2 pieces and let them rest on the counter for about 5-10 minutes before shaping into loaves. This will make the shaping process easier as it allows the gluten to relax and makes the dough softer and easier to work with.
Shaping the Loaves:
- After letting it rest, shape the dough into a rectangle (with the short end about the same length as the long side of your loaf pan).
- Fold one short end into the middle and press with your fingers to seal.
- Fold the other short end into middle and press with your fingers to seal.
- Pinch the sides and pull them in slightly.
- Flip the whole thing over and tuck the ends under again. Place the loaf into the greased loaf pan.
Second Rise and Baking:
- Preheat your oven to 400 degrees Fahrenheit. Place the shaped loaves in their pans under a clean tea towel (I have a few I reserve just for this purpose) and let them rise for 25 minutes.
- Check them after 15 minutes, to make sure they haven't over-risen. If they're ok, wait at least another 10 minutes before checking again. They should be larger but not so large that they're overflowing the pans.
- This second rise is very important. If the loaves under-proof they'll be dense and chewy. If they over-proof, they'll have large holes (especially right under the crust) and they'll fall apart easily.
- Bake the loaves at 400 degrees for about 20-25 minutes. Because every oven is different, watch the loaves after 18 minutes to ensure they're not becoming too brown on top.
- Let the loaves cool in their pans for about 5 minutes before turning them out onto a cooling rack to cool completely.
- As always, the loaves will continue to bake on the inside even after you've removed them from the heat of the oven, so it's important to resist the urge to cut into them until they have cooled almost completely.
Recipe: Notes
Each loaf yields about 10 good slices of sandwich bread, and since this recipe makes 2 loaves it yields about 20 slices in total.
This bread freezes well in an airtight bag or container for up to 2 months. Store it at room temperature in an airtight bag or container for up to 3 days.
Recipe: Nutrition
Nutrition Facts
Easy Whole Grain Sandwich Bread
Amount Per Serving (1 slice)
Calories 185
Calories from Fat 27
% Daily Value*
Fat 3g5%
Saturated Fat 2g13%
Trans Fat 1g
Cholesterol 11mg4%
Sodium 247mg11%
Potassium 166mg5%
Carbohydrates 34g11%
Fiber 4g17%
Sugar 2g2%
Protein 6g12%
Vitamin A 54IU1%
Vitamin C 1mg1%
Calcium 39mg4%
Iron 2mg11%
* Percent Daily Values are based on a 2000 calorie diet.
Notice: Nutrition is auto-calculated, using Spoonacular, for your convenience. Where relevant, we recommend using your own nutrition calculations.

if you are looking for good loaf pans, I finally broke down and bought the "cake boss" ones from canadian tire. They are the best loaf pans I have ever used and nothing ever sticks in them! You just have to keep your eyes open for the sales. They go on 50% off now and then.
Thanks for the tip! I actually inherited my grandma's loaf pans (some are metal, some are glass, which I prefer anyhow) and I love using them because they're all mismatched and remind me of her and all the times we made bread together. And I've never had issues with anything sticking!
I would like to try making this in my bread machine- I know. It’s super handy as I work appropriately 65 hours a week. How would i convert this down to a single loaf?
Simply halve the recipe for a single loaf.
Can I half the recipe?
Yes! 🙂
Can this recipe be used to make dinner rolls?
I’ve never tried this, but I suppose you could try!
I used Red River Cereal in bread and it was too hard, like having grit in the bread. I let it soften with liquid and it turned into porridge and that made the bread have a weird texture. Any suggestions and thanks in advance.
I’d recommend softening it just a little bit with water first and draining it really well. We don’d find it too hard or gritty, especially if the loaf rises for over an hour.
Can this recipe be adapted for a bread machine?? It looks delish!!
I can’t say, as I’ve never actually done this. I’d suggest trying a similar recipe in your bread machine, or finding a recipe with similar ingredient amounts and following the bread machine instructions.
By any chance can I get your original recipe? I was using it and we loved it and I can’t seem to get it anymore even tho I saved it….. it changed to your new one
The recipe is almost exactly the same – it’s just scaled down to two loaves instead of 4, so if you’d like the original recipe simply double it.
I love this bread, it’s on my permanent rotation. Easy, Delicious.
So glad you enjoy it!
Hi, Chrissie
I would like to make this Easy Whole Grain Sandwich Bread but do u have the ingredients in grams? Also what is your bread pan size in centimetre / inches?
Thanks 🙂
Hey, Lilyn
If you scroll to the bottom of the ingredient list, there’s a blue button that says metric that will convert all the measurements for you. As for the loaf pan, I use this one https://www.amazon.com/JAMIE-OLIVER-Springform-Inches-Nonstick/dp/B01EN9VTV2/ref=as_li_ss_tl?dchild=1&keywords=jamie+oliver&qid=1591955425&rnid=2941120011&s=kitchen&sr=1-2&th=1&linkCode=sl1&tag=thbuba02-20&linkId=ccb34a3037850bdd71b747b09496f1b9&language=en_US (affiliate link) that is 21x13x9 cm. Happy baking ☺️
Would it greatly affect the bread if I omitted the egg, my husband is allergic to eggs? Thanks.
I have never tried making this without the egg so I couldn’t tell you, I’m sorry. But if you do try, please let us know.
Hi Chrissie, I love all your recipes!
Please help – i would love to try this recipe but i dont eat eggs, what else can i use or do instead??
Many thanks
Ami
Hi Ami, I am so happy to hear you are enjoying my recipes!
Unfortunately, I have never tried making this without the egg so I couldn’t tell you, I’m sorry. But if you do try, please let us know.
I have done many different things and used an egg substitute. Bread isn’t something I have done yet tho. But the egg substitute I use is a flax egg… a tablespoon of ground flax to 2 tablespoons of Luke warm water. Mix together and let sit a few minutes. I mainly use it for cookies.
Thanks for the useful trick, Barb!
Cannot get the “Red River Cereal” mix here in Florida – any help with a substitute would be appreciated!
Susan.
Any kind of multigrain mix or whole grains, nuts and seeds would work. Hope this helps ☺️
I also live in Florida. Just happened to have Bob’s Red Farm brand 7 grain cereal and it worked great!
Love this bread, so does my family! Moist, freezes real well too; if it gets to the freezer. I always make a double batch ( use oat milk as I’m lactose intolerant) and make 5 loaves out of that. One for each of our children’s families and one for us. Sometimes I get to keep a couple if the kids don’t come around. Very nummy!
We’re so happy you and your family enjoy it! Thank you for taking the time to leave your feedback!
Love this easy recipe and the bread is just awesome!
We’re so happy you enjoyed it! Thank you for taking the time to leave your feedback!
I LOVED this bread just as it was written, but my kiddos found the cereal to be gritty. In the directions, you say to soak for a few minutes, but mine immediately began to expand and soak up the liquid. In this case, would I just measure out a cup of the now soaked cereal or should I drain as much as possible and put the whole thing in since it was the original cup the recipe called for? I hope this makes sense.
Yes, it makes total sense. You use the whole amount of soaked cereal after you drain it.
Do you think I could substitute white whole wheat flour for the whole wheat flour and instant yeast for the one you use?
Yes!