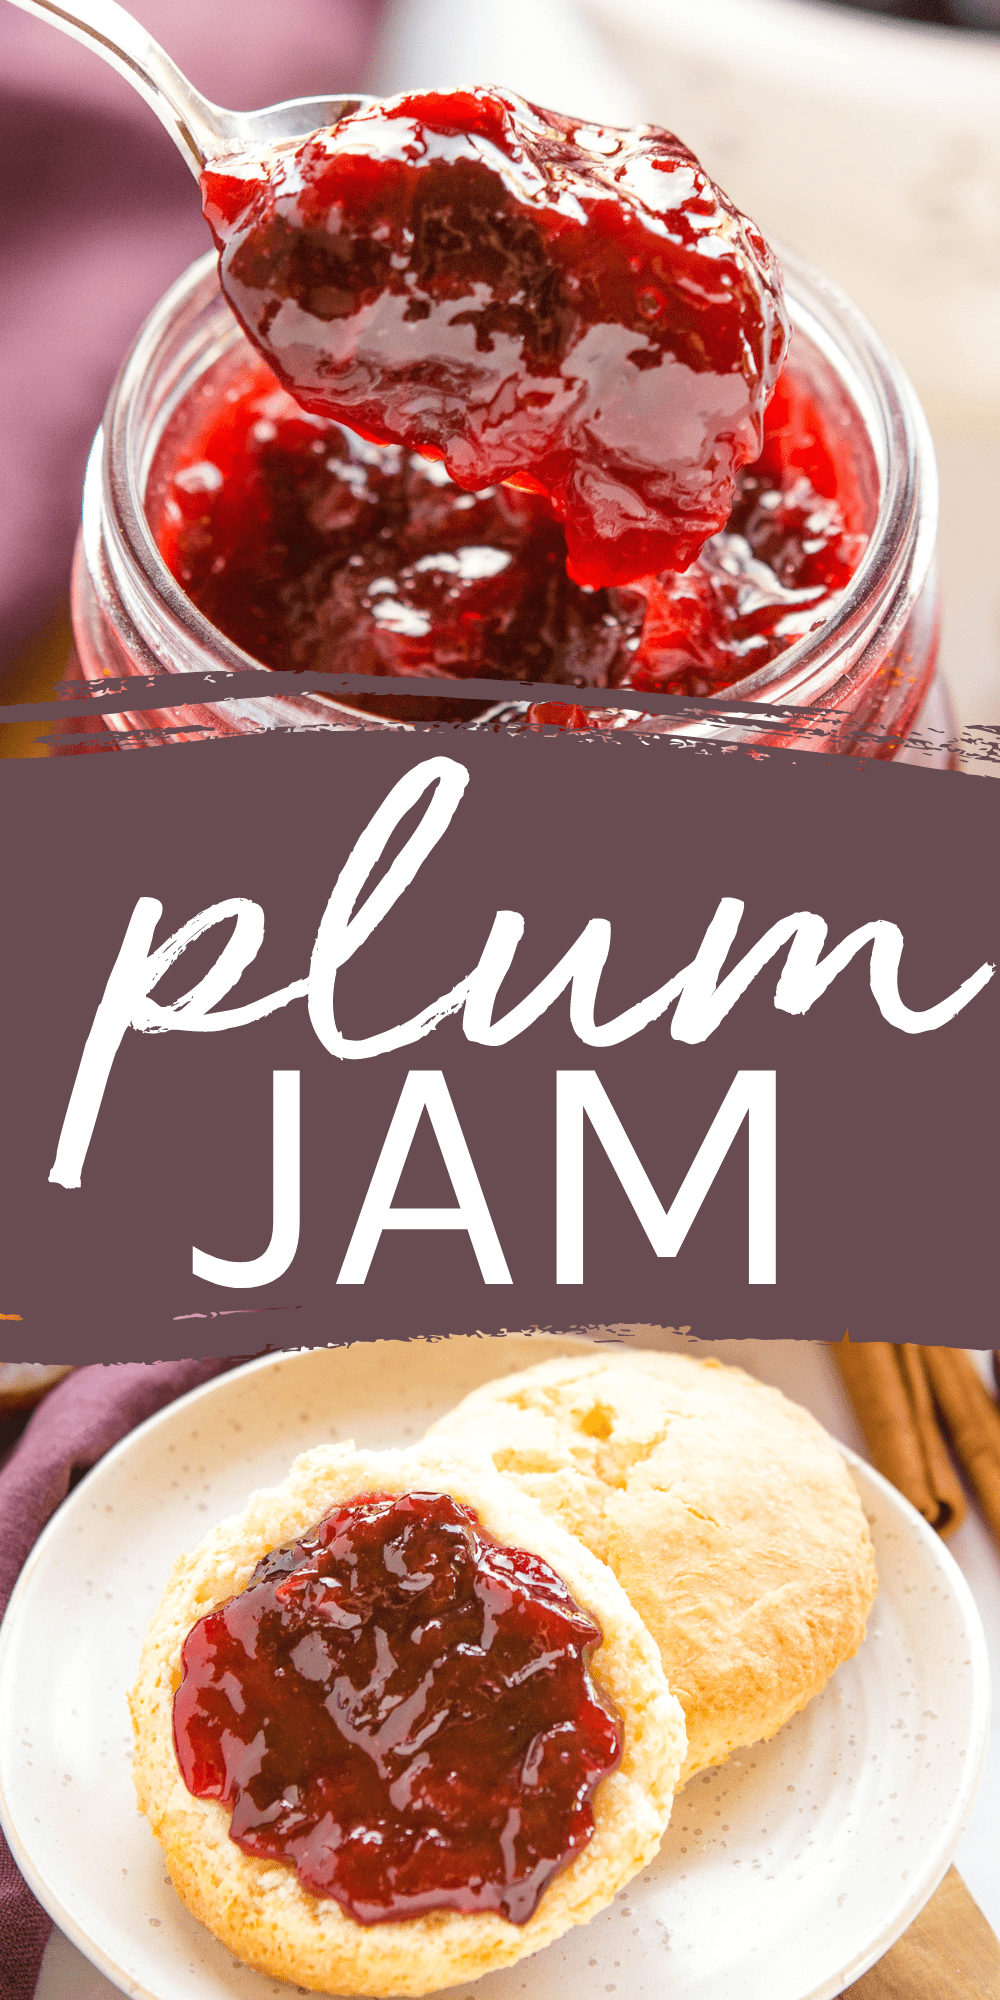
This Plum Jam is an easy homemade jam recipe using fresh, in-season plums. Sweet and smooth, simple to make and perfect on buttered toast or scones. An easy jam recipe with 4 basic ingredients and pro tips for beginners!
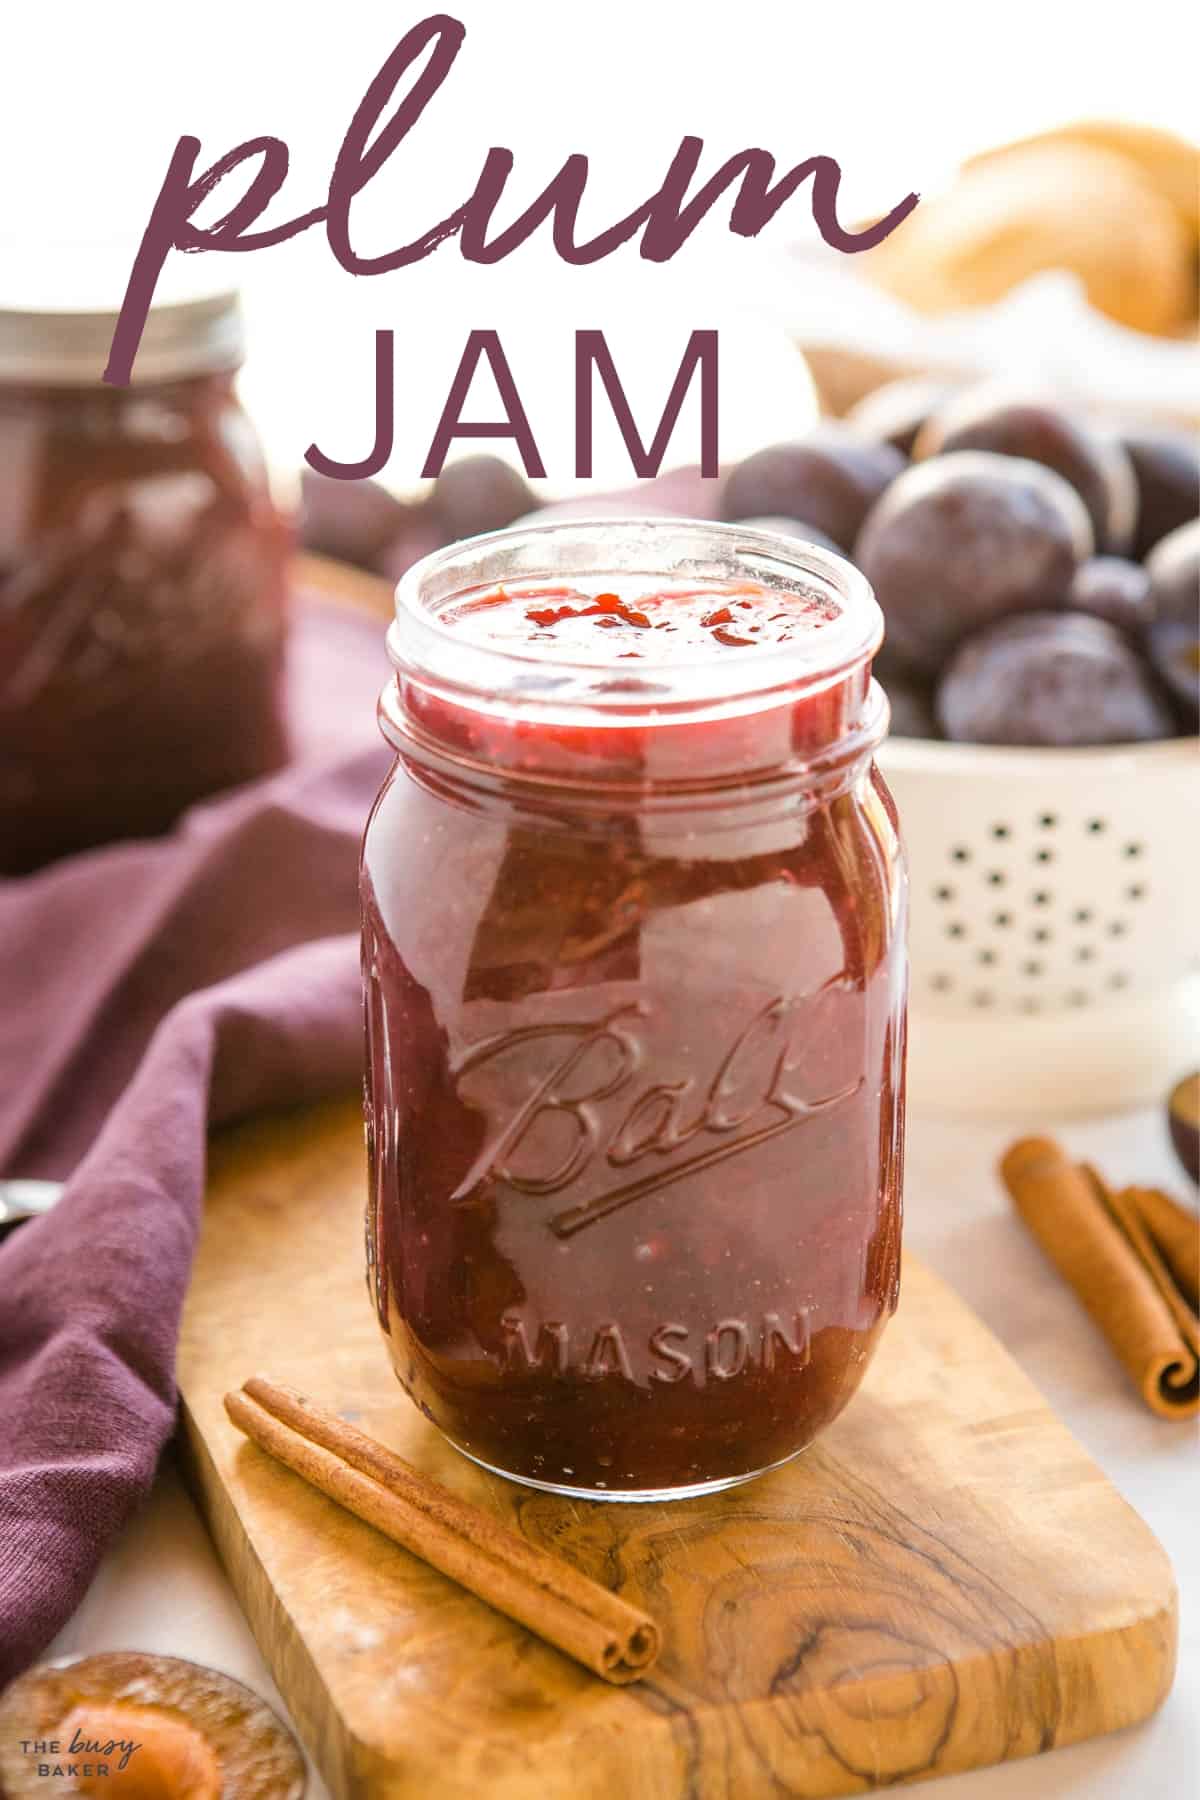
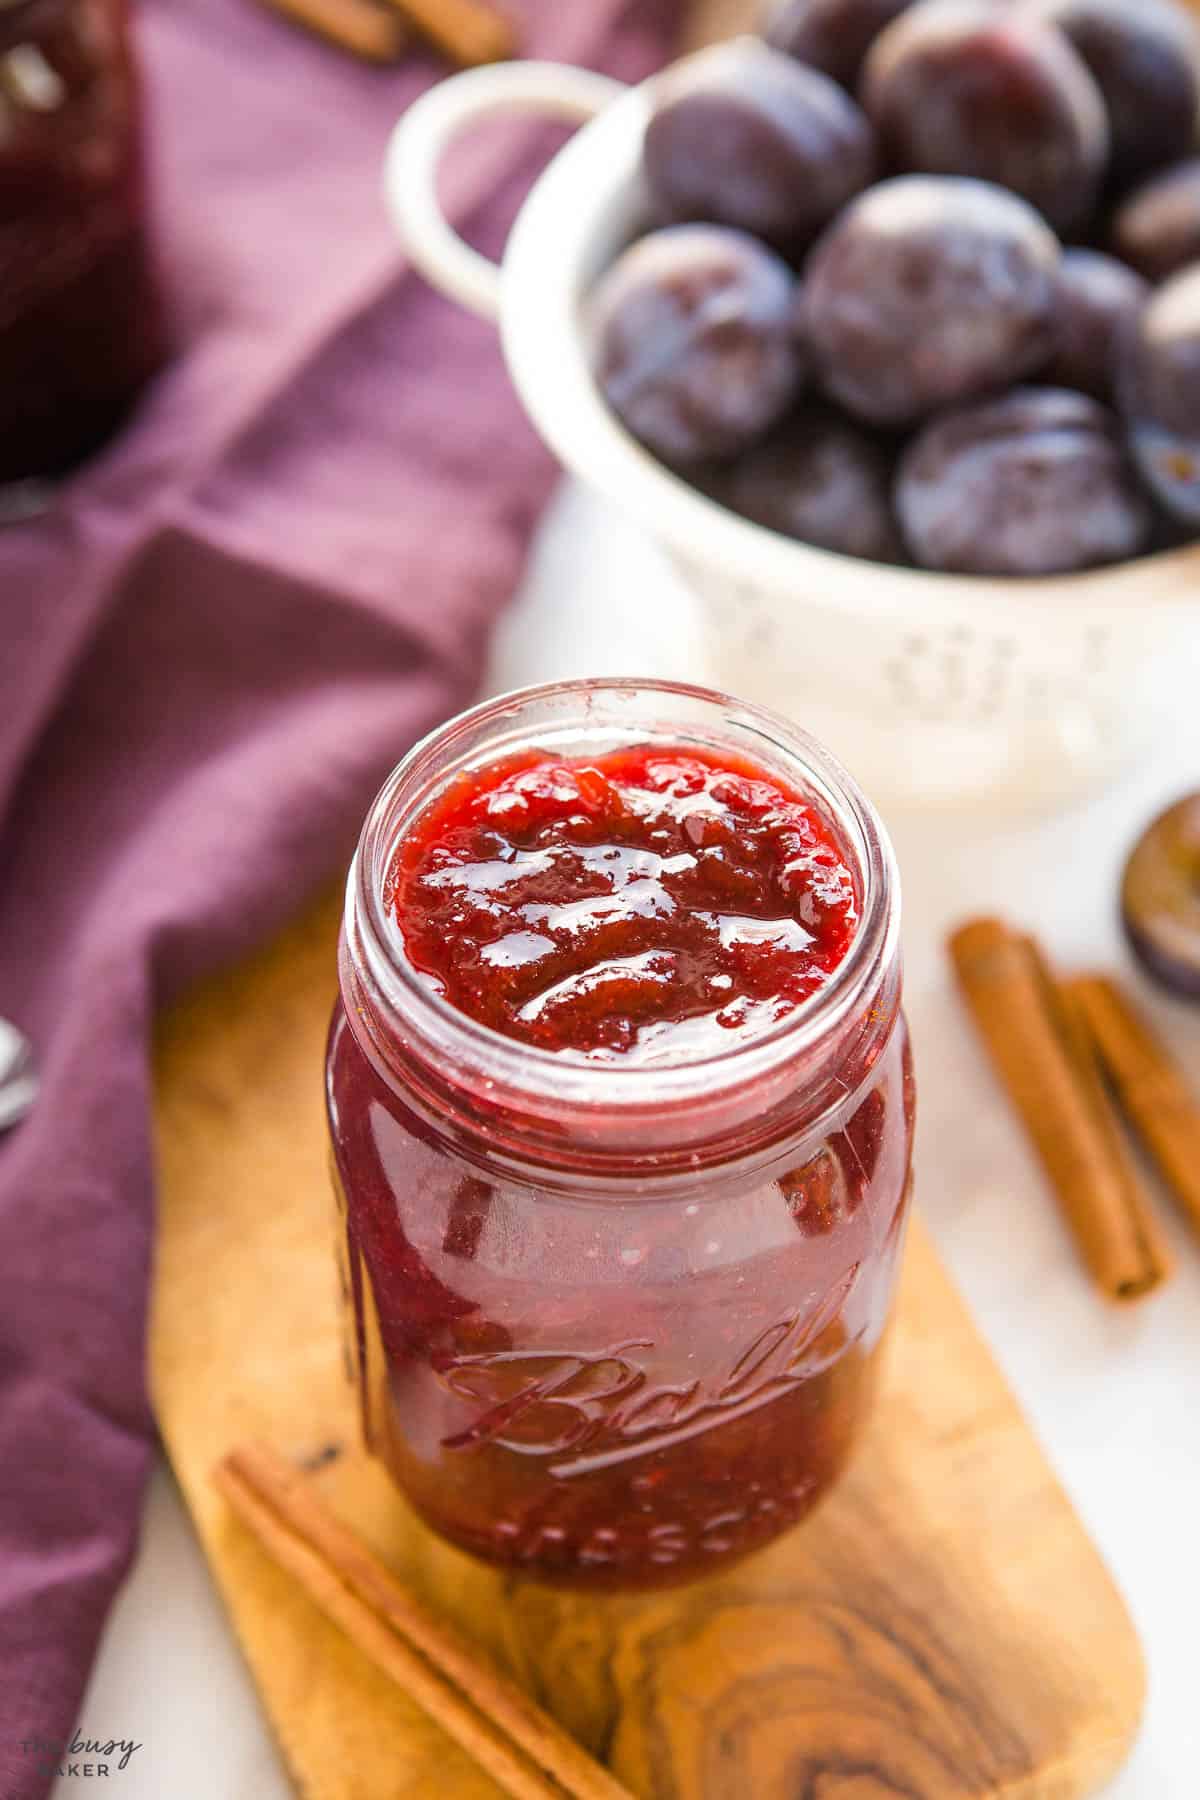
Making any homemade jam recipe is a simple heart-warming process that we look forward to every year. This Plum Jam recipe is a favourite in the Busy Baker kitchen and we make it from the plums growing in our very own backyard!
It’s an easy-to-make plum jam recipe that’s perfect for beginners – only 4 basic ingredients and includes all our best troubleshooting tips and tricks for beginner jam-makers. Trust us – you’re going to LOVE this one!
The best plums for jam are fresh, ripe, in-season plums. We like using European black plums for plum jam because the plum skins have a deep purple-red colour and the interior of the plums are a dark yellow or even green. This creates a jam with a deep purple colour.
These plums are sweet, with a firm flesh and thick skins, so they’re great for jam-making because they contain a lot of natural pectin which helps the jam become firm when cooked.
Here’s how we recommend preparing your plums for making jam:
- Wash the plums: Rinse the plums under cool running water to remove any dirt or debris. Gently pat them dry with a clean kitchen towel.
- Pit the plums: To remove the pits, carefully slice the plum in half from top to bottom. Twist the halves in opposite directions, and the pit should easily come out. If you have larger plums, you may need to cut them into quarters or smaller pieces to remove the pits.
- Chop the plums: Once the plums are pitted, you can chop them into smaller pieces according to your preference. For a chunkier jam, cut the plums into larger chunks. For a smoother consistency, dice them into smaller pieces.
Removing the skins is totally optional and it’s a step we often skip because the skins of the plums contain natural pectin which helps with thickening the jam. If you choose to remove the skins, you may need to add pectin or cook the jam for a much longer time to achieve a thick jam-like consistency.
If you prefer a smoother texture or want to remove the skins for aesthetic reasons, blanching the plums can be a great way to remove the plum skins quickly and easily. Here’s how to do that:
- Bring a large pot of water to a boil.
- Carefully lower the plums into the boiling water and blanch them for about 30-45 seconds. This process loosens the skin, making it easier to peel off.
- Using a slotted spoon, transfer the plums to a bowl of ice water to cool them rapidly and halt the cooking process.
- Once the plums are cool from the ice water, gently peel off the skins with your hands. They should come off easily.
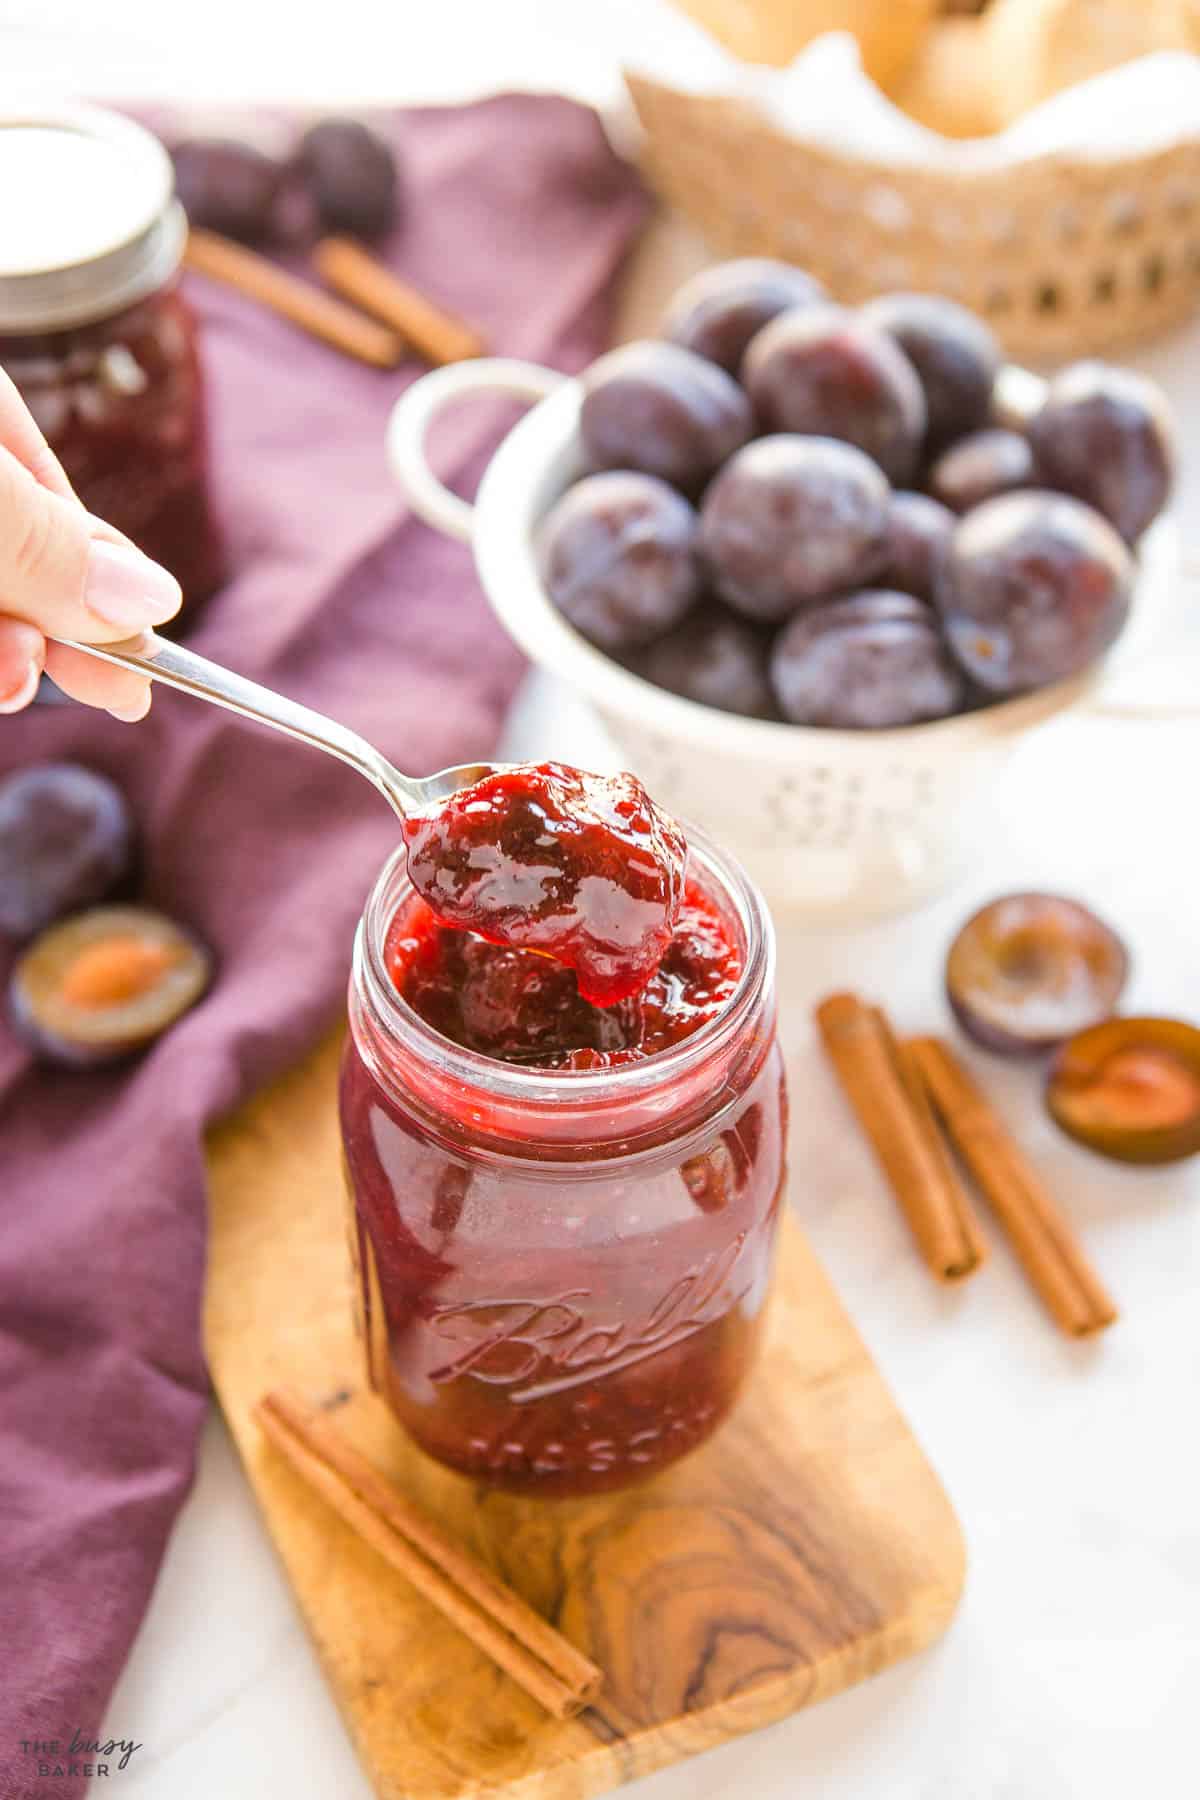
Here are our best tips for making a homemade jam recipe without adding pectin:
- Use sugar. I know, I know, everyone’s on the I-hate-sugar bandwagon (including me!), but even if you use high pectin fruit like berries or peaches, unless you use sugar, the jam just won’t set properly. Trust me, I’ve tried. If you’re looking for jam without sugar, try my chia seed jam recipes!
- Use an instant-read thermometer. Boiling for a certain period of time is a good way to ensure the jam sets but measuring the temperature as it boils is truly a no-fail way to ensure you get that thick, jam-like texture every time. Go for 220 degrees Fahrenheit at low altitudes and 218 degrees at high altitudes. Get my instant-read thermometer HERE (affiliate link).
- Let it cool in the jars. Heat up your jars before adding the boiled jam into them (I soak them in hot water and dry them well first) and let them cool, covered, on the counter until they reach room temperature before adding them to the fridge or freezer. If you’re going to can the jam so it’s shelf stable, be sure to sterilize your jars first using the proper canning and sterilization process to ensure the jam is safe to eat and shelf-stable.
- Use high-pectin fruit. Fruits like apples, peaches, berries, plums and currants all contain naturally-occurring pectin which helps the jam set up all on its own. Keeping the skin on the fruit also helps because most of the naturally-occurring pectin in the fruit is in the skin.
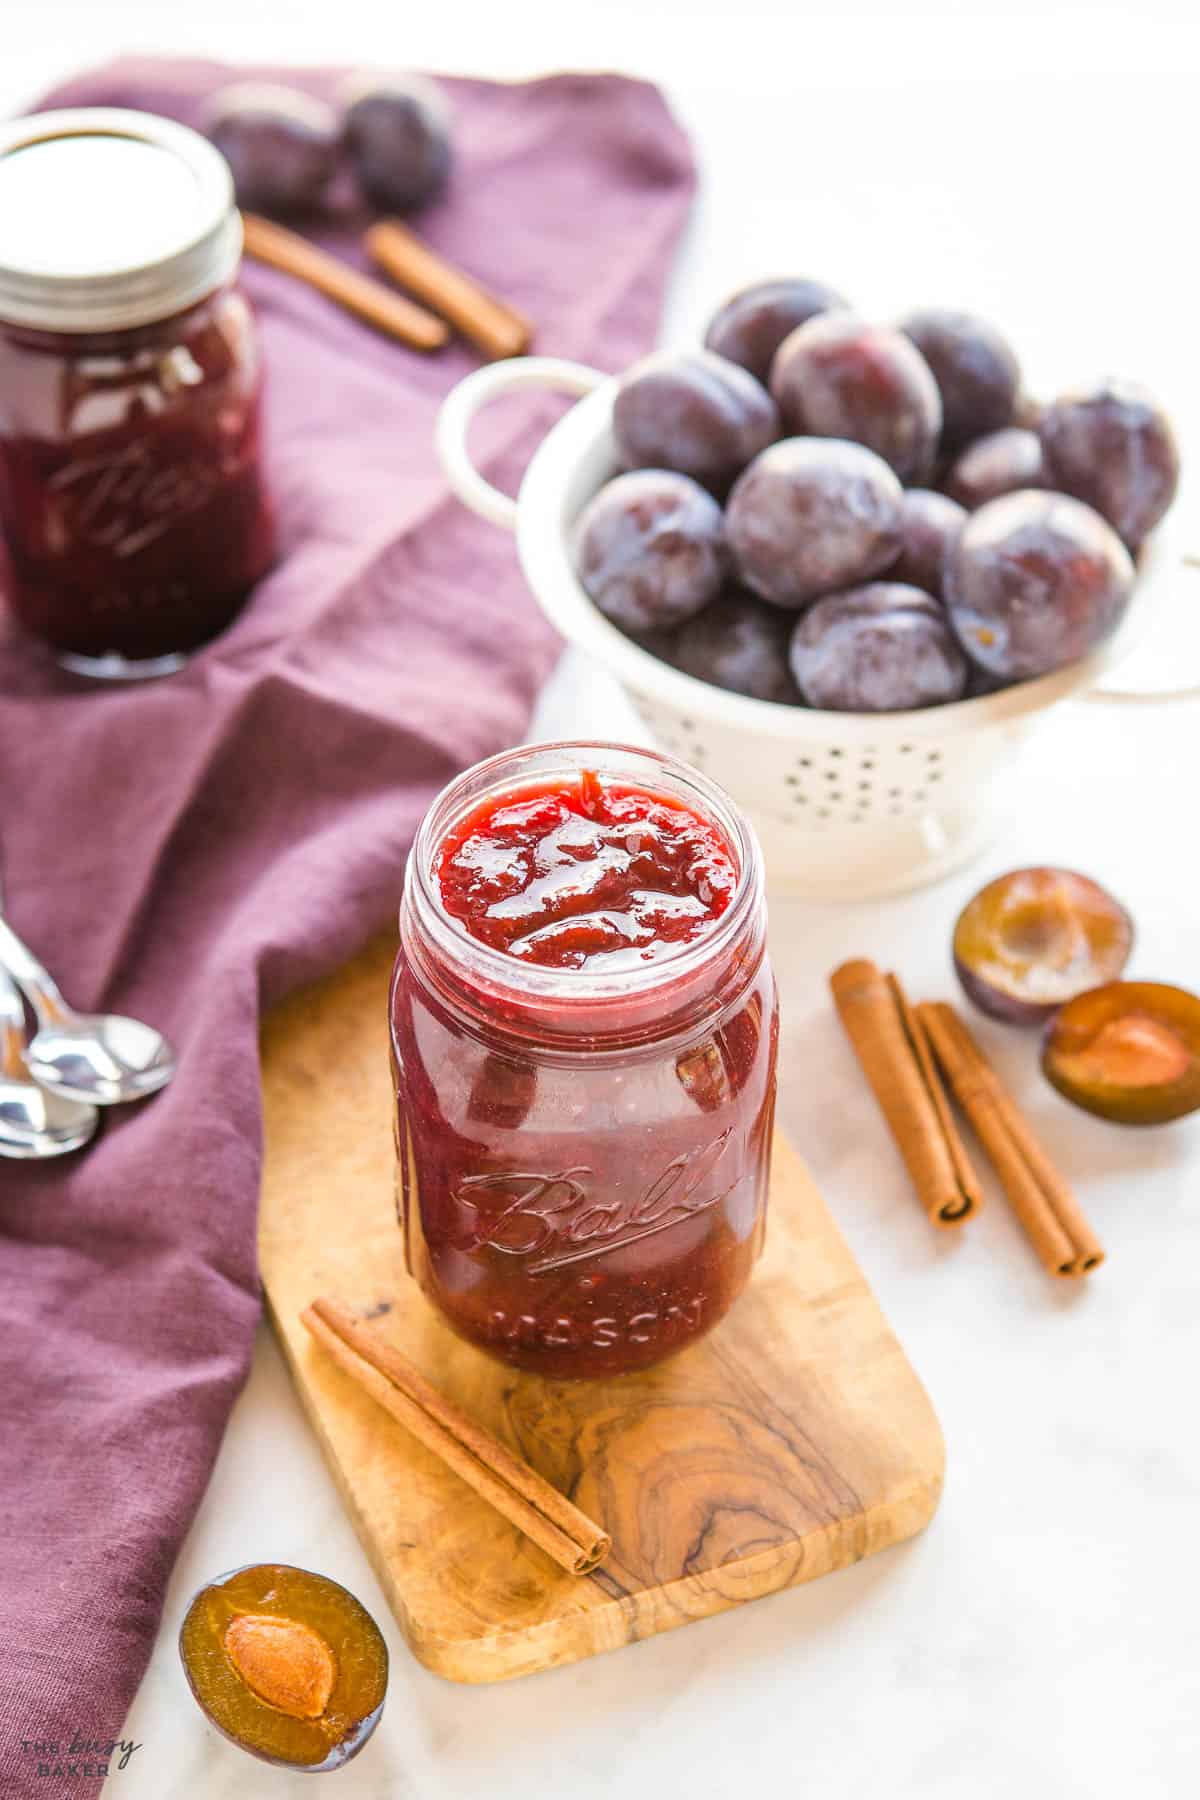
While making a homemade jam recipe is a simple process, it can have its challenges, especially for beginners! Here are some troubleshooting tips to help you navigate common issues when making jam at home:
- The jam is not setting:
- Possible cause: Insufficient cooking time or cooking temperature is too low.
- Solution: Return the jam to the pot and continue cooking over medium heat. Stir frequently and test for the desired consistency by dipping a cold spoon into the jam and observing how the jam behaves as it cools on the spoon.
- Solution: Make sure you cook the jam at a rolling boil, maintaining the temperature specified in your recipe, to activate the pectin and promote proper gel formation.
- The jam is too thick or firm:
- Possible cause: Overcooking.
- Solution: If the jam is too thick, gently heat it and add a small amount of water or apple juice to thin it out. Stir well and test the consistency. If it remains too thick, you can add more liquid until the desired consistency is achieved.
- The jam has excessive foam:
- Possible cause: Stirring too vigorously or using too-high heat.
- Solution: When cooking the jam, gently stir it to avoid excessive agitation and foam formation. If foam develops, skim it off using a spoon.
- The jam has crystallized sugar:
- Possible cause: Undissolved sugar or cooking at too high a temperature.
- Solution: Make sure that the sugar is completely dissolved before the jam reaches a rolling boil. Stir the mixture thoroughly during the beginning stages of cooking. If sugar crystals are present in the finished jam, you can try reheating the jam and stirring gently until the sugar dissolves. Be sure not to overheat and burn the jam.
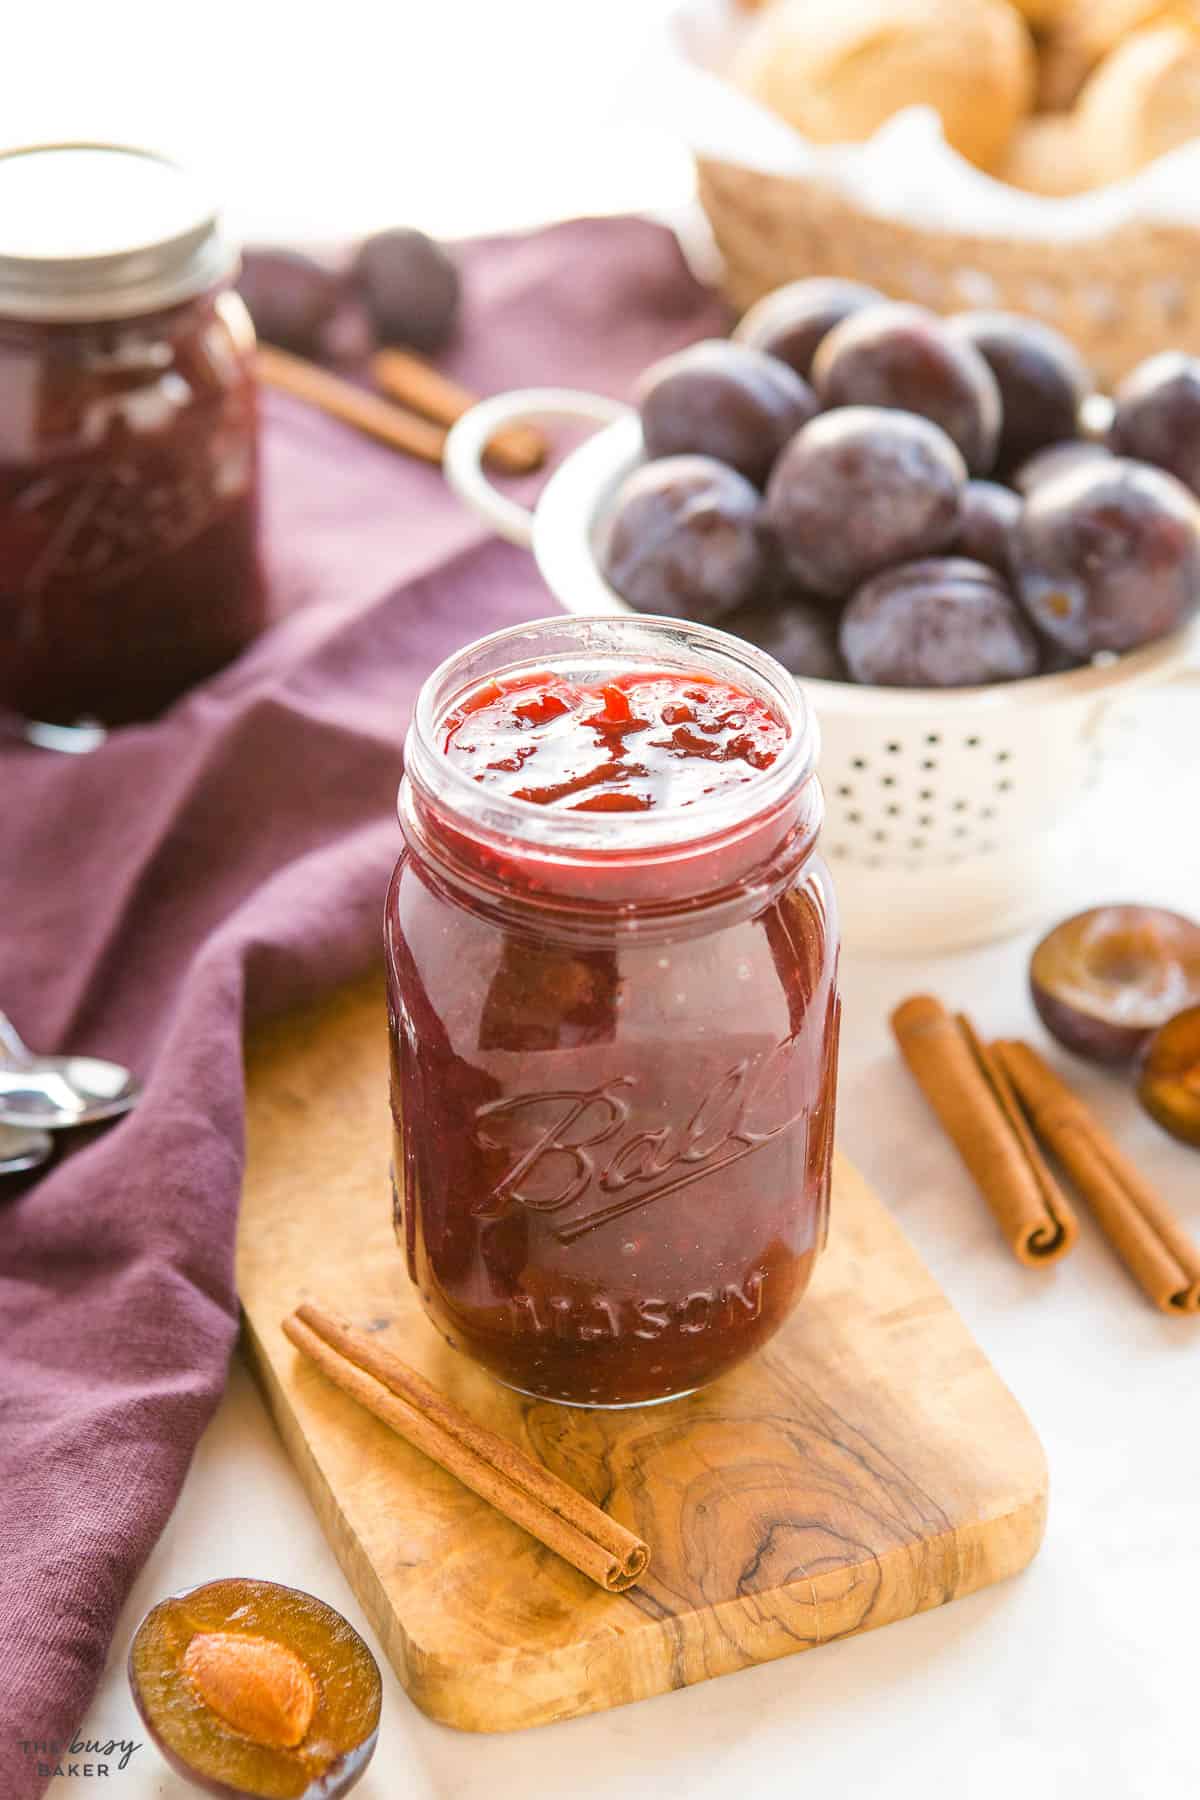
To make this plum jam recipe at home, you’ll need (affiliate links):
- a large pot
- a silicone spatula
- measuring cups and spoons
- a cutting board
- a sharp knife for chopping
- a blender or an immersion blender (optional)
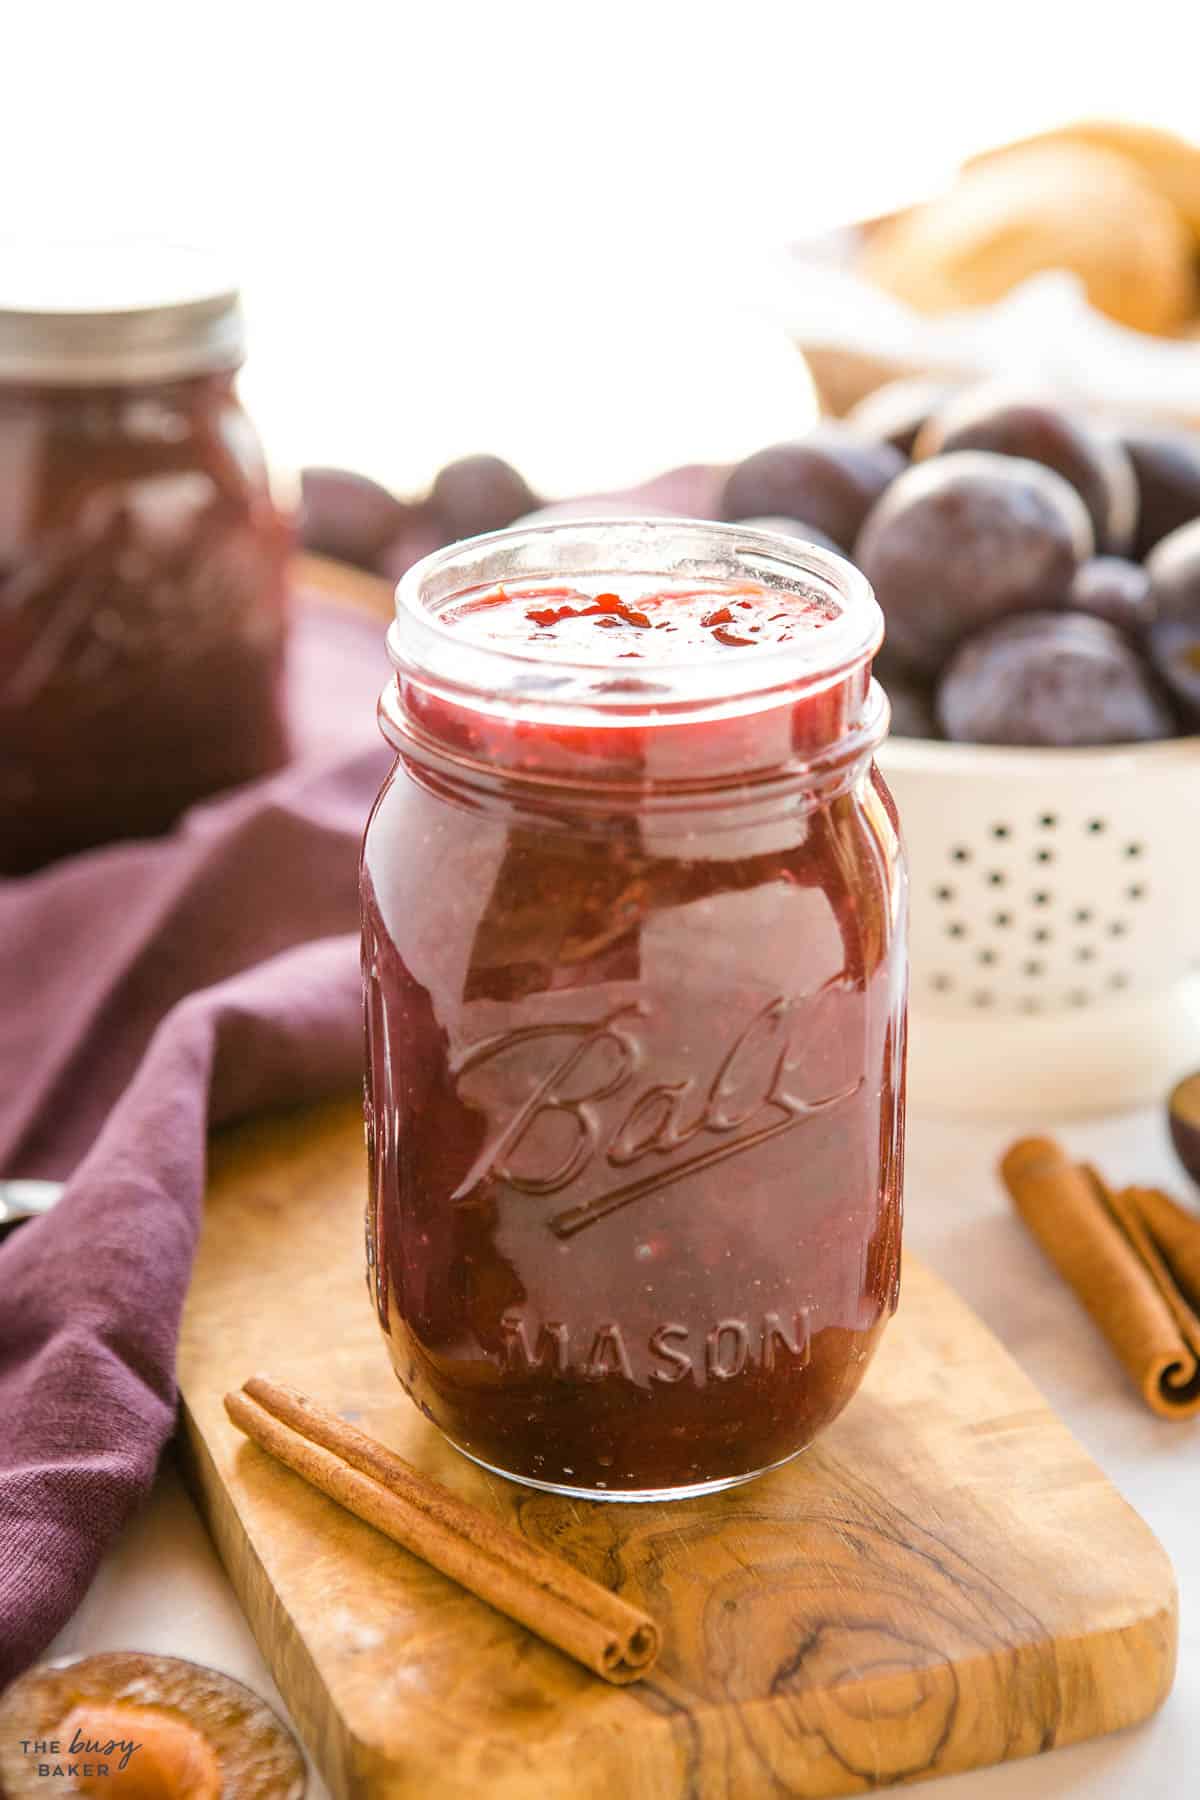
Here are the basic ingredients you’ll need to make this homemade jam recipe:
- plums
- granulated sugar
- lemon juice
- cinnamon sticks (optional)
Here are some of our favourite variations on the basic plum jam recipe:
- Spice: Add warming spices like ground cinnamon, cloves, and nutmeg to the jam during the cooking process and consider incorporating a small amount of ground ginger or cardamom, too. The aromatic spices will complement the natural sweetness of plums and create a comforting flavour that’s great for the holidays.
- Vanilla Bean: Split a vanilla bean lengthwise and scrape out the seeds. Add the vanilla bean seeds and the split pod to the pot with the plums to add a subtle, sweet flavour.
- Citrus: Zest the peel of a lemon or orange and add it to the pot with the plums for a bright, tangy citrus flavour that will enhance the sweetness of the plums.
- Rosemary: Add a few sprigs of fresh rosemary to the pot with the plums, making sure to fish them out when the jam has finished cooking. The rosemary will release its oils into the jam, adding a deep flavour.
- Balsamic: Towards the end of the cooking time, add a splash of balsamic vinegar to the pot for a sophisticated touch. This is a great idea for elevating a simple appetizer, like a cracker spread with goat cheese and a dollop of plum jam on top.
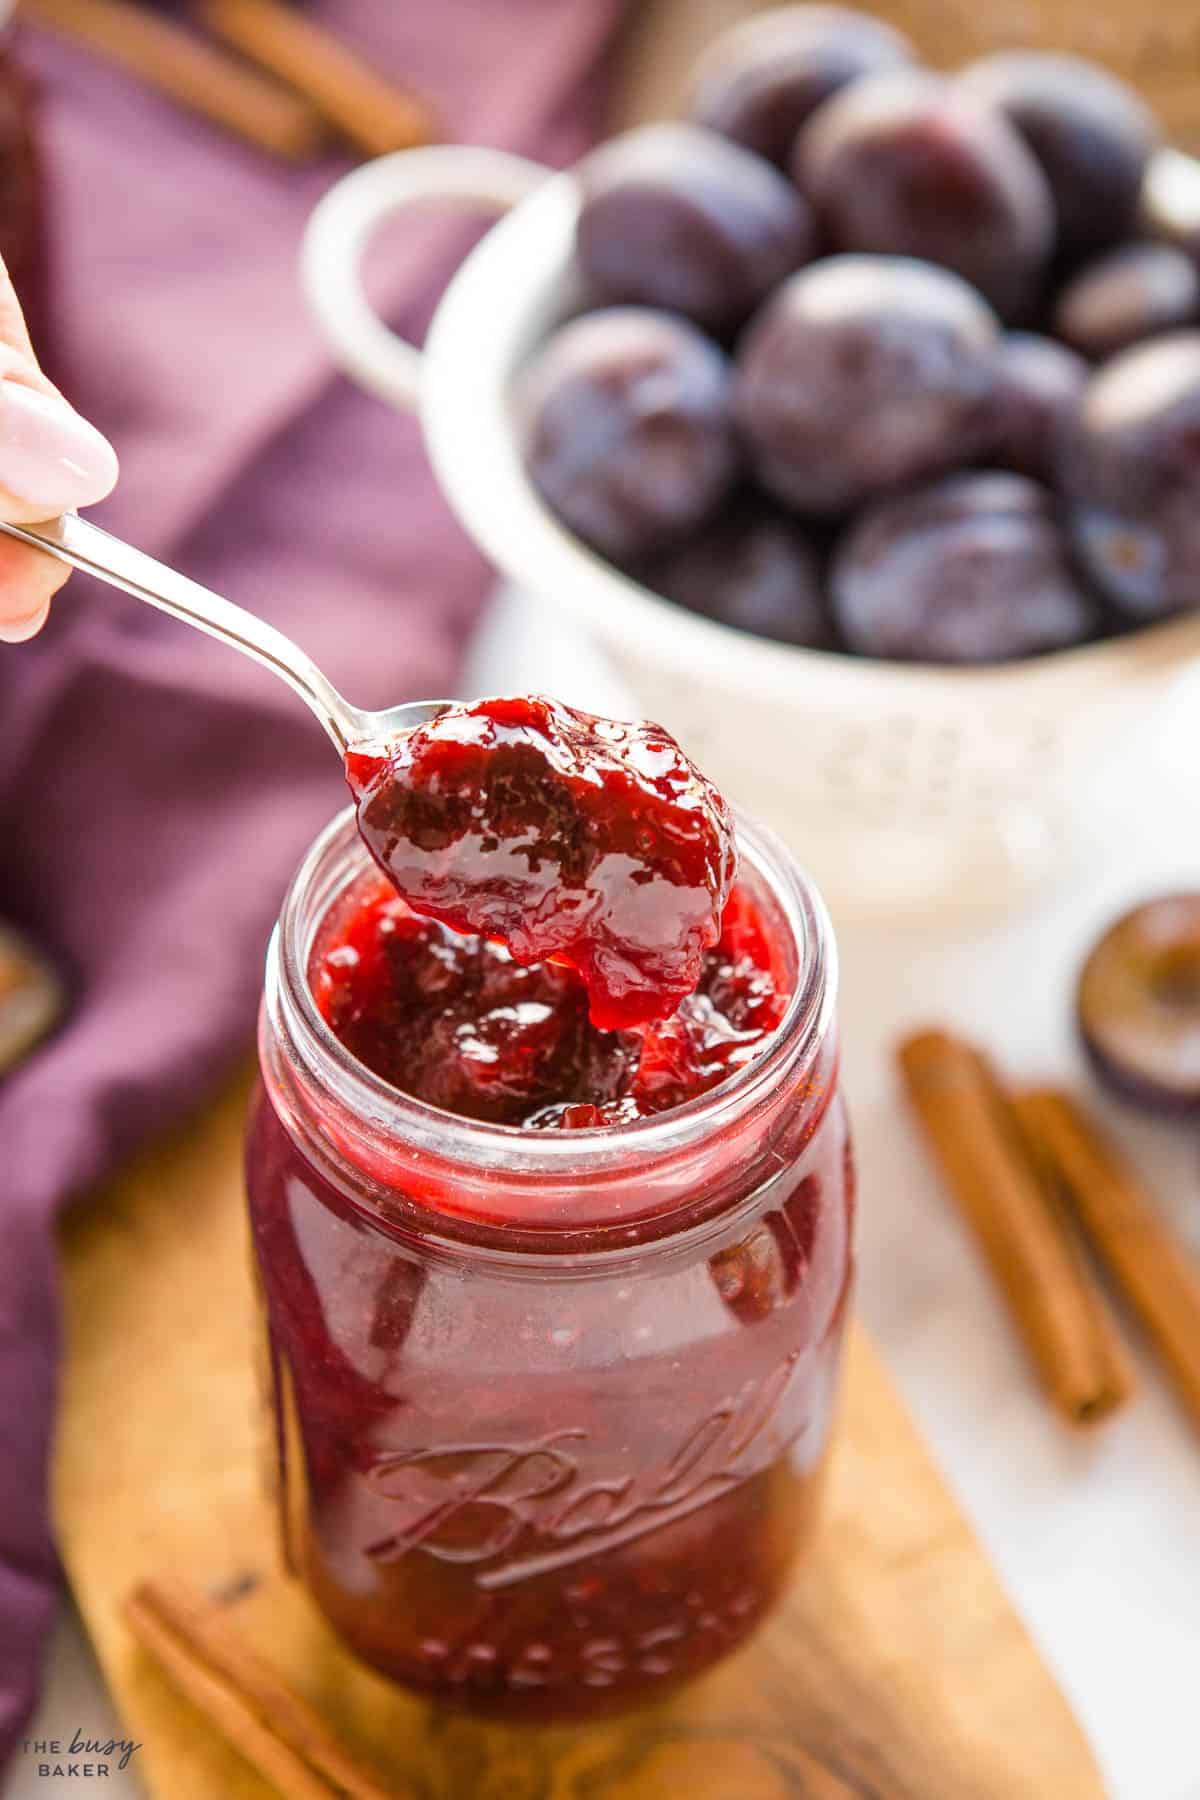
- Prepare the plums.
Wash, halve and pit the plums and cut them in pieces. Add them to a deep pot along with the sugar, cinnamon sticks and lemon juice.
- Cook to dissolve the sugar.
Stir to combine and turn the heat to high, stirring every now and then until the mixture starts to bubble and become hot, dissolving the sugar. Once the sugar is almost dissolved, turn the heat to medium and let the mixture reach a boil.
- Stir regularly.
When the jam is boiling, stir every 30-seconds or so to prevent burning.
- Mash the fruit.
Use a potato masher to mash the plums into smaller pieces in the beginning stages of the cooking process.
- Measure the temperature.
Use an instant-read thermometer (here’s a link to mine (affiliate link)) to measure the temperature of the jam as it boils. Be sure the thermometer is measuring at the middle of the jam and not touching the bottom of the pot.
Continue boiling as the temperature climbs and don’t let it stop boiling until it reaches 218 degrees Fahrenheit (for low altitudes) or 215 degrees Fahrenheit (for high altitudes). This should take about 8 minutes or so.
If you don’t have an instant read thermometer but you want to make this jam, as you boil it, take out a little bit of your jam with a teaspoon and drip some onto a plate. Tilt the plate- if the drops keep their shape, your jam is ready, if they don’t you need to boil your jam longer. - Store and enjoy.
Add the lids to the jars and allow to cool at room temperature until completely cool.
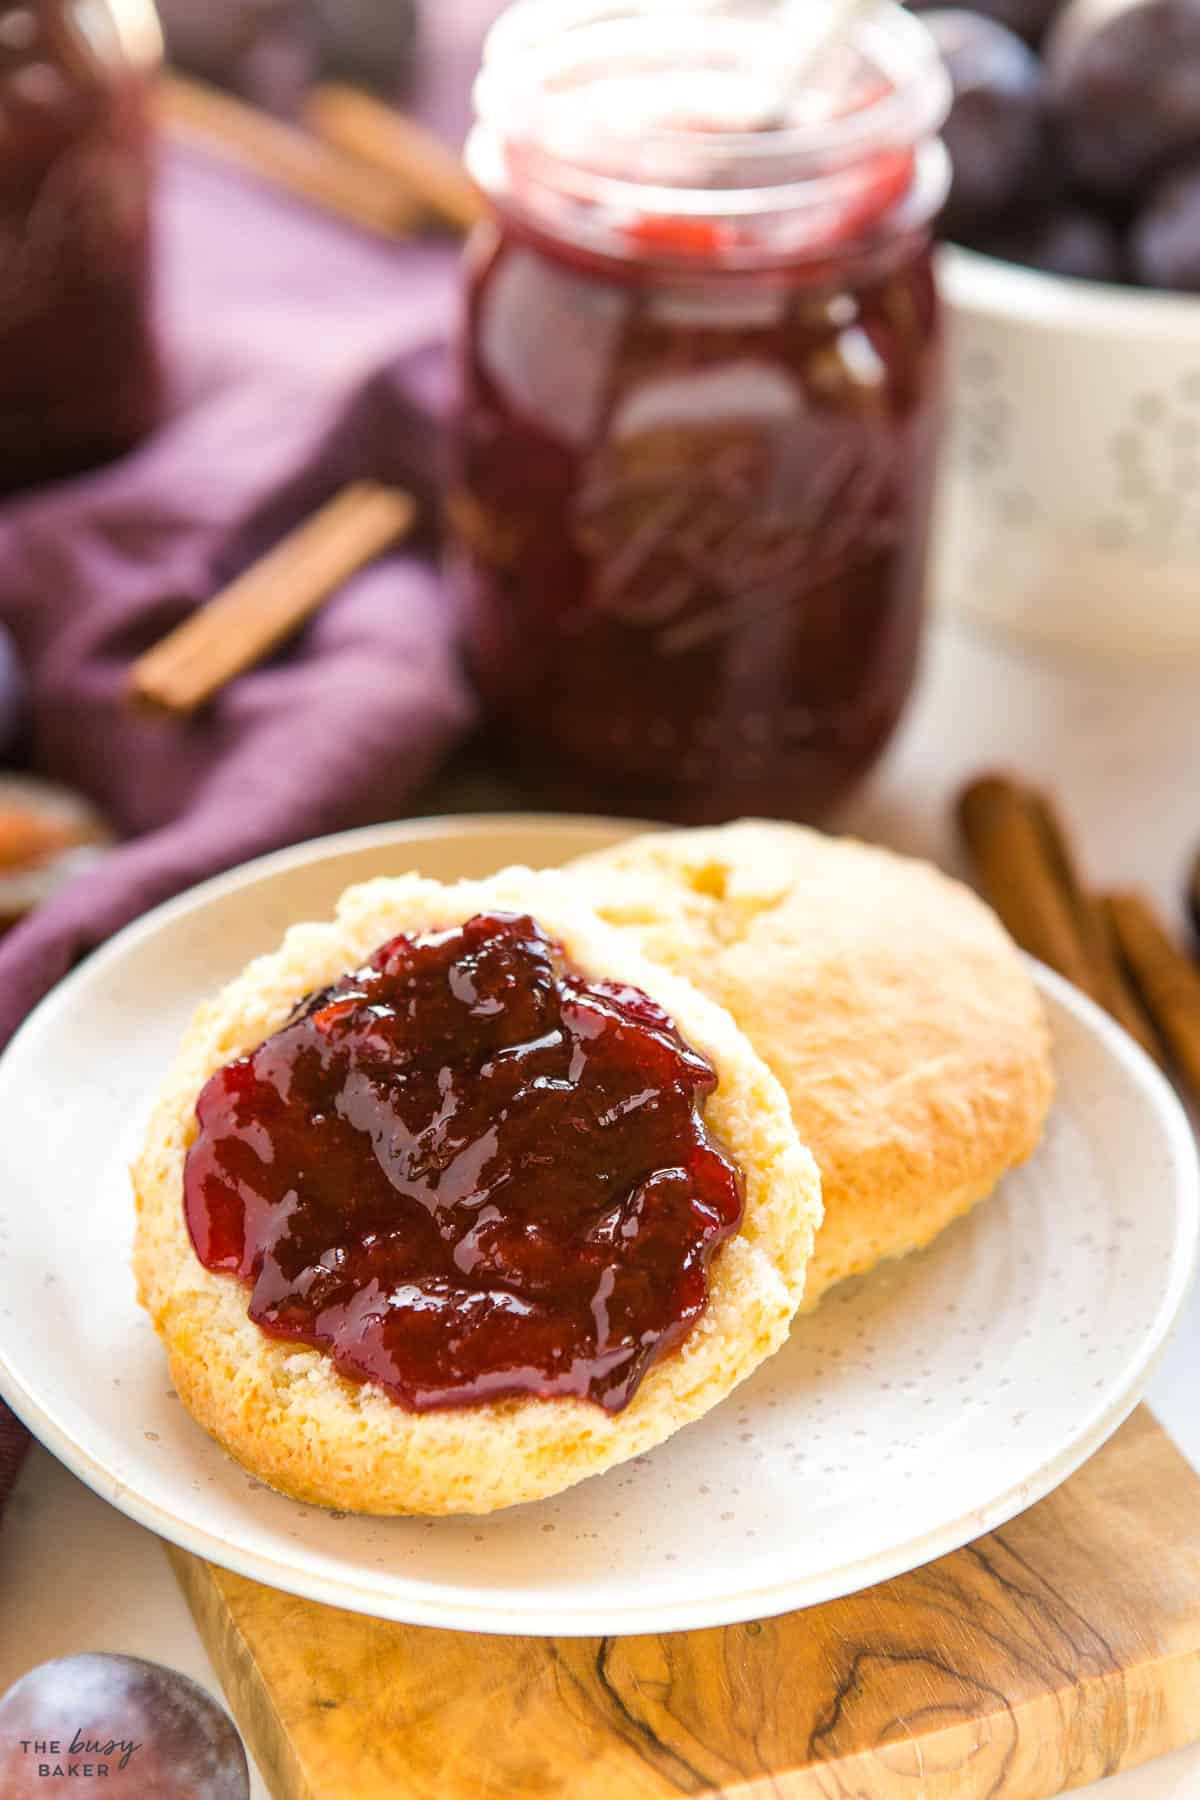
Store in the fridge and enjoy on toast, scones, or however you like!
Can I use underripe plums for making homemade jam?
Fully ripe plums are ideal for jam-making, but slightly underripe plums can still be used. However, keep in mind that underripe plums may contain more pectin, resulting in a firmer texture and slightly less sweetness in the final jam. You might want to add more sugar if you’re using underripe plums.
Can I reduce the amount of sugar in this plum jam recipe?
Yes, you can reduce the amount of sugar in plum jam to suit your taste. However, keep in mind that sugar acts as a preservative, so reducing it significantly may affect how long you can store the jam in the fridge.
Can I freeze plum jam?
Yes, it can be frozen for up to 6 months.
Can I use frozen plums for making jam?
Yes, frozen plums can be used to make jam. Thaw the plums completely and drain them before proceeding with the recipe. Keep in mind that frozen plums may release more liquid during the cooking process, so adjust the cooking time as needed to achieve the right consistency.
Do you peel plums before making jam?
You can peel plums before making jam, but because the peels are high in pectin and give a gorgeous purple colour, we recommend leaving the peels on.
Is there pectin in plums?
Yes, stone fruits such as nectarines, peaches and plums are naturally high in pectin.
How do you thicken plum jam?
Plum jam thickens as it cooks, so be sure to add the sugar and lemon juice and cook it until it’s thick.
How should I store plum jam?
Store plum jam in the fridge for up to 2 weeks and in the freezer for up to 6 months.
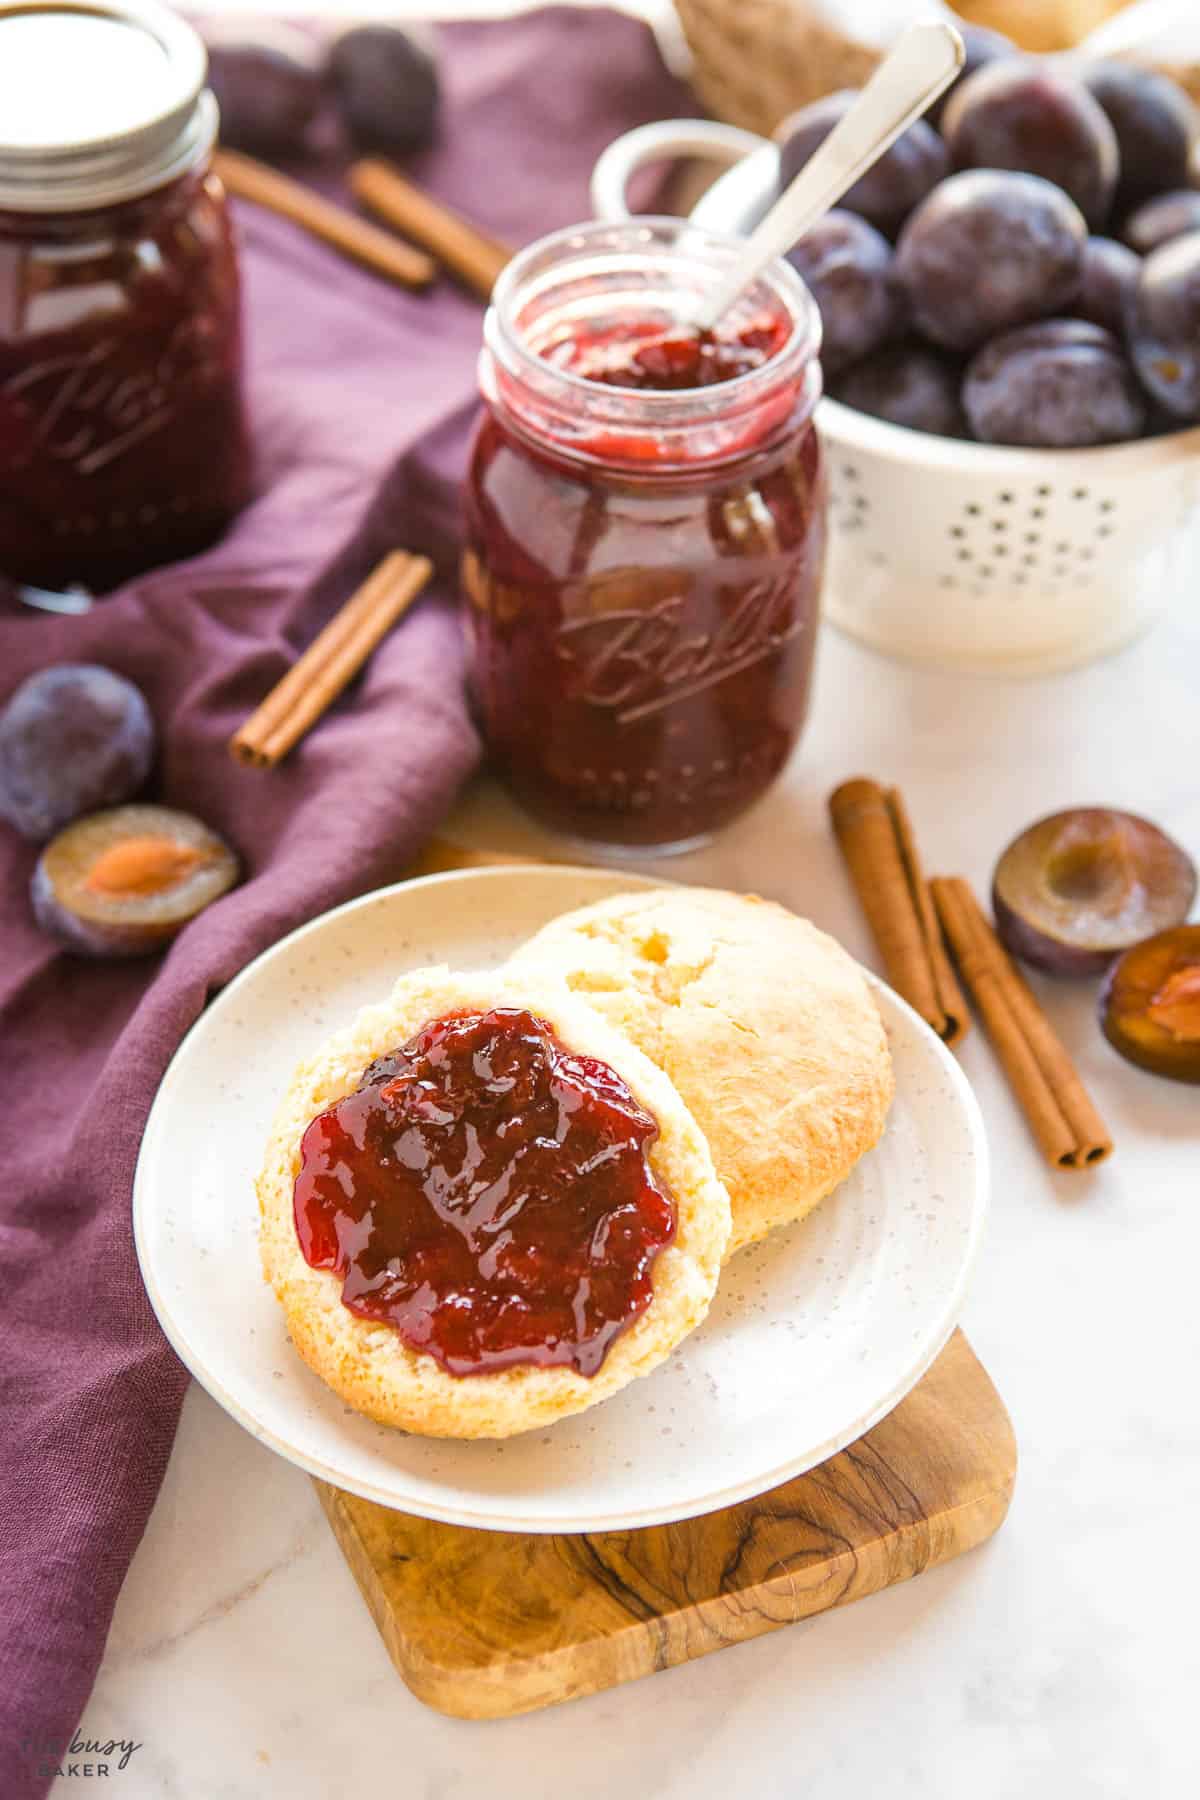
We hope you love this homemade jam recipe as much as we do! Let us know in the comments below, what’s your favourite flavour of homemade jam? We’d love to know!
If you made this, share a photo!
Are you trying this recipe? Use the comment form below to share your take; now with support for image uploads and comment voting!
Plum Jam
Recipe: Equipment
- large pot or sauce pan
Recipe: Ingredients
- 8 cups plums aprox 1.5 kg of plums
- 2 cups granulated sugar
- Juice of 1 lemon (approximately 2 tablespoons)
- 2 cinnamon sticks
Recipe: Instructions
- Wash, halve and pit the plums and add them to a deep pot along with the sugar, cinnamon sticks and lemon juice.
- Stir to combine and turn the heat to high, stirring every now and then until the mixture starts to bubble and become hot.
- Use a potato masher to mash the plums until they begin to fall apart.
- When the mixture begins to boil, continue to stir every 30 seconds or so.
- Use an instant-read thermometer – here's a link to mine (affiliate link) – to measure the temperature of the jam as it boils. Be sure the thermometer is measuring at the middle of the jam and not touching the bottom of the pot.
- Continue boiling as the temperature climbs and don't let it stop boiling until it reaches 218 degrees Fahrenheit (for low altitudes) or 215 degrees Fahrenheit (for high altitudes). This should take about 8 minutes or so.
- Once the correct temperature is reached, remove the pot from the heat and fish out the cinnamon sticks carefully. Spoon the jam into standard mason jars. The jam might seem a little bit liquid at this stage – don't worry! It will thicken as it cools.
- Add the lids to the jars and allow to cool at room temperature until completely cool.
- Store in the fridge and enjoy on toast, scones, or however you like!
- If you don't have an instant read thermometer but you want to make this jam, as you boil it, take out a little bit of your jam with a teaspoon and drip a few drops on a plate. Tilt the plate – if the drops keep their shape, your jam is ready, if they don't you need to boil your jam longer.
Recipe: Notes
To make this jam shelf-stable
Use the proper water-bath canning process to create a shelf stable version of this recipe, if desired. The recipe, as it is, is a refrigerator or freezer jam.How much jam does this recipe make?
This recipe makes about 4 cups of jam (to fill 2 standard mason jars – 16 oz).How to store Plum Jam
Store this jam in the fridge (for up to 2 weeks) or in the freezer (for up to 6 months).Recipe: Nutrition
Notice: Nutrition is auto-calculated, using Spoonacular, for your convenience. Where relevant, we recommend using your own nutrition calculations.

TRY OUR MEAL PLANS!
Let us do the work for you with 7 days of deliciously easy family dinners, grocery lists, meal prep guides and MORE!
Buy 2, save 20%!
Buy 3, save 30%!
Buy 4 or more, save 40%!
