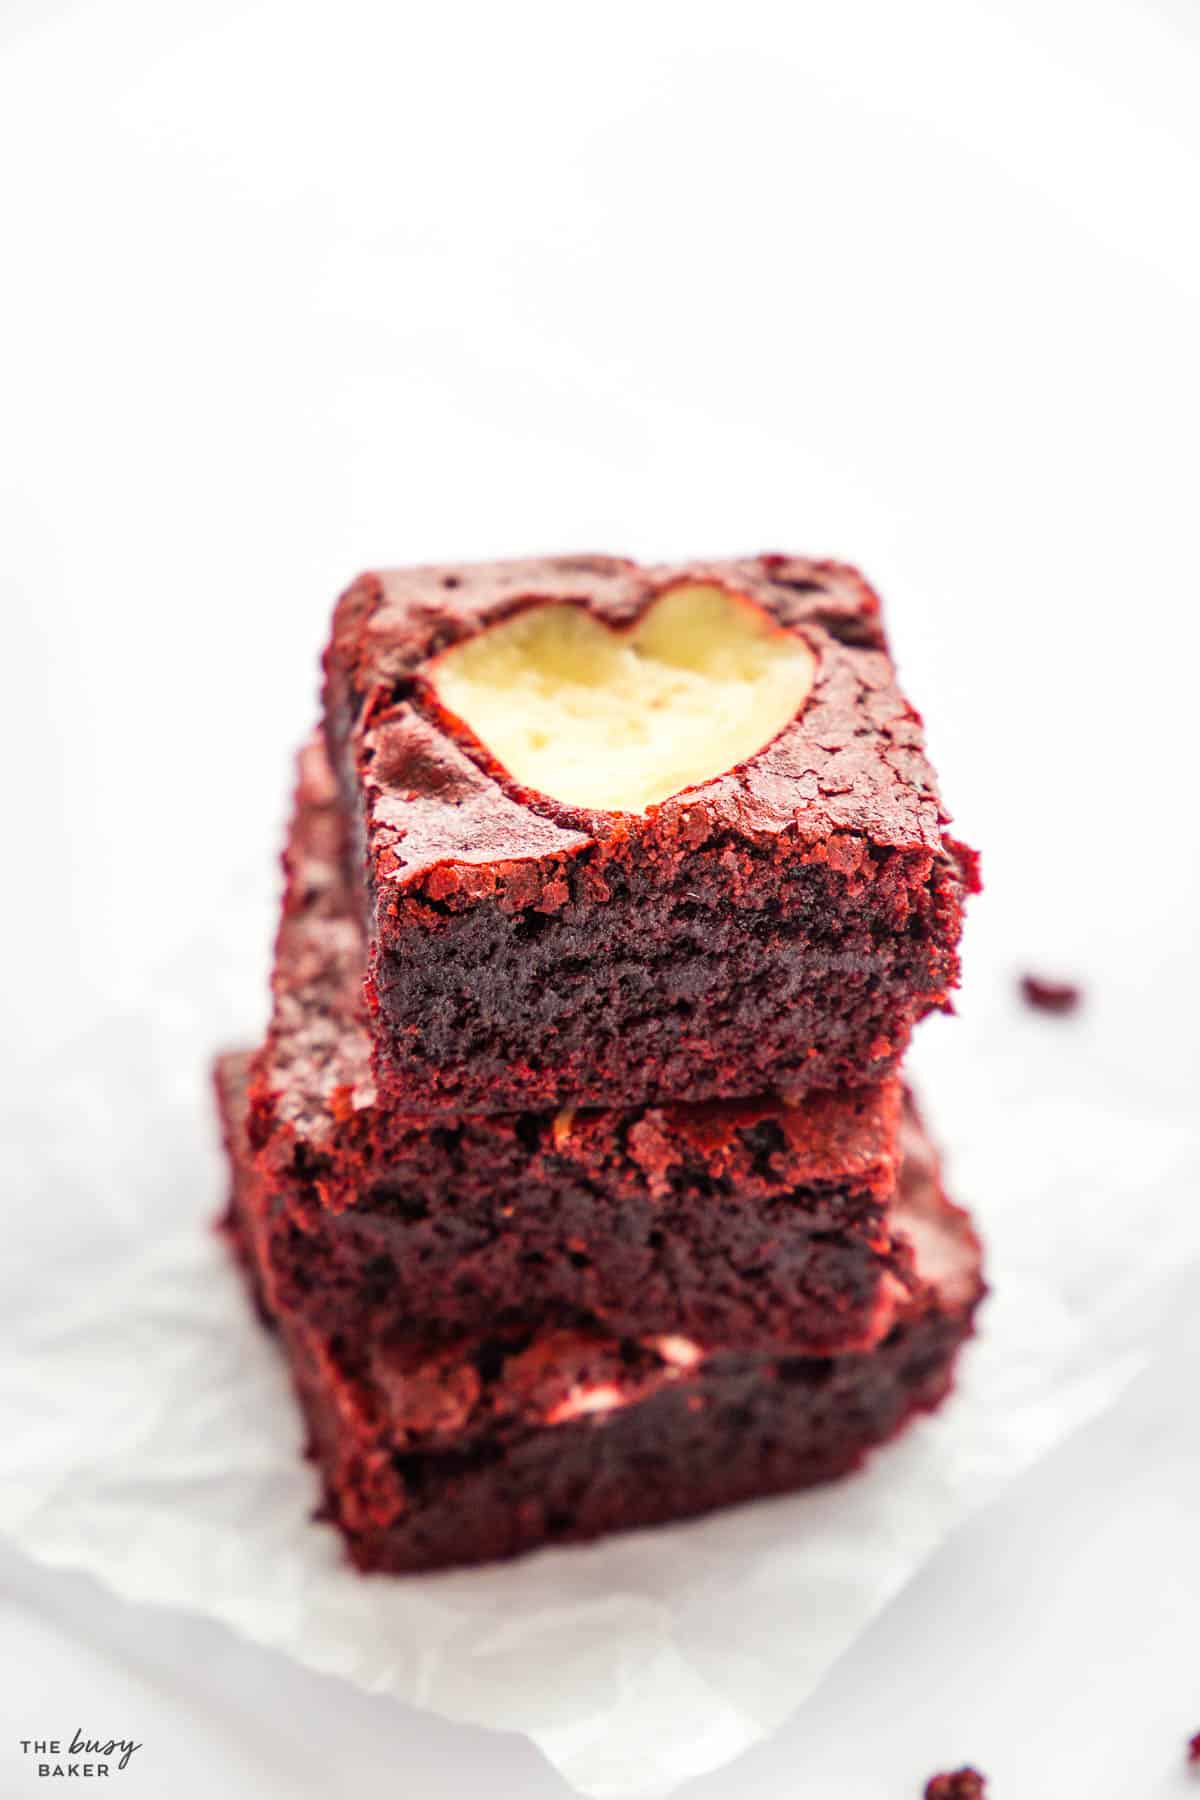
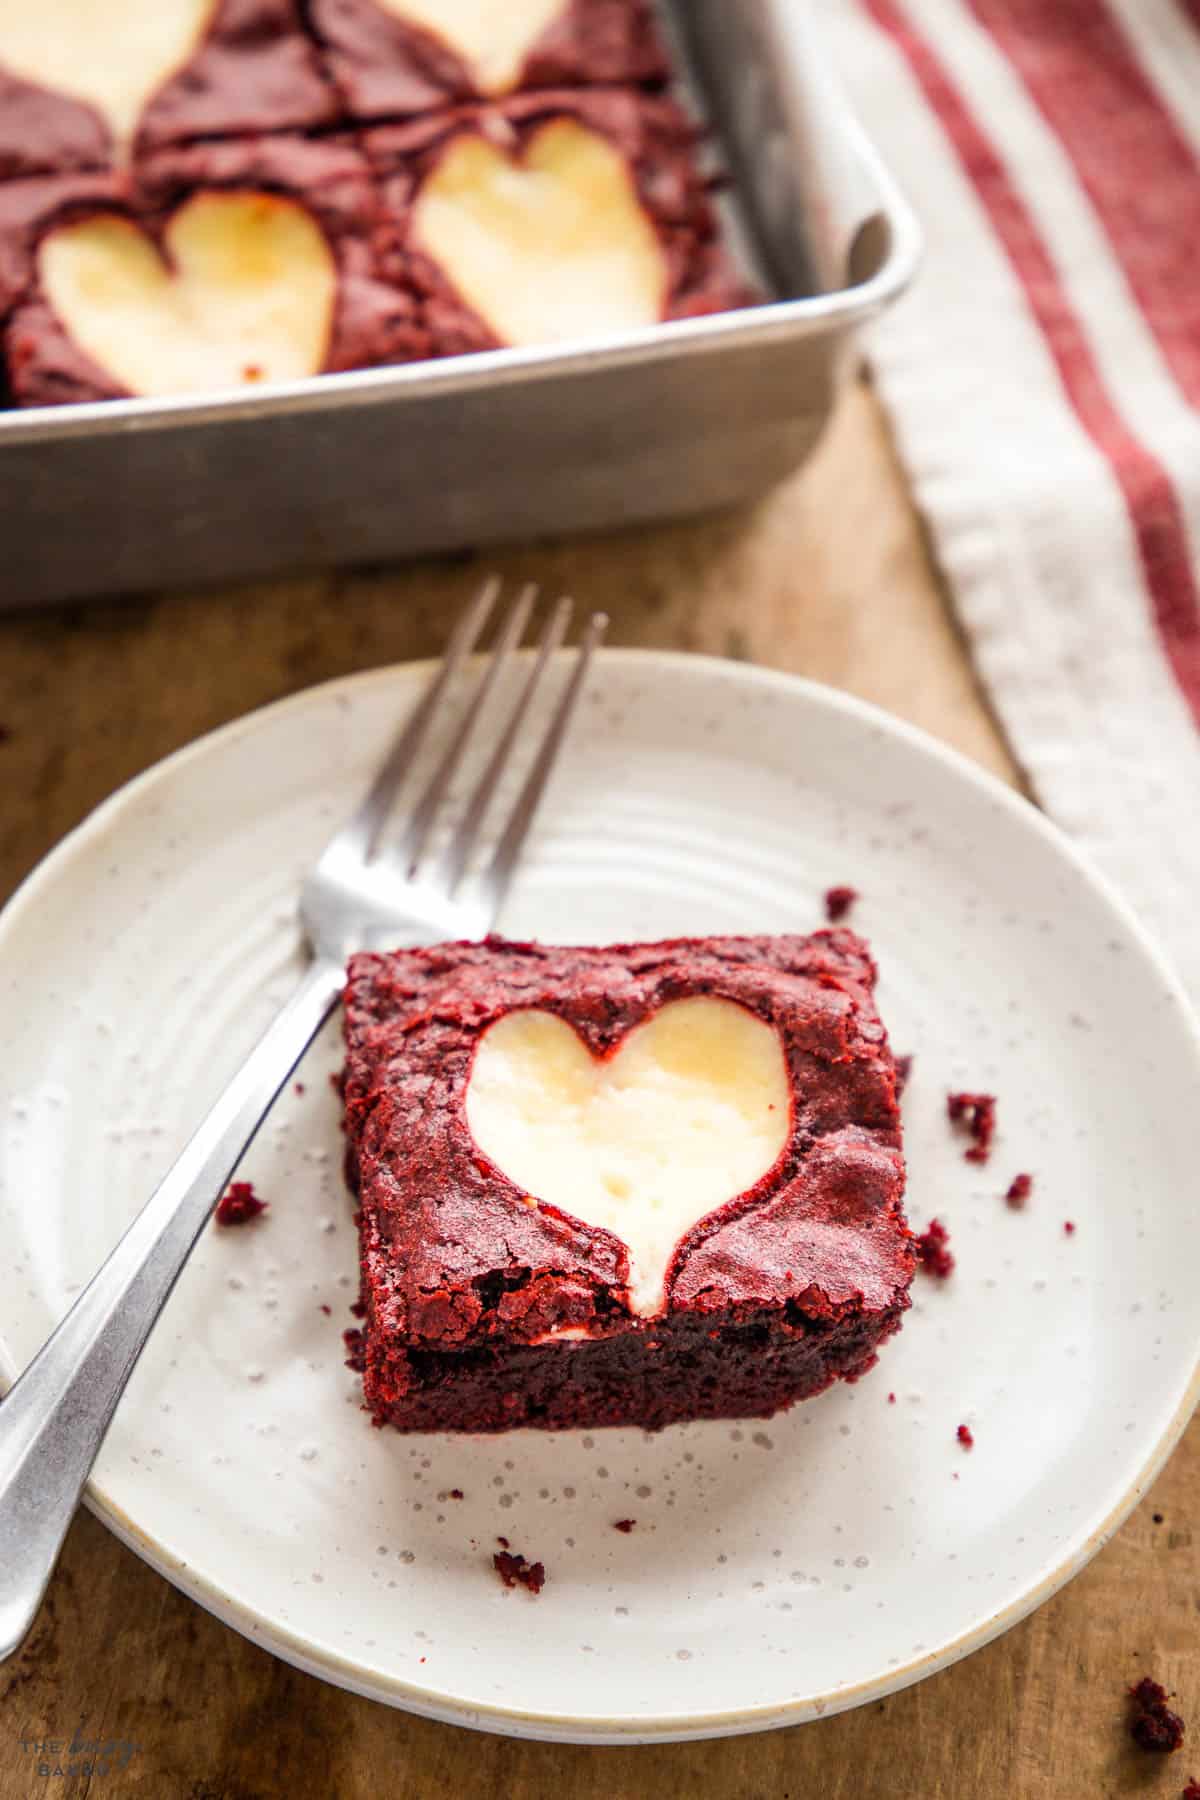
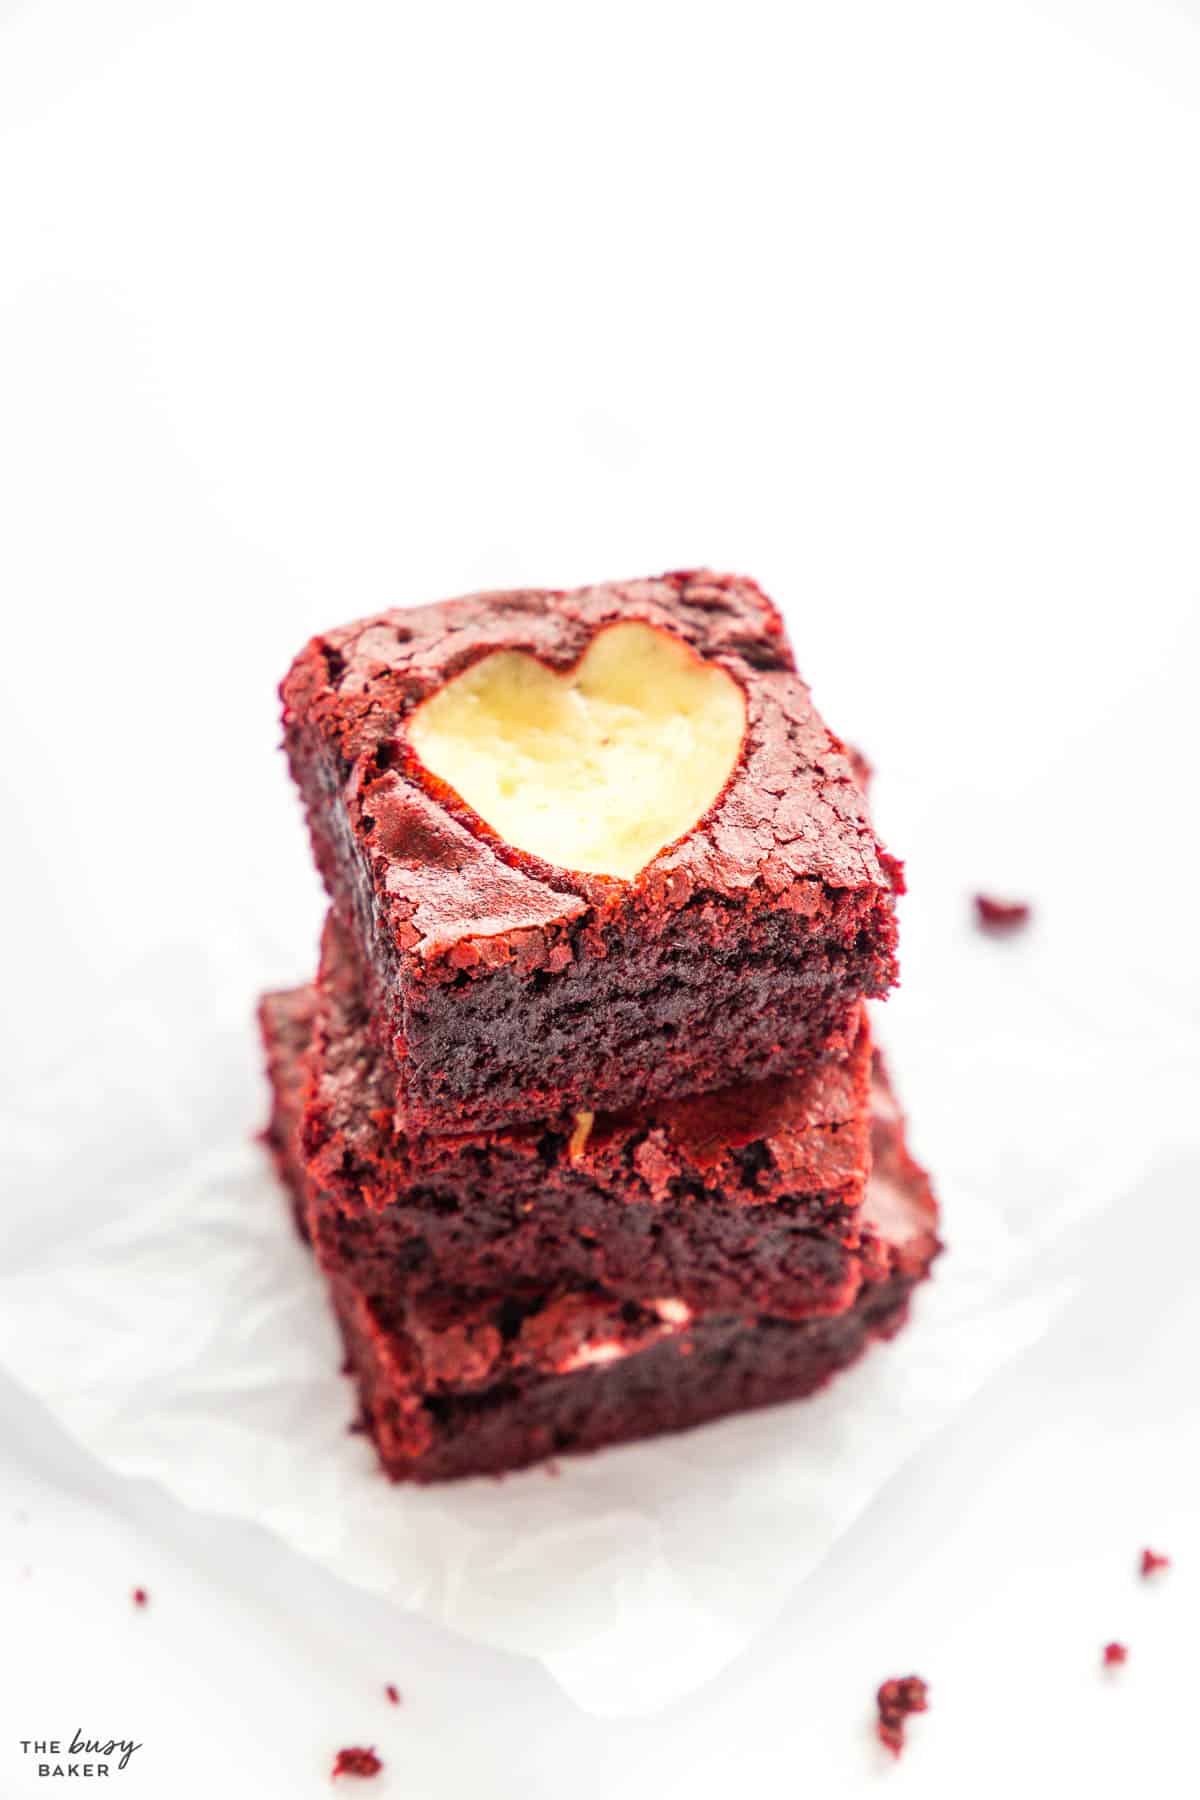
This Red Velvet Brownies recipe is the perfect simple Valentine’s Day dessert – moist, fudgey, rich and chocolatey, with an easy cheesecake topping!
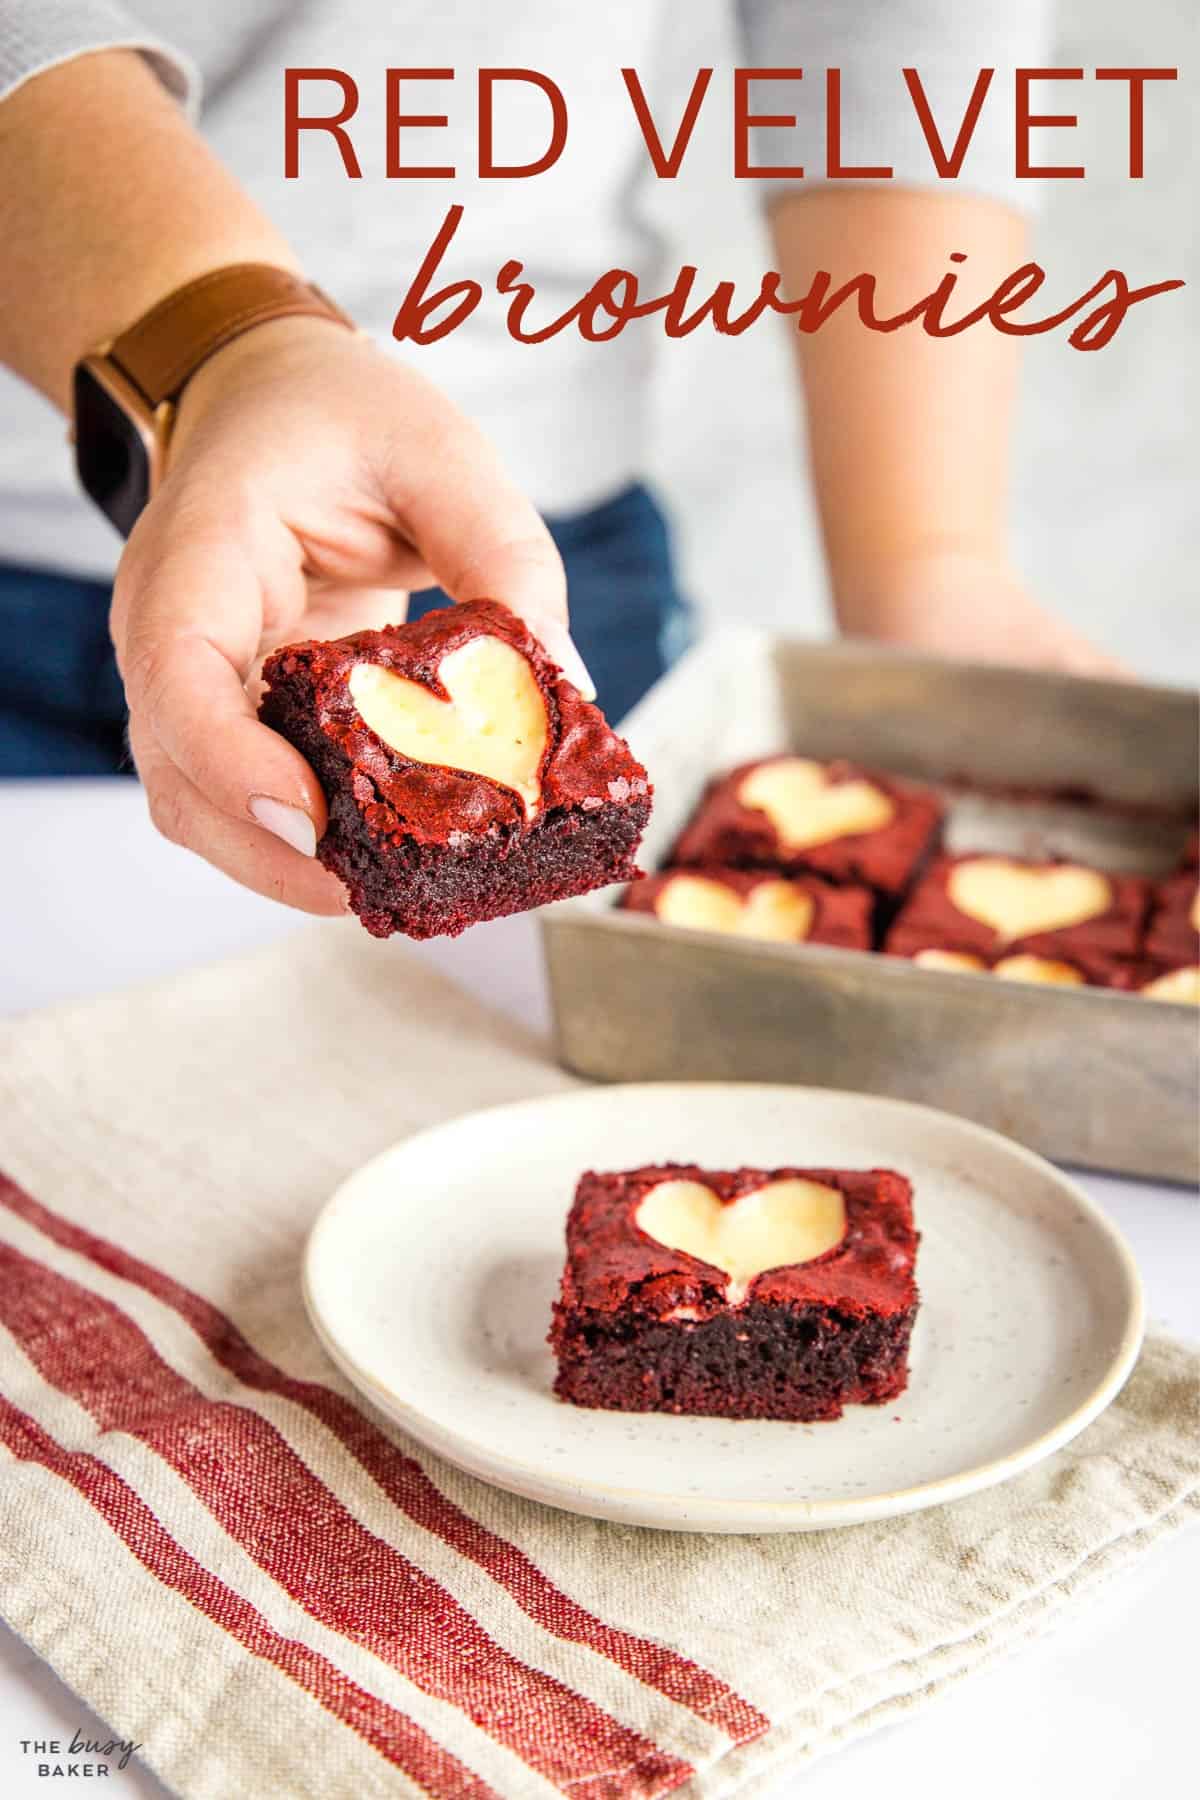
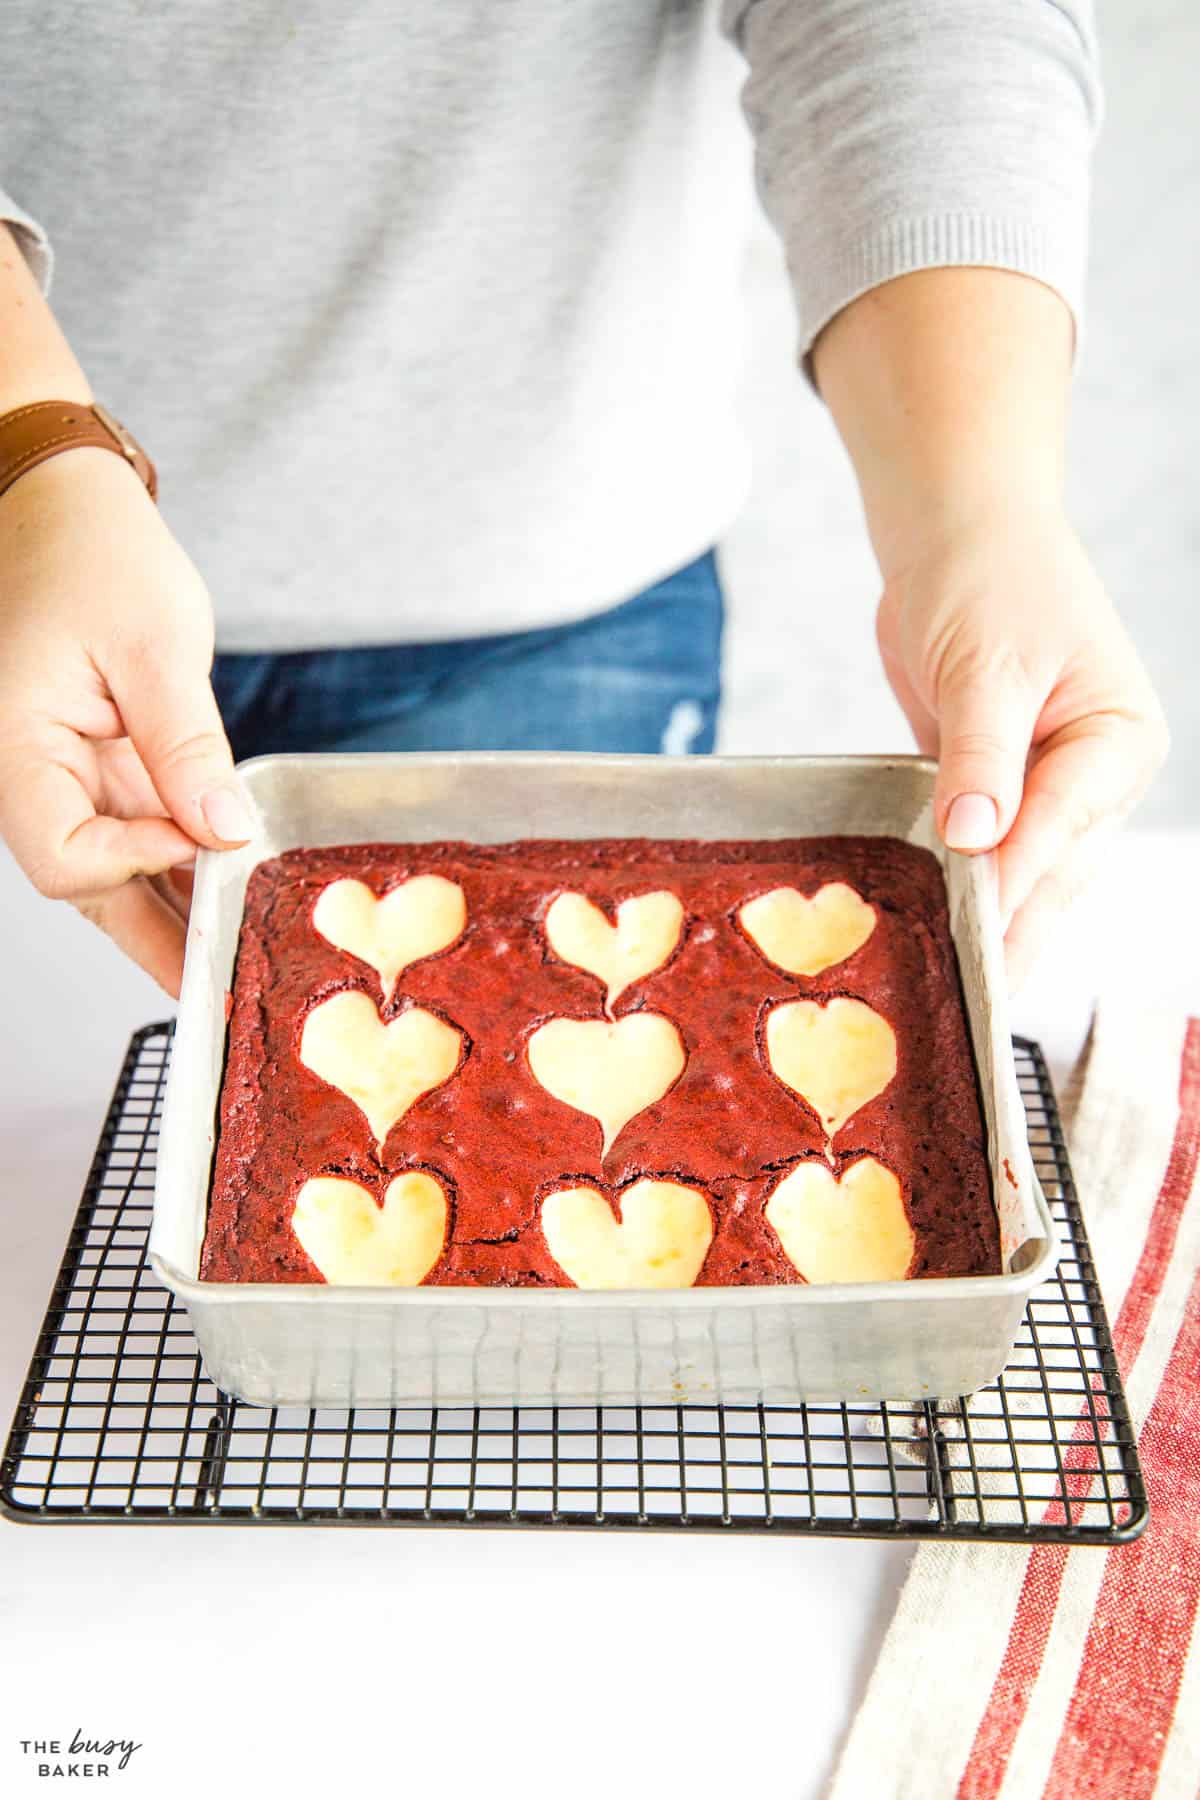
Table of contents
Red Velvet Brownies Recipe
If you’ve been a reader of The Busy Baker for awhile you’ll know we’re not really into novelty desserts for holidays like Valentine’s Day, St. Patrick’s Day, and Halloween. Honestly, the most creative we usually get is adding food colouring to our favourite dip or fluffy frosting.
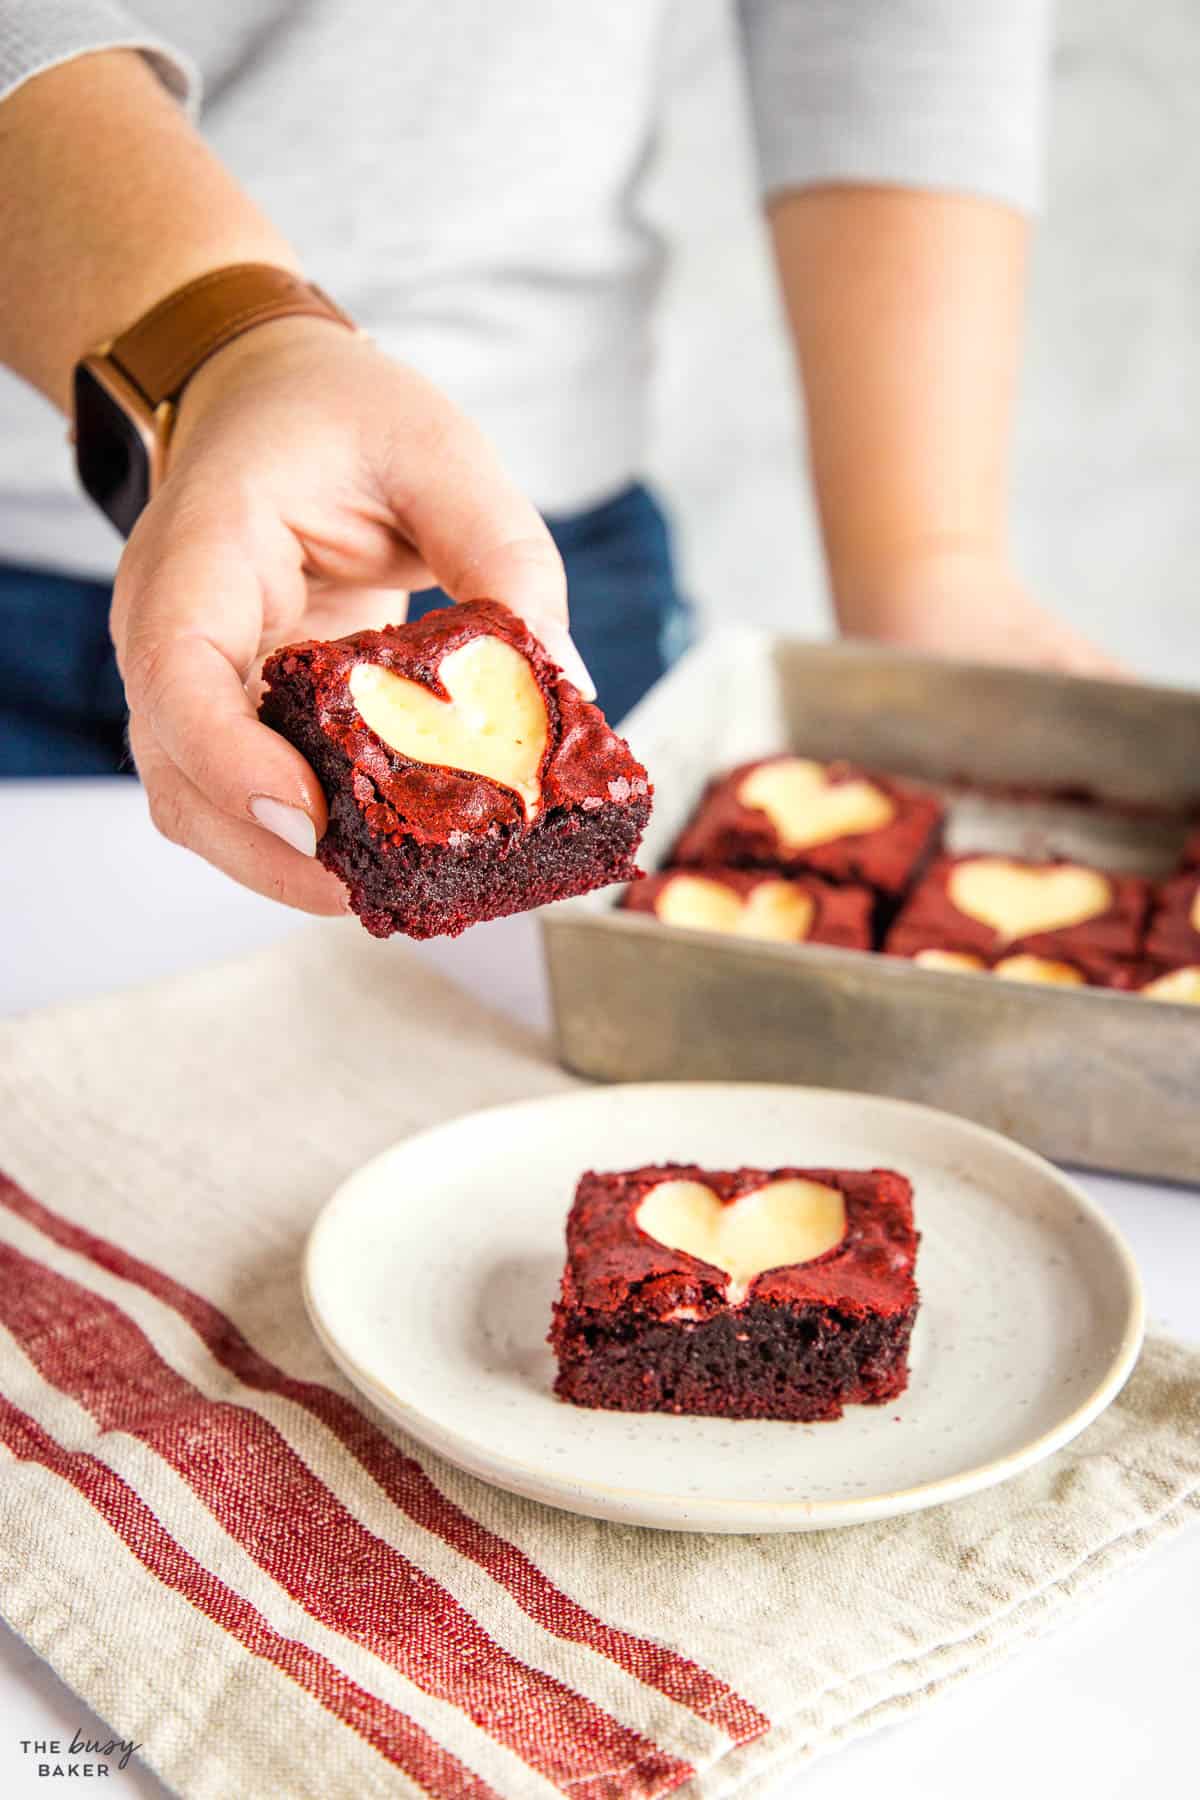
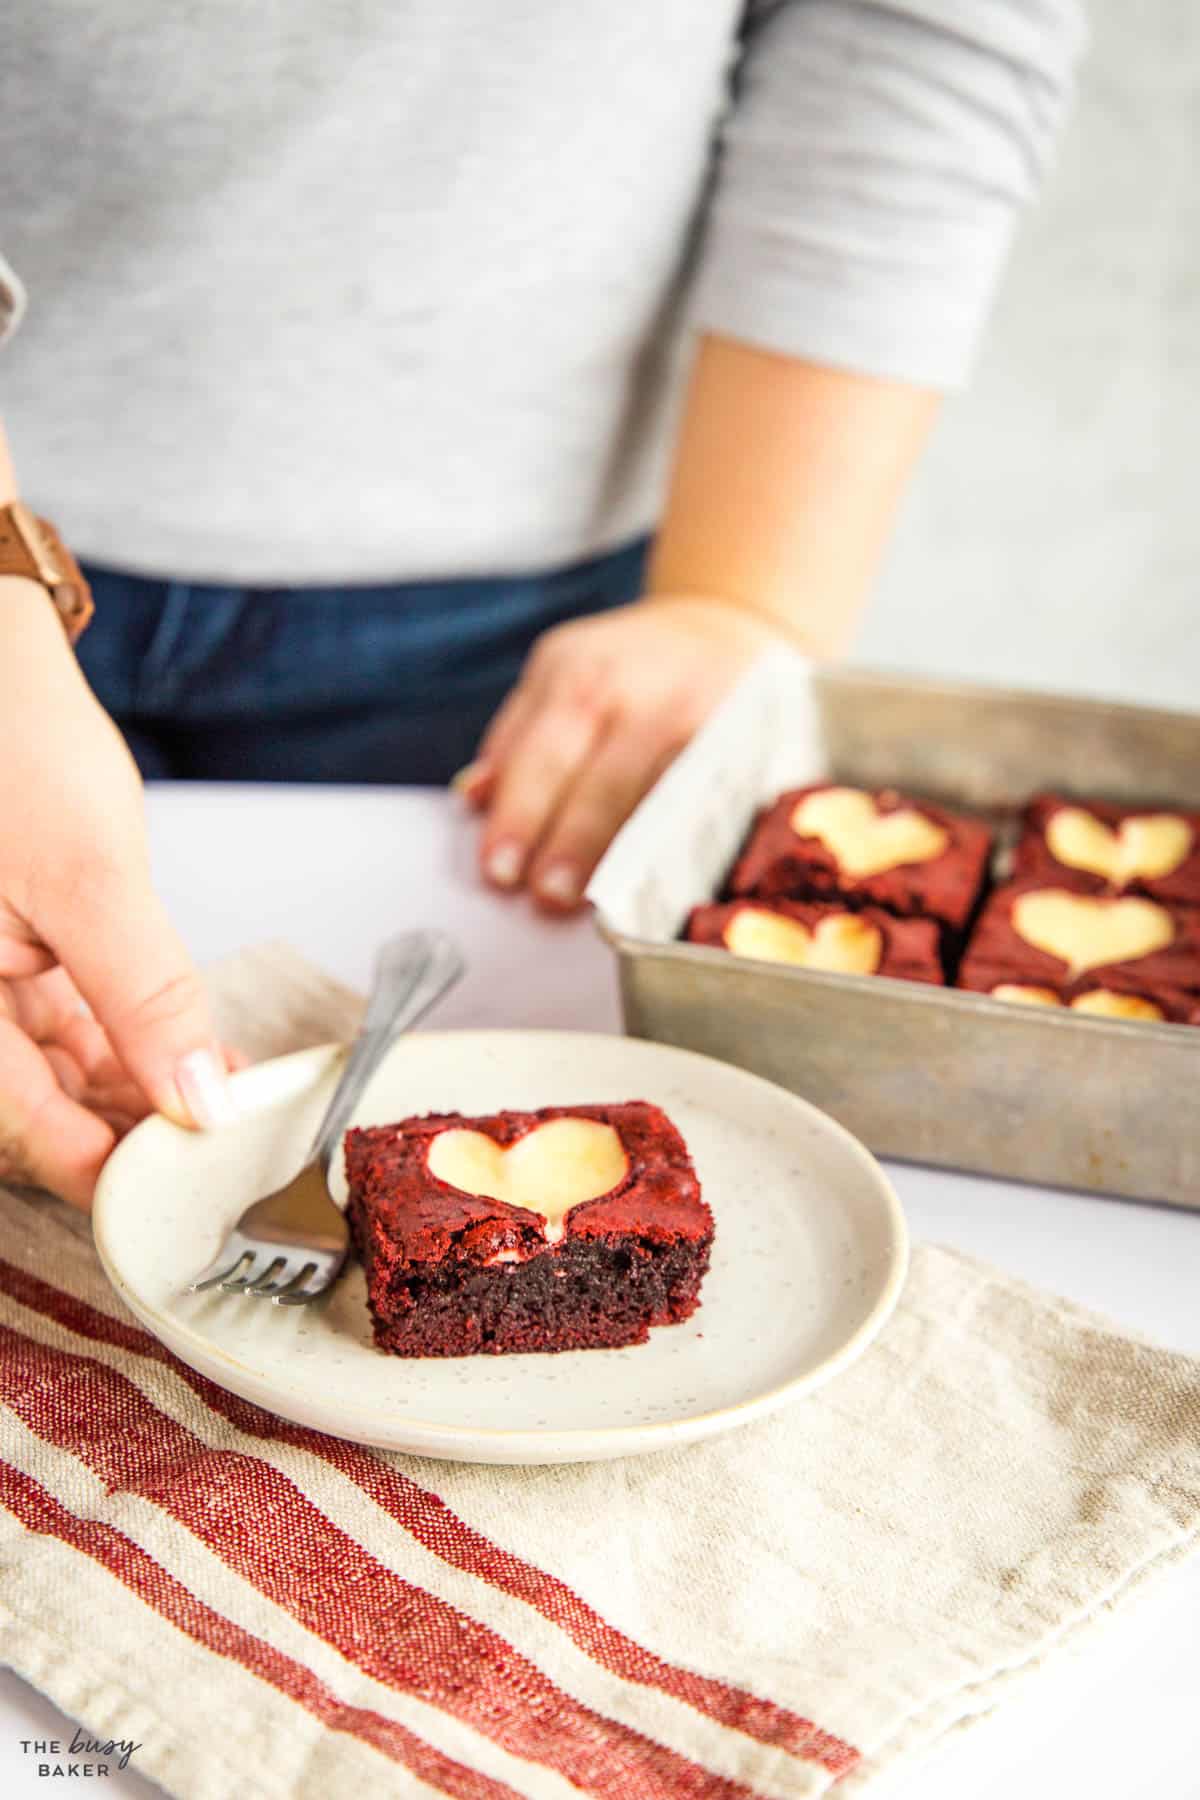
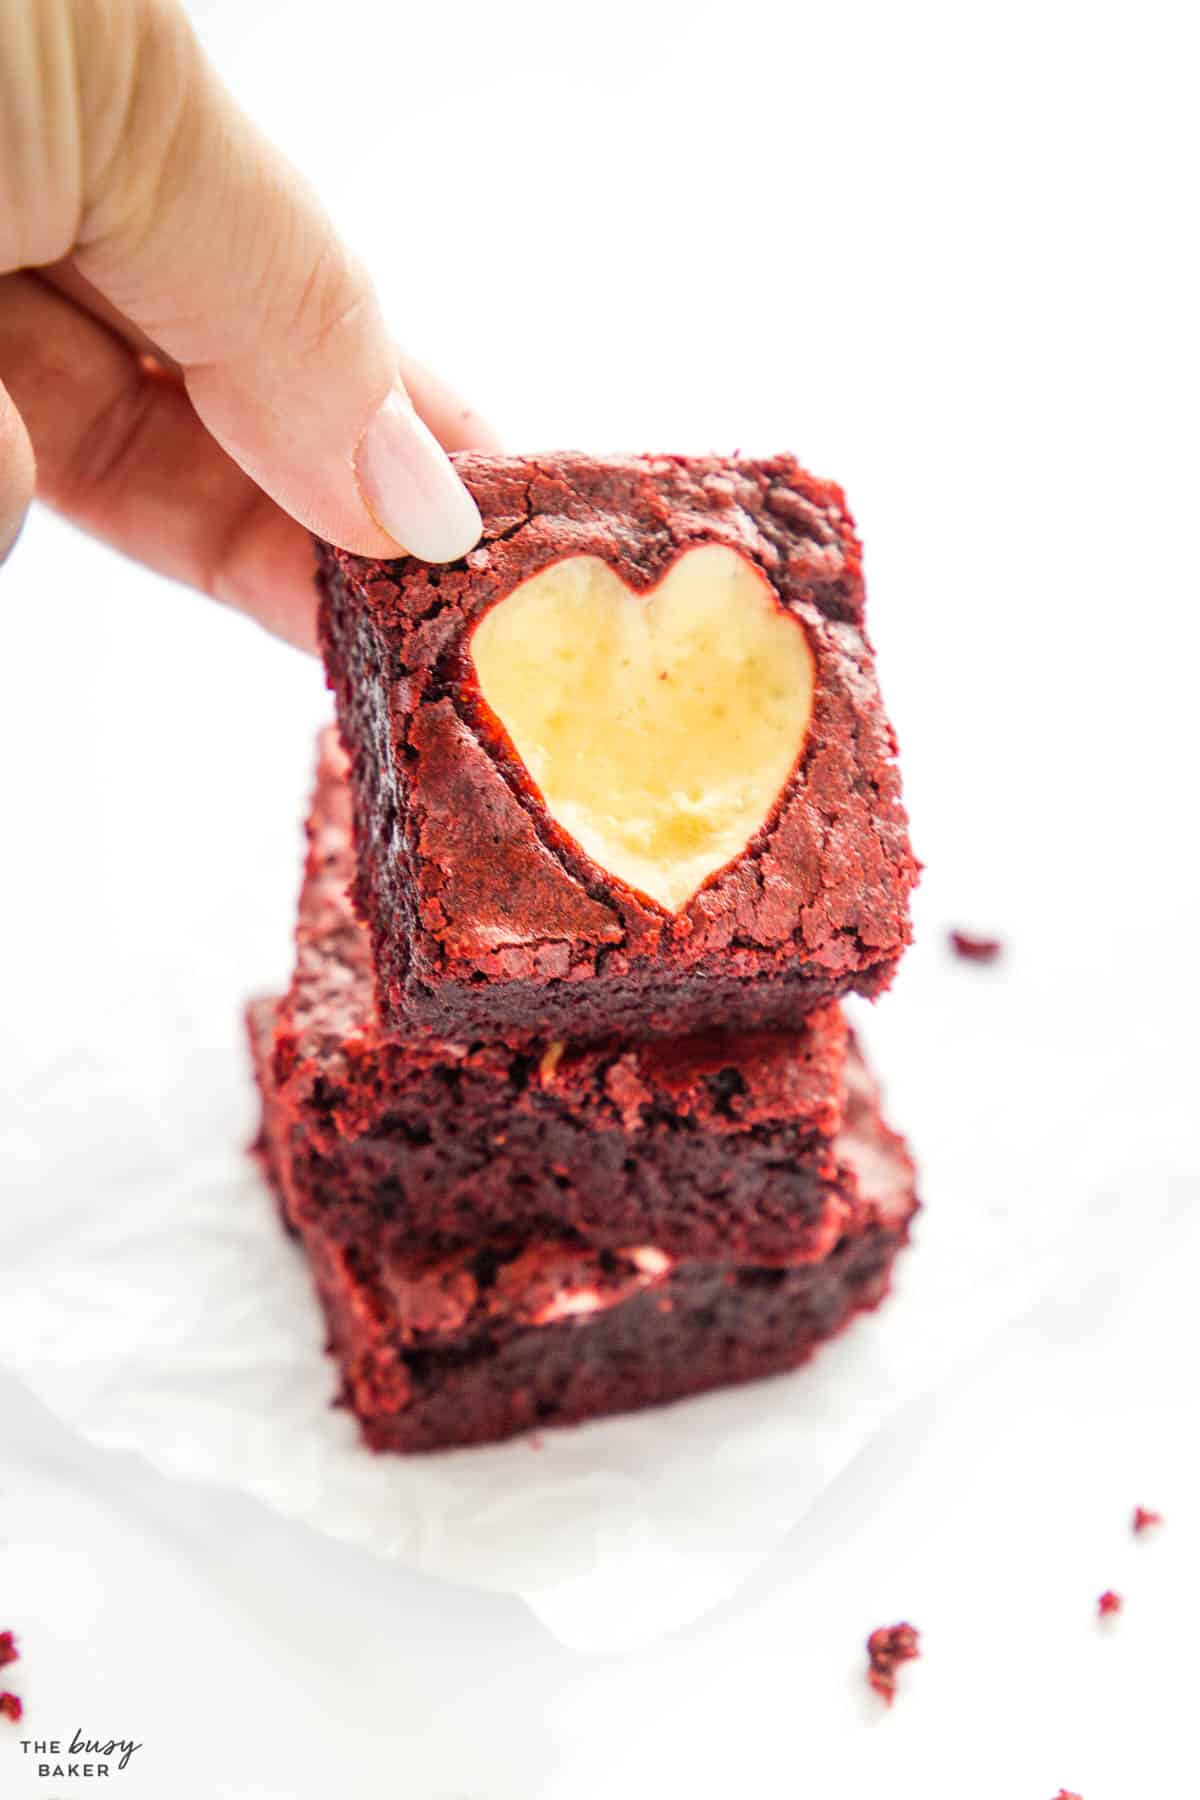
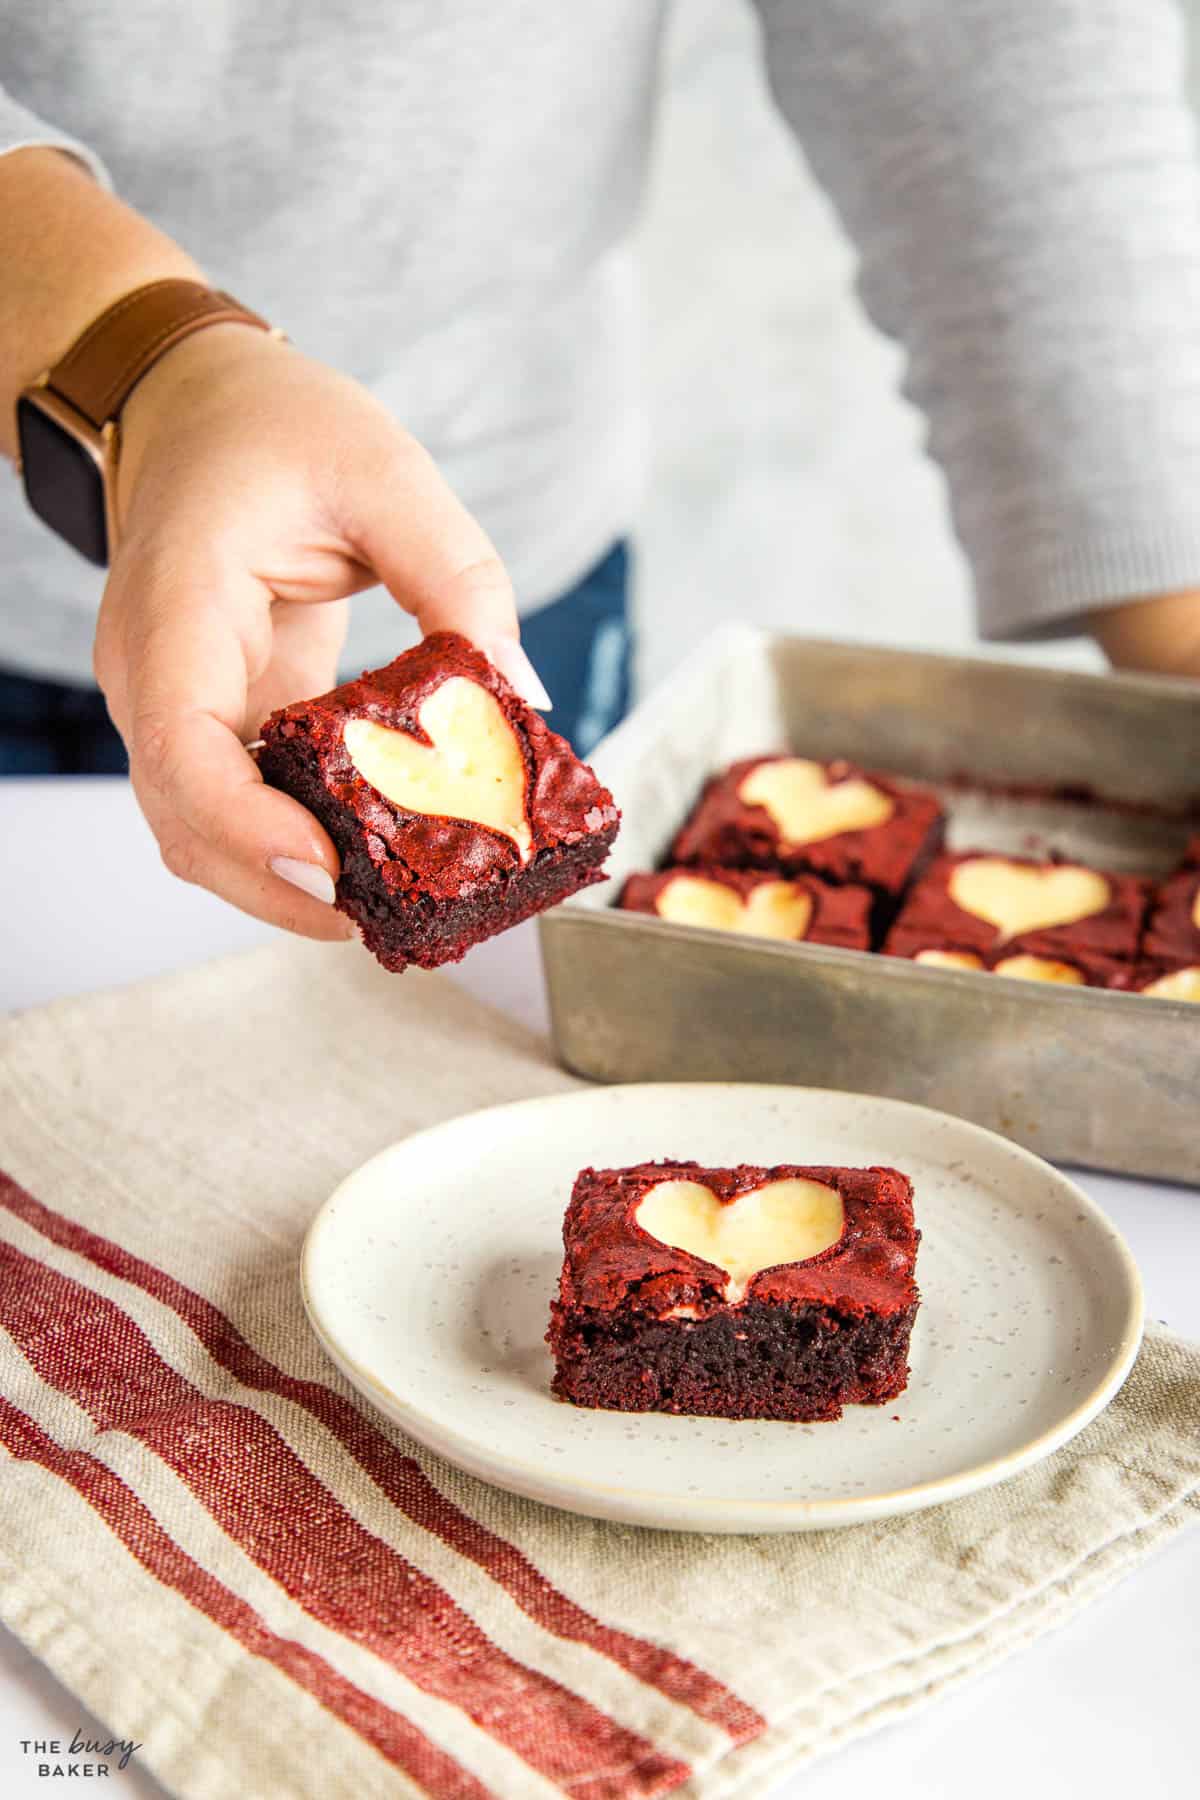
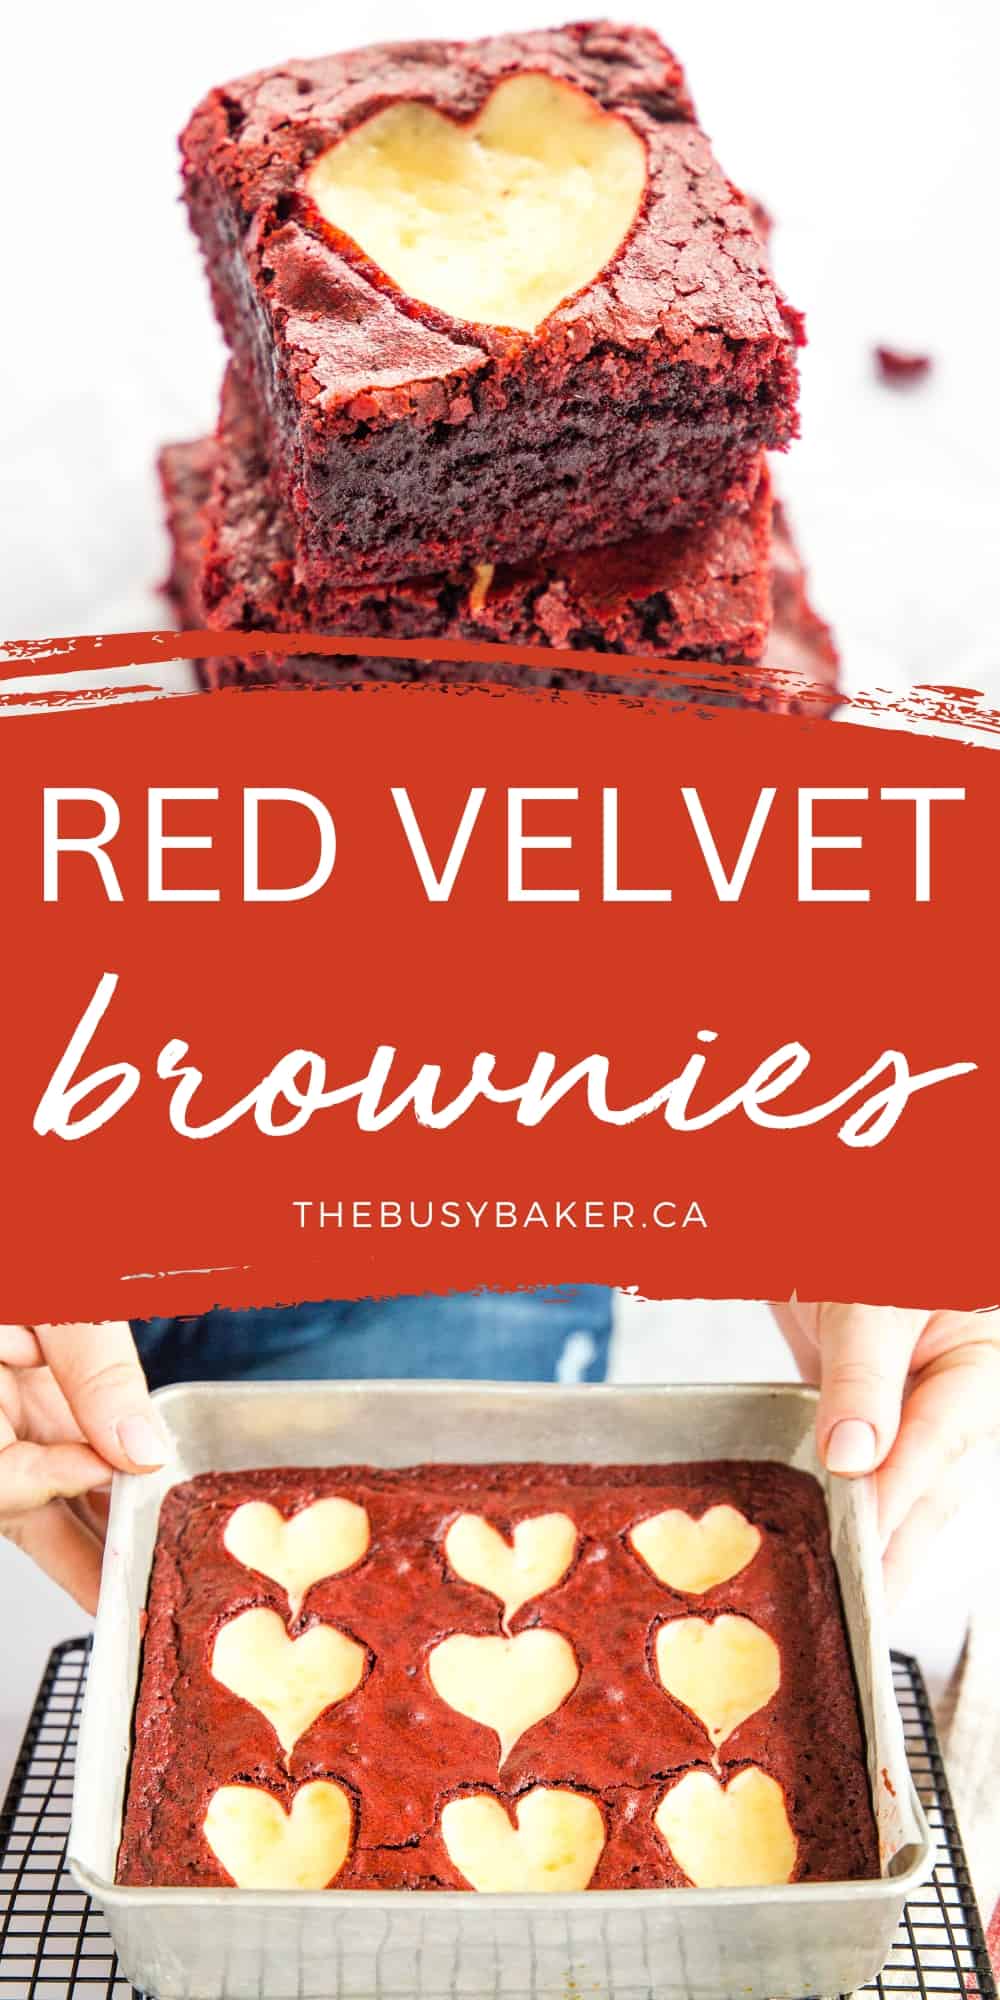
These Red Velvet Brownies are the perfect easy and festive Valentine’s Day treat, and trust us – the only thing you need to create the gorgeous heart design on top is already in your kitchen…guaranteed!
Red Velvet Cheesecake Brownies
As if Red Velvet Brownies aren’t indulgent enough, the cheesecake topping on these brownies takes them over the top!
It’s easy to mix up with just a few simple ingredients – follow our easy tutorial for creating the gorgeous heart design on top, or simply dollop the cheesecake topping on top of the batter and use the tutorial we share in our Mocha Cheesecake Brownie recipe to create an even more simple design on top.
More Red Velvet Recipes
We’ve shared so many of our favourite Red Velvet recipes with you already, like this Red Velvet Bundt Cake, these Red Velvet Donuts, this Easy No Bake Red Velvet Cheesecake, and these Soft and Chewy Red Velvet Sugar Cookies.
If you’re a lover of all things red velvet but you’re not an experienced baker, this Red Velvet Brownie Recipe may just be the easiest homemade red velvet treat you’ll make this Valentine’s Day!
Kitchen items for baking brownies
To make this red velvet brownie recipe you’ll need these kitchen items (affiliate links):
- an 8-inch square baking pan (a pan like this also works)
- parchment paper for lining the baking pan
- mixing bowls
- a whisk
- a silicone spatula
- a butter knife or dinner knife
- a cooling rack
- a knife for slicing
- Red gel food colouring (we like Red with no taste from Wilton brand)
EASY NO FAIL MUFFIN RECIPES AND BAKING TIPS
Get my easy no-fail muffin baking e-cookbook!
How to Make Cheesecake Brownies
Making cheesecake brownies isn’t much different than making traditional brownies. Simply mix up the brownie batter as outlined in the recipe. Use a separate bowl to mix up the cheesecake mixture. Add the brownie batter to the prepared baking pan and dollop the cheesecake mixture on top, swirl (or create a heart design), and bake!
One of the best tips for baking cheesecake brownies is to rotate the pan in the oven about halfway through baking. This will help the cheesecake mixture cook evenly and prevent it from becoming brown on one side or in one corner while baking.
Red Velvet Brownies Ingredients
To make this red velvet brownie recipe you’ll need:
- unsalted butter
- unsweetened cocoa powder
- granulated sugar
- eggs
- vanilla extract
- red gel food colouring (affiliate link)
- vinegar
- flour
- salt
- cream cheese
How to Make Red Velvet Brownies
Time needed: 35 minutes
Follow these tips for the perfect red velvet brownies!
- Start with melted butter.
Combining the melted butter and cocoa powder first creates a very moist and fudgey texture.
- Use gel or paste food colouring.
Skip the liquid food colouring when making red velvet recipes – you’ll have to add WAY too much to achieve the correct colour and it will affect the flavour and texture of the end result. Our favourite gel food colouring for this recipe is Red (no taste) from Wilton (affiliate link).
- Don’t forget the vinegar.
The traditional red velvet flavour comes from added acidity in the batter. The vinegar adds a lot of flavour, so don’t skip it!
- Score the top to create an even pattern.
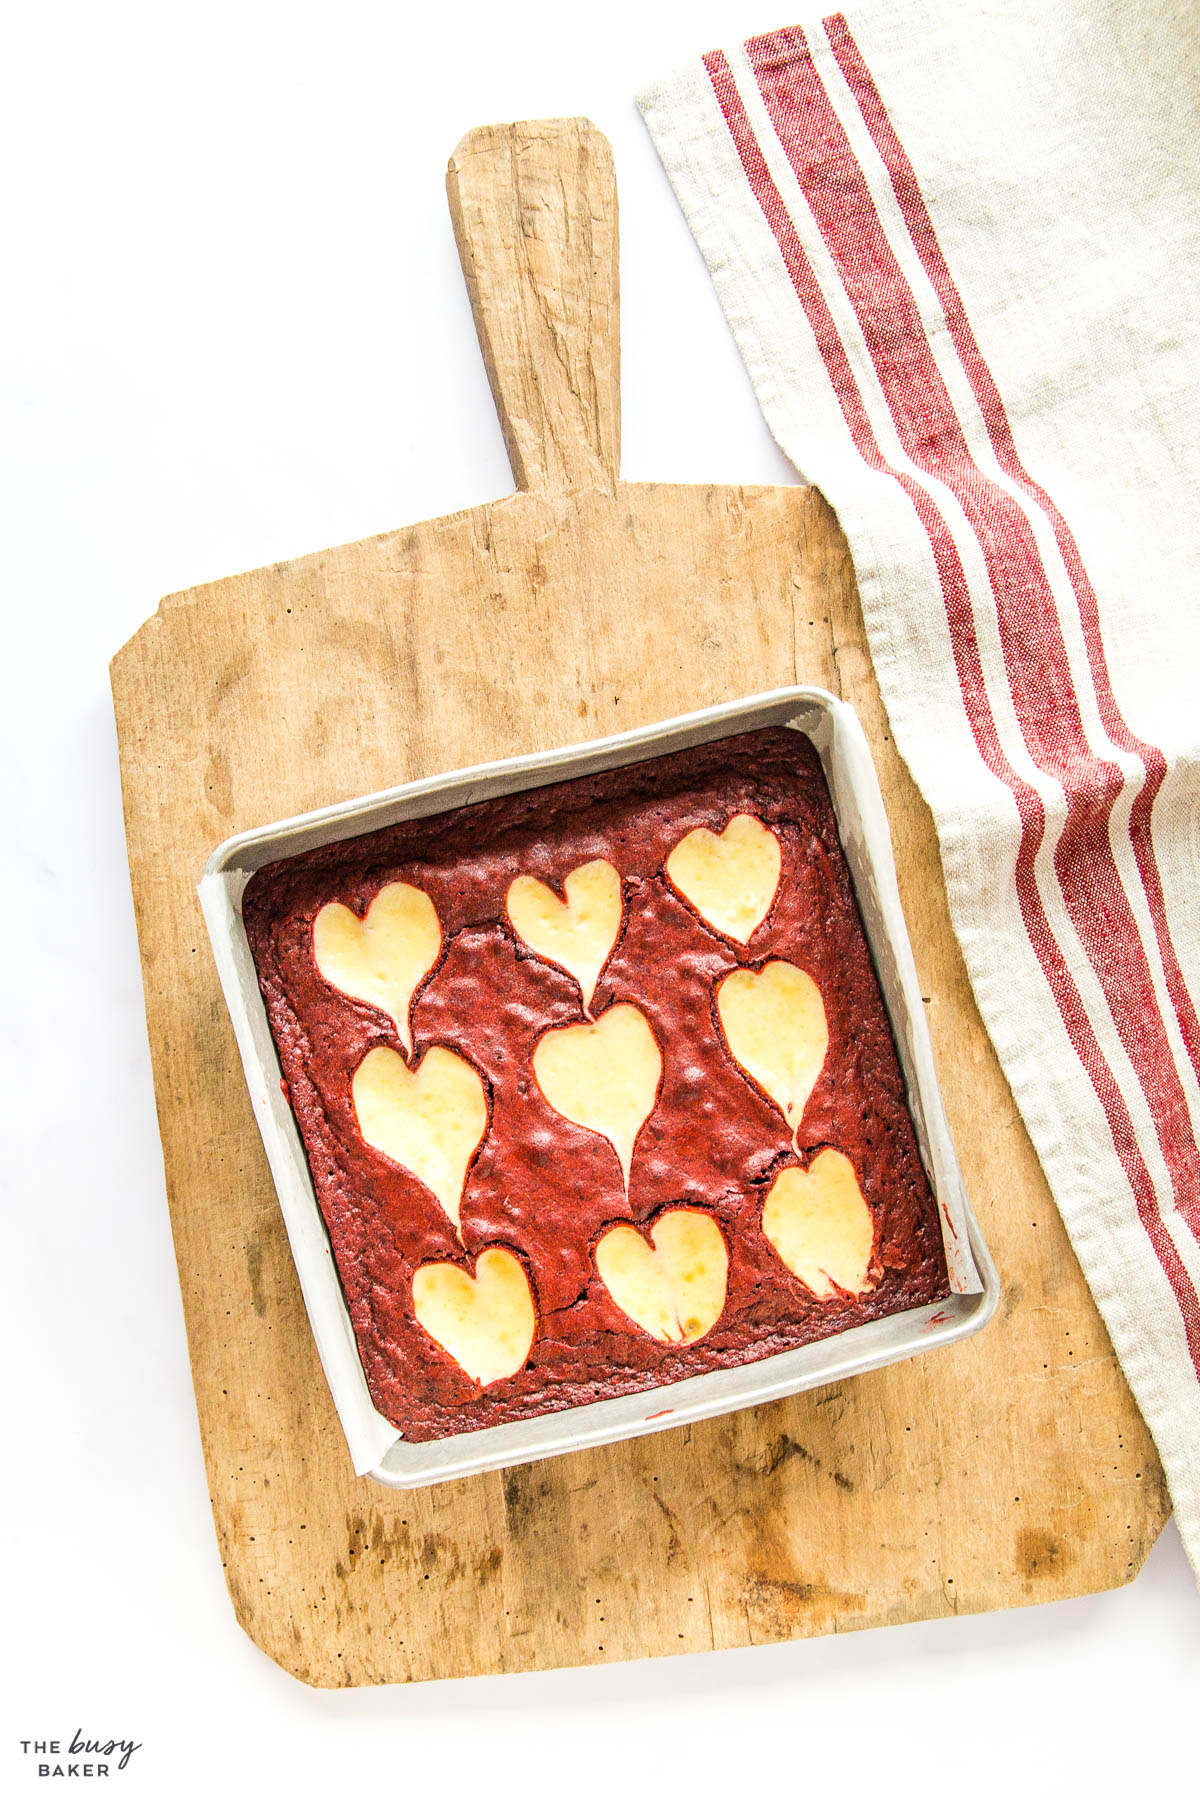
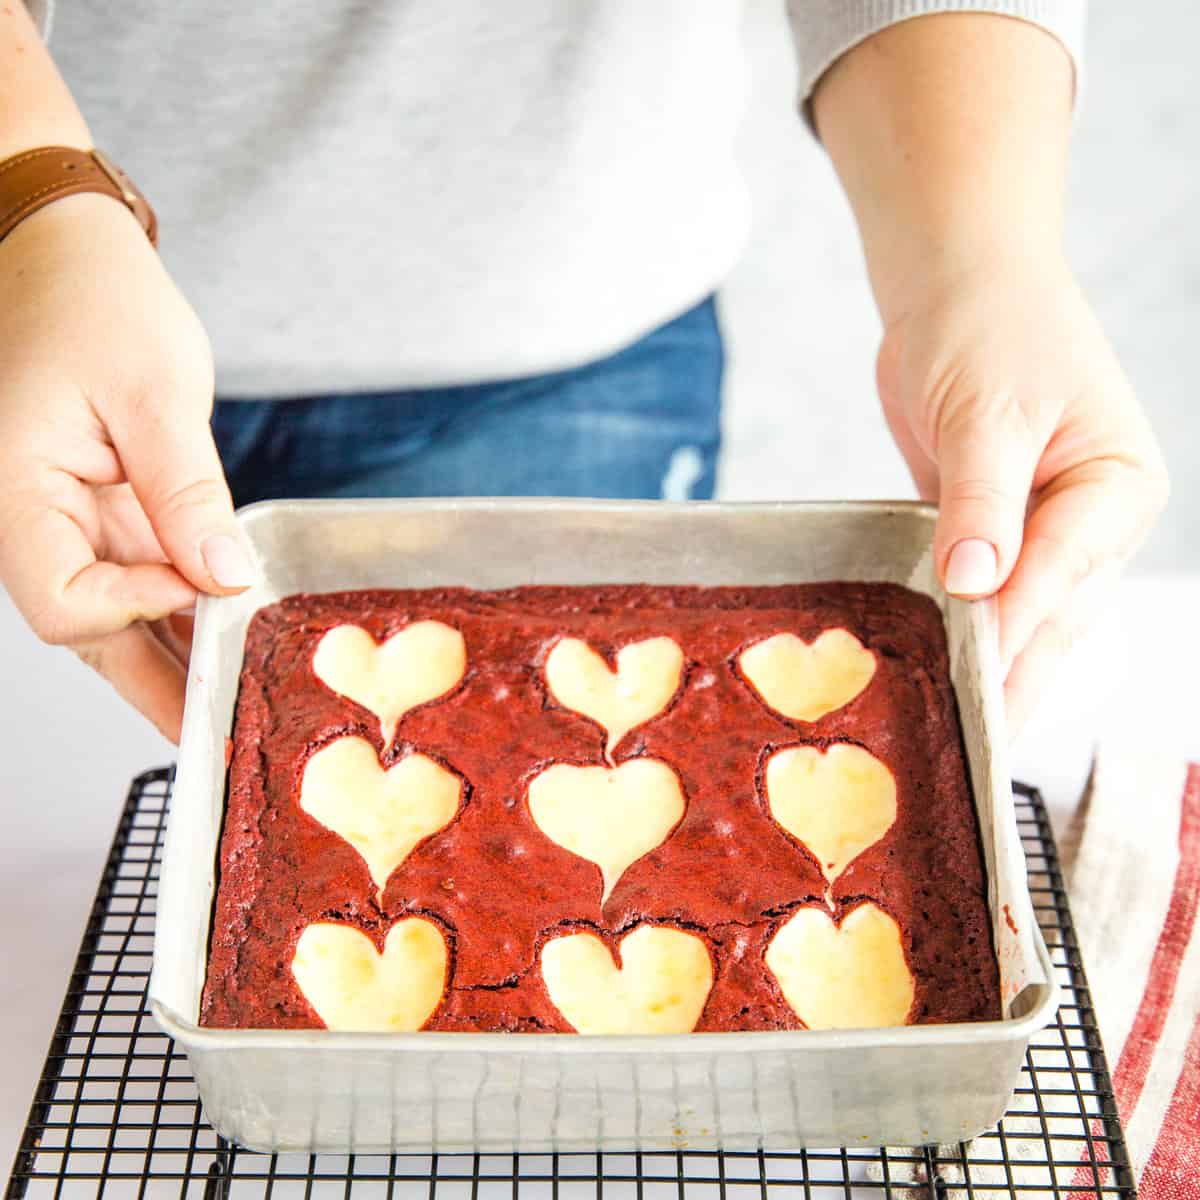
To create the heart pattern, gently drag a butter knife over the red velvet brownie batter in the baking pan in a tic-tac-toe pattern to create 9 evenly-sized boxes. These small lines will disappear as the brownies bake.
- Don’t use too much cheesecake filling.
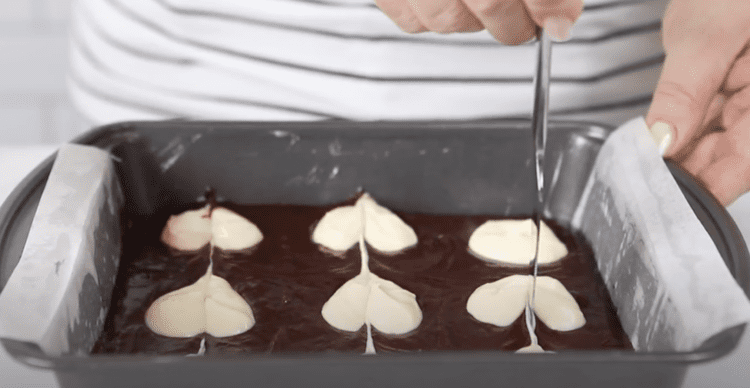
If you’re trying to create the cheesecake hearts, dollop only about 1 1/2 tablespoons of the cheesecake mixture in the middle of each of the boxes you’ve created on top of the brownie batter.
- Use a butter knife.
Drag a butter knife downward through the three dollops of cheesecake mixture on the left side to create the heart design. Wipe the knife clean and then drag it through the cheesecake mixture in the middle column, then the right column, wiping the knife clean between each column.
- Rotate the pan once during baking.
In case your oven doesn’t bake evenly, rotate the pan halfway through baking to prevent the cheesecake mixture from over browning on one side or in one corner of the pan (in case your oven doesn’t bake perfectly evenly…most don’t!).
- Cool before slicing.
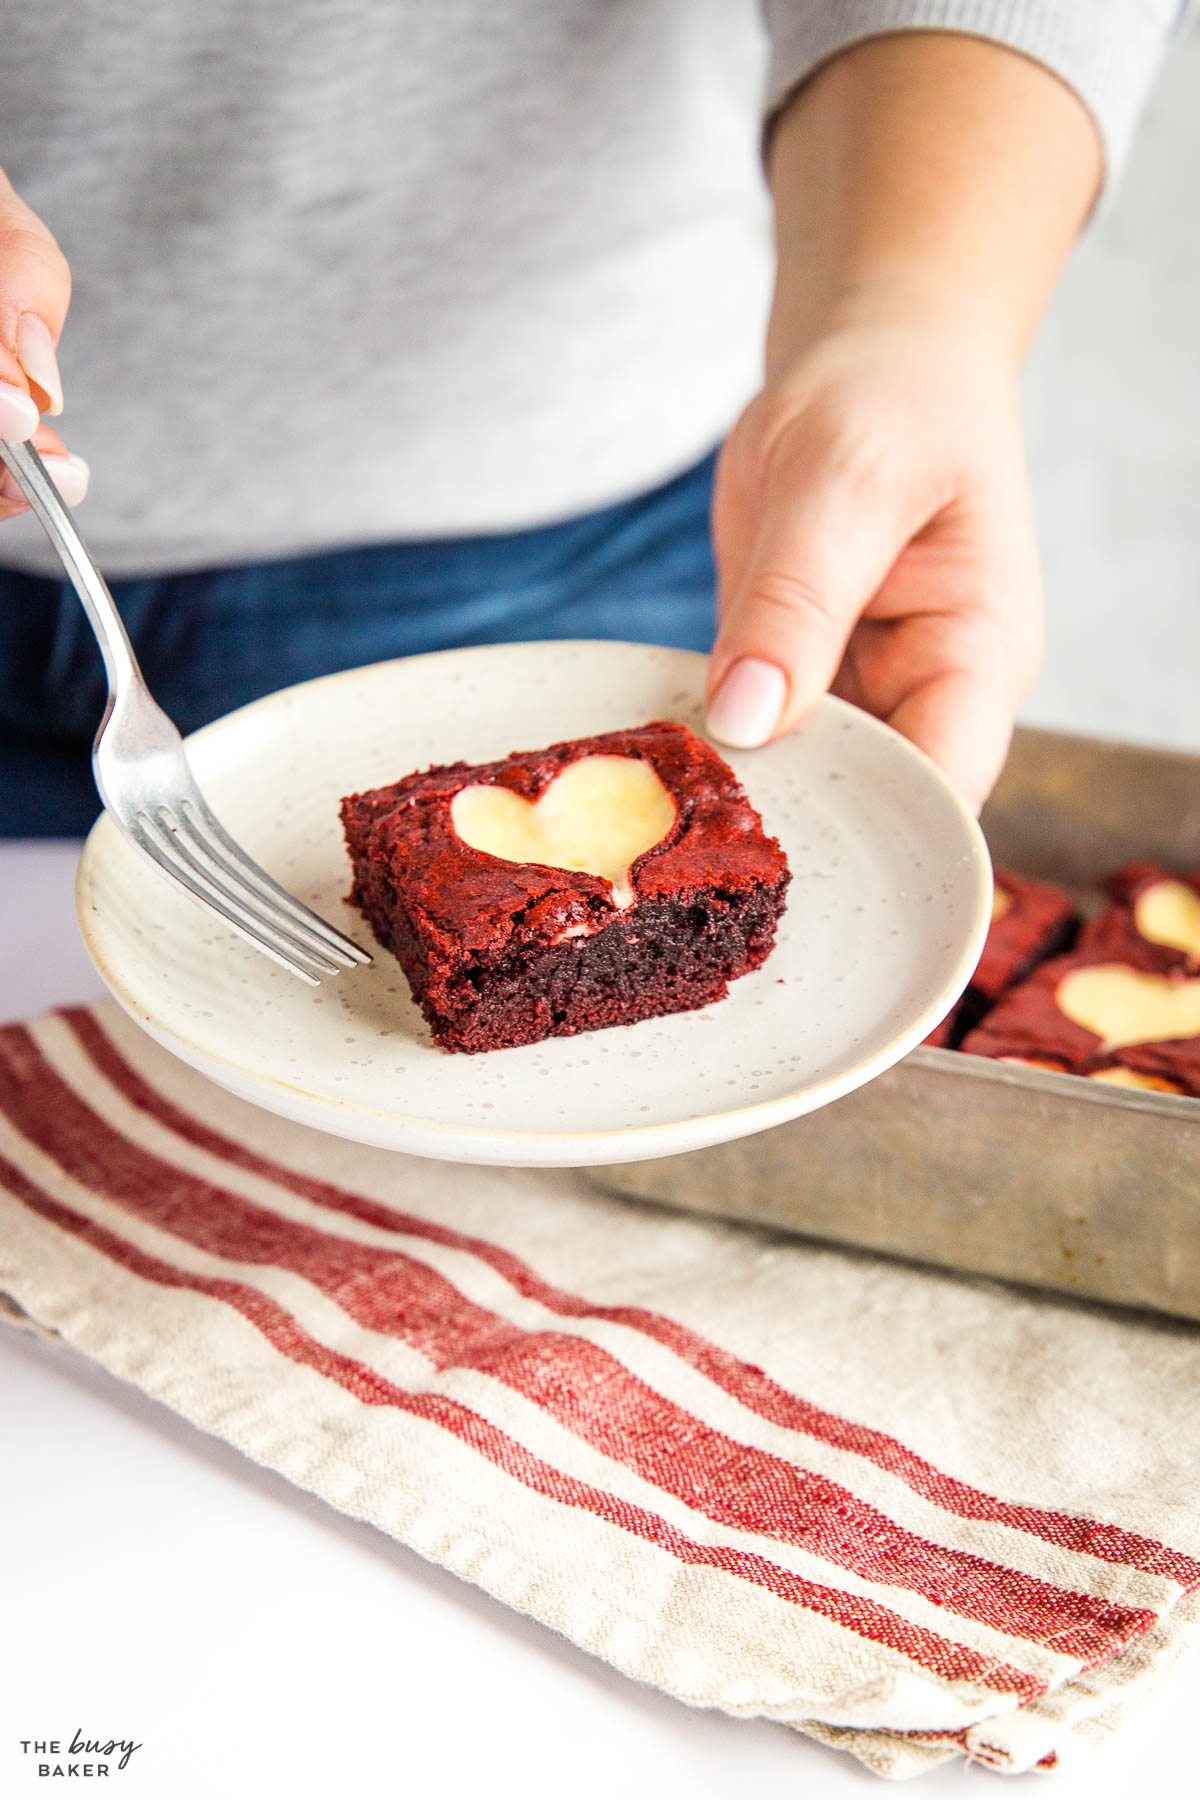
These brownies are very fudgey. Cool them for at least 20-25 minutes before slicing into them so they stay together.
Can I freeze these brownies?
Yes! Place sheets of parchment paper between the layers and store in an airtight freezer-safe container for up to 2 months.
Do I have to store these brownies in the fridge?
Yes! Because the cheesecake hearts contain cream cheese it’s best to store these brownies in the fridge. Leave them out at room temperature for 30 minutes before serving.
Can I make these red velvet brownies ahead of time?
Yes. For best results, enjoy these brownies the day they’re made or make them one day ahead of time.
Can I use liquid red food colouring in this recipe?
We don’t recommend it. Using gel food colouring (affiliate link)is the best way to colour the batter red without adding a bad food colouring taste or changing the texture.
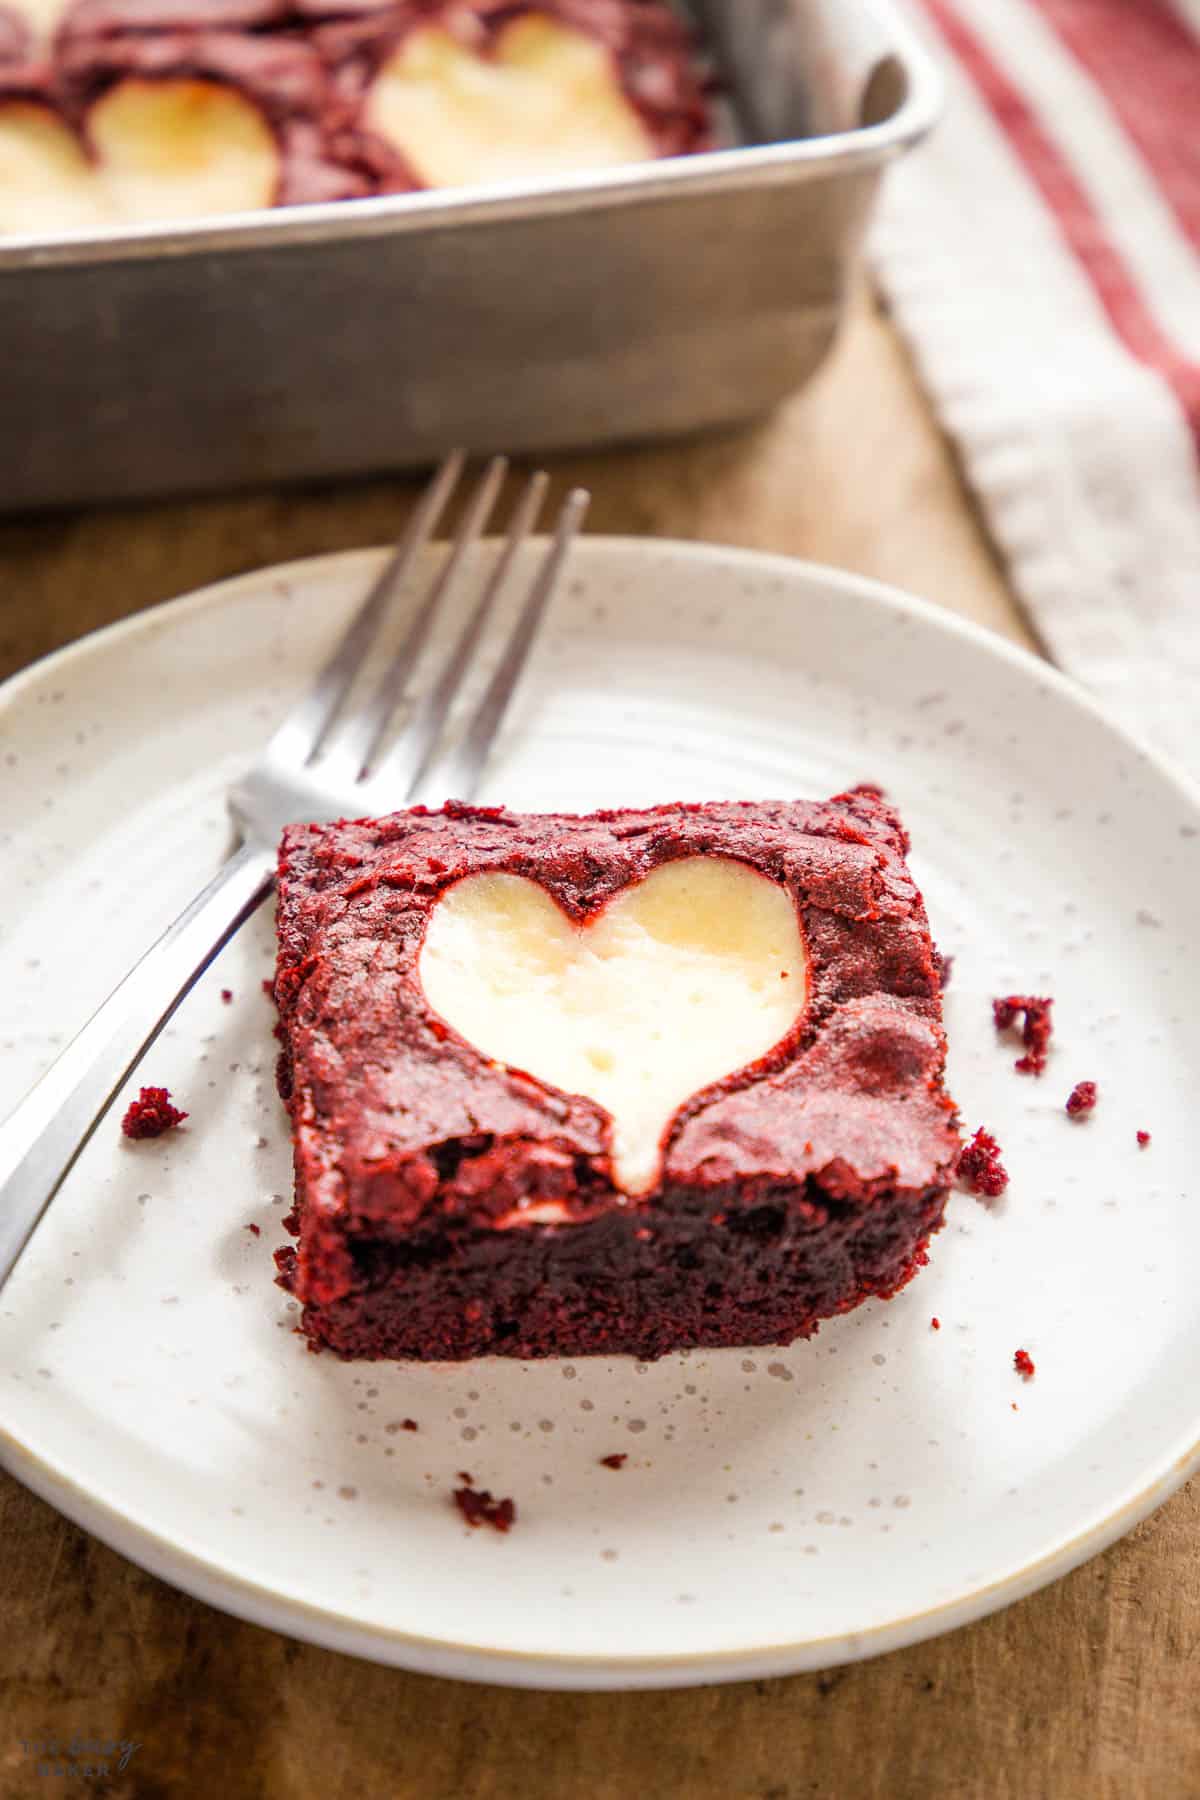
We hope you love this recipe as much as we do! Let us know in the comments below, what’s your favourite homemade Valentine’s Day treat? We’d love to know!
EASY NO-BAKE CHEESECAKE RECIPES & TIPS
Get my easy no bake cheesecakes e-cookbook!
Red Velvet Brownies Video
Watch the video below to see exactly how we make this recipe. You can find many more deliciously simple recipe videos on our YouTube channel!
If you made this, share a photo!
Are you trying this recipe? Use the comment form below to share your take; now with support for image uploads and comment voting!
Red Velvet Brownies
Recipe: Equipment
Recipe: Ingredients
For the cheesecake mixture:
- 4 ounces full fat cream cheese
- 1/3 cup granulated sugar
- 1/2 large egg (or use one small egg)
- 1/4 teaspoon vanilla extract
For the red velvet brownie batter:
- 1/2 cup butter melted
- 1/4 cup unsweetened cocoa powder
- 1 cup granulated sugar
- 2 eggs
- 1 tablespoon vanilla extract
- 1 1/2 teaspoons red gel food colouring
- 1 teaspoon white vinegar
- 3/4 cup all purpose flour
- 1/2 teaspoon salt
Recipe: Instructions
- Preheat your oven to 350 degrees Fahrenheit (175 degrees Celsius) and grease an 8-inch square baking pan, lining it with parchment paper.
- In a medium bowl, whisk together the cream cheese, sugar, 1/2 egg, and vanilla. If you have a carton of pre-beaten pasteurized eggs on hand, add 1 1/2 tablespoons in place of the 1/2 egg. Set this mixture aside.
- To a different mixing bowl, add the melted butter with the cocoa powder and whisk together until smooth.
- Whisk in the sugar, then the eggs, then the vanilla, gel food colouring, and vinegar. Whisk the mixture together well until smooth.
- Add the flour and salt and mix together with a spatula just until the flour disappears and everything is combined.
- Add the thick batter to the prepared pan and press the batter to the edges and into the corners of the pan with the back of the spatula or with an offset spatula.
- Gently score the top of the unbaked brownie batter in the pan to create a tic-tac-toe pattern (dividing it into 9 equally-sized squares).
- In the centre of each square, add one dollop of the cheesecake mixture (about 1 1/2 tablespoons) into the middle. If you're creating the heart design, you may have some leftover cheesecake mixture to discard.
- Tap the pan firmly against the table to settle the batter and the cheesecake mixture.
- Take a butter knife or a dinner knife (not a sharp knife) and drag the knife (held vertically) through each of the cheesecake dollops to create the hearts (watch the video in this post for a tutorial).

- Bake for 22-25 minutes at 350 degrees Fahrenheit (175 degrees Celsius), turning the pan once about halfway through baking to ensure the cheesecake hearts cook evenly and don't over-brown on one side.
- Let the brownies cool for about 20-30 minutes before slicing and serving.
Recipe: Notes
Storage Instructions
Because the cheesecake hearts contain cream cheese it’s best to store these brownies in the fridge. Leave them out at room temperature for 30 minutes before serving.Freezer Instructions
Place sheets of parchment paper between the layers and store in an airtight freezer-safe container for up to 2 months.Make-ahead Instructions
For best results, enjoy these brownies the day they’re made or make them one day ahead of time.No Fail Tips
If you want to make these brownies without the heart design, simply dollop all the cheesecake mixture on top of the unbaked brownie batter and swirl with a wooden skewer or a butter knife. Follow our tutorial HERE for this method. Bake as directed. We don’t recommend using red food colouring in this recipes. Using gel food colouring (affiliate link) is the best way to colour the batter red without adding a bad food colouring taste or changing the texture.Recipe: Nutrition
Notice: Nutrition is auto-calculated, using Spoonacular, for your convenience. Where relevant, we recommend using your own nutrition calculations.

I clicked on every clickable item and never saw tutorial for making the hearts.
You can see exactly how to create the hearts in our recipe video (a little higher from the recipe card) starting at 3:40. Hope this helps ☺️