This no knead whole wheat bread is an easy bread recipe! No overnight rising, and no kneading. It’s a hearty, crusty loaf that’s perfect with soups and stews, and it makes great sandwiches! No one will ever know it didn’t come from a bakery – follow my Pro Tips for the perfect crusty loaf! 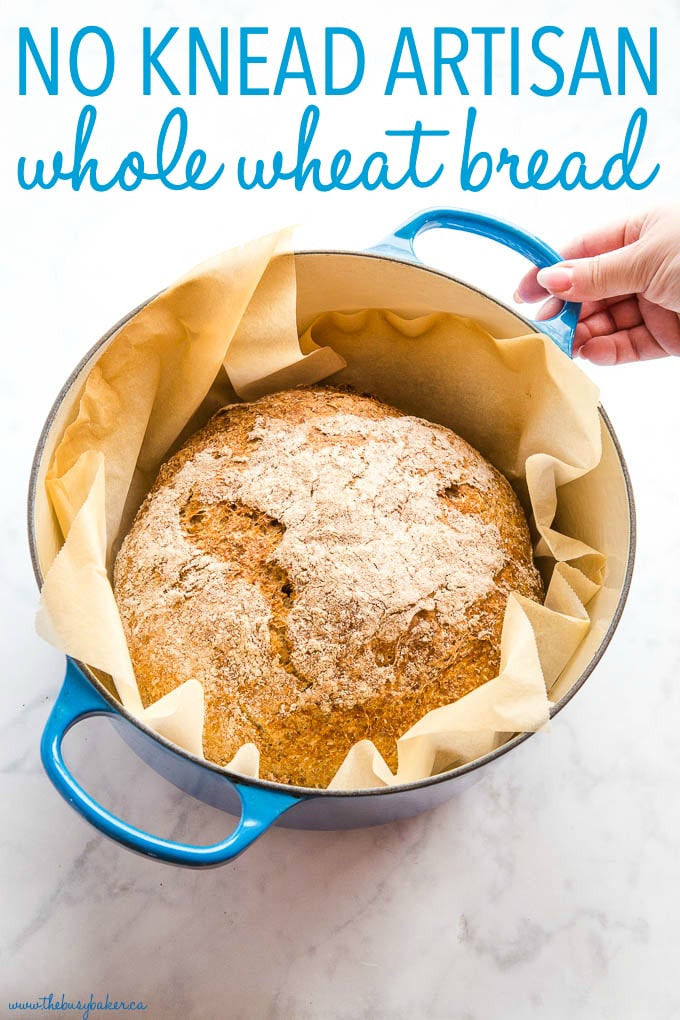
NEVER MISS A POST! FOLLOW ME ON:
FACEBOOK | PINTEREST | INSTAGRAM | TWITTER
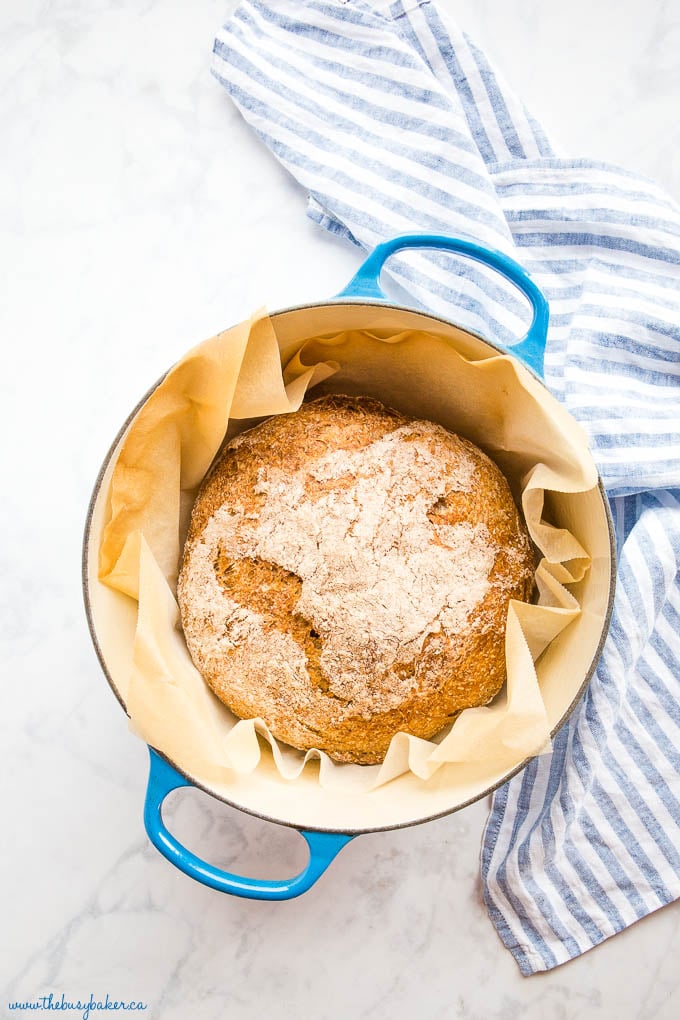 I don’t know about you but the one thing I’ve been doing more than anything lately is baking bread!! The current health crisis is keeping many of us in our kitchens a lot more than usual (me included!) and baking homemade bread is a great way to keep yourself from going to the supermarket more than you need to. This No Knead Whole Wheat Bread is one of our family’s favourite homemade bread recipes – it’s healthy and wholesome and you’re going to LOVE it!
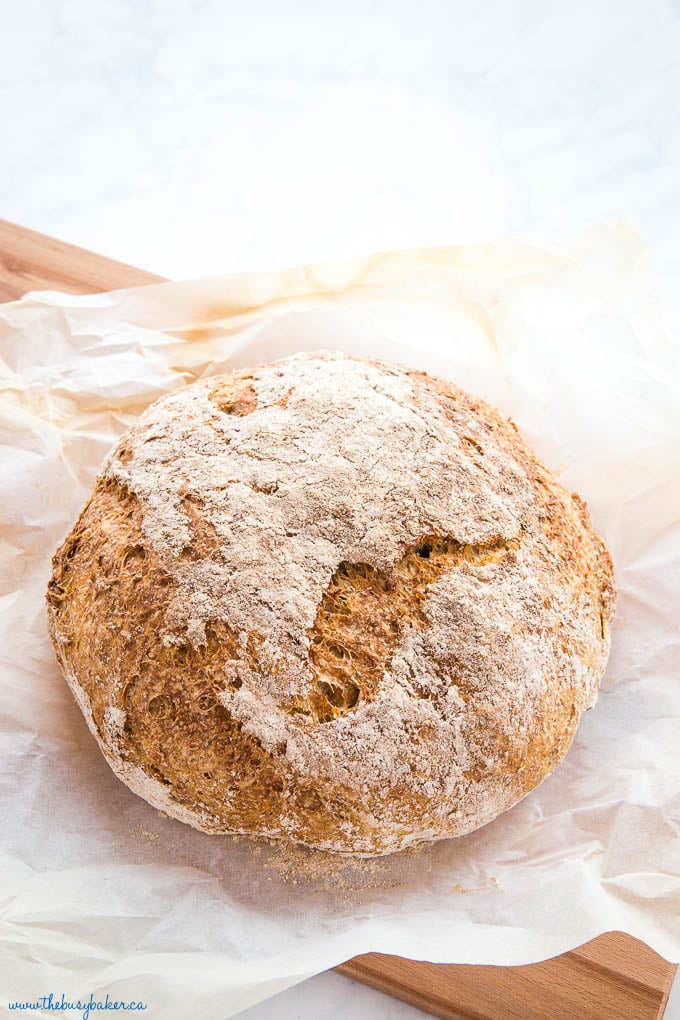
No Knead Bread Variations
Back in 2015, when I first started The Busy Baker, I shared this Easy No Knead Artisan Bread recipe with you and it’s been a HUGE hit with my readers. There are plenty of other no knead bread variations, and with plenty of flavour options as well! I have no knead bread recipes to make loaves of Cinnamon Raisin Bread and Cranberry Honey Walnut Artisan Bread. One of my favourite things about my first recipe is how easy it is to customize and adapt to your family’s tastes and even your schedule. This whole wheat bread recipe is a version of that original recipe, but it doesn’t require the same 12-18 hour rise time. As a result, it’s MUCH faster and even easier to make! It’s a classic, healthy and wholesome recipe, and if you follow my pro tips below, you’ll be able to make this gorgeous loaf of bread at home in your own kitchen too!
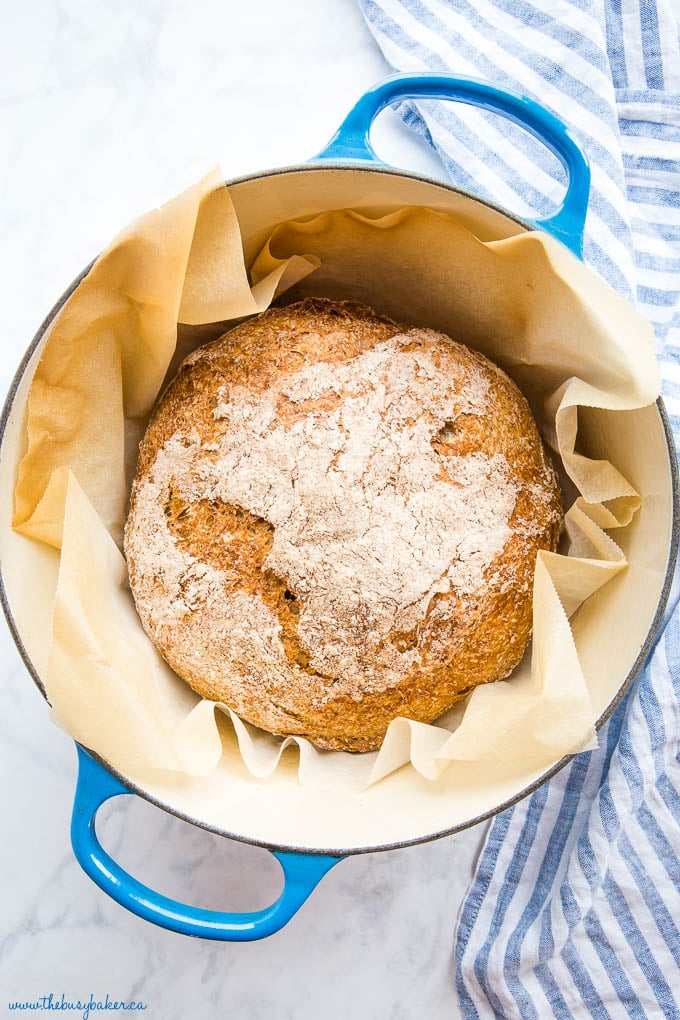
Best Equipment for Making Bread
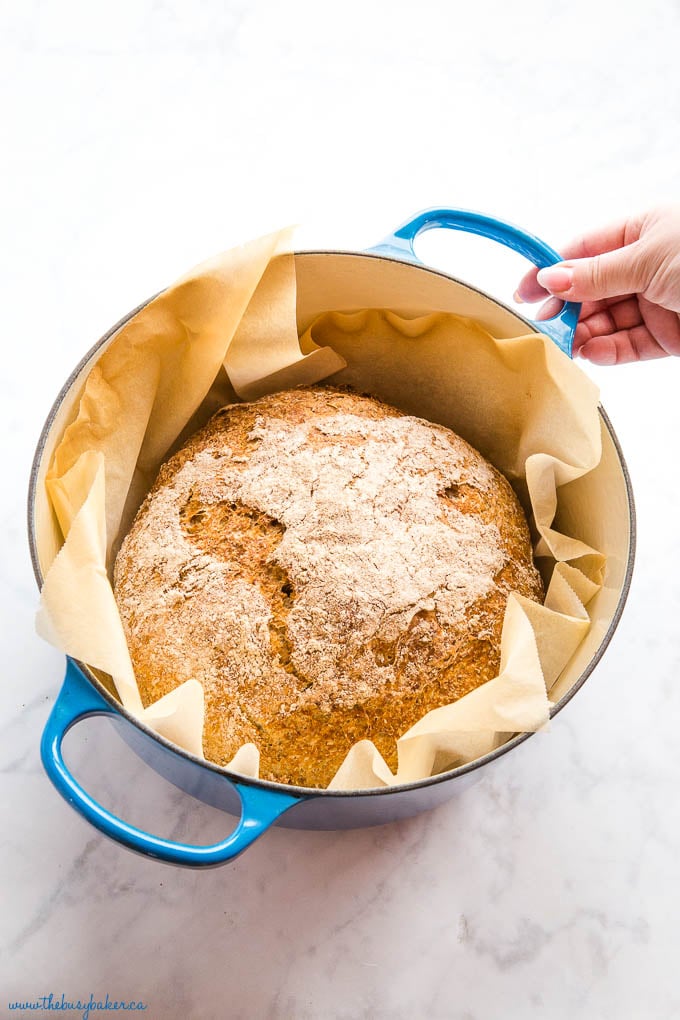
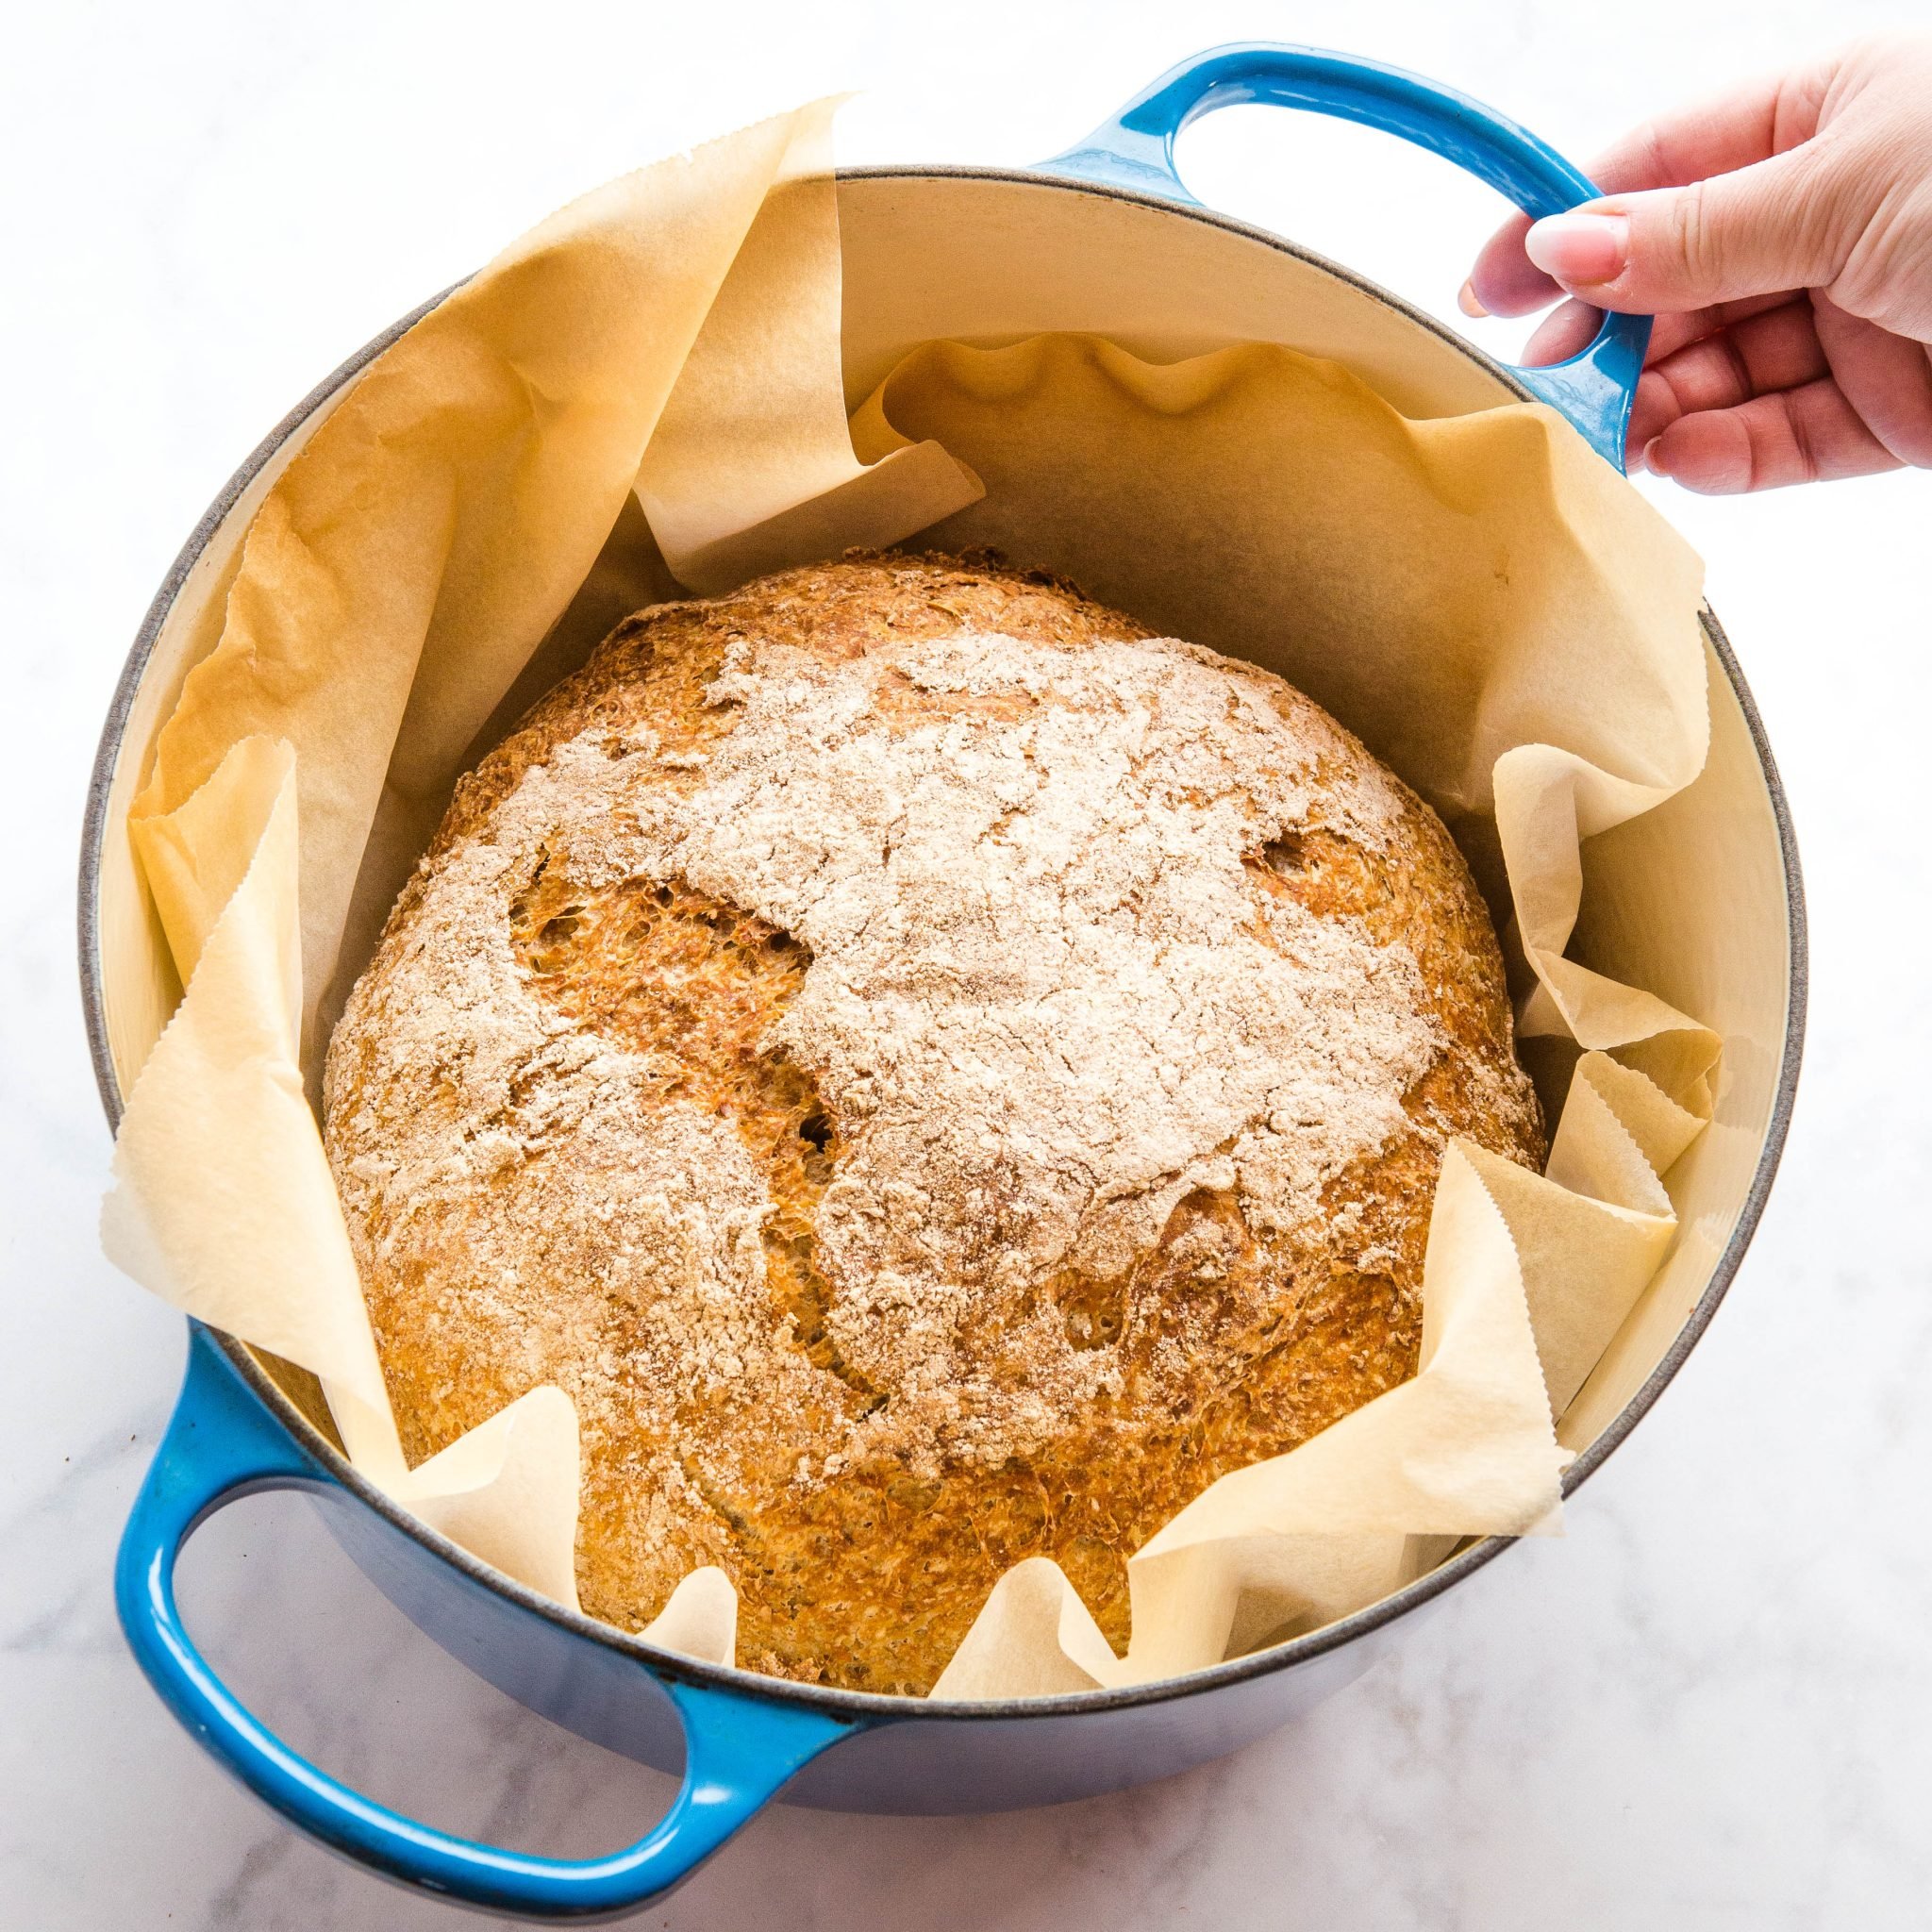
Pro tip#1: Pre-heat your Dutch Oven pot before baking. This bread is baked in an oven-safe Dutch Oven pot which traps in steam, making the crust of the loaf extra crispy. Pre-heating the pot before baking helps make the crust even more crispy and golden brown! If you’re looking for a great Dutch Oven pot, I will tell you that it’s one of the best investments you can ever make for your kitchen. Mine is a total beauty from Le Creuset (affiliate link) and I use it at least weekly throughout the entire year for soups, stews, sauces, curries, and of course for baking bread (if you want my original Dutch Oven Crusty Bread recipe, find it HERE!). A pot like this one is definitely a financial investment for your kitchen, but considering how much I use mine and considering its high quality, it’s definitely a worthy investment. I’ve also used similar cast iron pots from other brands, like THIS ONE from KitchenAid and THIS ONE from Lodge Cast Iron (both affiliate links) if you’re looking for something a little less expensive but still high quality that will work just as well. I’ll be honest though, for the first several years I made this bread I didn’t own a cast iron dutch oven and so I used the only covered oven-safe pot I had: my black turkey roaster!! You wouldn’t believe how AMAZING my bread turned out in a simple covered turkey roasting pan, and if you want to get your hands on one of the cheapest pots for baking your own crusty bread at home, THIS PAN is all you need (affiliate link)!
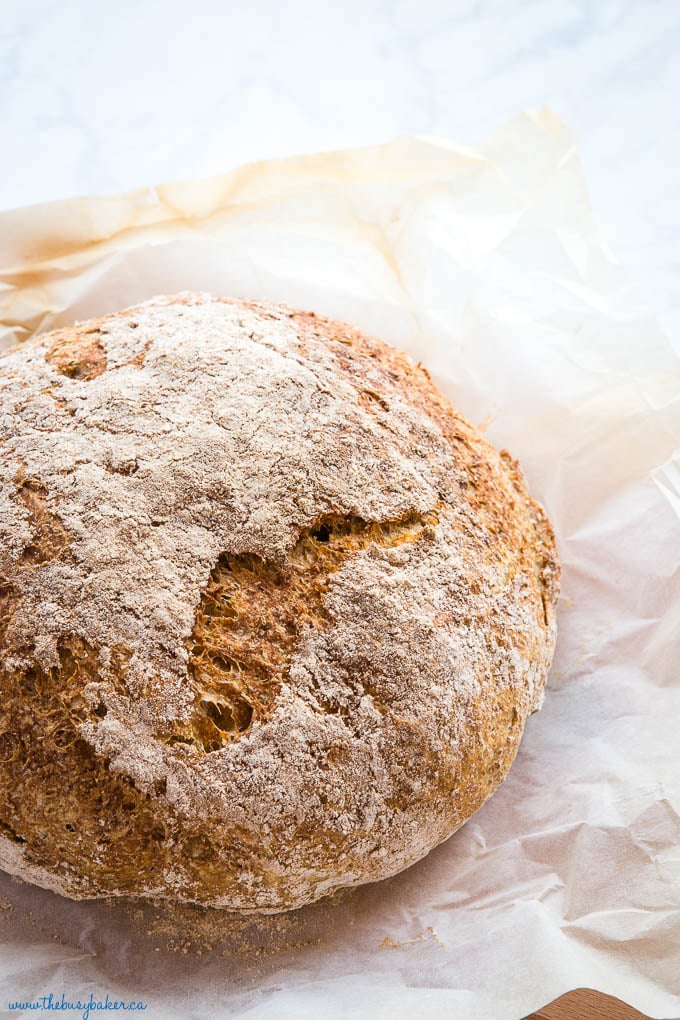
Pro Tips for Making No Knead Whole Wheat Bread
Pro Tip #2: Measure your flour properly! One of the biggest mistakes people make when baking is in how they measure flour. To measure flour correctly for bread-making, aerate the flour by tossing it with a spoon or measuring cup in the bag or container to “fluff it up”. This prevents it from becoming too densely packed. Scoop your flour very gently with a dry measuring cup, making sure it’s nice and fluffy and rounded at the top. If you scoop too harshly the flour will become packed into the measuring cup, adding more flour than is needed. Simply use the flat side of a butter knife and scrape off the excess flour, levelling out the top (scrape across the top of the measuring cup to level it out). 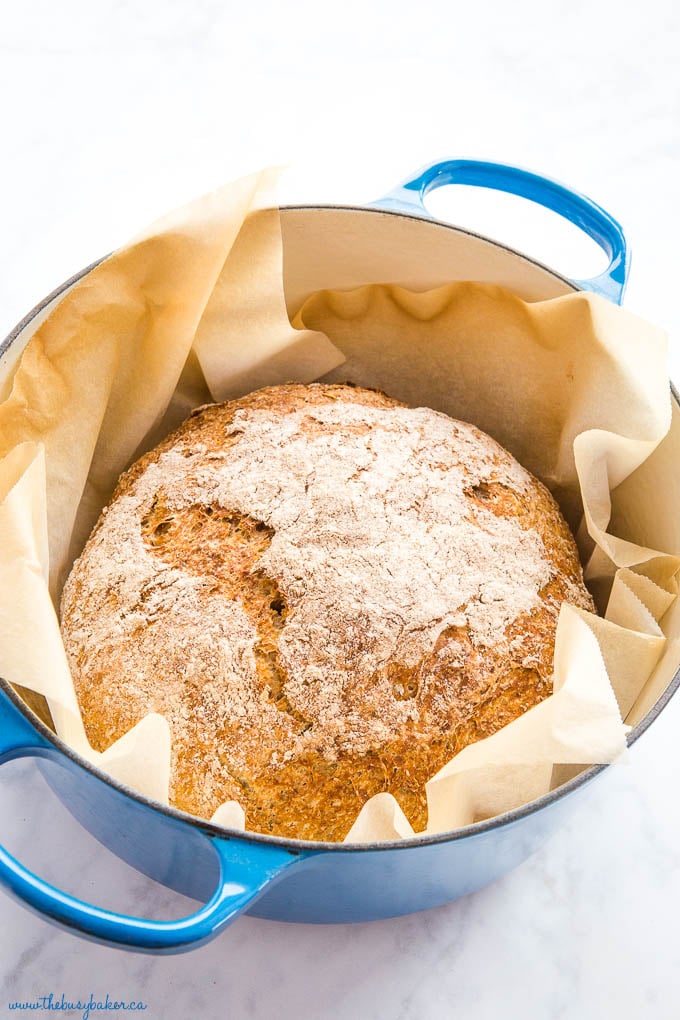 Pro Tip #3: Shape your loaf firmly but gently and dust the top of the loaf with flour. Creating a round shape will help the loaf bake evenly and dusting the top with flour will create that gorgeous, bakery-style appearance that everyone loves!
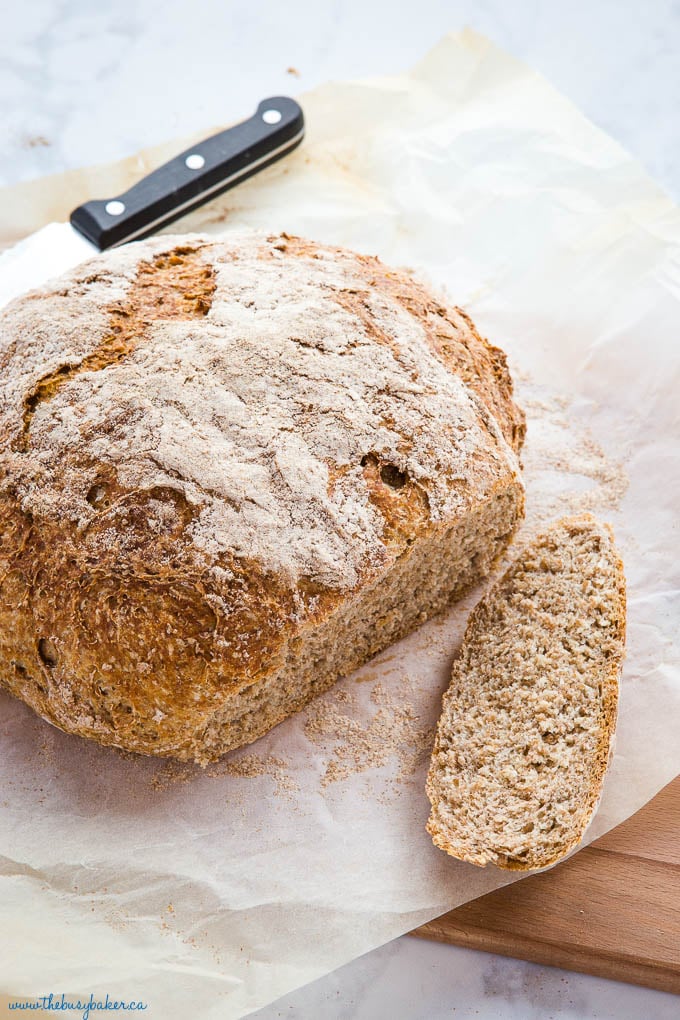 Pro Tip #4: Let the loaf cool completely before cutting into it!! Resist the urge to slice the bread while it’s hot. Did you know that after removing a loaf of bread from the oven it continues to bake inside as it cools?? Slicing into this gorgeous loaf too early will cause the inside of the loaf to be under-cooked and gummy. Letting the loaf cool completely before slicing ensures the perfect fluffy texture when you slice into it!
NEVER MISS A POST! FOLLOW ME ON:
FACEBOOK | PINTEREST | INSTAGRAM | TWITTER
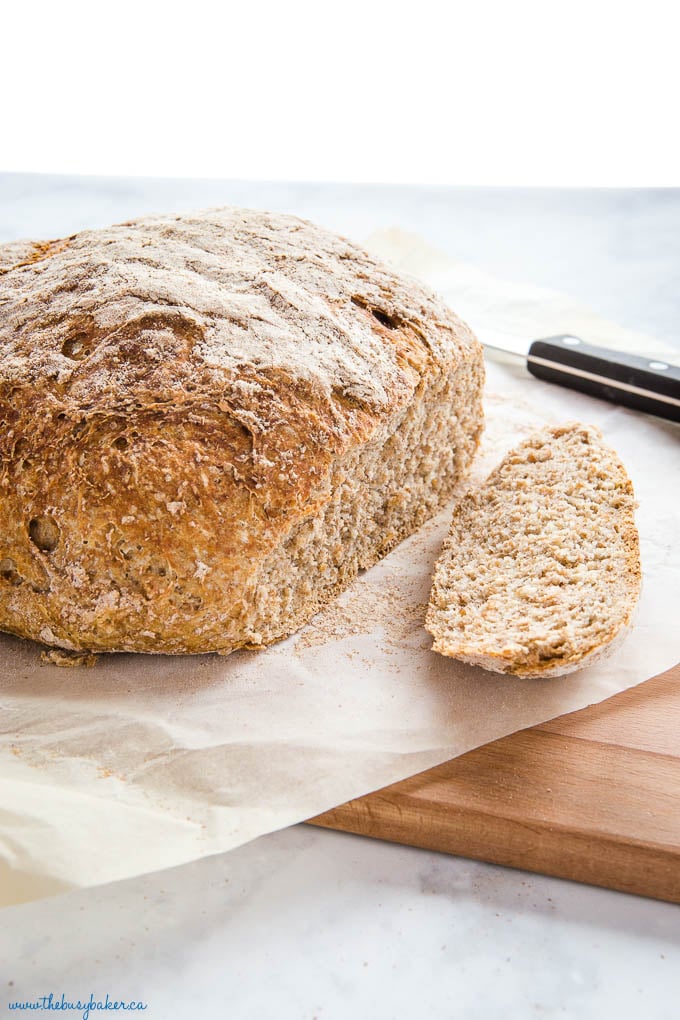 I hope you love this whole wheat bread recipe as much as we do! Let me know in the comments below, what’s your favourite kind of homemade bread? I’d love to know!
KITCHEN PRODUCTS I RECOMMEND:
Other Homemade Bread Recipes
Looking for even more delicious bread to bake? You’ll LOVE these:
- Garlic Butter Dinner Rolls
- Healthier Cornbread
- Pumpkin Cornbread Muffins
- Easy No Knead Artisan Bread
- Easy No Knead Cinnamon Raisin Artisan Bread
- No Knead Honey Cranberry Walnut Artisan Bread
If you made this, share a photo!
Are you trying this recipe? Use the comment form below to share your take; now with support for image uploads and comment voting!
No Knead Whole Wheat Bread
Recipe: Ingredients
- 4 cups whole wheat flour
- 2 1/4 teaspoons active dry yeast
- 1 1/2 teaspoons salt
- 2 cups warm water
- more flour for shaping the loaf
Recipe: Instructions
- Start with a large bowl and a wooden spoon, and add your flour to the bowl. Measure the yeast and add it to one side of the bowl. Measure the salt and add it to the other side.
- Using a wooden spoon, stir the yeast into the flour on its side of the bowl first and then stir the salt into the flour on its side of the bowl. This will prevent the salt mixing directly with the yeast. Give the whole mixture a few good stirs to make sure everything is combined.
- Measure the water. Make sure the water is at room temperature; water that is too warm or too cold can kill the yeast and prevent the bread from rising at all.
- Pour the water in and stir with a wooden spoon. The dough will be rough and a bit sticky, but that's normal.
- Stir until all the flour is combined. This is not normal bread dough (there's no kneading involved in this recipe), so you don't need to be too concerned about the appearance of the dough at this point. Just make sure the ingredients are combined well.
- Cover the bowl with plastic wrap. It's a good idea to ensure there's adequate space left in the bowl for the dough to at least double in size. Place the bowl in a warm, draft-free place and let it rise for about 1 and a half to 2 hours.
- After the dough has risen, preheat your oven to 450 degrees Fahrenheit. Place your Dutch oven with the lid on in the cold oven and let it heat up with the oven. If your dutch oven is black on the inside, set your oven to 425 degrees Fahrenheit instead of 450.
- Place a piece of parchment paper on the counter and dust it with flour. Rub flour on your hands and scrape the dough away from the sides of the bowl, gathering it in your hands as best you can (it may feel kind of strange and not at all like regular bread dough) and forming it into a circular loaf on the parchment paper. Don't worry if it still looks a little rough in places. This lends to the rustic look of this loaf.
- Once you have it shaped, the dough needs to undergo a short second rise. The goal is to handle the dough as little as possible at this stage because any amount of tugging at the rough can cause it to deflate after it has undergone its second rise. The next few steps will help prevent this. But don't worry if it deflates a bit. This bread dough is pretty forgiving.
- Sprinkle flour over the top of the loaf and loosely cover it with plastic wrap or a clean kitchen towel. The flour you sprinkle on top also prevents the plastic wrap or towel from sticking to the dough so when you take it off at the end of the rise, it doesn't disturb the dough and wreck the rustic shape you've created. Let the dough rise for about 30 minutes. Your oven will also be preheating during this time (and so will your pot).
- Remove the preheated pot from the oven and transfer the dough into the pot as carefully as possible by handling only the parchment paper. Place the lid on the pot and return it to the oven for 30 minutes. Don't open the oven during this time, and certainly don't take the lid off the pot; the crispness of the crust develops because of the steam that builds up in the pot during this 30 minutes.
- After 30 minutes have passed, remove the lid from the pot and continue baking for another 10 minutes. After the 10 minutes have passed, remove the pot with bread from the oven and place the bread on a wire rack to cool. You'll probably hear it crackling as it cools - this is normal.
- If you can, resist the urge to cut into the bread until it has pretty much cooled completely. The bread continues to bake on the inside even after it has been removed from the oven and cutting it too early could result in the inside becoming gummy or rubbery.
Recipe: Notes
No Knead Bread Troubleshooting Tips:
- If your dough seems too fluid after the first rise, simply add 1/3 cup of flour to the top of the dough and mix it in, shaping the loaf into a round shape to rise again while the oven pre-heats.
- If your loaf falls or flattens during the second rise, simply re-shape before baking into as tight a ball as possible (creating surface tension should prevent the dough from falling).
- Add 1 tablespoon of Vital Wheat Gluten to the dough with the flour to create a very voluminous dough that rises beautifully every single time and isn't too dense.
- If the bottom crust of your bread burns or becomes too hard or tough, it's likely that the bottom burner of your oven is too hot OR you're using a pot that's black on the inside (these conduct heat more efficiently than one that's a light colour on the inside). Try lowering your oven temperature by 25 degrees, using the convection setting, or using a different pot that's light in colour on the inside.
- Use an oven thermometer to make sure your oven temperature is correct. If your oven runs hot, lower the temperature of your oven by 25 degrees to be sure you don't burn the bread.
Recipe: Nutrition
Notice: Nutrition is auto-calculated, using Spoonacular, for your convenience. Where relevant, we recommend using your own nutrition calculations.
Your tips in the bulk of this post are dynamite! Thanks for adding those bits of wisdom. I look forward to giving this a try. It looks delicious!!
Thanks so much!! 🙂 I hope you enjoy the recipe!!
This seems great so far but I’m trying to bake more using weight. Can you tell me how many grams the 4 cups of whole wheat flour weighs?
Thank you! At the bottom of the ingredient list there’s a blue button that says Metric. If you click on that, all of the measurements will be automatically converted into grams/ milliliters. Happy baking!
Can you refrigerate this recipe overnight or for a couple days for slow rise? I do that with my AP bread. I let it rise for 3 hours then refrigerate until I need it.
We’ve never tried that so we couldn’t advise you on it, but if you try, please let us know!
Thanks for this great recipe!!!! When combining the ingredients, can you used a mixer with a dough hook, instead of combining with a wooden spoon ?
Using a mixer just isn’t necessary, but feel free to do it if you want. They key is to not over-mix, just combine until all the flour is moistened and the dough is just evenly mixed. This only takes about one to two minutes by hand 🙂
Can I substitute a little white flour to lighten the bread? Can I do a direct substitution? thanks! Excited to try this!
I’m actually posting a white version of this loaf in a few days, so stay tuned for that! But yes, you can substitute some of the whole wheat flour for white flour directly. 🙂
The original recipe for no knead bread, which was created by Jim Lahey, uses all purpose flour. Notice I said all purpose so as not to confuse it with white wheat flour.
Just look on youtube for his recipe.
I looked at that recipe, and it is 1:3 whole wheat : all purpose flour, so it is far less nutritious, though it would be lighter and whiter ;-}
Can I use all, all purpose flour? I cannot eat wheat.
If you can’t eat whole wheat flour i suggest you try this recipe as it uses all purpose flour. Happy baking! https://thebusybaker.ca/quick-and-easy-no-knead-crusty-bread/#wprm-recipe-container-14657
Hi Chrissie,
Can I just shape my loaf or loaves and put on parchment paper on a sheet pan and bake?
Yes! The crust won’t be the same, but the bread will still bake.
Chrissie, Yellow colored fonts aginst a white background is difficult to read Why don’t you just use black italic fonts?
Made this today !! My husband said it’s the best bread I have ever made 😊 Thank you for a great recipe that will become a staple in our home !
Thanks so much for the feedback Lisa! I’m always glad to hear that people enjoyed any of the recipes! And this Whole Wheat Bread is so delicious!!🙂
Help! My bread did not rise at all!!
Sounds like maybe your yeast was old, or bad, or somehow didn’t activate. If the water you add is too hot it will kill the yeast. I’d suggest trying with new yeast.
Sorry but I cannot get to your recipes. I’ve signed up numerous times and always get bounced back to sign up forms instead of recipe I’m trying to see. I’ve even bought a 6 qt Dutch oven to try the recipe.
Hi! The recipes are always at the bottom of every blog post for free. You probably scrolled right past the full recipe to write a comment!
can you use stoneware as opposed to cast iron for baking these breads? If so, does the recipe have to be altered in any way?
You can use any covered pot that’s oven safe 🙂
Can we use Visions glass cookware for baking this bread?
I’m sorry, I can’t recommend cookware like that as I have never used it.
Amazing. Loved this recipe, I tell everyone about it. My sister in law is gluten free, I was wondering if I can I use gluten free flour or do you have to follow a completely diff recipe once you go to gluten free?
We’re sorry, we couldn’t tell you as we have never tried it but it should work if you use a gluten free flour that performs similarly to all purpose flour. Happy baking! ☺️
Hi, the star rating graphic is sorry of mushed up with the words “recipe rating”, so difficult to get the proper rating in but for the record I was trying to put 5 stars.
From a person who used to make whole wheat bread in large quantities for my family, this recipe was a delightful find. I tried it last night and it was great. Not having to knead, and just such a simplistic ingredient list! Wonderful! And we all loved it! Many thanks!
I’m so glad you liked it!! 🙂 Thanks for taking the time to comment!!
Can I substitute the Dutch oven with a normal heavy stainless steel pot?
Yes!
So glad you enjoyed it! Thanks so much for taking the time to leave a comment! 🙂
Can I use instant yeast instead of active dry yeast?
Yes you can. Happy baking!
i have been looking for a wwbread recipe & so glad to find yours.
other no-knead recipes i have made tell you to leave the dough to
rise for 6,8, or 24 plus hours. can i leave yours to rise for hours?
Yes, you could but you would need to reduce the yeast. Happy baking!
By how much do you need to reduce the yeast if using instant yeast? I just saw the yes answer & went ahead, but then saw I had to reduce the yeast on a separate answer. So now I have to start all over after letting it rise for 1/2 hour already. How much yeast if using instant?
I’m not sure what answer you are refering to. You can use instant yeast and active dry yeast interchangeably in this recipe without adjusting the amount!
Reduce the yeast to what for longer rise times? It’s my understanding that the longer rise gives time for flavor to develop.
This is a quick and easy bread recipe. With a short raise time and a big quantity of yeast. A small amount of yeast is strong enough to raise a large amount of dough but it takes longer. Using less yeast slows the development time and allows the flavour of fermented flour to shine through. The yeast should be about 1-2% of the flour depending on your type of yeast and flour. If you plan to raise your (4 cups of flour) dough for 12-18 hours you can use 1 1/2 – 2 instant yeast. For longer raise check out our no knead artisan bread (https://thebusybaker.ca/easy-no-knead-artisan-bread/) Happy baking ☺️
Hello!
Is it possible to add oats and seeds? Would the recipe need modifying?
You could but you should not add more than 1/2 cup of them. However I suggest you check out my No Knead Honey Oat Artisan Bread. Happy baking! ☺️
https://thebusybaker.ca/no-knead-honey-oat-artisan-bread/
Hi –
My loaf came out very short and dense – like it never rose once it got in the oven.
I mixed it with the dough setting on my food processor and I used Instant Yeast. My first rise was pretty good and the second rise was OK – you could see it moving under the tea towel.
Lots of recipes include sugar to feed the yeast. Should I try that? Any suggestions?
A short and dense loaf likely means it wasn’t shaped properly before baking. I’d suggest tucking the ends under (roughly, of course) until the top of the loaf feels pretty tight. This will help it keep its round shape. I’ve never used a food processor to make this dough, so I can’t comment on how that might have affected it, but you could add a bit of sugar if you wish.
Hi Chrissie, when the bread comes out of the oven do you place the bread with the Dutch oven on the cooling rack? Or just remove the parchment paper with bread and put it on the cooling rack? Thanks, this recipes looks amazing:)
Hi Keila, I remove the bread with the parchment and cool it outside the Dutch oven, on the cooling rack. Happy baking!
Hi,
Are you using rapid rise yeast? The rise time is very short if you are using the active dry yeast. I make the no knead bread with rapid rise yeast and let it rise for the first time for 4 hours and 30 minutes for the second rise. When I use active dry yeast, I have to let it rise for 18 hours. Thank you for your time.
Instant yeast is the best choice for this recipe, but I have also used active dry yeast with good results. Because of the amount of yeast in this recipe, the rise time is a bit shorter.
I have two types of parchment paper and both have a max of 425 degrees. Can I still use at 450 or do I need to reduce the heat?
You should just reduce the heat a bit. Happy baking!☺️
I’m looking to make this recipe for the first time and using the metric conversion to weigh the ingredients.
I notice a discrepancy with the yeast conversion though. The US measurement shows 2 1/4 teaspoon (1 package of yeast) vs the metric conversion of 30 grams (just over 4 packages of yeast as each package is 7 grams).
Am I missing something here?
Thank you so much for pointing this out. We’re sorry for this error, you indeed need 7 grams of dry yeast (one package). We have corrected and updated our recipe card!
I made this last week, followed the recipe exactly, but the bottom crust was too thick. I couldn’t chew it and slicing was difficult. Can you figure out what I did wrong? I loved the taste…and it was so easy to make.
The bottom crust on this bread is very thick. You could try raising the rack in your oven so the bread is closer to the top of the oven and further away from the bottom burner. You could also try baking on the convection setting if you have one.
Can I use half bread flour and half whole wheat?
Sure! Happy baking ☺️
Hi! New to making my own bread & im so excited to try this bread! Just wanna clarify bc I have been told there is whole wheat flour & white whole wheat flour, which one does this recipe call for? Tia
White whole wheat flour is milder in taste and lighter in color. For best flavour I suggest you use Whole Wheat flour (that the recipe calls for) but if you’re hesitant to bake with it you can also use White Whole Wheat flour instead. Happy Baking ☺️ let us know how it turns out!
I absolutely love the ease and flavor of this bread, but I can’t seem to get the second rise to work. The dough just spreads out into a big circle or puddle so my bread ends up about 1.5 inches maximum in height when cooked. I would appreciate any suggestions.
It sounds like your dough is too wet. When you shape it, feel free to add some extra flour and tuck the ends under so the top of the round loaf feels almost tight. If necessary, tuck the ends in again just before baking and it’ll still bake up nicely. I did this myself a few days ago and it worked great!
Can instant yeast be used in thus recipie?
Yes, it can and you can use the same amount.
Can you substitute instant yeast instead of active yeast. How much instant yeast do you need?
Yes, in this recipe you can use them interchangeably without adjusting the amount!
Hi,
I haven’t made the bread yet but I did mix the dough and it is currently rising. I just realized that this is Dutch Bowen bread, and I don’t have a Dutch over. What do you suggest I use?
You can use any heavy bottomed oven-safe pot! Happy baking! ☺️
I can’t wait to try this. Can I use rapid yeast for this?
Yes, you can!
Can I rise longer in the fridge instead of baking right away? I see some recipes that will allow the dough to rise slowly in the fridge
You can rise it overnight in the fridge, or simply reduce the yeast to 3/4 teaspoon and let it rise overnight on the counter (in a bowl covered with plastic wrap).
Can I use Bellarise instant yeast for this? I could not tell if you were using an instant yeast. I’m just starting on my whole-grains only journey so this is all new to me. Thank you.
You can use instant yeast for this recipe. 🙂
Hi, can Iplace some of the flour with different types of seeds, sesame, chia, flax and oats
You can add about 1/2 cup of add-ins (seeds etc.) to this recipe just as it is. 🙂
Just trying it out now. Thanks so much for those clear and helpful instructions! I had implemented many of those adjustments to the Jim Leahy recipe but great to see the whole procedure so lucidly stated!
Glad you found the instructions helpful! Hope you enjoyed making the bread!
Would I get a better rise if I added a tbsp of wheat gluten to the dough?
Man this is good bread!! I add about 1/4 cup honey. Would it work if I made it with oat flour and whole wheat flour mixed?
I’m glad you enjoy it! If you’re looking for a no-knead bread recipe with oats I’d suggest trying this one: https://thebusybaker.ca/no-knead-honey-oat-artisan-bread/
Can this recipe be used in a dutch oven in a fire pit, using briquettes to cook? Camping style?
I’ve never tried this, so I can’t comment on how well it will work. If you give it a try, let me know how it goes! Thanks!
I understand that using a black bottom Dutch Oven requires lowering the temp 25 degrees. If I ALSO use either “convection bake” OR “pure convection” setting do I need to further reduce the temperature? If so what are the temperature adjusts for each? AND should I reduce the baking time and by how much or what should I look for?
I’d recommend only lowering the temperature once (so, 25 degrees less). The convection bake setting should work fine in this case (this is often what I use).
Made your honey oat yesterday and it turned out amazing. I tried your whole wheat today and the flavor was great but I have one question. The bread was very dense. Whats your recommendation for lightening it up?
You can try adding 1.5-2tbsp of vital wheat gluten to help the dough raise better and have a lighter texture. Happy baking ☺️
I love your recipes. I am a NEWBIE to making bread. I have my own grain mill and am grinding my wheat. I LOVE IT! I was wondering… could I just add raisins & cinnamon to this recipe? could I just add oats to this recipe? Thanks for HELPING us and ANSWERING our silly sounding questions. 🙂 Appreciate it a LOT! Thanks again.
You for sure can! Just add 1/4 c more water for every 1/4 c oats you add. You don’t need to change anything if you add raisins and cinnamon. Happy baking ☺️
I’m about to make this bread. Do I need to alter any ingredients if I add 1 or 2 tablespoons of honey?
No, no adjustments needed.
If the dough deflates even with the gentlest handling, should I be adding more flour? Does that mean it’s too wet?
Did you maybe proof it for a bit too long? Over proofing, over kneading or not enough flour can be causes for the dough deflating. Make sure you have the correct flour measurement and don’t over knead or over proof! Hope this helps!
Could you please tell me what size Dutch oven you used? I think mine was too large because the bread wasn’t as high and round as I hoped it would be. There are so many sizes available and I wasn’t sure what to order.
I use a 7 qt le creuset Dutch Oven https://amzn.to/2B1r12p (affiliate link). Hope this helps! ☺️
Hi from Singapore! I tried this recipe with 3/4 wholemeal flour and 1/4 bread flour, and instant yeast (reduced to 1/2 tsp cos I didn’t have any active yeast), proofed overnight and baked it this morning in a covered Corningware dish….it turned out fantastic!!! It was my first successful wholemeal bread recipe! So tasty and I loved the crust. Much appreciated!
We’re so happy you enjoyed it! I hope you’re going to be baking more yummy breads ☺️
I baked bread for the first time in my life, I followed this exactly…it’s easy and so delicious , I am sharing the recipe with everyone…thank you for explicit instructions.. I spritzed lightly the top and added sesame seeds before baking…perfection
We’re so happy that you enjoyed it and that we were part of your first trip into Bread-land. Happy baking ☺️ Thank you for taking the time to leave your feedback!
I have made several versions of artisan whole wheat bread and this is the best – thank you!
We’re glad you liked it. Thank you for taking the time to leave your feedback!
Your recipe is lovely! I just bought a much-coveted dutch oven (waited for 2 months before i could justify the purchase, lol) and i just made a perfect first loaf with it using your recipe. Thanks so much for sharing!
Looks yummy! We’re so happy you enjoyed our recipe! Thank you for taking the time to leave your feedback!
Have you tried to make this “whole grain”? Ive been looking for a crusty bread recipe with whole grain not just whole wheat.
Unfortunately we have not tried that, but if you do, please let us know!
What is the water temperature for this recipe? It says “room temperature”. My room temp is about 60 degrees (winter). That seems too low. Thanks
You can use water up to 90-95 F. If there was an exact temperature needed, it would be specified, however this is a very easy and forgiving recipe, so have fun with it and…happy baking ☺️
I just realized the recipe says “warm water”. Same question. What temp should I use?
You can use water about 90 F. If it feels warm to the touch but not hot, you should be fine.
Fantastic bread, thanks!
We’re so happy you enjoyed it! Thank you for taking the time to leave your feedback!
Great recipe and tips! What I have done different, I replaced one cup of the whole wheat flour with one cup of strong white bread flour.(In UK I used 3 cups of Dutchy Organic Strong Wholemeal bread flour from Waitrose and 1 cup of Strong White bread flour from M&S). I also couldn’t help myself from kneading the dough before the first rising and I tell you what – it was such a satisfaction. From there I followed your recipe and the result was great. Very difficult to wait for the bread to cool down, but it is worth it! As you can imagine, no time to take photos cause the butter came out and before I knew it everyone had a slice of this wonderful bread. The bread is keeping well – made Monday evening and still have some for toast on Thursday. I like to keep the bread in a clean tea towel (it also helps with the crumbs going everywhere when slicing it). Thank you for the recipe!
Thank you for your feedback! We are happy you enjoyed our recipe.
hello, can I add some seeds to the dough ( sunflower, flax, and pumpkin and oats)
Hello, yes, you totally can!