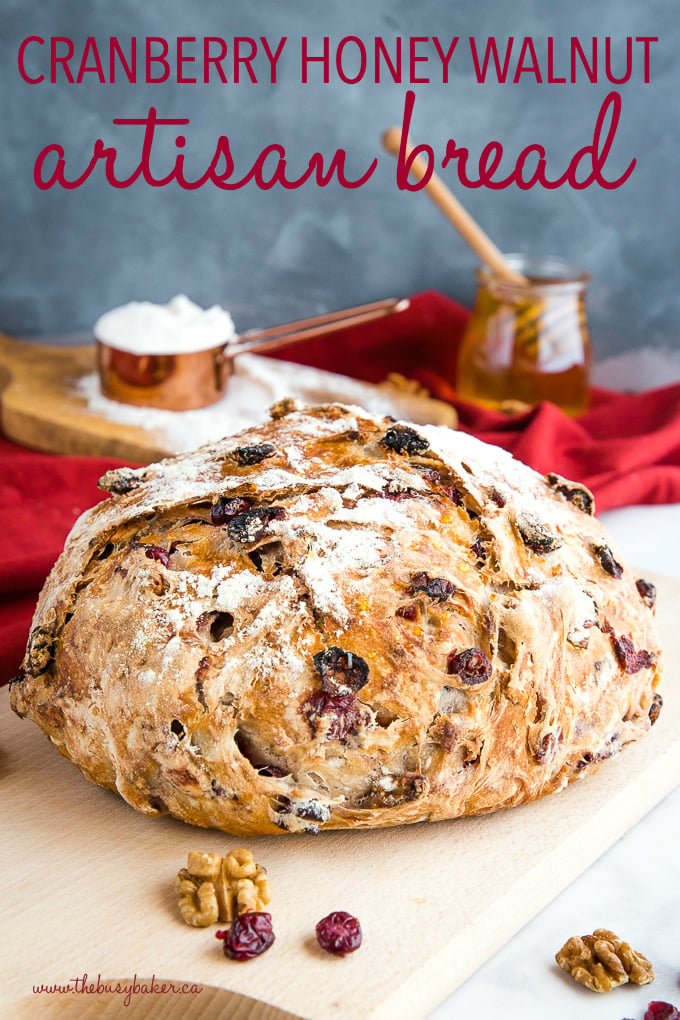
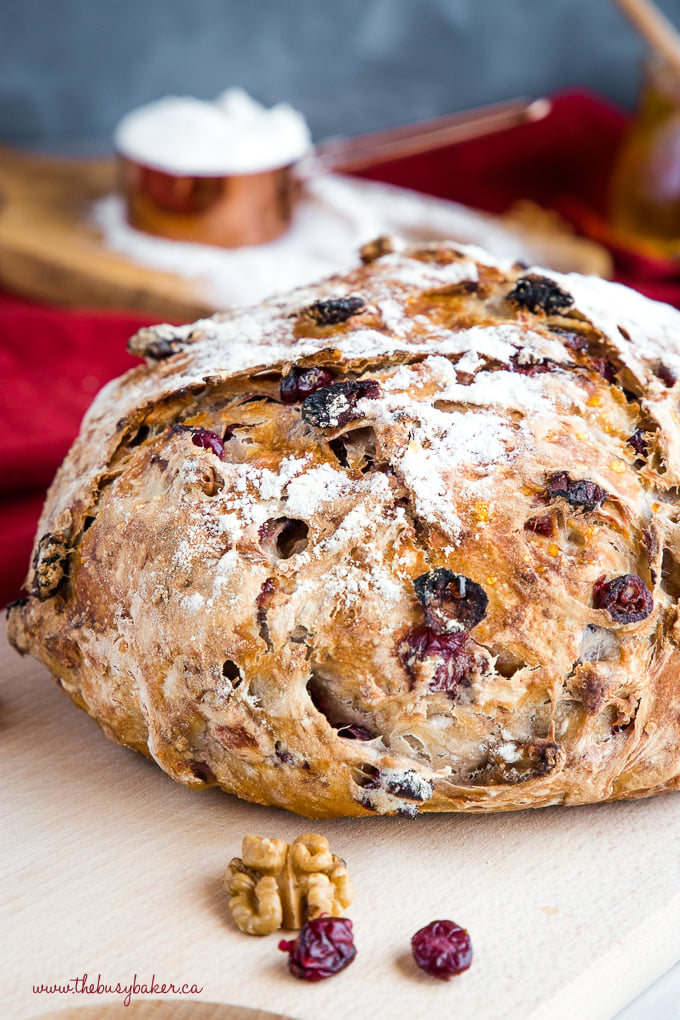
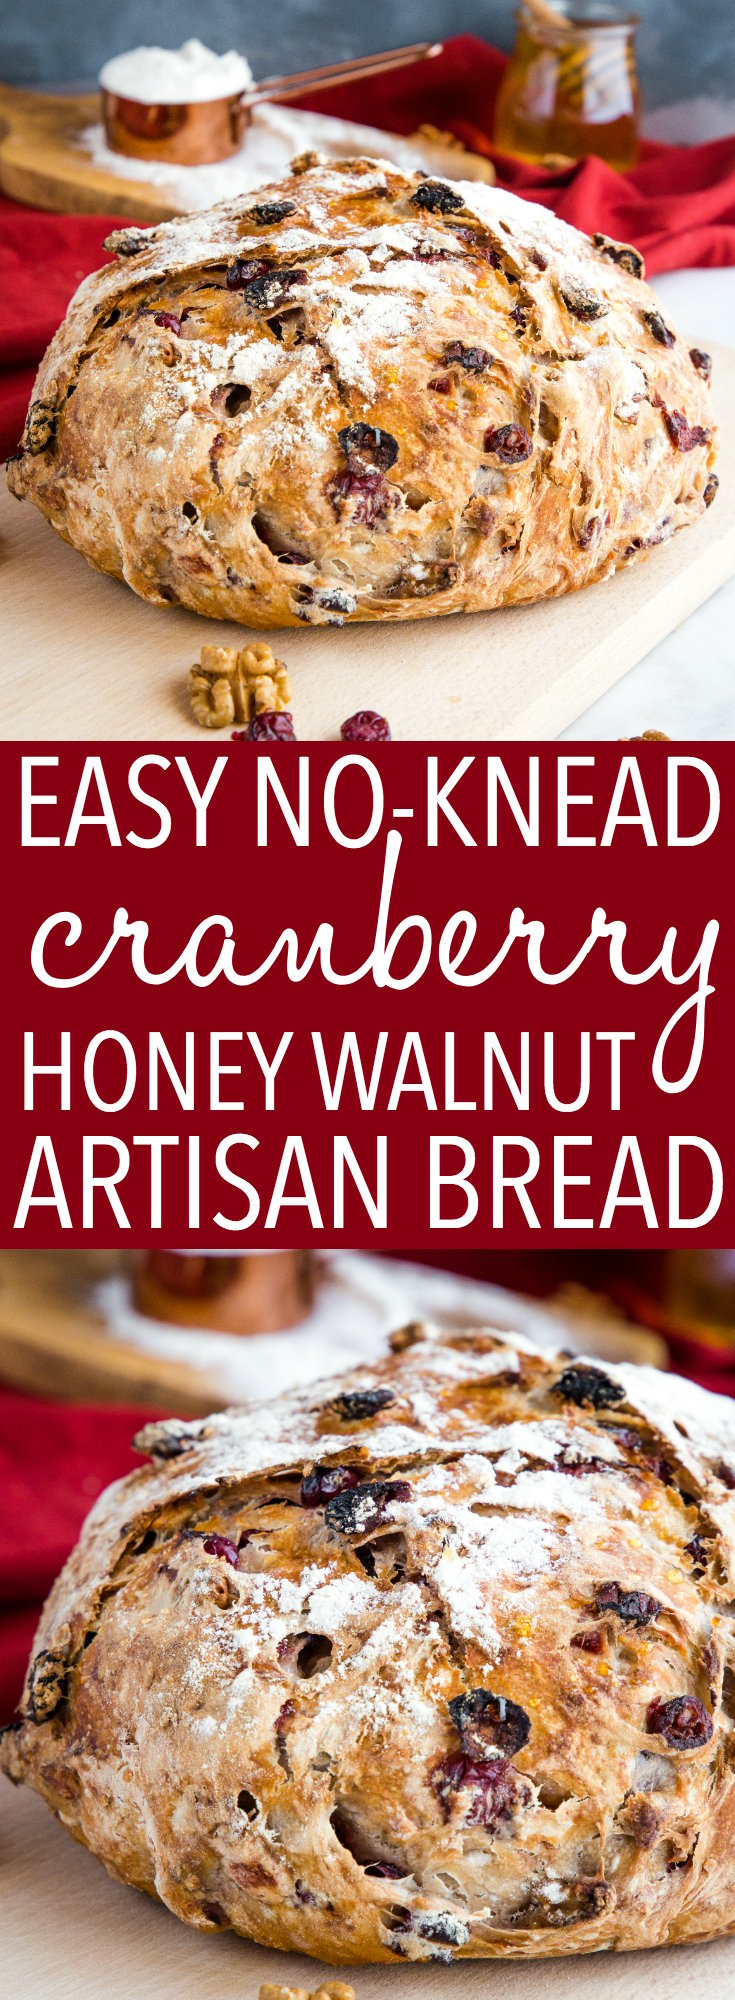
This No-Knead Cranberry Walnut Bread with Honey is a delicious bakery-style bread that’s sweet and delicious! Make it perfect with my easy pro tips for homemade bakery-style bread!
NEVER MISS A POST! FOLLOW ME ON:
FACEBOOK | PINTEREST | INSTAGRAM | TWITTER
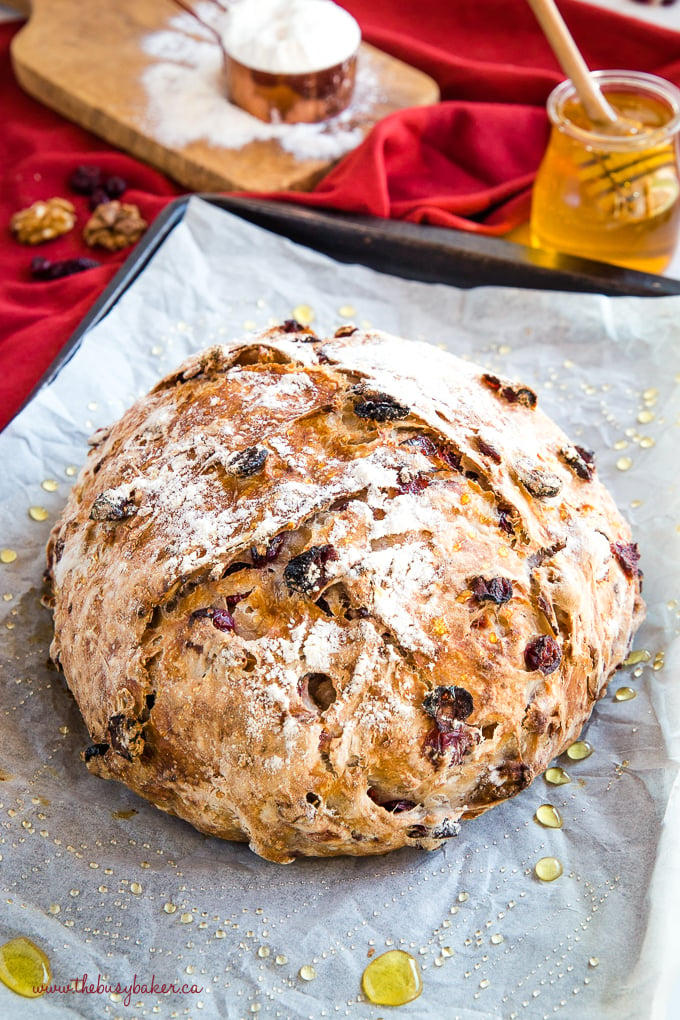
The BEST No-Knead Bread Recipe!
If you’ve been following thebusybaker.ca for awhile now you’ll already know how obsessed I am with no knead artisan-style bread recipes! Way back when I first started my blog I shared this Easy No Knead Artisan Bread recipe with you and it’s a recipe I’ve made more than a hundred times I’m sure, with countless flavour variations. My favourite variation yet is this No-Knead Cranberry Honey Walnut Artisan Bread! It’s delicious for breakfast or with a cup of tea in the afternoon, and it is a simply gorgeous loaf of bread that everyone will love, especially for the holidays! And with my pro tips, you’ll be able to make it too!
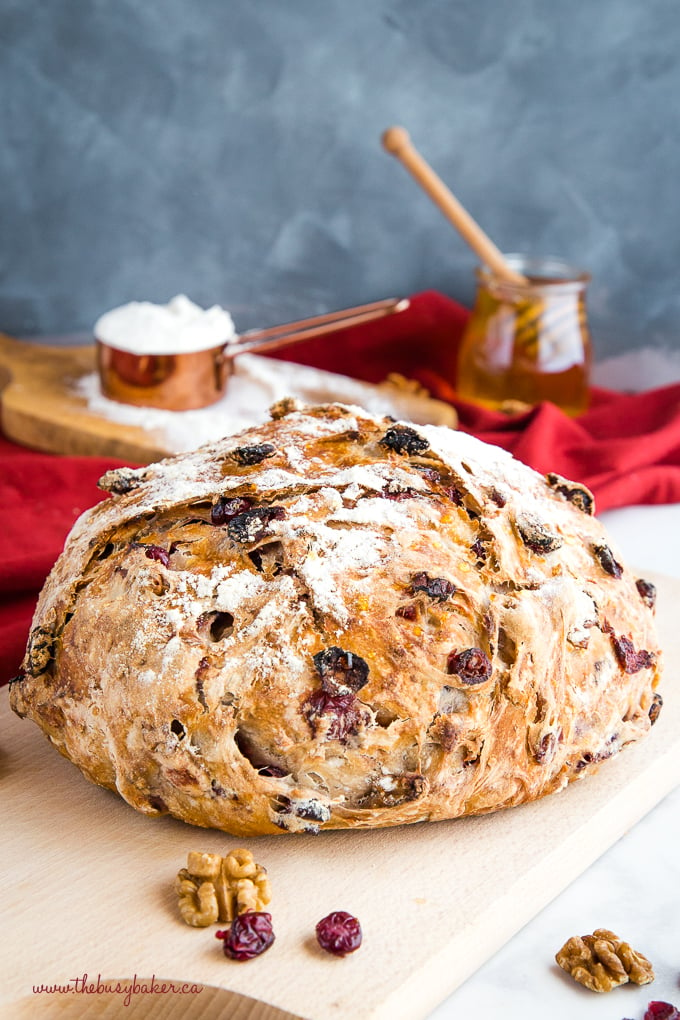
How to make Cranberry Walnut Bread
Pro tip#1: Pre-heat your Dutch Oven pot before baking.
This bread is baked in an oven-safe Dutch Oven pot which traps in steam, making the crust of the loaf extra crispy. Pre-heating the pot before baking helps make the crust even more crispy and golden brown! If you’re looking for a great Dutch Oven pot for making bread recipes like this No-Knead Cranberry Honey Walnut Artisan Bread, I will tell you that it’s one of the best investments you can ever make for your kitchen. Mine is a total beauty from Le Creuset (affiliate link) and I use it almost ever day throughout the year for soups, stews, sauces, curries, and of course for baking bread (if you want my original Dutch Oven Crusty Bread recipe, grab it HERE!). A pot like this one is definitely a financial investment, but considering how much I use mine and considering its high quality, it’s definitely a worthy investment since it will last for 10, 20 or even more years. I’ve also used similar cast iron pots from other brands, like THIS ONE from KitchenAid and THIS ONE from Lodge Cast Iron (both affiliate links) if you’re looking for something a little less expensive but still high quality that’ll do the job well.
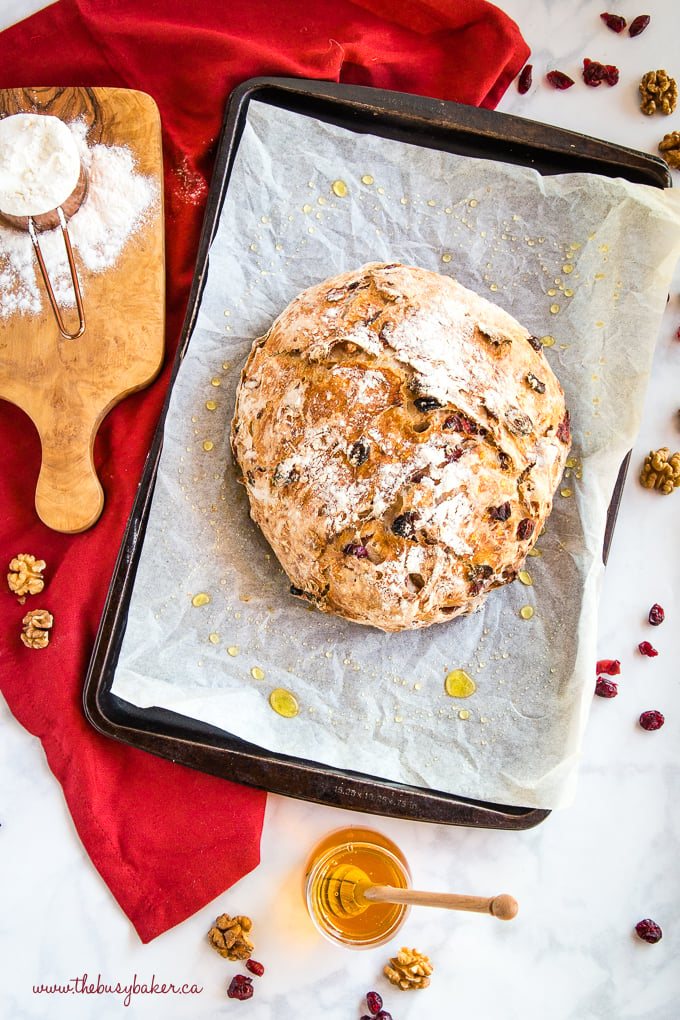
Pro Tip #2: Shape your loaf firmly but gently and dust the top of the loaf with flour.
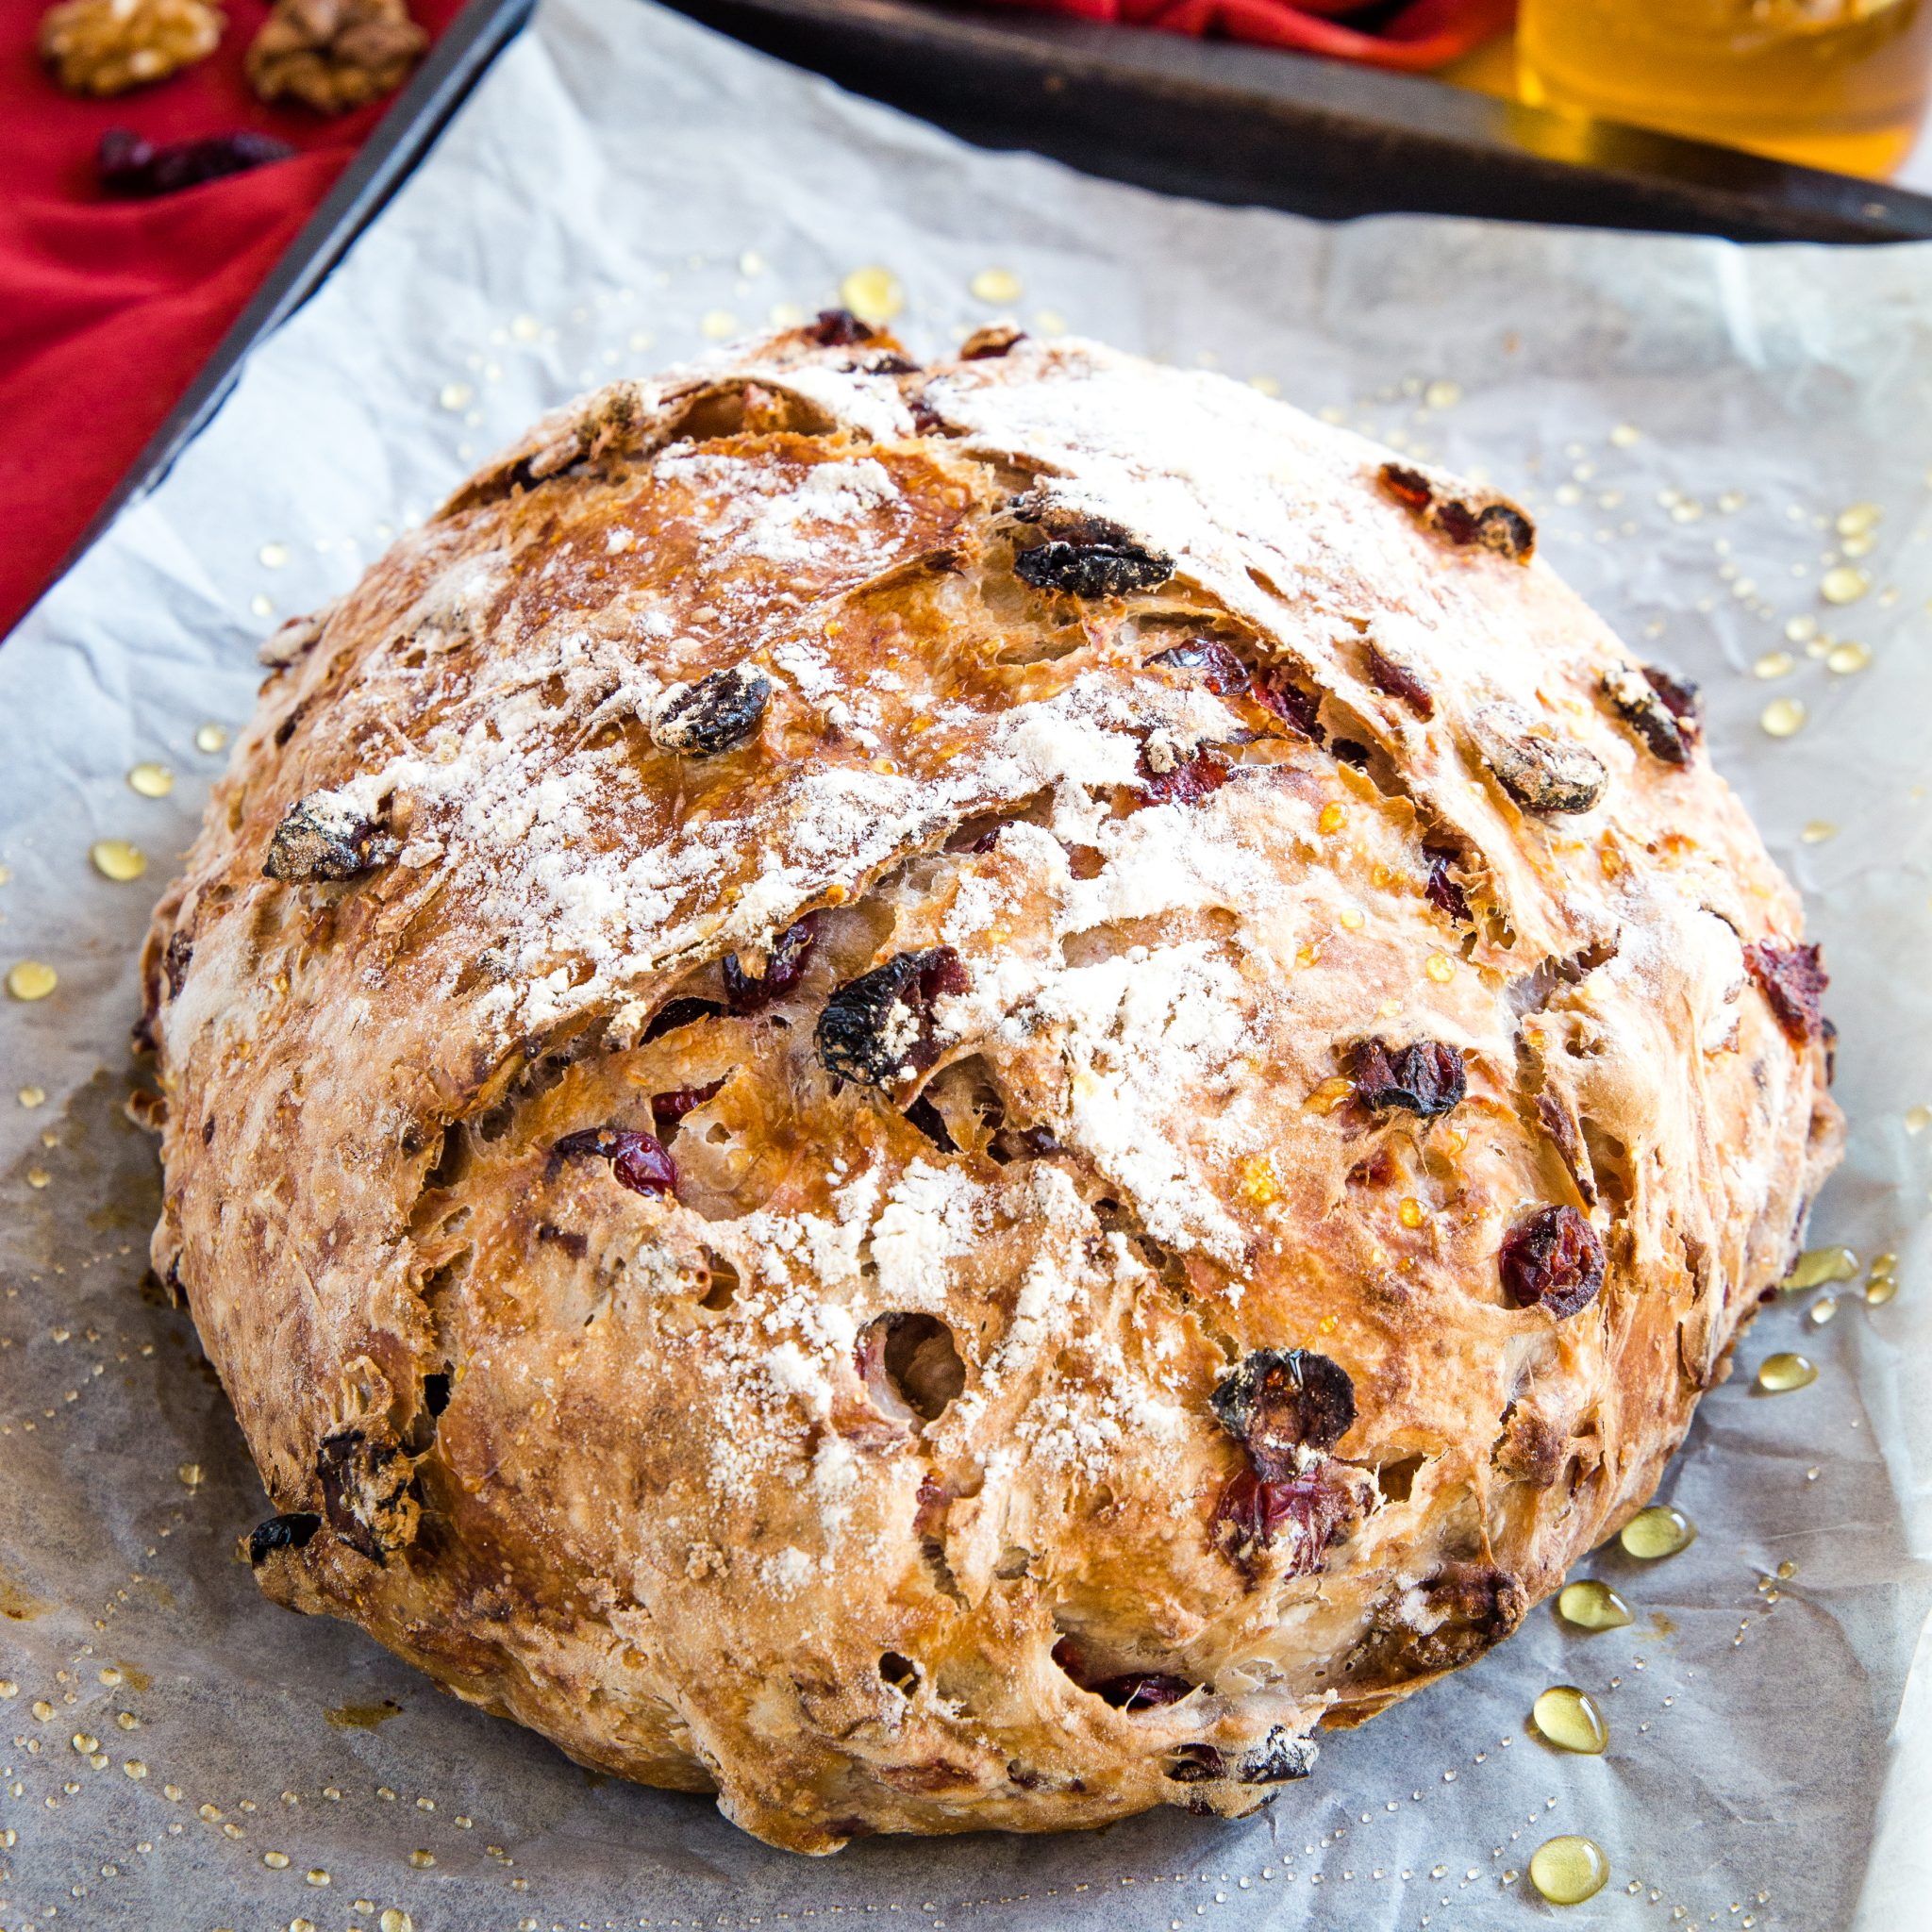
Creating a round shape will help the loaf bake evenly and dusting the top with flour will create that gorgeous, bakery-style appearance that everyone loves!
Pro Tip #3: Let the No-Knead Cranberry Honey Walnut Artisan Bread loaf cool completely before cutting into it!!
Resist the urge to slice the bread while it’s hot. Did you know that after removing a loaf of bread from the oven it continues to bake inside as it cools?? Slicing into this gorgeous loaf too early will cause the inside of the loaf to be under-cooked and gummy. Letting the loaf cool completely before slicing ensures the perfect fluffy texture when you slice into it!
NEVER MISS A POST! FOLLOW ME ON:
FACEBOOK | PINTEREST | INSTAGRAM | TWITTER
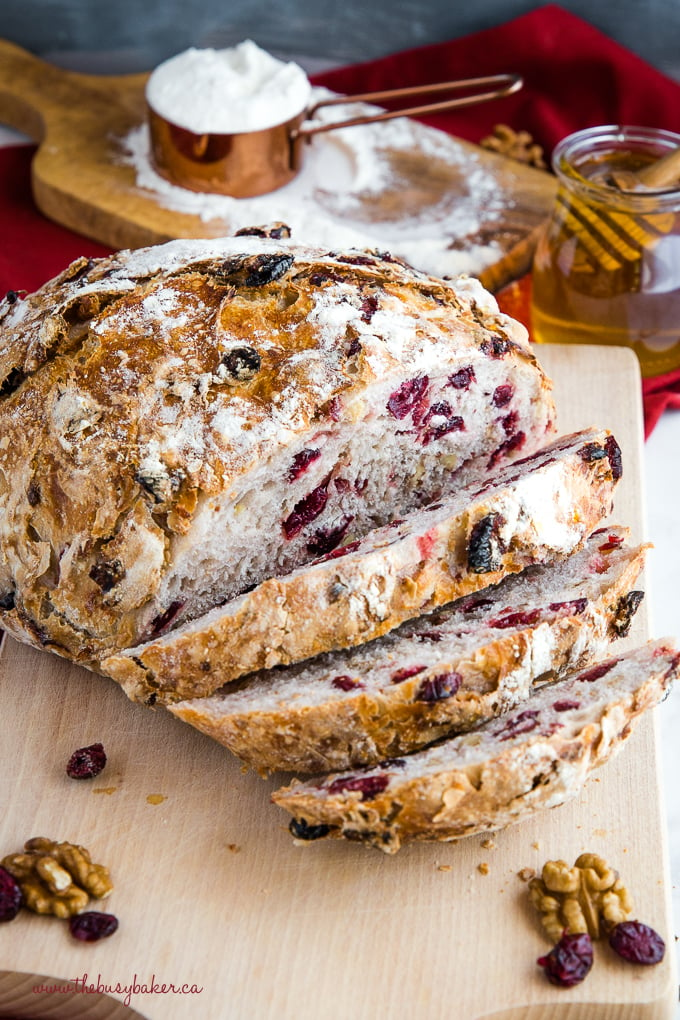
I hope you love this No-Knead Cranberry Walnut Bread with Honey as much as we do! Let me know in the comments below, what’s your favourite bakery-style bread to make at home? I’d love to know!
KITCHEN PRODUCTS I RECOMMEND:
Looking for even more delicious bread recipes? You’ll LOVE these:
-
Garlic Butter Dinner Rolls
-
Healthier Cornbread
-
Pumpkin Cornbread Muffins
-
Easy No Knead Artisan Bread
-
Easy No Knead Cinnamon Raisin Artisan Bread
LOOKING FOR MORE EASY STRESS-FREE HOLIDAY MEAL IDEAS AND RECIPES?
GET MY EASY NO-FAIL HOLIDAY MEALS E-COOKBOOK!
RECIPE VIDEO
Watch the video below to see exactly how I make this delicious bread recipe. You can find more delicious recipe videos on my YouTube channel.
If you made this, share a photo!
Are you trying this recipe? Use the comment form below to share your take; now with support for image uploads and comment voting!
No-Knead Cranberry Walnut Bread with Honey
Recipe: Ingredients
- 3 cups all purpose flour, plus 3 tablespoons
- 1/2 teaspoon instant yeast
- 2 teaspoons sea salt
- 1/2 cup chopped walnuts
- 1 cup dried cranberries
- 1 1/2 cups water at room temperature
- 2 tablespoons liquid honey, plus more for brushing on after baking or other vegan honey substitute
Recipe: Instructions
- Start with a large bowl and a wooden spoon, and add your flour to the bowl. Measure the yeast and add it to one side of the bowl. Measure the salt and add it to the other side.
- Using a wooden spoon, stir the yeast into the flour on its side of the bowl first and then stir the salt into the flour on its side of the bowl. This will prevent the salt mixing directly with the yeast. Give the whole mixture a few good stirs to make sure everything is combined.
- Add the cranberries and walnuts to the flour mixture and toss well to coat, and to make sure they're distributed evenly throughout.
- Measure the water. Make sure the water is at room temperature; water that is too warm or too cold can kill the yeast and prevent the bread from rising at all. Add the honey to the water and stir with a fork to combine.
- Pour the water in and stir with a wooden spoon. The dough will be rough and a bit sticky, but that's normal.
- Stir until all the flour is combined. This is not normal bread dough (there's no kneading involved in this recipe), so you don't need to be too concerned about the appearance of the dough at this point. Just make sure the ingredients are combined well.
- Cover the bowl with plastic wrap. It's a good idea to ensure there's adequate space left in the bowl for the dough to at least double in size. Place the bowl in a warm, draft-free place and let it rise for 12-18 hours.
- After the dough has risen for 12-18 hours, preheat your oven to 425 degrees Fahrenheit (if you're using convection, 410 degrees. If your oven runs hot, 400 degrees). Place your Dutch oven with the lid on in the cold oven and let it heat up with the oven. If your dutch oven is black or dark-coloured on the inside, set your oven to 400 degrees Fahrenheit instead of 425. I recommend a 6 or 7-quart dutch oven for this recipe.
- Place a piece of parchment paper on the counter and dust it with flour so the dough doesn't stick to the paper. Rub flour on your hands and scrape the dough away from the sides of the bowl, gathering it in your hands as best you can (it may feel kind of fluid and not at all like regular bread dough) and forming it into a circular loaf on the parchment paper. Don't worry if it still looks a little rough in places - this lends to the rustic look of this loaf. If your dough is very fluid, simply add an extra 1/4 to 1/3 cup of flour to the dough as you shape it.
- Once you have it shaped, the dough needs to undergo a second rise (much shorter than the first). The goal is to handle the dough as little as possible at this stage because any amount of tugging at the rough can cause it to deflate after it has undergone its second rise. The next few steps will help prevent this. But don't worry if it deflates a bit. This bread dough is pretty forgiving.
- Sprinkle flour over the top of the loaf and loosely cover it with plastic wrap to prevent a skin from forming over the dough. The flour also prevents the plastic wrap from sticking to the dough so when you take it off at the end of the rise, it doesn't disturb the dough and wreck the rustic shape you've created. Let the dough rise for about 45 minutes. Your oven will also be preheating during this time (and so will your pot).
- Once 45 minutes have passed remove the plastic wrap from the dough and trim the parchment paper into a circle closely around the dough. If it doesn't look like the dough has risen that much, don't worry about it. The loaf will puff up a bit when it hits the heat of the oven.
- Remove the preheated pot from the oven and transfer the dough into the pot as carefully as possible by handling only the parchment paper. Place the lid on the pot and return it to the oven for 30 minutes. Don't open the oven during this time, and certainly don't take the lid off the pot; the crispness of the crust develops because of the steam that builds up in the pot during this 30 minutes.
- After 30 minutes have passed, remove the lid from the pot and continue baking for another 15 minutes. After the 15 minutes have passed, remove the pot with bread from the oven and place it on a wire rack to cool. You'll probably hear it crackling as it cools - this is normal. Brush a little extra honey on the top of the bread now, if desired.
- If you can, resist the urge to cut into the bread until it has pretty much cooled completely. The bread continues to bake on the inside even after it has been removed from the oven and cutting it too early could result in the inside becoming gummy or rubbery.
Recipe: Notes
Quick rise method:
- Add 2 1/2 teaspoons of active dry yeast instead of the amount listed in the recipe.
- Rise for 2 hours and follow the recipe directions after the rise time as written.
No Knead Bread Troubleshooting Tips:
- If you find your dough is too wet and fluid, add an extra 1/3 cup all purpose flour and stir until a shaggy dough appears. The dough should be slightly sticky but not wet. You can do this after the first rise as well, before you shape the loaf.
- Add 1 tablespoon of Vital Wheat Gluten to the dough with the flour to create a very voluminous dough that rises beautifully every single time and isn't too dense (optional).
- I recommend a 6 or 7-quart dutch oven for this recipe, but any covered pot that's oven-safe can be used for this recipe.
- If the bottom crust of your bread burns or becomes too hard or tough, it's likely that the bottom burner of your oven is too hot OR you're using a pot that's black on the inside (these conduct heat more efficiently than one that's a light colour on the inside). Try lowering your oven temperature by 25 degrees, using the convection setting, or using a different pot that's light in colour on the inside.
- Every person's oven is different, so it's a good idea to check on this bread about 15 minutes into the baking time if you know your oven runs hot, if you're using a gas oven, or if you are using the convection setting.
- Use an oven thermometer to make sure your oven temperature is correct. If your oven runs hot, lower the temperature of your oven by 25 degrees to be sure you don't burn the bread.
- Don't forget to dust the bottom of your pot with flour, or dust the parchment paper with flour (if you're using parchment paper as directed) so the bread doesn't stick.
- During the last 15 minutes of baking if you notice the bread is becoming too brown simply remove it from the oven early.
Recipe: Nutrition
Notice: Nutrition is auto-calculated, using Spoonacular, for your convenience. Where relevant, we recommend using your own nutrition calculations.
This looks fantastic and so perfect for the holiday! Thanks for all of your tips to getting this done right.
I hope you enjoy it!!
Unfortunately, my bottom was very over done, actually inedible, too. The rest of the bread is superb. My dough was so wet it seemed more like a batter so I added 1/4 cup of flour. It could have used more but I didn’t dare. I would like to try this bread again but I’m afraid I would have the same results as I followed the recipe. Photos of dough would be appreciated as well as metric measurements. You can’t make a mistake with measurement if you know the gram weight….
There’s a blue button that says Metric, right under the ingredient list. If you click on it, all the measurements will automatically convert to metric. As for the crust, I suggest that you read my troubleshooting tips and tricks in the notes, at the bottom of the recipe card. Hope this helps! ☺️
I do really need to say thanks! I add some vanilla extract and add pure honey to the water… the bread came out amazing!
We’re so happy you enjoyed it! Thank you for taking the time to leave your feedback!
Hi
Was wondering if this bread could be made with gluten free flour?
I’m sorry, I couldn’t tell you as i have never tried it but it should work if you use a gluten free flour that performs similarly to all purpose flour. Happy baking! ☺️
Can you double this recipe? Made it several times & love it but would like to do 2 loaves since rising time is so long.
Sure you can! We love it too and it always gets eaten so fast when I make it! Happy baking ☺️
What a delicious flavor combination! The hardest part looks to be having the patience not to cut into right as it comes out! A true test of wills, haha!
Ha ha! Thanks! 🙂
This is one gorgeous loaf! I need to make it soon!
Thanks!
This sounds very yummy! In my family we eat bread a lot so it’s nice to bring some variety to the table
I’m SO glad!
This is a gorgeous loaf of artisan bread! Thanks for sharing your tips!
Thanks! 🙂
Looks yummy. Why is the rise time so long? 12-18 hours seems long but I am new to bread making.
The long rise helps create the artisan bread texture. It’s a unique technique used in recipes like this. Normal bread rises in only an hour or so. 🙂
I let this rise for a total of 3 hours and it turned out AMAZING. It was so good! I also just used a glass pan and covered it with foil. Soooooo good. Couldn’t stop eating it
Thank you for your feedback! I’m always glad to hear that the recipe turned out delicious.
I love everything about this! So much flavor packed into each bite, absolutely a must try!
Thanks!!
I made this bread yesterday and I can say it is really, really tasty. And so easy to make. Will definitely be making this one again. Thank you for sharing yet another delicious recipe. I can hardly wait to have a slice of this bread toasted this morning for breakfast. 🙂
It’s SO great toasted in the morning 🙂 Glad you loved it!
This looks so tasty! I want it so bad!
Hope you enjoy it!! 🙂
Beautiful cranberry walnut honey artisan bread. I have been looking for this perfect easy recipe for a while. I had use the Italian lady recipe, but crust is not crispy and lots of work like proofing first. Yours looks so easy. Only thing I have to get a Dutch oven. King Arthur Flour has one on sale on Black Friday . Out of stock now, but will be available December 3. Hope I can get one for same sale price.
I looked all over your recipe, no mention of SIZE of the Dutch oven. Did I miss it! What size does your bread fit in?
Thank you for your time.
I use a large 5-quart dutch oven for this recipe. I hope you can get one – they’re GREAT to have! 🙂
I was wondering which 5 quart Dutch oven brand you used for this recipe?
Mine is from Le Creuset, so it’s a very heavy cast iron. It’s the best I’ve ever used and totally worth the price since I use it almost daily!
I only have a cheap stainless steel Dutch oven but I do have a Lodge cast iron 12 inch skillet with a stainless steel domed lid that fits it. I was wondering if it would work to make the bread in the skillet instead? I do have a gas oven with a convection setting. I’ve been dying to try an artisan bread. Would appreciate your suggestions.
A cheap dutch oven should work – I used to make this bread in a cheap covered turkey roaster 🙂
I own two Le Creuset but decided on not using either for bread bc the knob on ea can endure different temperature. They come with several types depending on the one you buy and heat for knobs are from 250C to 500C. Unless you have the stainless steel knob. I bought a cheap Lodge online at Home Depot fir $39 i use for making bread only. It’s normally for camping. All cast iron and treated. I love it. The cover can also be used as a pan.
I too will not spend %450 on a pot. I alsos have a lodge pot I picked up on ebay for $40. What I like is the pot has a flat lid. I put it in the oven with the lid on the bottom, place the bread in the lid then lift the bottom over the top. It keeps you from reaching into a scorching pot to get your bread out.
Any heavy dutch oven works well 🙂
You can buy le Creuset replacement knobs on their website. My Dutch oven came with the non metal knob, so I purchased a metal one and switched it out.
Could I use fresh cranberries for this recipe?
Yes, although I’d recommend slicing them in half or using a few less.They add moisture which can affect the consistency of the dough more than dried cranberries.
I am trying to reduce my sugar intake. Have you ever tried it with 1 3/4 C plain water? Thank you.
Yes, using 1 3/4 cups water in place of the honey is just fine. The honey is for flavour 🙂
is it possible to use regular yeast instead of instant yeast?
Yes, it is possible 🙂
How much regular yeast would you use?
The same measurement, but dissolve it in the water first instead of adding it directly to the flour.
I’ve been wanting to bake in the fall and winter months. I am making a sourdough starter then saw your no knead bread. Just made the cranberry bread and found it fit my lifestyle well. With arthritis I did not want to knead, even though it’s a much loved practice. Winter is time to rest. My bread came out beautifully tastes wonderful and a great gift idea.
Thank you for making it easier to bake again.
I’m so glad you liked the recipe!! Thanks!
Does it really have to rise for 12-18 hours or is that minutes??
It is 12-18 hours! It’s a slow rise, which is what develops the delicious flavour and texture 🙂
This looks so yummy… I do have a few questions as I would like to make it and have only read through your recipe and the comments. When you say to mix the yeast with half the flour in the bowl and the other half with the salt and flour and then to stir chicken by does that mean at that point combine all of the flour and the yeast and the salt? Also near the end after it has risen for many hours, when you let it rise again is it just covered in a ball or is it back in a bowl? Finally have you ever tried to refrigerate or freeze this bread? I was thinking it might be nice to give us some gifts for Christmas… Thank you
Just be sure the yeast and salt don’t touch directly – stir them in with a bit of the flour first before stirring altogether. Yes, you need to rise it again while the oven and the pan heat up 🙂 I haven’t had much luck freezing it, as it loses its crusty/artisan texture after freezing.
So this may sound dumb but how do I. It have them mix if they are in the same bowl and you say to combine everything??? Also, I am still unclear on the 2nd rise…is it just out on the parchment paper or in a bowl?
If you keep them on opposite sides of the bowl and then mix, the flour will act as a bit of a barrier between the two when you mix them all together 🙂 And the second rise is on the parchment paper, not in a bowl.
It wasn’t quite clear whether the pan needed to be greased or if the parchment paper was to be placed in the preheated pan …. I’m afraid I didn’t do either, so I’m worried my bread may stick to the pan 🙁 too late now, it’s in the oven baking .
The bread shouldn’t stick, even without the parchment. I almost always use the parchment anyway 🙂
This looked so good and easy! I used a 5-qt Lodge dutch oven, oven set at 425 rather than 450, and the bottom of the loaf burned black. Any suggestions?
That has NEVER happened to me or anyone else I know of, and I’ve made this recipe and others like it many, many times. My guess is your oven has a hot spot or possibly uses a bottom element only. Try turning on the convection setting, if you have it, or moving up the oven rack. An oven thermometer might help too, so you can see exactly how hot your oven actually is. Good luck!
This happened to me too. When I took the lid off at 30 minutes, the bread looked perfect. I set the timer for another 15 and when I went to take it out, it was dark on top. But that didn’t compare to the bottom which was black. 🙁 The bread was delicious, but we had to cut off the bottom which was unfortunate. I am almost positive that my oven temp is correct. I’ve never had any other issues with it and a thermometer always says it is. I have a gas oven and it does not have a convection setting. My guess would be that it’s my pot. I have an enameled cast iron dutch oven, but it’s a cheaper $40 one from Target. It’s very heavy, but my thought is that maybe it isn’t as thick on the bottom as a Le Creuset. Knowing that, do you think it would be better to cook it at a lower temperature, or for less time? I didn’t know if it would be fully cooked inside if I had taken it out at 30 minutes. It was so yummy, I’d love to try it again.
I’ve made this bread in a cheap turkey roaster (super thin pan) once when I was in someone else’s kitchen and that’s all I had, and it still didn’t burn on the bottom. However I did use the convection setting on the oven, and I do on mine too (but not all the time). Unfortunately, I’m not familiar with gas ovens, which may be the issue. You could try turning down the temperature slightly and baking it higher in your oven. Or try your turkey roaster like I did!
I adore this bread and have made it about ten times since I found the recipe in February. I use 410 all the way through and it’s mildly brown which I love. I would love to bake it sooner than the 12 hours because we love to eat it! But I normally go the 18 hours because I make it in the morning then get up early the next day to bake it for breakfast. Delicious!
So glad you love it!
The pot you used may not been heavy enough.
I had a similar setup and have found (thank you Serious Eats) that if you double line your parchment and put tinfoil on the bottom rack it takes care of the bottom burn. Good luck
The bottom of mine turned black, also! I made it yesterday. I made a jalapeno cheese bread a few days ago. It had the same directions and it was perfect. I”m not sure what went wrong with this one. Same oven temperature, same timing. The bread was good after cutting off the bottom. A couple of spots on the top were black, as well. I want to try this one again, but I’m not sure how to make adjustments so it doesn’t burn again.
I’ve made this recipe twice and it was too dark on the top and black on the bottom both times. My oven is usually a little cooler than it reads, taking a little longer than most recipes call for. Not so with this one! Next time Ill try 425 instead of 450. We still eat the middle—it’s so good! Not overcooked at all.
I’d recommend 425 and also moving the rack away from the burner in your oven, if possible. If your dutch oven is black in colour (on the inside) this can cause burning as well. If so reduce the temperature by another 10 degrees.
I had an issue with the loaf spreading out (a LOT) on the second rise and baking, resulting in a much more flat and dry loaf. Any suggestions?
This is likely because your dough was too wet. I’d suggest adding a little more flour next time – sometimes if our measurements are just a little off it makes a big difference.
Just buy a Lodge 8 inch cast iron trivet. Put in bottom of Dutch oven when you preheat. Insert your dough on the parchment paper. No more overbrowning or burn. Has nothing to do with hot spots, etc.
I was going to ask if the parchment goes in the Dutch oven. Makes sense now. Thanks
We are so happy with this recipe. It turned out beautifully. We enjoyed a slice this morning for breakfast and fighting the urge for a second piece. This recipe is a keeper!
So glad you liked it! Thanks for taking the time to leave a comment! 🙂
I prepped this yesterday for Christmas morning today. It is gorgeous. My house smells wonderful! And I wish I could post a picture of how wonderful it looks. Thanks for this recipe. It’s my first ever Dutch oven bread. I’m super pleased!
So glad you enjoyed it! Thanks for the positive feedback!
In step 4 it says to mix water into flour – then in next step it says to mix honey with water, but doesn’t say what to do with it, I’m robably not reading correctly, but can you clarify please?
Mix the honey and water together and then add them to the flour mixture 🙂
Could I use whole wheat flour instead of AP and if yes, would the amount change?
I’ve never made this recipe with entirely whole wheat, however I have made it with half all purpose flour and half whole wheat flour (same measurement) and it worked beautifully. It might be too heavy and dense made from entirely whole wheat flour, but it’s worth a try!
how long does this store good?
It stores well for a few days, but it’s really great made into toast the days after 🙂
Making this beautiful bread today…. perfect was to bring in 2019…. thanks for sharing
Thanks!
Im confused….In step 4, you say measure the water and stir into the flour. Then in step 5 you say to add the honey to the water and stir.
Can you clarify please.
Water and honey should be stirred together, and then added to the flour mixture. 🙂
Hi, May I ask, as I do not have french oven, what is the alternative way in order to make this bread. Thks!
It’s a Dutch Oven pot that the recipe requires, and it’s simply an oven-safe heavy pot with a lid. 🙂
Will this process reduce the amount of gluten in the bread like sourdough.
I don’t think so. Even if it does reduce, it certainly wouldn’t be gluten-free 🙂
The long ride actually promotes gluten formation. That’s why it’s possible to have a no-knead bread that’s so nice and chewy. Def not low in gluten.
Absolutely fantastic and very yummy
Thanks
So glad you enjoyed it!
Hi. I have the dough rising right now for this gorgeous loaf! You mention in the ingredients to use a little more honey for brushing the loaf after baking, but it’s not mentioned in the recipe steps. Would brushing honey on the baked loaf make it less crispy? I also was thinking of sprinkling coarse sugar on the loaf before baking. Would that also work?
I brush a little bit of honey on top as it cools. It doesn’t make it any less crispy, but it gives a nice sweet coating on top. And, as always, is optional 🙂
Okay, I have a few questions because my bread did not turn out that great. The instructions were so clear and I followed them closely. I really want to try again. I am new to baking bread and the attempts I`ve made in the past have been not so great either, so when I saw your super easy recipe, I was excited. I still am! I`m anxious to fix the issues. My bottom also turned out a bit burned and so did the top. I need to figure out the temp of my oven. I don`t have a convection oven or a convection setting on mine. Just a normal gas oven, which heats from the bottom mostly. I had the pot in the center of the oven, but the bottom still got a bit overdone and the dried fruit bits on top got too done. Hmph! Also, the inside was gummy even though I let it rest for an hour and a half after and made sure it was barely warm before slicing into it. So, it seems it was underdone, but overdone(the agony! lol ). The taste is FANTASTIC. So good, but the texture leaves much to be desired. Also, I used regular yeast instead of instant and it did rise some, but not as much as I would have hoped during the first or second rise.Is there a difference between regular and instant yeast? So, my bread was sort of flat, but did have a lovely crust on the outside. So many issues but I`m sure not due to your recipe. Anyway! If you or anyone else would like to chime in with some tips for a beginner, I`d appreciate it. Thank you!
It sounds to me like there are a few problems. First, try baking at a lower temperature for a longer length of time. Gas ovens can run hot and have a more uneven temperature. This can cause the issues you mentioned. Also, using instant yeast will give the dough a better rise, and leaving it to rise for the full amount of time is important too. If you reduce the rise time you must increase the amount of yeast you use. For example, if I rise this bread for 3-4 hours I’d use almost one tablespoon of yeast. But the flavour is MUCH better if you use less yeast and rise for longer. Also, if your oven is hot on the bottom, bake the bread up one rack than you would typically. Let me know how try #2 goes! 🙂
im not sure i can wait 18 hours for a bread to rise. if you use warm water it wakes the yeast esp with adding a little sugar in it. But my question is….is it because to ferments the taste by waiting that long?
The slow rise creates the delicious flavour of the bread, as well as the unique texture. It’s worth the wait 🙂
Ha ha I thought I invented this bread. I use the no knead recipe and add various seeds , grains,nuts and berries. My recipe doesn’t call for a second rise and I bake it in a parchment lined old speckled oval roasting pan. I have never had a failure and everyone loves the bread. I also use my KitchenAid mixer on stir to mix ingredients. So quick and easy.
As they say, there are no original recipes anymore 😉 Glad you love it!
Which no knead recipe do you use? I’ve been having trouble with this recipe burning on the bottom.
Thank you, Eileen, for letting us know that a parchment-lined old speckled oval roasting pan also works. I didn’t want to invest in an expensive Dutch Oven! I also have a recipe that calls for active dry yeast and only one 12 hour rise. I’ve only made it once (TODAY-Yum!) but I think I’ll try the craisins, walnuts and honey that this recipe calls for.
Could you use spelt flour?
I’ve never tried this, so I can’t say whether or not it will work. But it’s worth a try!
My oven has a bread proof, can I use it?
I wouldn’t suggest this – this loaf’s flavour comes from the slow rise. I wouldn’t recommend accelerating the rise at all as the loaf may not turn out as the recipe suggests.
I hope to try this recipe soon. Not sure how this bread will taste but it sure is a beauty!
I hope you love it!
It took me 4 tries, but I finally nailed – it’s as beautiful as it is delicious! I suggest adding 2 pics – what the dough looks like and what it looks like after the first rise – for those of us familiar with “normal” dough and not sticky dough like this. My 1st try burned on the bottom and didn’t rise well, so I reduced the heat to 425 and used convection bake for the 2nd try. The 2nd try, I let it rise too long and it collapsed before I got around to shaping it for the second rise, so it was tasty but kind of flat. The 3rd try, I still let it rise a little too long, but it turned out better than the first 2 tries.
The 4th try is perfection! I used agave instead of honey because of the lower GI index of agave, 1-3/4 c of bread flour and 1-1/2 c of whole wheat flour, 1/2 tsp active dry yeast. I took more care with the rise time and found that after 11 hours it was ready to form. Baked it covered at 425° on convection for 30 minutes (in a preheated cast iron Dutch oven) and uncovered for 10 minutes. It’s gorgeous and has the best flavor yet! I doubt that it will last the day!
By the way, the new parchment paper is only heat tolerant to 425°!
Glad you figured it out! And good to know about the parchment paper! Thanks!! 🙂
So I’d like to make this later today. I’ve made this same type of bread, just without fruit and nuts and it was delicious. I also had burnt bottom problems. I will reduce heat and raise rack. My question is, once it is out of oven after baking, does it cool in dutchoven or should I take it out of Dutch oven to cool on the rack? Thanks for your help in advance.
I’d cool it out of the pot on the rack 🙂
Can you let this dough rise in the fridge even slower? If so how long would you leave it in there?
I wouldn’t recommend this. You can rise it for up to 24 hours at room temperature.
I made this for the first time and it came out beautiful and tasted wonderful! I will make this again. I did let it rise for almost 22 hours at room T because I started the recipe in the morning. It just didn’t seem convenient to bake it at 10 p.m. so I waited the next day. Delish. I did brush honey lightly on the top of the bread immediately after baking. It gives the bread a nice taste and look. Thanks for a great recipe.
So glad you liked it! Thanks for taking the time to leave a comment! 🙂
Hi…just made today…and it’s cooling as we speak. My question is from step 14. Do I pull the bread out to put on wire rack to cool or do I cool on rack in pan. I can see it as maybe continuing to cook in pan (a good thing) or overcooking because pan is hot (a bad thing).
I cannot wait to taste. Smells wonderful!!
I’d cool it out of the pan on a rack 🙂
Has anyone tried dividing this into 2 loaves? If so, would you reduce the temp and bake it using the same time? Or bake it at the same temp for a shorter time? Or bake it at the same temp for the same time?
I only have one dutch oven so the second load would have a 1.5 hr second rise. Would that be ok?
The last 15 minutes of baking resulted in a thoroughly burnt loaf of bread.
Hmmm…it sounds like your oven is too hot. Have you tested the oven temperature lately to see if it’s accurate?
Please tell me that the calorie count on this recipe is incorrect?!
It’s about 200 calories per slice (thanks to the honey, the fruit, and the nuts!)
I made this bread and you can see my picture on Pinterest as proof how good is this recipe . Bread turn out so good and delicious. Now we keep making it at home as Saturday morning treat. Thank you so much for sharing this recipe with us on internet.
So glad you liked it! 🙂
In the oven right now, looks amazing already. Wondering what you consider as a serving?
There should be about 12 slices per loaf and one slice is a serving.
My question is this. Do you leave the parchment paper in the post while it is baking? If yes, no worries about the paper burning?
I do leave the parchment paper in and it has never burned for me 🙂
Excited to make this! I don’t have instant yeast, just active dry yeast. How should I adjust for this? (I’m new to bread baking :)) thank you!
Active dry yeast also works 🙂
Thanks for the amazing tips and the great recipe. I just made it but I waiting for my husband to cut it and see the final result. Two questions: in the ingredients list talks about cups of flour and additional spoons, are these last ones for use to spread over the bread and in the parchment paper? I hope so because I didn’t add them to the mix… second question: how do you store the bread after it’s cool? I covered with plastic but I am not sure if was the right move
You can store the bread in plastic, yes. 🙂 Glad you liked it!
This photo definitely looks better than the bread. I have been baking for a long time and thought I would give this a trey. My first doubt was the small amount of yeast called for. The bread never rose, it just stayed flat. I followed the recipe to the letter. Waste of good ingredients. I would not waste my time on this recipe.
I’m sorry it didn’t work out for you. If it didn’t rise, perhaps your yeast was old, or maybe the water was too warm and killed the yeast.
I questioned that myself. I used more yeast.
It looks absolutely amazing. Definitely going to try it out 🙂 I am just getting into bakery so hopefully I will be able to handle it haha thank you very much for sharing and please keep up the good work.
Thanks so much! Hope you enjoy!
I followed the directions exactly, and it turned out beautifully. We paired it with homemade honey butter, and it was delicious. Thank you for this great recipe- definitely a keeper!
I’m so glad you enjoyed it! Thanks for taking the time to leave a comment!! 🙂