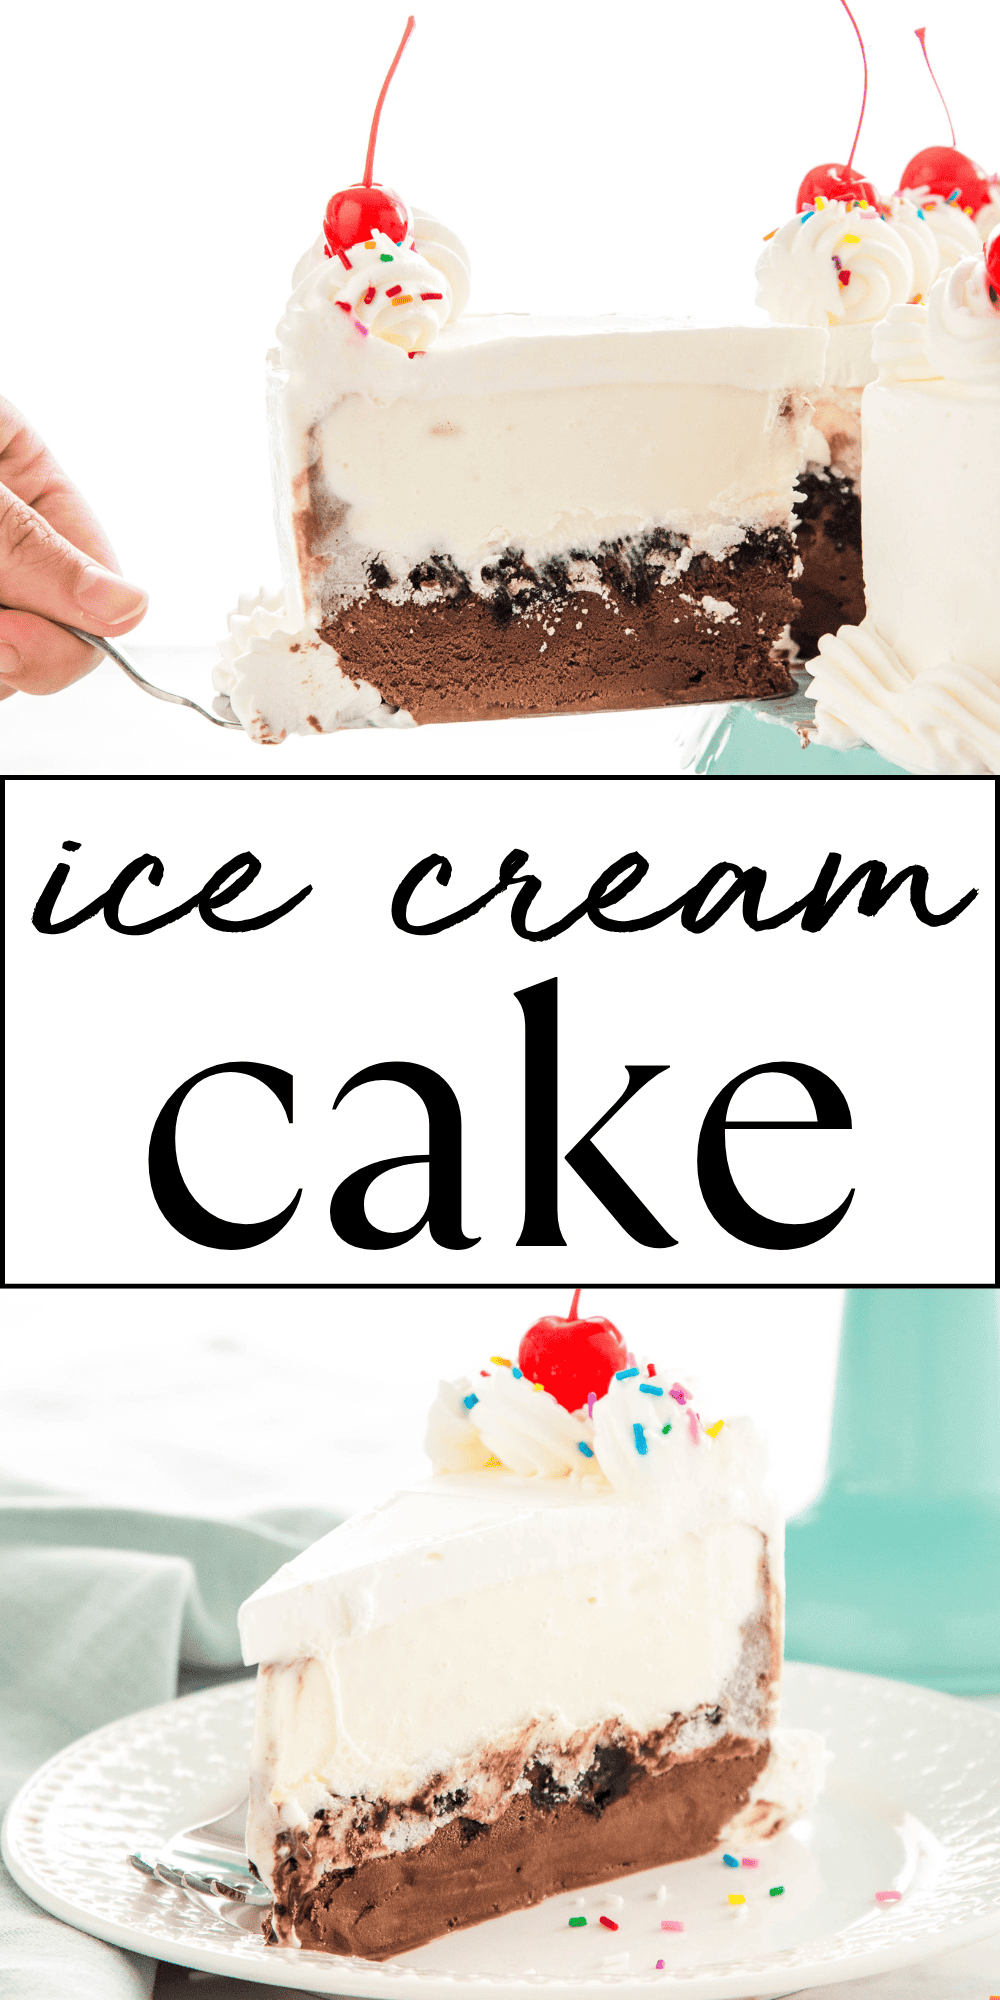
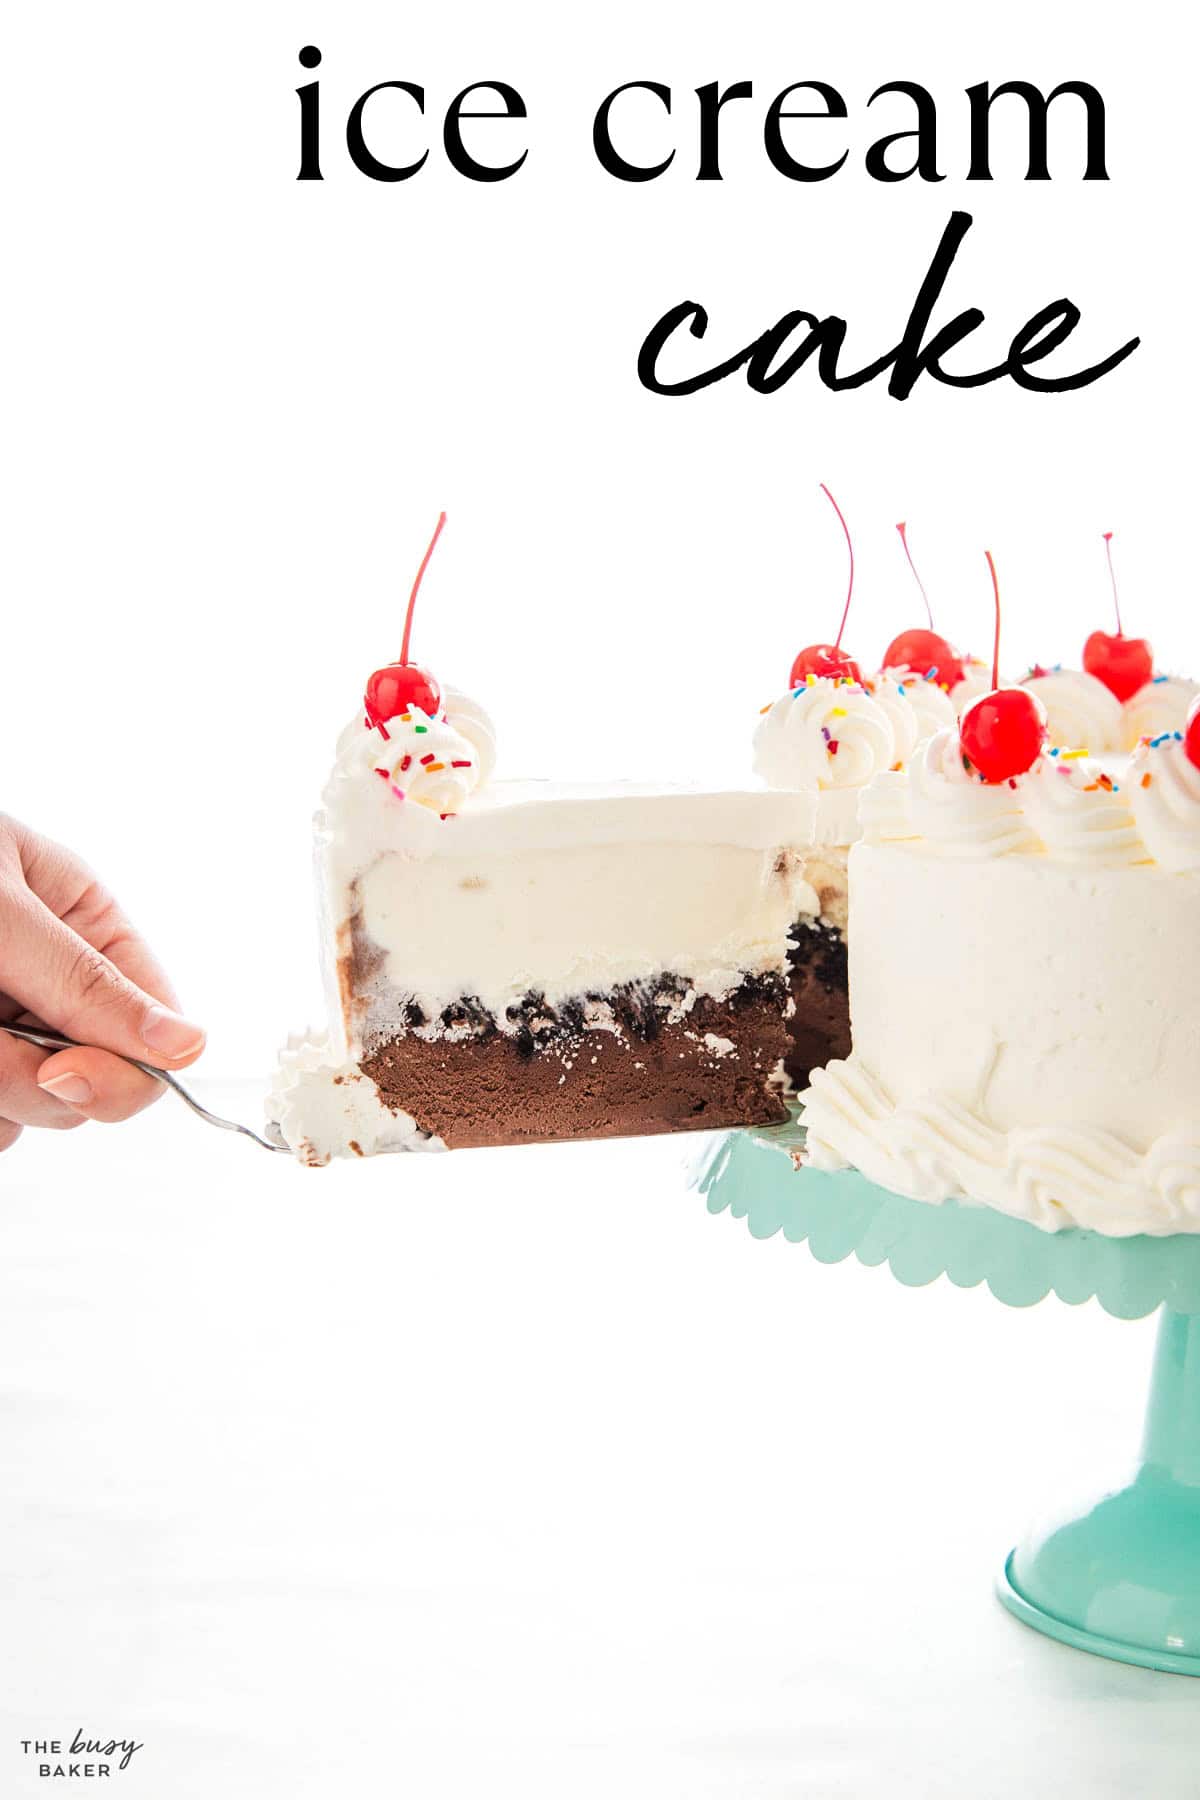
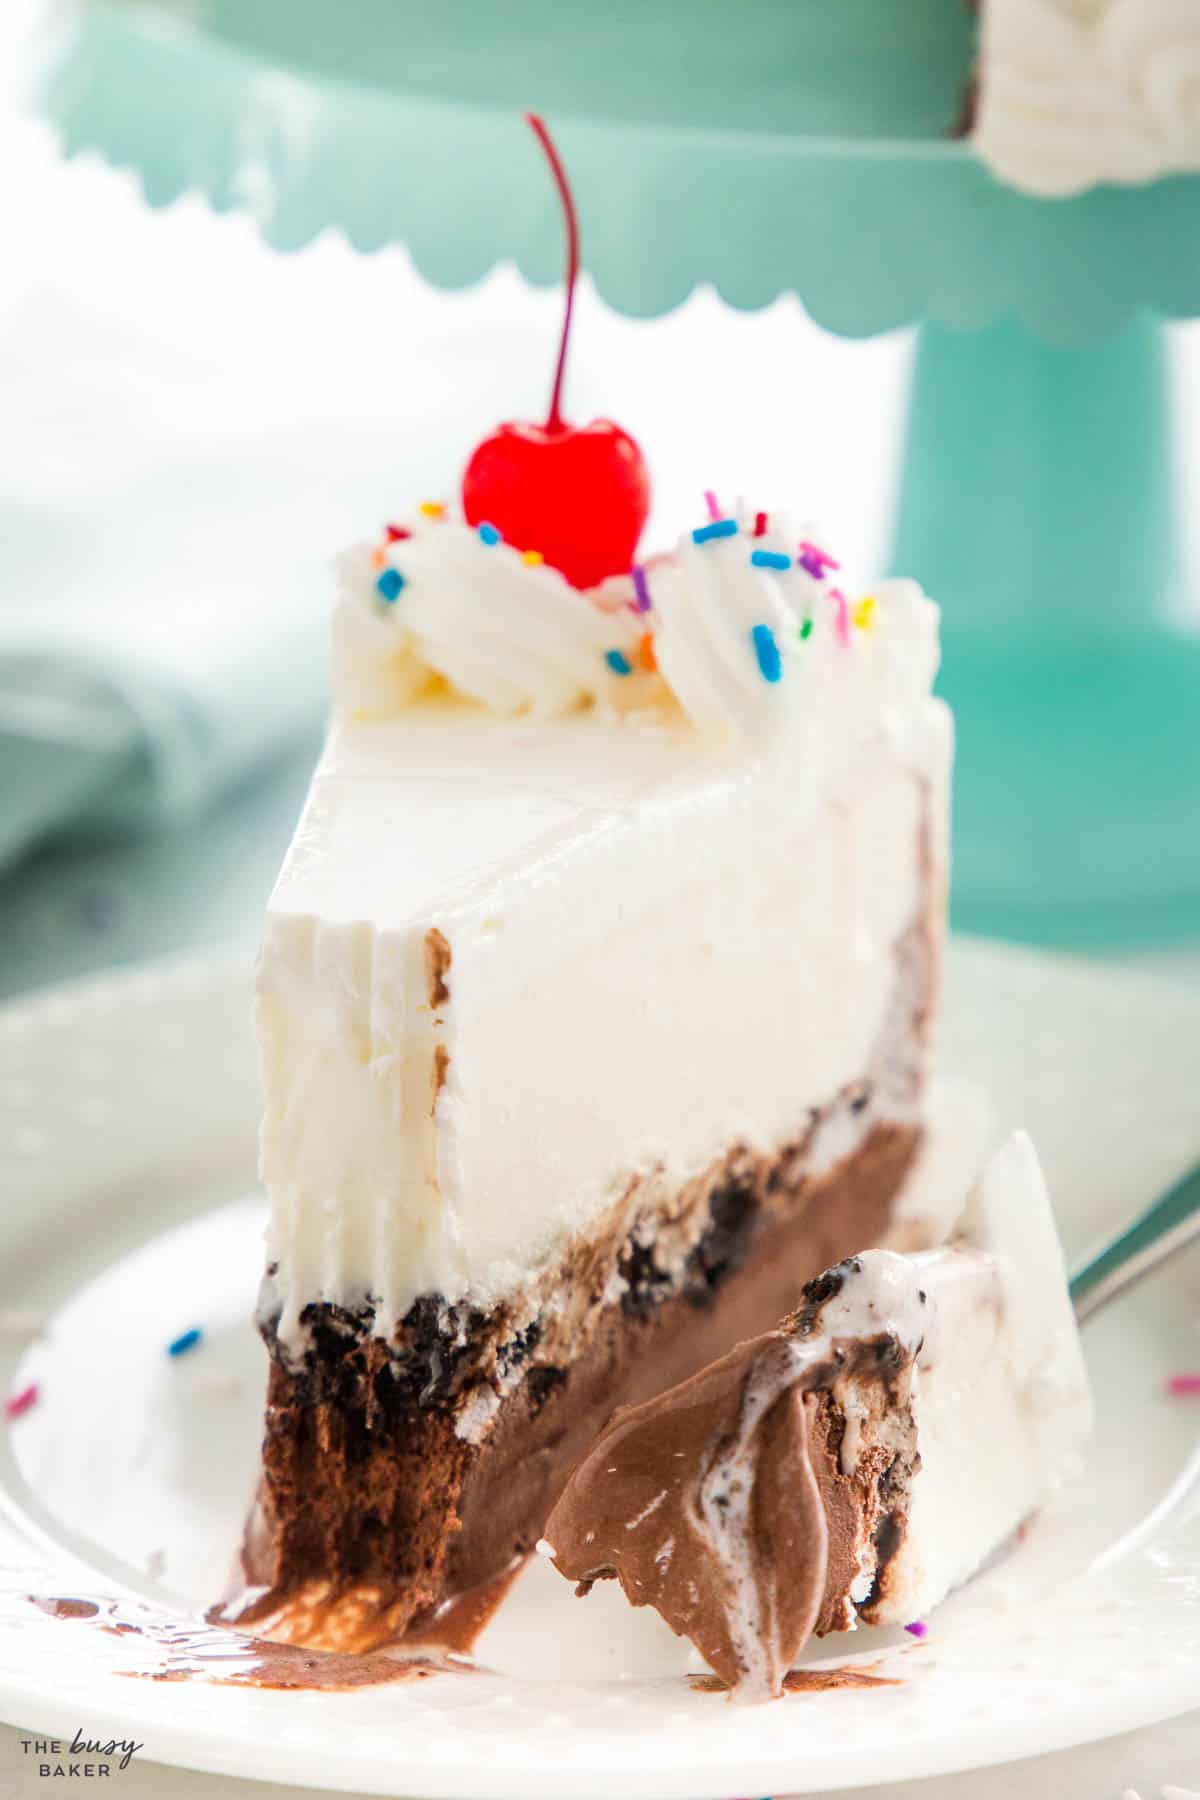
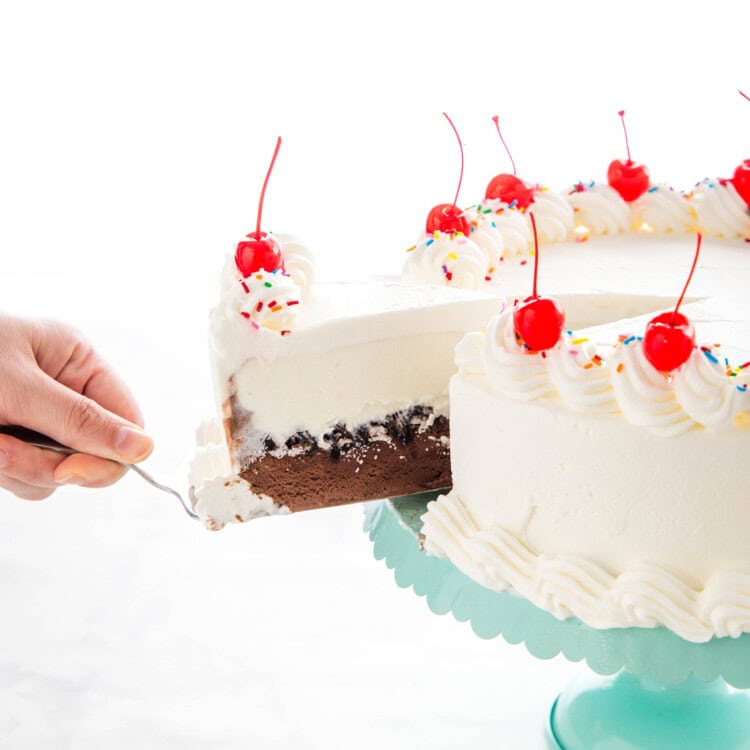
Learn how to make homemade Ice Cream Cake with this copycat Dairy Queen Ice Cream Cake recipe! It’s made with only 5 simple ingredients and it’s budget-friendly – perfect for a summer celebration!
Estimated reading time: 14 minutes
There’s no recipe more nostalgic than ice cream cake, and after growing up with Dairy Queen Ice Cream Cake at birthday parties, it’s one of those desserts that just tastes like childhood. We LOVE ice cream in the summertime, and this Ice Cream Cake Recipe tastes just like a classic DQ cake. It’s easy to make with only a few ingredients and it’s super easy on the budget! Trust us, you’re going to LOVE this one!
There are so many reasons we love this Ice Cream Cake recipe! Here are just a few:
- It tastes JUST LIKE DQ: We LOVE a good Dairy Queen ice cream cake and our recipe tastes just like it!
- It’s BUDGET-FRIENDLY: Make your own ice cream cake for a fraction of the cost of a store-bought one!
- It’s EASY to MAKE: With just a few simple tips and tricks, this cake is SO easy to make!
- It’s easy to CUSTOMIZE: Use whatever ice cream flavours you enjoy to customize this cake to your tastes!
- It’s perfect for SUMMER: It’s such a refreshing dessert when the weather is hot!
- It’s great for CELEBRATIONS: Got a summer birthday in your family? This cake is perfect for a summer celebration!
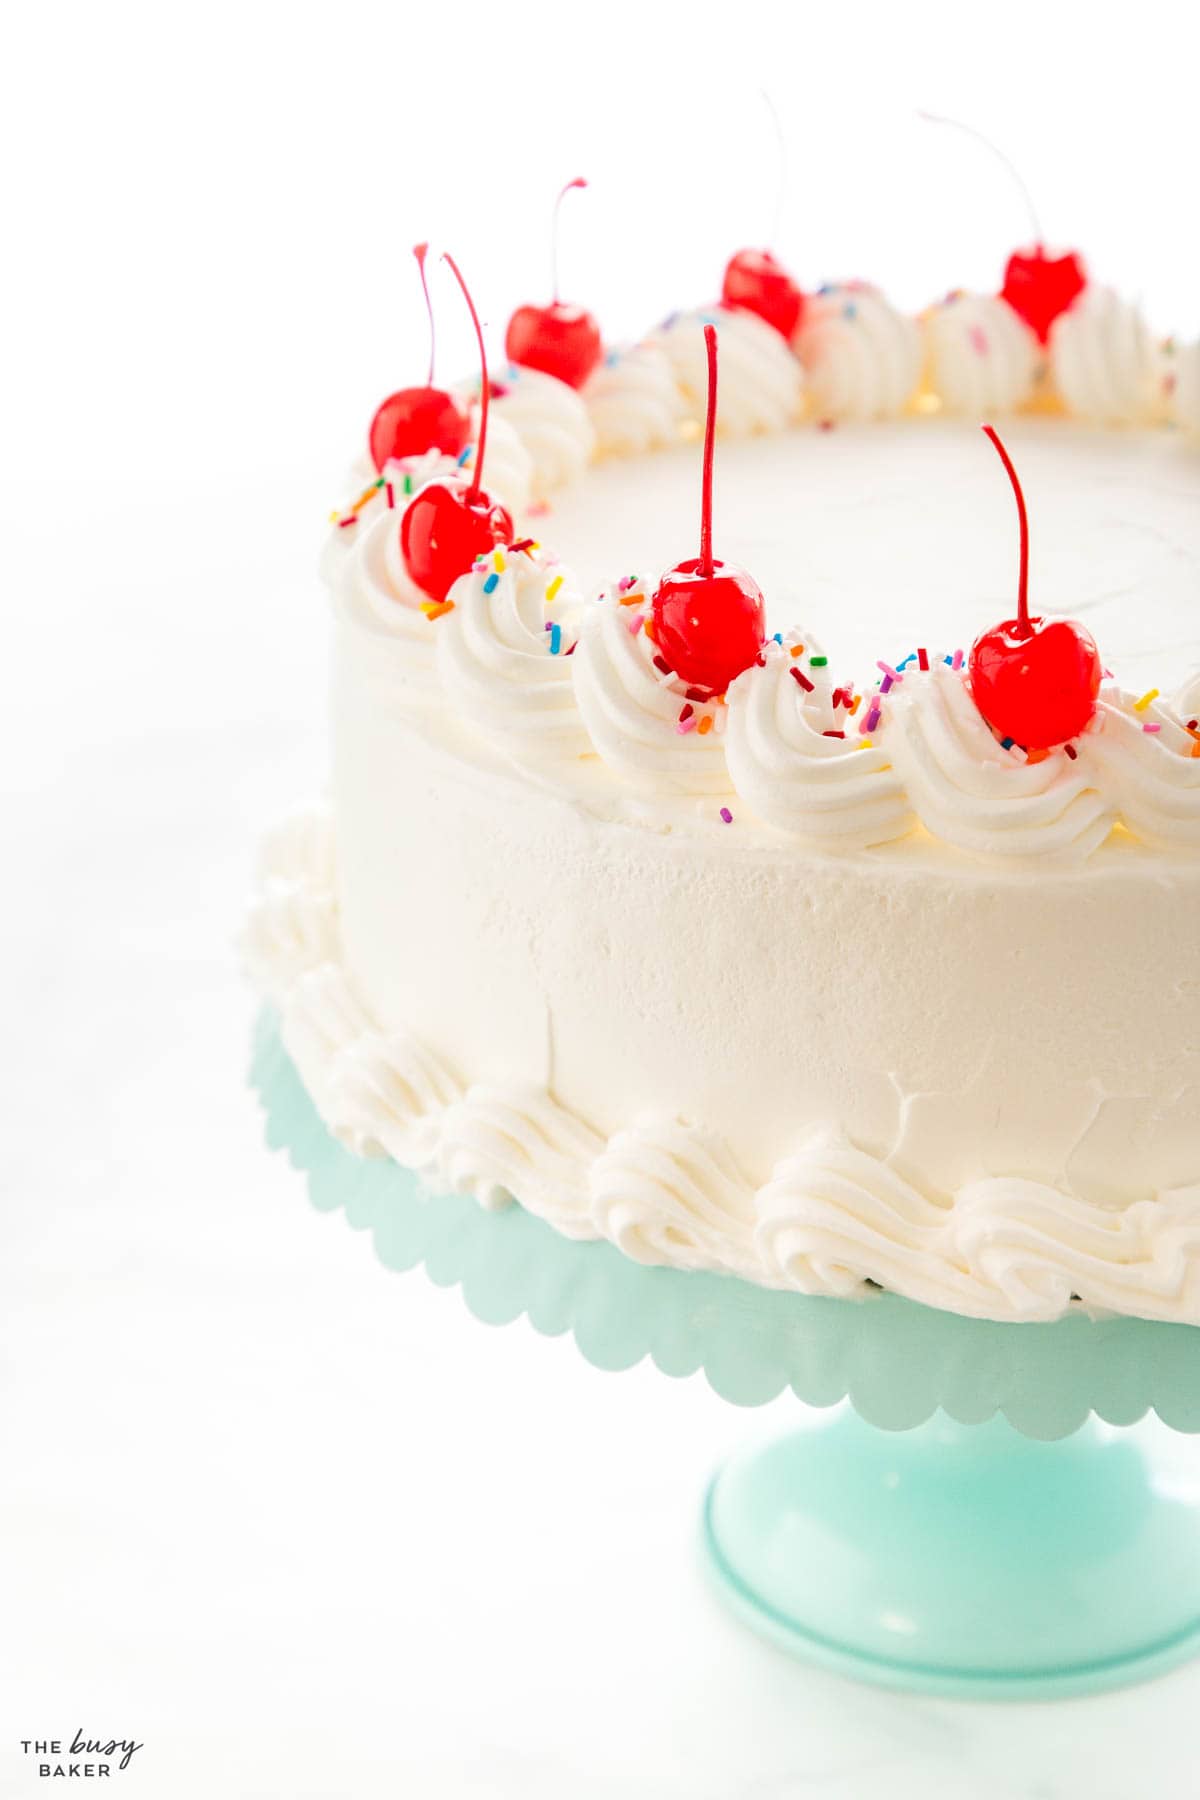
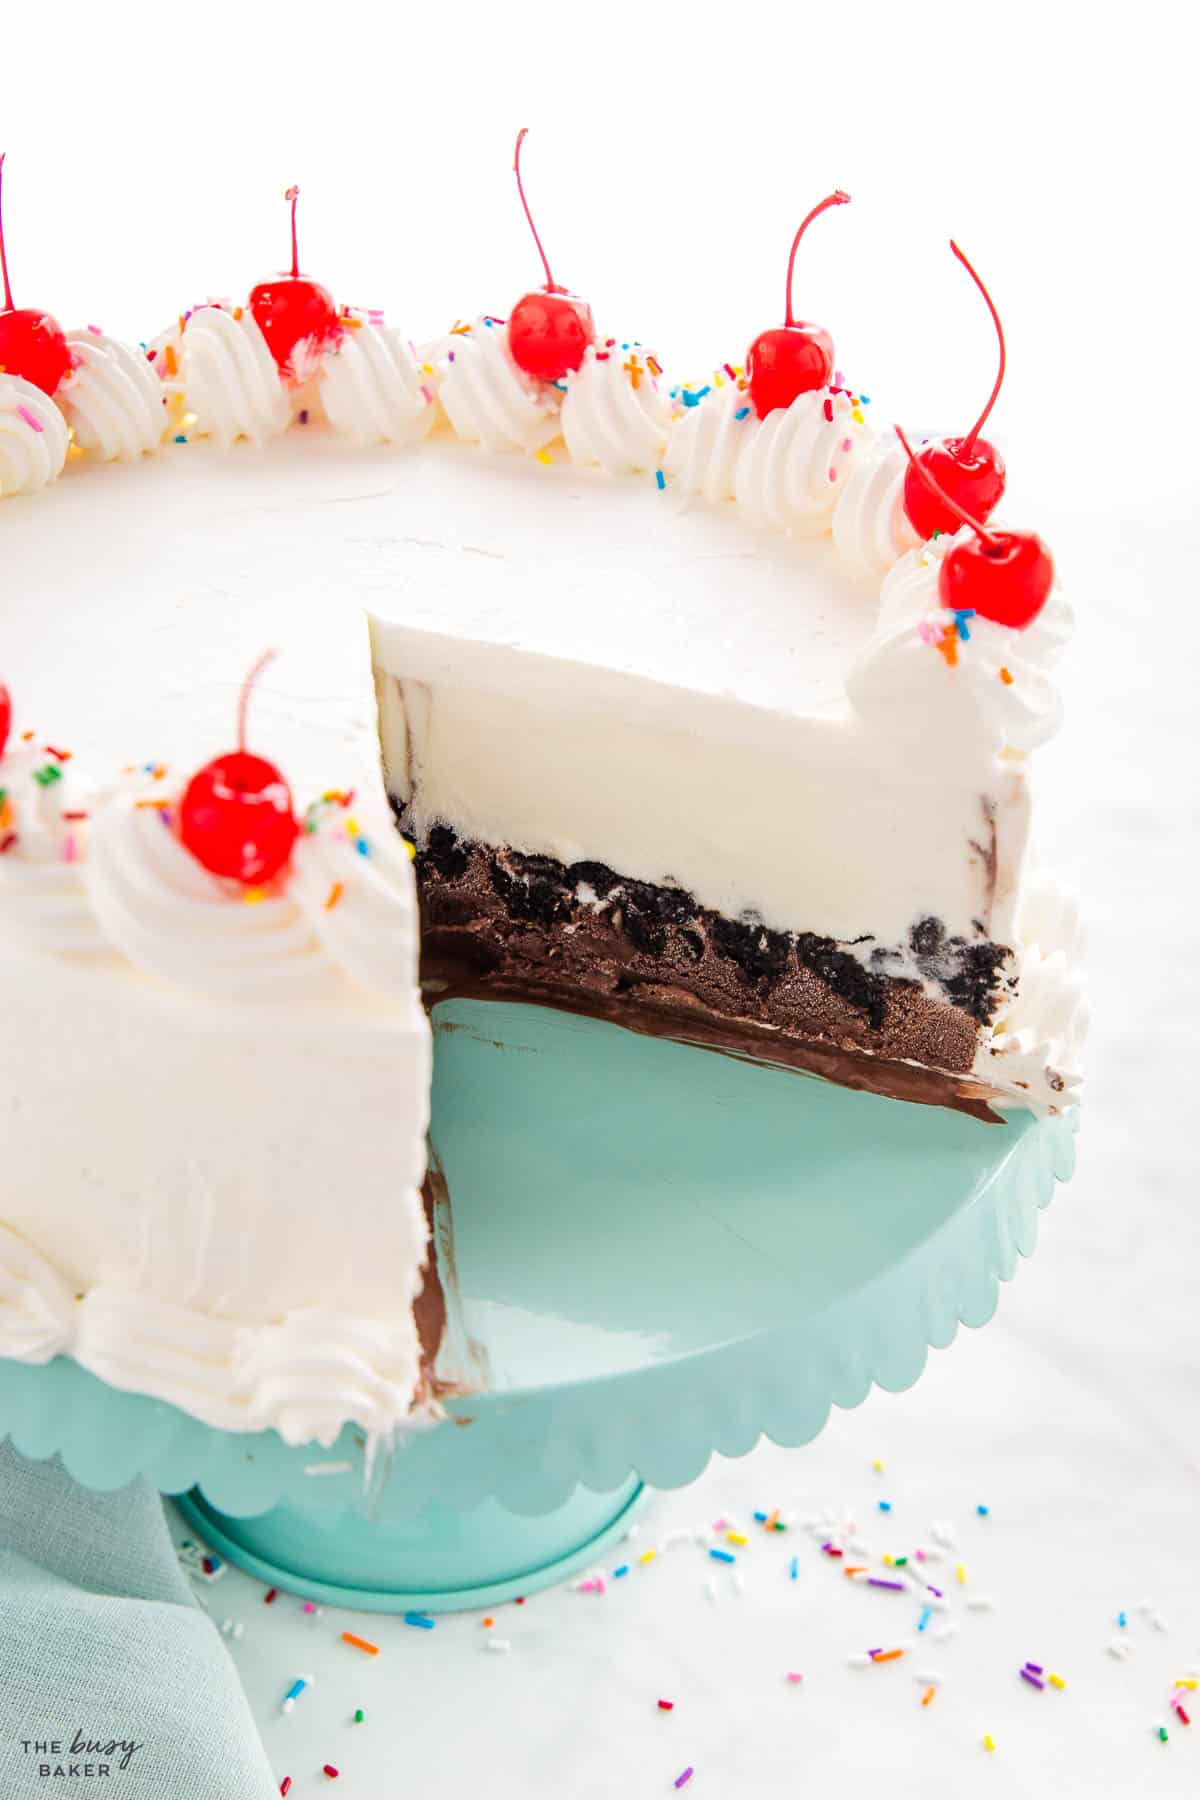
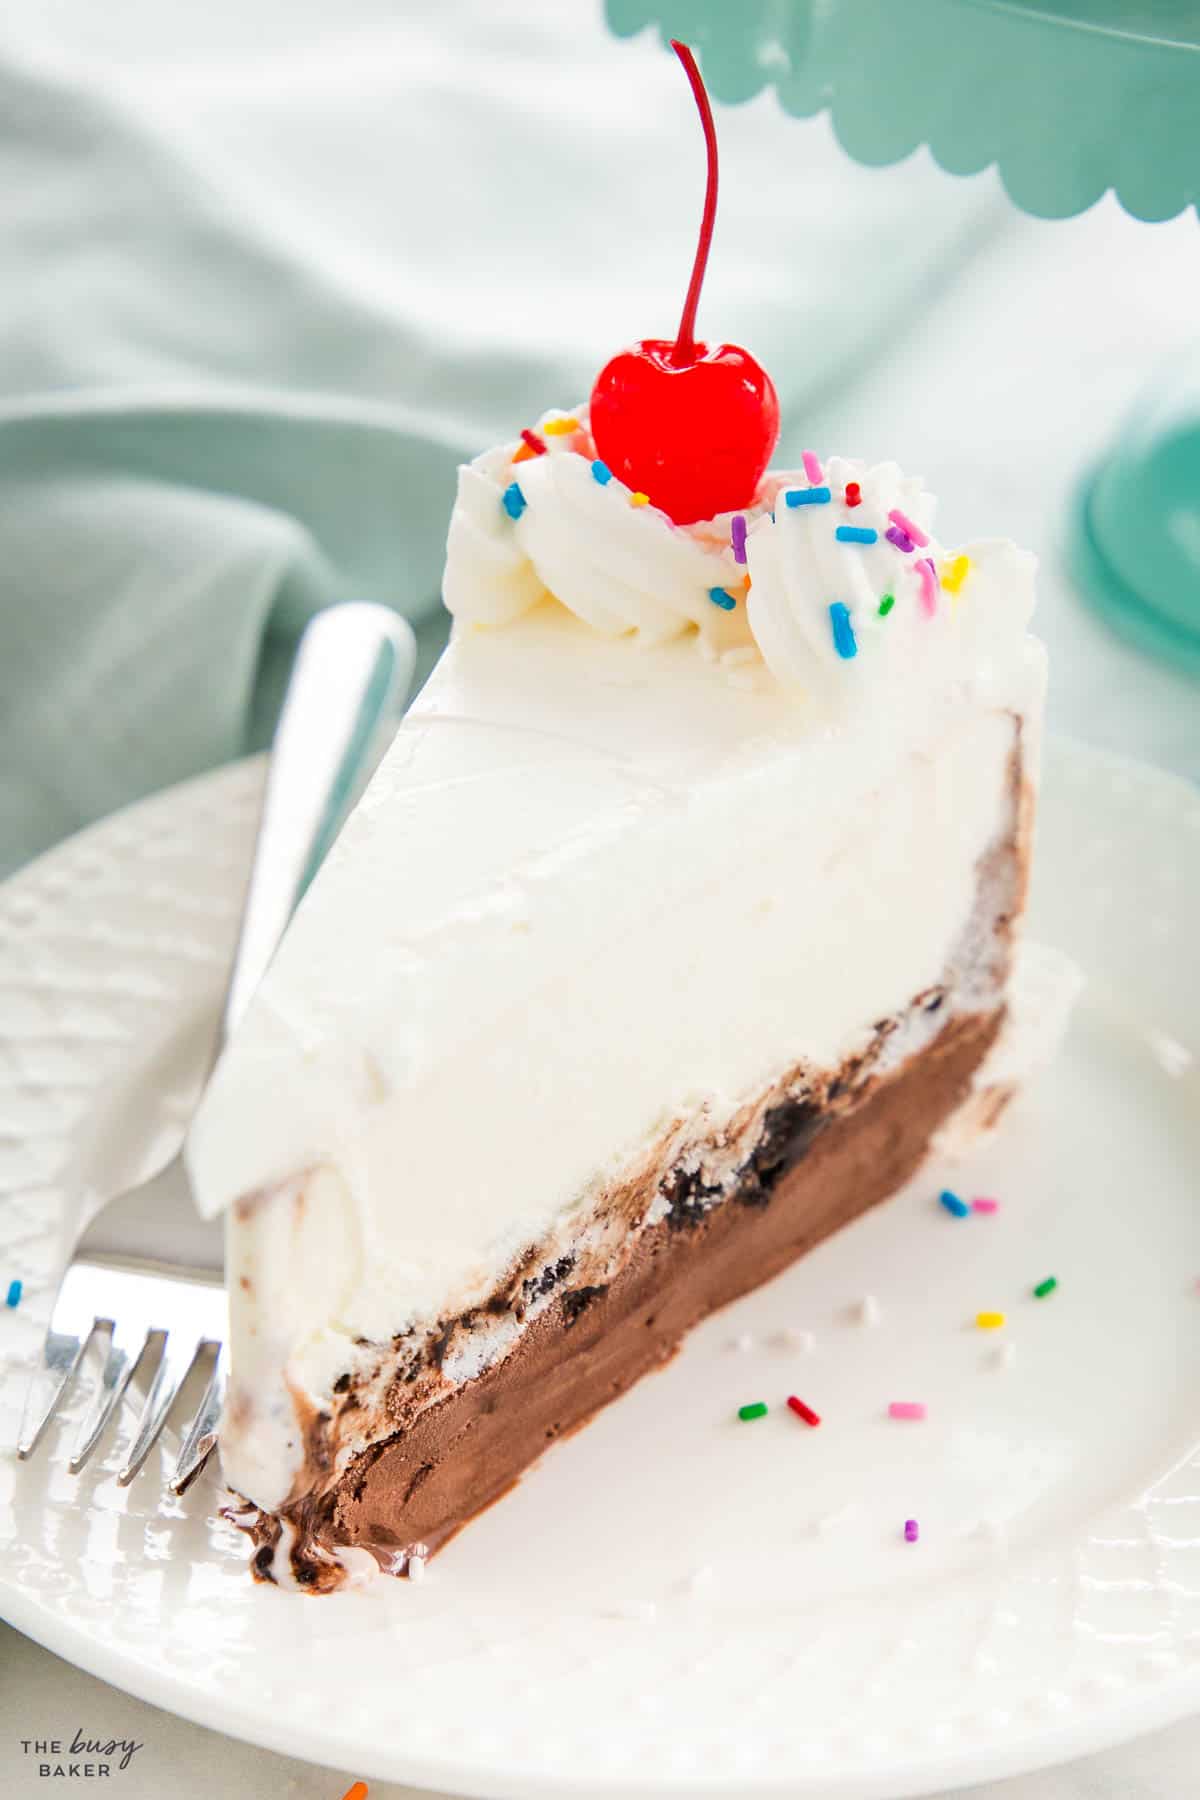
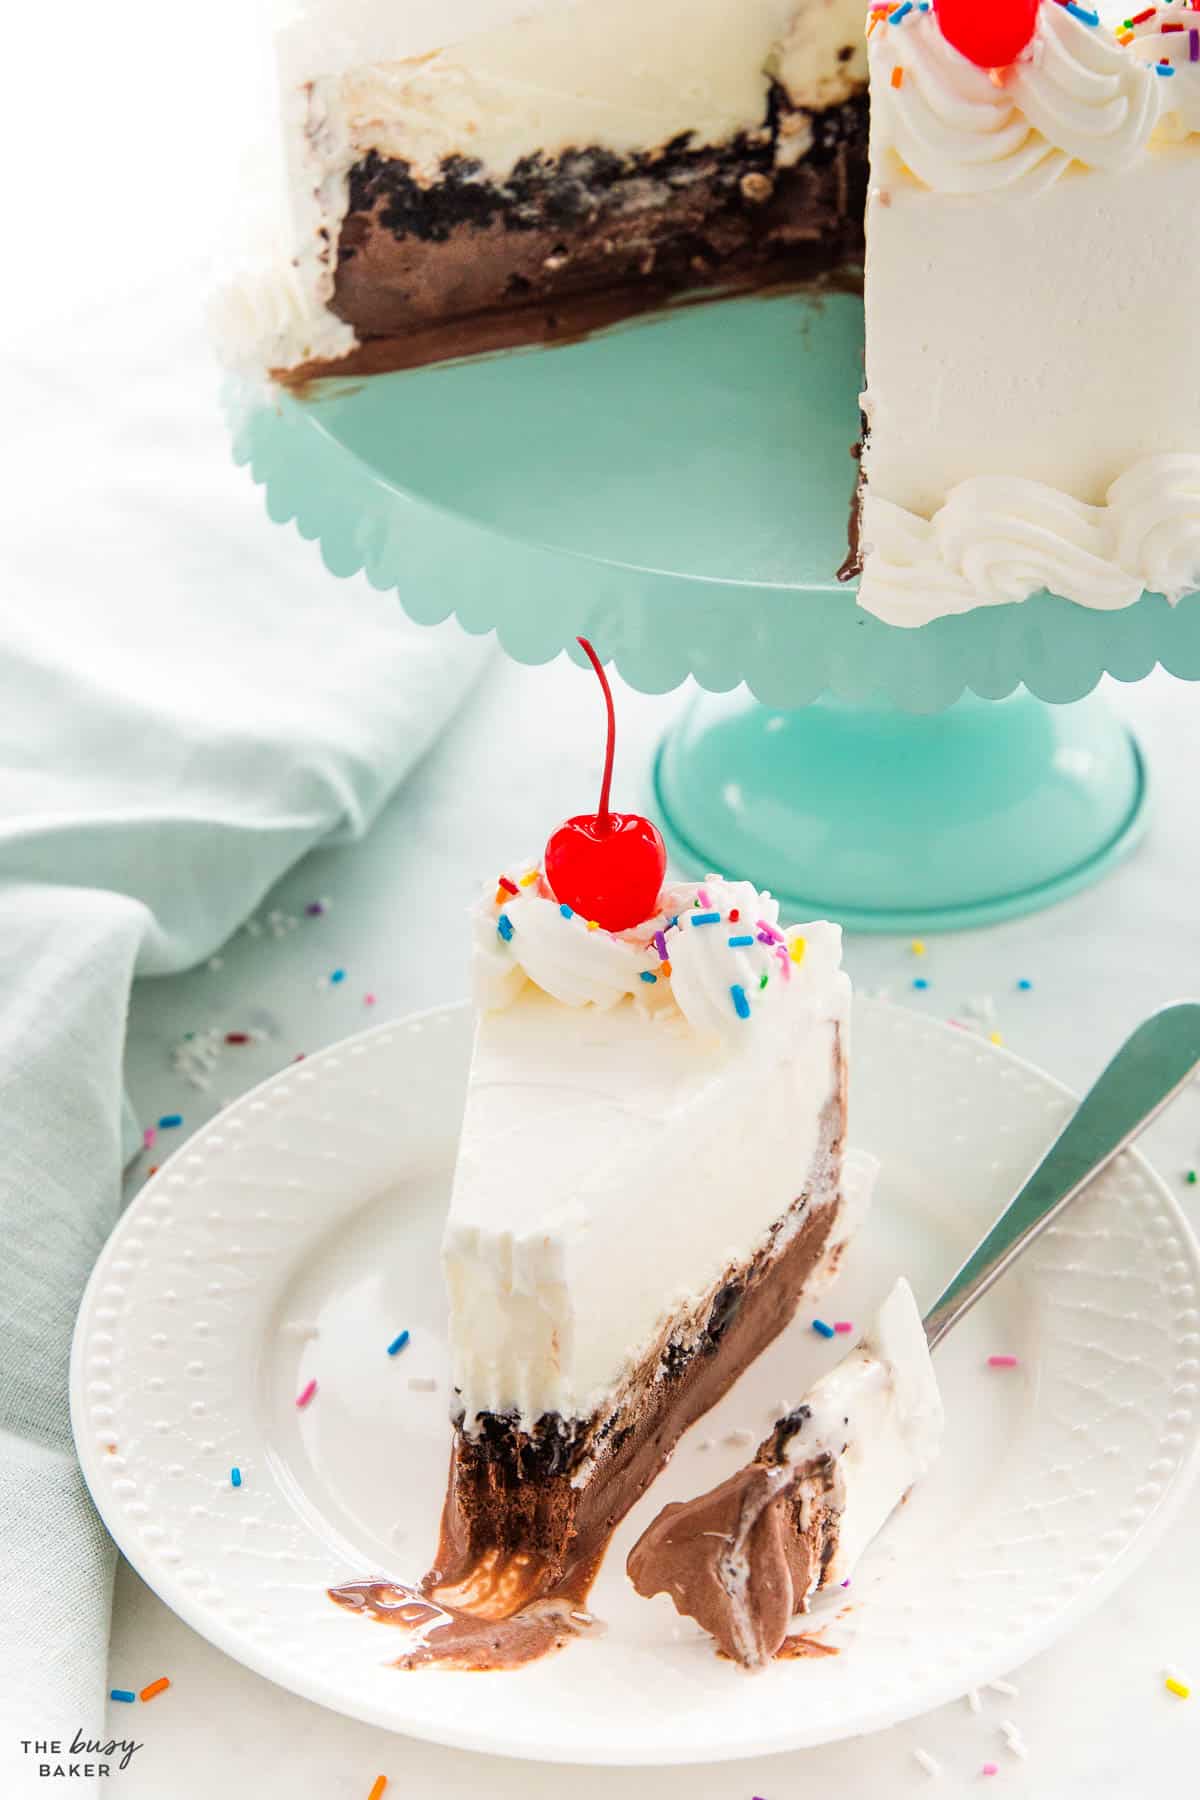
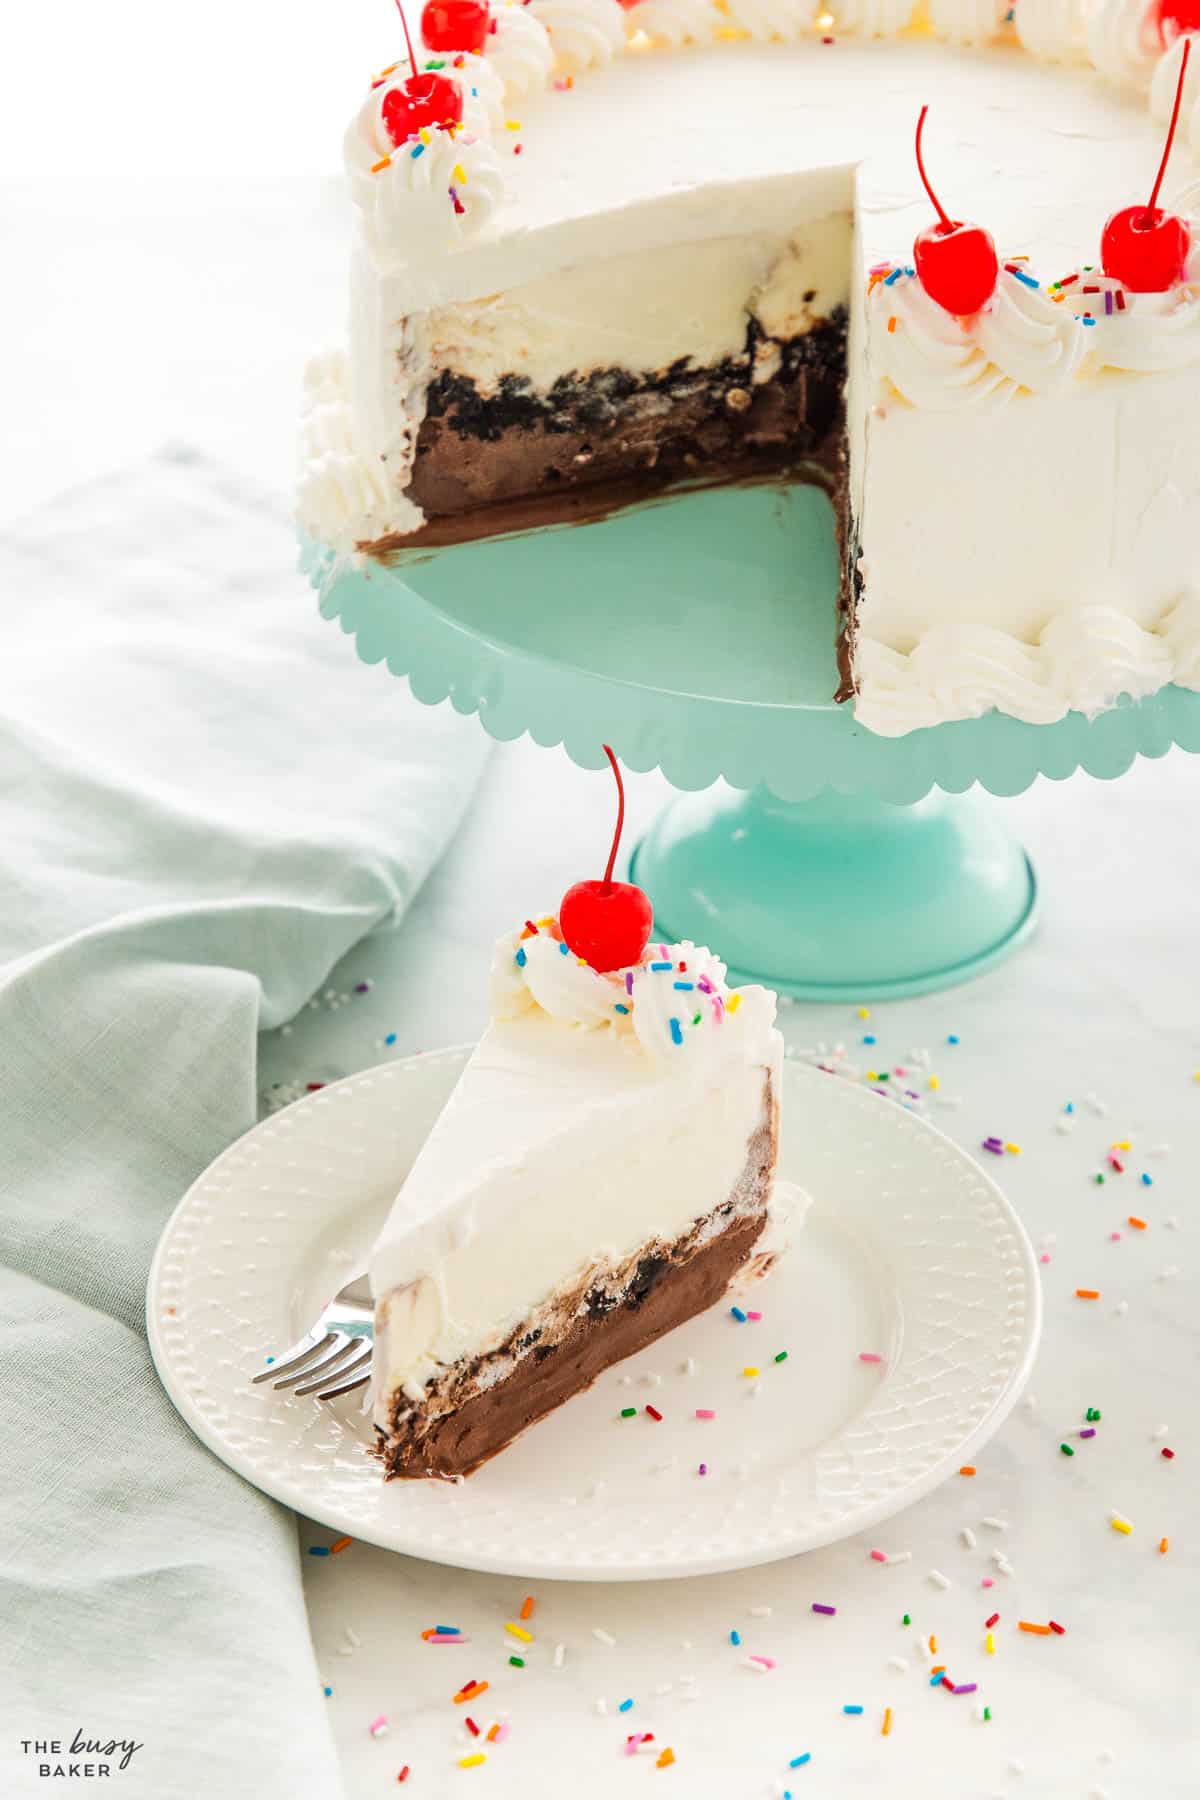
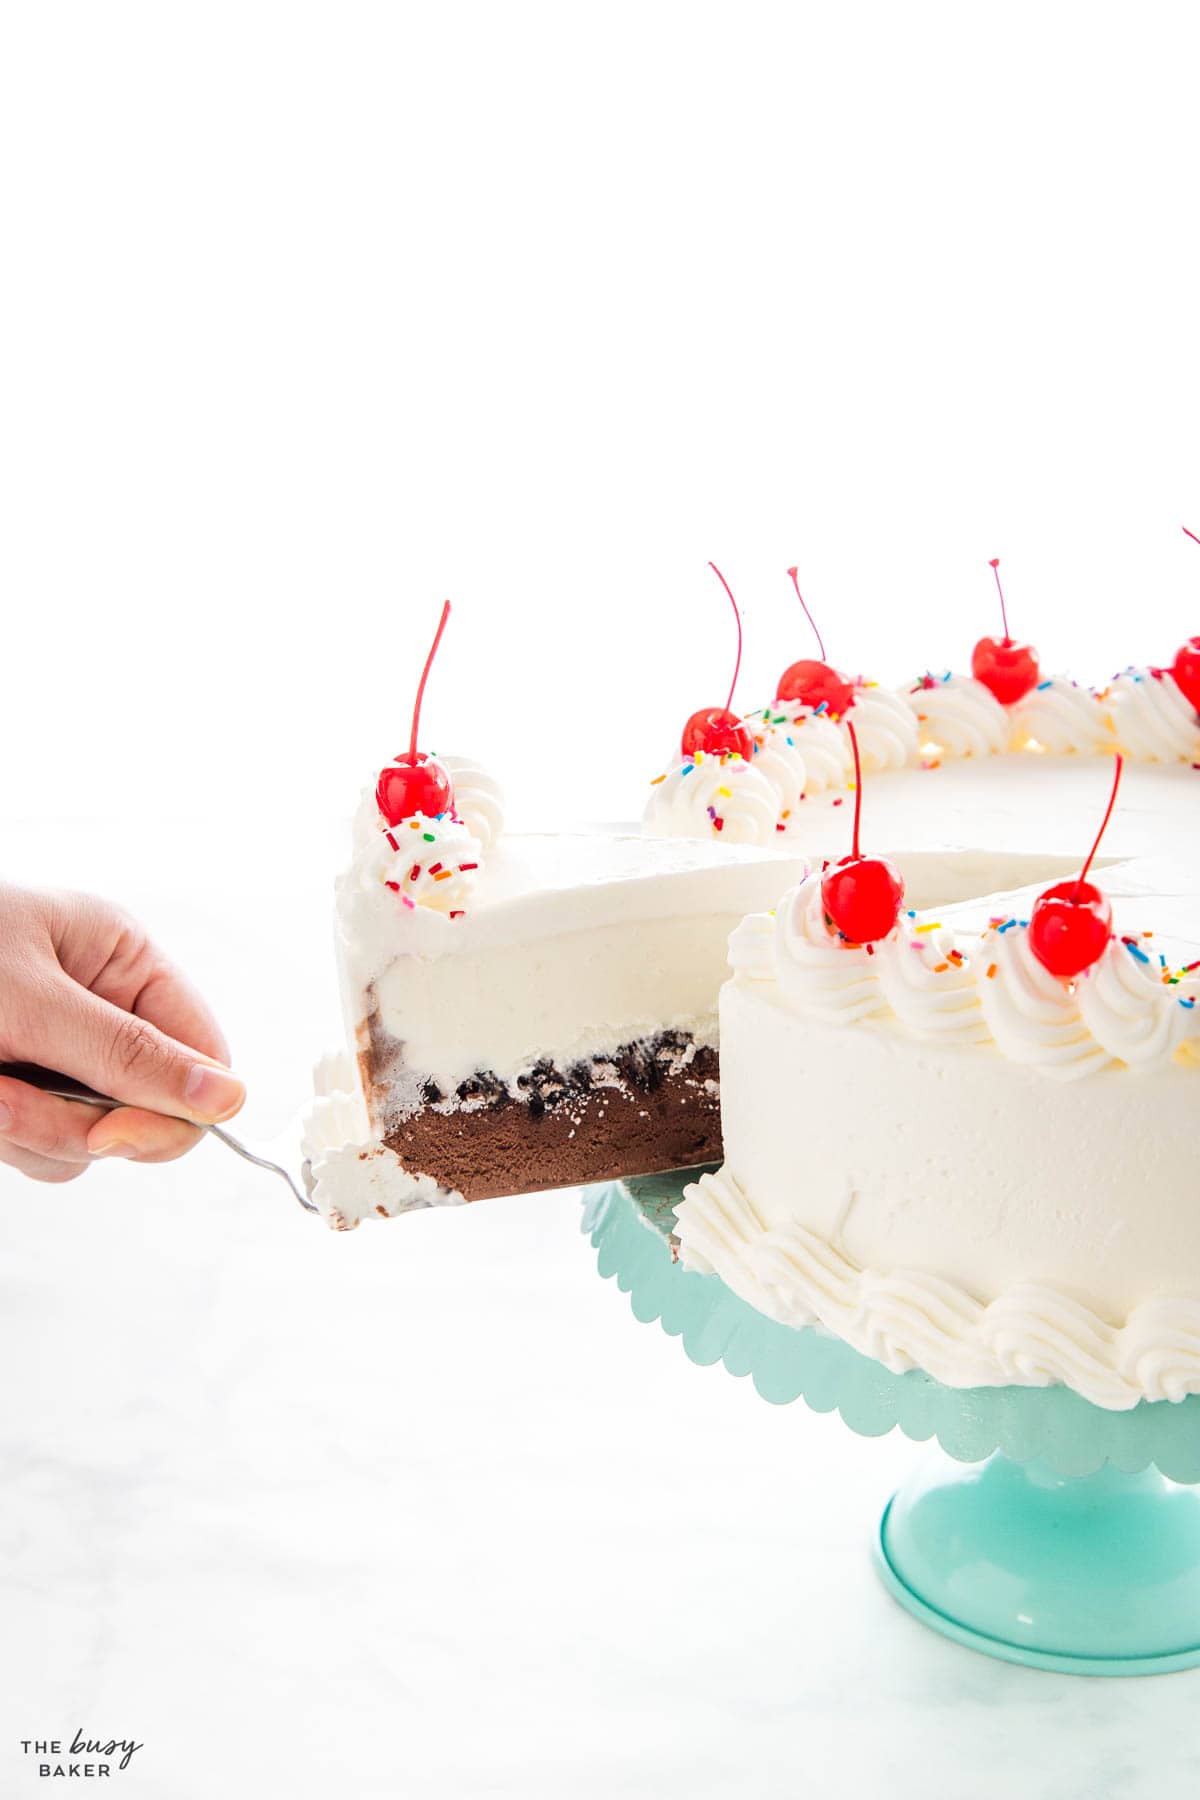
Ice cream cake is a popular dessert that combines the creamy, smooth texture of ice cream with the structure and appearance of a traditional layer cake. It is usually made with layers of ice cream, often 2 or more different flavours, separated by mix-ins like crushed cookies and chocolate fudge sauce. Ice Cream Cake is a dessert that’s perfect for celebrating special occasions any time of year, but it’s especially popular in the summer months for a refreshing treat!
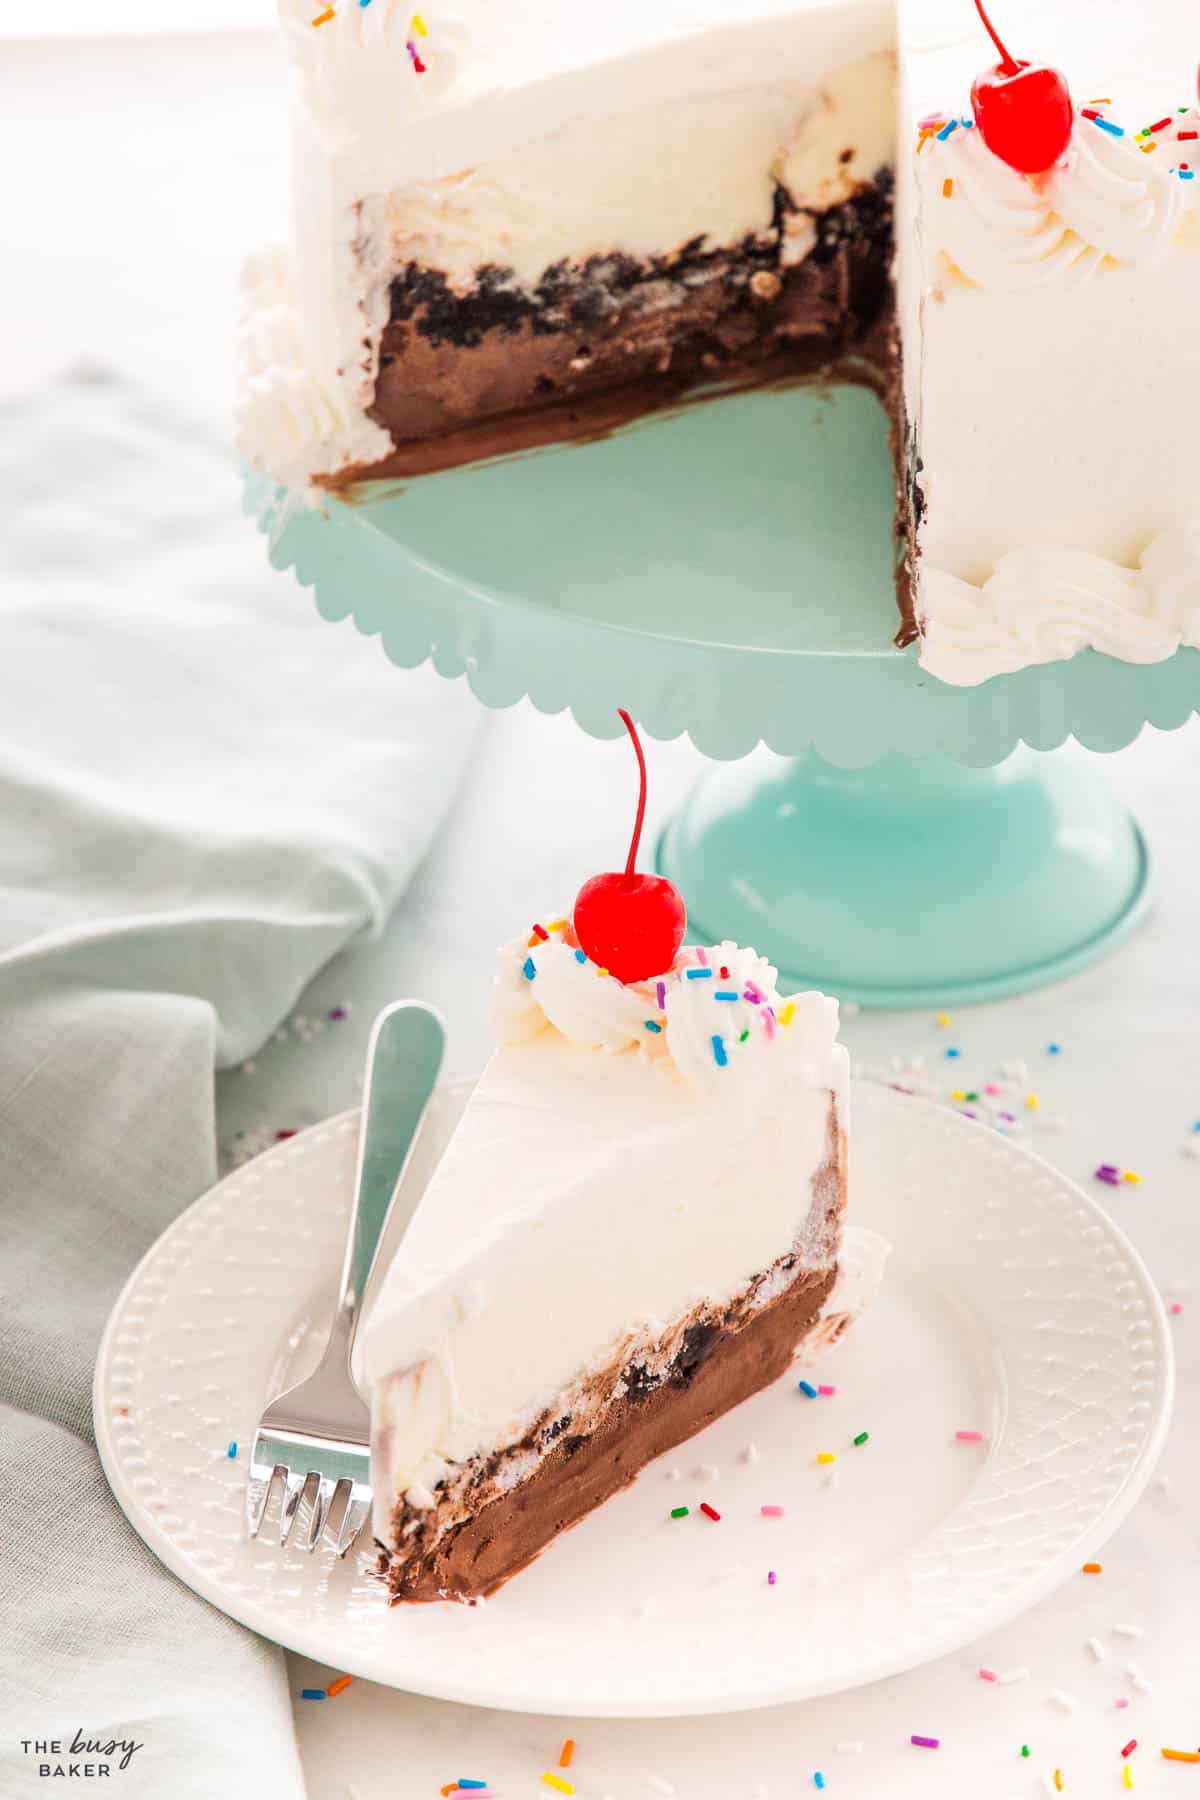
To make a homemade version of the popular Dairy Queen ice cream cake, there are a few must-dos to ensure it’s as close to the original version as possible. Here’s how we make this homemade ice cream cake:
- Choose HIGH-QUALITY VANILLA and CHOCOLATE: Go for a smooth chocolate ice cream with no chocolate chunks and a vanilla ice cream that’s white in colour (not yellow) and very creamy in texture.
- Focus on SMOOTH LAYERS: Be sure to let the ice cream thaw slightly before you spread it into layers. It will spread much more easily this way and help you make the layers smooth and level.
- Go for a FUDGY middle layer: Mixing chocolate sauce or fudge sauce with crushed Oreo cookies makes the perfect crunchy and chewy middle layer between the ice cream flavours.
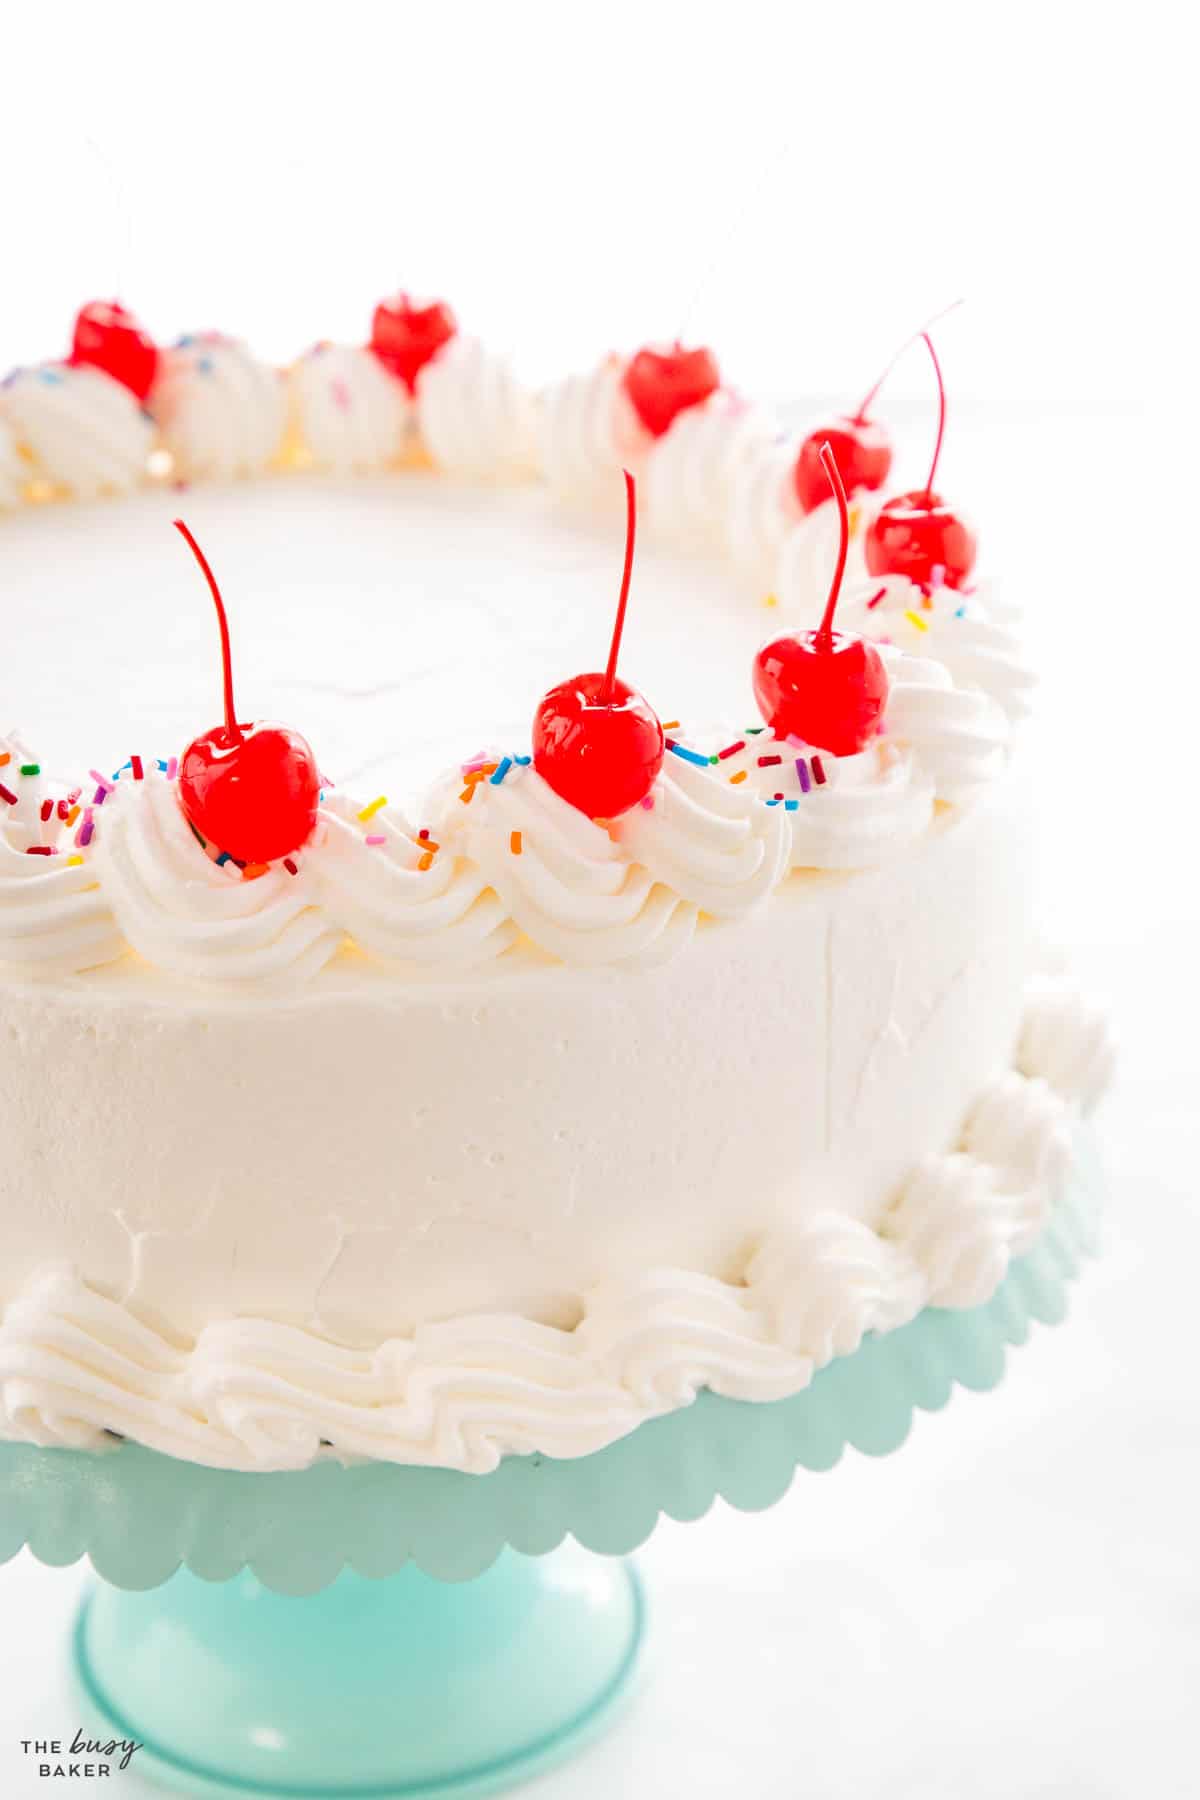
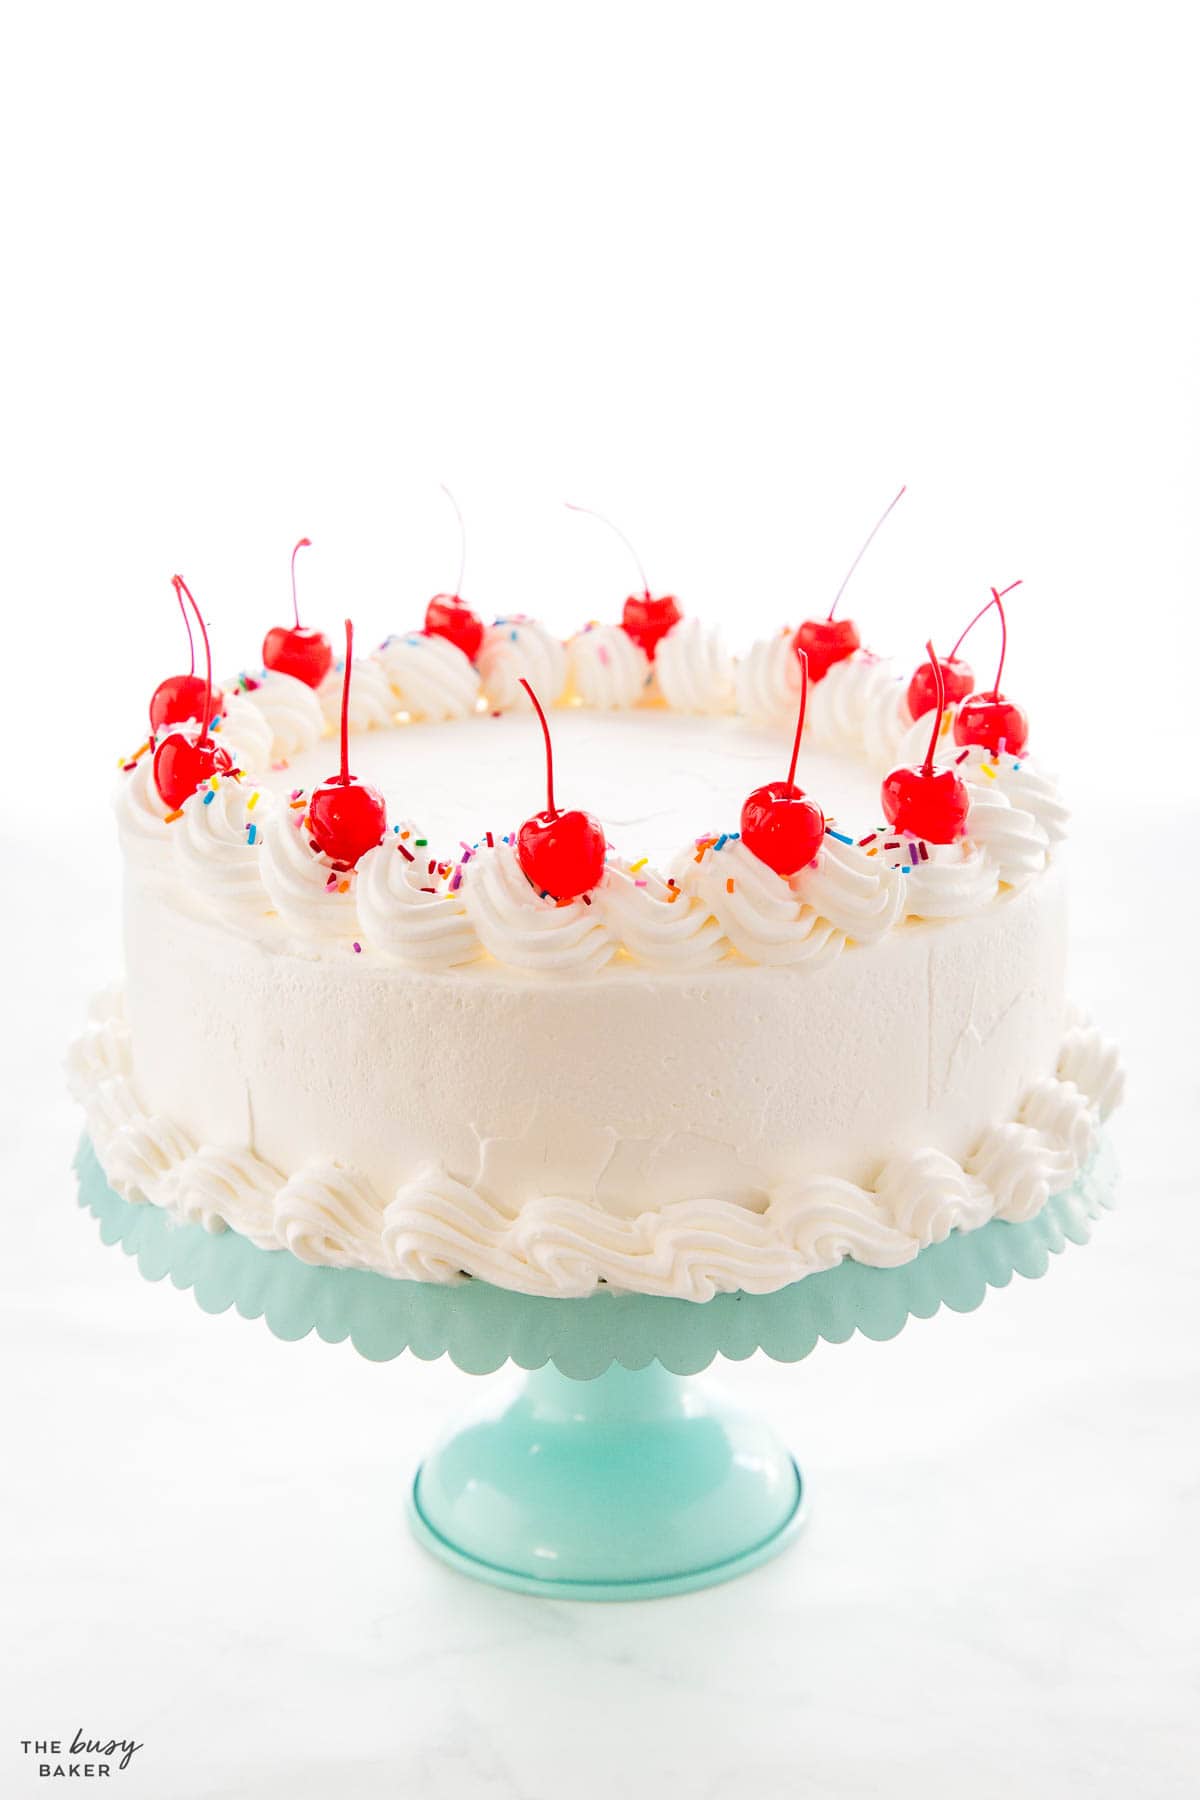
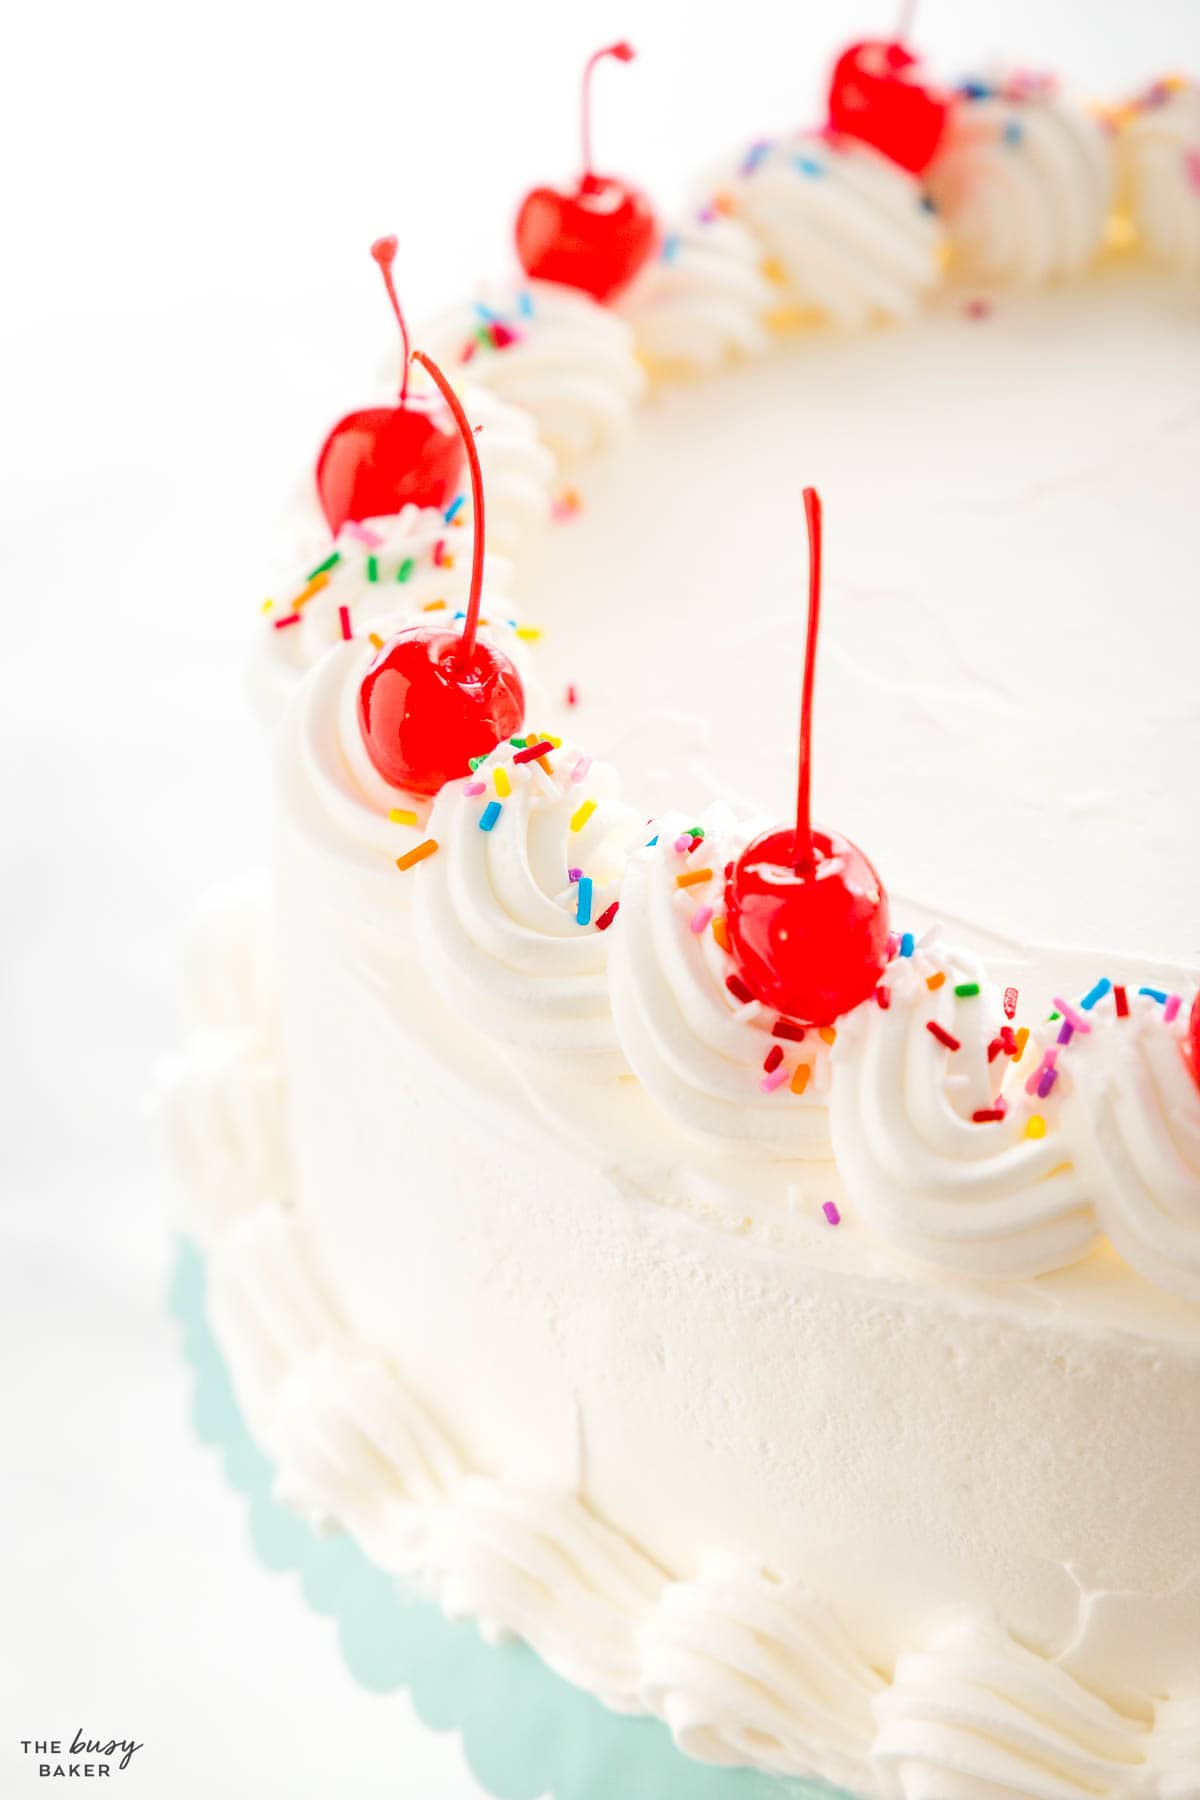
- DECORATION and FROSTING is key: Using a light and airy whipped topping as the frosting gives that classic DQ look and taste! We love adding some sprinkles and cherries for added style.
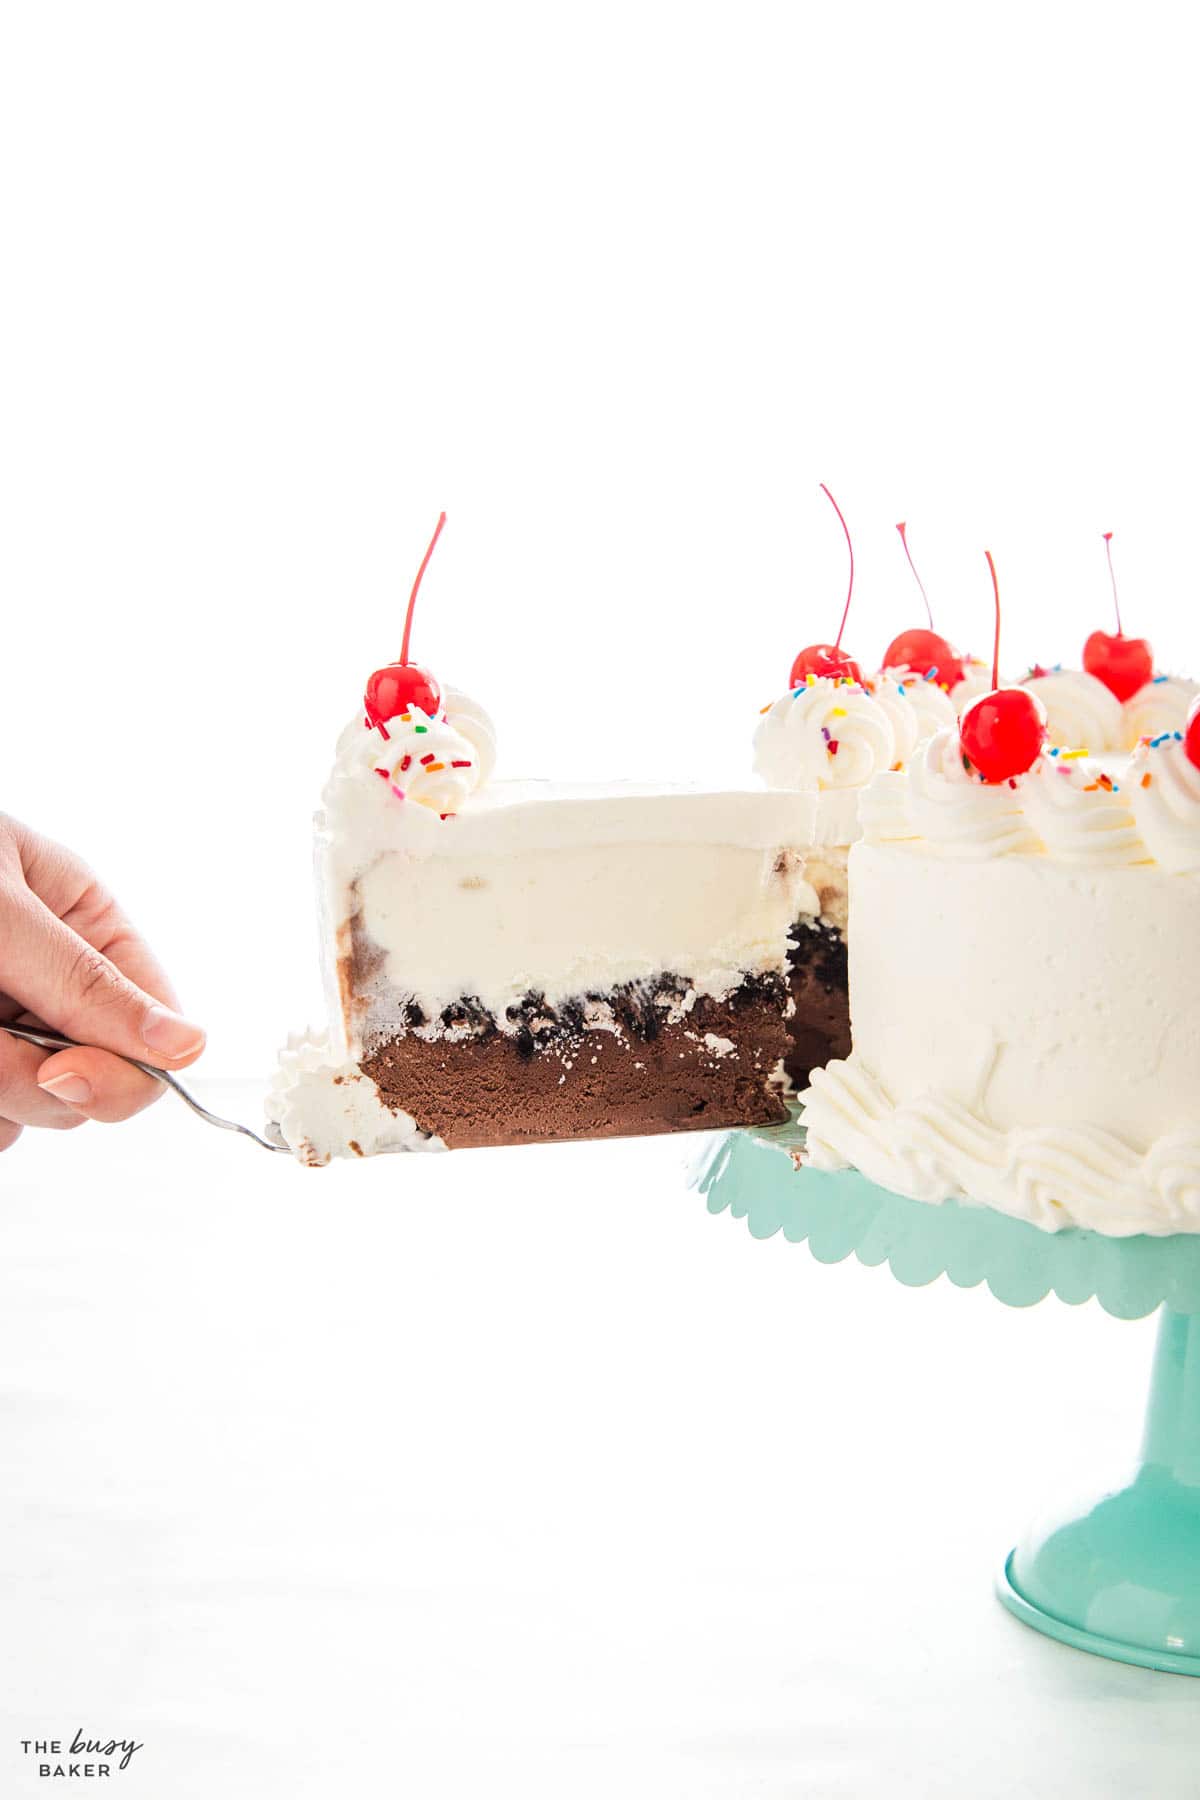
Unlike baking a cake, which involves precise measurements and oven temperatures, preparing an ice cream cake is an easy process that’s really all about layering and assembling ingredients. Although it’s easy, it does take a little bit of preparation and precision to get it just right. The beauty of making an ice cream cake at home is that you can use store-bought ice cream to simplify the process!
Here are the basic steps we use to make homemade ice cream cake:
- Preparation: Begin by gathering your ingredients — ice cream, cookies, chocolate sauce, whipped topping, sprinkles, and cherries. You’ll also need a springform pan for easy assembly and removal of the cake when it’s frozen. We like to layer some parchment paper and/or plastic wrap in the bottom of the springform pan and along the sides so the cake is easy to remove when it’s frozen.
- The First Layer: Soften the chocolate ice cream just enough so it’s easy to spread. Don’t let it become completely liquid – the texture of soft-serve ice cream is ideal. Fill the bottom of your pan with a thick layer of this ice cream, smoothing it out so it’s level. Place the cake pan in the freezer to firm it up.
- The Middle Layer: Crush Oreos and mix them with chocolate sauce or fudge sauce. Once the bottom layer is firm, spread this crumbly mixture evenly over it in a thick layer. This adds a crunchy texture that contrasts wonderfully with the soft ice cream, and it creates a barrier between the two different flavours of ice cream.
- Top Layer: Soften the vanilla ice cream until it’s the consistency of soft-serve ice cream and spread it over the crumbled cookies in a thick layer. Smooth out the top until it’s level and return the cake to the freezer to set until it’s completely frozen solid.
- Frosting and Decorating: Once all layers are firm and hard, remove it from the cake pan and place it on a plate or serving platter of your choice. Frost the cake with whipped topping and create whatever design you like. You’ll want to freeze the cake after it’s frosted so the whipped topping freezes solid, too. Once it’s time to serve, decorate the cake with sprinkles and cherries for that classic sundae look.
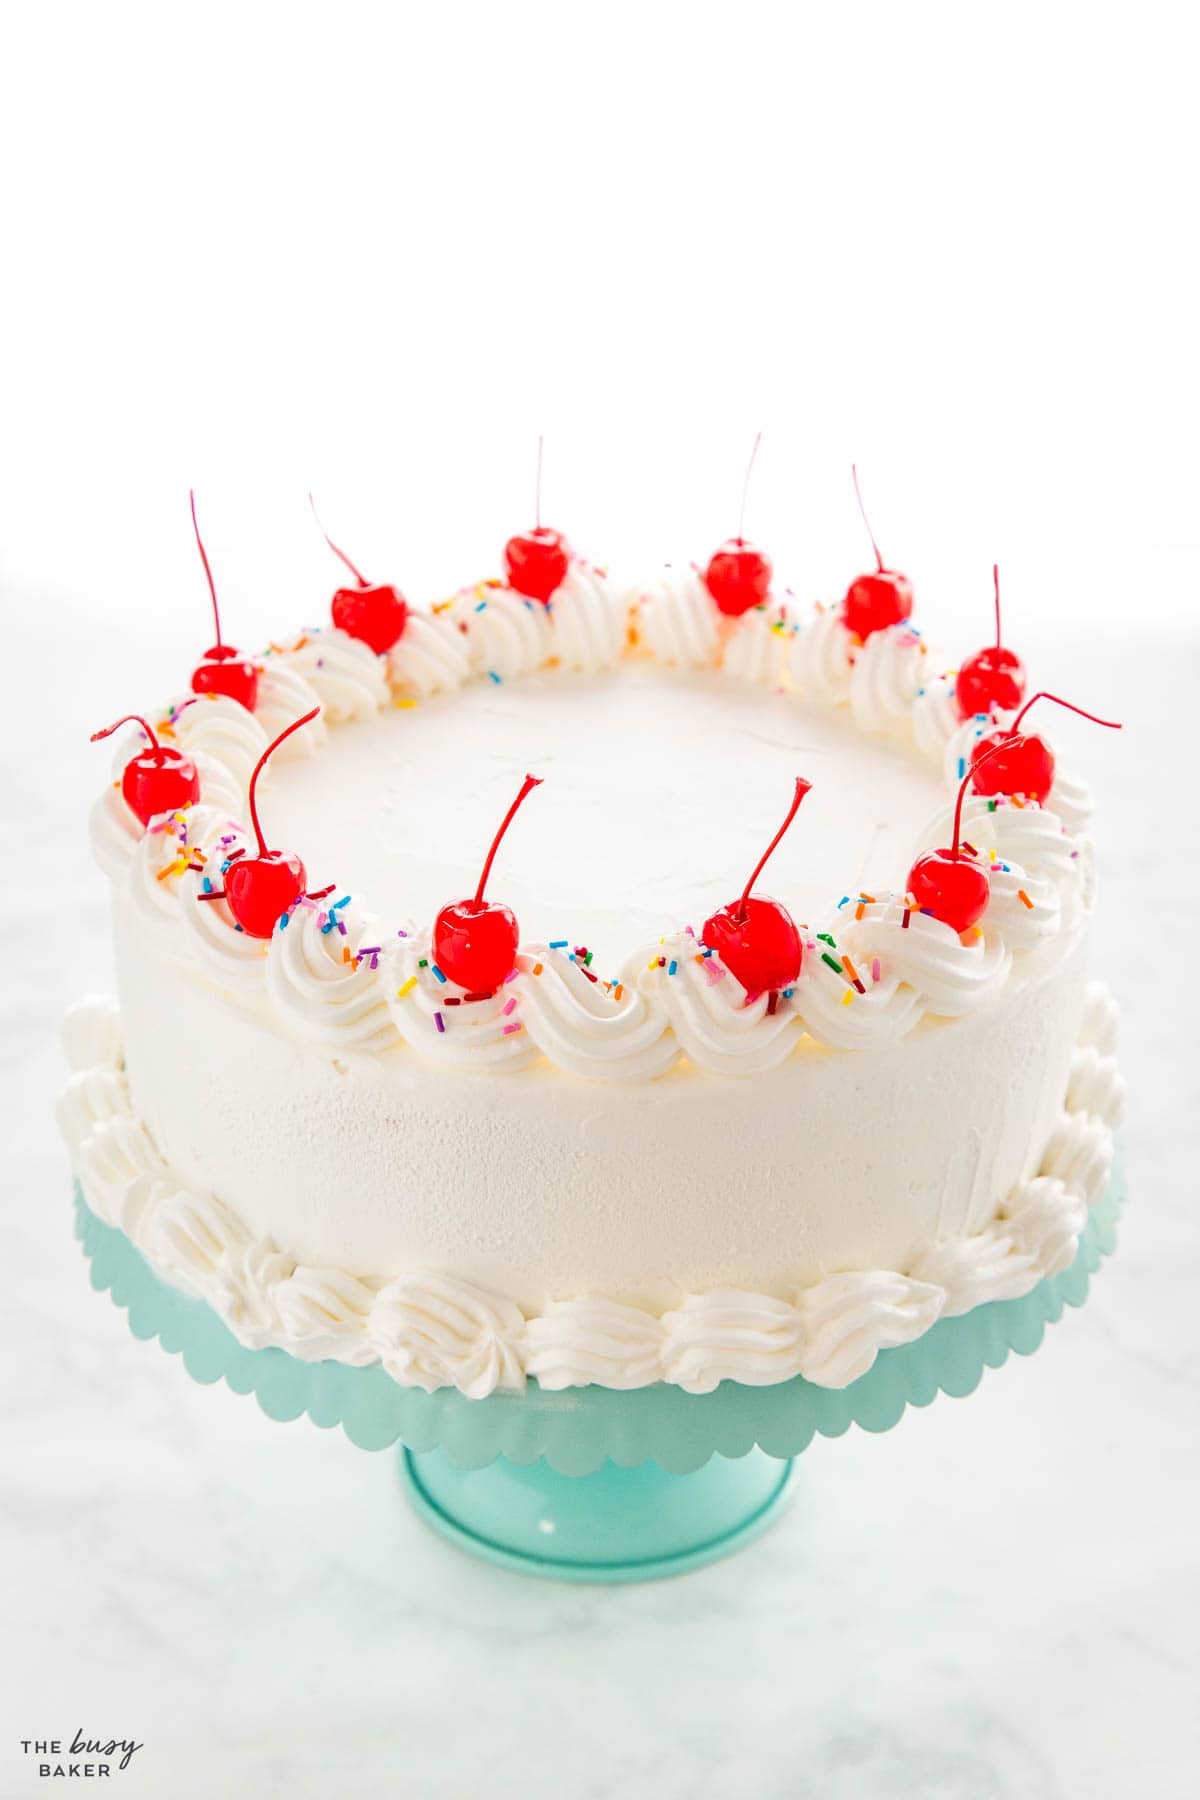
Want to make the PERFECT ice cream cake? Here’s how to do it!
We recommend using a springform pan for easy removal (otherwise it’ll be really difficult to get out!) and lining the pan with parchment paper and/or plastic wrap so it’s a cinch to remove when it’s frozen.
It’s important to soften the ice cream to soft-serve consistency to be able to spread it into the pan evenly. Don’t thaw it too much though – liquid ice cream is really tough to work with and it’ll be impossible to create an even layer if it’s melted too much. Softening the ice cream also prevents ice crystals from forming, keeping the inside of the cake smooth and creamy.
Ice cream melts fast, especially in warm environments. Work quickly when creating the layers and return the cake to the freezer as quickly as you can between layers to let the cake firm up.
Freezing the layers solid one at a time is critical part of getting the layers flat and even. Be sure to freeze after each layer is complete in order to create clean layers. If they’re too soft, the layers won’t sit on top of one another well and the lines won’t be clean.
After frosting with the whipped topping, freeze the entire cake for at least four hours or overnight. This will make sure that the cake holds its shape when you cut it.
Be sure to use an offset spatula or other flat tool to smooth out the layers and keep them level. This will ensure the inside of the cake has clean lines and looks professional when you cut into it.
Don’t add the sprinkles and cherries or other toppings until right before serving. If you add them and then freeze, the colours will bleed and the cake won’t look professional.
Trouble in ice cream cake paradise? Here’s what to do if you encounter problems while making this recipe!
If your ice cream cake has ice crystals or freezer burn, it may be due to temperature fluctuations or a freezer that’s too moist. Try to keep the freezer door closed as much as possible and ensure the cake is well-covered while freezing.
This can happen if you don’t create the layers when the ice cream is at the proper texture and if you don’t freeze the layers one at a time. Be sure to follow the instructions in the recipe and don’t try to cut corners to save time, or you’ll sacrifice on presentation.
If you don’t freeze the layers one at a time and be sure the one underneath is solid before adding the next one, they’ll mix together and won’t be even. Be sure to follow the instructions in the recipe and don’t try to cut corners to save time!
If the cake isn’t frozen solid before frosting, it will lose its shape as you frost it. Be sure to freeze it solid before adding the whipped topping so it keeps its shape.
If the cake is sticking to the pan it’s probably because you didn’t line the pan properly. If this happens, use a hair dryer on the low heat setting and blast the warm air on the outside of the pan. This will melt the outside of the cake just enough to release the pan for easy removal.
If whipped topping is sliding off, the cake may not be cold enough to frost. Freeze it a bit longer before attempting to decorate.
Here’s what you’ll need to have on hand in your kitchen to make this delicious ice cream cake recipe (paid links):
- 9-inch springform pan
- measuring cups and spoons
- mixing bowls
- Offset Spatula
- piping bag
- open star piping tip
- large knife
Here’s a list of the ingredients you’ll need to make this copycat Dairy Queen ice cream cake recipe (paid links):
- 8 cups chocolate ice cream
- 24 Oreo cookies chopped
- 1 cup chocolate sauce
- 8 cups vanilla ice cream
- 4 cups whipped topping
- maraschino cherries for decoration, optional
- sprinkles for decoration, optional
Want to take this ice cream cake to the next level? Try one of these deliciously creative variations!
- Experiment with New Ice Cream Flavours: Try a variety of ice cream flavours like pistachio, salted caramel, blueberry or strawberry ice cream, or even mint chocolate chip or chocolate chip ice cream!
- Add Some Mix-Ins: Try adding fresh fruits, crumbled cookies, chocolate crunchies, candy bars, or even cereal for a unique twist. You could also incorporated peanut butter into the middle layer and add crushed peanuts on top!
- Add some Colour: Colour the whipped topping frosting with food colouring to make this cake for a thematic party or event!
Time needed: 6 hours and 30 minutes
Follow these steps to make a homemade Dairy Queen Ice Cream Cake!
- Soften the ice cream and prepare the pan.
Thaw the chocolate ice cream slightly to soften it to the texture of soft-serve ice cream. While it’s softening, prepare a 9-inch springform pan by lining it with parchment paper and/or plastic wrap for easy removal later.
- Create the chocolate layer and freeze.
Pour the chocolate ice cream into the pan and press it into the bottom and toward the sides, making sure no air pockets remain. Smooth out the top until it’s completely smooth and level with an offset spatula. Freeze the layer until solid. This could take anywhere from 30 minutes to 1 and a half hours, depending on your freezer.
- Add the crunchy cookie layer, then freeze.
Once the chocolate layer is hard enough to withstand another layer, chop the Oreo cookies and mix them together in a bowl with the chocolate sauce. Pour this mixture on top of the chocolate layer and smooth it out as best you can in a flat layer. Add the cake back into the freezer for about 20-30 minutes.
- Add the vanilla layer.
Soften the vanilla ice cream until it’s soft-serve consistency and then add it on top of the crunchy cookie layer. Smooth out to the sides of the pan leaving no pockets of air, and smooth out the top so it’s flat and even.
- Freeze the cake.
Place the cake back into the freezer for at least 2 hours or until frozen solid. We recommend leaving it overnight, but it’s possible it’ll freeze enough to frost in 2 hours or so.
- Frost the cake.
When ready to frost, loosen the edges of the pan and remove the ice cream cake from the pan to a plate or cake stand. Work quickly as you smooth the whipped topping over the outside of the frozen cake, creating a clean, smooth top and sides. If you wish, reserve about 1/3 of the whipped topping to place in a piping bag to create a border around the top and sides of the cake (this is optional).
- Freeze it again.
Place the cake back into the freezer for about 2-4 hours or overnight.
- Decorate, slice, and serve.
When ready to serve, decorate with sprinkles and maraschino cherries (optional) or whatever toppings you prefer. Add hot water to a bowl or glass and dip a large sharp knife into it to warm the knife. Dry off the knife, slice the cake with the hot knife, and serve immediately.
Can I frost the cake with whipped cream instead of whipped topping?
We don’t recommend using whipped cream because it can separate when frozen and then thawed. Whipped topping is stable and won’t separate with temperature changes.
Can I frost the cake with butter cream frosting instead of whipped topping?
We don’t recommend butter cream frosting because it can separate when frozen and thawed.
Can I make the middle layer with homemade hot fudge sauce?
Yes, feel free to use a thick chocolate sauce or hot fudge sauce mixed with chopped Oreo cookies for the middle layer.
Can I make this ice cream cake with dairy-free ice cream?
Yes, it can be made with dairy-free ice cream and dairy-free whipped topping for the frosting.
How long does an Ice Cream Cake keep in the freezer?
You can store this cake for up to a month in the freezer, but for best results we recommend you serve it within a day or two of assembling it.
What kind of frosting should I use on ice cream cake?
The best frosting is whipped topping.
What’s the crunchy stuff in ice cream cake?
Using chopped Oreo cookies or other chocolate cookies mixed with chocolate sauce makes the perfect crunchy layer.
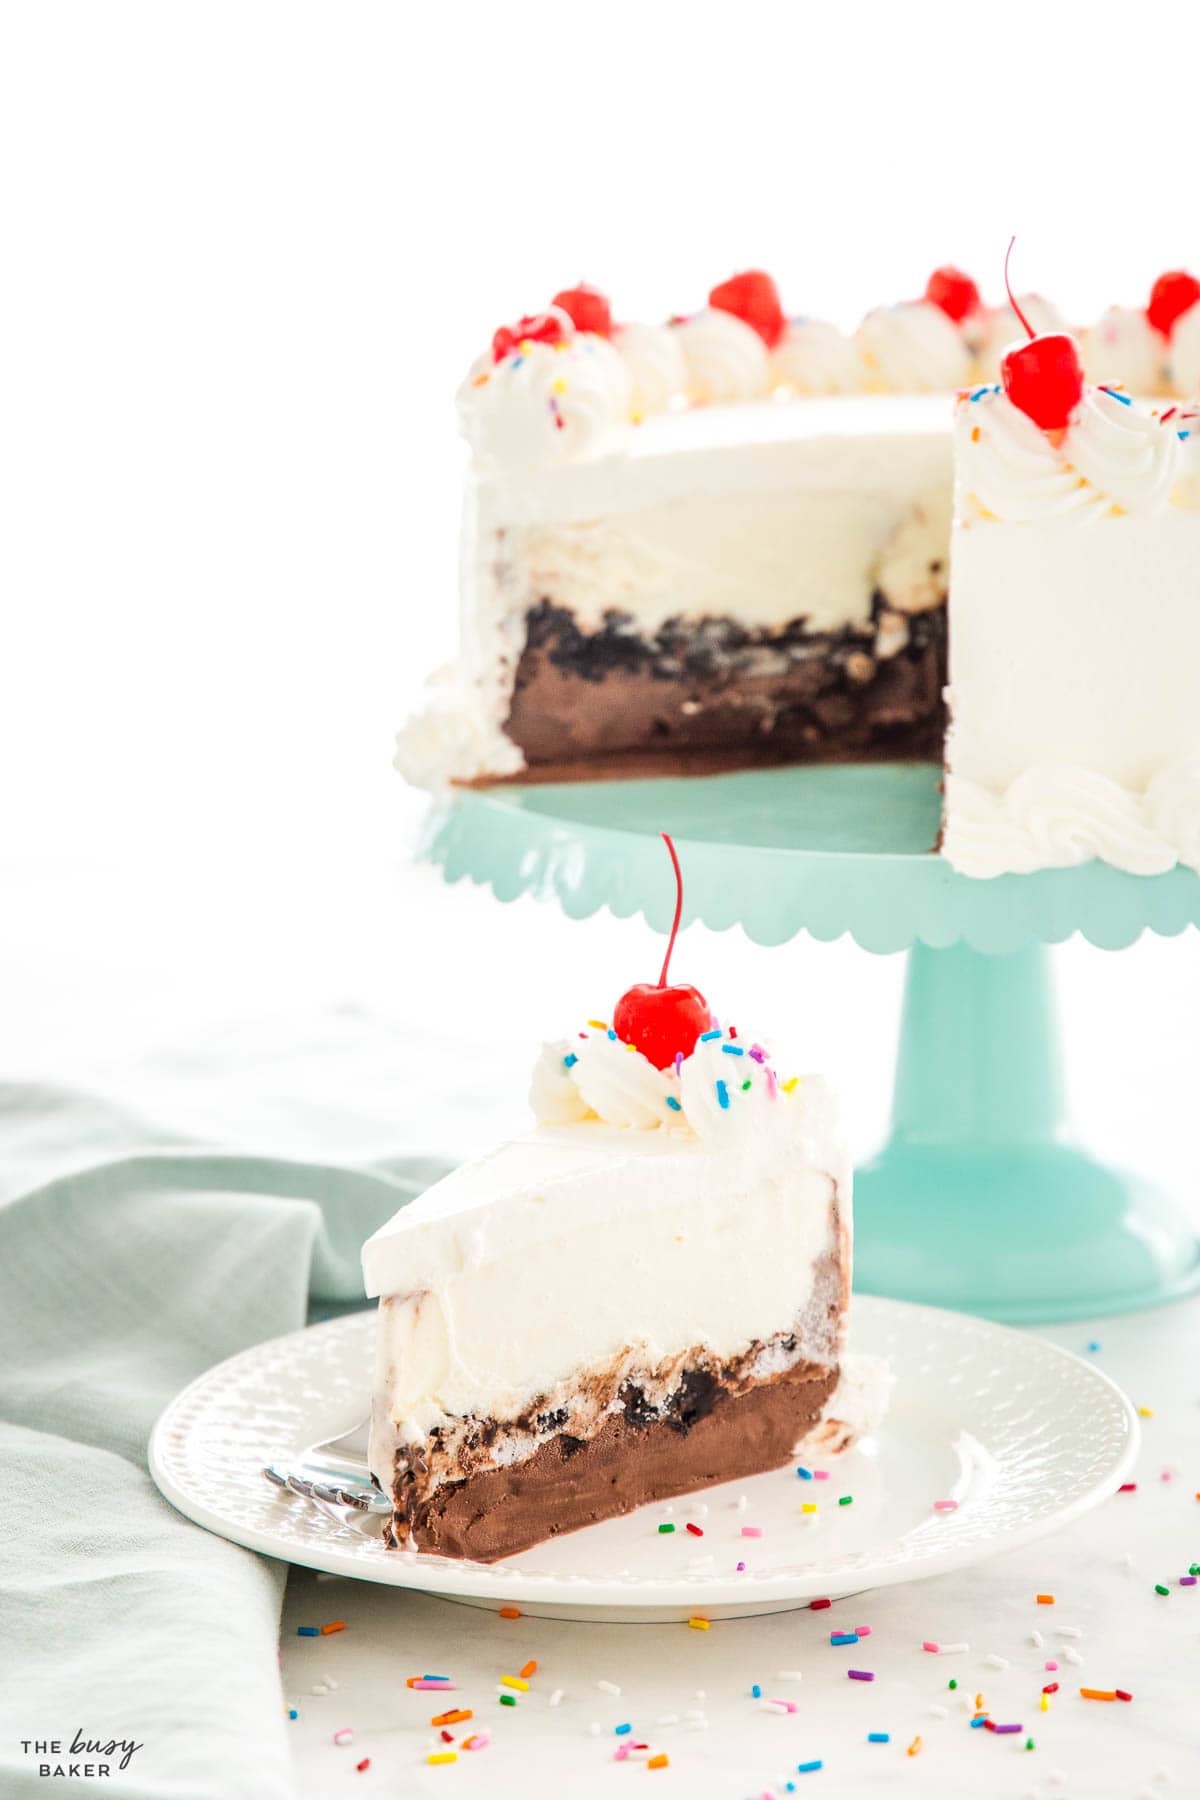
We hope you love this delicious Ice Cream Cake recipe as much as we do! Let us know in the comments below, what’s your favourite summer dessert recipe? We’d love to know!
- Easy No Bake Lemon Cheesecake
- Easy No Churn Chocolate Ice Cream
- Easy No Bake Cookies and Cream Oreo Icebox Cake
- Easy No Churn Lemon Ice Cream
- Snickers Cheesecake (No-Bake Recipe)
- Easy No Churn Cookies and Cream Oreo Ice Cream
- Easy No Churn Mint Chocolate Chip Ice Cream
- No Bake Blueberry Cheesecake
- Easy No Churn Snickers Ice Cream
If you made this, share a photo!
Are you trying this recipe? Use the comment form below to share your take; now with support for image uploads and comment voting!
Ice Cream Cake
Recipe: Equipment
Recipe: Ingredients
- 8 cups chocolate ice cream
- 24 Oreo cookies chopped
- 1 cup chocolate sauce
- 8 cups vanilla ice cream
- 4 cups whipped topping
- maraschino cherries for decoration
- sprinkles for decoration
Recipe: Instructions
- Thaw the chocolate ice cream slightly to soften it to the texture of soft-serve ice cream. While it's softening, prepare a 9-inch springform pan by lining it with parchment paper and/or plastic wrap for easy removal later.
- Pour the chocolate ice cream into the pan and press it into the bottom and toward the sides, making sure no air pockets remain. Smooth out the top until it's completely smooth and level with an offset spatula.
- Freeze the layer until solid. This could take anywhere from 30 minutes to 1 and a half hours, depending on your freezer.
- Once the chocolate layer is hard enough to withstand another layer, chop the Oreo cookies and mix them together in a bowl with the chocolate sauce. Pour this mixture on top of the chocolate layer and smooth it out as best you can in a flat layer.
- Add the cake back into the freezer for about 20-30 minutes.
- Soften the vanilla ice cream until it's soft-serve consistency and then add it on top of the crunchy cookie layer. Smooth out to the sides of the pan, leaving no pockets of air, and smooth out the top so it's flat and even.
- Place the cake back into the freezer for at least 2 hours or until frozen solid. We recommend leaving it overnight, but it's possible it'll freeze enough to frost in 2 hours or so.
- When ready to frost, loosen the edges of the pan and remove the ice cream cake from the pan to a plate or cake stand.
- Work quickly as you smooth the whipped topping over the outside of the frozen cake, creating a clean, smooth top and sides. If you wish, reserve about 1/3 of the whipped topping to place in a piping bag to create a border around the top and sides of the cake (this is optional).
- Place the cake back into the freezer for about 2-4 hours or overnight.
- When ready to serve, decorate with sprinkles and maraschino cherries (optional) or whatever toppings you prefer.
- Slice with a hot, sharp knife and serve immediately.
Recipe: Notes
Storage Instructions
Store any leftovers in the freezer for up to one month (in an airtight container).Recipe: Nutrition
Notice: Nutrition is auto-calculated, using Spoonacular, for your convenience. Where relevant, we recommend using your own nutrition calculations.
