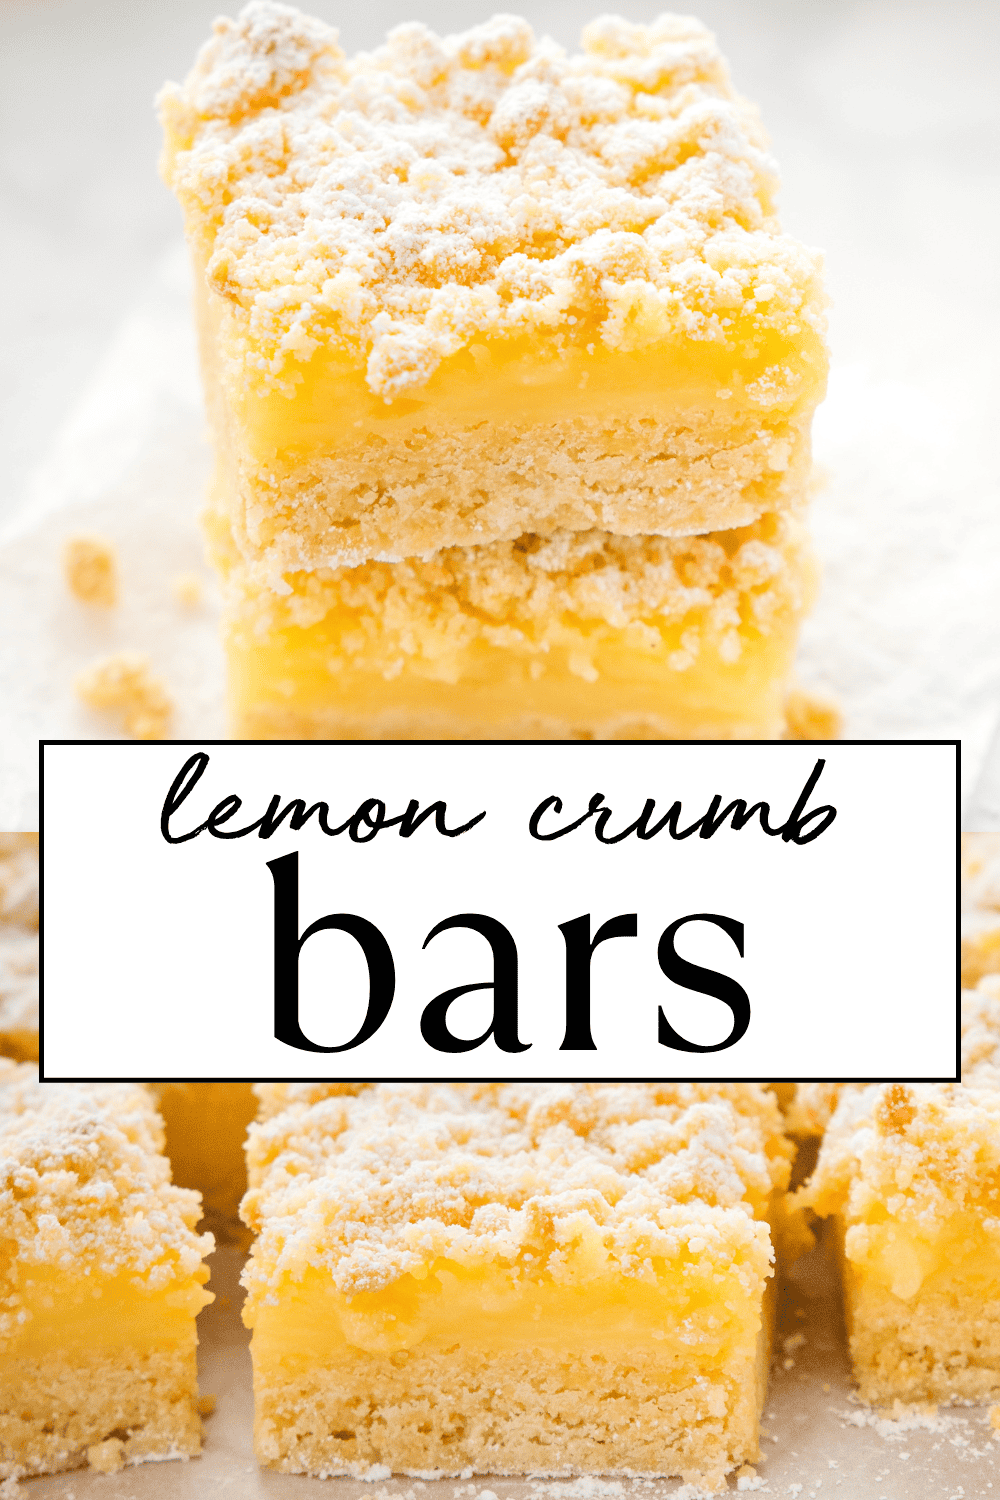
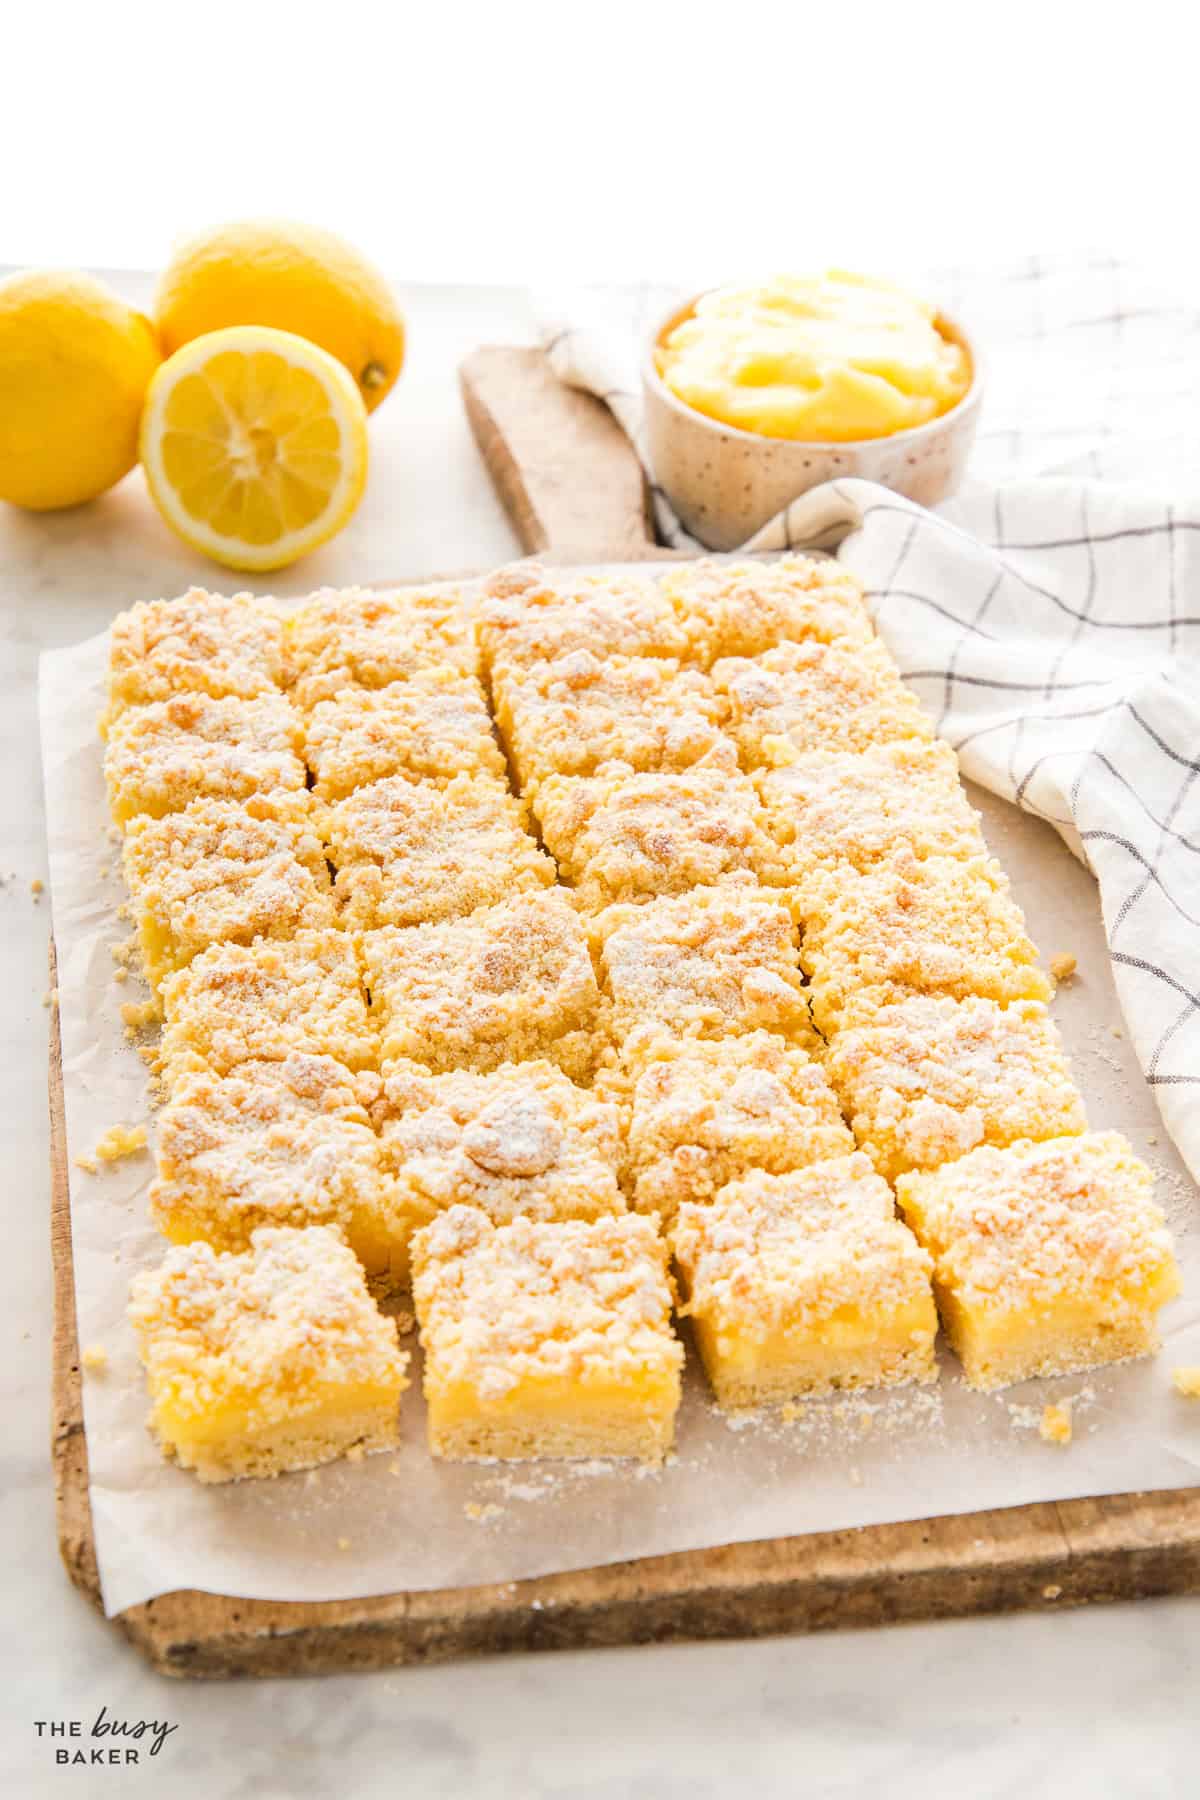
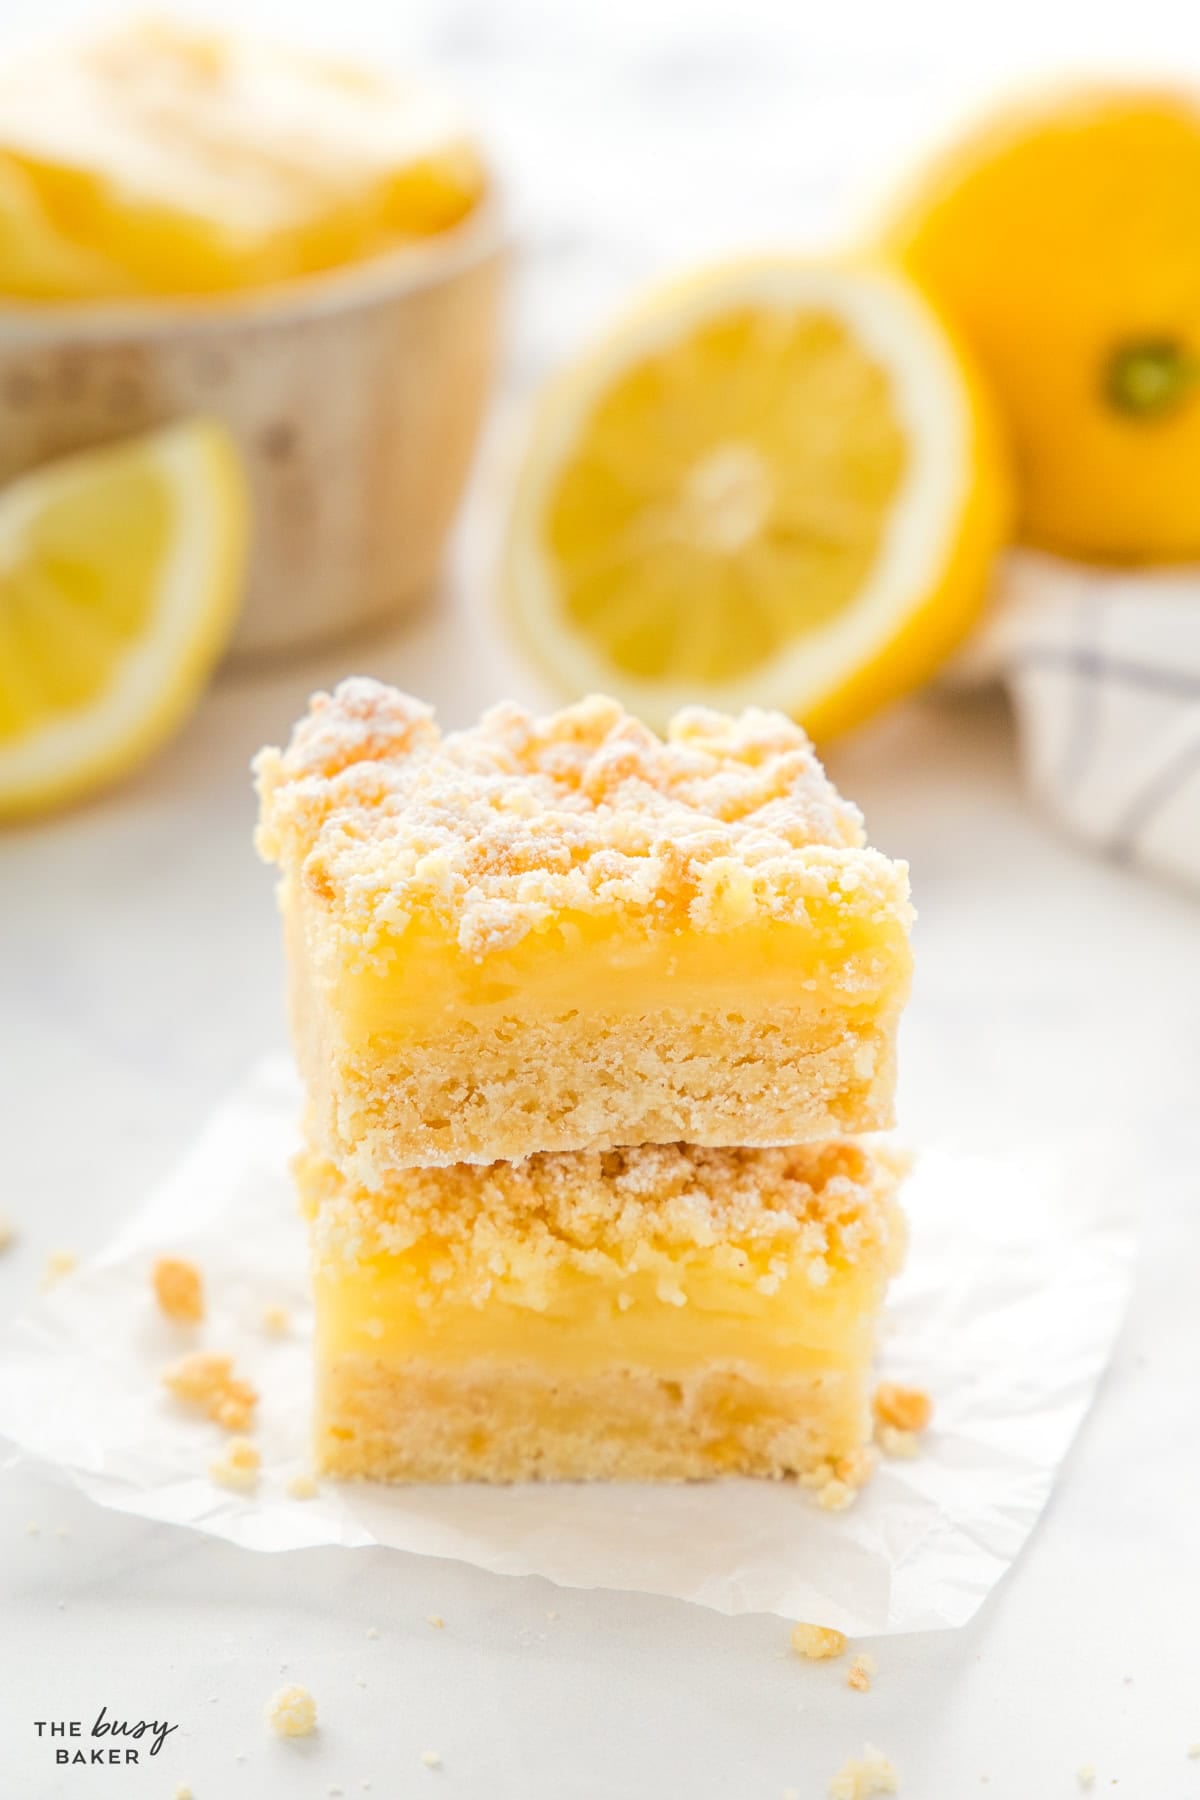
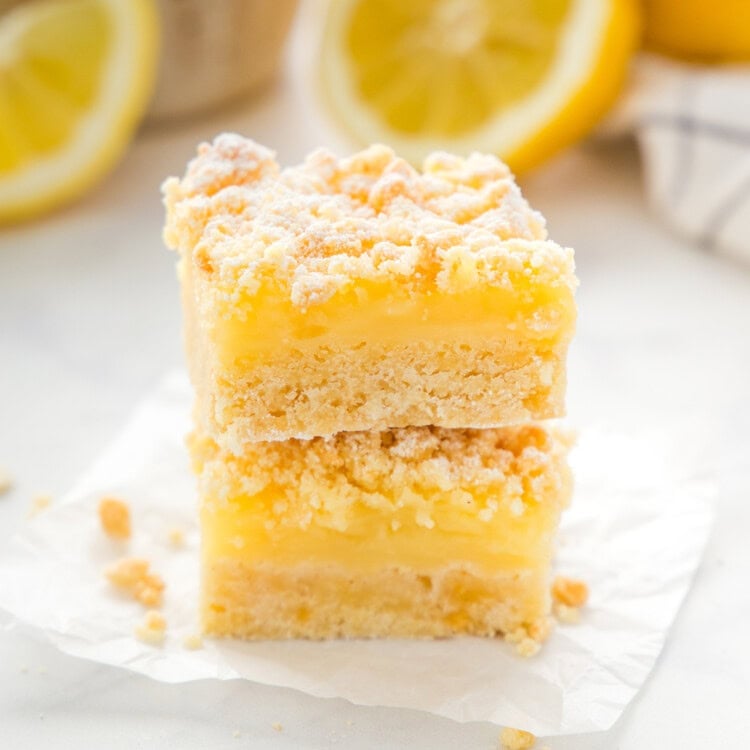
These Lemon Crumb Bars are buttery, sweet, and filled with bright lemon flavour. An easy lemon bar recipe with a tender shortbread-style crust, creamy lemon filling, and crumbly topping.
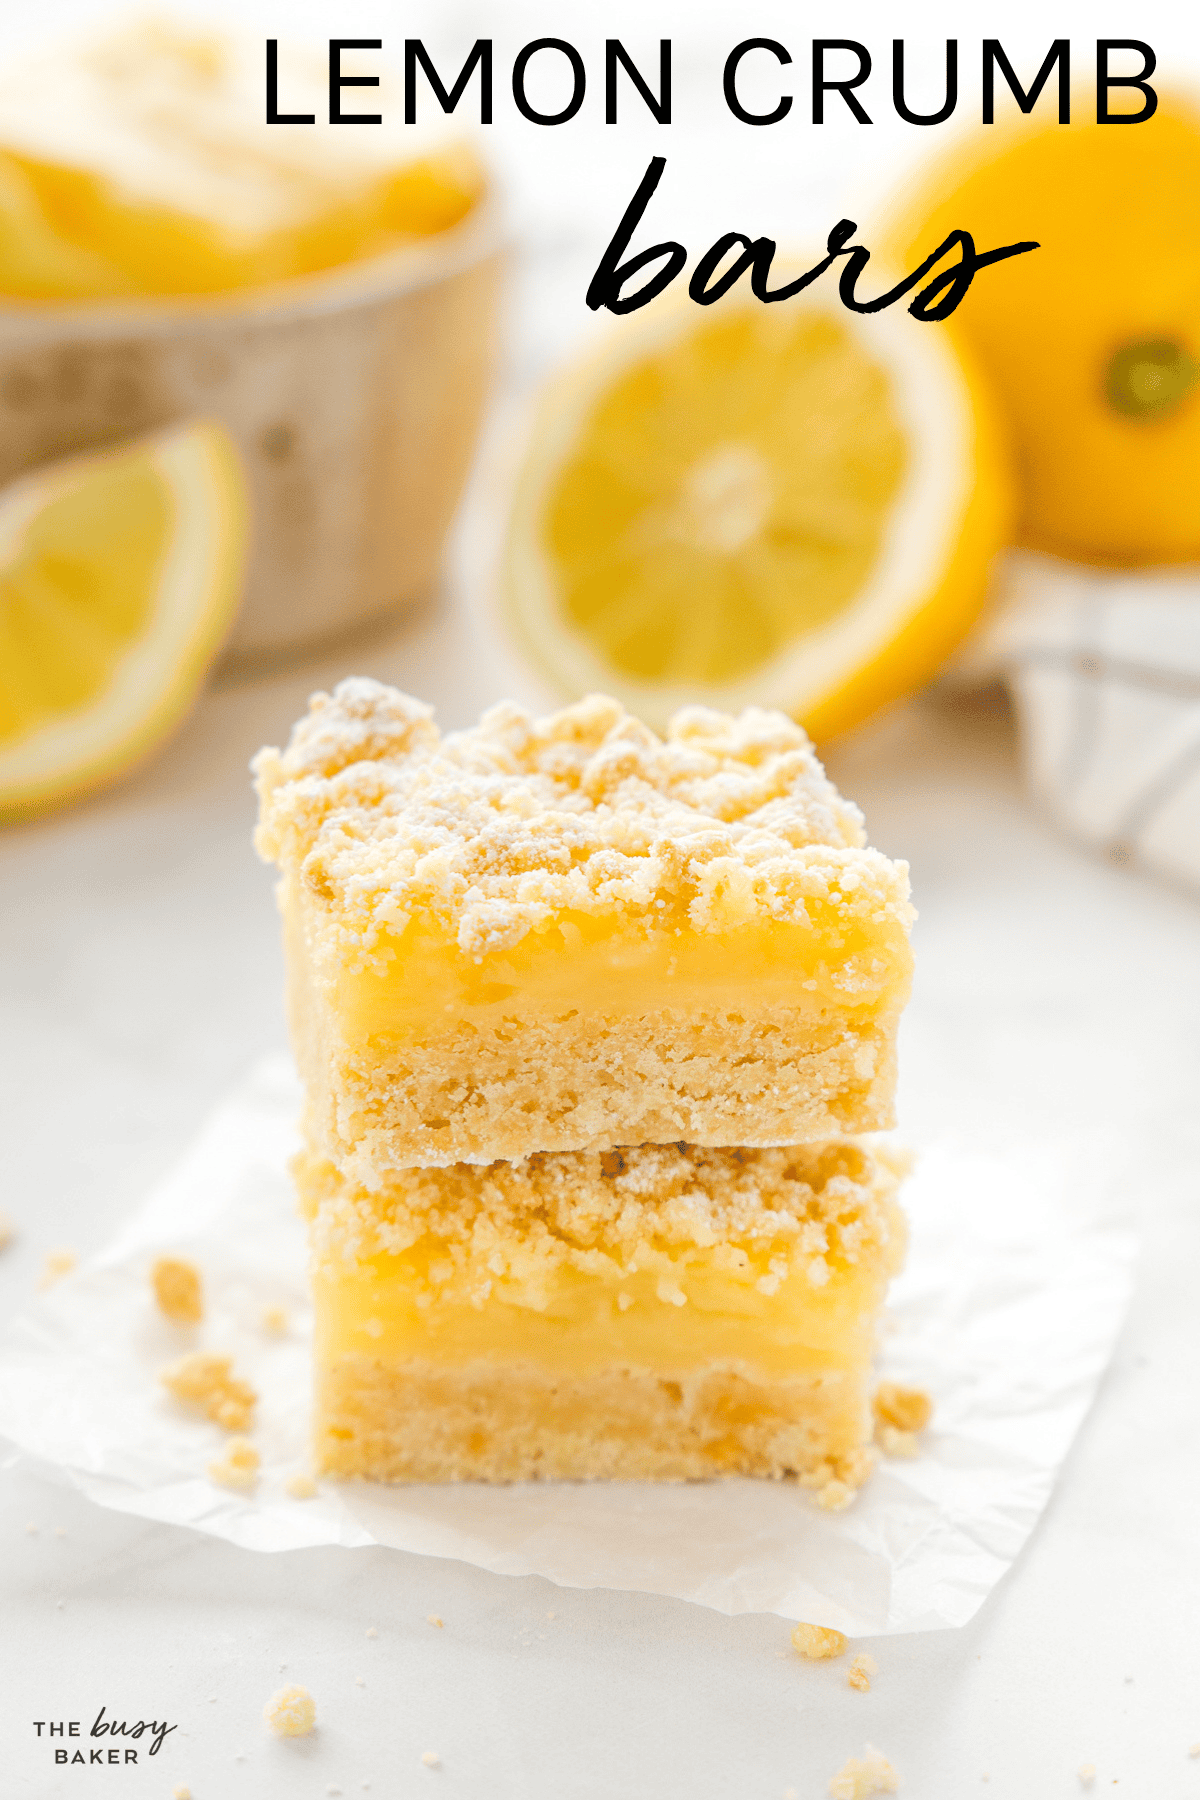
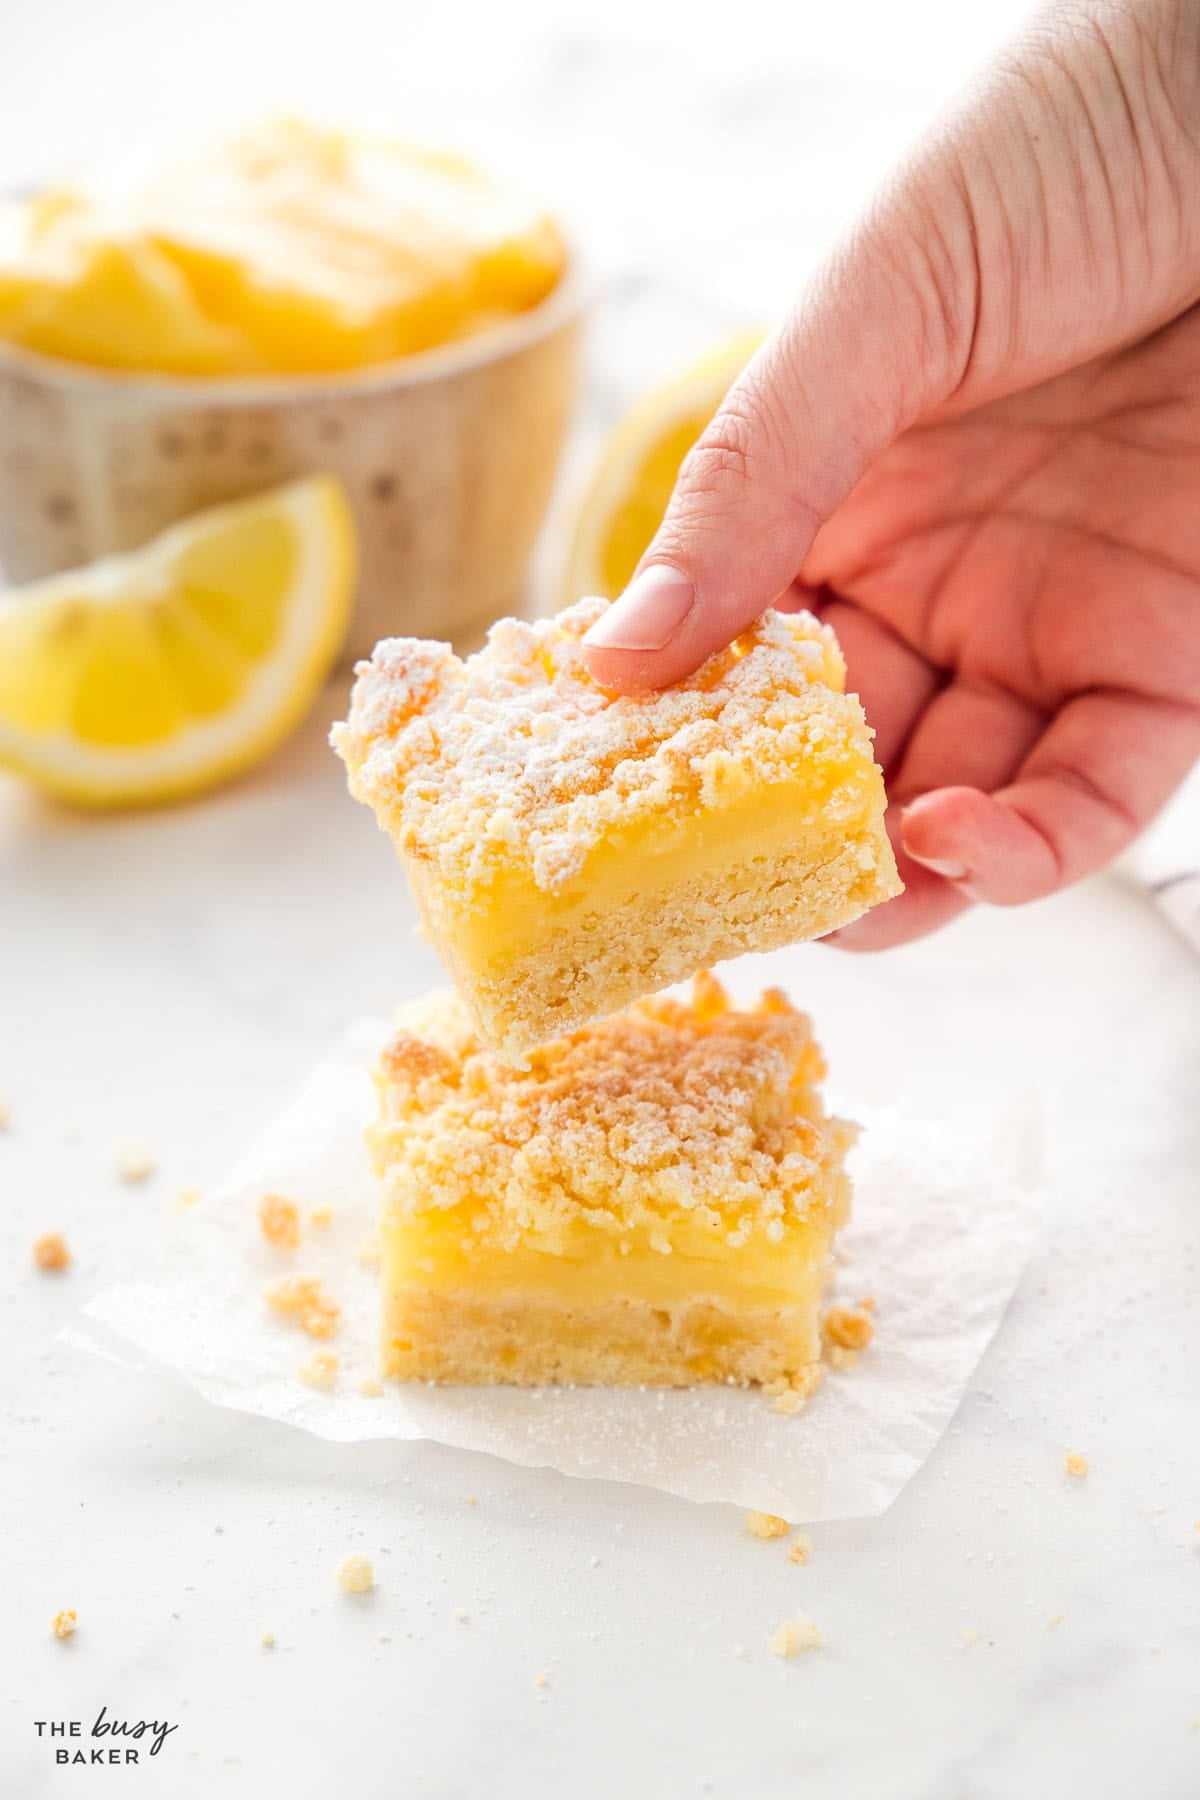
These Lemon Crumb Bars are everything a simple homemade dessert should be. They’ve got a buttery, tender base, a bright and creamy lemon filling, and a soft crumble topping that bakes up perfectly – just until lightly golden. They’re sweet, tangy, comforting, and the kind of dessert that feels a little bit special without being difficult to make at all!
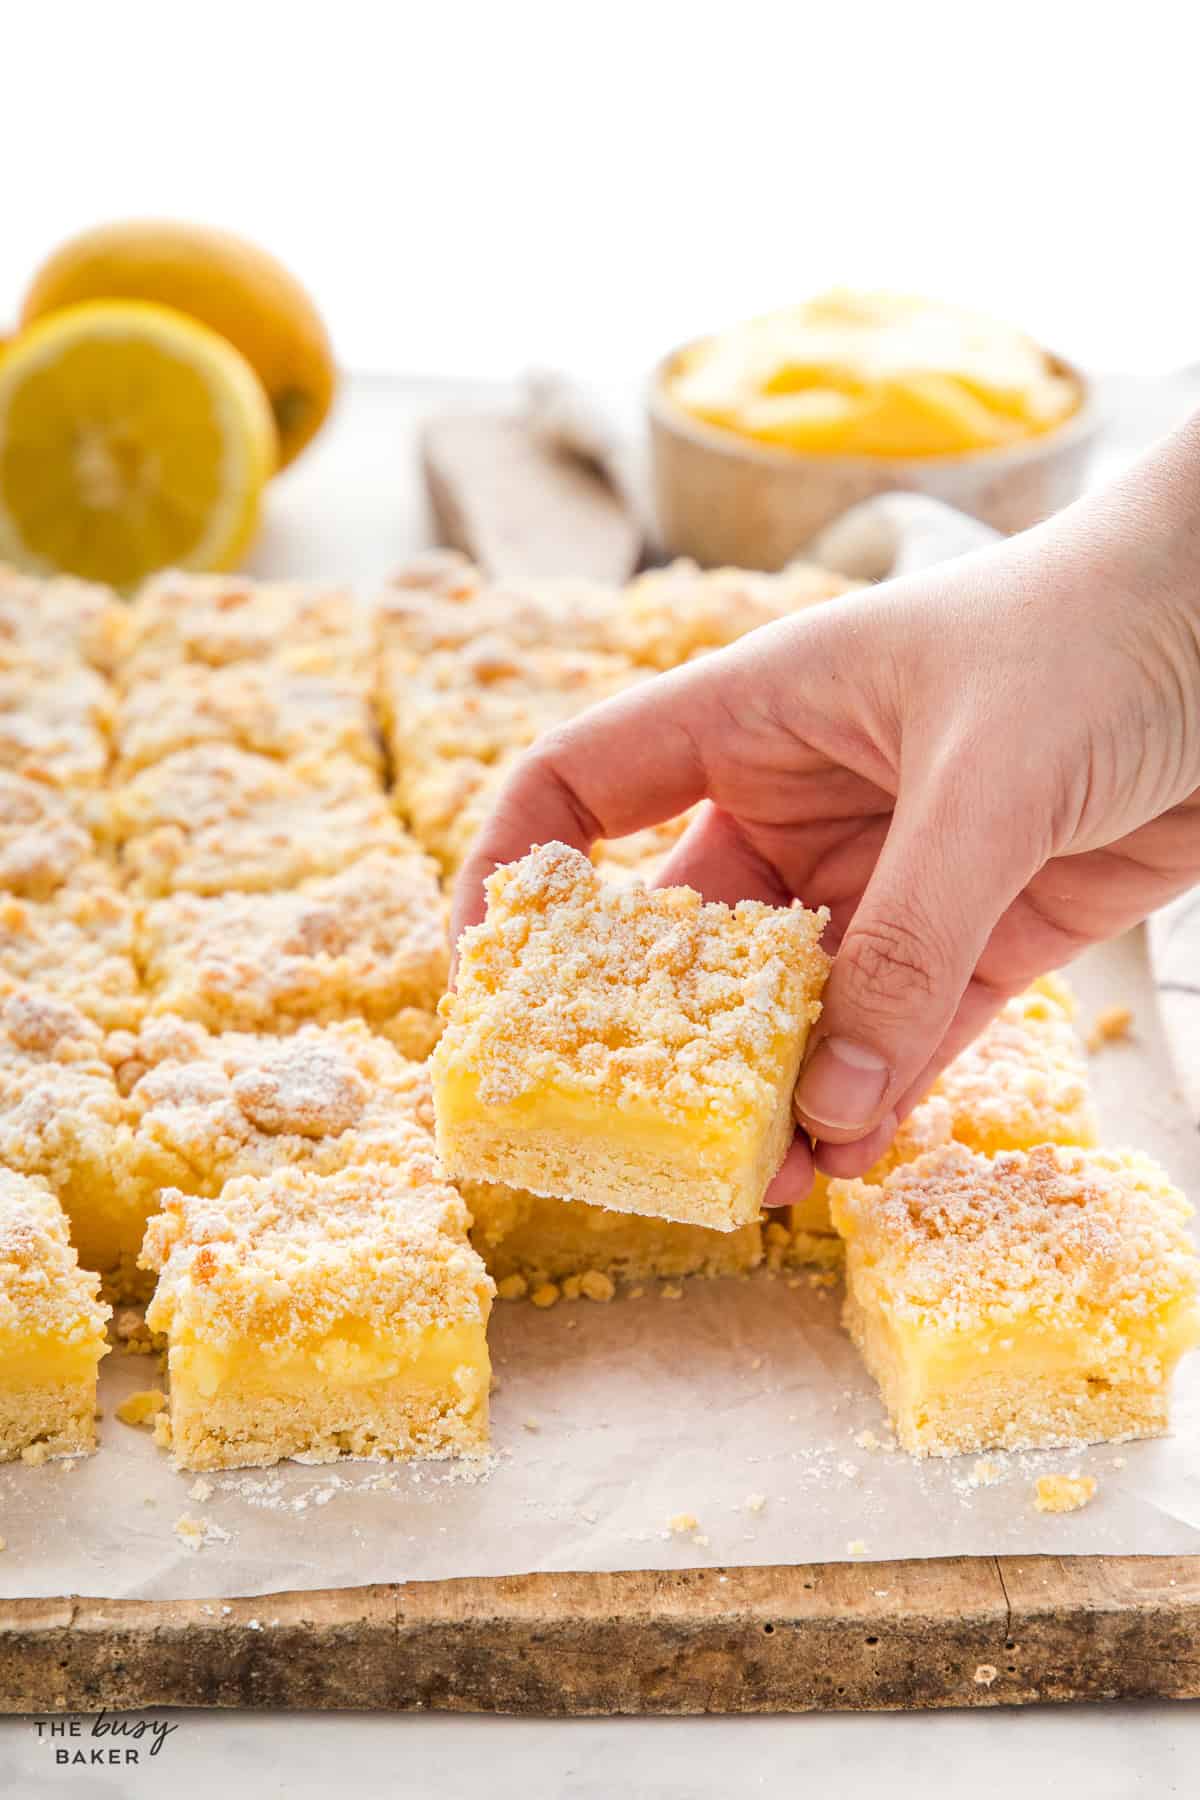
What makes them especially great is how easy they are to pull together. You make one simple crumble mixture for both the base and the topping, layer it with lemon curd or prepared lemon pie filling you can buy from the grocery store, and bake everything in one pan. It’s a perfect low-fuss dessert that still looks beautiful once it’s cooled and sliced into bars. And if you want to make the filling from scratch, this is the perfect opportunity to try your hand at making Homemade Lemon Curd!
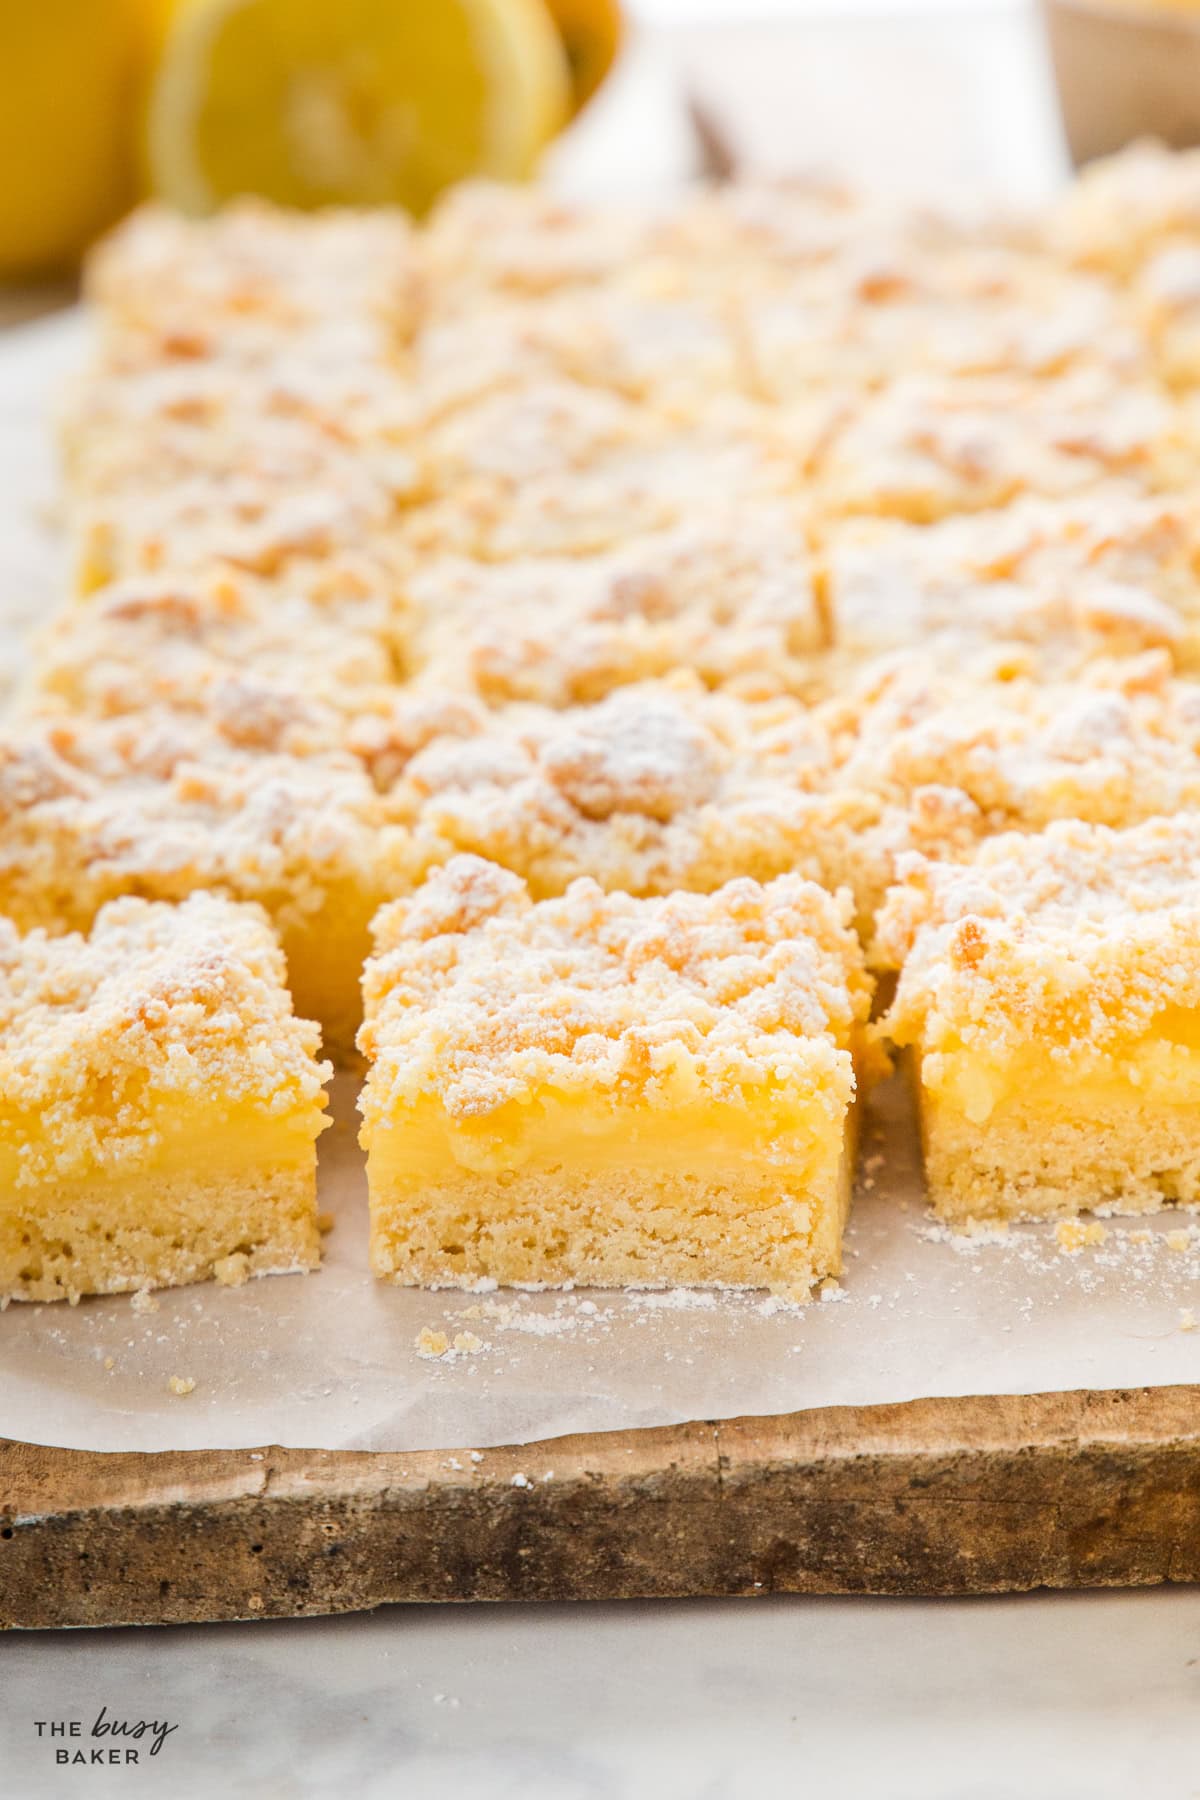
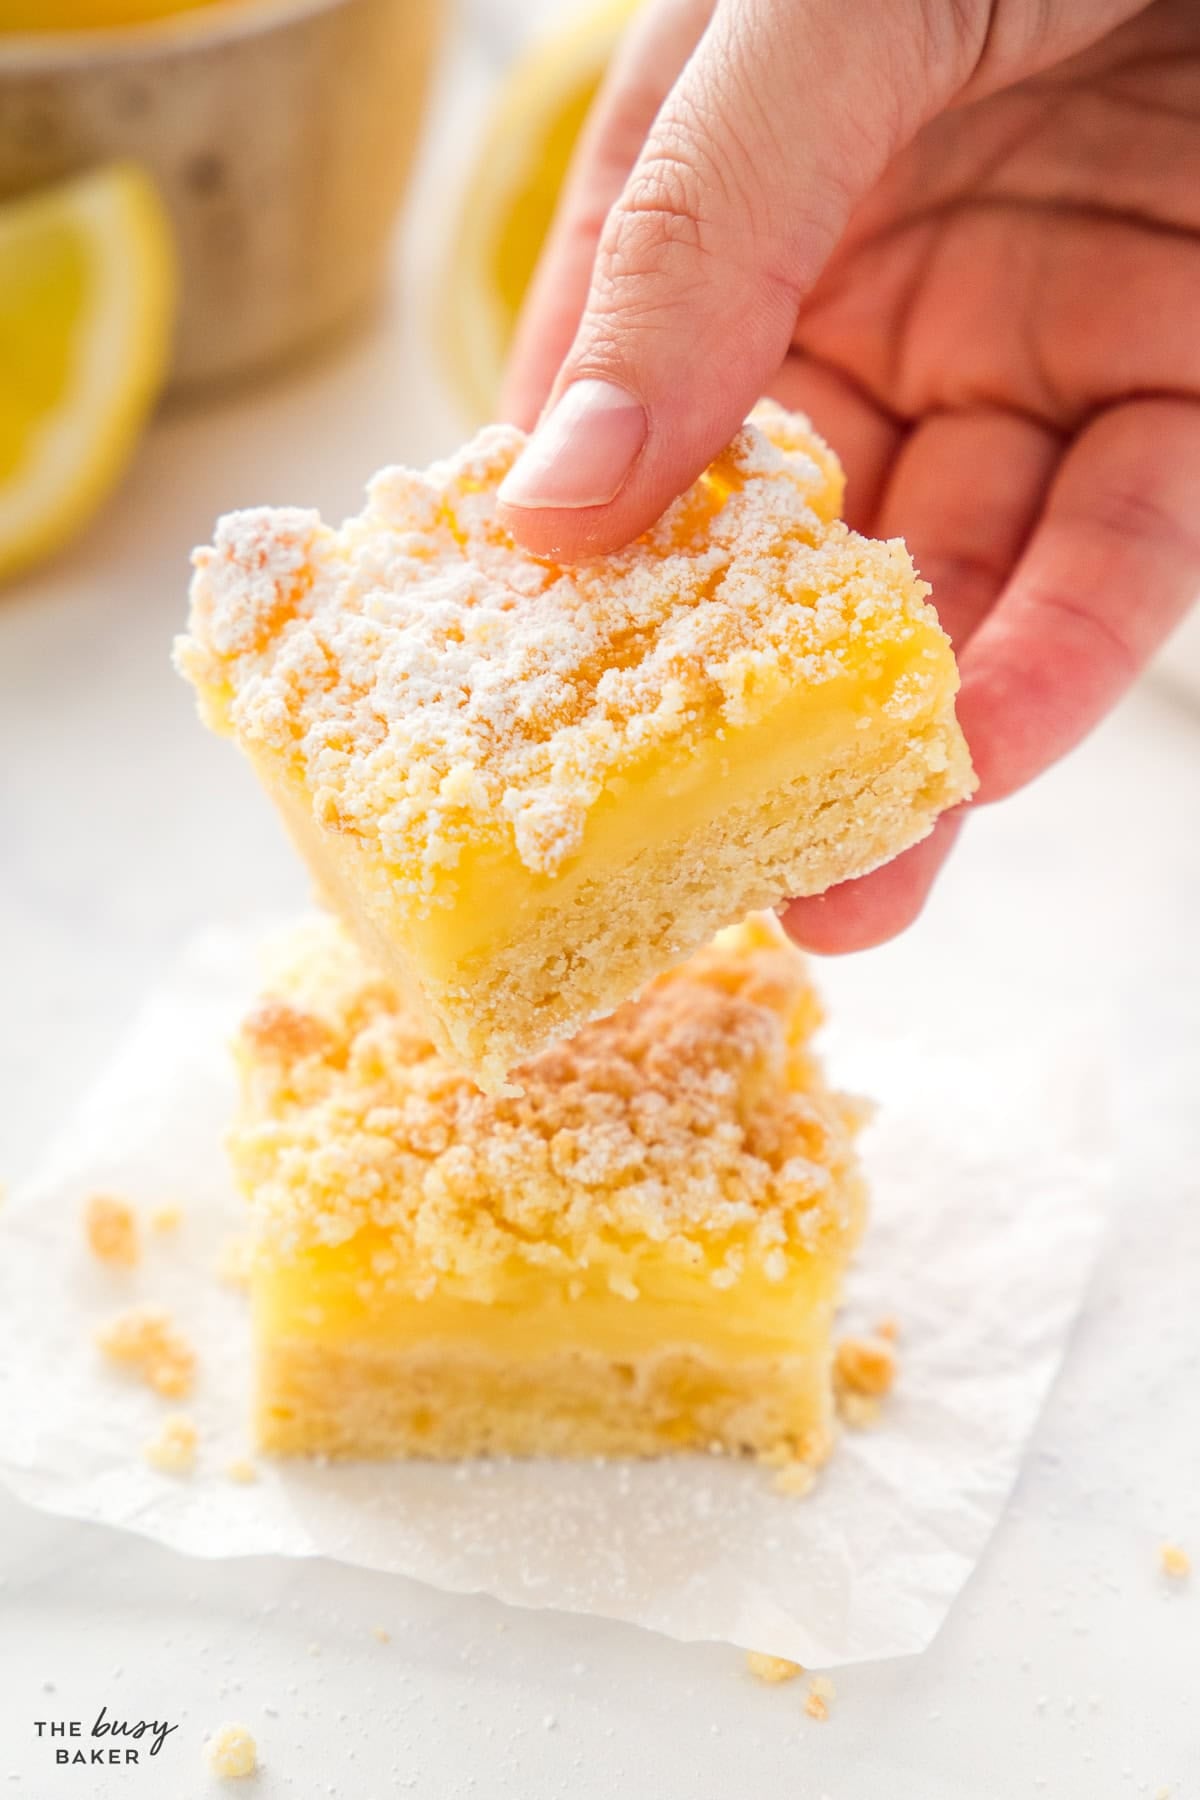
This lemon crumb bars recipe works because it keeps things simple while still creating that perfect balance of texture and flavour. The crust and topping come from the same buttery crumble mixture, which makes the recipe easy to prepare and gives the bars a consistent, tender texture from bottom to top. The base is pressed in firmly so it can hold the filling, while the top stays soft and crumbly.
The lemon layer does all the work in the middle. Whether you use homemade lemon curd or prepared lemon pie filling, you get that smooth, bright, sweet and tart filling that contrasts beautifully with the rich buttery crust. Because the filling is already thick and spreadable, these bars are especially easy to assemble and slice cleanly once they’ve cooled.
They also work so well because they’re super versatile. They’re simple enough for everyday baking when you just want a sweet treat, but pretty and impressive enough for brunch, Easter, baby showers, spring gatherings, or anytime you want a simple lemon dessert that slices beautifully and travels well.
Cold butter is what gives the crust and crumble topping that tender, crumbly texture. If the butter is too soft, the mixture can become heavy and pasty and it won’t have the light, tender texture after it bakes.
Take the time to really pack the bottom layer into the pan. A well-pressed base is what gives you bars that hold together neatly once sliced.
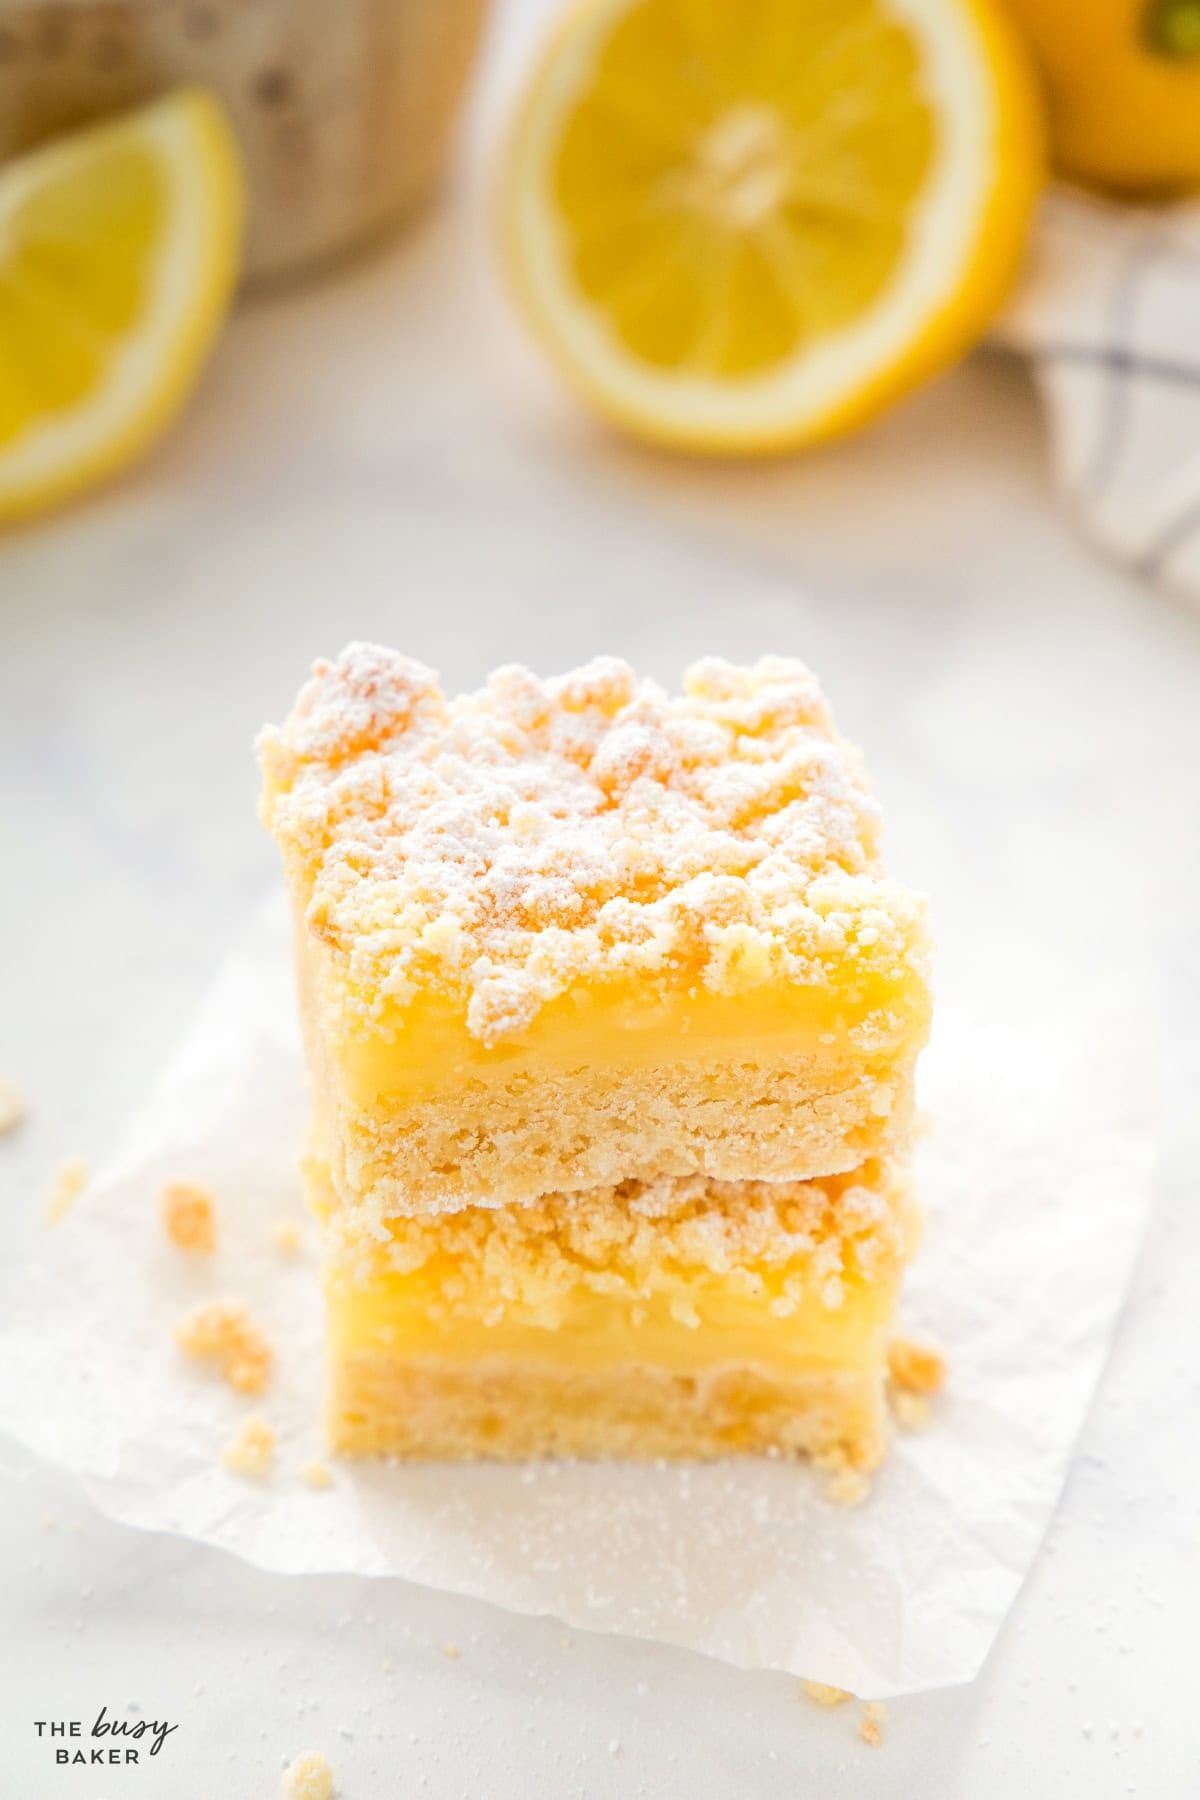
Homemade lemon curd or prepared lemon pie filling works best because it’s already thick enough to stay in place between the crust and topping, and it’s meant to be heated and baked. Don’t be tempted to substitute with lemon pudding – it won’t turn out properly!
Use the back of a spoon or a small offset spatula to spread the lemon filling evenly over the crust without dragging up the base. The layer will be a bit thick – this is good!
Don’t press the top crumb layer down into the lemon layer. Let it stay crumbly, just resting on top of the lemon curd so it bakes up with that soft, buttery texture.
You don’t want these bars to be deeply browned on top. The best texture comes when the topping is just barely golden and the filling is set.
This is one of the most important steps! Warm bars will be much softer and harder to cut cleanly. Cool the bars at room temperature until they’re completely cooled.
If you want especially clean, bakery-style bars, chill them for a bit after they’ve cooled and before cutting. Chilling will help you create perfectly clean slices.
- Start with the crumb mixture.
Whisk the dry ingredients together well before adding the butter so the sugar, flour, baking powder, and salt are evenly distributed. - Cut in the butter until the mixture looks crumbly.
Aim for the texture of coarse crumbs, not a smooth dough. A few larger buttery bits are perfectly fine and actually help create a better mixture. - Add the egg just until the mixture comes together.
Once the egg is mixed in, the mixture should still look crumbly, but it should hold when pressed together in your hand. - Press the base evenly into the baking pan.
Make sure the bottom layer is packed firmly and evenly right into the corners so the bars bake up with a sturdy, even base. - Spread the lemon filling in an even layer.
Make sure the lemon filling is as even and smooth as possible. - Sprinkle the remaining crumble over top of the lemon filling.
Let it fall naturally over the lemon layer. It doesn’t need to cover every bit perfectly. - Bake until the top is just lightly golden brown.
The worst thing you can do to these bars is over-bake them. Be sure to remove them from the oven when they’re just lightly golden brown on top. - Cool completely before slicing.
This is what helps the bars hold their shape and slice neatly instead of falling apart. Chilling them for a little while after they’ve cooled also helps them slice cleanly.
Try lime curd instead.
For a slightly different citrus flavour, lime curd works beautifully in the same style of bar.
Try using jam instead.
For a fruit twist, spread a thick layer of strawberry or raspberry jam instead of the lemon filling..
Add coconut to the topping.
A small handful of shredded coconut in the crumble topping adds a great texture and pairs beautifully with lemon.
Add sliced almonds.
A handful of sliced almonds on top gives a little extra crunch and makes the bars feel even more bakery-style.
Make them a little more tart.
If your lemon filling is very sweet, a little extra lemon zest stirred into the filling can brighten the flavour even more.
Use orange curd for a softer citrus version.
Orange curd creates a sweeter, gentler citrus bar that uses the same method.
Store the bars only after they’ve cooled completely. If you cover them while they’re still warm, the topping will soften too much from trapped steam.
Because of the lemon filling, these bars are best stored in an airtight container in the fridge. They’ll keep well for about 4 to 5 days and are actually very nice chilled.
If you prefer a softer texture, let them sit at room temperature for 30 minutes before serving. If you like a firmer, cleaner slice, serve them straight from the fridge.
To freeze, cut the cooled bars and place them in layers with parchment paper between them so they don’t stick together. Store them in an airtight container or freezer bag for up to 1 month for the best texture and flavour.
To serve after freezing, thaw in the fridge or at room temperature. They’re easiest to handle and slice when cool.
Can I use store-bought lemon pie filling?
Yes. It works very well in this recipe and makes the bars especially quick and easy.
Can I use homemade lemon curd?
Absolutely. Homemade lemon curd is delicious in this recipe and gives the bars a fresher, brighter lemon flavour. You can try my homemade lemon curd recipe here.
Do these bars need to be refrigerated?
No, it’s not completely necessary, but it is best way to store them because of the lemon filling. Refrigeration also helps them hold their shape nicely and slice cleanly.
Why are my lemon bars too soft to cut?
The most common reason is that they haven’t cooled enough. These bars need time to set fully before slicing. Chilling them in the fridge for awhile before slicing also helps!
Can I make these ahead of time?
Yes. They’re a great make-ahead dessert because they slice beautifully once cooled and chilled.
Can I freeze this Lemon Crumb Bars recipe?
Yes. They freeze well once fully cooled. Layer them with parchment and store them well wrapped so they keep their texture.
Why is my topping not crumbly?
Usually that means the butter was too warm or the topping was pressed down too much. Cold butter and a loose crumble make all the difference!
Do I need parchment paper?
Lining the bottom of the baking pan with parchment paper will help you release the bars from the pan easily. It’s not completely necessary, but it helps a lot!
Can I double the recipe?
Yes, but you’ll need a much larger pan or two pans, and the baking time may need an adjustment depending on the thickness.
Can I serve these at room temperature?
Yes, they can be served at room temperature, especially after they’ve been chilled for short time before slicing. After slicing, let them sit out at room temperature for awhile before serving.
FREE Baking Bootcamp
All the best tips, tricks, recipes and tutorials you need to become a successful home baker! If you’ve ever wanted to learn how to bake the BEST muffins, bread, cookies, cakes, buns and MORE, this Baking Bootcamp is for YOU!

More Delicious Lemon Recipes
- Lemon Cake
- Lemon Curd
- Honey Lemon Vinaigrette Salad Dressing
- Lemon Chicken
- Lemon Blueberry Cake
- Lemon Cupcakes
- Lemon Blueberry Pound Cake
- Lemon Meringue Pie
- Perfect Lemon Pound Cake
- Mini Lemon Cheesecakes
If you made this, share a photo!
Are you trying this recipe? Use the comment form below to share your take; now with support for image uploads and comment voting!
Lemon Crumb Bars
Recipe: Equipment
Recipe: Ingredients
- 3 cups all purpose flour
- 1 cup granulated sugar
- 1 teaspoon baking powder
- 1/4 teaspoon salt
- 3/4 teaspoon cinnamon
- 1 cup unsalted butter cold from the fridge
- 1 egg
- 3 cups lemon curd or prepared lemon pie filling
- powdered sugar for dusting on after they've cooled
Recipe: Instructions
- Preheat your oven to 350°F (175°C) and prepare a 9-inch by 13-inch rectangular baking dish, greasing it with butter or baking spray and lining it with parchment paper.
- In a large bowl combine the flour, sugar, baking powder, salt, and cinnamon with a wire whisk.
- Add the cold butter to the flour mixture in chunks, blending it in with a pastry cutter or a fork until the mixture resembles coarse crumbs.
- Beat the egg in a small bowl and add it to the flour and butter mixture, mixing just until combined.
- Press about 2/3 of this mixture tightly into the bottom of the prepared baking pan and set the other part aside.
- Spread the lemon curd over the base in an even layer and sprinkle the remaining crumbs over the top.
- Bake at 350°F (175°C) for about 40-45 minutes or until the top crust is just barely golden brown.
- Let the bars cool completely in the pan before cutting into them or trying to remove them from the pan – they’ll continue to bake a little after you’ve removed them from the oven and they’ll need to cool in order to maintain their shape.
- Once cool, cut them into 24 bars and serve.
Recipe: Notes
Recipe: Nutrition
Notice: Nutrition is auto-calculated, using Spoonacular, for your convenience. Where relevant, we recommend using your own nutrition calculations.