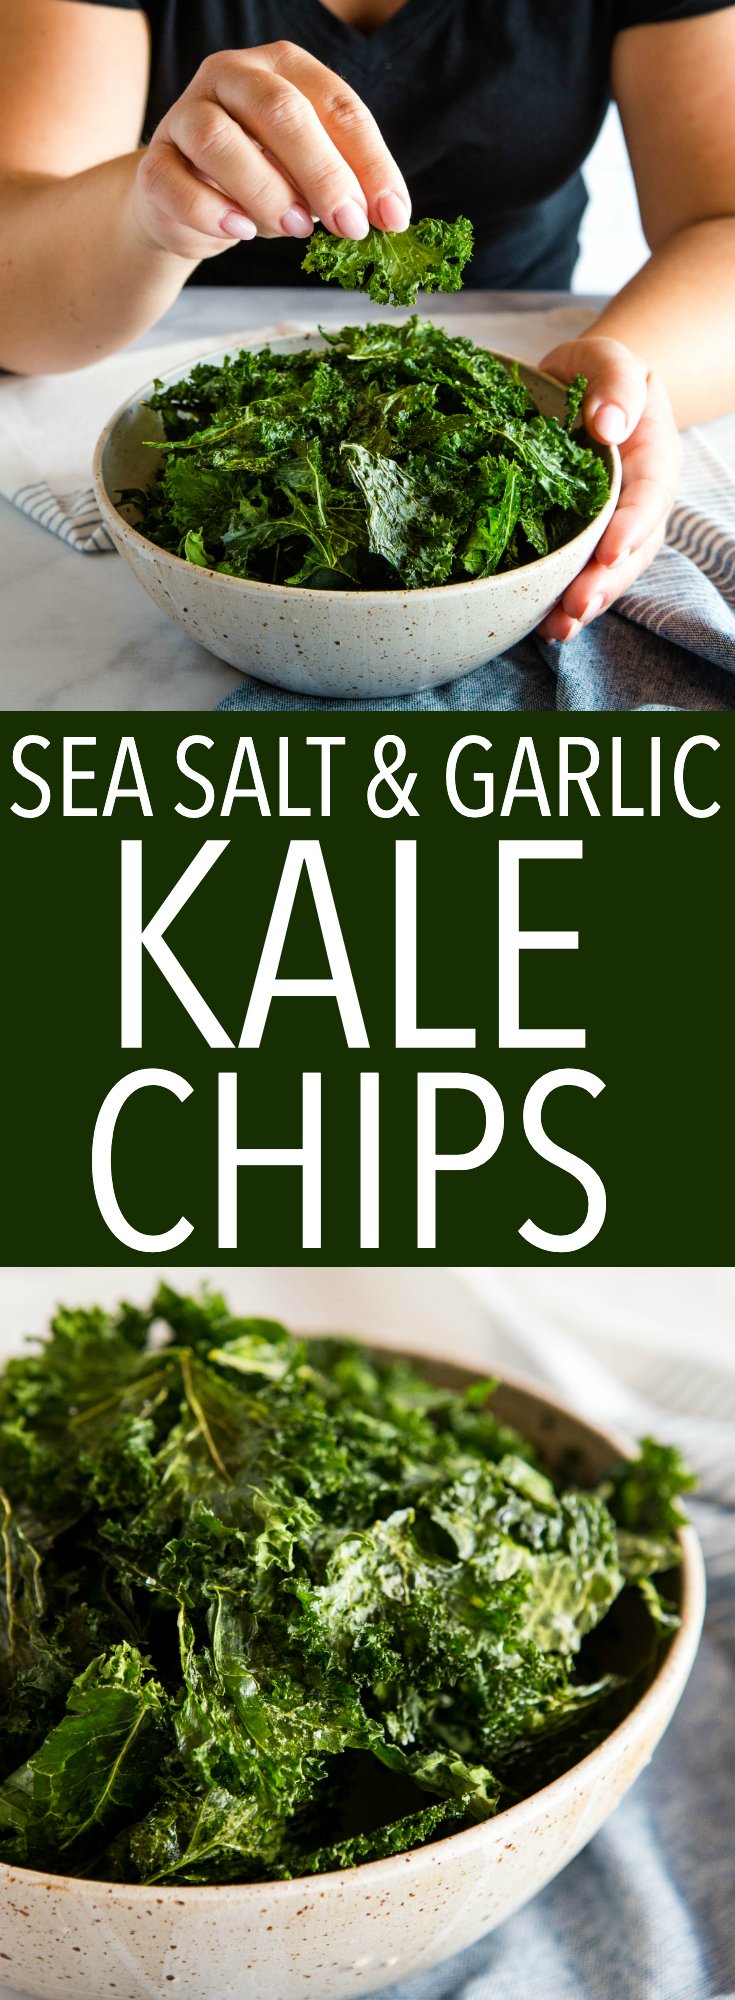
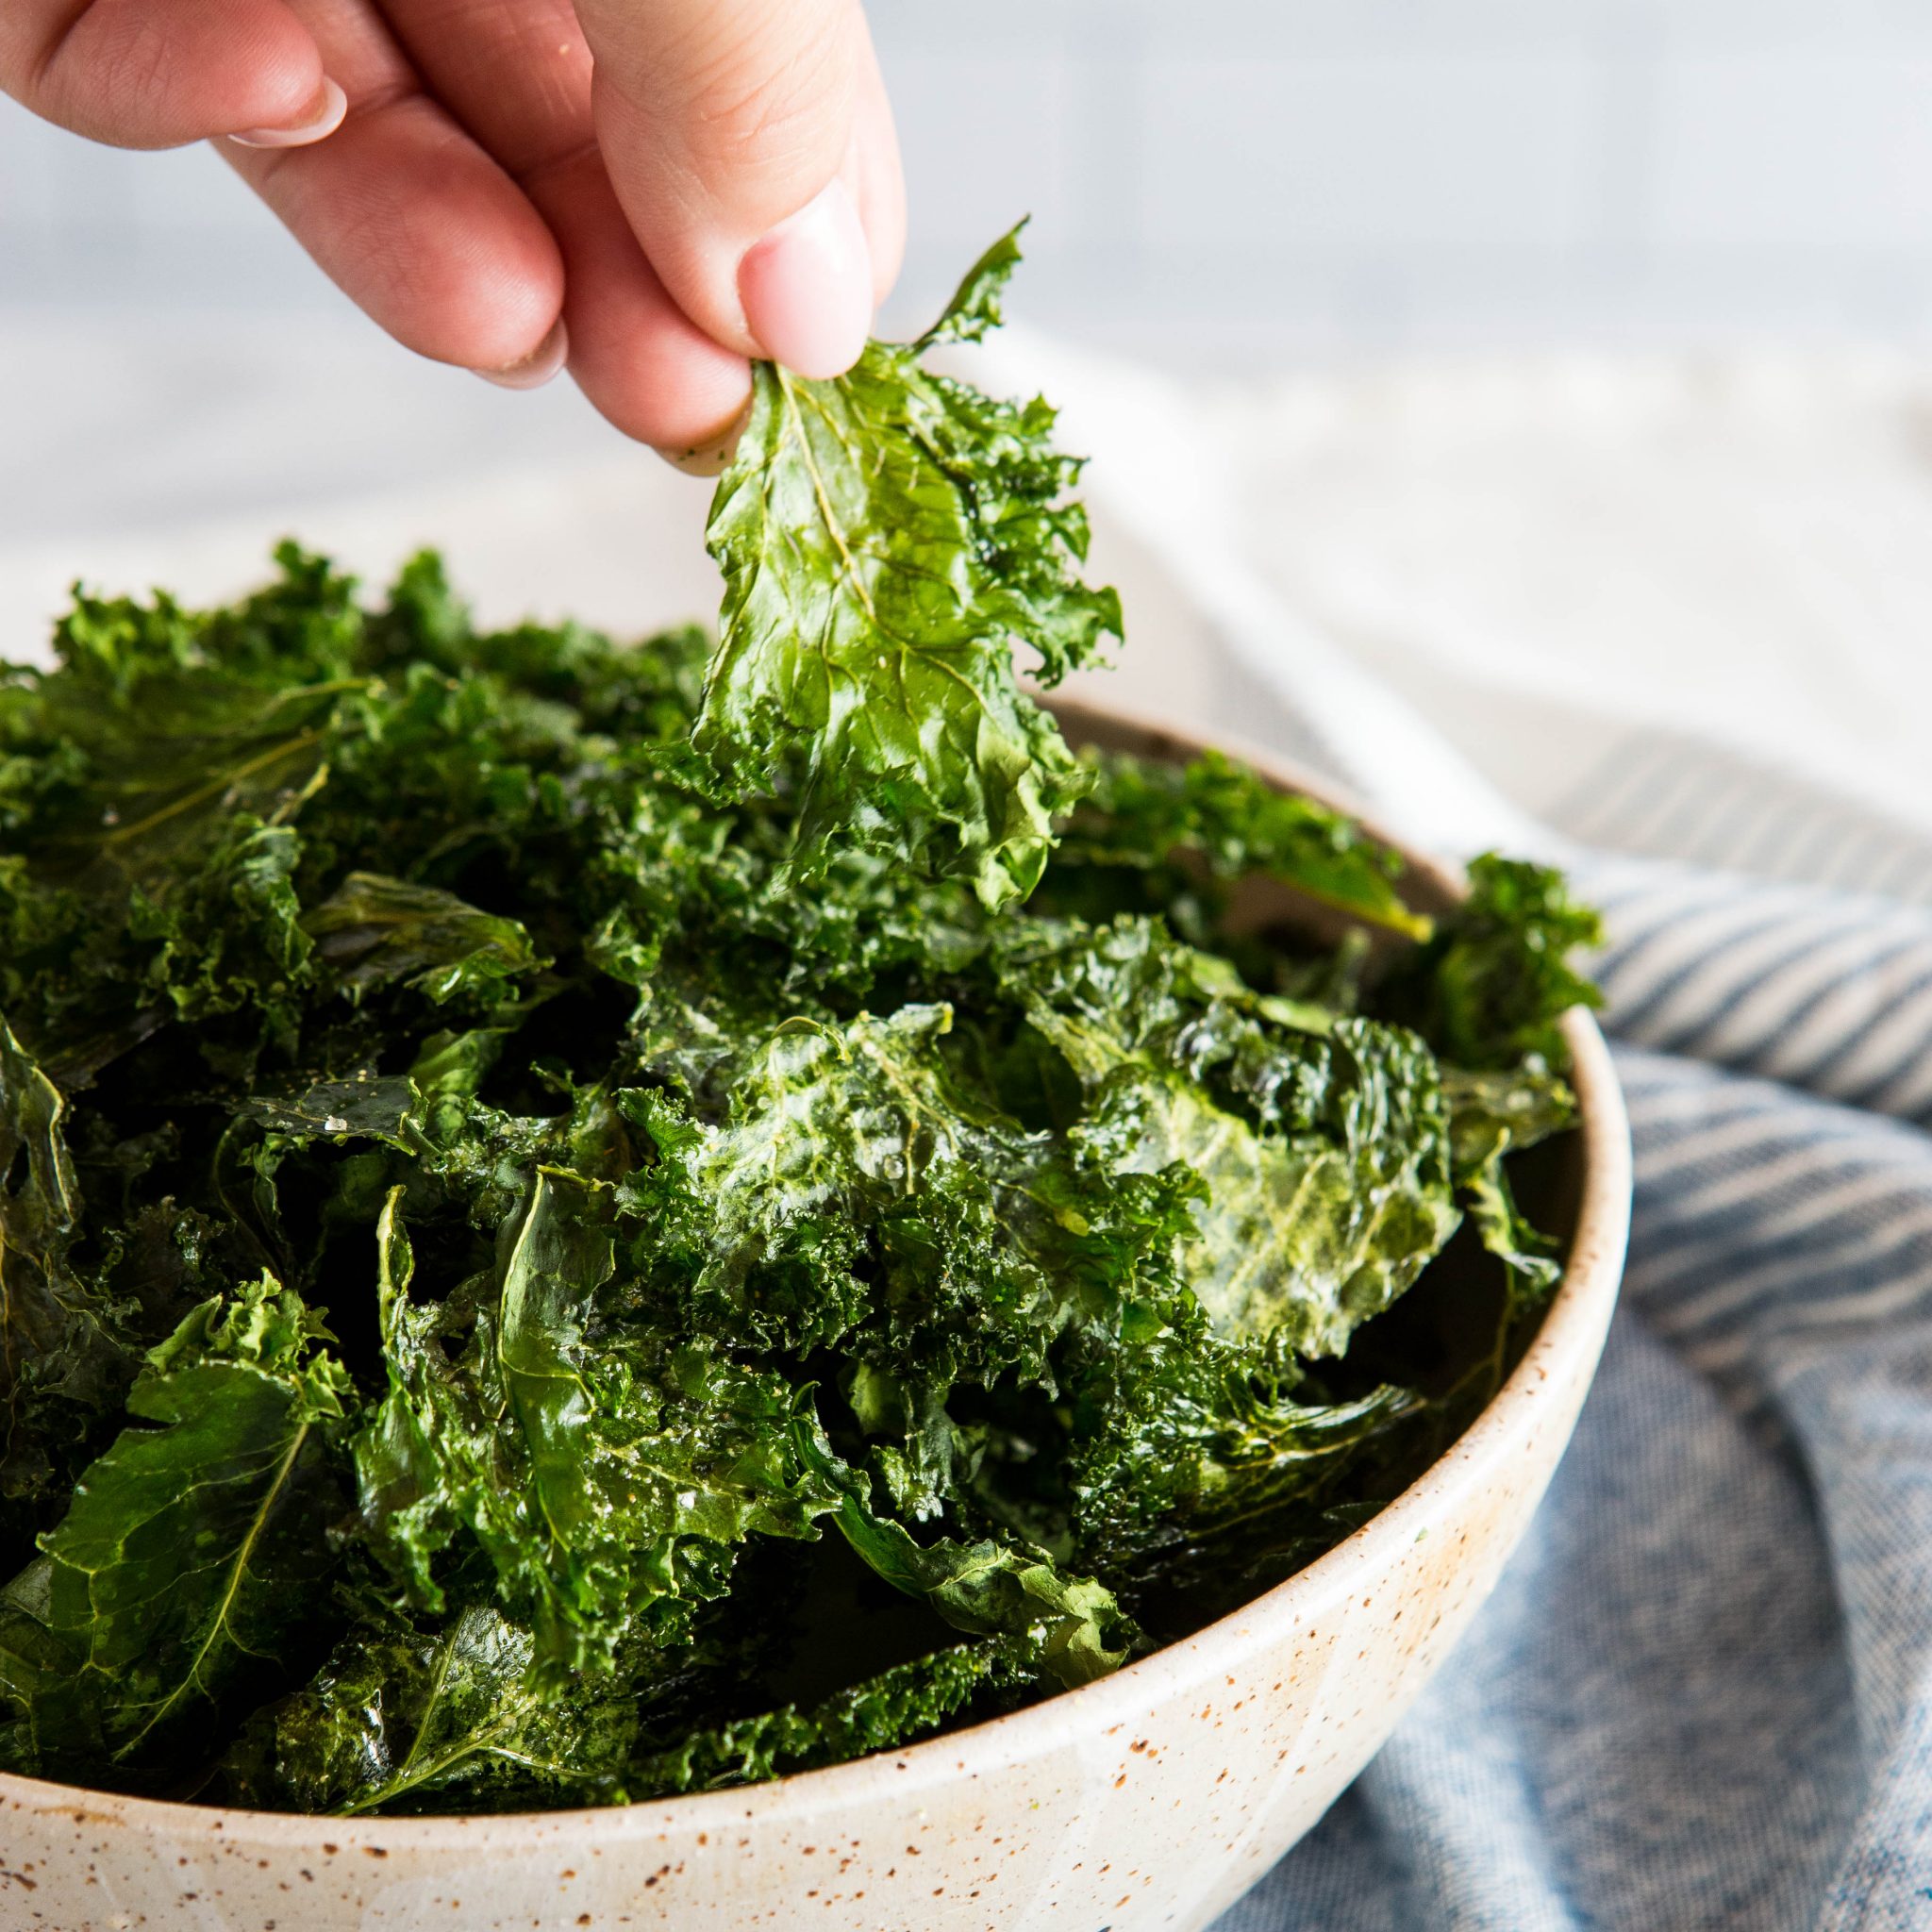
These Crispy Sea Salt and Garlic Kale Chips are the easiest healthy snack you’ll ever make. Just 4 ingredients, two simple methods (oven or air fryer), and a crunch that holds up like a real chip. Ready in under 30 minutes.
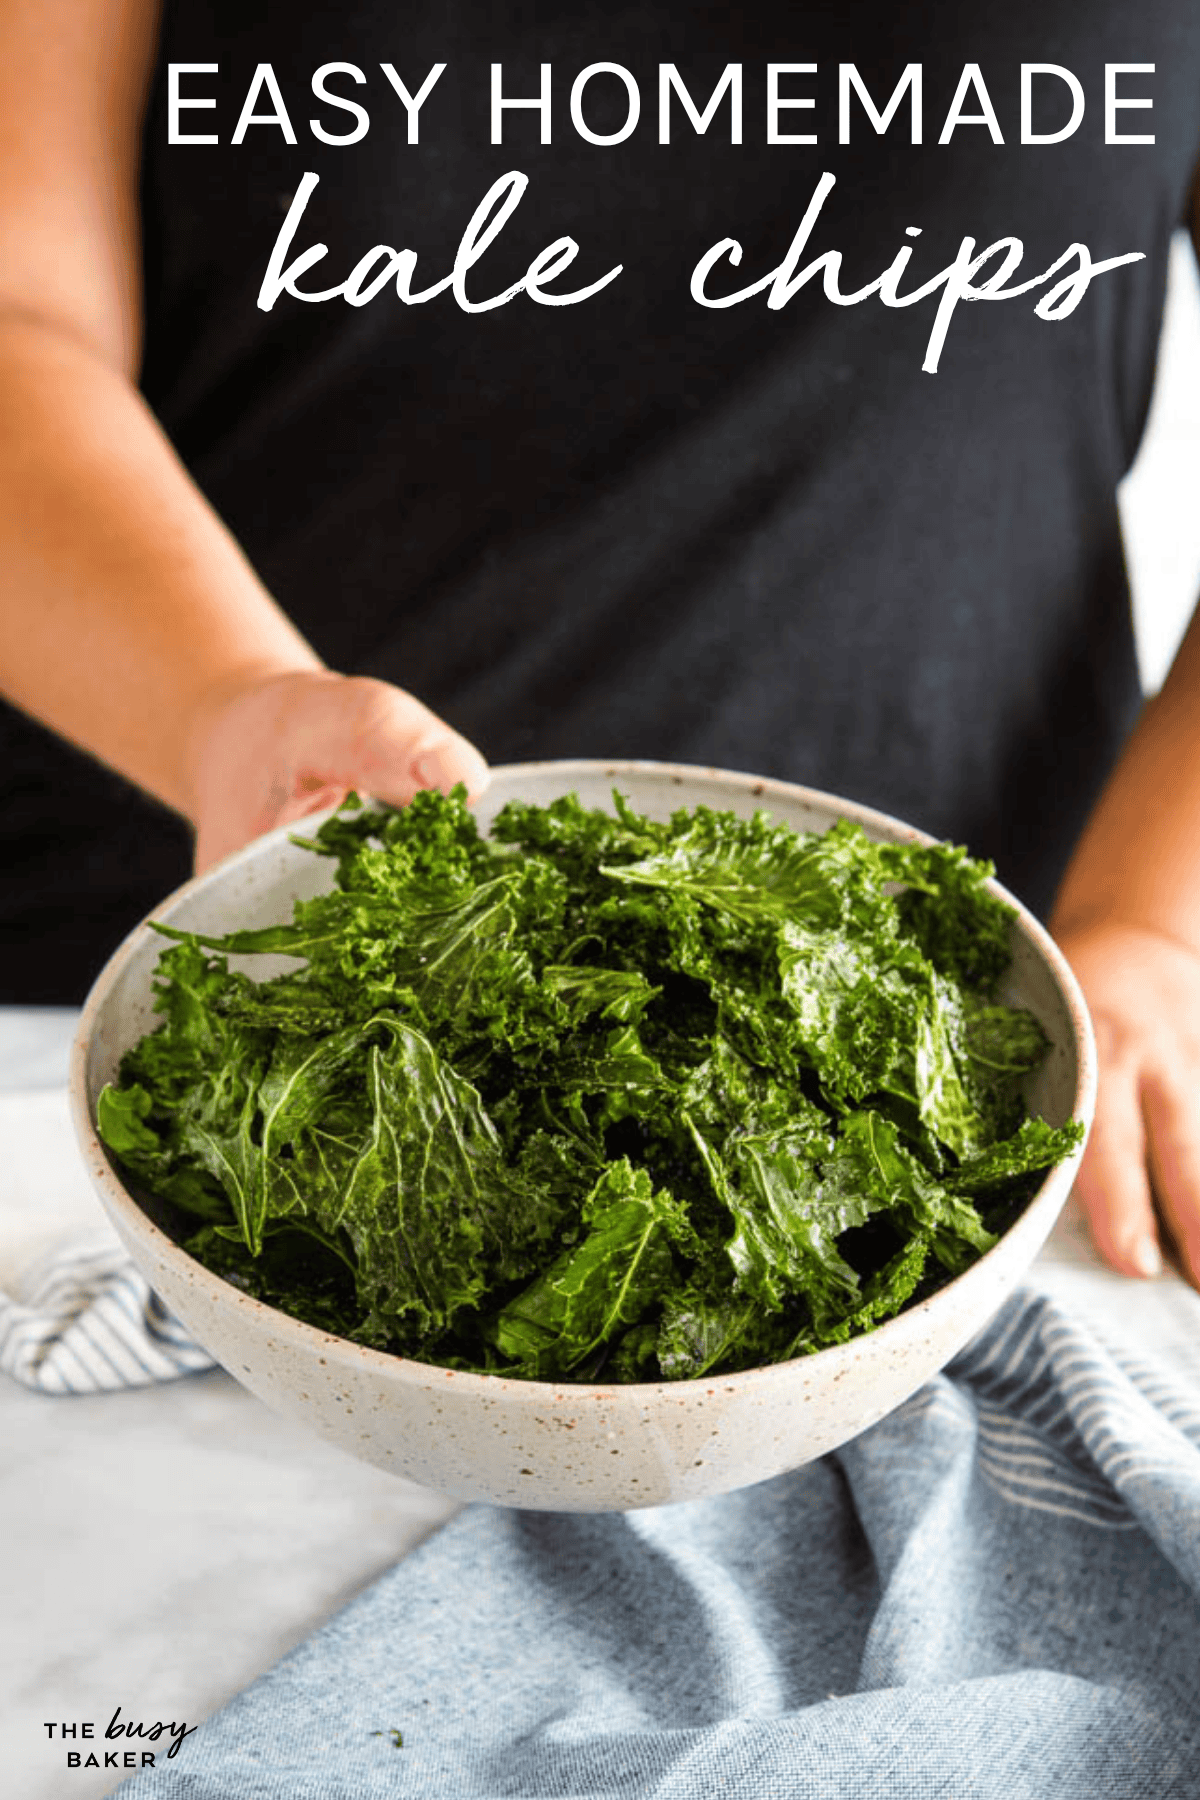
Kale chips are one of those snacks that sounds good on paper and then falls apart in real life when you actually try to make it. Too soft, too soggy, too bitter, or even burnt around the edges. After making this recipe for years (and lately, after one reader convinced me to try them in the air fryer), I can tell you making homemade kale chips is actually super simple, the ingredients are basic, and the results are reliably crispy and delicious!
You’ll need 4 ingredients: a bunch of kale, a little olive oil, sea salt, and garlic powder. The whole recipe takes about 25 minutes start to finish in the oven, or under 10 minutes in the air fryer. It’s the kind of snack I make over and over again because it’s healthy, it’s cheap, and it actually satisfies the craving for something salty and crunchy when you want to avoid calorie-heavy snacks.
This is also one of the most kid-friendly veggie snacks I know. My kids will eat a bowl of these in a single afternoon, and I’d much rather hand them kale chips than reach for the bag of potato chips! If you’ve had bad kale chips in the past and written them off because of a bad experience, I dare you to give this recipe a real chance. You won’t be disappointed!!
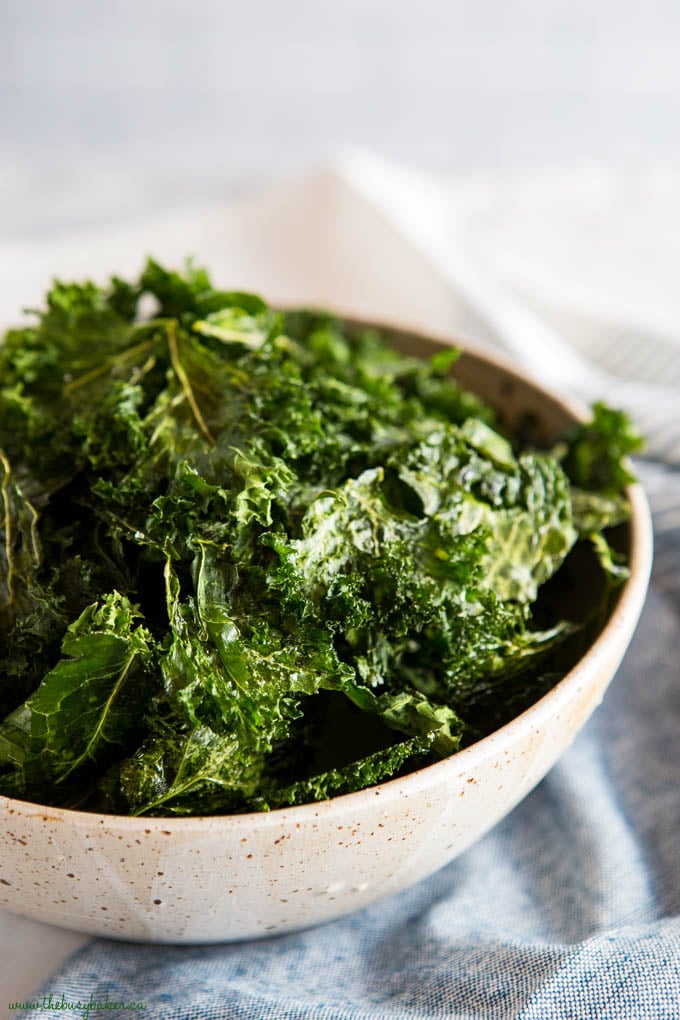
Most kale chip recipes fail in one of two ways: they go soggy, or they go bitter and burnt. This recipe avoids both because it’s built around the actual chemistry of getting kale crispy.
The first rule is that the kale has to be bone dry before any oil touches it. Water and oil don’t mix, and any moisture left on the leaves turns into steam in the oven and leaves you with limp kale. The second rule is a tiny amount of oil, massaged into every fold of every leaf. Too much oil and the chips go greasy and soft. The third rule is low and slow heat. 300°F in the oven (or 300°F in the air fryer) gives the leaves time to dry out and crisp up without burning the thinner edges.
The flavour is simple on purpose. Sea salt and garlic powder are enough. Once the kale crisps up, the natural sweetness of the leaves comes through and you don’t need much else. If you want to play around with seasonings, the variations section below has some ideas, but I’d recommend starting with this simple version first.
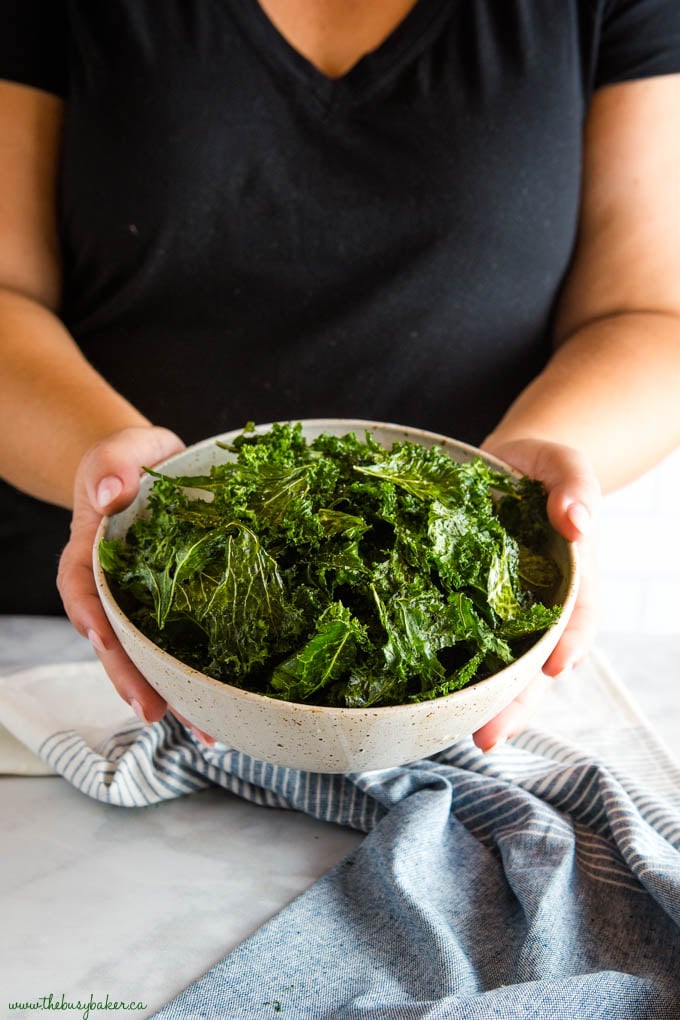
This is the single most important step. Wash the kale, spin it in a salad spinner, then lay the leaves out on clean tea towels and pat them dry. If there’s any moisture left, you’ll get soggy chips. If you have time, you can let the washed kale air-dry on towels for an hour first.
Rip the leaves away from the tough centre stems by hand, into chip-sized pieces (a bit bigger than you think, since they shrink in the oven). The torn edges will crisp up nicely.
2 teaspoons is enough for a whole bunch of kale. Drizzle it on, then massage it gently into every fold and crevice with your hands. If it looks like there’s not enough, that’s right, just keep massaging until each leaf has the thinnest film. Too much oil makes for soft chips.
The kale needs space and air around each piece. If you pile leaves on top of each other, they steam instead of crisping. Use two pans if you have to, or bake in batches
300°F is the temperature sweet spot. Higher and the thin edges burn before the centres crisp.
At about the 10-minute mark, rotate your pan and flip any pieces that look like they’re crisping faster. The back of an oven is almost always hotter.
Kale chips finish crisping during the last few minutes of cooling. Pull them out, let them sit on the pan for 3 to 5 minutes, and then taste one. They should snap, not bend.
A light pinch goes a long way once the chips have shrunk down. You can always add more.
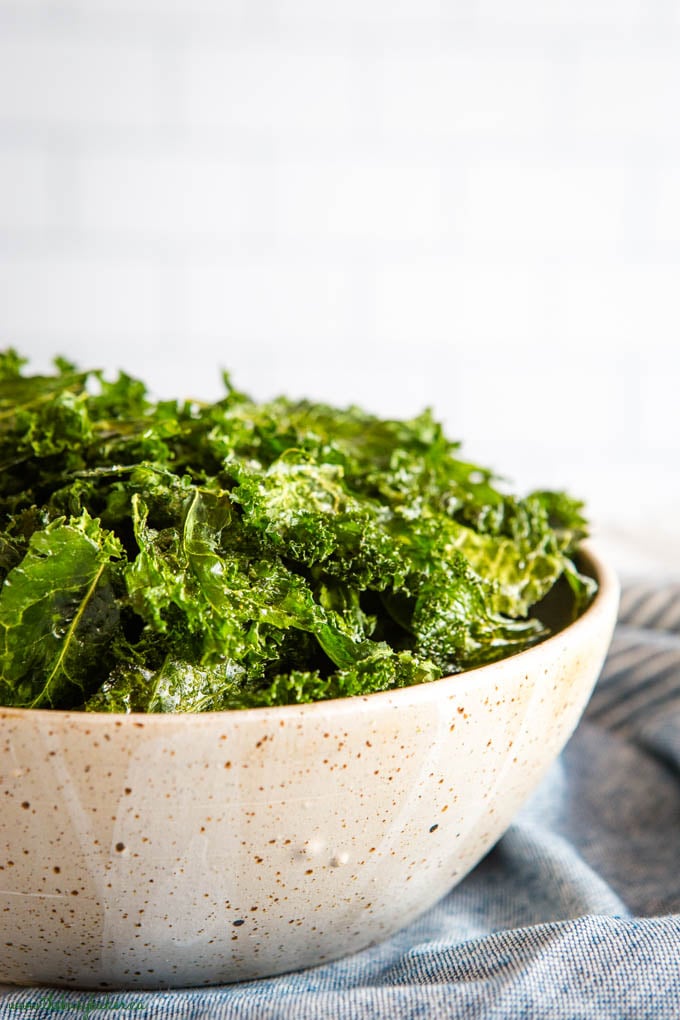
Oven or Air Fryer? It’s your choice! Here are the directions for both methods.
- Preheat the oven to 300°F. Pull out two large baking sheets so you don’t have to crowd the kale.
- Wash and dry the kale. Rinse the leaves and dry them thoroughly. The drier the better.
- Tear the kale. Pull the leaves off the tough centre stems and tear them into chip-sized pieces.
- Arrange on baking sheets. Spread the pieces in a single layer with space around each one.
- Add the oil. Drizzle the olive oil evenly over the kale and gently massage it into every fold and crevice with your hands. Add the oil a little at a time if you need to.
- Season. Sprinkle the sea salt and garlic powder over the kale.
- Bake. Bake for 10 minutes, then rotate the pan and flip any pieces that are crisping faster. Bake for another 10 to 15 minutes, watching closely in the last 5 to prevent burning.
Cool. Let the chips sit on the pan for 3 to 5 minutes to finish crisping, then serve.
The air fryer method is faster and gives you really crispy results, and a few readers have told me they prefer it to the oven method. Here’s how to do it:
- Preheat the air fryer to 300°F (some air fryers don’t need preheating, check your manual).
- Prep the kale the same way as the oven version: wash, dry thoroughly, tear, drizzle with oil, massage, and season.
- Air fry in batches. Add a single, loose layer of kale to the basket. Don’t crowd it.
- Cook for 4 to 5 minutes, shaking the basket once at the halfway mark, until the kale is crisp.
- Repeat with remaining kale.
- Let the chips cool briefly on a plate or rack to finish crisping, then serve.
Note: every air fryer runs a little differently. Start with 4 minutes and add more time in 1-minute increments if needed. The kale should be dry and crisp, not browned.
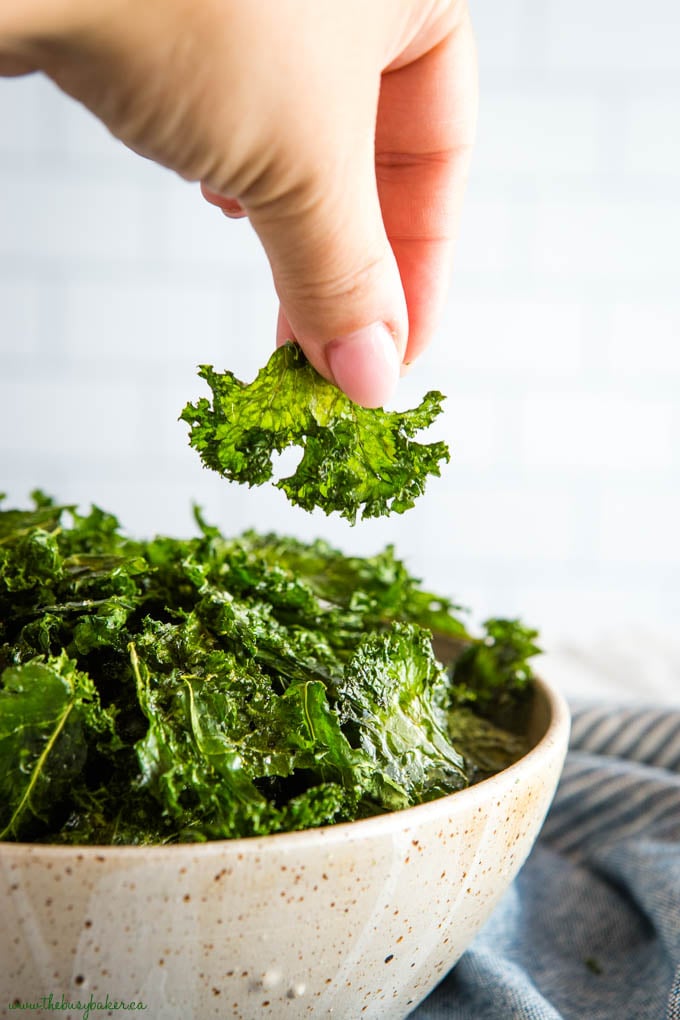
Take these kale chips to the next level with one of these delicious variations!
- Parmesan kale chips. Sprinkle 2 tablespoons of finely grated parmesan over the kale along with the salt and garlic. The cheese crisps up into salty little flecks.
- Nutritional yeast (cheesy vegan). Sprinkle 1 tablespoon of nutritional yeast over the kale before baking for a cheesy, savoury flavour that’s still vegan.
- Spicy kale chips. Add 1/4 teaspoon of cayenne or smoked paprika to the seasoning for a kick.
- Lemon-pepper kale chips. Skip the garlic and use lemon-pepper seasoning instead for a brighter, peppery version.
- Everything bagel kale chips. Swap the garlic powder for 1 to 2 teaspoons of everything bagel seasoning. This one is SO good!
- Ranch kale chips. Use 1 teaspoon of dry ranch seasoning in place of the garlic powder.
- Try different kale. Curly kale gives you the most classic chip shape. Dinosaur kale crisps differently – flatter and a little more delicate – but it’s just as tasty!
Kale chips are great on their own as a snack, but they also work as a side or a topping. Pile them next to a sandwich, scatter them over a bowl of soup or a creamy hummus, or set them out as part of a snack board with cheese and dips. They also disappear fast at parties!
For a kid-friendly snack spread, I like to set them out alongside fresh fruit, cheese cubes, pretzels or crackers and a smoothie.
Kale chips are best the day you make them. They lose their crisp pretty quickly because they pull moisture from the air. If you want to store them, the trick is to use a breathable container, not an airtight one.
Store them in a paper bag (lunch bag style) or a loosely covered bowl on the counter for up to 2 days. If they soften, you can re-crisp them in a 300°F oven for 3 to 5 minutes, or in the air fryer at 300°F for 1 to 2 minutes.
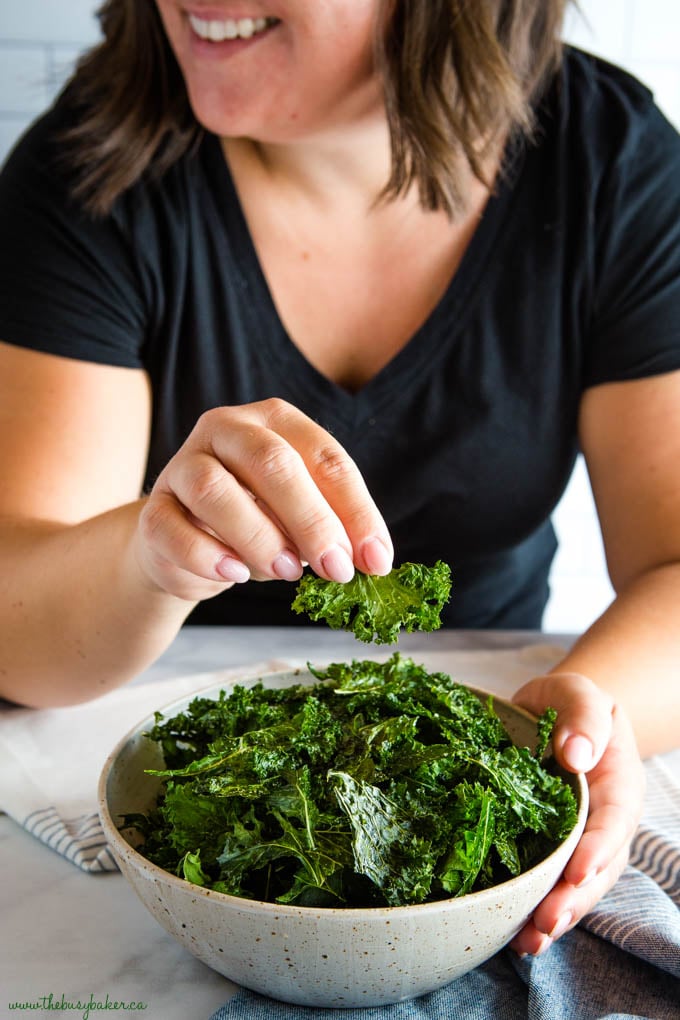
Why are my kale chips soggy?
The most common reason is too much moisture. If the kale wasn’t completely dry before you added the oil, the water turned to steam in the oven and softened the leaves. The second most common reason is too much oil. A heavy hand with the olive oil keeps the chips from crisping up in the oven or air fryer.
Why are my kale chips burnt or bitter?
Either the oven was too hot, or you baked them too long. 300°F is the right temperature, and you want to pull them out the moment they look dry and crisp, before any browning starts.
What kind of kale works best?
Curly kale is the classic and gives you the most chip-like shape and crunch. Lacinato kale (also called dinosaur or Tuscan kale) works too. The chips will be flatter and a little bit more delicate. I don’t recommend baby kale because it’s too thin.
How much salt do I actually use?
For one medium bunch of kale, about 1/4 teaspoon of fine sea salt is right. Start with a little less, taste a finished chip, and add more if needed. Salt is much easier to add at the end than to take back.
Can I make kale chips ahead of time?
You can, but they’re best the same day you make them. Store them in a paper bag for up to 2 days and re-crisp them in a 300°F oven for 3 to 5 minutes if they soften.
Are kale chips actually healthy?
Yes. Kale is one of the most nutrient-dense leafy greens, and this recipe uses just a small amount of olive oil, sea salt, and garlic powder. One serving has about 25 calories. Compared to a bag of potato chips, kale chips are the clear winner!
Can I use a different oil?
Yes. Avocado oil works beautifully and has a slightly milder flavour. I don’t recommend coconut oil or butter as the chips won’t crisp up the same way.
Can kids eat these?
Absolutely. These are one of the better veggie snacks I know for getting kids to eat their greens. Older babies and toddlers (over 12 months) can have them as a soft snack, just go light on the salt for the kids under two years old.
Are kale chips gluten-free? Vegan?
Yes to both! Just check that your sea salt and garlic powder don’t have any anti-caking agents with gluten you want to avoid.
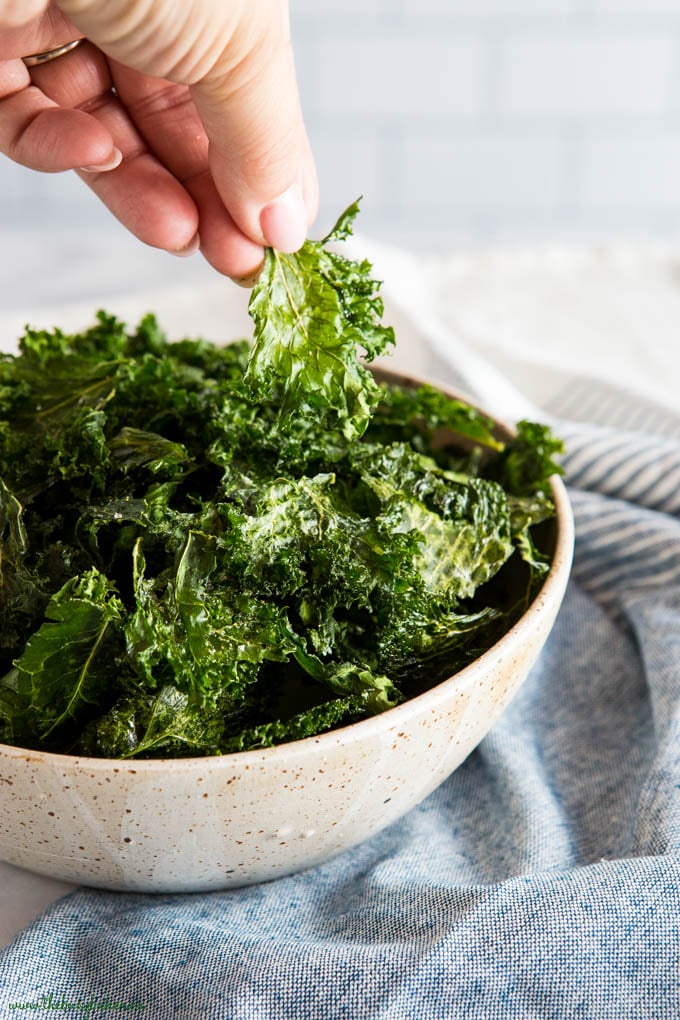

More Healthy Snack Recipes You’ll LOVE
- Homemade Apple Chips
- Sweet & Salty Kettle Popcorn
- Oven Roasted Pizza Popcorn
- Garlic Parmesan White Bean Hummus
- Dark Chocolate Peanut Butter Energy Bites
- Berry Banana Oat Smoothie
- Healthy Toddler-Friendly Mini Muffins
- 6 Healthy Travel Snacks for Kids
- Healthy Homemade Frappuccino
Watch the video below to see exactly how I make this salty snack. You can find more delicious recipe videos on my YouTube channel
If you made this, share a photo!
Are you trying this recipe? Use the comment form below to share your take; now with support for image uploads and comment voting!
Crispy Sea Salt and Garlic Kale Chips (Oven or Air Fryer)
Recipe: Ingredients
- 1 medium-sized bunch of kale washed and dried very well
- 2 tsp olive oil
- 1/4 teaspoon salt
- 1/4 teaspoon garlic powder
Recipe: Instructions
- Preheat your oven to 300 degrees Fahrenheit.
- Wash and dry one bunch of kale, making sure the leaves are completely dry. If there’s any moisture left on the leaves you’ll end up with soggy kale chips.
- Rip the leaves off the stems and away from the chewy veins of the kale and into chip-sized pieces.
- Arrange the pieces of kale on an unlined baking sheet.
- Drizzle the olive oil as evenly over the kale as possible. Using your hands, gently massage the oil into the kale leaves, making sure to massage the oil well into all the folds and onto the entire surface of each of the kale leaves. At first it may not seem that 2 teaspoons of oil will be enough but adding more oil will only add too much moisture. If you find you need a tiny bit more oil, add it one drop at a time.
- Once you’ve finished massaging the kale, sprinkle a pinch or two of sea salt and a pinch of garlic powder over the kale and add the pan to your preheated oven.
- Bake for 10 minutes. Rotate the pan, flipping any pieces that are starting to look crispy and bake for another 10-15 minutes, watching the pan closely for the last 7-8 minutes to prevent over browning.
- Remove the pan from the oven and leave the kale chips on the pan for 3-5 minutes before serving to they can crisp up even more!
Recipe: Notes
Recipe: Nutrition
Notice: Nutrition is auto-calculated, using Spoonacular, for your convenience. Where relevant, we recommend using your own nutrition calculations.
All I can tell you is air fryer. Absolutely heavenly. They crisp up so nice and thin. Taste absolutely fabulous thank you for sharing this.
Nice information
Thanks!
Thanks for the very helpful instructions and tips. Unfortuntely, as an engineer, my head explodes when I try to follow any recipe that uses pinches of spices.
Well, technicality a pinch would be 1/16 of a teaspoon which isn’t really a measurement that we use but more than that, we wanted to express the fact that you can add more or less salt as you prefer because the amount of salt doesn’t influence much in the cooking process of this particular recipe. I personally prefer my kale chips saltier while Chrissie likes hers less salty.