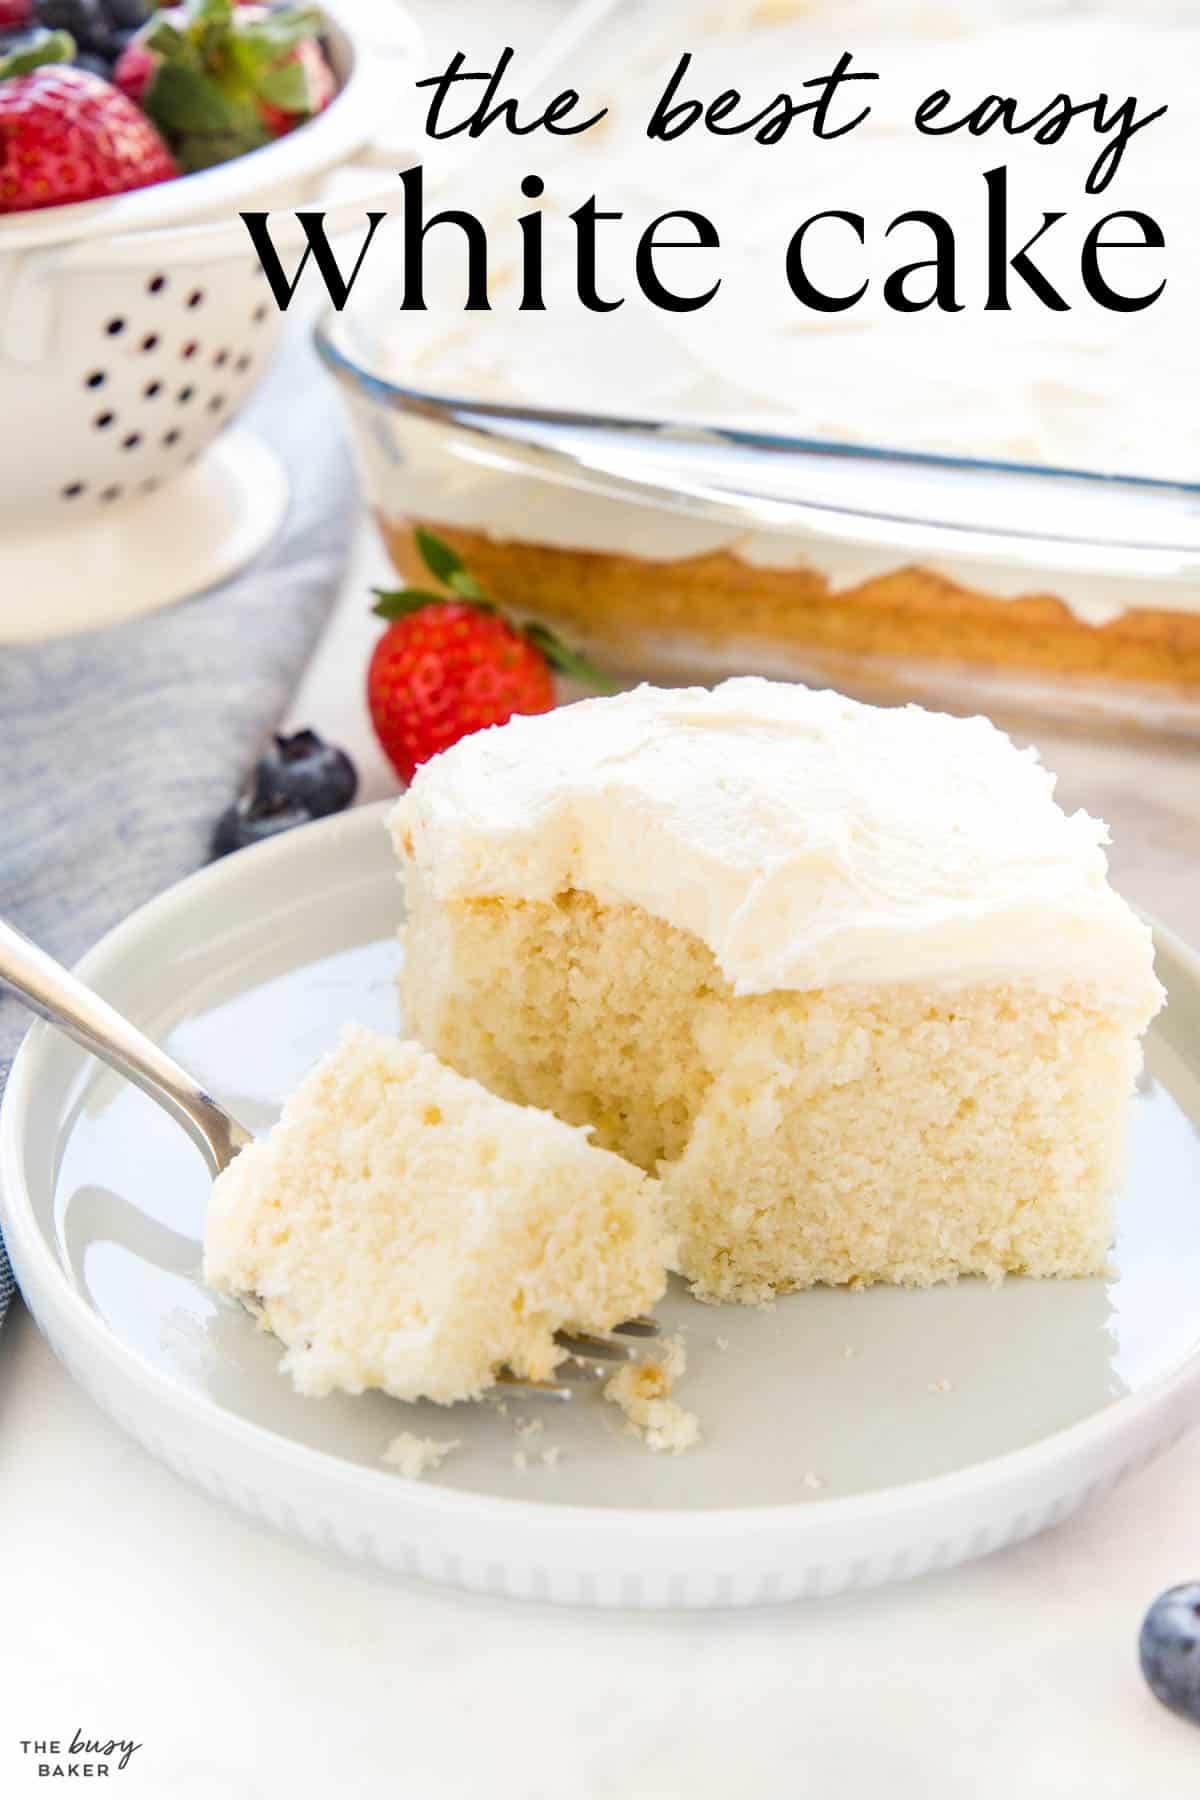
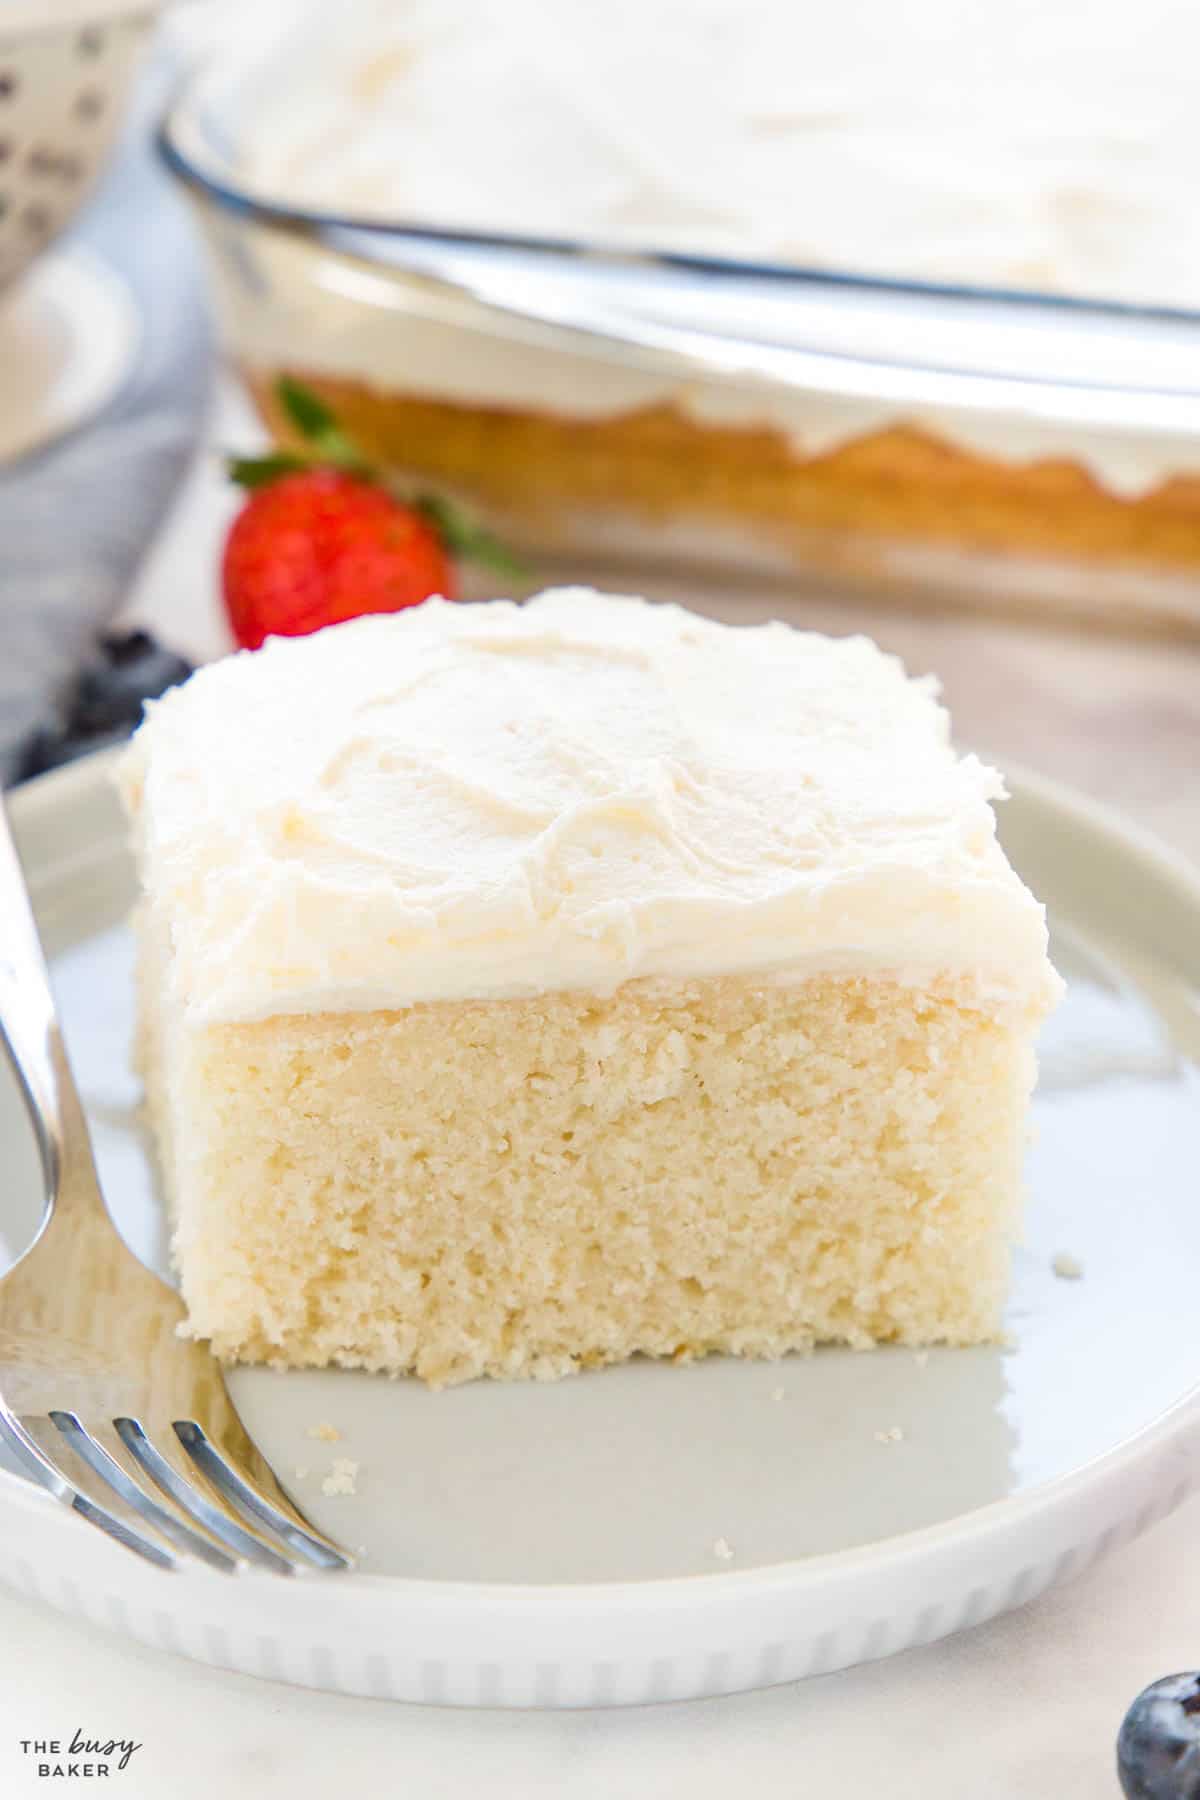
This easy White Cake recipe is the perfect white cake that’s moist and tender and simple to make with an easy fluffy frosting. Learn how to make the best white cake recipe with a secret ingredient and our pro tips and tricks!
Estimated reading time: 1 minute
When it comes to filling out your baking repertoire, a good white cake recipe is an absolute MUST. Whether you’re making a birthday cake, a wedding cake, or just a cake to serve with some fresh berries when company’s coming, this white cake recipe is a great choice. It’s an ultra moist and tender cake that’s truly white, not yellow, and its mildly sweet flavour is absolute perfection.
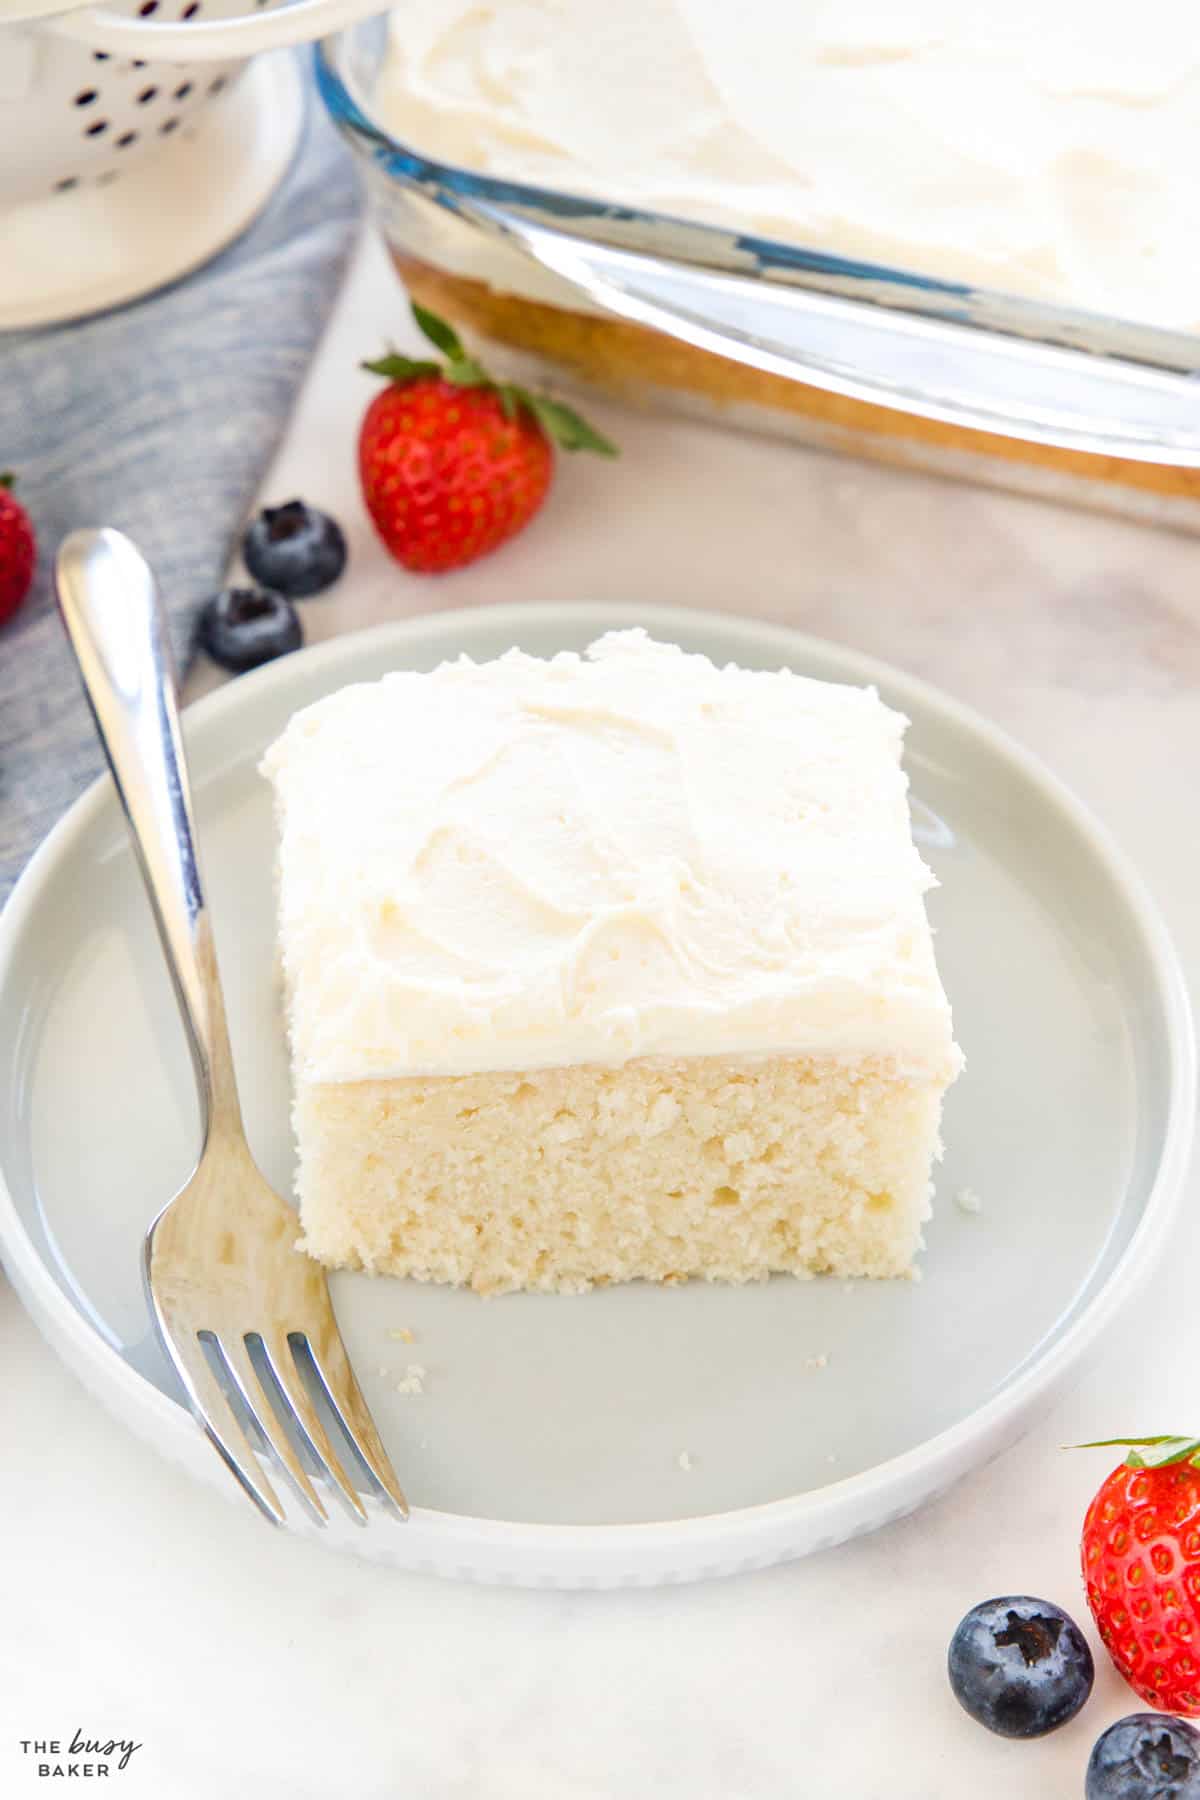
The differences between vanilla cake and white cake are primarily in the ingredients used and the resulting colour and texture of the cakes after they’re baked. Here’s a breakdown of the differences:
Vanilla cake recipes typically call for whole eggs, which give the cake a richer flavour and a slightly denser texture. The addition of whole eggs gives the batter a light yellow hue.
Vanilla cake has a prominent vanilla flavour because it usually contains a large amount of vanilla extract, vanilla bean paste or whole vanilla bean seeds.
White cake recipes usually call for only egg whites (no yolks) to maintain a pure white colour and to give the cake a softer texture. Shortening is often preferred over butter for white cakes because of its neutral flavour and white colour.
The flavour of white cake is more delicate and subtle than vanilla cake. While vanilla is still a common flavouring added to white cakes, white cake recipes usually call for less vanilla than vanilla cakes as it’s used as a flavour-enhancer instead of the flavour of the cake itself.
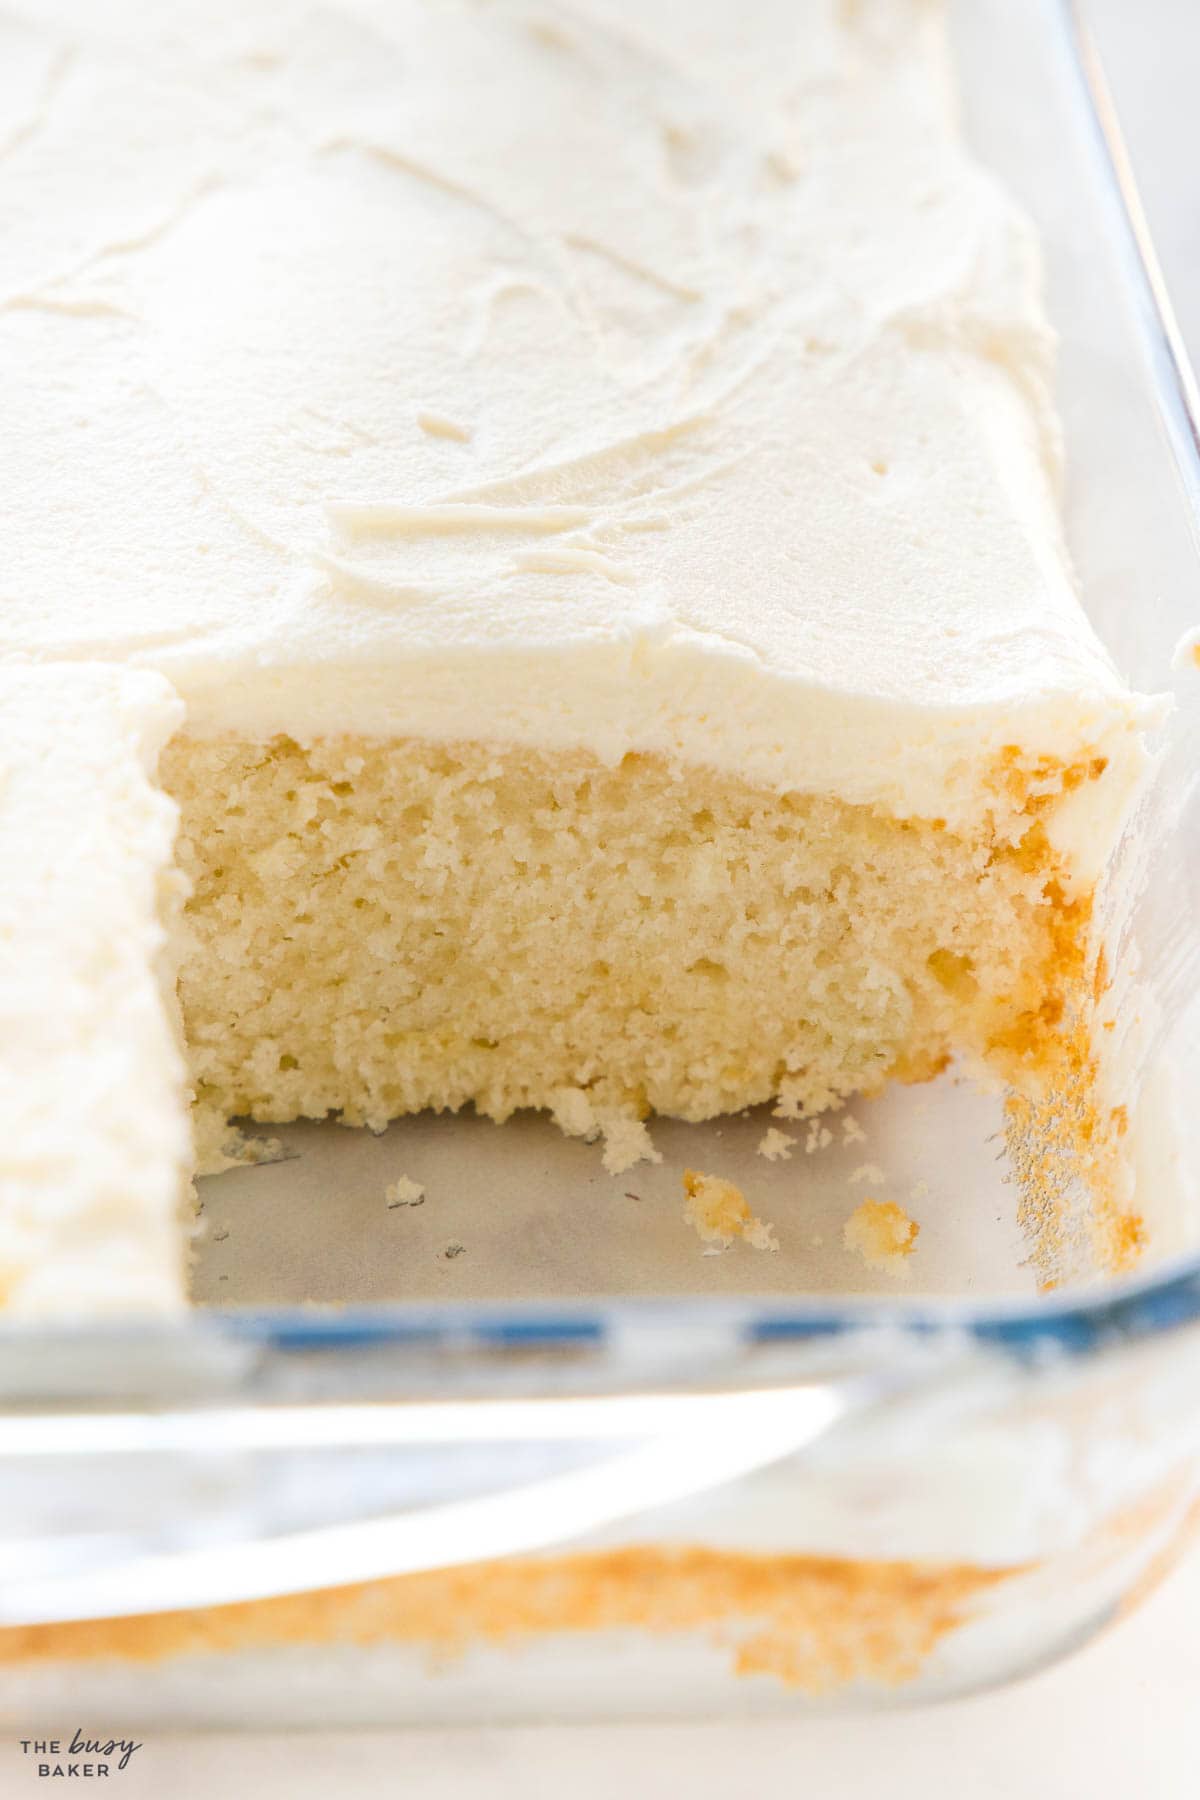
Baking is science and while it’s not totally necessary for every home baker to know everything about the science of baking to make delicious baked goods, it’s certainly helpful to know how methods and ingredients work together to create a desirable end product.
When it comes to making white cake, there are two baking science secrets we believe make the biggest difference: first, using shortening instead of butter in the cake batter, and second, using the reverse creaming method to make the cake batter instead of the traditional creaming method. Here’s why!
Here’s why we recommend making white cake with shortening instead of butter:
Butter: Butter gives a rich, unmistakable flavour to baked goods because it’s made from cream. When used in white cake recipes, it adds its own flavour that is hard to replicate with any other fat.
Shortening: Shortening, on the other hand, is a neutral-flavoured fat made from vegetable oils. Its lack of distinct taste means it doesn’t add any additional flavours to the cake. This is perfect for when you want to create a white cake with a pure sweetness and allow other flavours (such as vanilla or almond extract) to shine through.
Butter: Butter’s melting point is lower than that of shortening, which means it begins to melt and release steam at a lower temperature during baking. This steam helps to leaven the cake, contributing to its rise. However, because butter is also capable of absorbing some liquid from the batter, it can result in a slightly denser crumb compared to shortening-based cakes.
Shortening: Shortening has a higher melting point than butter, which allows it to maintain its structure longer during the baking process. This is especially helpful when making a cake with the reverse creaming method, where the fat is cut into the dry ingredients before the addition of wet ingredients. Cakes made with shortening tend to have a higher rise and a more uniform, tender crumb structure that results in a lighter and velvety texture that’s perfect for a classic white cake.
Butter: Butter contains approximately 80-82% fat and 16-18% water. The water content in butter can interact with flour to form gluten which makes a cake more chewy and less soft.
Shortening: Shortening is 100% fat, containing no water. This absence of water means that shortening-based cakes mean less gluten formation, contributing to a more tender crumb.
Butter: Butter can give a slight yellow tint to cakes, which makes a classic white cake a little more yellow in colour.
Shortening: Shortening is naturally white, which helps to give the bright, clean white colour of a white cake, making it a preferred choice for bakers who want to bake a cake that’s truly white.
The reverse creaming method is where shortening or butter is cut into the dry ingredients (usually flour, sugar, salt and baking powder) to form a sand-like crumbly texture. The wet ingredients are then added to that mixture and everything is combined into a smooth batter.
The traditional creaming method is where butter and sugar are creamed together until light and fluffy, and then the other ingredients are added afterward. Creaming the butter and sugar aerates the butter and traps air into the mixture, helping the cake rise slightly and creating a coarser crumb. Cakes made with the traditional creaming method can sometimes be slightly more stable.
Here’s the science behind it: The reverse creaming method causes the flour particles to become coated with the fat in the shortening or butter. This inhibits gluten formation when the wet ingredients are added, and this gives the cake a more tender texture and a finer crumb.
Less air is incorporated into the batter with the reverse creaming method so the cake will be a little bit more dense with a smoother and more even crumb structure.
Cakes made with the reverse creaming method are often more moist because of their tighter crumb structure, and they appear softer with a velvety texture – perfect for a delicate white cake!
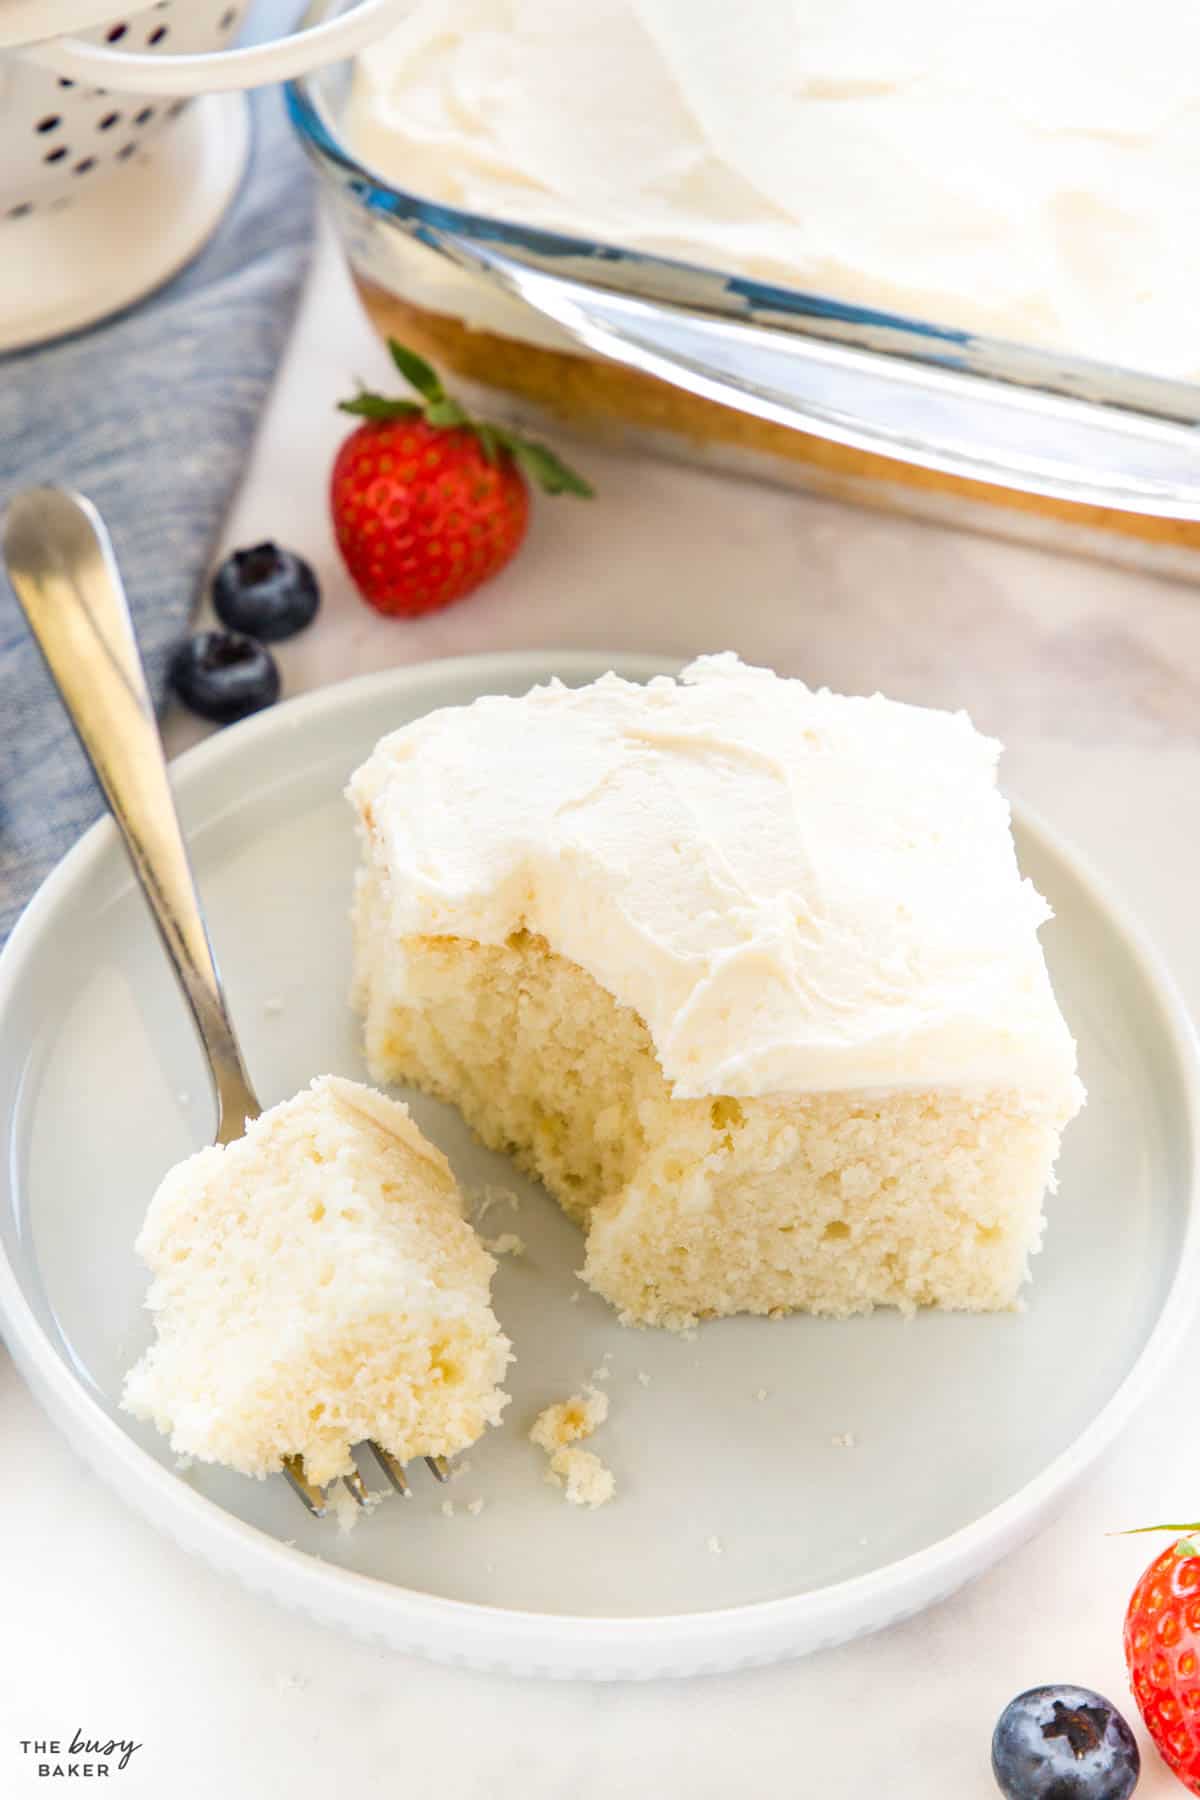
Make sure your milk and eggs are at room temperature. This will create a smooth cake batter and help the ingredients combine properly.
The best way to measure flour is in grams, but if you’re using cup measurements, be sure to fluff the flour in its bag or container before scooping VERY gently (don’t pack the flour into the measuring cup at all), then level it off with the back of a knife or other flat object.
Shortening helps a white cake keep its white colour and gives the cake a much more tender texture. We always recommend using shortening when making a truly white cake.
Cutting the shortening into the dry ingredients before mixing in the wet ingredients creates a more tender cake that’s moist and velvety.
Do not over-mix, especially after adding the wet ingredients. Over-mixing can create a dry, tough cake.
This can create something called tunneling where long, thin air bubbles appear in the baked cake. This is caused by vigorous mixing that strengthens the gluten strands in the cake batter too much. Instead, mix on low to medium speed just until the ingredients combine.
Always grease your cake pan generously with butter or baking spray and dust the inside with flour (use flour if you’re making a white cake and cocoa powder for a chocolate one). This will prevent the cake from sticking to the pan. We suggest using spring-form pans for baking round cakes for even easier removal. (This recipe will make two 8-inch round cakes.)
Don’t let an unbaked cake sit out on the counter. Always preheat your oven first and bake the cake immediately after adding the batter to the pans. This will help the cake rise properly in the oven as the leavening agent in the cake batter is activated as soon as the wet and dry ingredients are combined.
Don’t place the pan too close to one side of the oven as this can cause it to brown unevenly. Add the pan to the centre of the oven so it bakes evenly.
Avoid opening the oven during baking unless it’s absolutely necessary to rotate the cake while baking (if your oven is small or has a hot spot). Opening the oven door at the end of the baking time is okay, especially because testing the cake with a toothpick is necessary to prevent over-baking.
Over-baked cakes are dry and crumbly. Be sure to remove them from the oven as soon as a toothpick inserted into the top of the cake comes out clean.
Under-baked cakes are partly baked but gummy on top and in the centre. Test the cake with a toothpick to be sure the cake is baked completely.
Don’t try to frost a cake that’s still warm, especially if you’re using a butter-based frosting as the butter will melt and you’ll be left with a mess. Wait for the cakes to cool completely, then frost.
Here are some common problems you might encounter while baking cakes and how to prevent them:
- Make sure to measure ingredients accurately, especially the leavening agents like baking powder.
- Do not over-mix the batter as this can result in excess air being incorporated into the batter, leading to uneven baking and sinking in the centre of the cakes.
- Ensure the oven is preheated to the correct temperature before placing the cake inside.
- Avoid opening the oven door during baking as this can cause major changes in oven temperature and result in an uneven rise.
- Measure the flour properly by spooning it into the measuring cup and levelling it off, rather than scooping it directly from the bag (using the fluff and scoop method also works well).
- Do not over-mix the batter as this can over-develop gluten in the batter and lead to a tougher texture. Mix until the ingredients are just combined and the flour disappears.
- Check the baking time and temperature. Over-baking can cause the cake to dry out. Use a toothpick to check for doneness.
- An oven temperature that’s too high can cause the cake to rise too quickly and crack on the surface. Double-check that your oven temperature is correct by using an oven thermometer.
- Avoid opening the oven door during the first half of baking. This can cause sudden temperature changes that contribute to cracking on the top of the cake.
- Properly grease and flour the cake pans (dust with cocoa powder instead of flour for a chocolate cake). You can also use parchment paper to line the bottoms of the pans to prevent sticking.
- Allow the cake to cool in the pan for 10, 15 or even 20 minutes before inverting it onto a wire rack. Cooling the layers in the pan for several minutes helps the cake release more easily.
- Check the freshness of your baking powder or baking soda. They lose potency over time and can cause cakes to sink. Replace them if necessary.
- Ensure the oven temperature is accurate. Use an oven thermometer to check the temperature.
- Avoid over-mixing the batter, as this can deflate the air incorporated during the creaming process. Mix until just combined.
- Be sure the cakes are fully baked before removing them from the oven. If they’re not fully baked in the centre, they’ll sink in the middle after you remove them from the oven.
- Be sure the texture of your frosting is soft enough that it will easily glide over the surface of the cake without difficulty.
- It’s a good idea to refrigerate the cake layers before frosting to make frosting the cake easier (the layers will be firmer after refrigerating).
- Refrigerate the cake after frosting for about 30 minutes if the cake and frosting seem too soft. This will help both the cake and frosting firm up so it’s easier to slice.
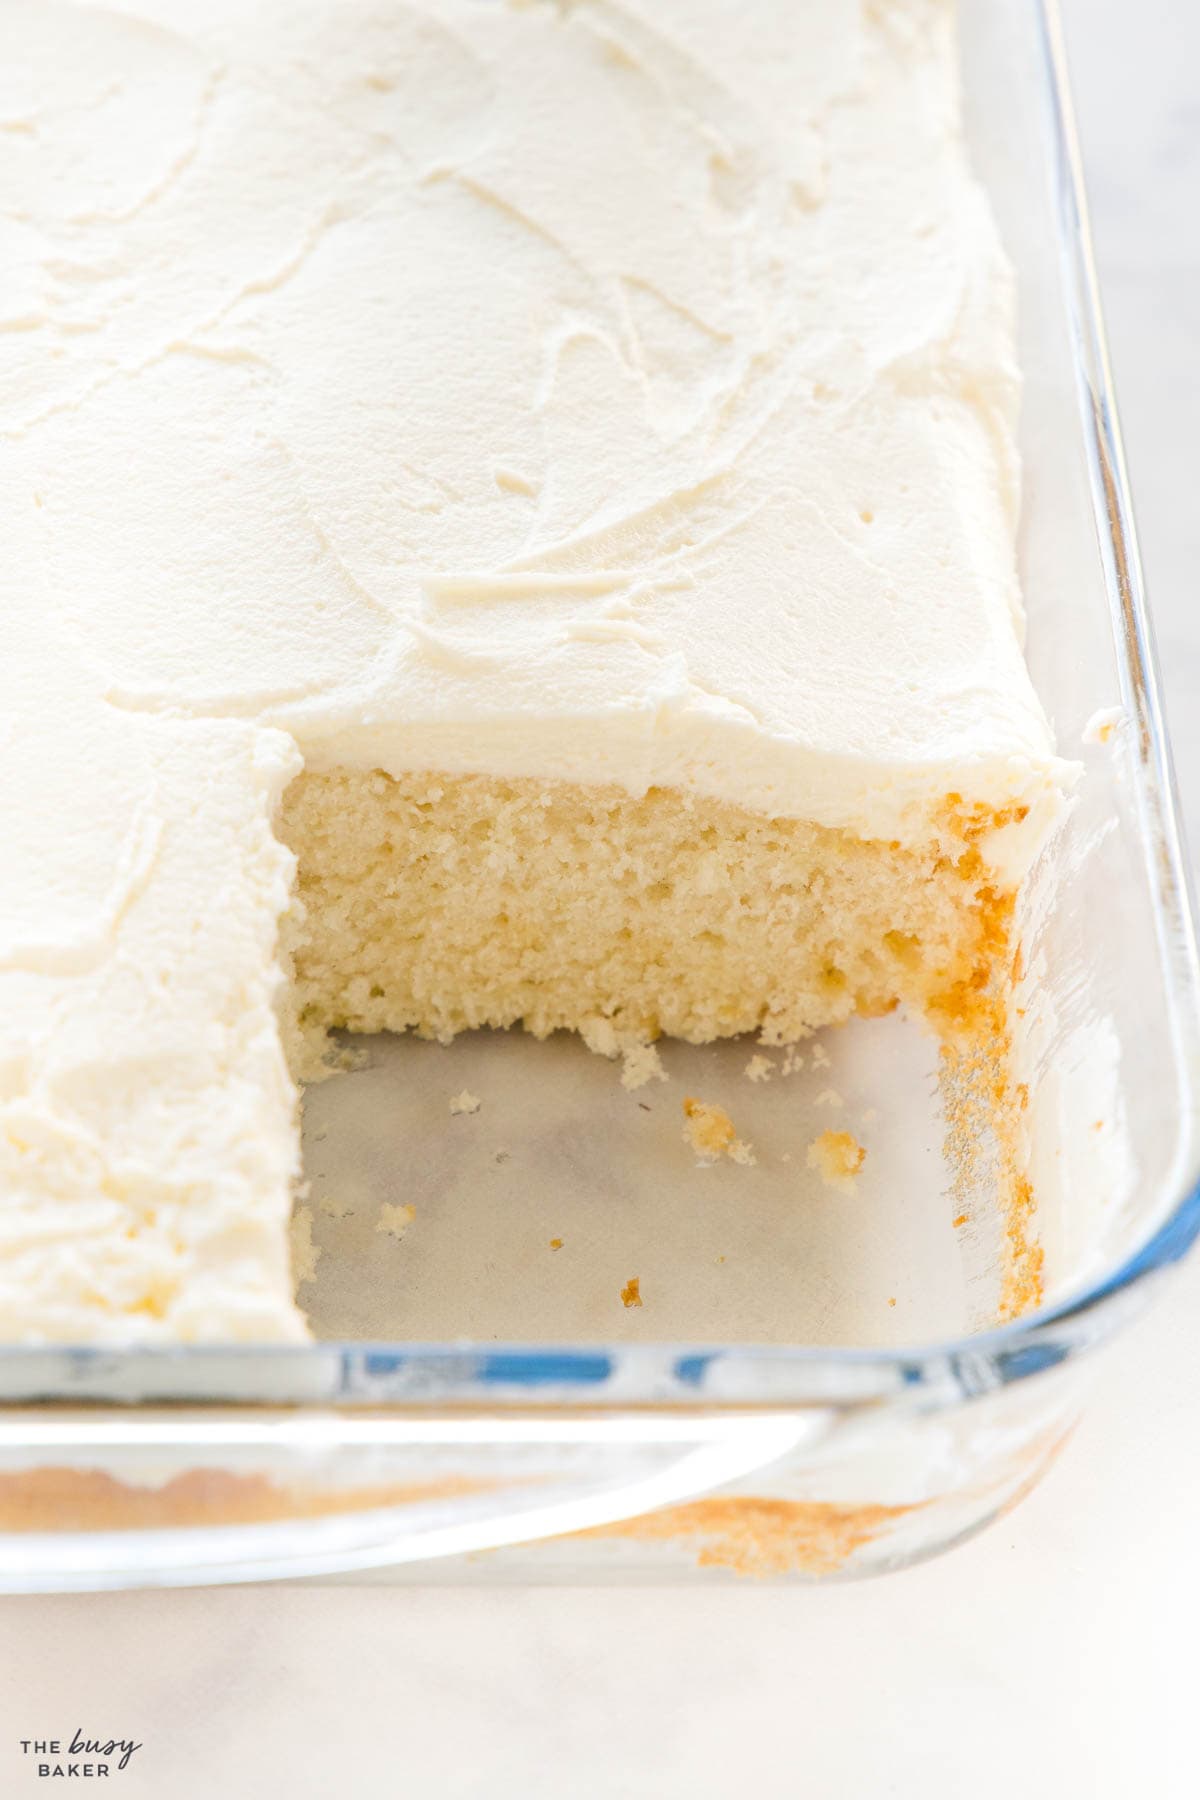
Here’s a list of the kitchen equipment you’ll need to have on hand to make this delicious white cake recipe (paid links):
- mixing bowls
- measuring cups and spoons
- liquid measuring cups
- Silicone Spatula
- Whisk
- Hand Mixer
- Offset Spatula
- 9-inch by 13-inch (or equivalent) baking dish
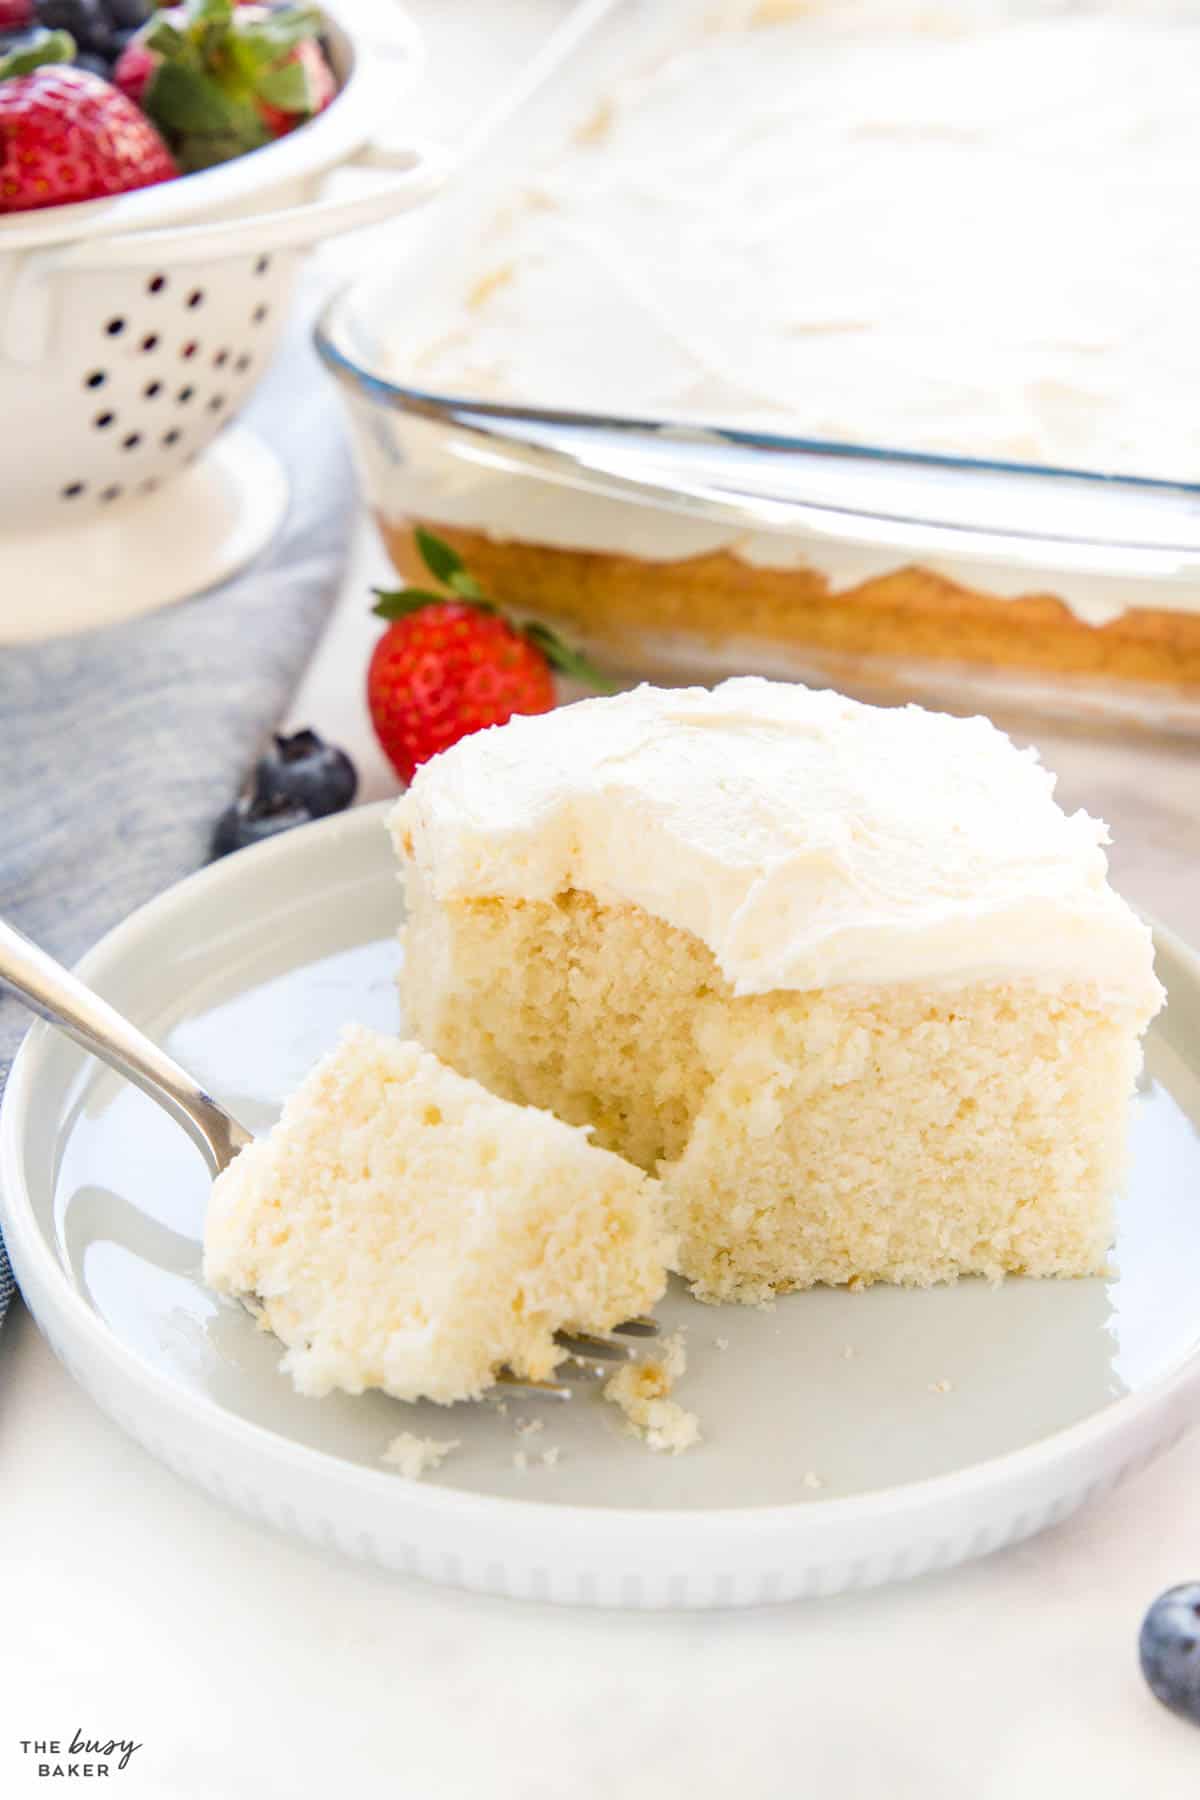
Here’s a list of the ingredients you’ll need to make this easy white cake recipe (paid links):
FOR THE CAKE
- 2 cups all purpose flour
- 1 1/4 cups granulated sugar
- 3 teaspoons baking powder
- 1/2 teaspoon salt
- 1/2 cup shortening
- 1 cup milk
- 1 teaspoon vanilla extract
- 4 egg whites
FOR THE FROSTING
- 1 cup unsalted butter at room temperature
- 3 cups powdered sugar
- 1 teaspoon vanilla extract
- 1/4 to 1/2 teaspoon salt
- 2 tablespooon heavy cream
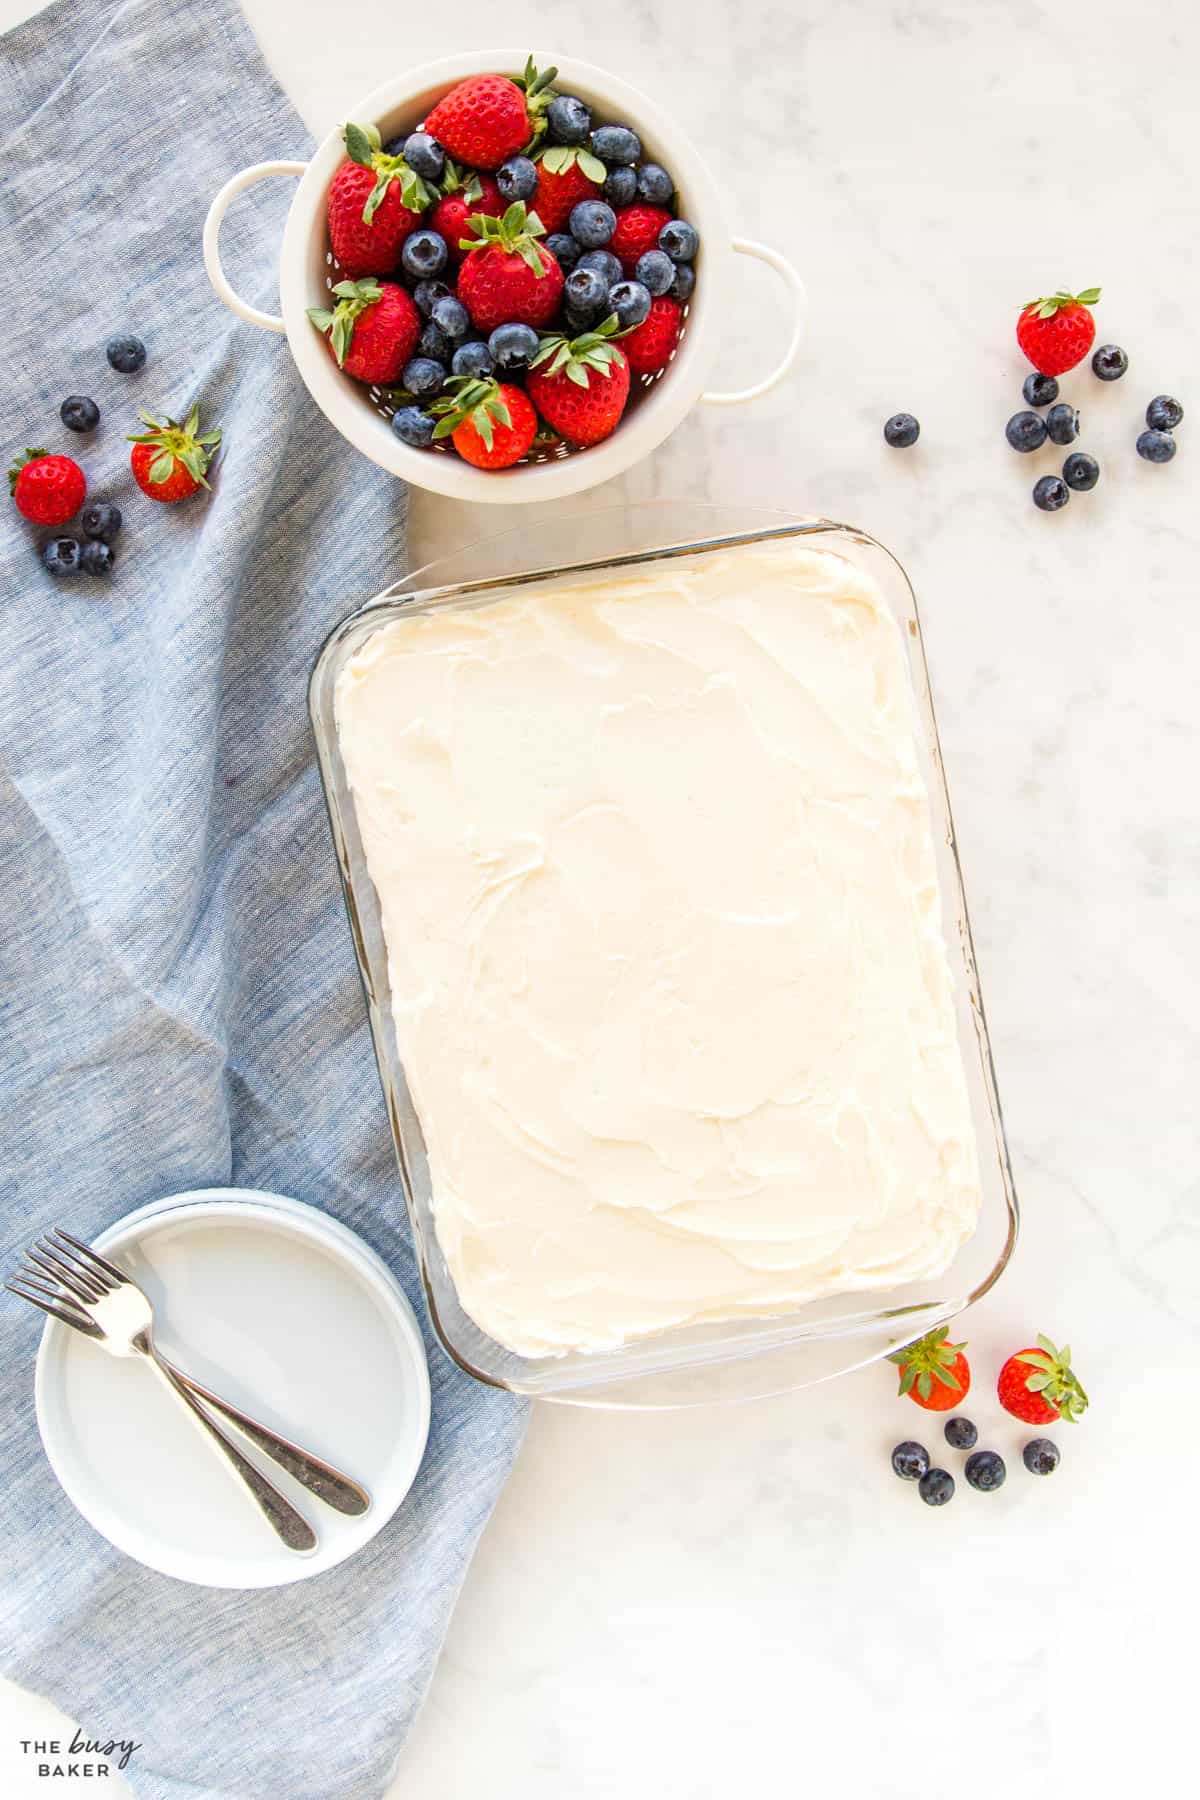
Time needed: 1 hour and 40 minutes
Here’s how to make this easy white cake!
- Preheat your oven.
Preheat your oven to 325 degrees Fahrenheit and prepare a rectangular cake pan by greasing it with butter or baking spray and lining it with parchment paper. Set it aside.
- Combine the dry ingredients.
Add the flour, sugar, baking powder and salt to a large mixing bowl and whisk together until combined.
- Cut in the shortening.
Add the shortening to the dry ingredients and using your hands or a pastry cutter, crumble the shortening together with the dry ingredients until the shortening disappears and the mixture resembles sand or fine crumbs.
- Add the wet ingredients.
Measure the milk into a liquid measuring cup and add the vanilla and the egg whites to the milk. Whisk them together well with a fork until combined. Add the milk mixture to the dry ingredients.
- Mix well.
Mix together on low speed with a hand mixer just until the mixture is smooth and no lumps remain.
- Bake.
Pour the batter into the prepared baking pan and bake for about 25-30 minutes at 325 degrees Fahrenheit. To see if the cake is done, insert a toothpick into the centre. If it comes out clean, the cake is done.
- Cool the cake.
Place the cake pan on a wire rack to cool completely.
- Prepare the frosting.
Add the butter to a mixing bowl and mix on high speed with a hand mixer until pale in colour (2-3 minutes). Add the powdered sugar, one cup at a time, until well combined. Be sure to scrape down the sides of the bowl. Add the vanilla and salt, and then the heavy cream a little bit at the time, just until the frosting reaches a fluffy, light consistency.
- Frost the cooled cake.
Be sure to frost the cake after the cake has cooled completely. Adding frosting to a hot cake will cause the frosting to melt. Add the frosting on top of the cake and use an offset spatula to push the frosting out to the edges of the cake, smoothing out the top.
- Serve or store.
Slice and serve immediately or store at room temperature until ready to serve
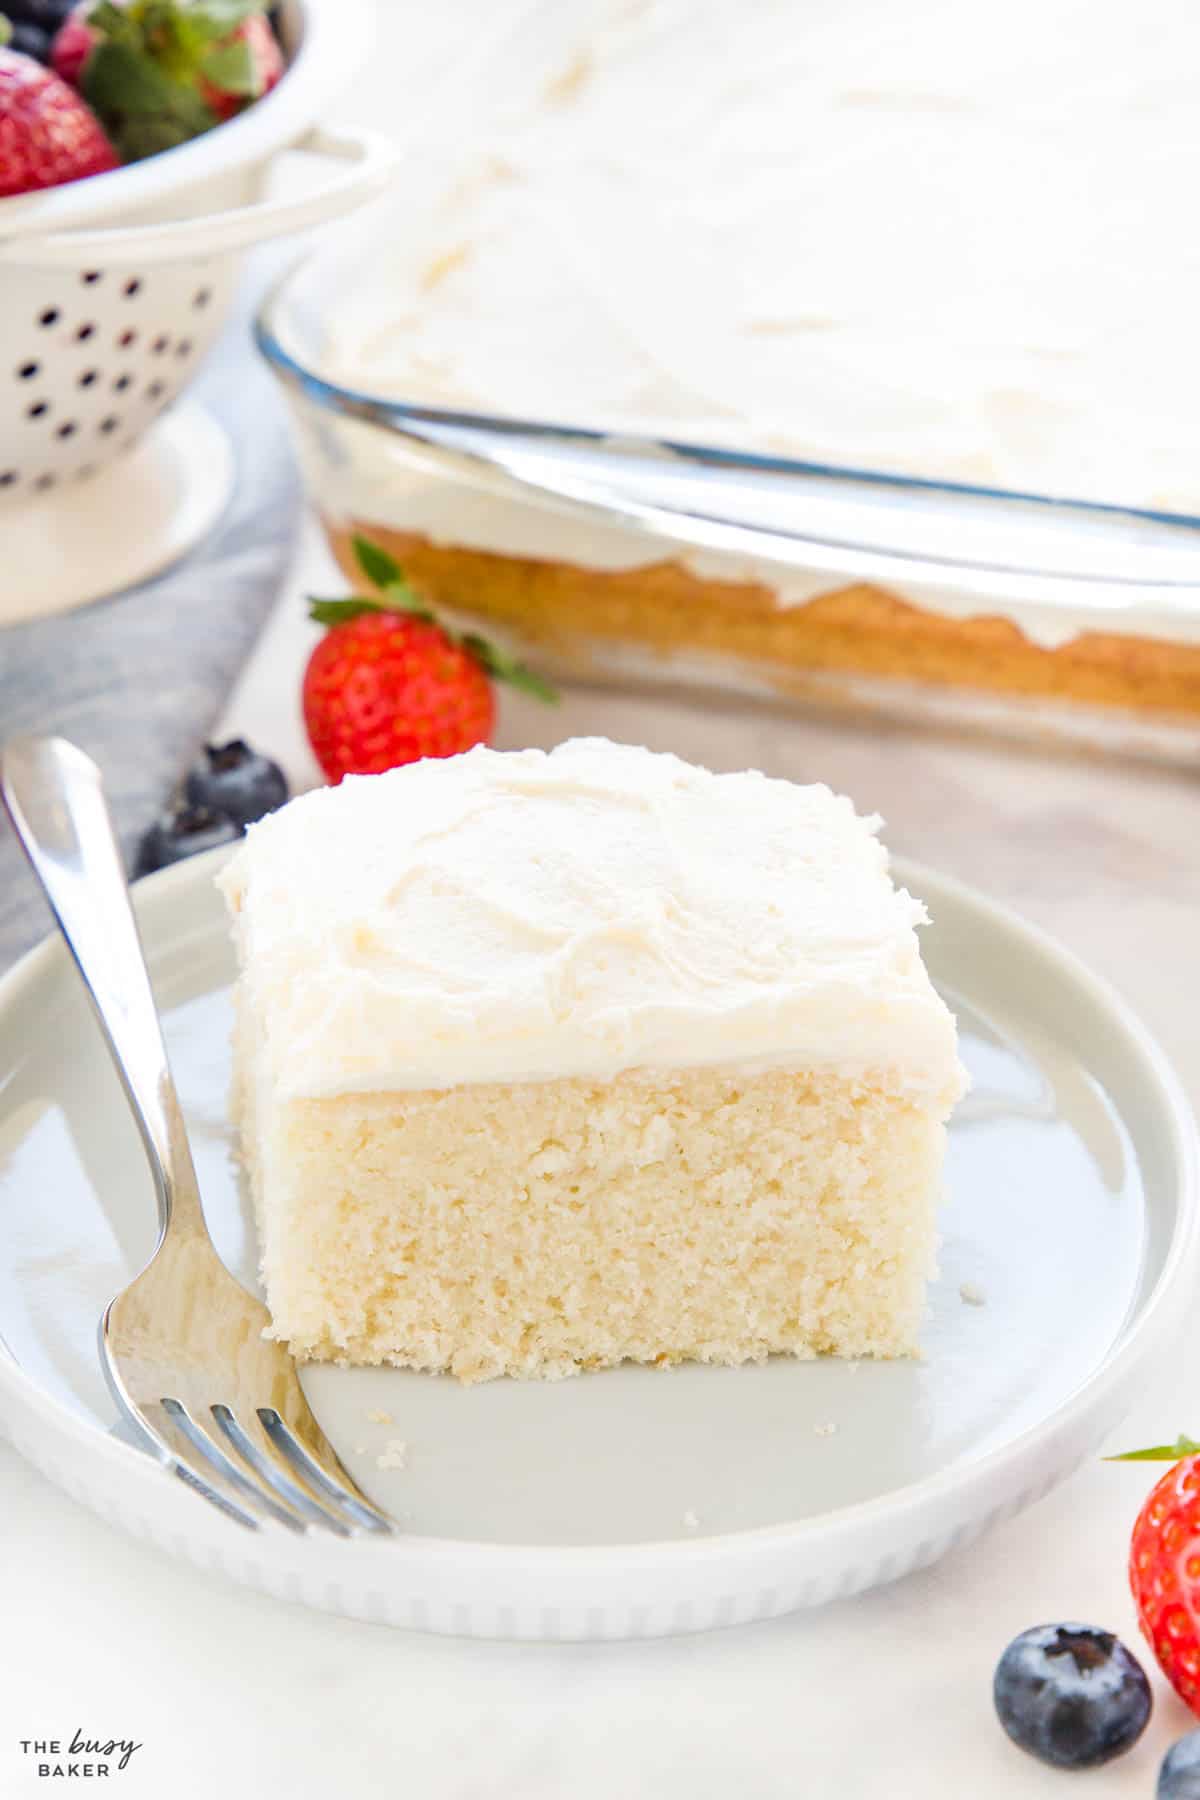
What flavour is white cake?
White cake is usually flavoured with a little bit of vanilla, but it has a less intense vanilla flavour than a typical vanilla cake.
Can I leave out the vanilla extract in cake?
Yes, leaving out the vanilla extract won’t affect the texture of the cake at all, but it will cause the cake to be less flavourful.
Can I substitute the eggs in this recipe?
We don’t recommend substituting the egg whites in a white cake recipe as this will greatly affect the cake’s texture after baking.
Do I really need all my ingredients at room temperature?
Yes, we recommend using room temperature egg whites and room temperature milk as this will help the ingredients combine more smoothly, resulting in a cake with a more uniform texture.
Can I use butter instead of shortening?
Butter can be used instead of shortening in this recipe, although the end result will be a cake that’s more yellow in colour and slightly more dense.
Can I use oil instead of shortening?
No, we don’t recommend using oil instead of shortening because this will drastically change the end result and the cake will be very dense and heavy.
Can I freeze white cake?
Yes, we recommend freezing this cake unfrosted for best results. Freeze it in an airtight container or bag for up to 6 months. Defrost at room temperature until you’re ready to frost and serve.
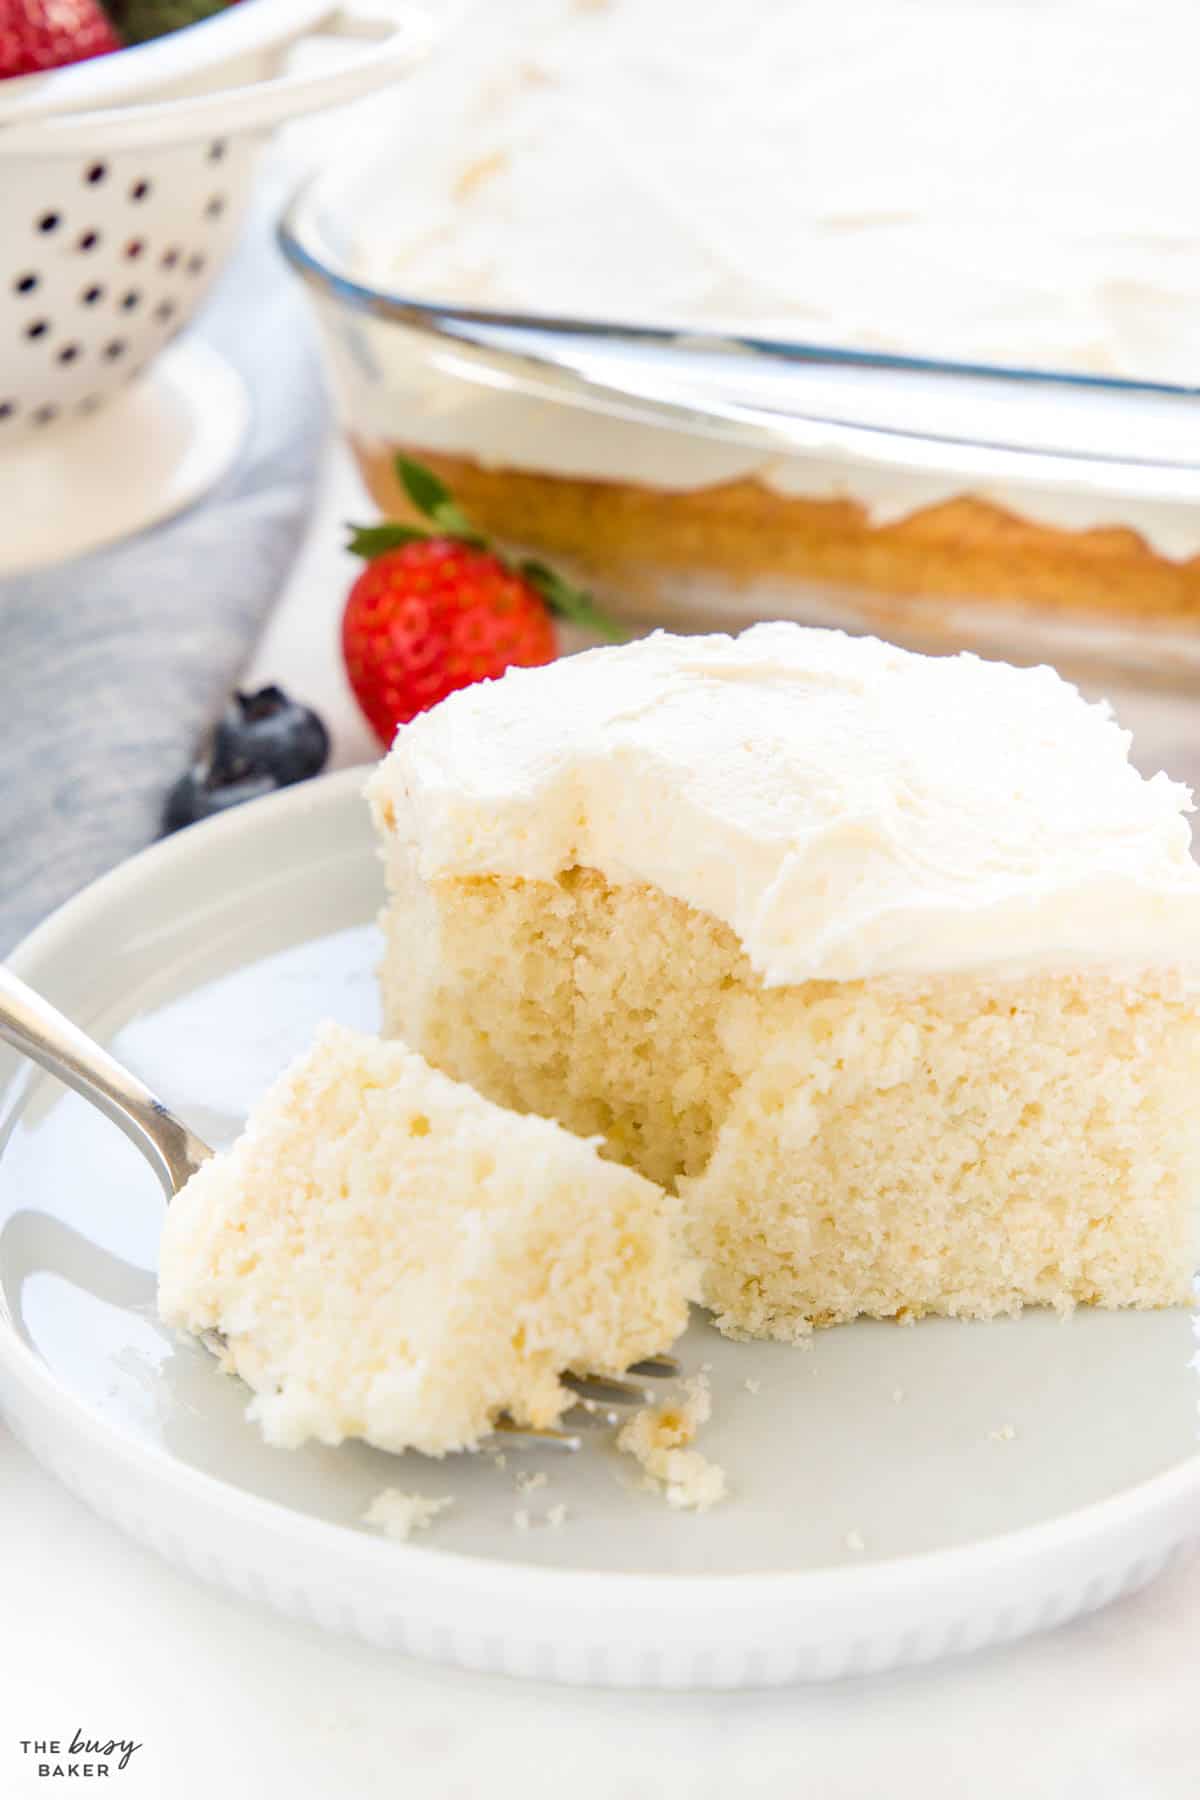
We hope you love this white cake recipe as much as we do! Let us know, what’s your favourite kind of cake? We’d love to know!
- Baileys Chocolate Cake
- Best Red Velvet Cake
- Berry Chantilly Cake
- Chocolate Lava Cake
- Easy Pumpkin Cake
- Zucchini Chocolate Cake
- Chocolate Layer Cake
- Lemon Blueberry Cake
- Lemon Poppy Seed Cake
- Angel Food Cake
Watch the video below to see exactly how we make this recipe. You can find many more deliciously simple recipe videos on our YouTube channel!
If you made this, share a photo!
Are you trying this recipe? Use the comment form below to share your take; now with support for image uploads and comment voting!
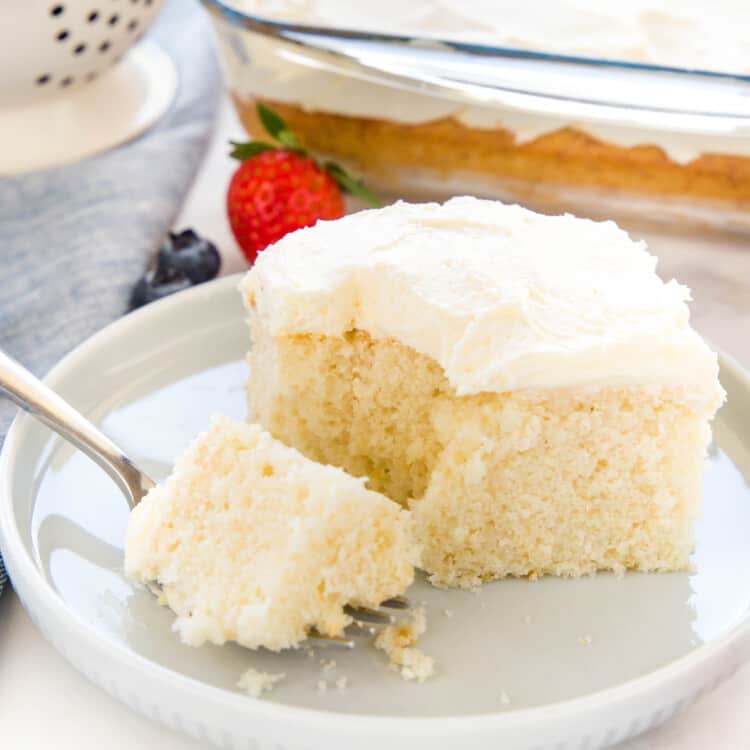
White Cake
Recipe: Equipment
Recipe: Ingredients
For the Cake
- 2 cups all purpose flour
- 1 1/4 cups granulated sugar
- 3 teaspoons baking powder
- 1/2 teaspoons salt
- 1/2 cup shortening
- 1 cup milk
- 1 teaspoon vanilla extract
- 4 egg whites
For the Frosting
- 1 cup unsalted butter at room temperature
- 3 cups powdered sugar
- 1 teaspoon vanilla extract
- 1/4 to 1/2 teaspoon salt
- 2 tablespoon heavy cream
Recipe: Instructions
For the Cake
- Preheat your oven to 325 degrees Fahrenheit and prepare a rectangular cake pan by greasing it with butter or baking spray and lining it with parchment paper. Set it aside.
- Add the flour, sugar, baking powder and salt to a large mixing bowl and whisk together until combined.
- Add the shortening to the dry ingredients and using your hands or a pastry cutter, crumble the shortening together with the dry ingredients until the shortening disappears and the mixture resembles sand or fine crumbs.
- Measure the milk into a liquid measuring cup and add the vanilla and the egg whites to the milk. Whisk them together well with a fork until combined.
- Add the milk mixture to the dry ingredients and mix together on low speed with a hand mixer just until the mixture is smooth and no lumps remain.
- Pour the batter into the prepared baking pan and bake for about 25-30 minutes at 325 degrees Fahrenheit. To see if the cake is done, insert a toothpick into the centre. If it comes out clean, the cake is done.
- Place the cake pan on a wire rack to cool completely.
For the Frosting
- Add the butter to a mixing bowl and mix on high speed with a hand mixer until pale in colour (2-3 minutes).
- Add the powdered sugar, one cup at a time, until well combined. Be sure to scrape down the sides of the bowl.
- Add the vanilla and salt and mix well to combine.
- Add the heavy cream a little bit at the time, just until the frosting reaches a fluffy, light consistency.
- Be sure to frost the cake after the cake has cooled completely. Adding frosting to a hot cake will cause the frosting to melt.
- Add the frosting on top of the cake and use an offset spatula to push the frosting out to the edges of the cake, smoothing out the top.
- Slice and serve immediately or store at room temperature until ready to serve.
Recipe: Notes
Storage Instructions
Store this cake in an airtight container at room temperature for up to 3 days.Freezer Instructions
We recommend freezing this cake unfrosted in an airtight container or large freezer bag. Defrost at room temperature and then frost before serving. It’s possible to freeze the cake once it’s been frosted, although the frosting might change slightly in texture as it freezes and thaws.Recipe: Nutrition
Notice: Nutrition is auto-calculated, using Spoonacular, for your convenience. Where relevant, we recommend using your own nutrition calculations.
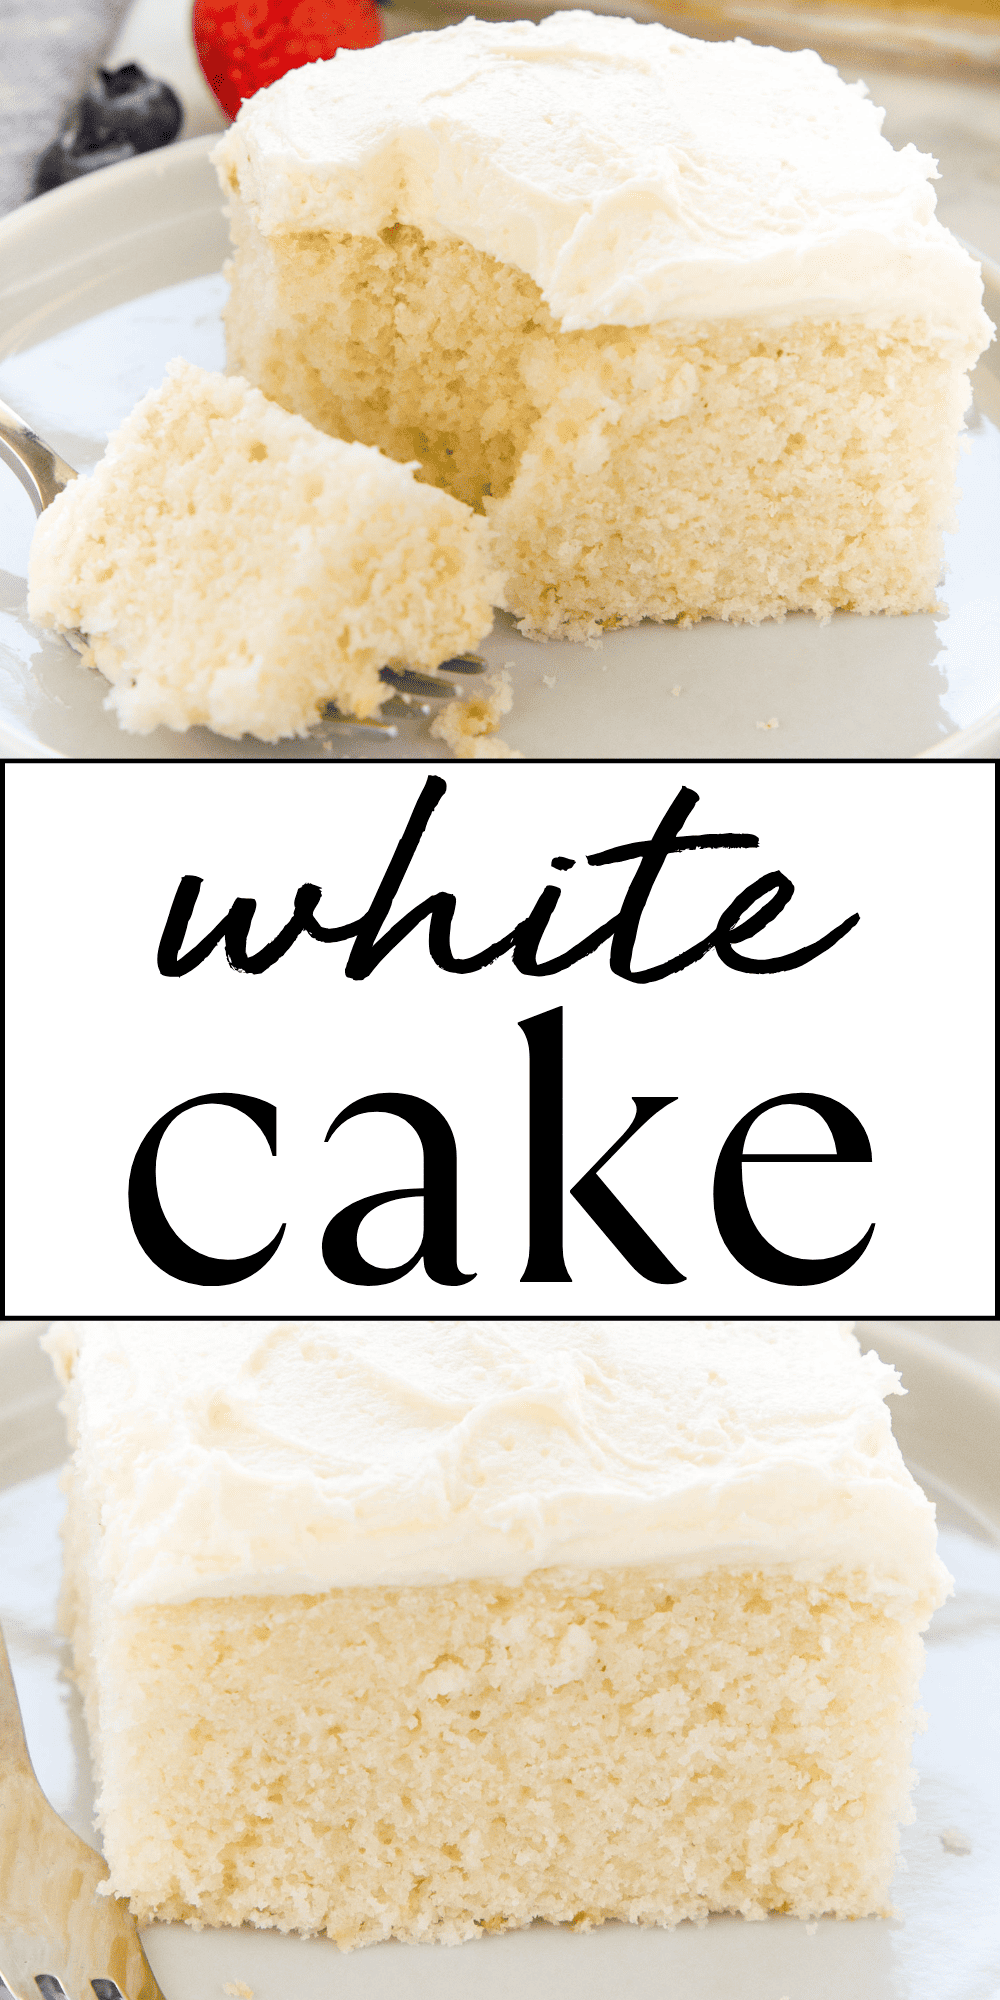

Could I cut all ingredients in half and bake in an 8 inch or 9 inch pan for a shorter time?
Yes! You could totally halve it and bake it in an 8 inch square pan. However expect that it will probably be just a touch shorter than the full recipe baked in a 9×13. Let us know how it works out!