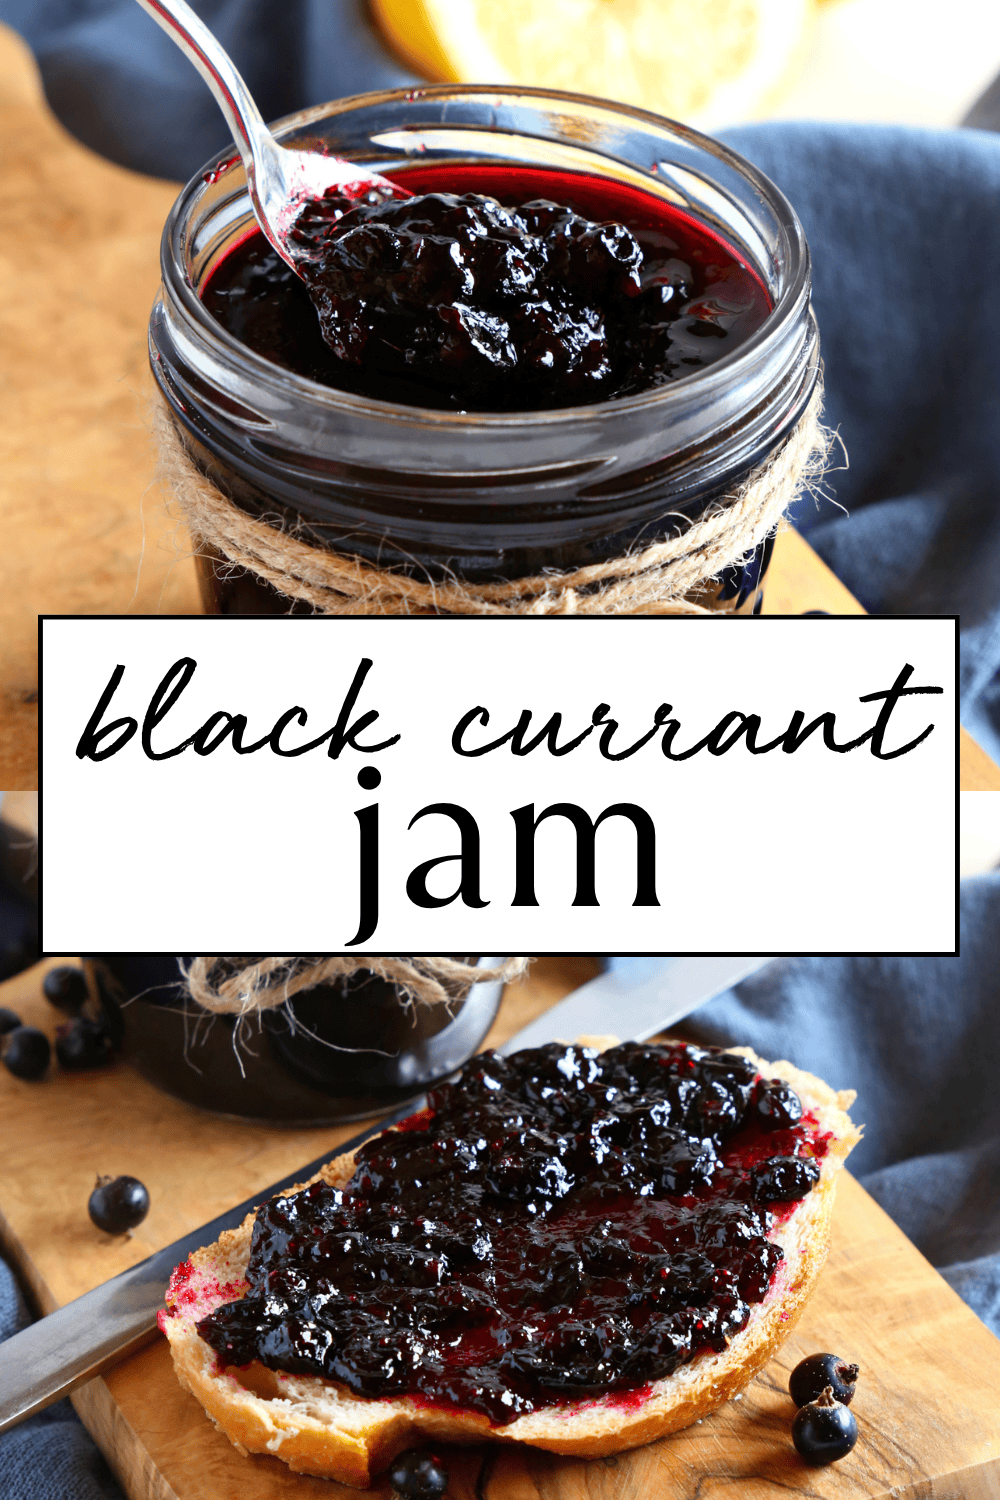
This easy black currant jam recipe takes just 3 ingredients, 15 minutes, and zero pectin. It’s been a reader favourite for years and one of the top-ranking black currant jam recipes online. It’s the kind of small-batch summer preserve that earns a permanent spot in your kitchen routine!
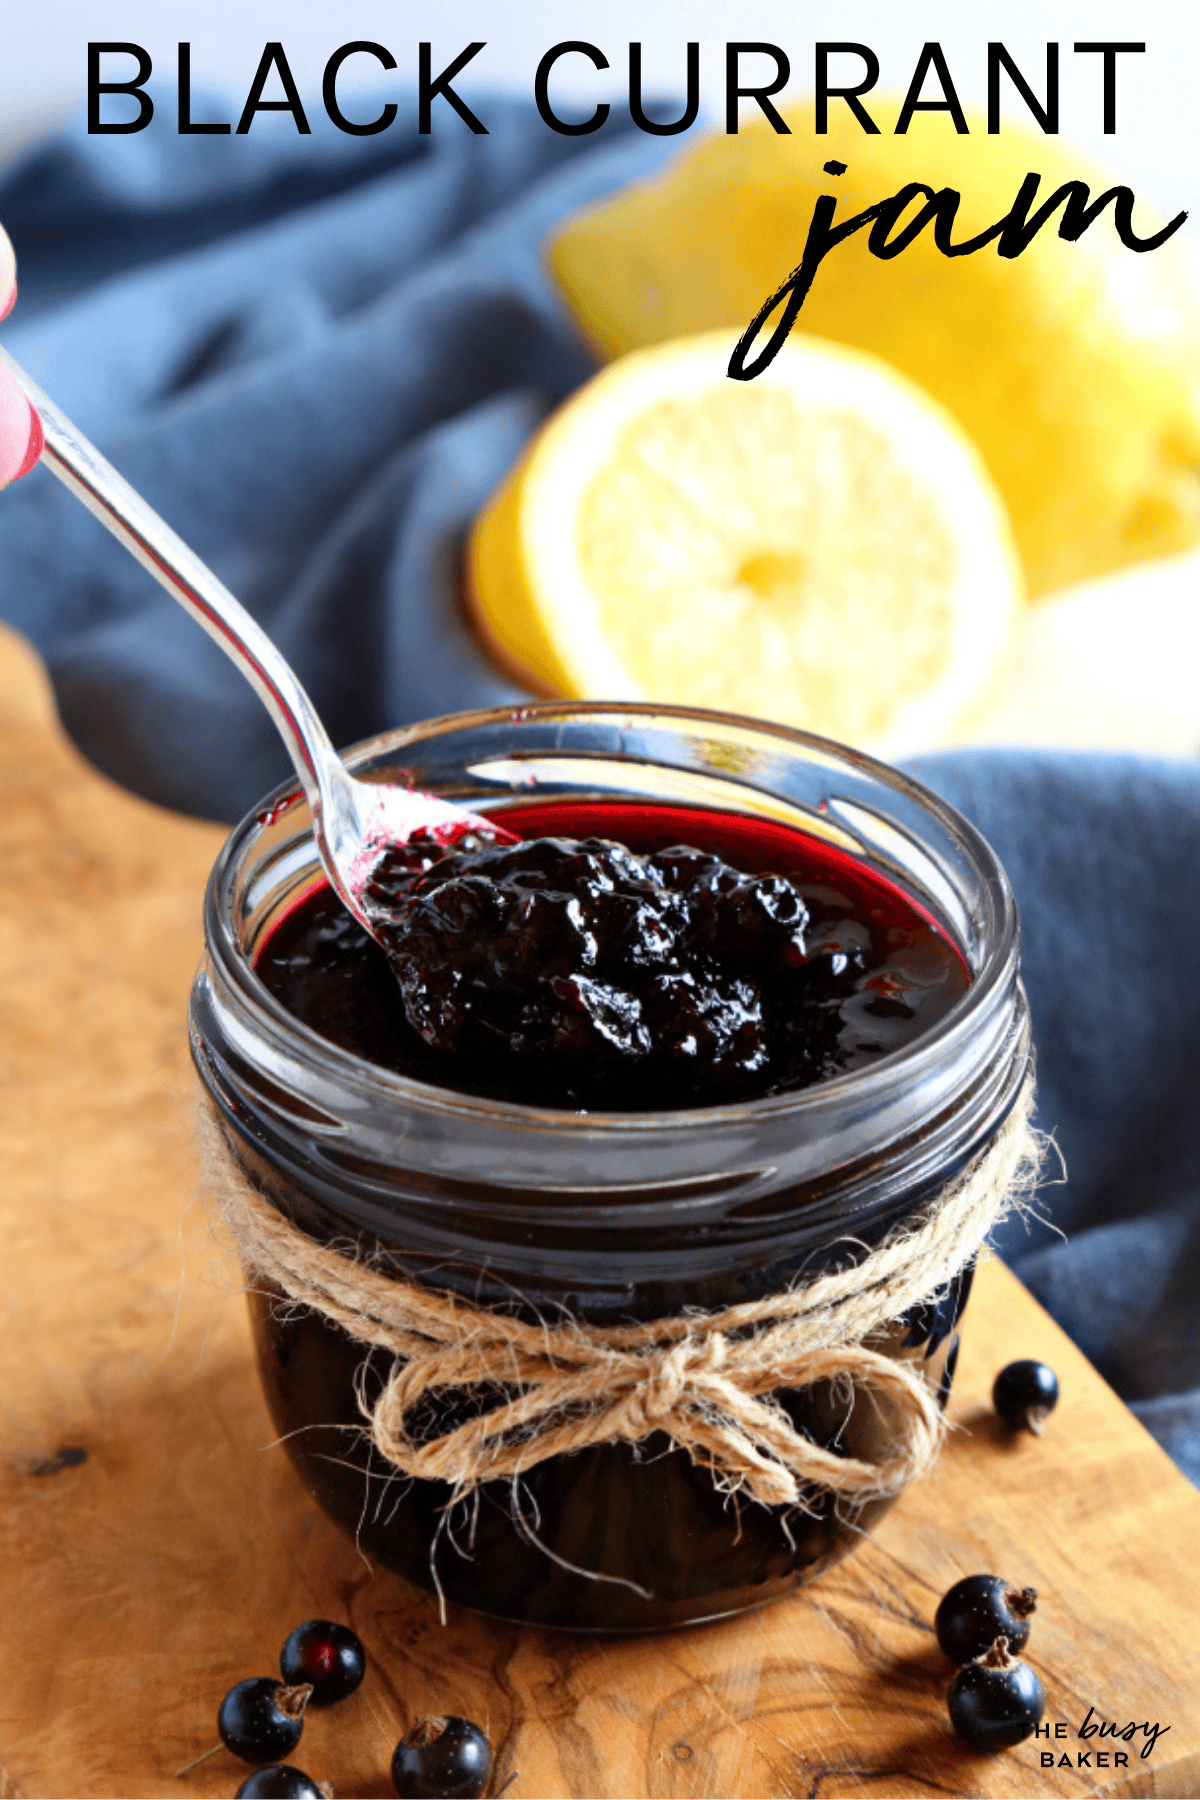
Black currants are one of those summer fruits that don’t get nearly enough love. They’re small, glossy, super tart, and naturally rich in pectin, which means they practically jam themselves with nothing more than sugar, lemon juice, and a little bit of heat. This easy black currant jam recipe makes the most of all your summer black currants. Just three ingredients, fifteen minutes from start to finish, no commercial pectin, no specialty equipment, and best of all: no fuss!
It’s a refrigerator jam and it’s perfect for small, fresh-from-the-garden batches you’ll use within a couple of weeks. If you want to preserve a bigger harvest for the pantry, the recipe also works beautifully with a standard water-bath canning process or for freezing. Either way, you’ll have a deep, jewel-toned jam with the kind of bright, sharp, and sweet flavour you can’t get from anything store-bought!
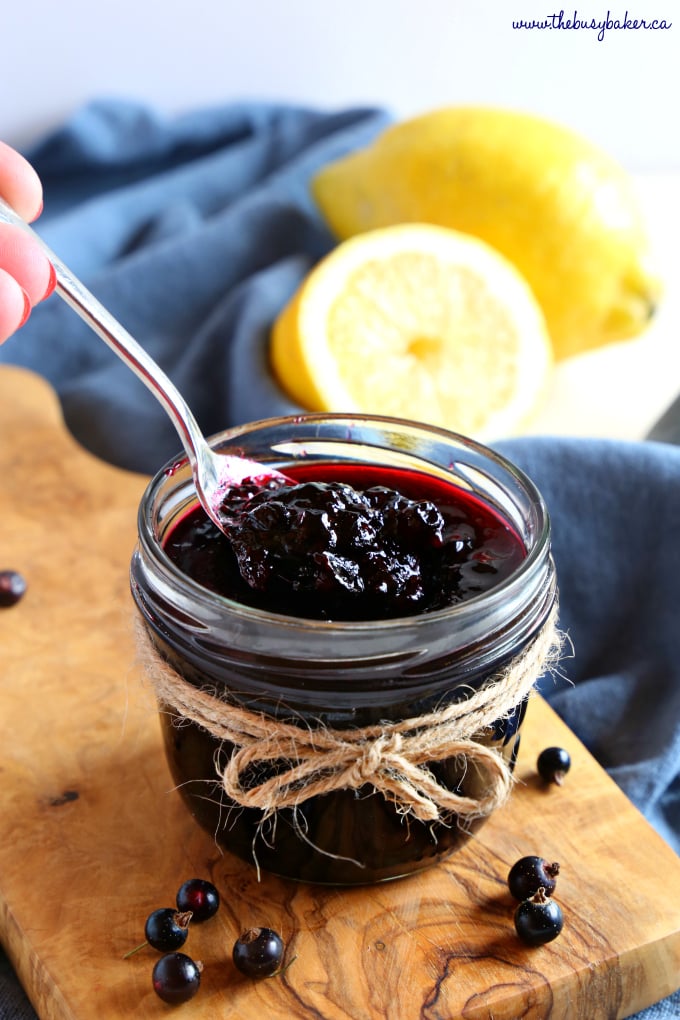
Black currants do most of the work for you. Black currants are naturally high in pectin, which is the magic ingredient that makes jam set up properly. Most fruit needs added pectin (or a really long cook time) to thicken into a typical jam consistency, but black currants don’t. Just add sugar and a splash of lemon juice for acidity, and bring it to a rolling boil, and you’ve got jam in under 15 minutes. The fruit does all the work!
Three simple ingredients, no shopping list required. Fresh black currants, white sugar, and lemon juice. That’s the entire ingredient list. No commercial pectin, no specialty preserving sugar, no weird ingredients or equipment needed. If you have lemons in your fridge and sugar in your pantry, you’re already most of the way there.
It’s foolproof if you use a thermometer. Most no-pectin jam recipes tell you to “boil for 10 minutes” or “cook until thick” and hope for the best. The reliable way is temperature. Once your jam hits 220°F (104°C) at sea level, it will set as it cools. Every time. An instant-read thermometer is a $15 tool that turns this from a guessing game into a sure thing.
It works two ways: refrigerator jam, or canned for the pantry. Use it as a refrigerator jam if you want fresh small-batch preserves to use up over the next couple of weeks. Use a standard water-bath canning process if you want to put up shelf-stable jars for the season. Same recipe, two paths, depending on how much fruit you’re working with.
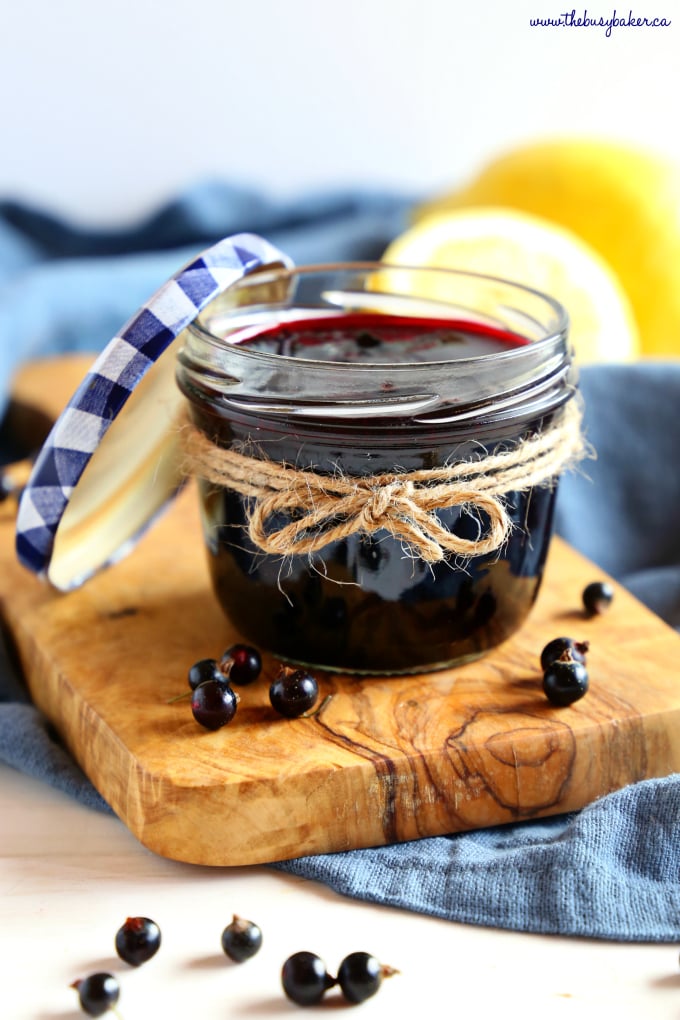
A few small tips make the difference between a jam you’ll be proud of and one that’s either too runny to spread or too stiff to spoon. After making this recipe more times than I can count, these are the PRO tips that matter the most:
This is the single biggest difference between jam that sets and jam that doesn’t. 220°F (104°C) is the magic number. The pectin and sugar bond at that temperature, and the jam will set as it cools. Without a thermometer, you’re guessing. If you’re at altitude, subtract about 1°F for every 500 feet of elevation.
Pick over the currants and pull off any larger stems and leaves, but the tiny brown blossom ends are fine. They’ll soften and break down completely as the jam cooks. Don’t drive yourself crazy with tweezers.
Wider surface area means faster evaporation, which means your jam reaches setting temperature faster. A heavy bottom prevents scorching while you cook over high heat. A Dutch oven works perfectly. Skip the small saucepan – it’ll just take more time.
The most common reader mistake is pulling the jam off the heat too soon because the temperature is climbing slowly. Keep boiling. The last 5 degrees can take longer than the first 50. Patience here saves you from a runny jam.
As the jam thickens, it can stick to the bottom of the pot and burn. Once you’re within 10°F of your target temperature, stir constantly. The jam goes from “almost there” to “perfectly set” in a couple of minutes. Don’t walk away.
Pop a small plate in the freezer before you start cooking. When you think the jam is ready, drop a teaspoonful onto the cold plate. Wait 30 seconds and run your finger through it. If the line holds and the jam wrinkles when you push it, it’s set. If it runs back together, keep boiling.
Sugar is for sweetness AND structure. It plays a structural role in the set of the jam, not just the flavour of it. If you cut the sugar, expect a softer, more syrup-like jam. It’s a good idea to make the recipe as written for the perfect jam texture.
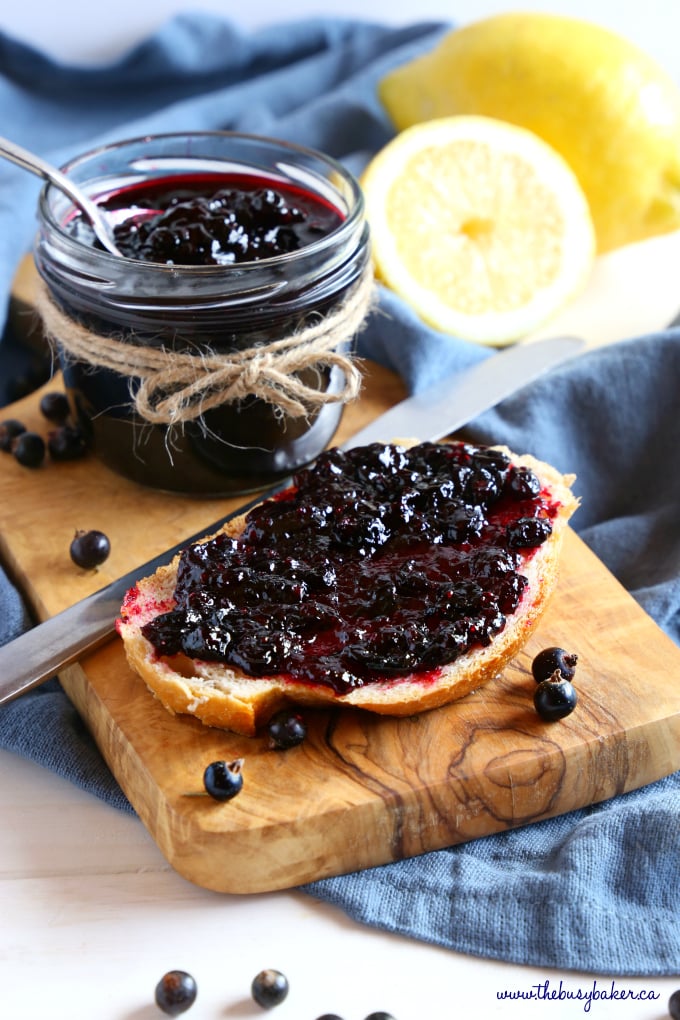
Here’s how the recipe comes together. Total time is about 15 minutes: 5 minutes of prep and 10 minutes of cooking. Read through the PRO Tips above before you start; they answer the questions that come up most often.
- Add the currants, sugar, and lemon juice to the pot. In a deep, heavy-bottomed pot, combine 4 cups of fresh black currants (washed, dried, and stemmed), 1 1/2 cups of white sugar, and 1 tablespoon of lemon juice. Stir to combine.
- Bring the mixture to a boil over medium-high heat. Turn the heat to high and stir every minute or so as the mixture warms. You’ll see the sugar dissolve and the currants start to release their juice.
- Mash the currants as they soften. Once the mixture is hot and the currants have begun to soften, use a potato masher to break them down. Don’t worry about getting it perfectly smooth, a little texture is good. The skins will continue breaking down as the jam cooks.
- Boil and stir. When the jam reaches a rolling boil, continue cooking, stirring every 30 seconds. The mixture will look loose and bubbly at first.
- Check the temperature. Use an instant-read thermometer to monitor the jam. Place the thermometer in the middle of the pot, not touching the bottom. You’re aiming for 220°F (104°C) at sea level. Subtract about 1°F per 500 feet of elevation if you’re at altitude.
- Stir constantly as you approach the target temperature. Once you’re within 10°F of your target, stir continuously. The jam thickens fast at the end, and a moment of inattention can lead to scorching.
- Remove from the heat. Once the jam hits 220°F (104°C), remove the pot from the heat right away. Carefully spoon or ladle the jam into clean mason jars. The jam will look loose at this stage. It will thicken as it cools.
- Cool, lid, and store. Cap the jars with lids and let them cool to room temperature on the counter. Once cool, transfer to the fridge. The jam keeps in the fridge for up to 2 weeks. For longer storage, use a standard water-bath canning process for shelf-stable jars.
There are so many ways to make this black currant jam your own, and my readers have shared their tested variations too. Here are the best of the best:
- Smooth, no-chunk version. For a smooth, jelly-like jam, run the finished jam through a fine-mesh sieve or potato ricer while it’s still hot. You’ll lose a bit of yield but gain a glassy texture that’s beautiful for gift jars. You can also use an immersion blender to achieve a smoother texture
- Freezer jam. Pour the cooled jam into freezer-safe jars (leave 1/2 inch of headspace) and freeze for up to 6 months. Thaw in the fridge overnight before using. Same approach as my Strawberry Rhubarb Freezer Jam.
- Double the batch. The recipe doubles cleanly. Use a wider, shallower pot to keep the surface area large enough for fast evaporation. Cooking time will be slightly longer (about 12 to 15 minutes of boiling instead of 8 to 10).
- Vanilla or cardamom infusion. Add a split vanilla bean (scrape the seeds in too) or 4 lightly crushed cardamom pods during cooking. Remove the bean or pods before jarring. The warm spice goes so well with the sharpness of the currants.
- Mixed-berry jam. Substitute up to half of the black currants with raspberries, blackberries, or blueberries for a deeper, more complex jam. Keep the sugar and lemon amounts the same.
- Frozen fruit. If fresh black currants aren’t in season, use frozen. Thaw them first and drain off any extra liquid before measuring. Cooking time may be a couple of minutes longer.
- Chia-thickened low-sugar version. For a refrigerator-only, lower-sugar option, see my Healthy Blueberry Chia Jam recipe. The same approach works with black currants. Skip the lemon juice if your currants are very tart.
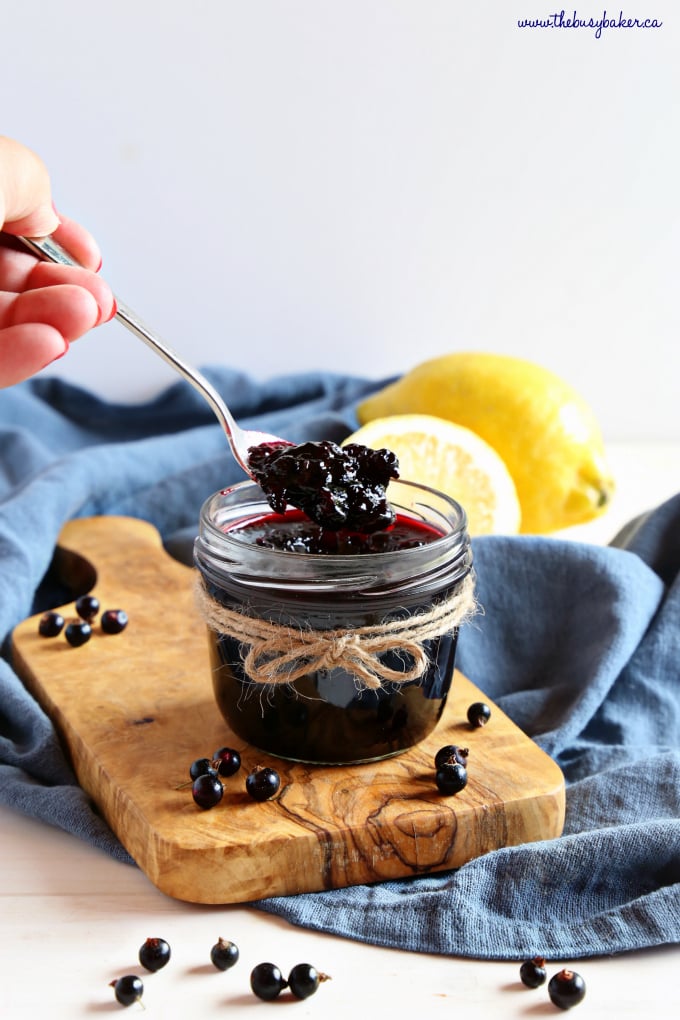
Here are my favourite ways to serve this easy jam:
- Spread on warm Easy White Sandwich Bread or toast with a generous swipe of salted butter
- Stirred into Greek yogurt with granola for breakfast
- Spooned over warm scones, biscuits, or English muffins
- Paired with sharp cheddar, brie, or goat cheese on a cheese board
- Swirled into vanilla ice cream or rice pudding
- Used as a glaze for roasted pork tenderloin or duck breast
- Layered into thumbprint cookies or jam-filled shortbread
- Slathered onto No-Knead Cranberry Honey Walnut Bread for a knockout breakfast
This is a small-batch refrigerator jam recipe. Here’s how to keep it (or stretch it for long term):
In the refrigerator – Store the cooled jam in clean, airtight jars in the fridge for up to 2 weeks. Always use a clean spoon when scooping (no double-dipping) to keep it fresh as long as possible.
In the freezer – Pour the cooled jam into freezer-safe jars (leave 1/2 inch of headspace at the top to allow for expansion) and freeze for up to 6 months. Thaw in the fridge overnight before using.
For shelf-stable jars (canning) – Use a standard water-bath canning process. Process half-pint jars in boiling water for 10 minutes (adjust for altitude). Properly sealed jars keep in a cool, dark pantry for up to 1 year. Always check seals before opening, and refrigerate after opening. Be sure to follow proper canning procedure.
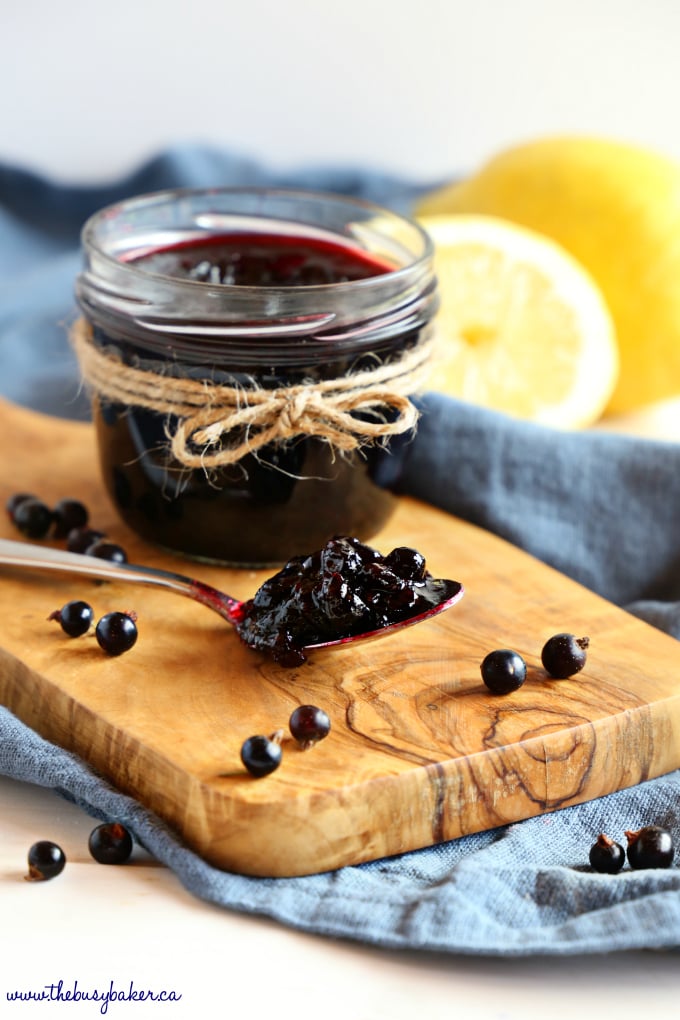
How long does this black currant jam last in the fridge?
Stored in clean, airtight jars in the fridge, this jam keeps for up to 2 weeks. For longer storage, freeze it for up to 6 months or use a standard water-bath canning process for shelf-stable jars.
Can I make this as a freezer jam?
Yes! Once the jam is fully cooled, pour it into freezer-safe jars and leave 1/2 inch of headspace at the top for expansion. Freeze for up to 6 months and thaw in the fridge overnight before using.
Can I use frozen black currants instead of fresh?
Yes! Thaw the frozen black currants first and drain off any extra liquid before measuring. The cooking time might be a couple of minutes longer because of the extra water content, but the recipe works the same with fresh or frozen currants.
My jam reached a boil but won’t climb to 220°F. What’s wrong?
There are two possible reasons for this. First, the pot might be too narrow. Wider pots evaporate water faster and reach setting temperature faster. Second, the heat might be too low. Keep it on medium-high or high. The temperature should climb slowly but steadily. Be patient.
Can I leave out the lemon juice?
The lemon juice does two jobs in this recipe. It adds acidity for flavour balance, and it helps the pectin in the currants gel properly. You can reduce it slightly if your currants are very tart, but I don’t recommend leaving it out entirely.
Can I water-bath can this jam for shelf storage?
Yes! Use proper canning jars and lids, follow standard water-bath canning safety, and check seals before storing. Properly sealed jars keep in a cool, dark pantry for up to 1 year.

More Jam and Preserve Recipes You’ll LOVE
If you love this Black Currant Jam, you’re going to want to try these other easy homemade jam and preserve recipes:
- Healthy Blueberry Chia Jam (3-Ingredient Recipe)
- Easy Strawberry Chia Seed Jam
- 3-Ingredient Chia Seed Raspberry Jam
- Strawberry Rhubarb Freezer Jam (No Pectin)
- Easy Strawberry Freezer Jam
- Easy Homemade Apple Butter
- Easy Slow Cooker Pumpkin Butter
- No-Knead Cranberry Honey Walnut Artisan Bread
- Easy White Sandwich Bread
- Strawberry Rhubarb Crisp
If you made this, share a photo!
Are you trying this recipe? Use the comment form below to share your take; now with support for image uploads and comment voting!
Black Currant Jam (No Pectin, 3 Ingredients, 15 Minutes)
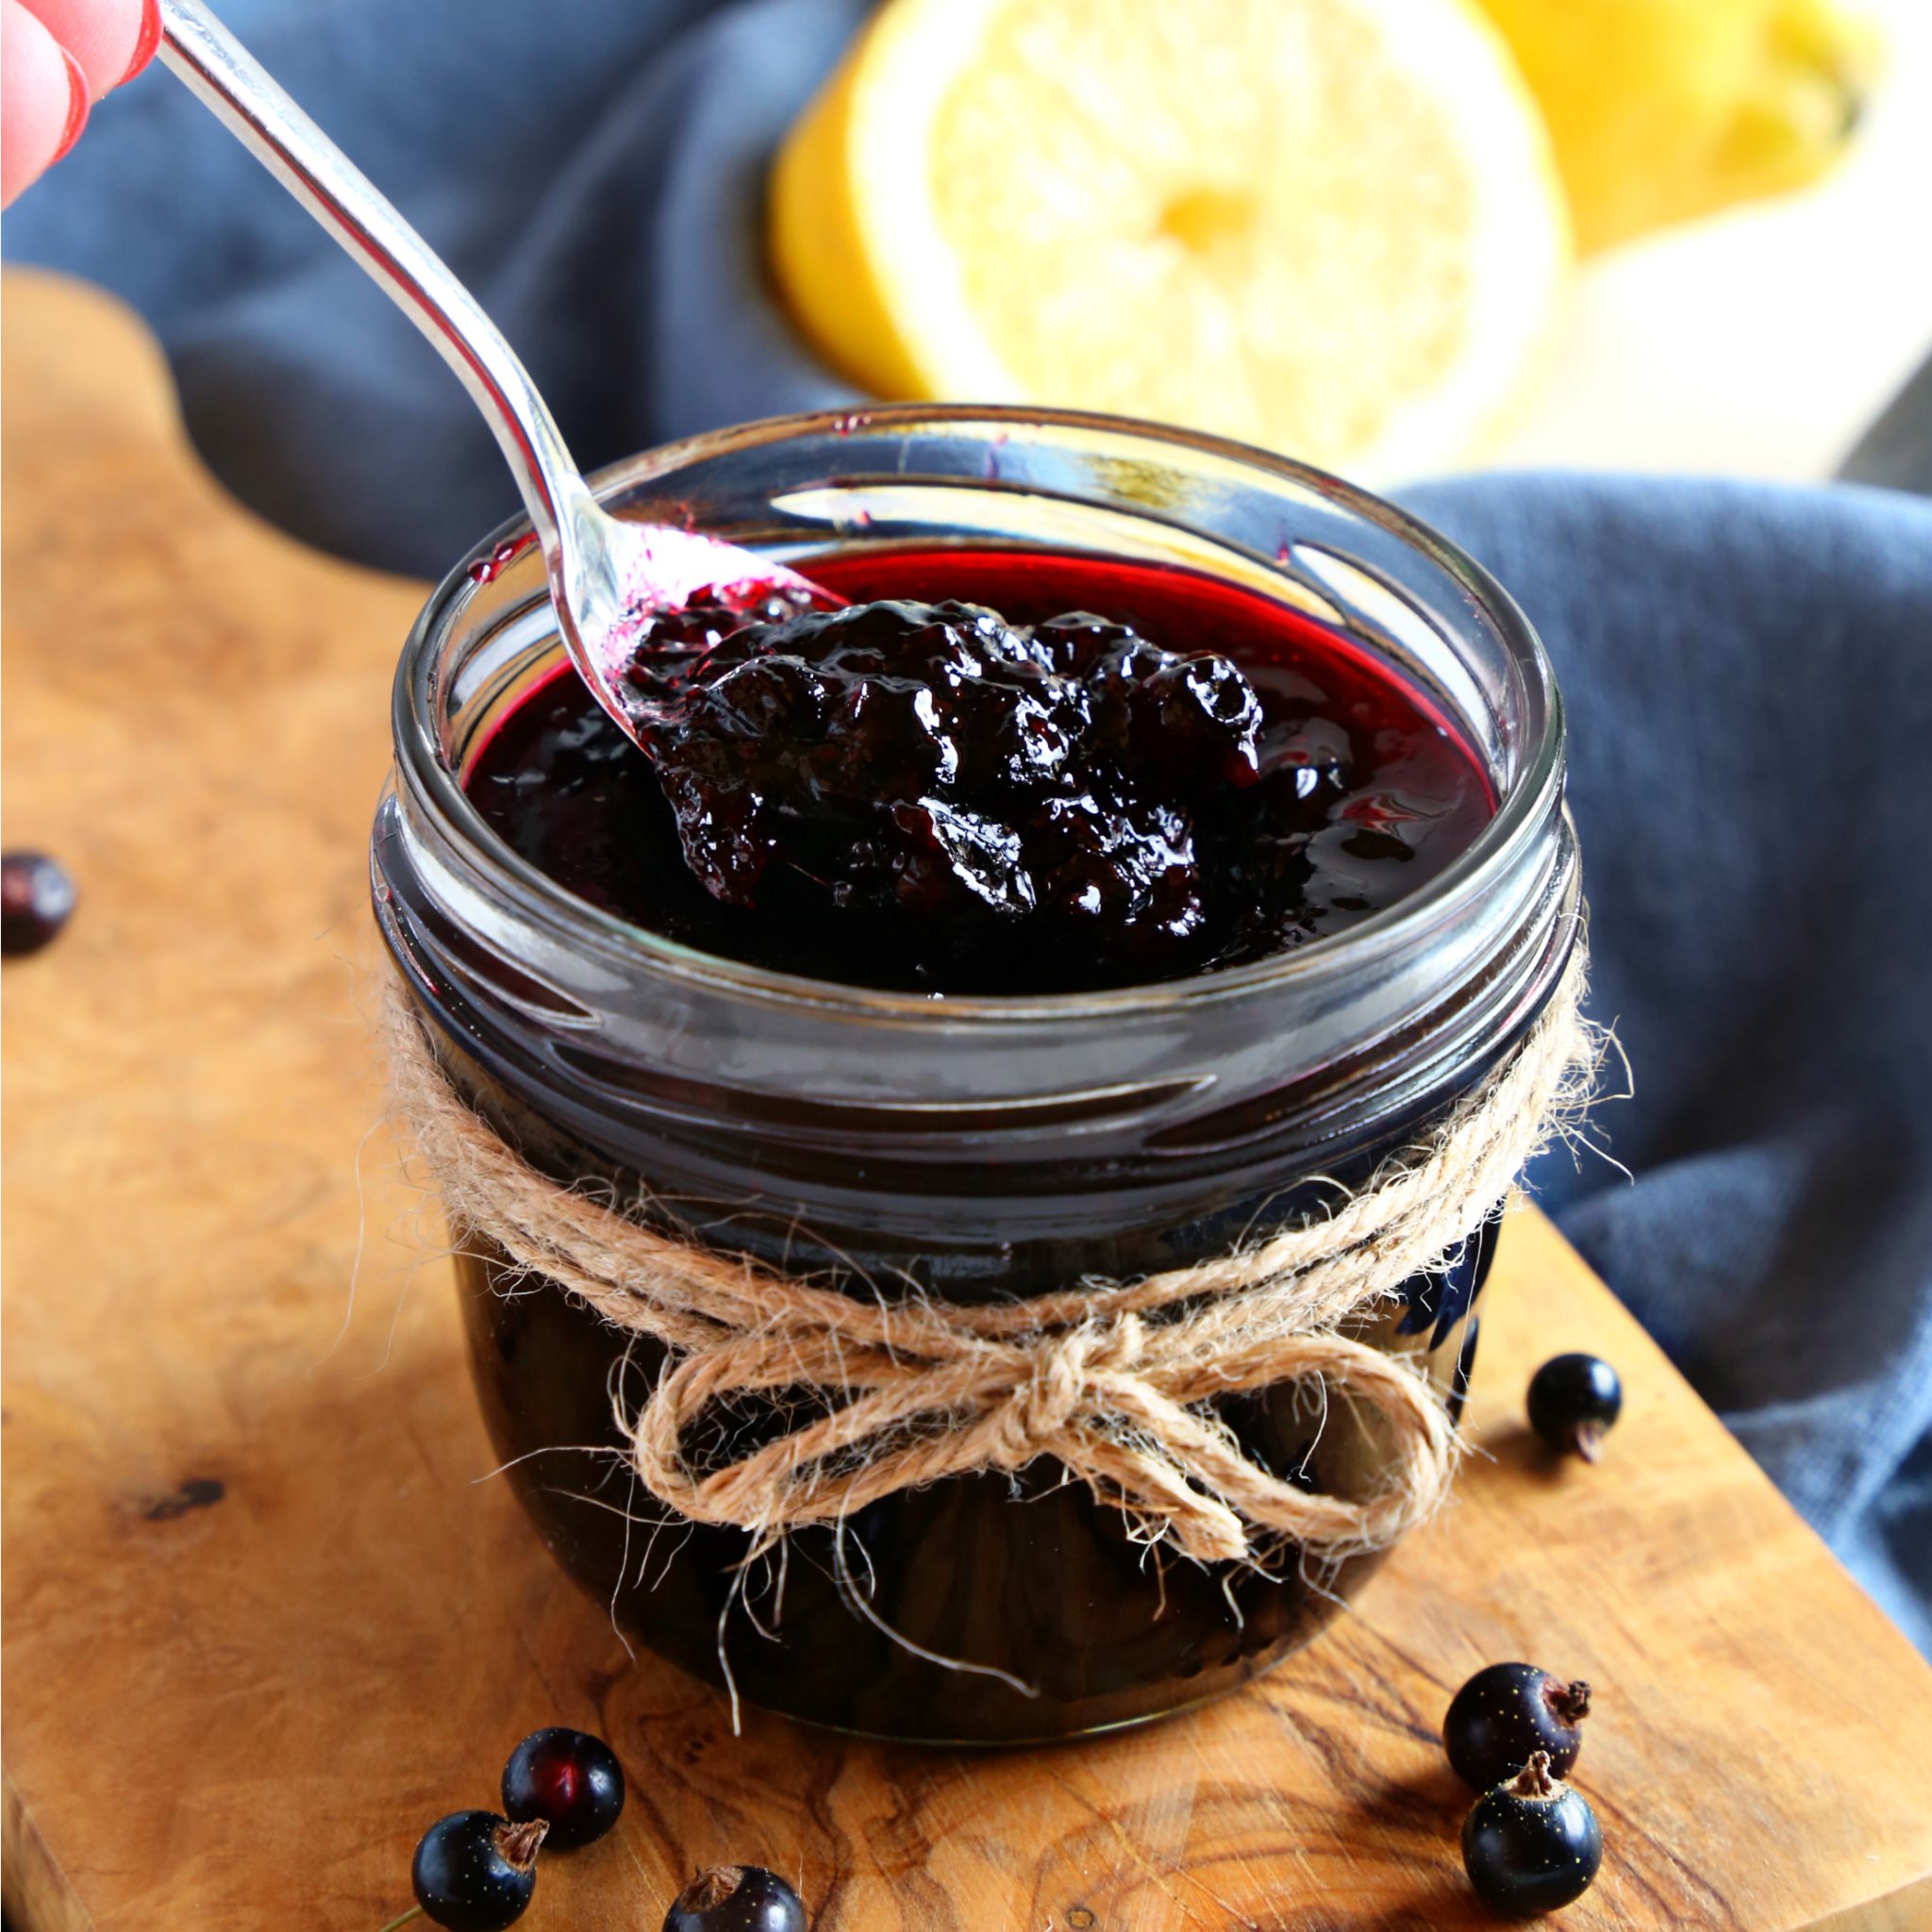
Recipe: Equipment
Recipe: Ingredients
- 4 cups fresh black currants, washed, dried and stems removed
- 1 1/2 cups white sugar (add an additional 1/2 cup if desired)
- 1 tablespoon lemon juice
Recipe: Instructions
- Add the black currants, sugar and lemon juice to a deep pot over medium heat.
- Use a potato masher to mash the currants until they begin to fall apart as they heat up.
- Turn the heat to medium-high, stirring every now and then until the mixture starts to bubble and become hot.
- When the mixture begins to boil, continue to stir every 30 seconds or so.
- Use an instant-read thermometer – here's a link to mine (paid link) – to measure the temperature of the jam as it boils. Be sure the thermometer is measuring at the middle of the jam and not touching the bottom of the pot.
- Continue boiling as the temperature climbs and don't let it stop boiling until it reaches 220°F (104°C) (for low altitudes) or 218°F (102°C) for high altitudes. This should take about 8 minutes or so.
- Once the correct temperature is reached, remove the pot from the heat and carefully spoon the jam into 2 mason jars. The jam might seem a little bit liquid at this stage – don't worry! It will thicken as it cools.
- Add the lids to the jars and allow to cool at room temperature until completely cool.
- Store in the fridge and enjoy!
Recipe: Notes
Recipe: Nutrition
Notice: Nutrition is auto-calculated, using Spoonacular, for your convenience. Where relevant, we recommend using your own nutrition calculations.
I made this and followed instructions. I made a large batch witch consisted of 24 cups of currants and 9 cups sugar. The recipe turned out too sweet and overpowering that it’s not edible. What is the best fix to redo the jame to less sweet?
Thanks for your marvellous posting! I quite enjoyed reading it, you may be a great author.
I will always bookmark your blog and definitely will come back from now on. I want to encourage you to definitely continue your great writing,
Have a nice afternoon!
Great article, just what I was looking for black-currant.
Fantastic post, very informative. I’m wondering why the other experts of this sector don’t notice this.
You must continue your writing. I’m confident, you’ve
a great readers’ base already!
We’re happy to hear you enjoy reading our blog! Thank you for taking the time to leave your feedback!