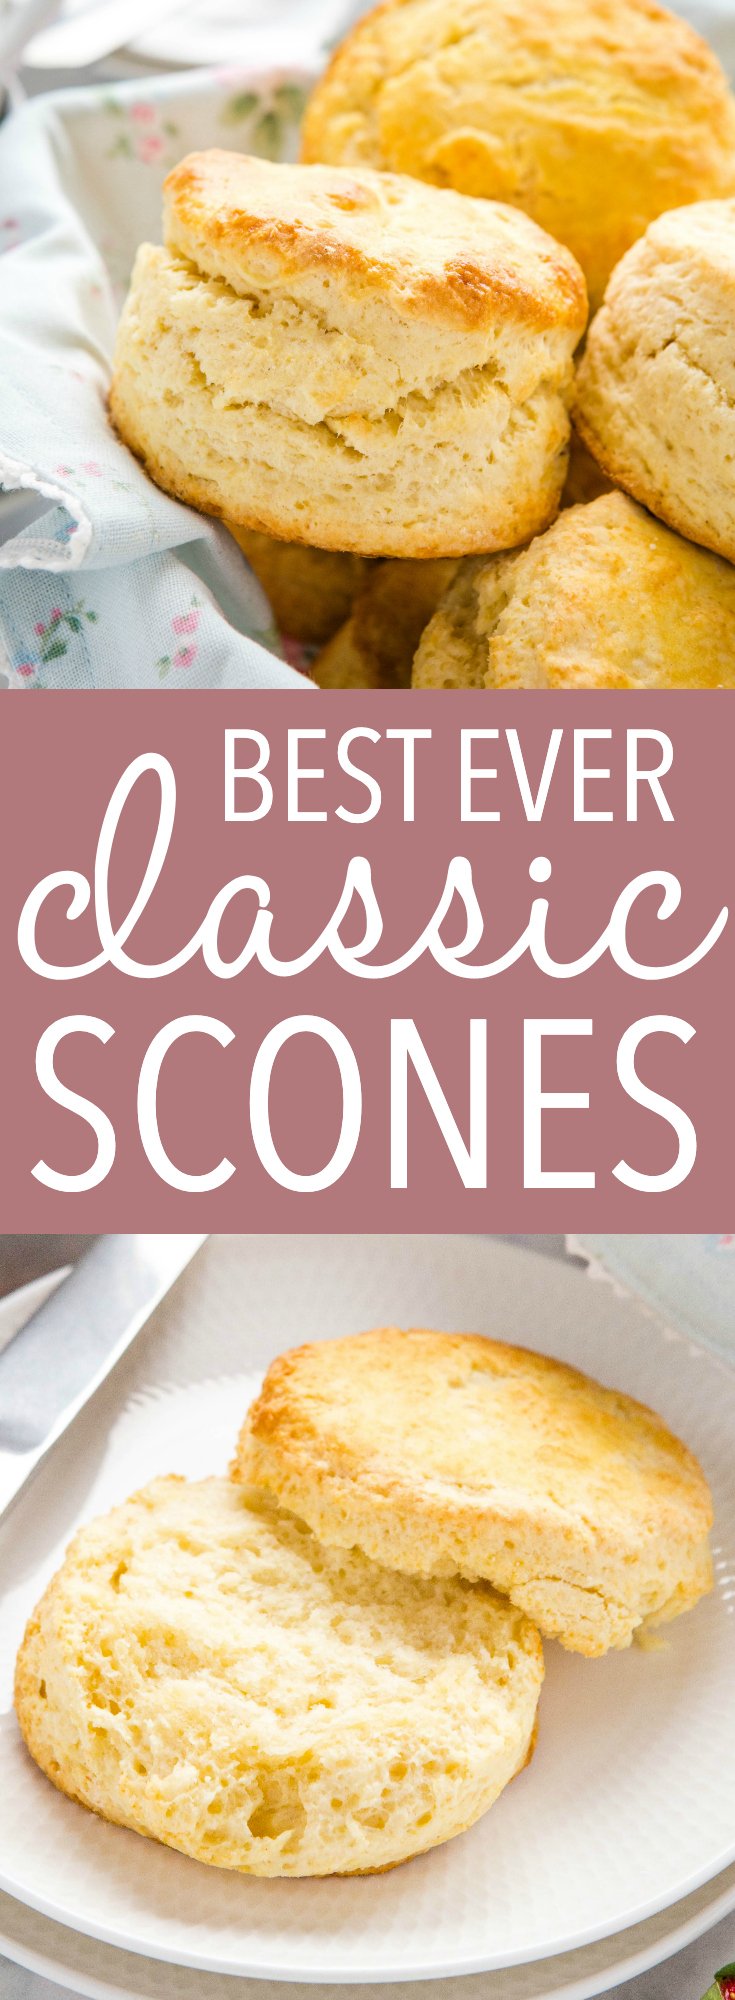
This easy Scones recipe is the ultimate guide to the perfect tender, flaky scones made with real butter! Follow our pro tips for the perfect scones every time!

Estimated reading time: 15 minutes
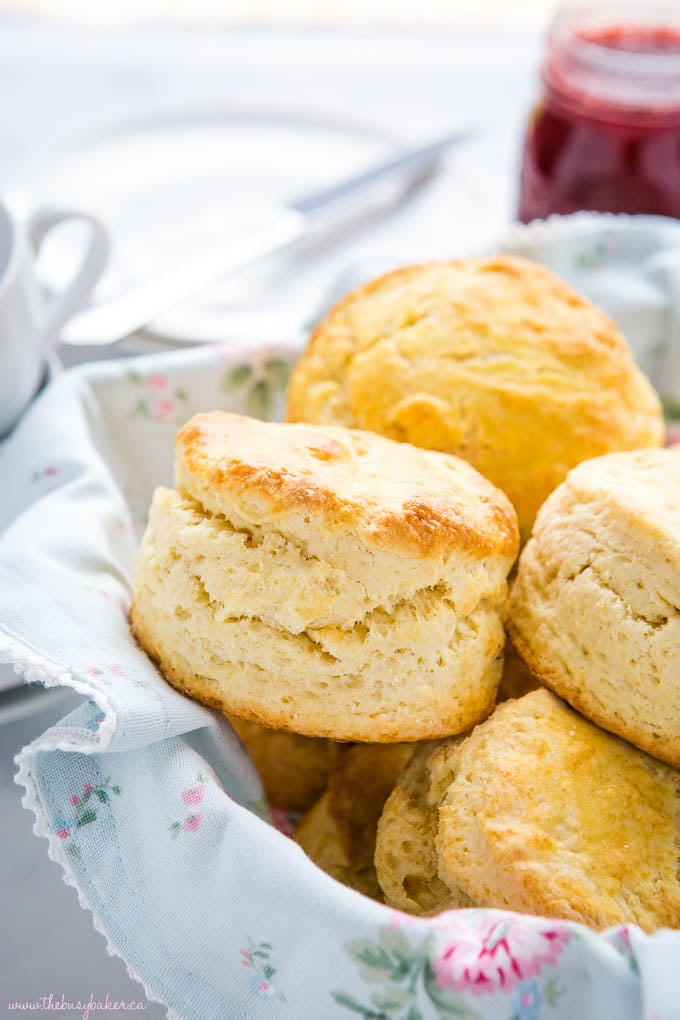
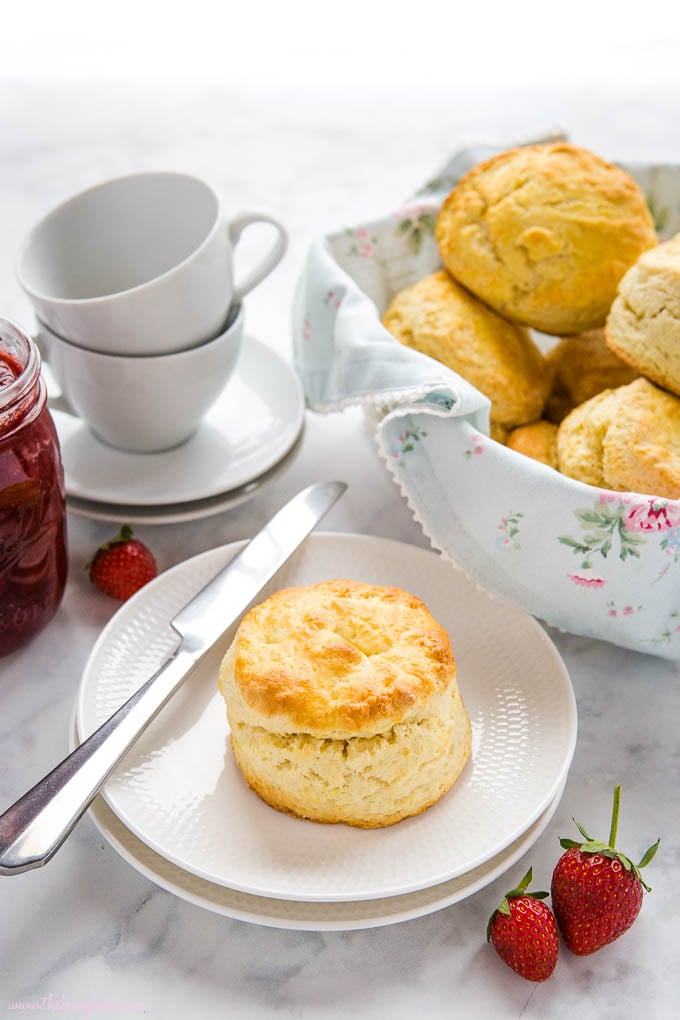
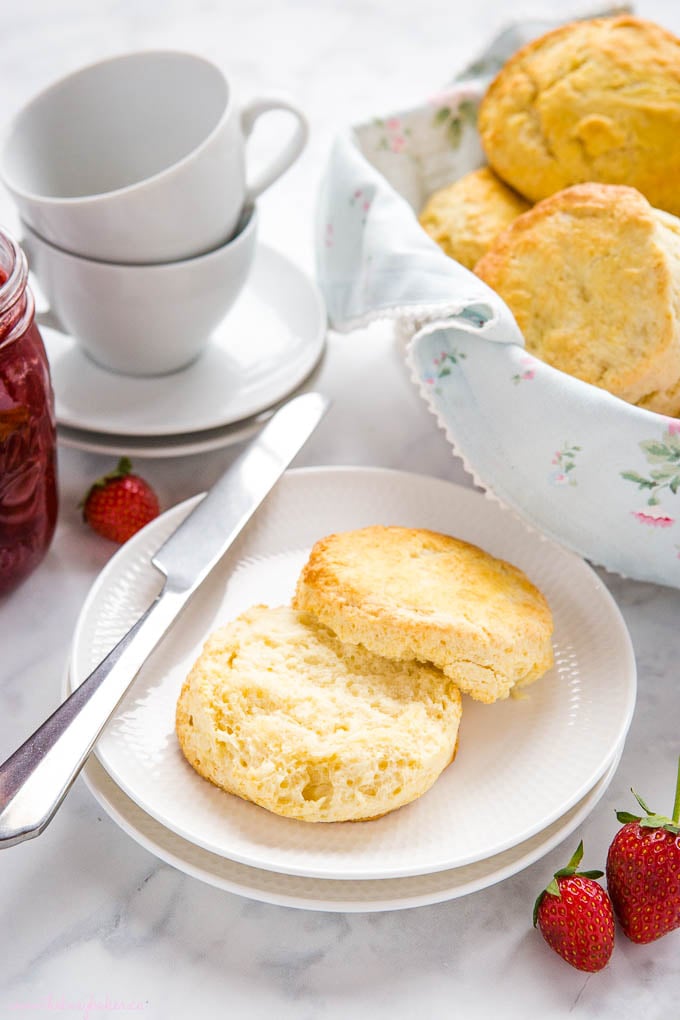
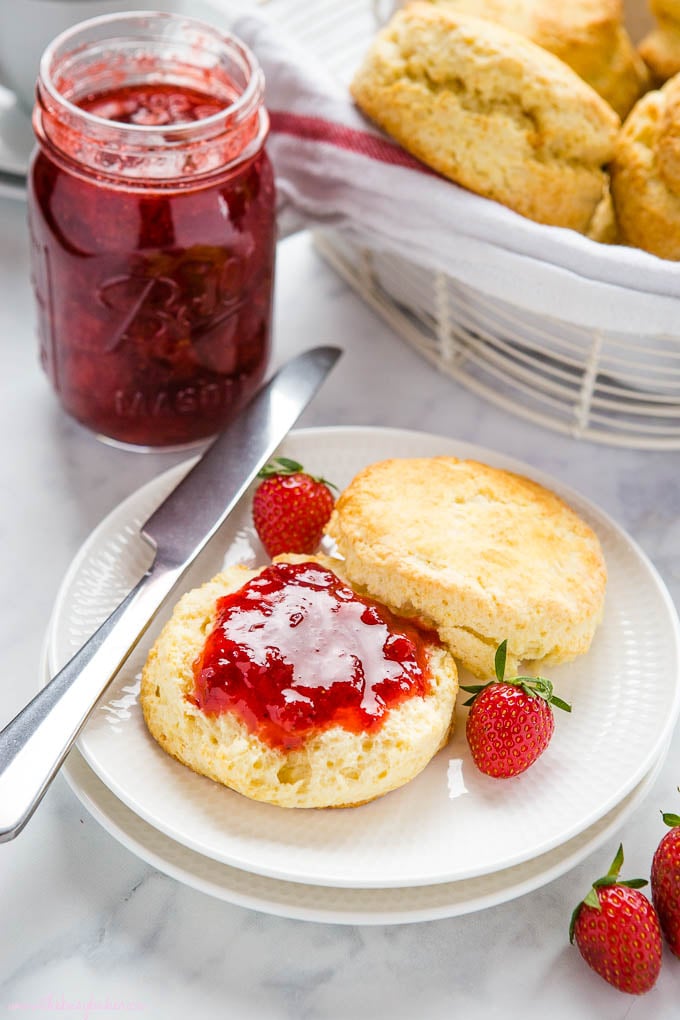
This Best Classic Scones recipe is one that’s been in our family for generations. It originates in Scotland (my grandparents’ ancestors were British and Scottish), and even though it’s similar to homemade American biscuits, the scones are a little bit lighter, fluffier, and a LOT more flaky! These scones are absolutely delicious as a snack with some homemade jam and a cup of tea, but they’re also delicious with a slice of cheese alongside our favourite Best Ever Beef Stew recipe or any delicious soup in the fall and winter.
This scone recipe can be made sweet or savoury, it can be adapted with add-ins like fruit or dried fruit, chocolate, citrus, or other flavours, and it can be made into round or triangular scones. If you’re looking for a classic, basic scone recipe to add to your baking repertoire, this is IT!
A scone is a traditionally British baked good that’s usually served with jam and clotted cream. Scones are lightly sweetened with a texture that’s a little more dense than a cake or bread. Scones are often moist, tender, and oh so flaky. Traditional scones are served plain, but more modern versions of the classic scone can include add-ins like chunks of chocolate, raisins, berries or other fruit, and even savoury add-ins like cheese, herbs, or onions.
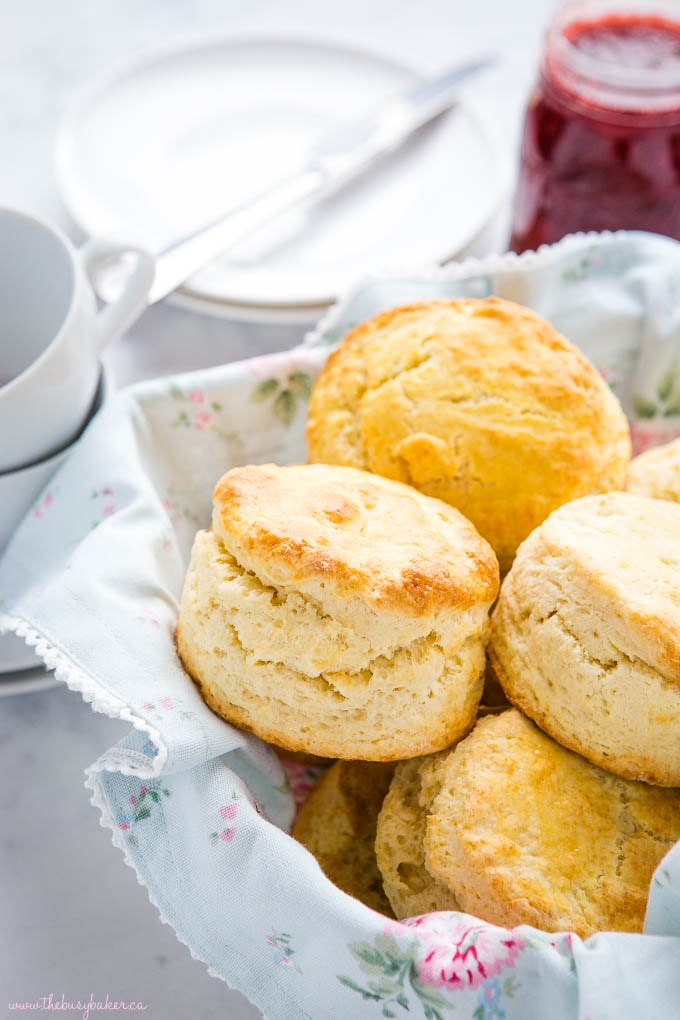
Want to make the BEST homemade scones, just like a professional bakery? Here’s how to do it!
Cold butter straight from the fridge is what helps create those flaky layers you see in bakery scones. Using warm or room temperature butter will cause your scone dough to be too liquid-y and you’ll end up with a mushy mess and dense, heavy scones. When the butter is cold the fat remains solid, which is what creates those flaky layers.
In our experience, the BEST way to combine the dry ingredients and the butter is with your hands, using quick rubbing motions. Pick up a handful and rub it once between your hands to create small sheets of butter instead of tiny clumps. This will help create those flaky layers instead of big pockets of air inside your scones.
Don’t over-mix or over-work the dough. Nobody likes a tough, dry scone, and this is what over-mixing the dough will create because mixing activates the gluten in the flour. Mix just until the flour almost disappears and you’ll be left with flaky layers and a nice, tender scone!
When the dough is just about mixed (when you still see streaks of flour), pour it out onto a lightly floured work surface and fold it in half, then in half again (and again) until everything is combined. This will also create delicious layers and prevent the dough from becoming dry.
Pat the dough out to a thickness of about 2.5 cm (1 inch). Thinner dough won’t rise as well and you’ll end up with scones that are flat and less flaky.
When cutting out your scones, use a sharp, straight-edged cutter to press down directly through the dough. Some recipes recommend using a glass, but we’ve found that when you use a dull-edged cutter or when you use a sharp cutter and twist the cutter, it can seal the edges of the scone and prevent it from rising properly.
To give your scones a professional bakery look, lightly brush the tops with egg wash (beaten egg mixed with water) before baking. This will help the tops turn a beautiful golden brown.
Space the scones about 2 to 3 inches apart on the baking sheet to allow for even cooking and proper heat distribution as they bake.
Make sure your oven is properly preheated to a higher temperature (375 Fahrenheit) so when your scones hit the heat of the oven, they’ll rise quickly and form a crisp outer shell that will help to lift the dough as they bake.
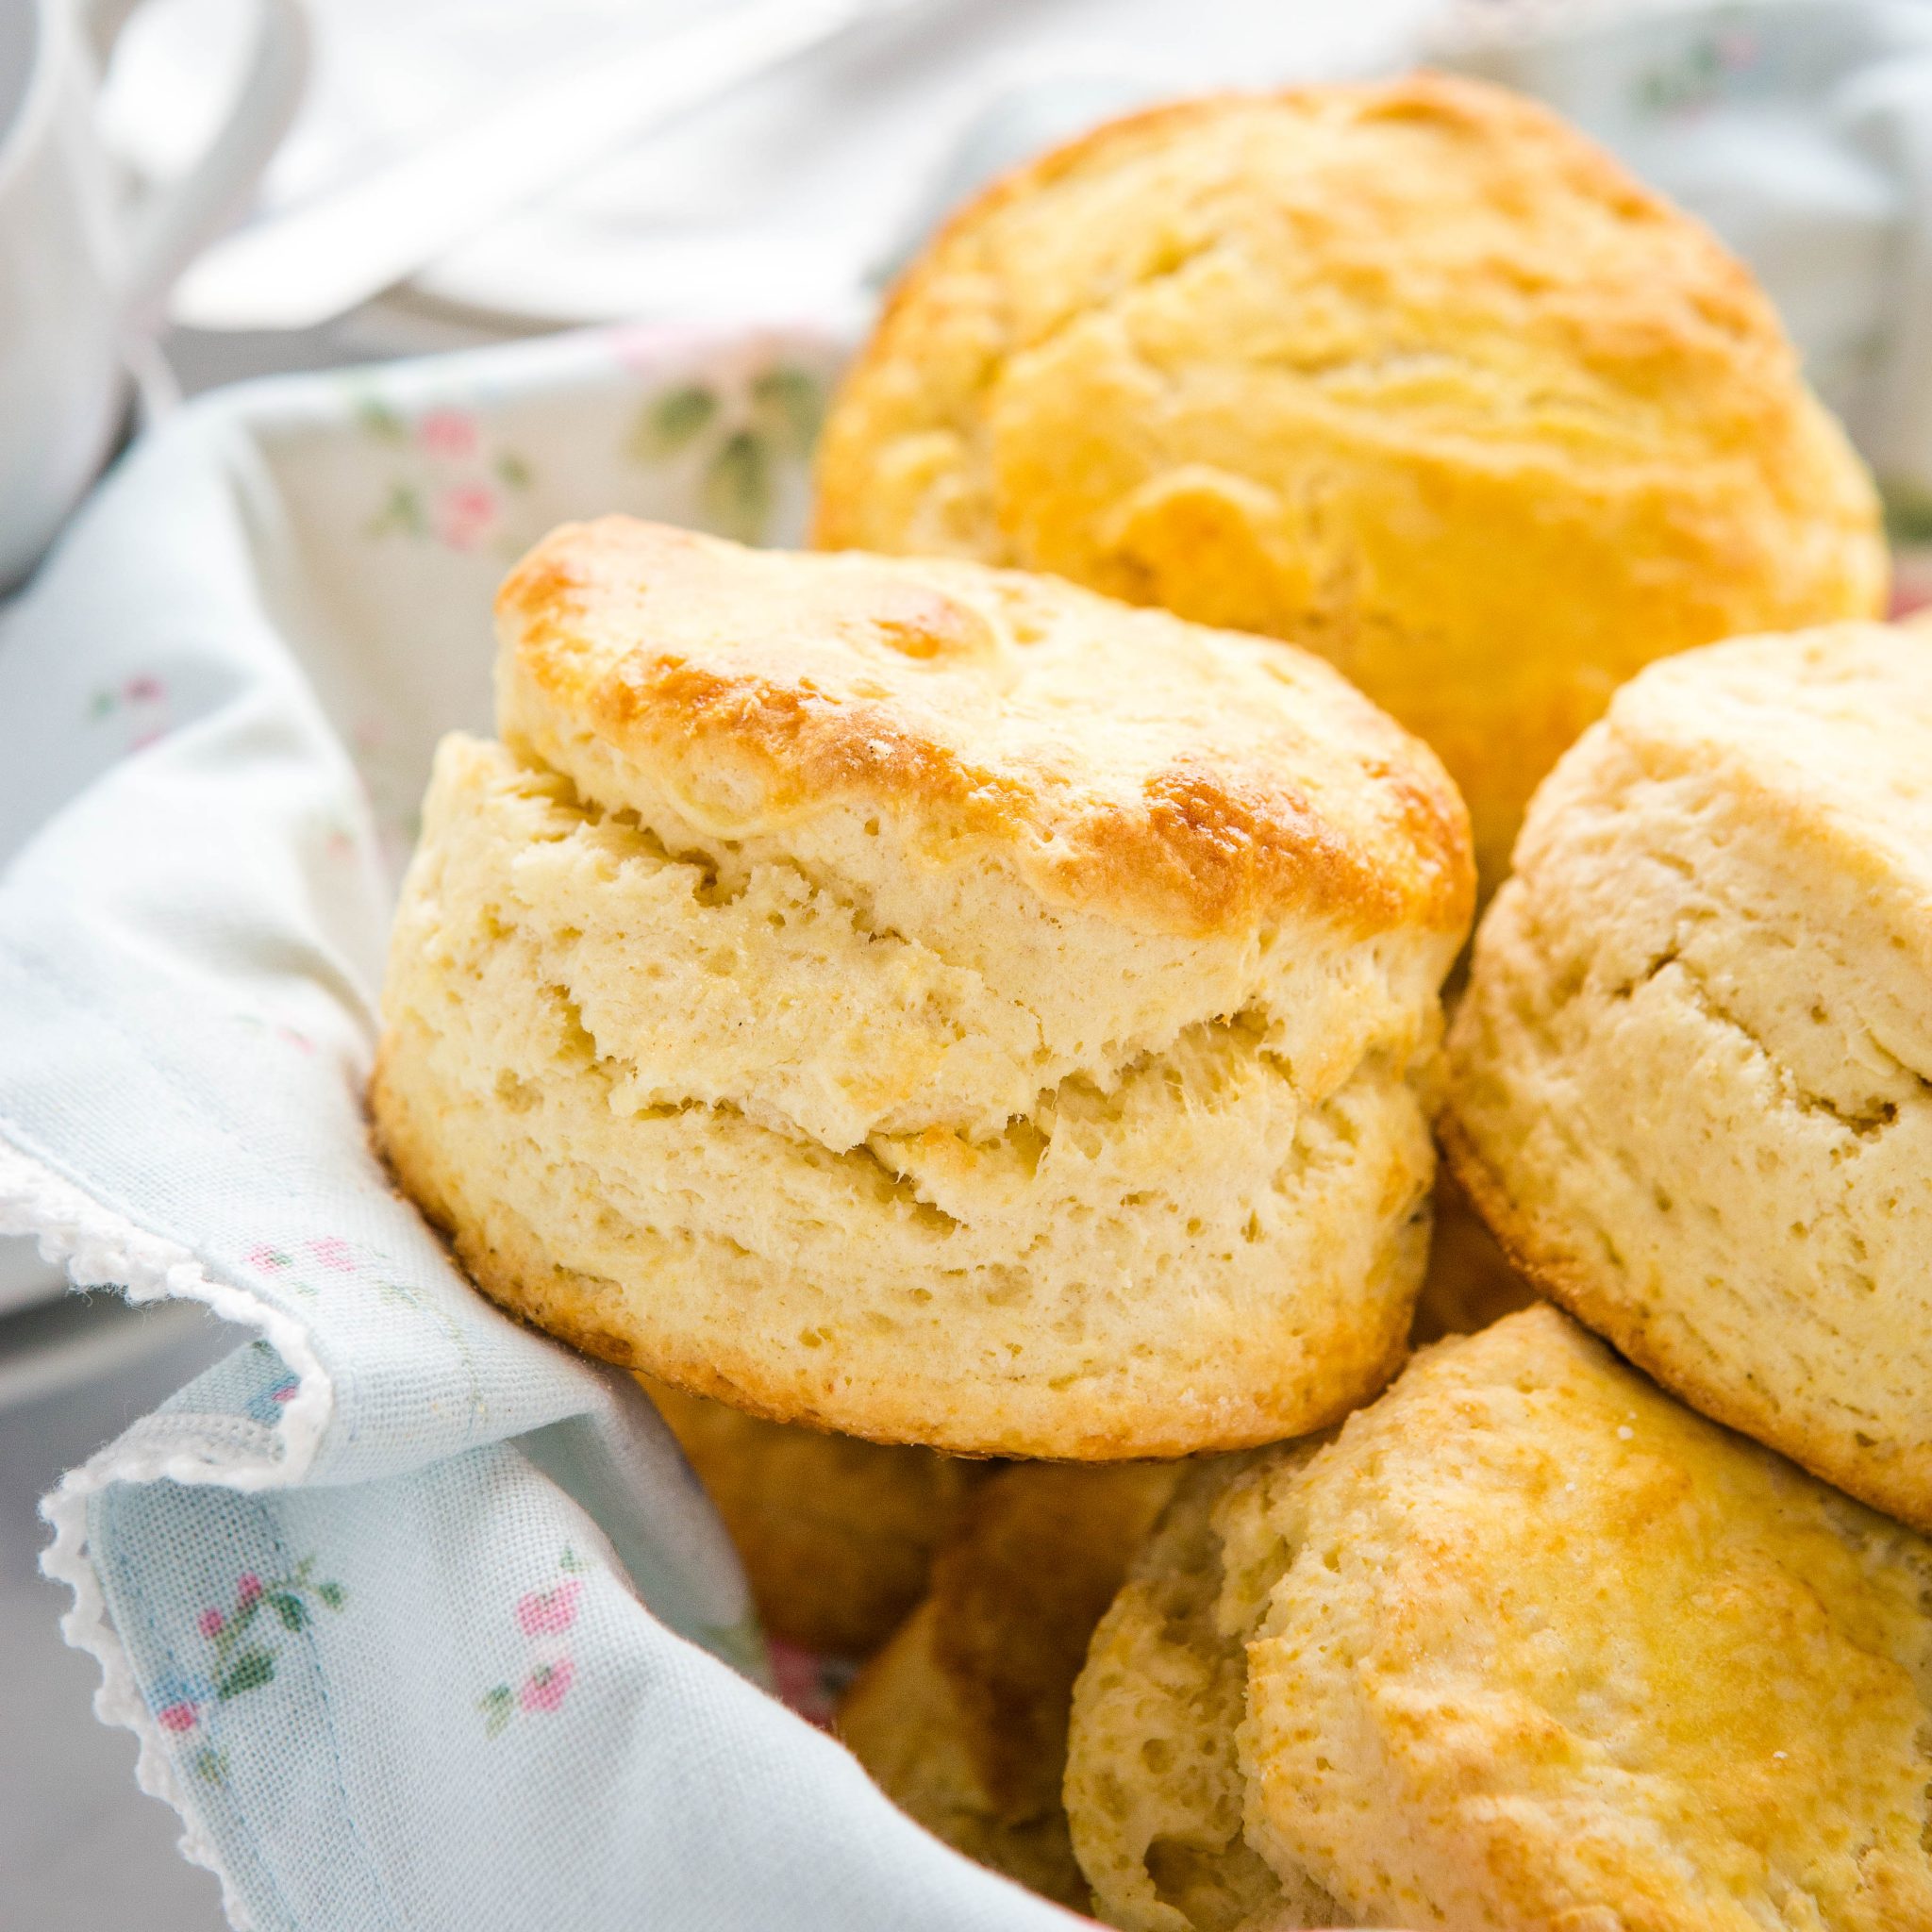
The key to baking up perfect flaky scones is in the science of how the ingredients, especially the butter, are incorporated into the dough. The texture of scones depends on how the butter interacts with the flour before and during baking. When cold fat, like butter, is mixed with flour and then heated in the oven, it melts and releases steam, and it’s this steam that helps to create layers and thin pockets within the dough, giving it lift and flakiness.
Here are the four most common methods to incorporate butter into the scone mixture:
- Sheeting Butter by Hand: This is our favourite technique when it comes to making scones. It involves flattening chunks of cold butter directly into the flour mix using the palms of your hands. Pick up a handful of the mixture and rub it once between your hands to create small sheets of butter instead of tiny clumps. This method allows the butter to remain in larger, flatter pieces within the flour, which melt during baking to create pockets of steam that give the scones flakiness.
- Grating Frozen Butter: An alternative and almost as effective method is to grate frozen butter into the flour mixture using a box grater. This technique distributes the butter more evenly throughout the flour, which can promote a uniform texture and consistent flakiness throughout the scone, but since the butter flakes are smaller, the scones aren’t quite as fluffy and flaky as when you create sheets of butter by hand. After grating, quickly toss the butter shreds into the flour mixture to coat them before they begin to melt. This helps keep the mixture cold and delays the fat from integrating fully into the flour, ideal for achieving a light, airy texture.
- Using a Pastry Cutter: For those who prefer not to get their hands buttery, a pastry cutter or pastry blender offers a clean and efficient way to cut butter into the flour. This tool helps break the cold butter into small pebbles or coarse crumbs without warming it, which is crucial for flaky pastry. The key here is to avoid overworking the mixture; you’re aiming for a crumbly texture where some larger pieces of butter are still visible. These bits of butter will melt as the scone bakes, creating similar pockets of steam. With this method, the scones are fluffy but less flaky since the butter pieces are in chunks, not sheets.
- Using a Food Processor. We hate washing extra dishes so this method isn’t our first choice, but the butter and dry ingredients can be added to a food processor and pulsed until the mixture resembles coarse crumbs. This method works in a similar way to using a pastry cutter. It results in a fluffy scone without the same flakiness as the first two methods because the butter pieces are in chunks, not sheets.
Each method has its benefits and choosing one over the other can depend on personal preference or the specific texture you’re aiming for in your homemade scones. We always choose the first method, sheeting the butter by hand, because in our experience it yields the best, most professional results and the flakiest scones.
Regardless of the method you choose, the main principle remains: the butter must stay as cold as possible while being integrated into the flour to prevent it from blending too thoroughly into the flour before baking. This ensures that during baking the butter melts and creates steam and lift, resulting in light, flaky, and tender scones.
Here’s a list of the basic kitchen equipment you’ll need to have on hand to make this scones recipe (paid links):
- mixing bowls
- measuring cups and spoons
- liquid measuring cups
- whisk
- large baking sheet or baking tray
- Parchment Paper
- Pastry Brush
- pastry cutter optional
Here’s a list of the ingredients you’ll need to make this scones recipe (paid links):
- 4 cups all purpose flour
- 1/2 cup granulated sugar
- 2 tablespoons baking powder
- 1/2 teaspoon salt
- 1 1/3 cup half and half cream
- 2 large eggs
- 1 cup cold unsalted butter
You’ll also need one large egg and 2 tablespoons of water for the egg wash to brush onto the scones before baking.
Looking to add some mix-ins? Here are a few amazing flavour ideas for this basic recipe!
- Chocolate: Add some chocolate chips into the scones as you fold the dough before cutting.
- Blueberries: Blueberry scones are SO delicious and can be made easily by folding fresh blueberries into the dough while folding the dough to prepare it for cutting.
- Vanilla: Adding vanilla extract and/or vanilla bean paste creates a deliciously sweet flavour in your scones. You can also top them with a vanilla glaze after baking.
- Cranberries and Lemon: Soak some dried cranberries in lemon juice and once they’re drained, fold them into the dough along with some lemon zest. Sprinkle with coarse sugar before baking for extra sweetness.
- Orange: Add orange zest to your scones and top them with an orange juice and powdered sugar glaze after baking.
- Raspberry White Chocolate: Fold in some fresh raspberries and white chocolate chunks for an extra sweet treat.
- Cherries: Fold in some chopped fresh cherries and add some almond extract.
- Currants: Add some cinnamon and nutmeg to your dough and fold in some fresh or dried currants.
- Cheese Scones: Fold in some shredded cheese and chopped chives for a savoury twist.
Here’s a list of our other favourite scone recipes we know you’ll LOVE:
Time needed: 30 minutes
Follow these steps for the PERFECT homemade scones!
- Preheat your oven.
Preheat your oven to 375 degrees Fahrenheit and prepare a baking sheet or two (depending on how large your baking sheets are) by lining them with parchment paper. Set aside.
- Combine the dry ingredients.
In a large bowl combine the flour, sugar, baking powder, and salt. Mix well with a fork or a whisk.
- Combine the wet ingredients.
In a liquid measuring cup, measure the cream and add the eggs. Whisk together using a fork and set aside.
- Add the butter to the flour mixture.
Cut up your butter, right from the fridge, into little pieces and dump it into the flour mixture. Using your hands (wash them well first and remove any rings), pick up handfuls of the butter and flour mixture, rubbing the pieces of butter and the flour between the heels of your hands to create “sheets” of butter. You should act quickly here, and don’t allow the pieces of butter to sit in your hands for any length of time as the heat from your hands will cause it to soften. The goal is to create paper-thin pieces of butter, small and large throughout the mixture. Once there are no thick chunks of butter remaining, only thin sheets, remove your hands from the mixture. Hands equal heat, so handle the mixture as little as possible.
- Add the wet ingredients.
Pour in the wet ingredients and mix roughly with a fork. Do not over mix or the result will be heavy and dense.
- Use your work surface.
Once the wet ingredients have been incorporated but there are still several streaks of flour, turn the dough out onto a clean and floured counter surface. Press the dough down into the counter and then fold one half over the other half like you are folding a piece of paper. Press down again and make another fold. Repeat this 2 or 3 more times, gathering any outlying dough bits and flour into your folds. Don’t knead the dough like you would if you were making bread and don’t stir or mix the dough like you would if you were making muffins. Scones are technically a pastry, so the goal is flaky layers that are created by the thin sheets of butter and all the folding.
- Cut out the scones.
Once your dough is formed after folding several times, shape it into a rectangle about 1 3/4 to 2 inches thick (approximately). Again, be careful not to handle the dough too much, so a few little cracks here and there are fine. Cut out circles of dough using a sharp-edged biscuit cutter or a sharp rimmed glass or jar.
- Brush with egg wash.
Arrange the circles of dough on the parchment-lined baking sheet and brush the tops with the egg wash (whisk together the egg and water).
- Reshape the dough and cut out more scones.
You’ll need to re-shape the leftover dough to form another rectangle – do this carefully and gently, without adding much extra flour if possible. The less you handle the dough, the more tender and flaky the scones will be. Cut out the remainder of the scones until you have about 10-12 in total.
- Bake to perfection.
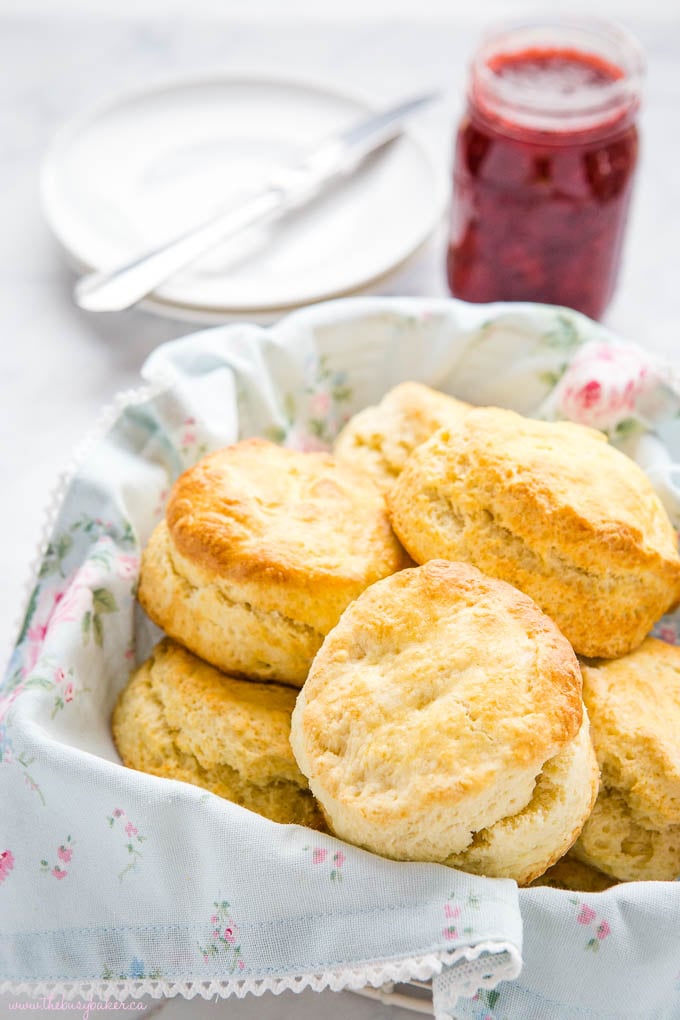
Bake for about 15-18 minutes just until barely golden brown and the surface of the scones lose their shine. Let them cool for 3-5 minutes on the baking sheet. Transfer them to a cooling rack to cool completely.
The shape of a scone can influence its texture, with round and triangular being the most common shapes. Here’s a breakdown:
- Round Scones: Traditional scones are round and it’s easy to form this shape using a circular cutter. Round scones tend to bake more evenly than triangular ones and they usually offer a softer texture because of their uniform shape, thanks to even heat distribution while baking.
- Triangular Scones: To make triangular scones, shape the dough into a round disc and cut it into wedges using a large sharp knife. This method is quicker and helps you avoid re-shaping the dough scraps, which can overwork the dough. Triangular scones tend to have a crisper exterior with slightly more crust than round ones.
Each shape will bake a bit differently, so you may need to adjust the baking time slightly based on the choice of shape. Regardless of the shape, ensuring the dough is handled as little as possible will give you light and flaky scones.
If you’d rather enjoy a savoury treat than a sweet one, here’s how we recommend adapting this recipe:
- Reduce the sugar, but don’t eliminate it. Sugar in baked goods isn’t just for sweetness, it’s also for flavour, structure and browning. This scone recipe works perfectly well if you cut the sugar amount in half, but don’t completely eliminate it or the recipe wont turn out (the scones won’t have as much lift and structure, and they won’t brown properly).
- Add savoury flavours. Add diced chives or green onions, some chopped bacon, and shredded cheese for a delicious savoury flavour. Feel free to experiment with dried or fresh herbs, fresh or roasted garlic, or different kinds of cheeses like cheddar, gouda, Gruyère, or Parmesan.
- Bake as directed. Be sure to form the scones and bake as the recipe states.
Can scones be made ahead of time?
Yes, they can be made 24 hours ahead of time, although they are best enjoyed the day they’re made.
Are British scones the same as American scones?
British scones are usually more flaky and tender than American scones.
What makes scones soft and fluffy?
Avoiding over-working the dough inhibits the development of gluten in the dough. Gluten development creates a chewy, tough texture, so soft and fluffy scones are made with as little gluten development as possible.
Why is butter important in scones?
Small sheets of butter in the dough melt and create pockets of steam inside the scones thanks to the heat of the oven. This is what gives the scones their flaky texture.
What type of flour is best for scones?
We recommend using all purpose flour. Bread flour contains too much gluten and will make the scones tougher and drier, and cake flour is too light and creates too much lift.
What happens when scones don’t rise?
If your scones don’t rise it could be because your baking powder is expired and doesn’t activate. It could also be because you over-mixed the dough or because the butter was too soft and didn’t create lift.
What can go wrong when making scones?
Some of the most common issues beginning bakers encounter when making scones have to do with the butter not being cold enough and over-mixing the dough. The most common negative result because of these issues is that the scones won’t rise well and will be tough and dry instead light and flaky.
Can scones be frozen?
Freeze them after baking (once cooled) in a freezer bag or airtight container for several months.
Why are my scones dry? Why are my scones crumbly?
Dry, crumbly scones almost always result from over-mixing the dough and not integrating the cold butter properly.
Why are scones triangular? Can scones be round?
Traditionally, scones are round (round scones bake more evenly), but it’s also possible to make them triangular by forming the dough into a circle, then slicing it into wedges like a pie.
We hope you love this scones recipe as much as we do! Let us know in the comments below, what’s your favourite classic treat to make at home? We’d love to know!!

More Sweet Treats
- Best Ever Pumpkin Spice Scones
- Best Ever Vanilla Bean Scones
- Lemon Blueberry Streusel Muffins
- Rhubarb Streusel Cake
- Pumpkin Cheesecake Swirl Muffins
- Best Ever Banana Nut Muffins
- Salted Caramel Pudding Cake
Watch the video below to see exactly how we make this recipe. You can find many more deliciously simple recipe videos on our YouTube channel!
If you made this, share a photo!
Are you trying this recipe? Use the comment form below to share your take; now with support for image uploads and comment voting!
Best Ever Classic Scones
Recipe: Equipment
- pastry cutter optional
Recipe: Ingredients
- 4 cups all purpose flour
- 1/2 cup granulated sugar (fine, not coarse. If you live in Europe, use Caster sugar)
- 2 tablespoons baking powder
- 1/2 teaspoon salt
- 1 1/3 cup half and half cream
- 2 large eggs
- 1 cup unsalted butter cold from the fridge
For the egg wash:
- 1 large egg
- 2 tablespoons water
Recipe: Instructions
- Preheat your oven to 375 degrees Fahrenheit and prepare a baking sheet or two (depending on how large your baking sheets are) by lining them with parchment paper. Set aside.
- In a large bowl combine the flour, sugar, baking powder, and salt. Mix well with a fork or a whisk.
- In a liquid measuring cup, measure the cream and add the eggs. Whisk together using a fork and set aside.
- The next few steps should be done quickly, as you're working with cold butter and you want the butter to be as cold as possible when it hits the heat of the oven. This will result in a flaky scone, rather than a heavy and dense one.
- Cut up your butter, right from the fridge, into little pieces and dump it into the flour mixture. Using your hands (wash them well first and remove any rings), pick up handfuls of the butter and flour mixture, rubbing the pieces of butter and the flour between the heels of your hands to create "sheets" of butter. You should act quickly here, and don't allow the pieces of butter to sit in your hands for any length of time as the heat from your hands will cause it to soften. The goal is to create paper-thin pieces of butter, small and large throughout the mixture. Once there are no thick chunks of butter remaining, only thin sheets, remove your hands from the mixture. Hands equal heat, so handle the mixture as little as possible.
- Pour in the wet ingredients and mix roughly with a fork. Do not over mix or the result will be heavy and dense.
- Once the wet ingredients have been incorporated but there are still several streaks of flour, turn the dough out onto a clean and floured counter surface. Press the dough down into the counter and then fold one half over the other half like you are folding a piece of paper. Press down again and make another fold. Repeat this 2 or 3 more times, gathering any outlying dough bits and flour into your folds. Don't knead the dough like you would if you were making bread and don't stir or mix the dough like you would if you were making muffins. Scones are technically a pastry, so the goal is flaky layers that are created by the thin sheets of butter and all the folding.
- Once your dough is formed after folding several times, shape it into a rectangle about 1 3/4 to 2 inches thick (approximately). Again, be careful not to handle the dough too much, so a few little cracks here and there are fine.
- Cut out circles of dough using a sharp-edged biscuit cutter or a sharp rimmed glass or jar. Arrange the circles of dough on the parchment-lined baking sheet and brush the tops with the egg wash (whisk together the egg and water).
- You'll need to re-shape the leftover dough to form another rectangle – do this carefully and gently, without adding much extra flour if possible. The less you handle the dough, the more tender and flaky the scones will be. Cut out the remainder of the scones until you have about 10-12 in total.
- Bake for about 15-18 minutes just until barely golden brown and the surface of the scones lose their shine. Let them cool for 3-5 minutes on the baking sheet. Transfer them to a cooling rack to cool completely.
Recipe: Notes
Storage Instructions
Once the scones are cooled to room temperature they can be stored in an airtight container for up to 4 days. We recommend enjoying them within the first 24 hours for best results.Freezer Instructions
Freeze the scones in an airtight container or sealed freezer bag for up to 3 months. Thaw at room temperature until completely thawed before enjoying.Recipe: Nutrition
Notice: Nutrition is auto-calculated, using Spoonacular, for your convenience. Where relevant, we recommend using your own nutrition calculations.
The best recipe for scones—definitely a keeper for my cookbook! We had them with wild violet jelly and lavender lemonade. For my birthday at the end of the month, we’re having alfredo, and I’m going to use this recipe again to make savory scones.
Thank you for sharing your feedback! Happy birthday!
Wow. Best baking instruction and rationale for each step explained. I learned a few new things. Thank you!
We’re so happy you enjoyed them! Thank you for taking the time to leave your feedback!
These are amazing! I made then for my book club & served them with homemade Strawberry jam, marmalade & (Mock) Clotted cream. They were a big hit! I’ll definitely make them again 🙂
We’re so happy you enjoyed them! Thank you for taking the time to leave your feedback!
I found this recipe very good… however I think they are perfect for a breakfast scone with honey or jam. I was making for first time to have with soup and I did find them too sweet for that. On that note… I will def make them again, maybe adding a garlic my herb seasoning for savoury meals or adjusting the sugar accordingly for a breakfast treat! They were super light and flaky and baked up perfectly. I used my air fryer on bake setting for 9 mins and they were delish!!!
I’m so happy you enjoyed them! Thank you for taking the time to leave your feedback! We do indeed lower the sugar when we want to use them for soups.
can I use milk instead of cream?
These were delicious, I made them for my family and they enjoyed them using cream really makes a difference in terms of the flavour
Thanks so much for your feedback!!
Absolutely the best I’ve ever made. Your tips were right on
Thank you this one is definitely a keeper!
Thanks so much Pat!!🙂