
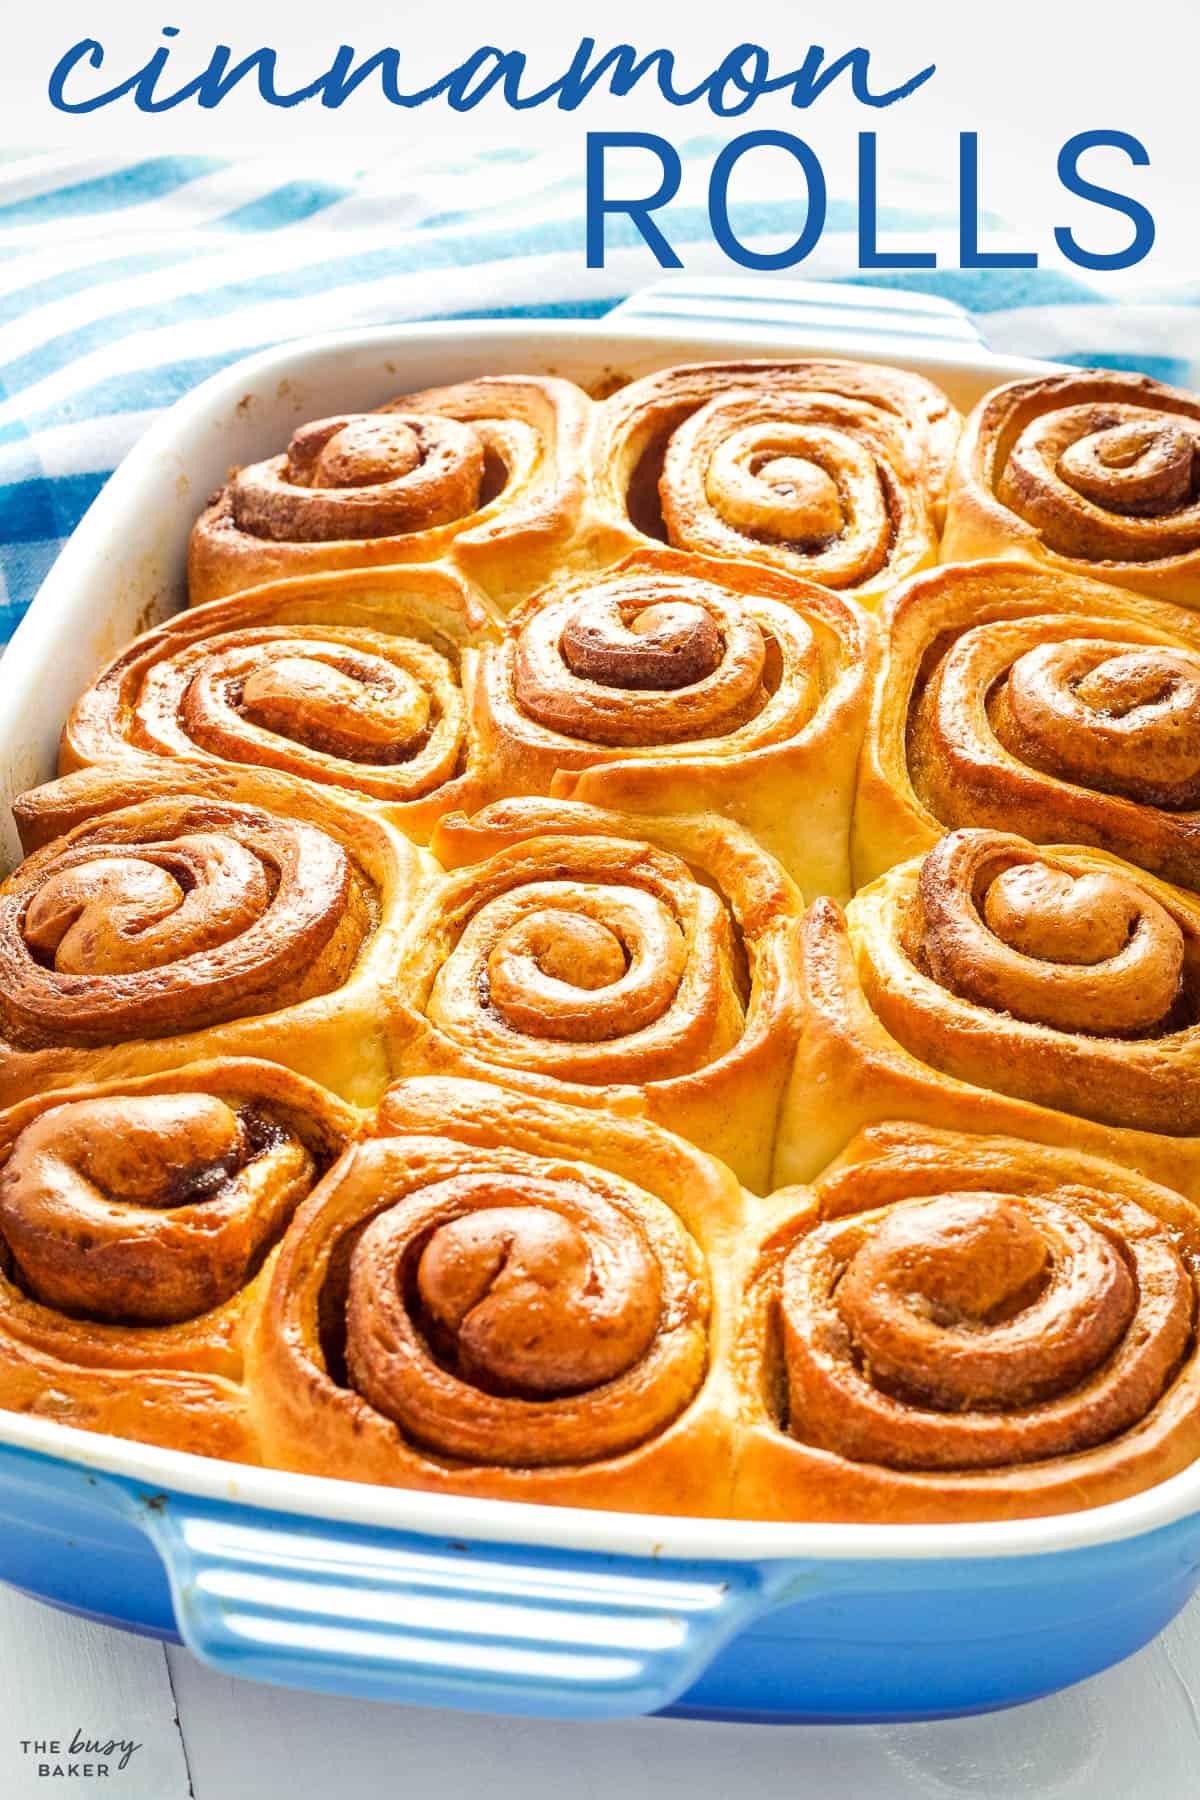
This Cinnamon Rolls recipe is the ultimate guide to making the perfect cinnamon rolls – sweet, sticky, soft and fluffy, and made with a secret ingredient! Follow our Pro Tips and Tricks for the BEST homemade cinnamon rolls!
Estimated reading time: 16 minutes
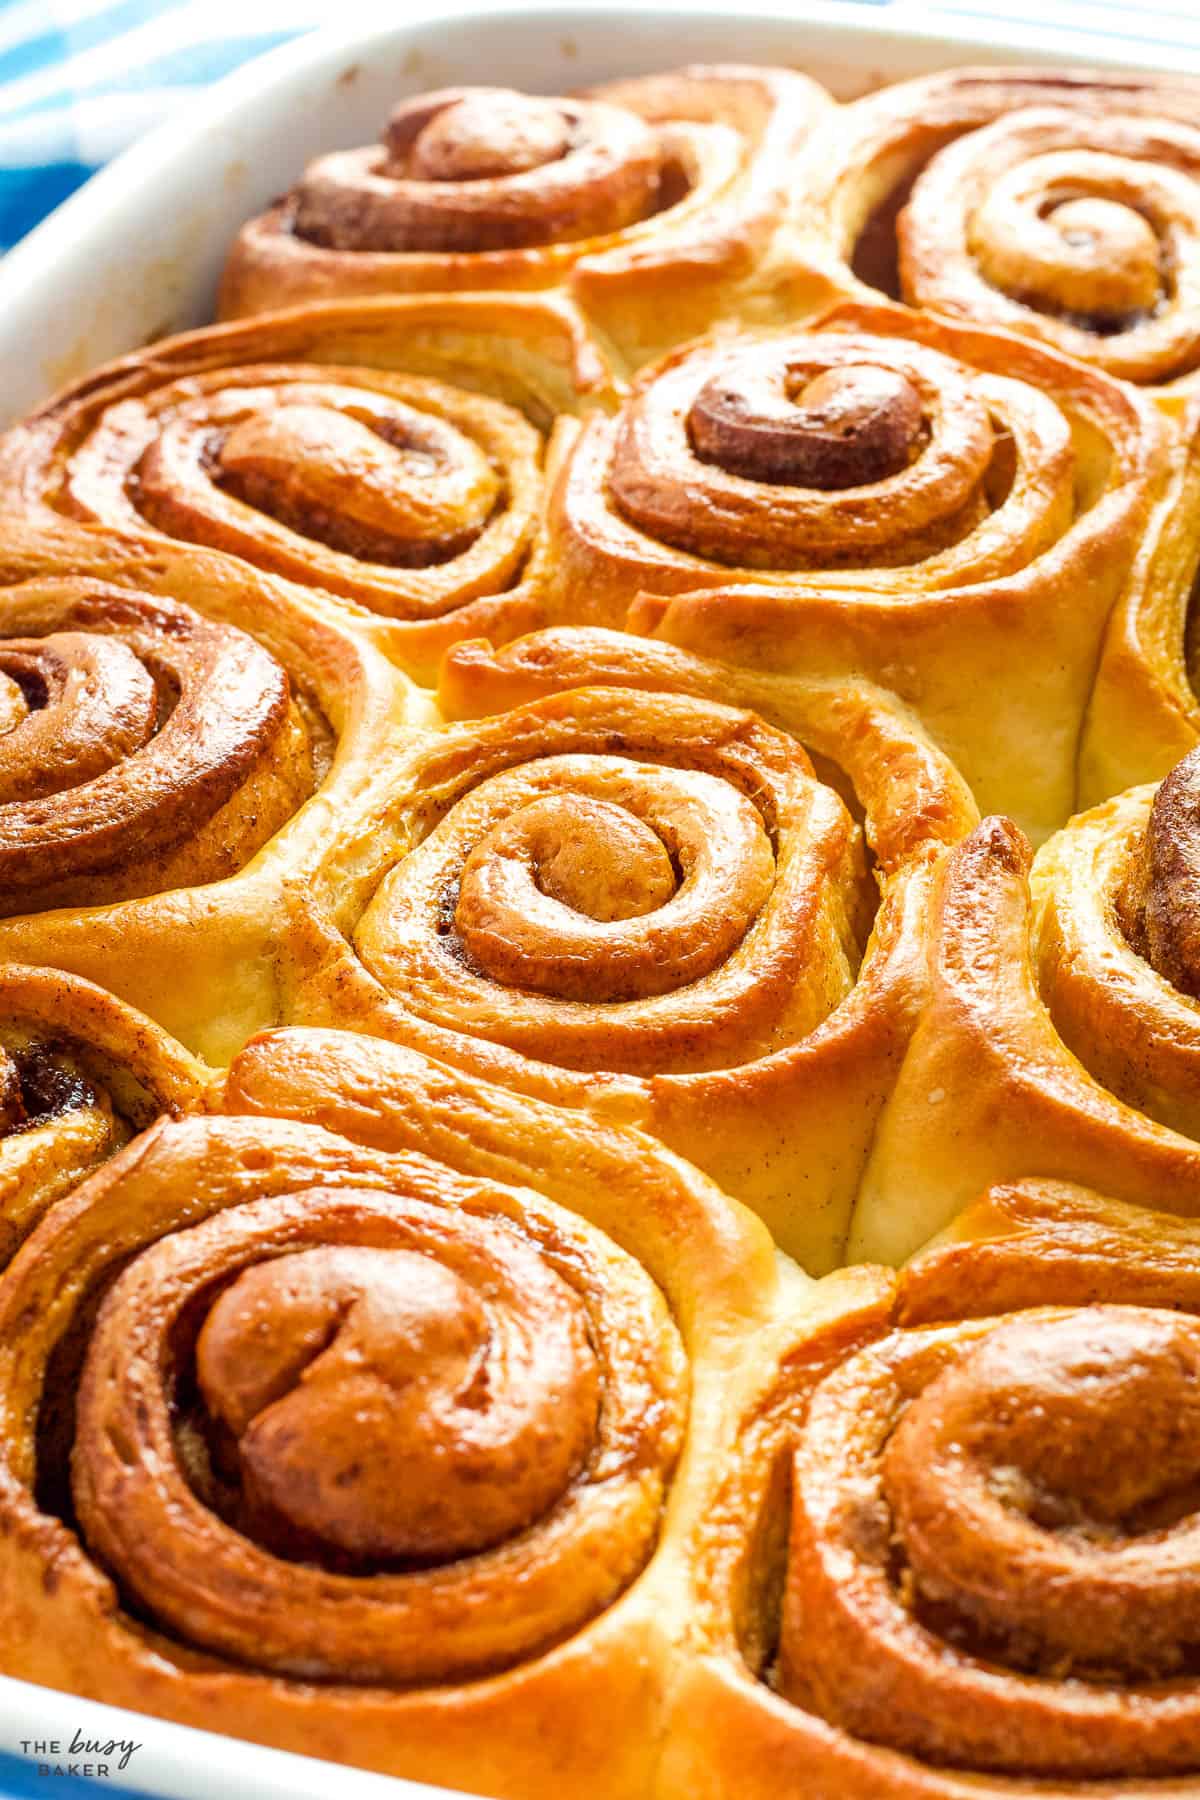
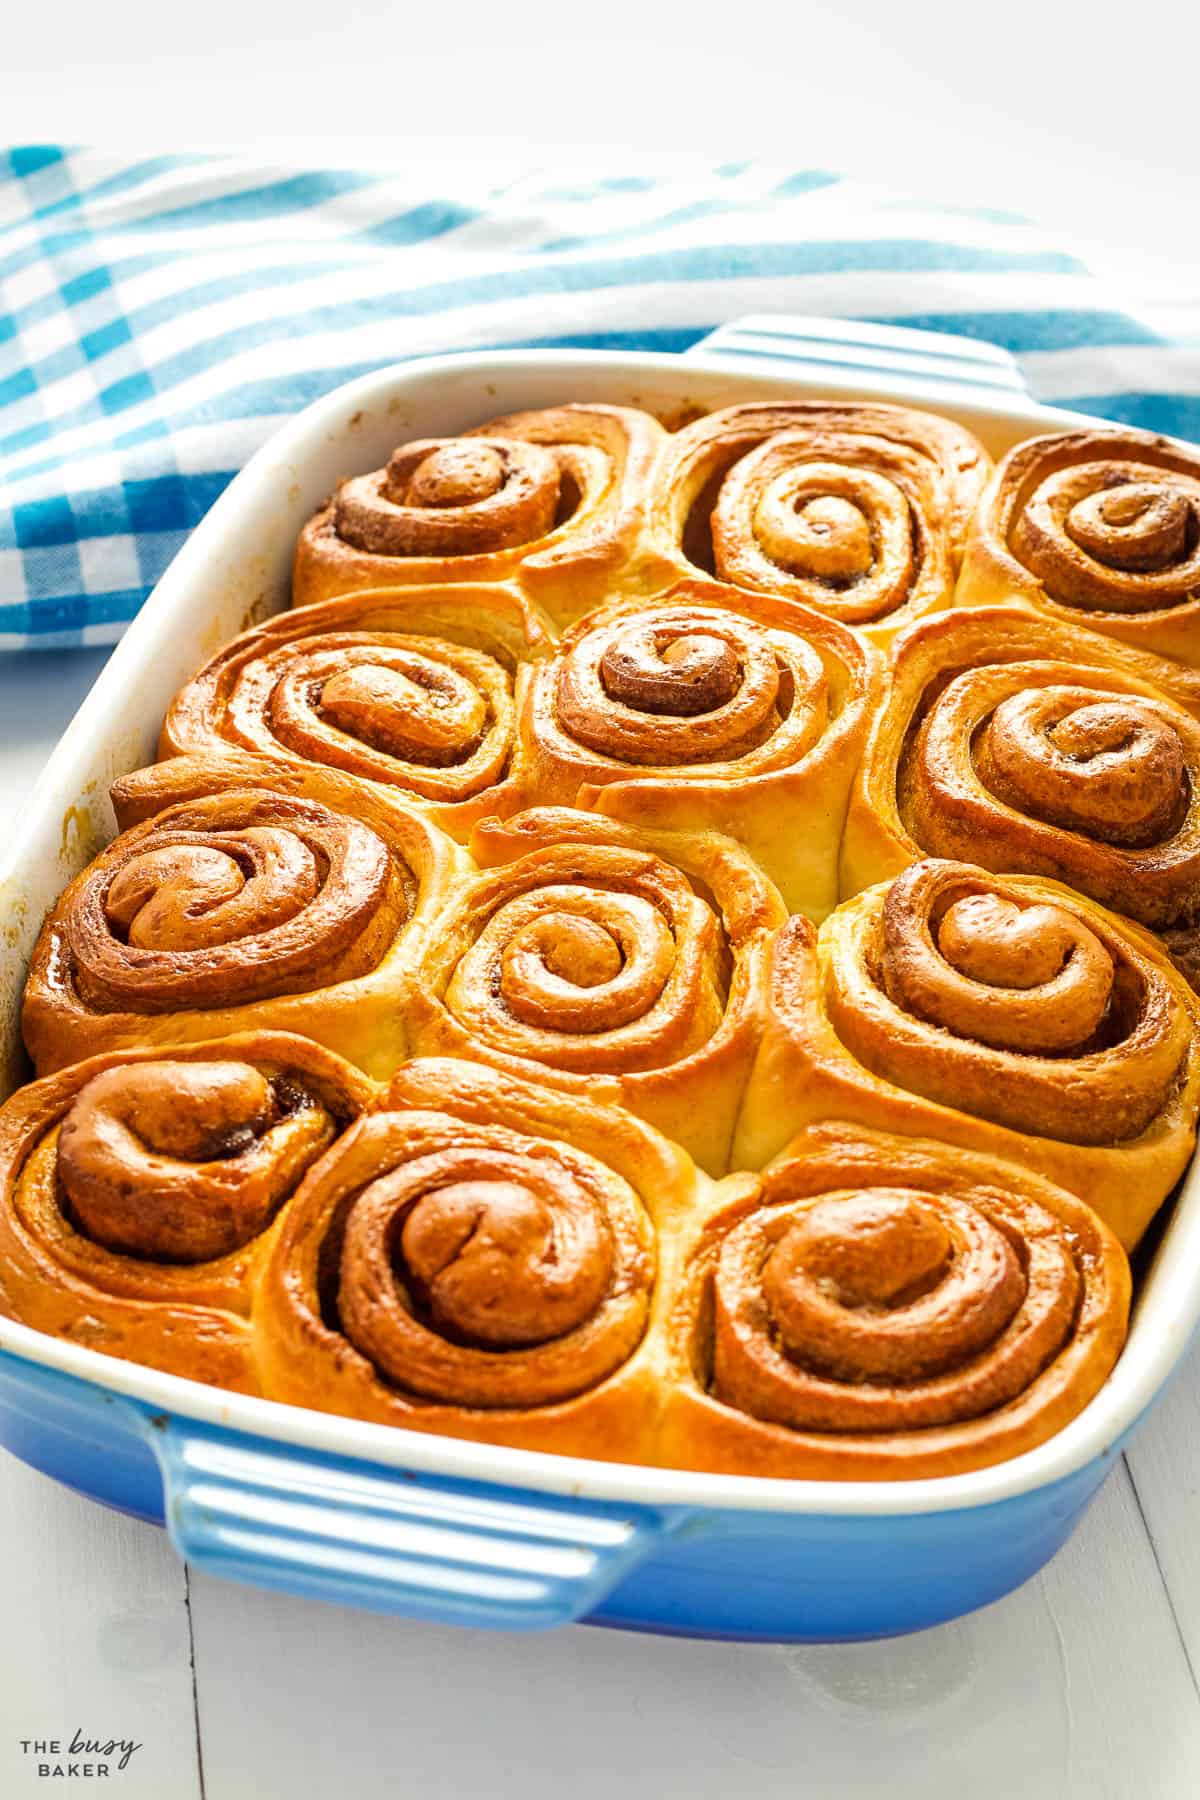
Every now and then there’s a recipe that takes its place on the top of our list of favourite recipes of all time. This Homemade Cinnamon Rolls recipe is simply the best – it makes cinnamon rolls that are the perfect balance of a soft, fluffy yeast dough and a sweet sticky filling that’s made with the BEST secret ingredient.
If you’re still making those pre-made grocery-store cinnamon rolls from a can because the thought of homemade cinnamon rolls in too intimidating, our Cinnamon Rolls recipe is the perfect beginner’s guide to making homemade cinnamon rolls. Simply follow our Pro Tips and Tricks and you’ll be baking the BEST cinnamon rolls ever!
A cinnamon roll is a sweet roll made from a sweet, enriched dough containing butter, milk and eggs for extra softness. The dough is then rolled into a spiral with a sweet filling made from brown sugar, cinnamon and butter.
These sweet rolls are served all over the world and have their roots in Europe. Depending on where they’re made, they have different shapes and sometimes different flavours, like added nutmeg or cardamom. In Sweden they’re called Kanelbullar (and we’ve shared our FANTASTIC Swedish Cinnamon Roll recipe with you HERE), in Canada they’re often referred to as cinnamon buns and in the United States as cinnamon rolls, but no matter what they’re called or where they’re made, they’ll always be one of our favourite treats!
If you’ve never made cinnamon rolls before, here’s a comprehensive list of all the tips and tricks you need to ensure your homemade cinnamon rolls turn out perfectly, every single time!
In order to achieve a fluffy dough that rises well, the temperature of the wet ingredients when they hit the yeast is critical: too cold, and the yeast won’t be able to grow; too hot and the liquid will kill the yeast. Both of these situations will cause your dough to be tough and dry, and you’ll be lucky if it rises at all.
Ensure the butter/milk/sugar mixture is slightly warm to the touch (about 100 to 110 degrees Fahrenheit or 38 to 43 degrees Celsius) to activate the yeast without killing it. An instant-read thermometer is a handy tool for this, if you’re unsure. If you don’t have an instant-read thermometer aim for the temperature of a baby’s bath water: not hot, just barely warm.
Use ingredients like eggs, milk, and butter at room temperature to ensure they incorporate smoothly into the dough and maintain the right temperature for optimal rising.
Cinnamon roll dough should be tacky to the touch, but not so sticky that it’s very messy. It should pull away from the sides of the mixing bowl easily and the bowl should appear fairly clean. If the dough appears too sticky, continue kneading and add flour one tablespoon at a time until the dough reaches that tacky texture.
Too little flour and the dough will be too sticky and will result in dense buns. Too much flour and the dough will be tough, resulting in dry, crumbly buns. Be sure to measure your flour accurately.
Let the dough rise in a warm, draft-free place. A lightly greased bowl covered with plastic wrap, placed in a warm spot like an oven with the light on, is ideal. The dough typically rises in about 1 hour.
For evenly shaped cinnamon rolls, roll the dough into a proper rectangle with neat corners. This ensures uniform thickness and size of your rolls. Tools like a bench knife or bowl scraper can be very helpful in achieving those sharp, even corners.
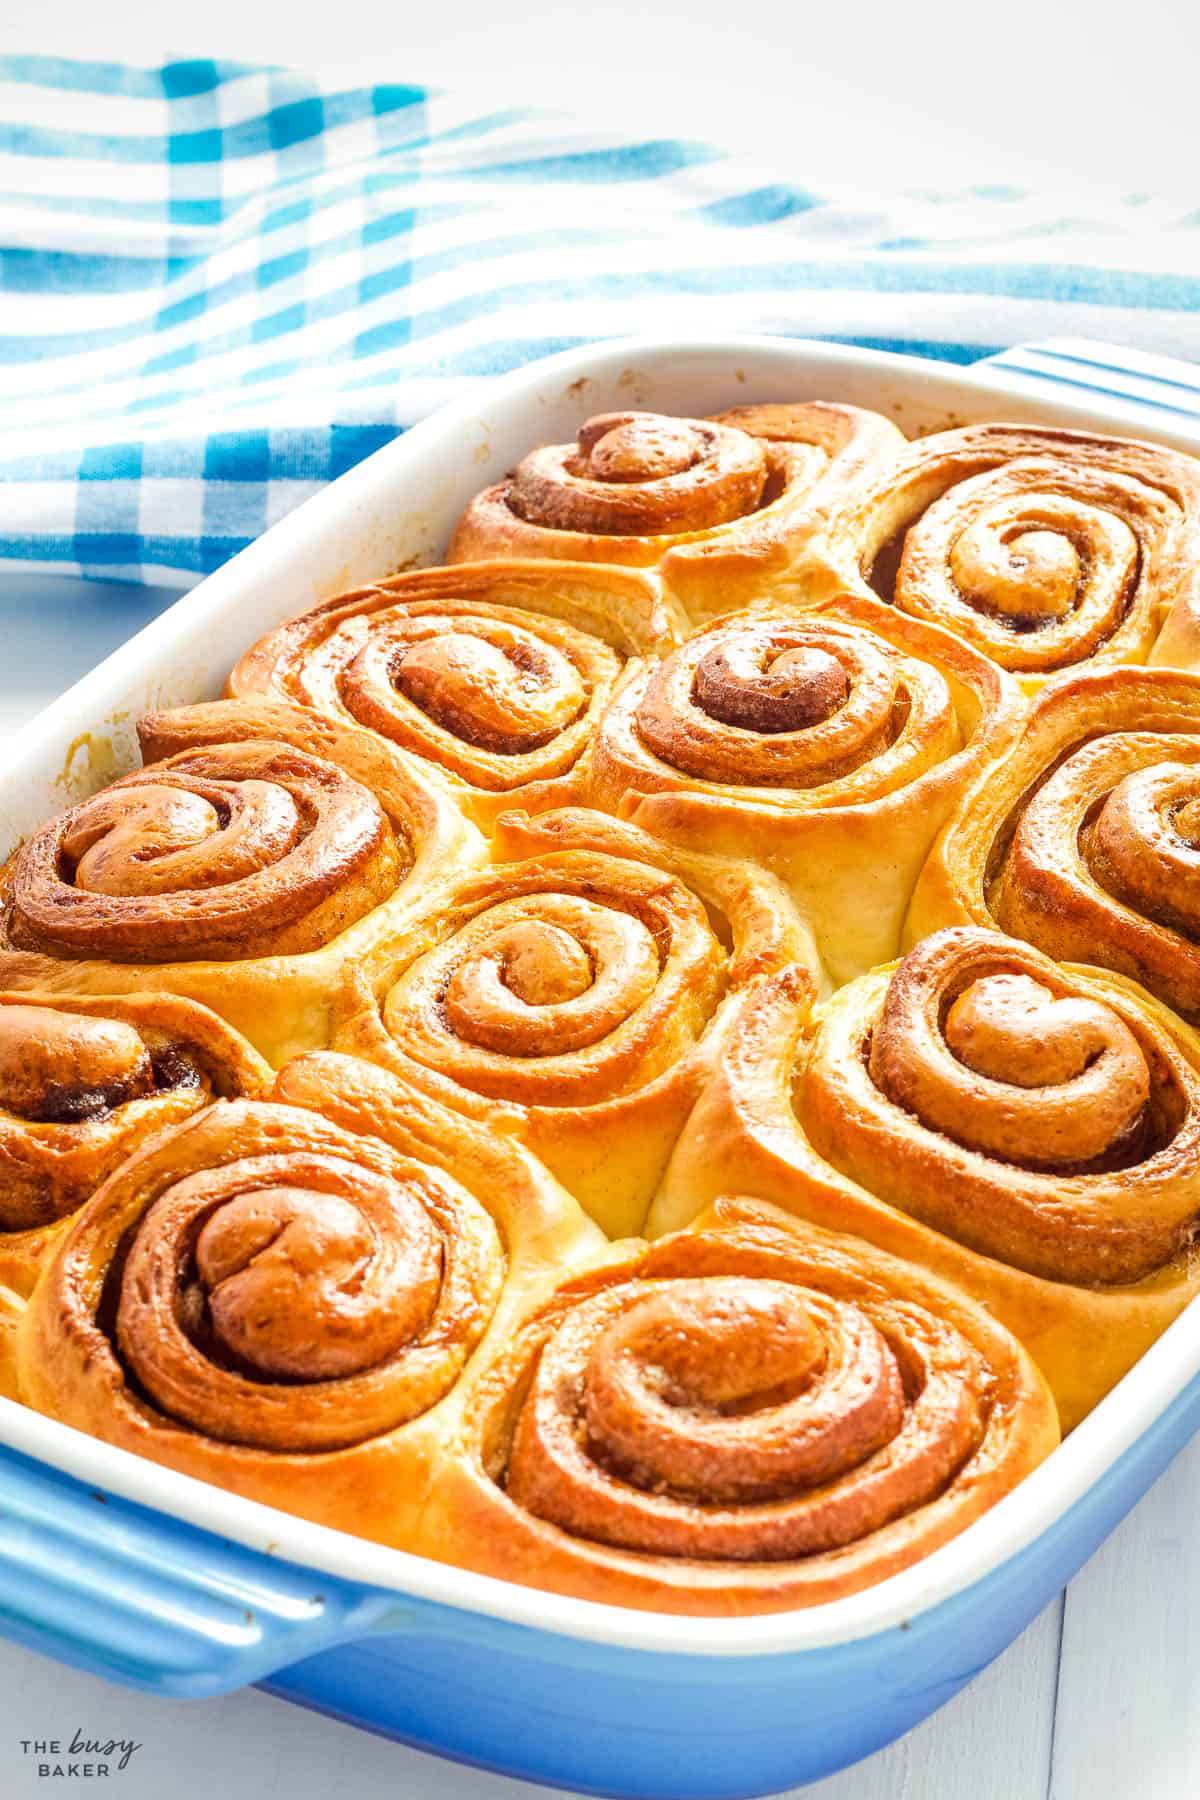
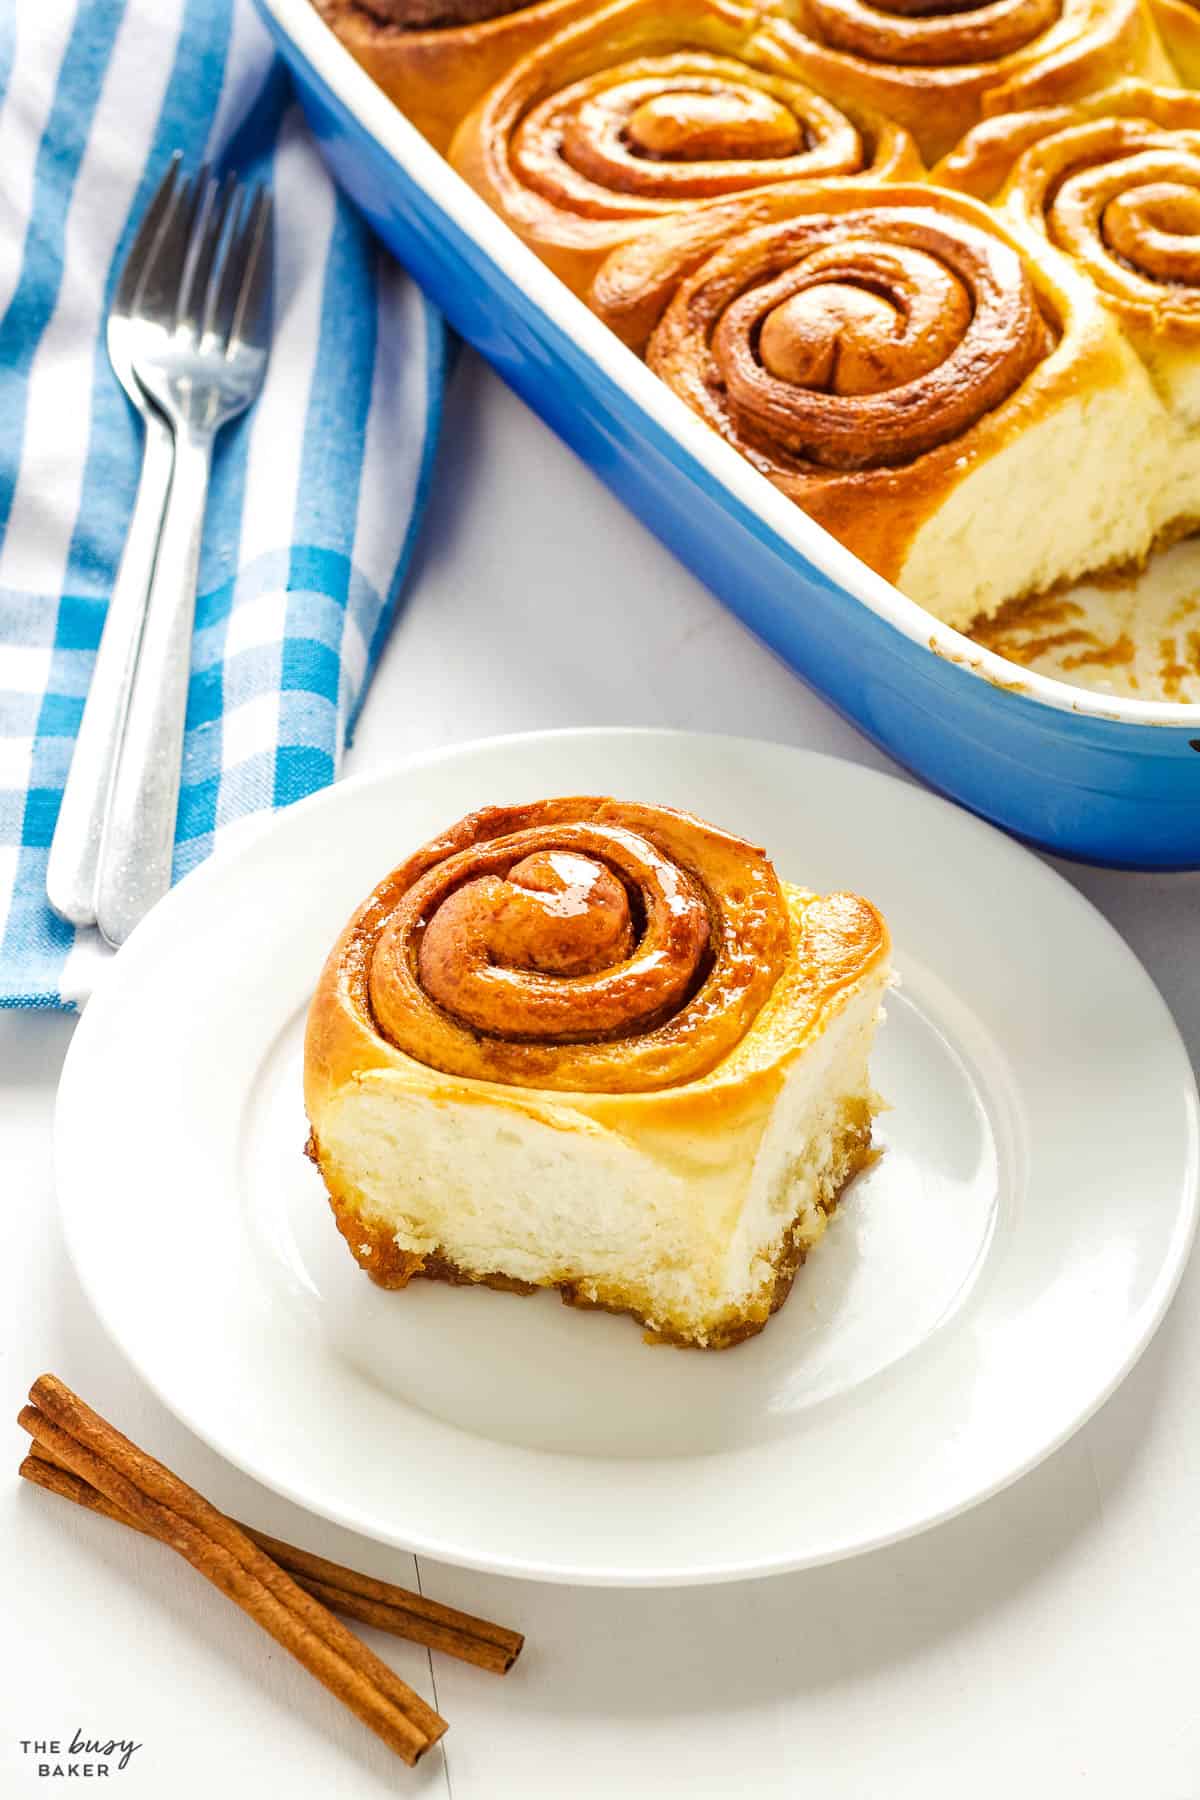
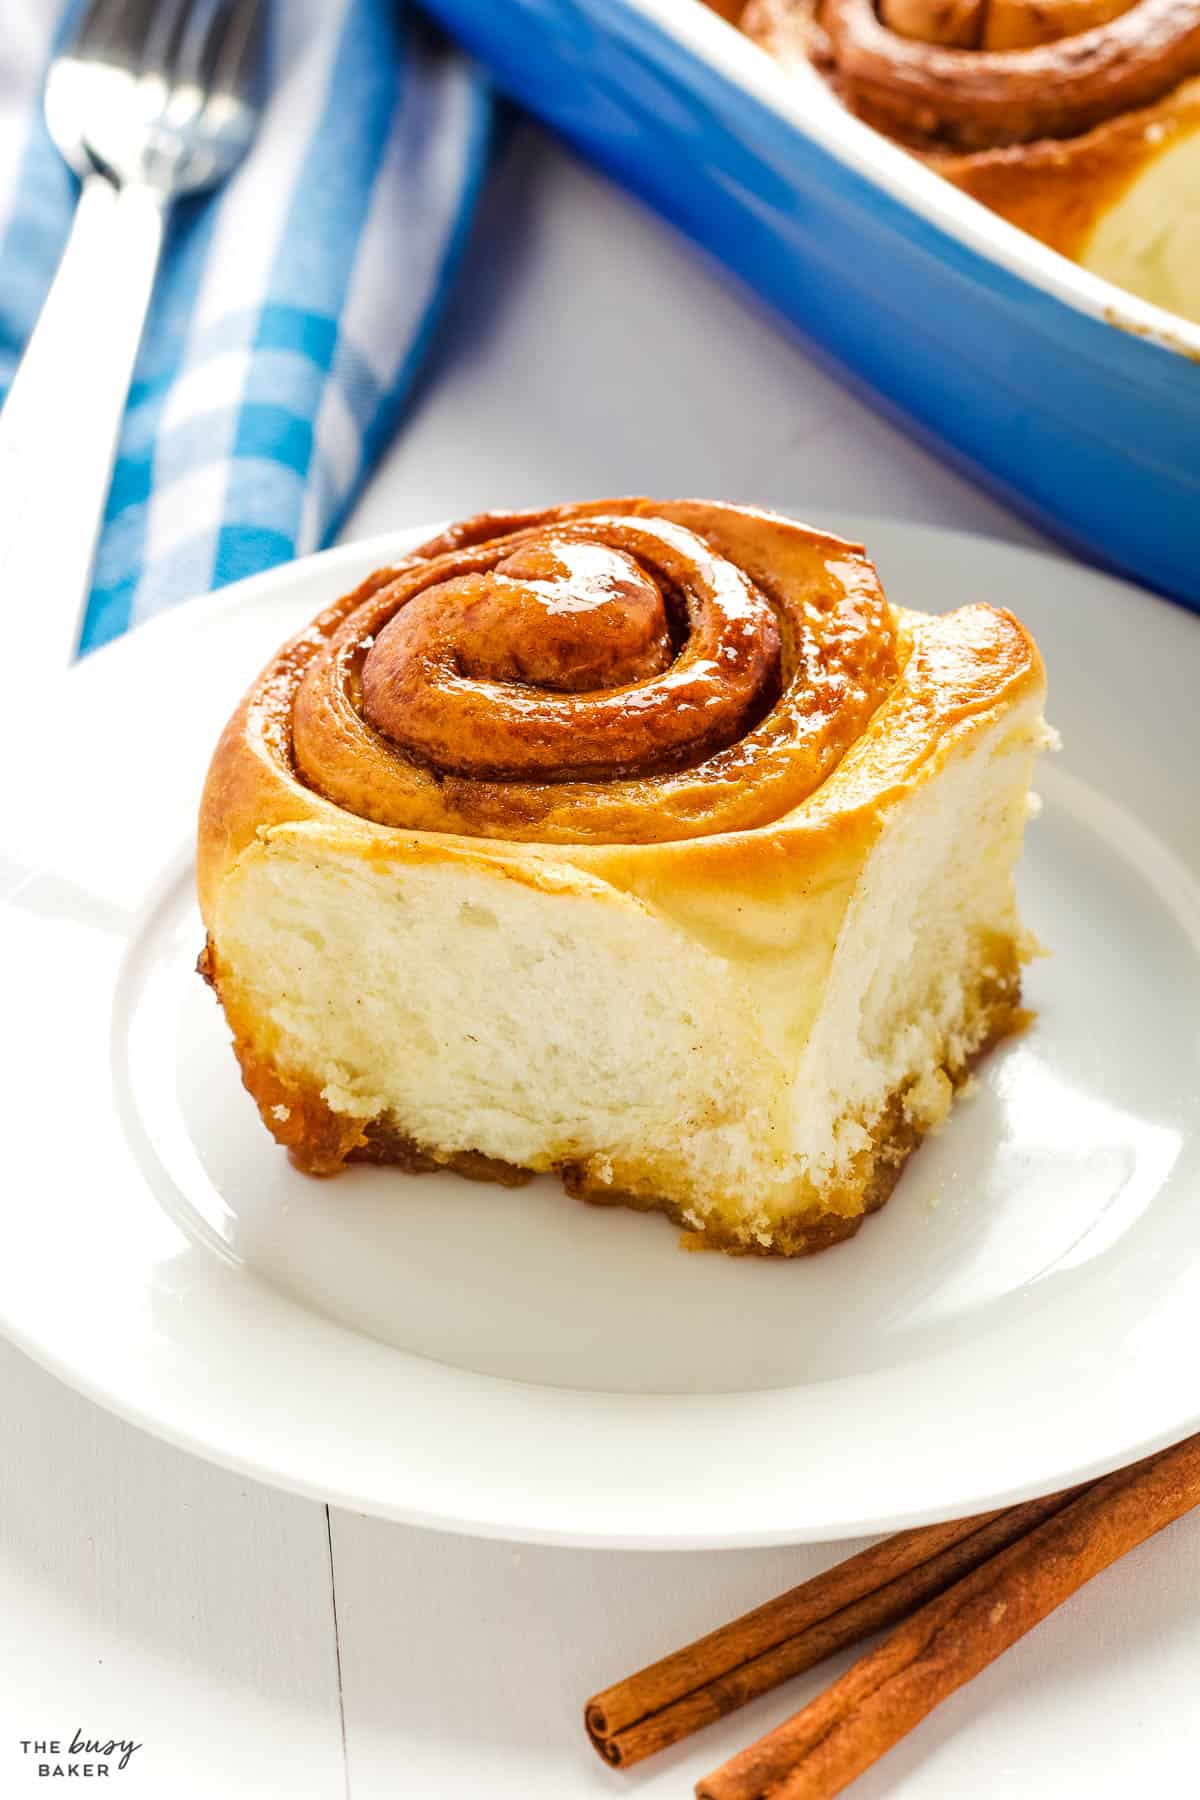
The maple syrup in this recipe is a fantastic secret ingredient that creates the beautiful golden, sticky bottom to these cinnamon buns. If you’re looking for a diner-style cinnamon bun, this is exactly how to do it at home! Pour the maple syrup into the pan, tilting the pan if necessary to make sure the syrup coats the bottom completely. If you want to add a little extra syrup, go ahead. You’ll get no judgment from me!
Turn the dough out onto a very lightly greased work surface rather than flouring the work surface. This makes the dough easy to roll out and it helps the surface of the dough to remain soft instead of drying it out like adding more flour would do. I like to spritz my counter top with a little bit of vegetable oil to make sure the dough doesn’t stick and it works like a charm!
Be cautious not to roll the dough too tightly. This can squeeze out the filling and cause the centers of the rolls to pop up during baking, resulting in less aesthetically pleasing, cone-shaped rolls. A looser roll allows for proper proofing and even baking.
You’ll probably notice there is some space left between the rolls. This is exactly what you want to see because you’re about to let the rolls rise again for about 20 minutes. For these rolls, a shorter second rise helps to maintain a super soft-textured dough that’s fluffy but not too airy. The key here is not to over-rise; the heat of the oven will cause them to puff up even more and if they’ve risen too much before going in the oven they can actually lose their height and lose their beautiful texture. When large air pockets develop in the dough it creates rolls that are misshapen, which causes them to brown unevenly when baking. Over rising is a recipe for disaster, so if you want uniform cinnamon buns that stay in the pan while baking, only rise for 20 minutes the second time.
Avoid over-baking as it can make the rolls tough and chewy. Be sure to follow the recipe and bake the rolls just until they’re golden brown.
Allow the rolls to cool for at least 20-30 minutes before trying to remove them from the pan. If you plan to frost the cinnamon rolls, we recommend waiting until they’ve cooled almost completely to prevent the icing from melting off.
When baking homemade cinnamon rolls, especially for beginners, you might encounter some challenges. Here are problems you might face and solutions to these common issues:
If the dough is too sticky while kneading, add a little more flour, about a tablespoon at a time, until it becomes easier to work with.
If the dough doesn’t rise, the yeast might be inactive, or the environment might not be warm enough. Ensure your yeast is fresh and the rising environment is warm and draft-free.
If the cinnamon rolls rise unevenly it may be due to rolling them too tightly or using a pan that’s too small or crowded. To fix, gently press the overly risen parts back down with a spoon, and next time use a larger pan.
This can happen if the rolls are rolled too tightly or the pan is too small. Ensure to cut the dough properly so that the rolls fit well in the pan or choose a pan large enough for a bit of space between the rolls.
A little bit of filling spilling out is normal, but this may happen if the dough is rolled too tightly or not tightly enough. Be sure to use parchment paper underneath for easy cleanup.
This can result from over-baking or from adding too much flour to the dough before the first rise. Monitor the baking time and temperature closely and stick to the recommended flour measurements.
Uneven baking can be the result of hotspots in your oven. Make sure the rolls are evenly spaced and the oven is preheated properly. Uneven oven temperature can cause inconsistent baking. if you’re not confident that your oven heats evenly, we recommend rotating the baking pan halfway through baking for more even baking.

Here’s a list of the kitchen equipment you’ll need to make this homemade cinnamon roll recipe (paid links):
- A Stand Mixer. A stand mixer is one of our favourite pieces of kitchen equipment, especially for baking cinnamon rolls. It makes whipping up the dough an absolute breeze. This KitchenAid stand mixer is one we’ve used for almost 20 years and we love it!
- Mixing Bowls. Of course, you can make this recipe by hand in a mixing bowl. Having a set of good mixing bowls is critical for baking and these stainless steel mixing bowls do a great job when making doughs like this!
- Measuring Cups and Spoons. Measuring your ingredients properly is an important part of baking. Here’s a set of measuring cups and spoons for dry ingredients we recommend.
- Liquid Measuring Cups. When measuring liquid ingredients, it’s important to use measuring cups that are meant for measuring liquids. These liquid measuring cups are our favourite ones.
- A Silicone Spatula. A silicone spatula is great for scraping down the bowl. Check out our favourite silicone spatulas for baking!
- Microwave Safe Bowls. Because you can’t put metal in the microwave, having a good set of glass or pyrex bowls is important for tasks like melting butter in the microwave. Here’s our favourite set of pyrex bowls for baking.
- A Rolling Pin. You’ll need one to roll out the dough. Here’s a rolling pin we recommend.
- A Silicone Pastry Brush. Use a brush to spread the melted butter over the dough before rolling. Here’s one of our favourites.
- A Large Knife. Slice the cinnamon rolls with a large knife that’s sharp so they keep their shape when sliced.
- A Baking Dish. We recommend baking these cinnamon rolls in a 9-inch by 13-inch baking dish or equivalent. This one is our favourite, but a metal one like this will also work just fine.
Here’s a list of ingredients you’ll need to make these homemade cinnamon rolls (paid links):
FOR THE DOUGH:
- 1 1/4 cups milk
- 1/3 cup granulated sugar
- 2 1/4 teaspoons active dry yeast
- 3 1/2 cups all purpose flour
- 3/4 teaspoon salt
- 1/3 cup unsalted butter melted
- 1 egg
FOR THE FILLING:
- 1/3 cup unsalted butter melted
- 1 cup brown sugar
- 1/2 – 1 tablespoon ground cinnamon to taste
- 1/2 cup maple syrup use the real stuff, not pancake syrup
ALSO NEEDED:
- 1 egg beaten with 1 tablespoon water for brushing on before baking
- 1-2 teaspoons vegetable oil for rolling out dough, or use spray oil
- unsalted butter for greasing the pan
If you’re looking for a new twist on a classic homemade cinnamon roll, try one of these delicious variations!
- Apple Pie Rolls: Incorporate diced apples and a pinch of nutmeg into your cinnamon filling for a delightful apple pie-like experience.
- Chocolate Chip Swirls: Add a generous amount of chocolate chips to the cinnamon-sugar mixture for a sweet, chocolatey version.
- Strawberry Cheesecake: Try our Strawberry Cheesecake Sweet Rolls recipe!
- Pecan Caramel Rolls: Top your rolls with a caramel sauce and sprinkle chopped pecans for a crunchy, gooey treat.
- Cranberry Orange Rolls: Add fresh orange zest to your dough and cranberries to the filling for a citrusy twist. Top with an orange glaze for extra flavour. Try our Cranberry Orange Sweet Rolls recipe!
- Maple Bacon Rolls: Drizzle maple syrup over your prepared rolls and top with crispy bacon bits for a savoury-sweet combination.
- Pumpkin Spice Rolls: Mix pumpkin puree and pumpkin pie spices into your dough for a festive autumnal spin. Try our Pumpkin Spice Cinnamon Rolls recipe!
- Raspberry White Chocolate Rolls: Spread raspberry jam over the dough and sprinkle with white chocolate chips before rolling.
- Blueberry Lemon Rolls: Fill your rolls with fresh blueberries and lemon zest, and top with a lemon glaze for a refreshing twist. Try our Lemon Blueberry Sweet Rolls recipe!
- Chai Spice Rolls: Blend chai spices like cardamom, ginger, and cloves into your cinnamon filling for a warm, spicy kick.
Time needed: 3 hours and 10 minutes
Follow these steps for the perfect homemade cinnamon rolls!
- Start with warm and room temperature ingredients.
Make sure the milk is just above room temperature and the other ingredients are at room temperature. This will help them combine well and form a smooth dough.
- Mix the yeast with the milk and sugar.
Measure out the milk and sugar and whisk them together with the yeast. Let sit for a few minutes until the yeast bubbles.
- Mix the flour and salt.
Add the flour and salt to your stand mixer and mix together.
- Add the egg and melted butter.
Crack the egg in with the flour and add the melted butter.
- Add the milk mixture.
Pour in the milk and yeast mixture.
- Let your stand mixer do the work.
Turn on the stand mixer to low speed and let the dough combine. Let the dough knead on medium-low speed for 3 minutes.
- Rise until doubled.
Cover the bowl with plastic wrap and rise for 1.5 to 2 hours until doubled.
- Prepare the baking pan with the secret ingredient.
Grease the baking dish and add the maple syrup!
- Roll out the dough.
Roll the dough into a rectangle shape that’s about 18 inches by 8-10 inches.
- Add the filling and form the rolls.
Brush with melted butter, add the brown sugar and cinnamon, roll up and slice into 12 rolls.
- Rise for 20 minutes.
Place the rolls into the prepared baking dish, cover and rise for about 20 minutes. Preheat the oven while the rolls rise.
- Add the egg wash (optional).
Brush the tops of the rolls with egg wash. This is an optional step.
- Bake to perfection.
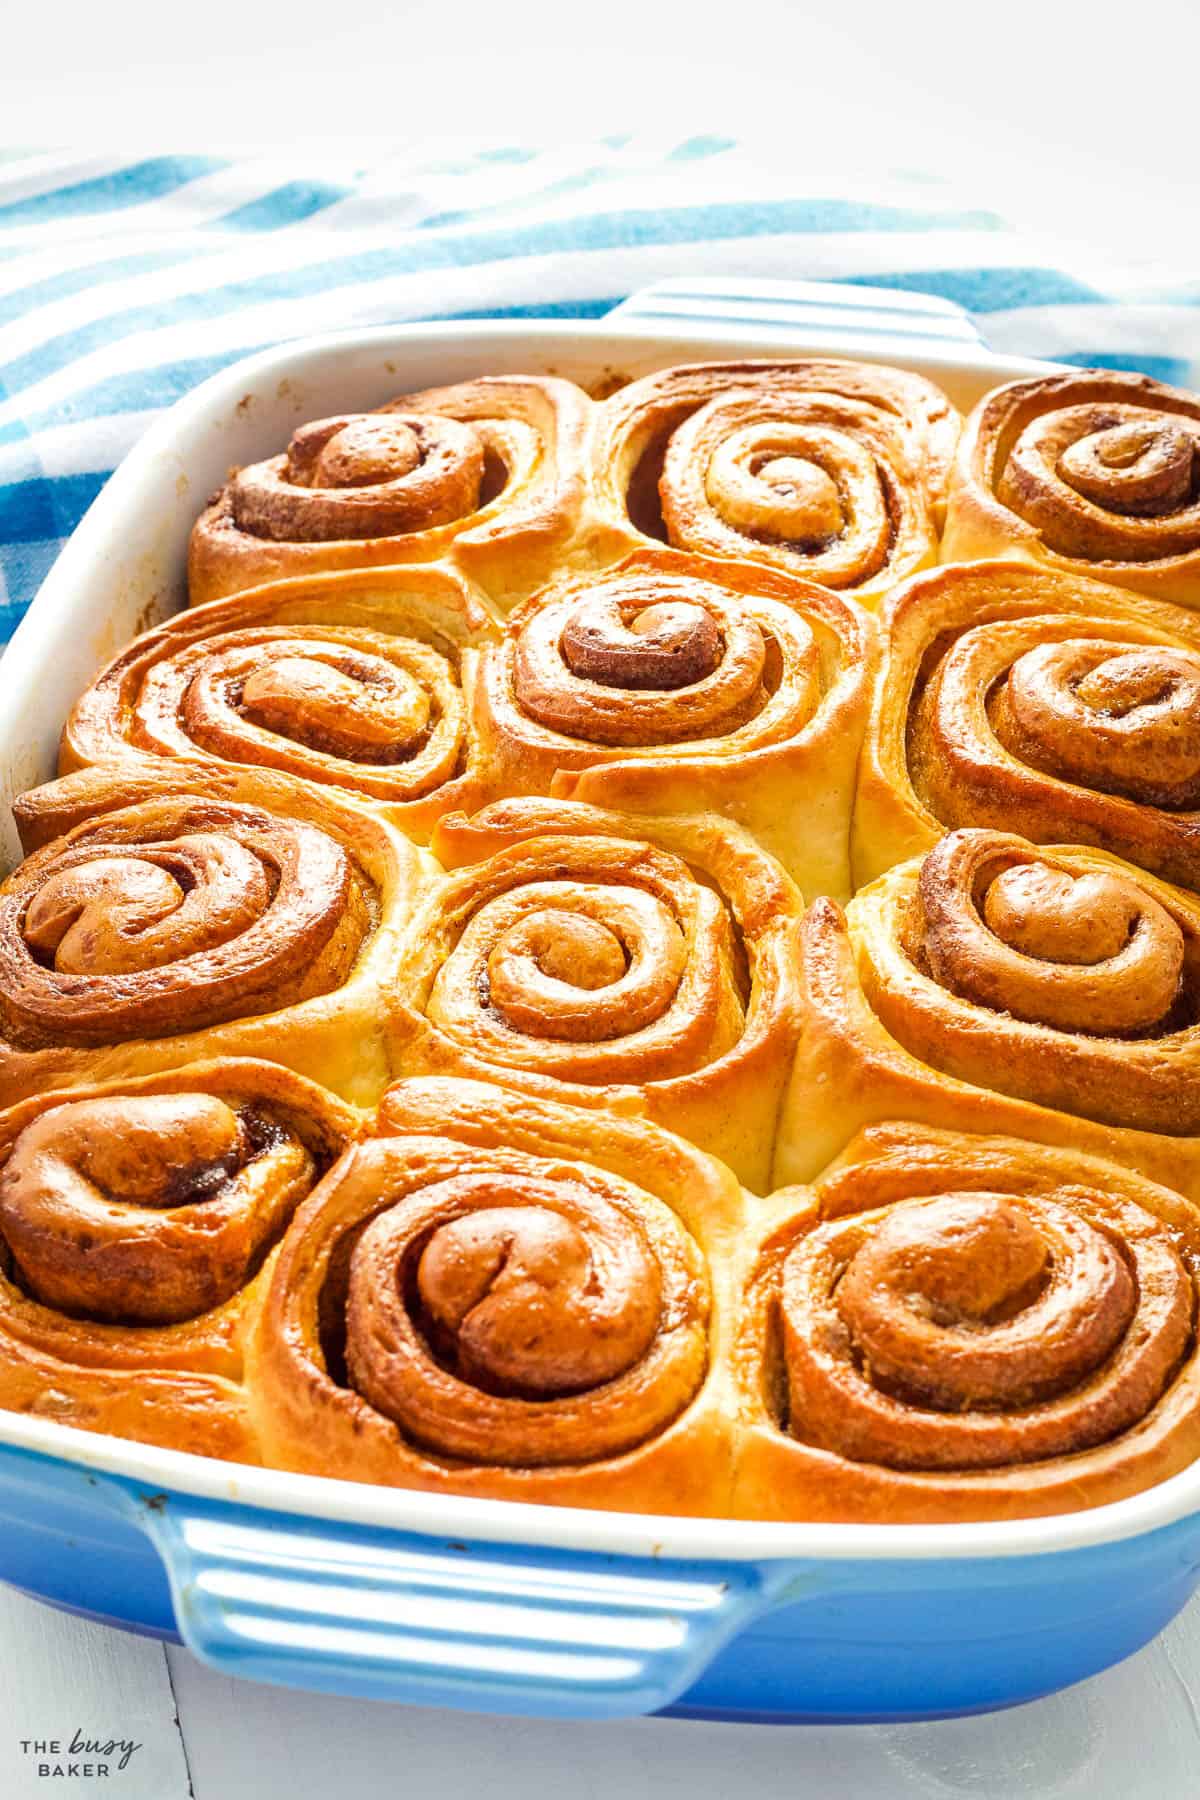
Bake for about 25-30 minutes or until they’re golden brown on top.
For convenience, you can prepare the rolls and store them in the refrigerator overnight. This allows for a slower rise and can enhance the flavor and texture of the rolls. Be sure to place a cold baking dish into a cold oven (to prevent the dish from cracking), then preheat the oven and bake as directed.
Cinnamon rolls can be frozen either before or after baking. For pre-baking freezing, do so after the first rise. For post-baking, allow them to cool to room temperature before freezing. Remember to thaw and possibly allow for a second rise before baking frozen rolls.
Looking for a super quick version of these delicious cinnamon rolls? Try our Quick and Easy 1-Hour Cinnamon Rolls recipe!
Want to make a healthier and heartier version of this recipe? Try our Whole Wheat Cinnamon Rolls recipe, made with whole wheat flour instead of all purpose flour.
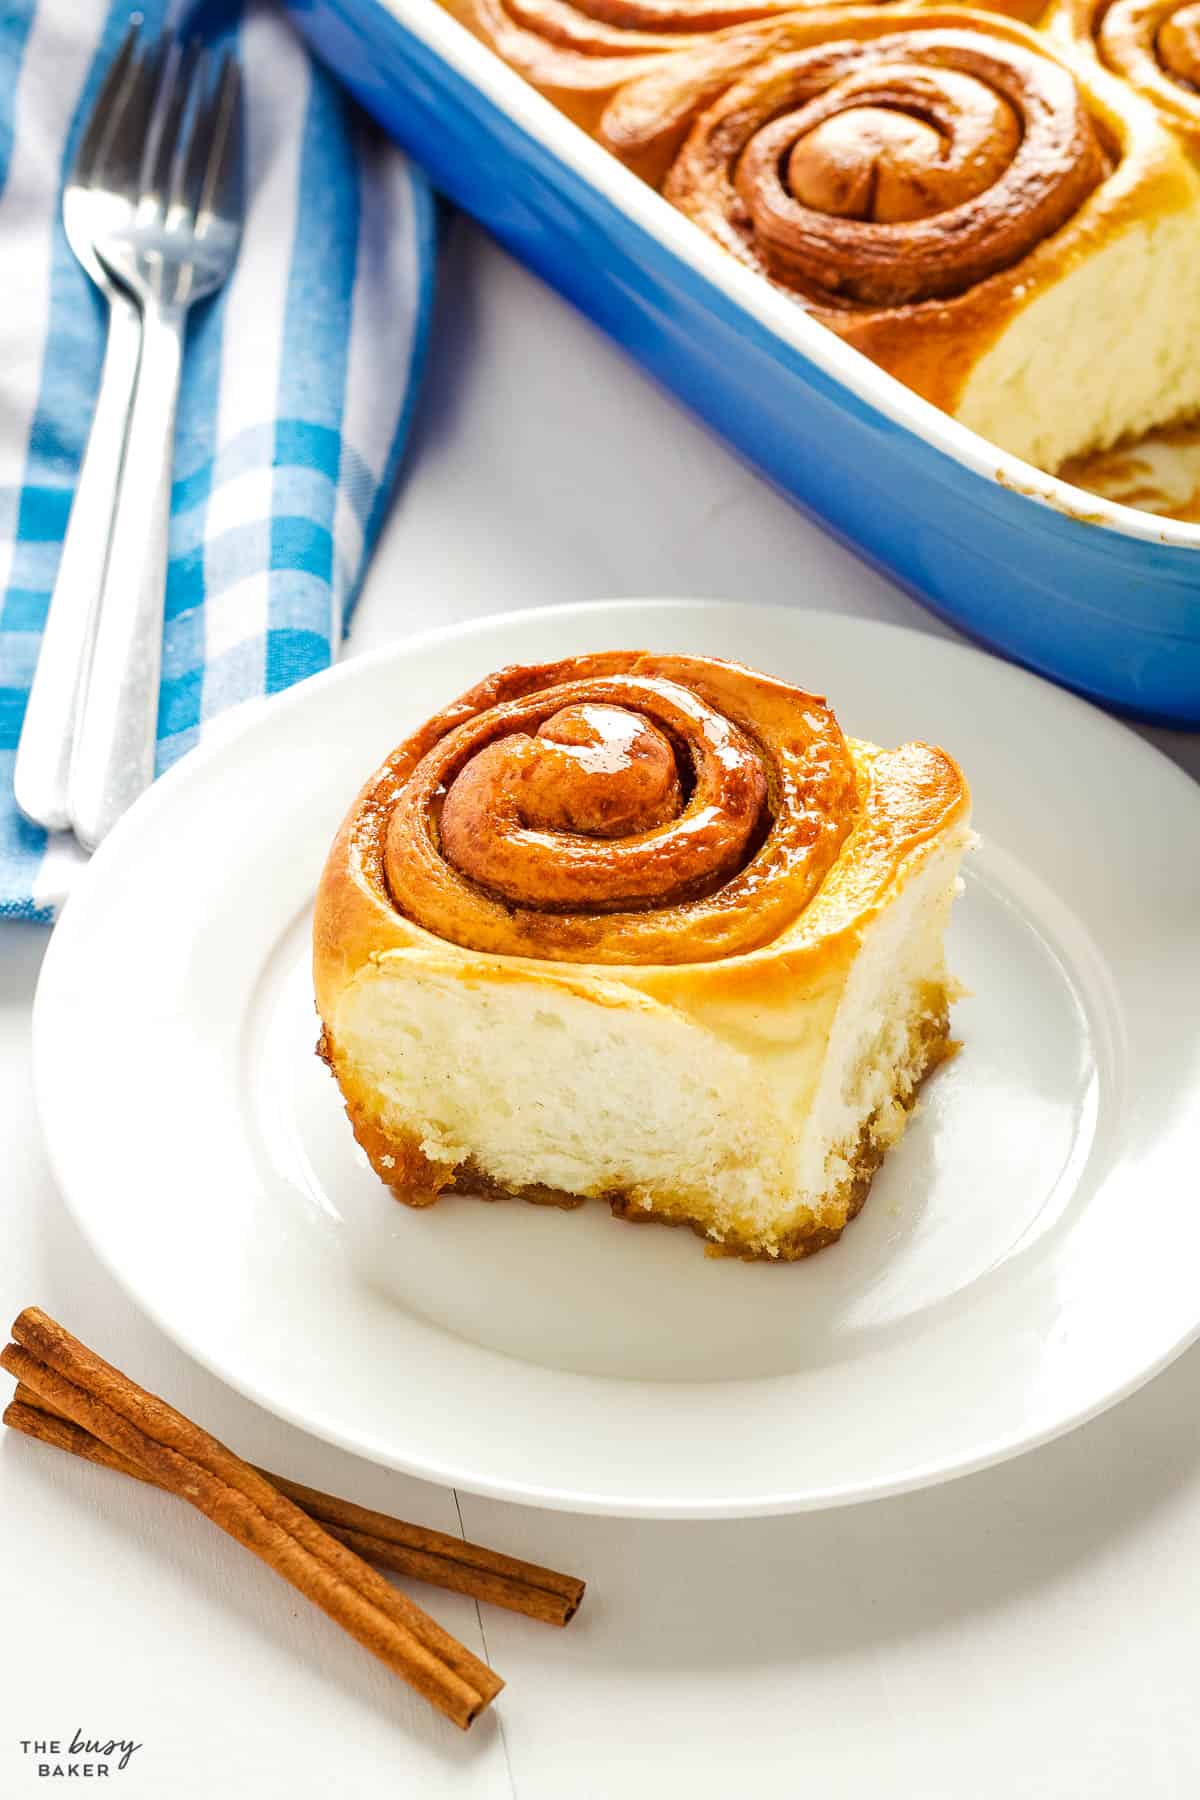
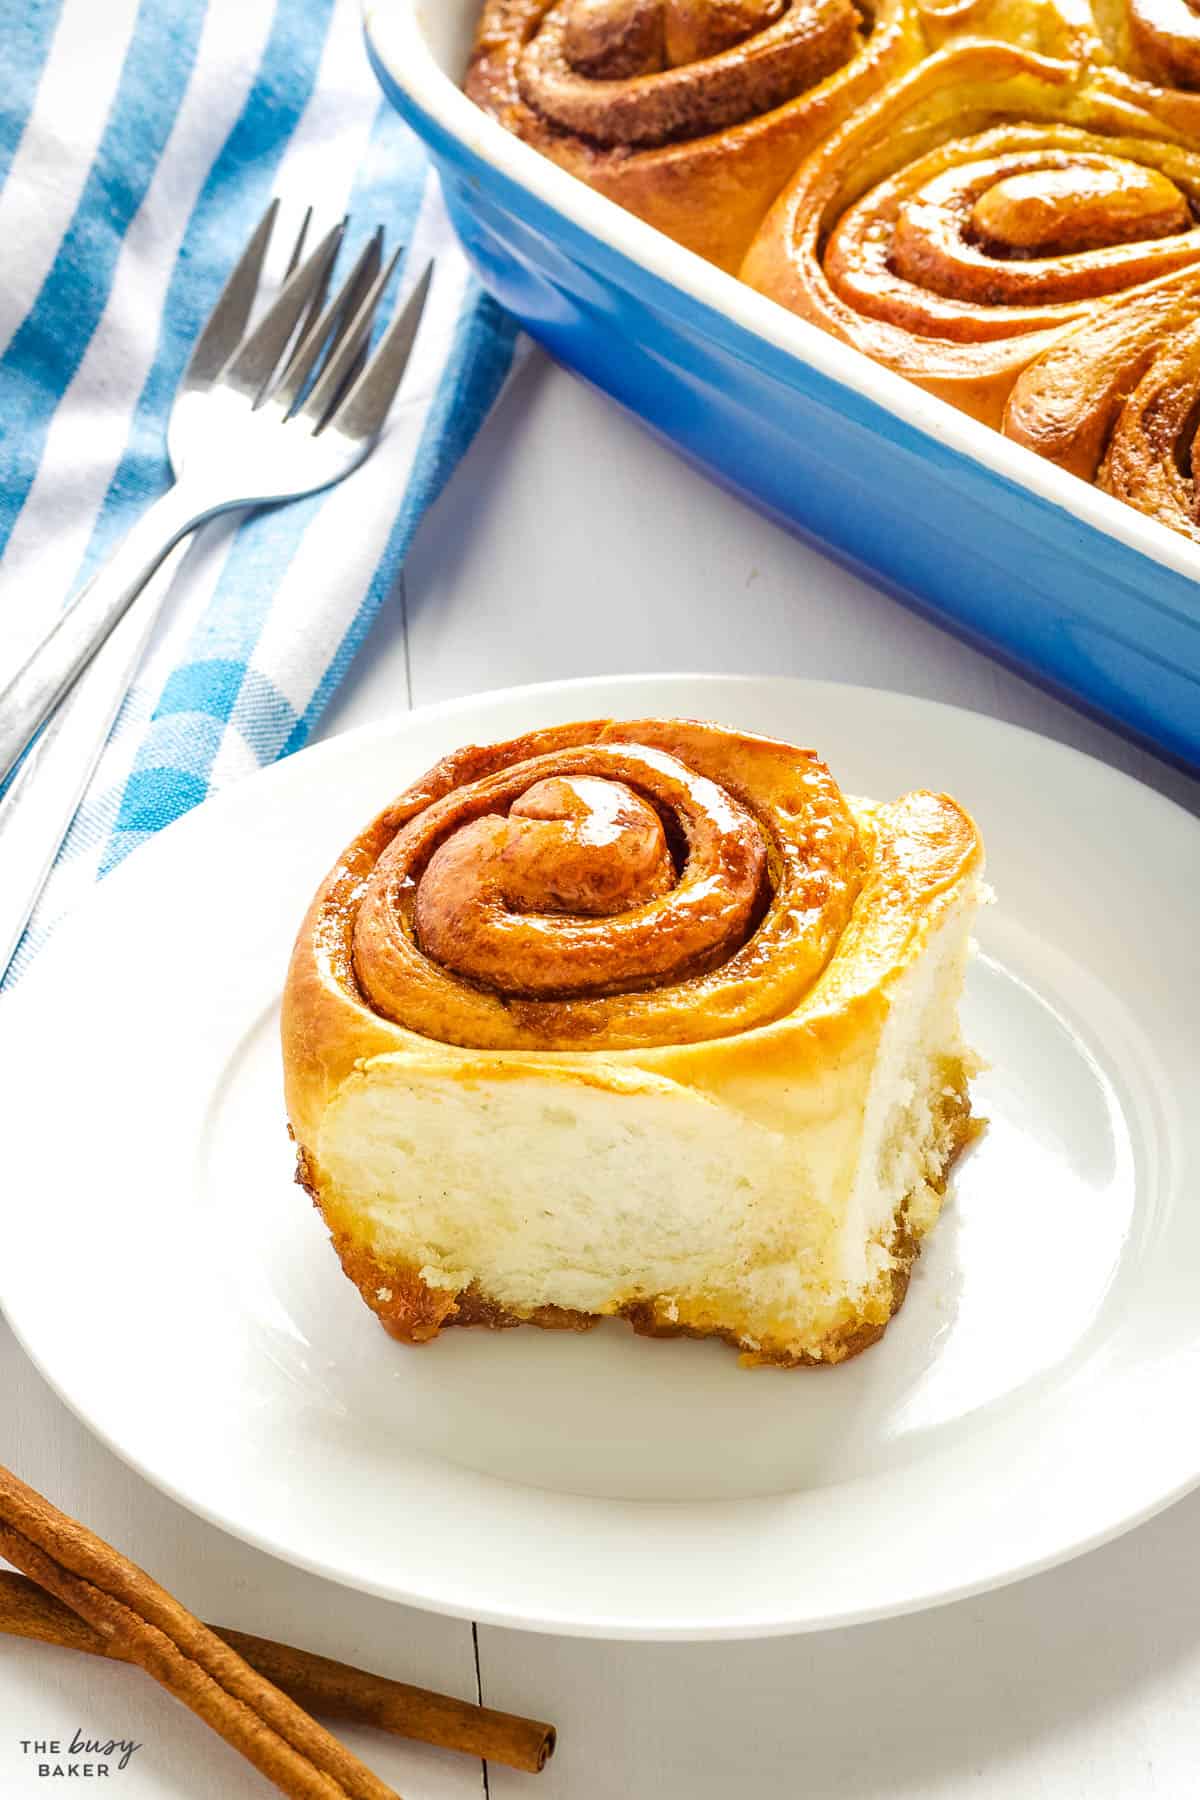
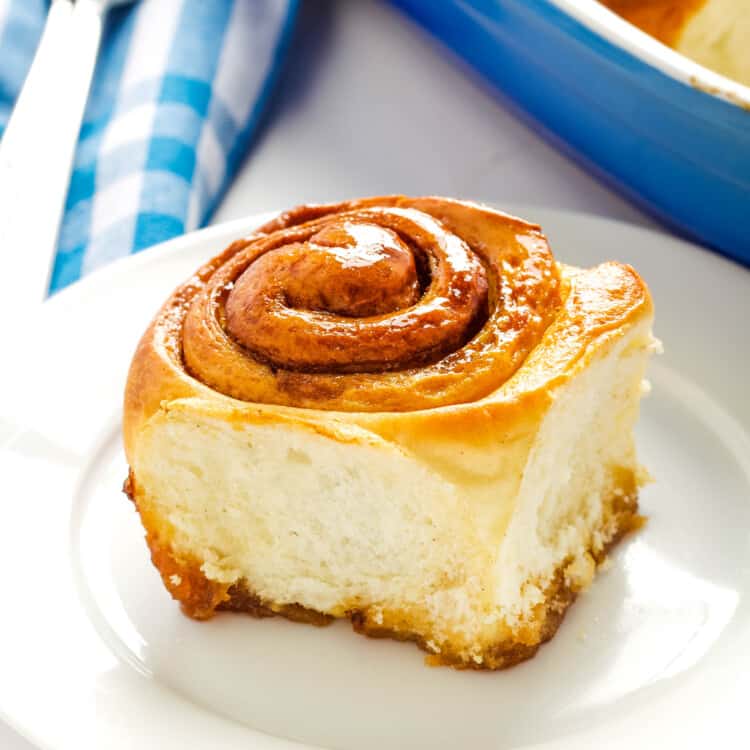
The best way to serve these homemade cinnamon rolls is inverted (upside down). You can actually invert the whole pan onto a tray or platter if you’re serving these at a brunch, for example. Or, you can cut into them and serve individually. It’s up to you!
These cinnamon buns are best served on the day they’re made, but they store well in an airtight container for a few days and can be reheated for serving.
What’s the difference between cinnamon buns and cinnamon rolls?
They’re essentially the same thing, although they’re sometimes shaped differently
What is cinnamon roll filling made from?
The filling is made from butter, brown sugar and cinnamon.
How long do cinnamon rolls last?
When covered with plastic wrap or stored in an airtight container, cinnamon rolls last for about 3-5 days at room temperature.
Can I freeze unbaked cinnamon rolls?
Yes! Freeze the rolls in a freezer-safe baking pan and cover well with plastic wrap. Thaw them in the fridge and then bake as directed.
Can I bake cinnamon rolls in a muffin tin?
Yes! Be sure to grease the muffin tin well.
Is it possible to double a cinnamon roll recipe?
Yes, although be sure your mixer bowl is large enough to handle a double batch of dough. Otherwise, make them by hand in a large mixing bowl.
How do I make my cinnamon rolls moist?
To keep them moist be sure to avoid over-baking the rolls. When preparing the dough, be sure not to add too much flour as this can make the rolls dry.
Can I make cinnamon rolls ahead of time?
Yes, they can be made up to one day ahead of time, but for best results make them on they day you’ll serve them. To make them ahead of time, simply make as directed and freeze before baking. Thaw in the fridge overnight and bake fresh in the morning.
Can I use cake flour instead of all purpose flour?
We don’t recommend this. Cake flour contains less protein, making it a poor choice for yeast doughs like this one that require gluten to develop. All purpose flour is the best choice.
Can I use bread flour instead of all purpose flour?
We don’t recommend this. Bread flour makes baked goods chewy and using it in this recipe will cause the cinnamon buns to lose their soft and fluffy texture. All purpose flour is the best choice.
We hope you love this delicious Homemade Cinnamon Rolls recipe as much as we do! Let us know in the comments below what’s your favourite way to enjoy a cinnamon roll? We’d love to know!

More Delicious Recipes
- Quick and Easy Cinnamon Rolls – Ready in One Hour!
- Ham and Cheese Pizza Rolls
- Cranberry Orange Sweet Rolls
- Lemon Blueberry Sweet Rolls
- Strawberry Cheesecake Sweet Rolls
- Cinnamon Sugar Pull-Apart Bread
- Swedish Cinnamon Buns (Kanelbullar)
- Chai Spice Pound Cake with Cinnamon Glaze
- Best Ever Whole Wheat Cinnamon Buns
- Easy Homemade Cinnamon Raisin Bagels
- Best Ever Cinnamon Raisin Bread
EASY NO-FAIL HOMEMADE BREAD RECIPES AND BAKING TIPS
Get my easy no-fail bread baking e-cookbook!
Watch the video below to see exactly how I make this delicious recipe. You can find more delicious recipe videos on my YouTube channel.
If you made this, share a photo!
Are you trying this recipe? Use the comment form below to share your take; now with support for image uploads and comment voting!
Cinnamon Rolls
Recipe: Equipment
Recipe: Ingredients
For the dough:
- 1 1/4 cups milk
- 1/3 cup granulated sugar
- 2 1/4 teaspoons active dry yeast
- 3 1/2 cups all purpose flour
- 3/4 teaspoon salt
- 1/3 cup unsalted butter melted
- 1 egg
For the filling:
- 1/3 cup unsalted butter melted
- 1 cup brown sugar
- 1/2 – 1 tablespoon ground cinnamon to taste
- 1/2 cup maple syrup use the real stuff, not pancake syrup
Also Needed:
- 1 egg beaten with 1 tablespoon water for brushing on before baking, optional
- 1-2 teaspoons vegetable oil for rolling out dough, or use spray oil
- unsalted butter for greasing the pan
Recipe: Instructions
- Warm the milk slightly, just until it's slightly above room temperature. Add it to a large liquid measuring cup.
- Add the sugar and the yeast and whisk with a fork to combine. Set aside for a few minutes until the yeast is bubbly.
- Into the bowl of your stand mixer, measure out the 3 1/2 cups all purpose flour and the salt. Mix these two together for a few seconds, just until they're combined.
- Add the egg and the melted butter to the flour and then add the milk mixture with the sugar and yeast.
- Make sure your stand mixer is fitted with the dough hook attachment.
- Turn your mixer on low and watch the ingredients combine. After about a minute you should see a sticky dough starting to come together. If you need to turn the mixer off and scrape down the sides and bottom of the bowl, now's your chance.
- Turn up the mixer speed slightly and allow the mixture to knead the dough for about 3 minutes. The dough should be tacky to the touch, but not so sticky that it’s very messy. It should pull away from the sides of the bowl easily and the bowl should appear fairly clean. If the dough appears too sticky, continue kneading and add flour, one tablespoon at a time, until the dough reaches that tacky texture.
- If you don't have a stand mixer, you can knead the dough by hand on a lightly floured work surface for 5 minutes after the wet and dry ingredients are combined.
- Cover the bowl with some plastic wrap and move it to a warm place in your kitchen to rise for about 1.5 to 2 hours. It should double in size.
- Once you notice your dough has risen fully and before you do anything with it, grease a large rectangular baking pan or ceramic baking dish (approximately 9×13 inches in size) with some butter. Pour the maple syrup into the bottom of the pan, tilting the pan if necessary to make sure the syrup coats the bottom completely.
- Turn the dough out onto a work surface that's been very lightly greased with oil. Using a rolling pin, roll out the dough evenly until you have a rectangle that's approximately 18 inches wide and 8 to 10 inches deep. It's important that the dough is wider than it is deep so the rolls have enough height when they're baked.
- Brush the dough rectangle with the melted butter.
- In a separate bowl, combine the brown sugar and the cinnamon. Spread the brown sugar and cinnamon mixture evenly over the dough.
- Roll up the dough from long side to long side until you've got one long roll. Cut the long roll in half, then each half in half again, and then each of those sections into 3 pieces until you have 12 cinnamon rolls. Try to cut the rolls to an even thickness as this promotes even baking. You don't want some rolls to be overdone and others to be raw in the middle because they're different sizes.
- Arrange the 12 pieces in the pan you’ve greased and nestle them into the maple syrup in the bottom. An arrangement of 3 rows of 4 works well in a rectangular pan.
- Cover the pan with a clean kitchen towel and set them aside to rise.
- Preheat your oven to 350 degrees Fahrenheit (175 degrees Celsius)
- Once the rolls have risen for 20 minutes (don't let them rise longer than this), very lightly brush the tops with some egg wash (beat one egg with 1 tablespoon of water) and place them in the oven to bake for about 25-30 minutes or until they're a nice even golden brown. The egg wash is an optional step – it helps the tops of the rolls brown, but it's not a necessary step.
- Remove the pan from the oven and let the buns cool in the pan for about 20-30 minutes before cutting into them.
Recipe: Notes
Storage Instructions
Store in an airtight container or covered in plastic wrap at room temperature for 3-5 days.Make-Ahead Instructions
These cinnamon rolls can be made 1 day ahead of time and re-heated in the oven just until warm. You can also prepare the rolls, place in the prepared pan, then store in the refrigerator overnight. This allows for a slower rise and can enhance the flavor and texture of the rolls. Be sure to place a cold baking dish into a cold oven (to prevent the dish from cracking), then preheat the oven and bake as directed.Freezer Instructions
These rolls can be frozen before baking (cover in plastic wrap or freeze in an airtight container), thawed in the fridge overnight and then baked fresh in the morning. (Be sure to always place a cold baking dish into a cold oven to prevent the dish from cracking.) They can also be frozen after baking (cover in plastic wrap or freeze in an airtight container). Thaw at room temperature and reheat before serving, if desired.Recipe: Nutrition
Notice: Nutrition is auto-calculated, using Spoonacular, for your convenience. Where relevant, we recommend using your own nutrition calculations.
Never heard of adding maple syrup. Will have to try this recipe after moving into my new house. Tfs this wonderful recipe sweetie. Bookmarked!
Let us know how it works out!
Can I use the cream cheese icing?
Yes! Absolutely!