Learn how to make Crepes with our recipe and tutorial! The BEST soft French-style crepes that are thin & delicate and SO easy to make with our PRO tips and tricks!

Estimated reading time: 31 minutes

We love enjoying foods from different cultures and lately we’ve been obsessed with French recipes. This Crepe recipe is our latest favourite and we can’t wait to share it with you! It’s the perfect French-style restaurant-quality crepe recipe – perfectly soft, perfectly caramelized, and easy to make with sweet or savoury fillings. Let us help you learn how to make your own at home with our simple recipe, pro tips, tricks and secrets for the perfect homemade crepes!
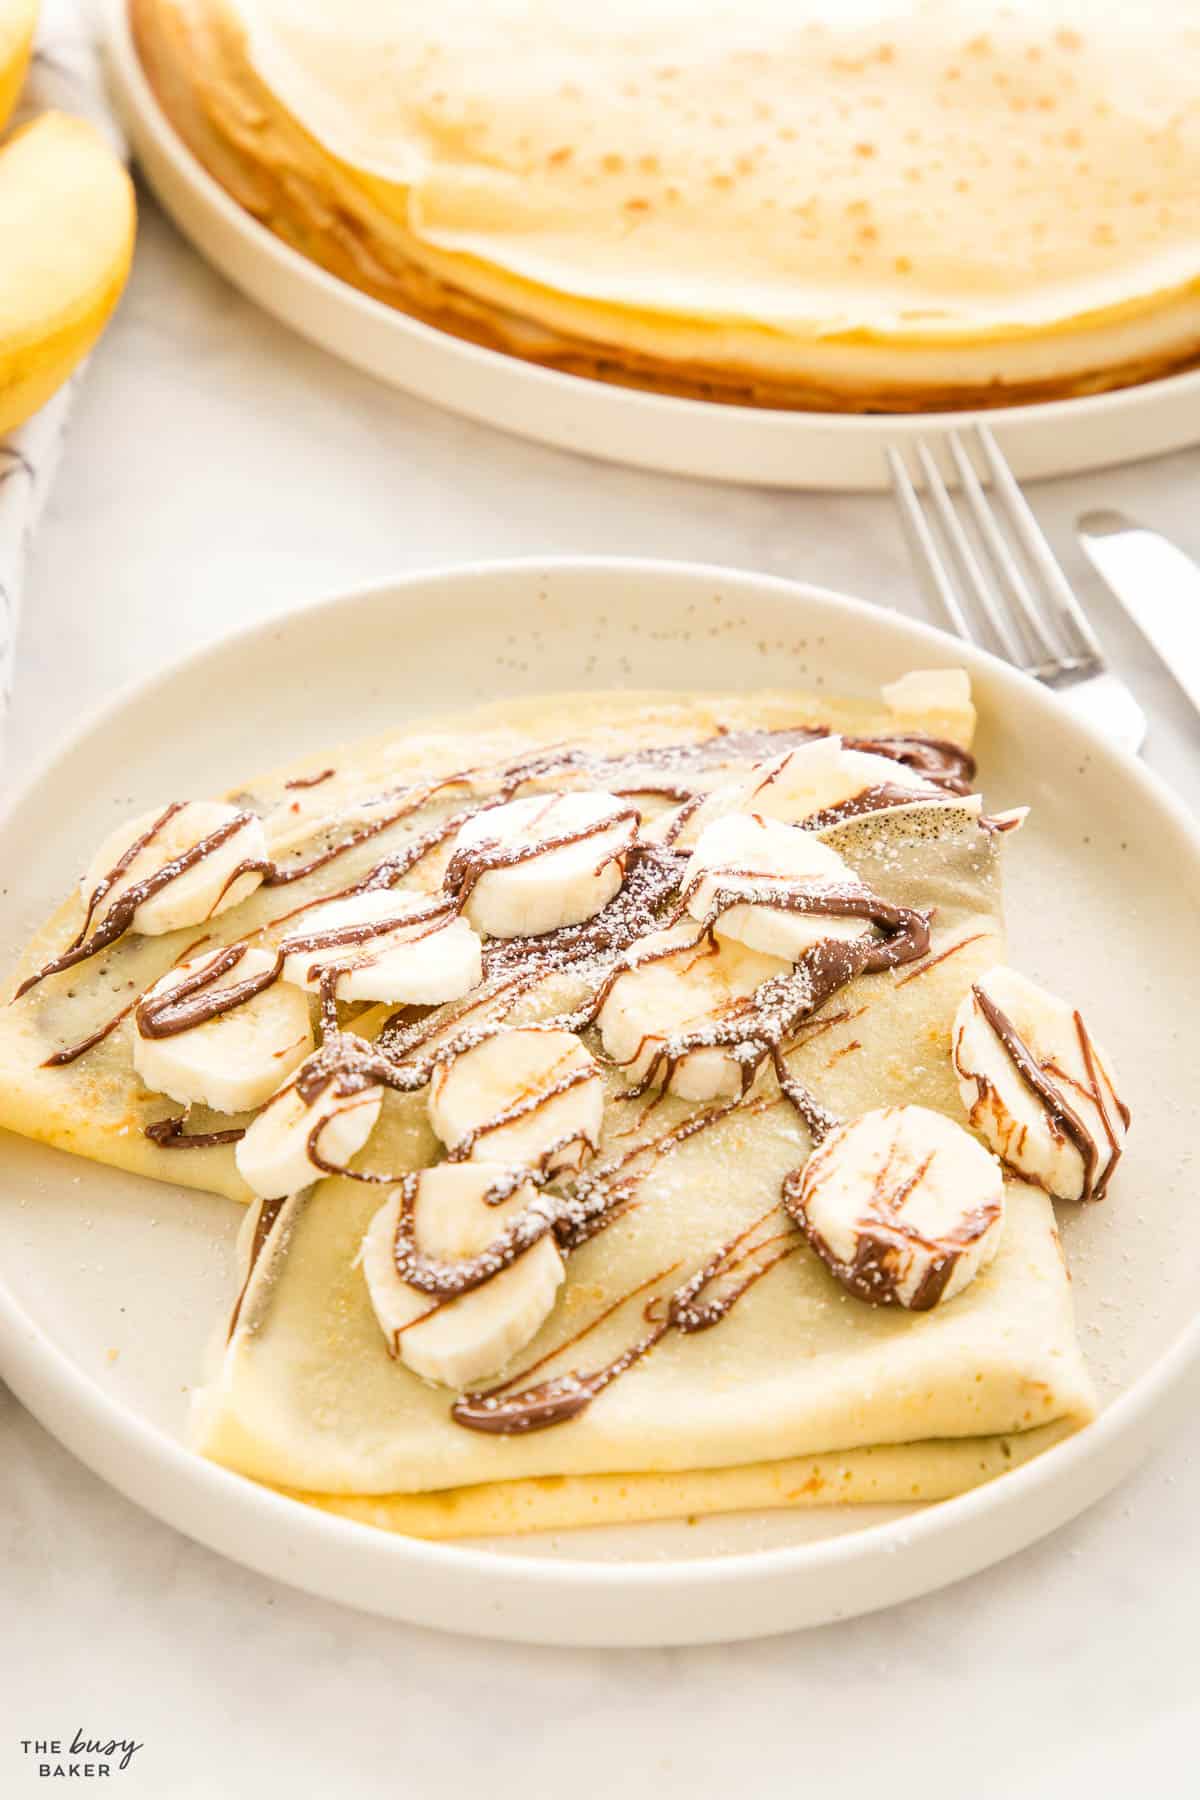
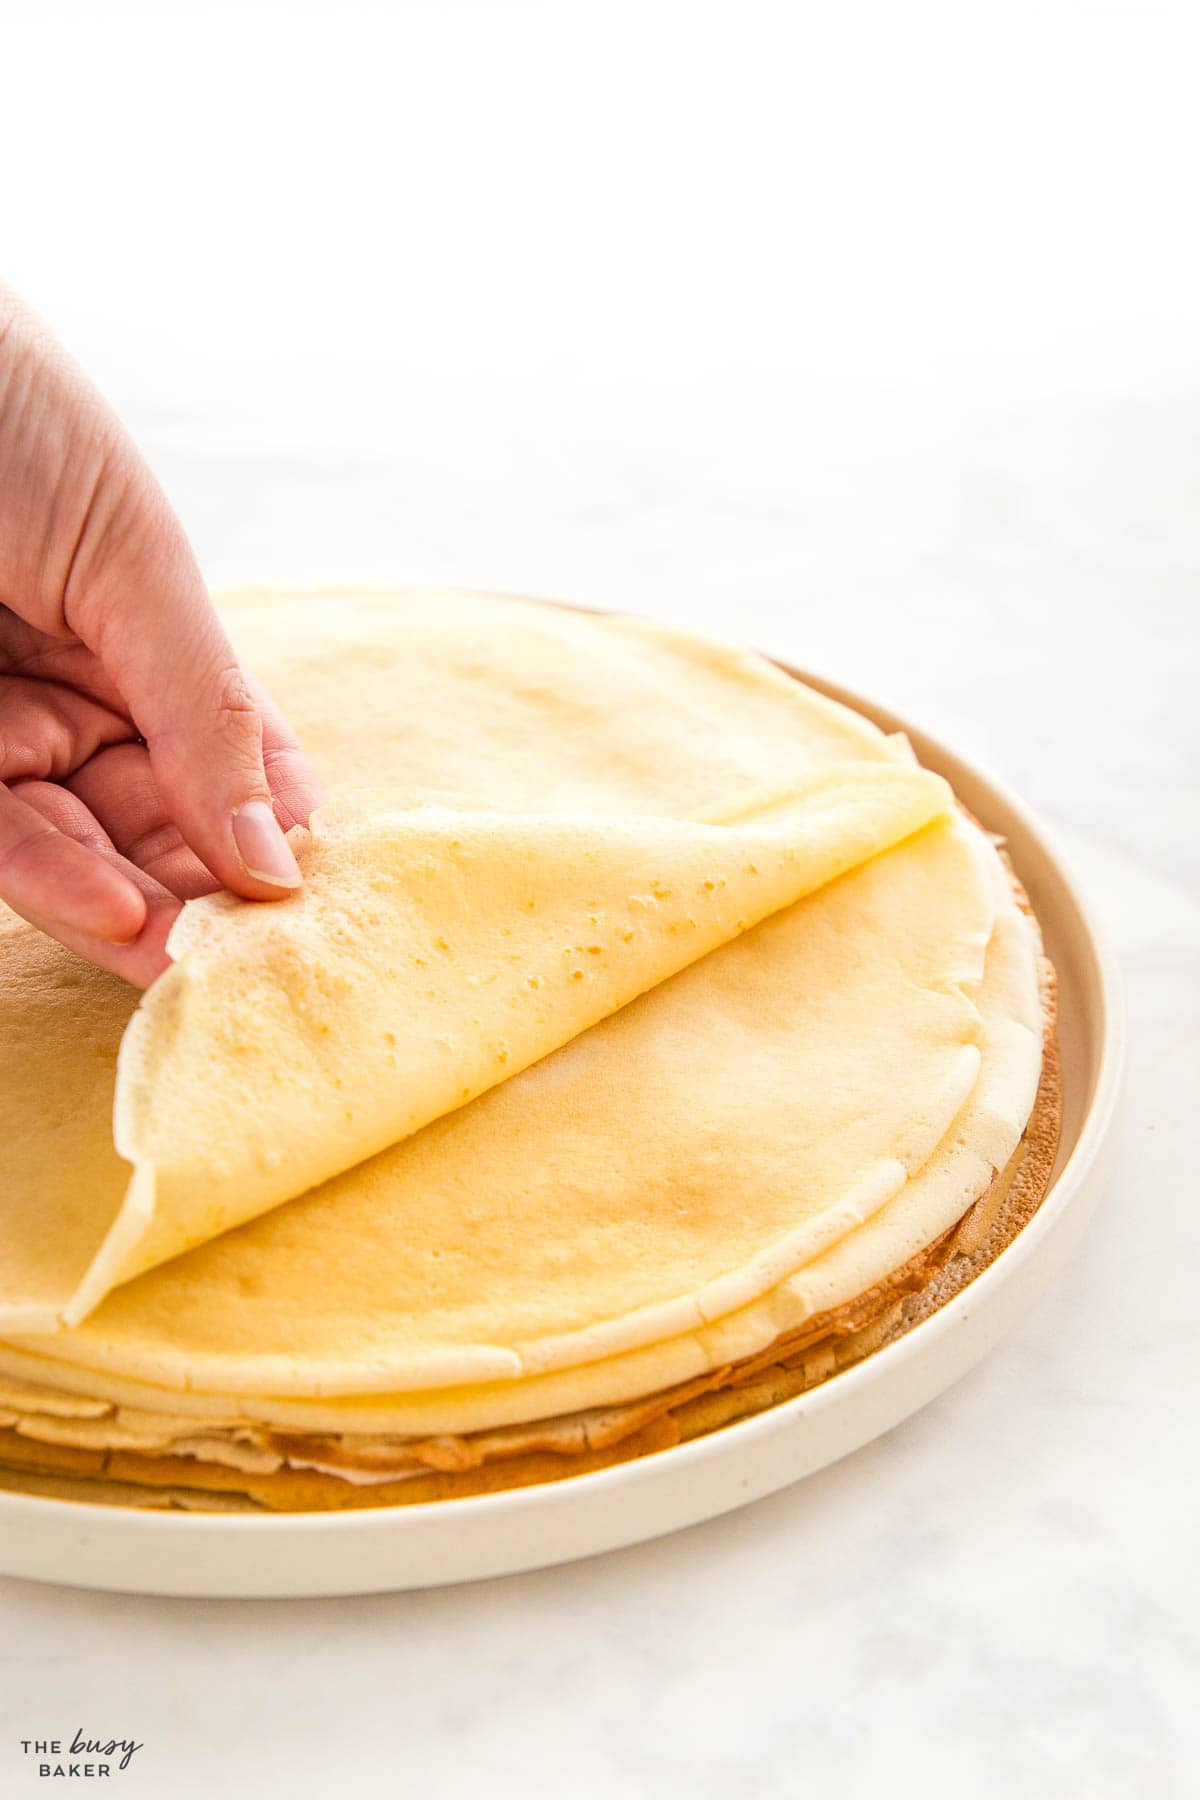
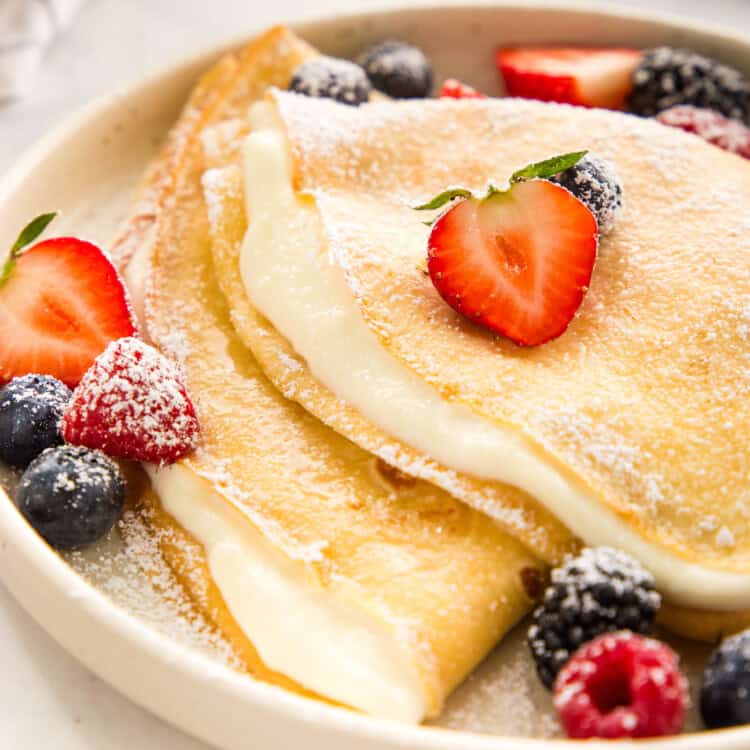
A crepe is a thin, delicate pan-fried pancake that originated in France. It’s often served either as a sweet snack or dessert or savoury dish. They are traditionally made from wheat flour and made with a very fluid batter with a higher liquid to flour ratio than traditional pancakes. They are known and loved for being endlessly versatile – they can be wrapped around a variety of sweet or savoury fillings, they can be rolled up, or folded into quarters.
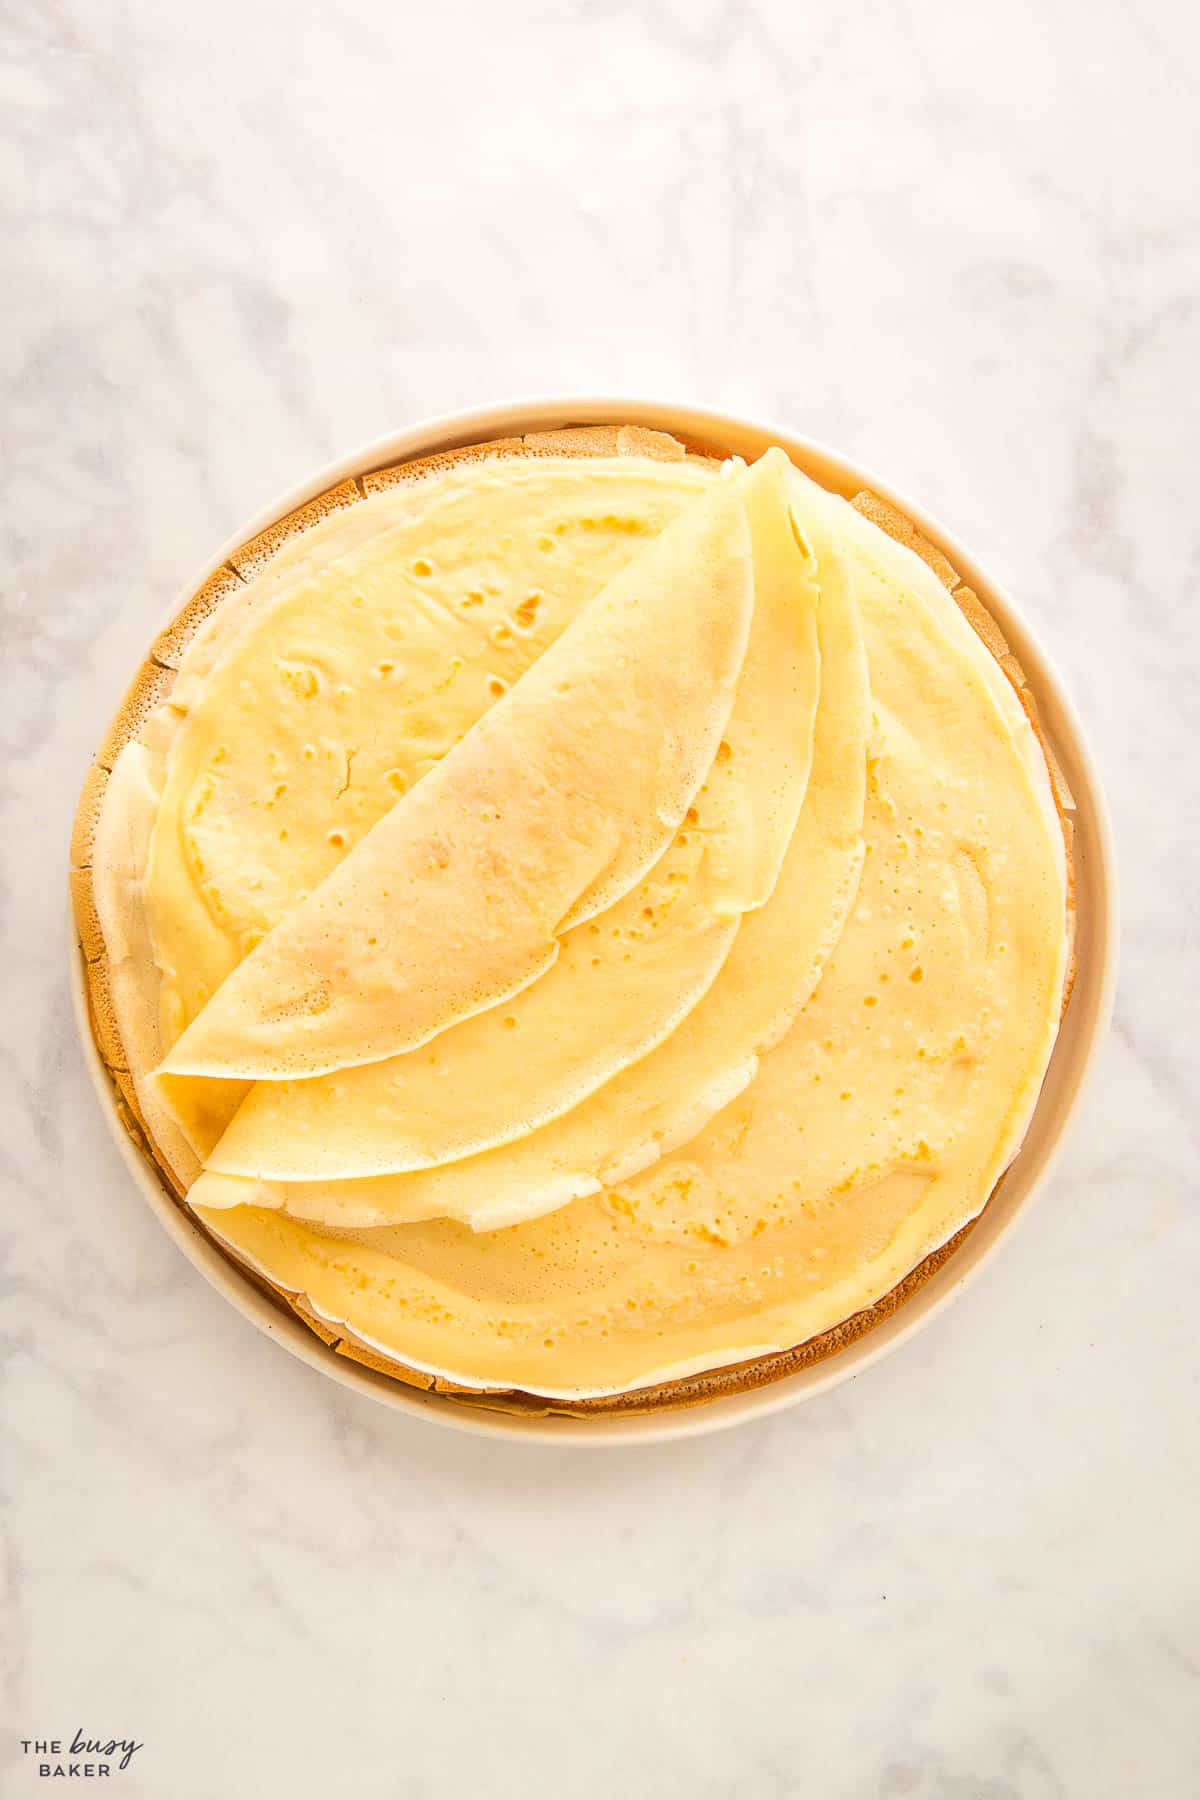
Crepes and pancakes are staple foods in many cultures, but they’re actually really different! Here’s how to tell them apart:
- Their Ingredients: Pancake batter almost always includes baking powder or another leavening agent which gives them a fluffy, airy texture. Crepe batter, on the other hand, does not use a leavening agent, so they’re much thinner and flatter than pancakes.
- The Cooking Technique: Pancakes are cooked on a moderately hot, flat grill or griddle and are thick enough to be flipped very easily. Crepes require a hotter surface and more careful handling because of their thinness. They are harder to flip and require a little bit of precision and a special low-sided pan which helps them keep their round shape.
- How They’re Served: Pancakes are usually served in a stack with maple syrup and sometimes with toppings like fresh fruit, whipped cream, etc. They’re almost always served sweet. Crepes are usually filled, folded and eaten either by hand (they’re a common street food throughout Europe), and they can be served either sweet or savoury with fillings like fruit, jam, Nutella, chocolate, cinnamon sugar, or ham, cheese, spinach, or other vegetables.
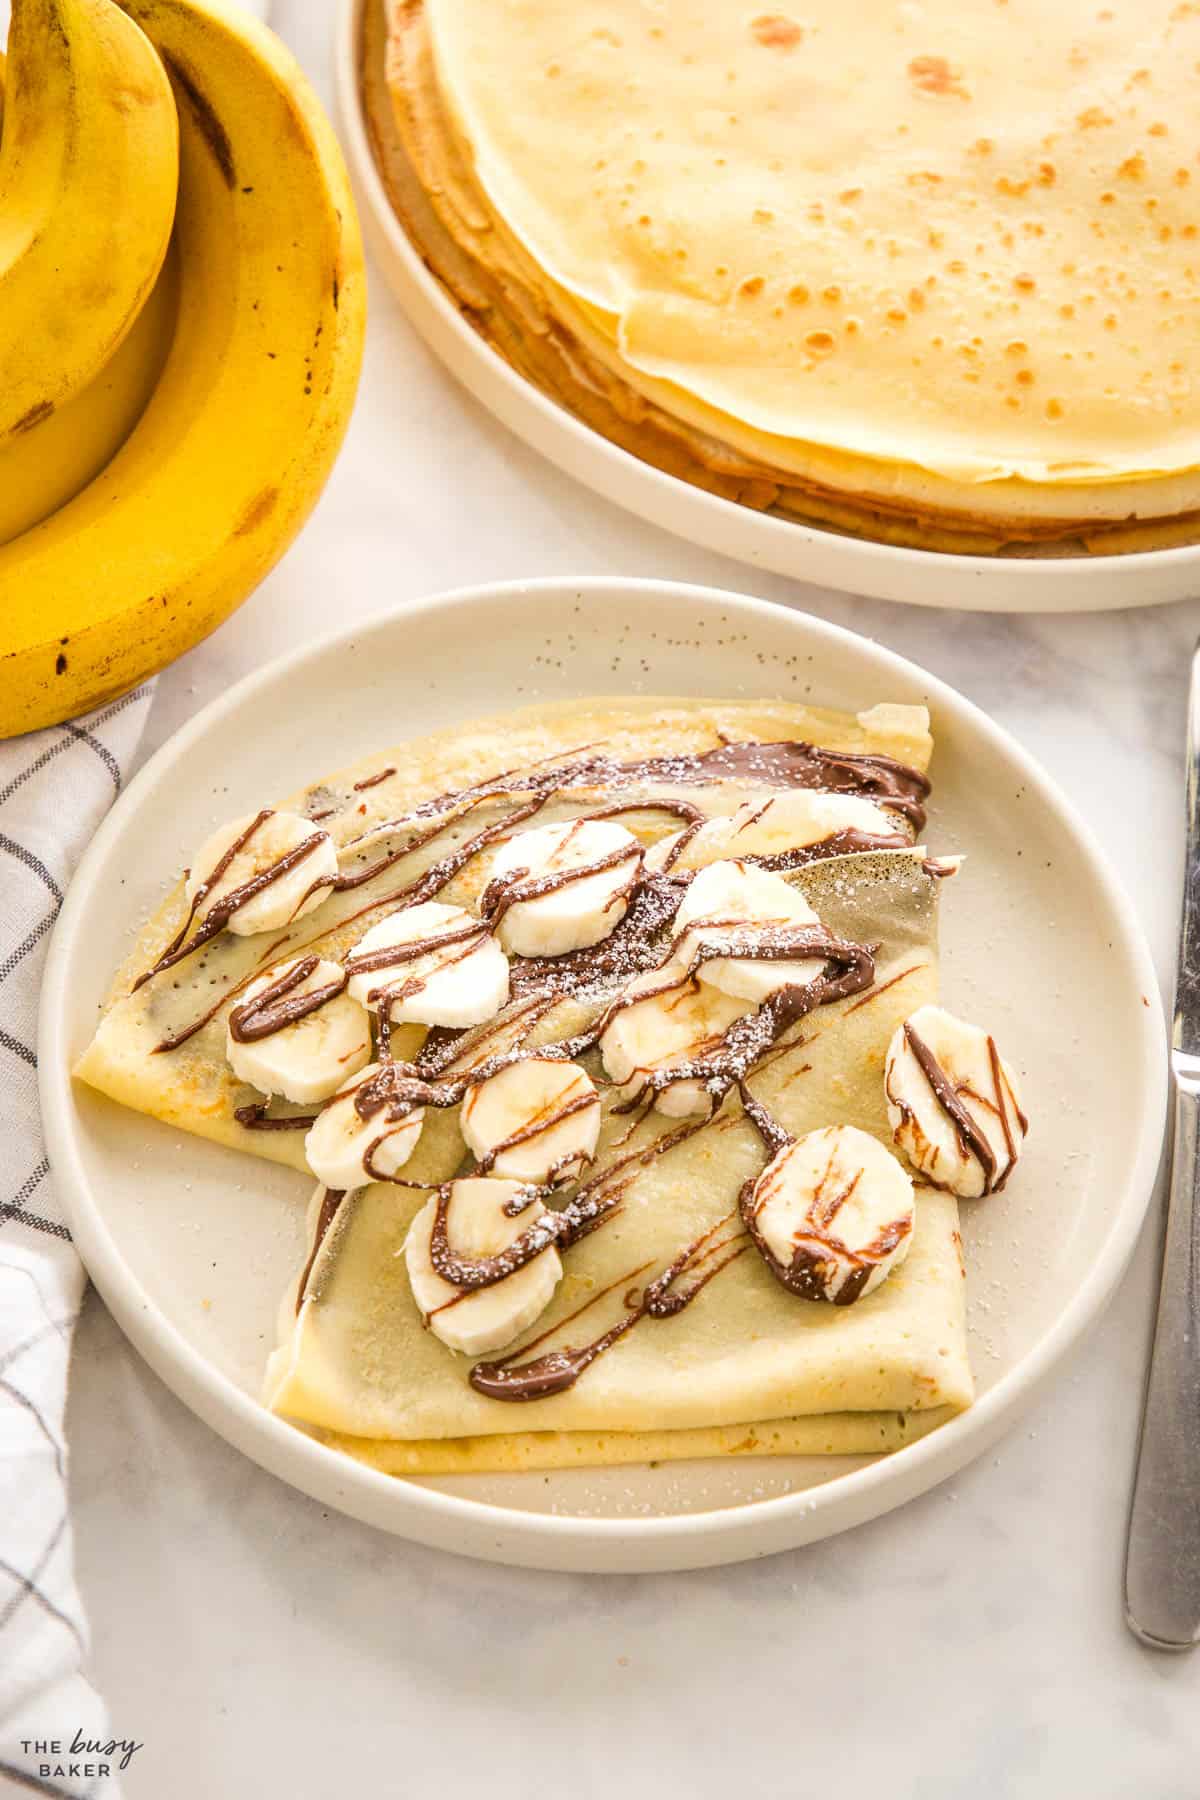
There are SO many reasons we LOVE this recipe! Here are just a few:
- It’s EASY to make. The batter comes together in minutes and once you get the hang of how to fry them (it’s SO easy!), you’ll be making crepes in your sleep.
- KIDS love it! Crepes are a great easy breakfast or snack for the kids that they can enjoy with jam, fresh fruit, and even peanut butter before school. They can reheat them in the microwave on their own.
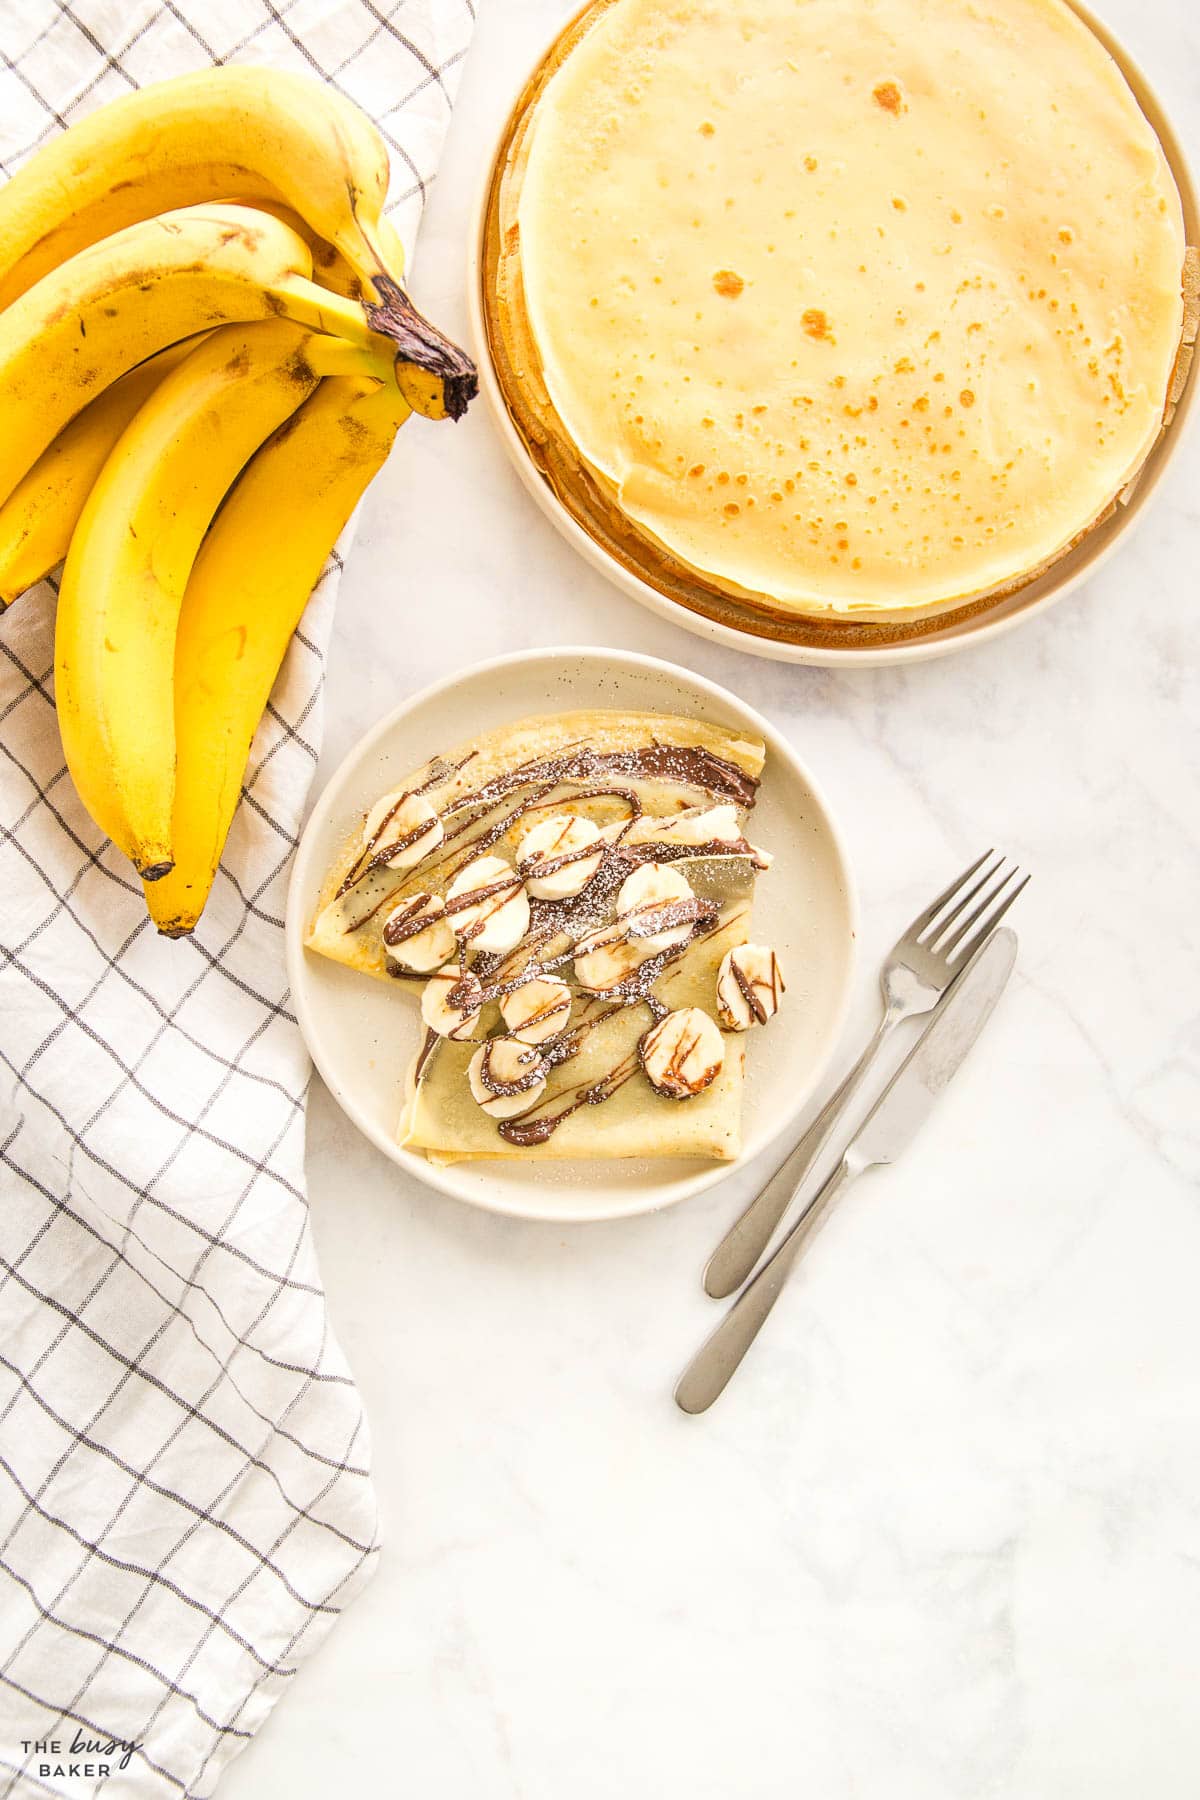
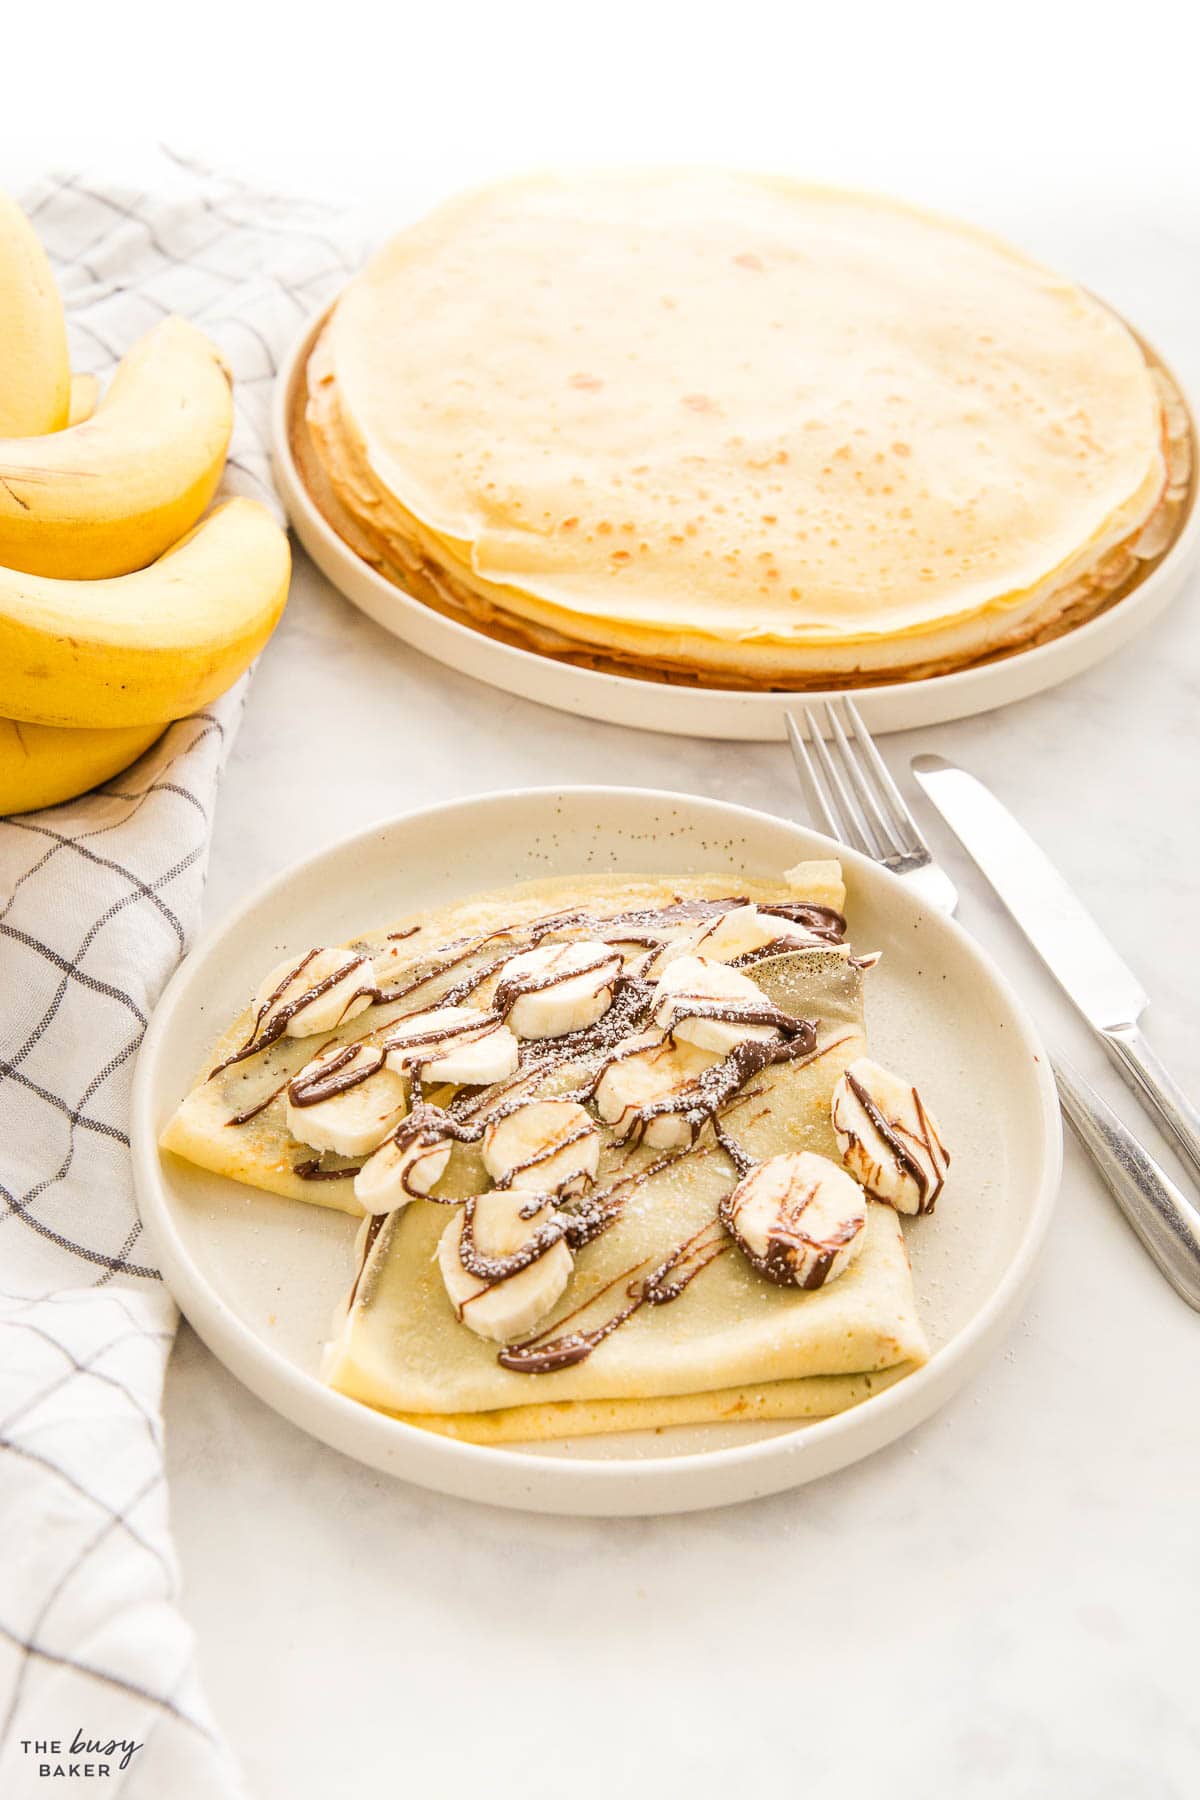
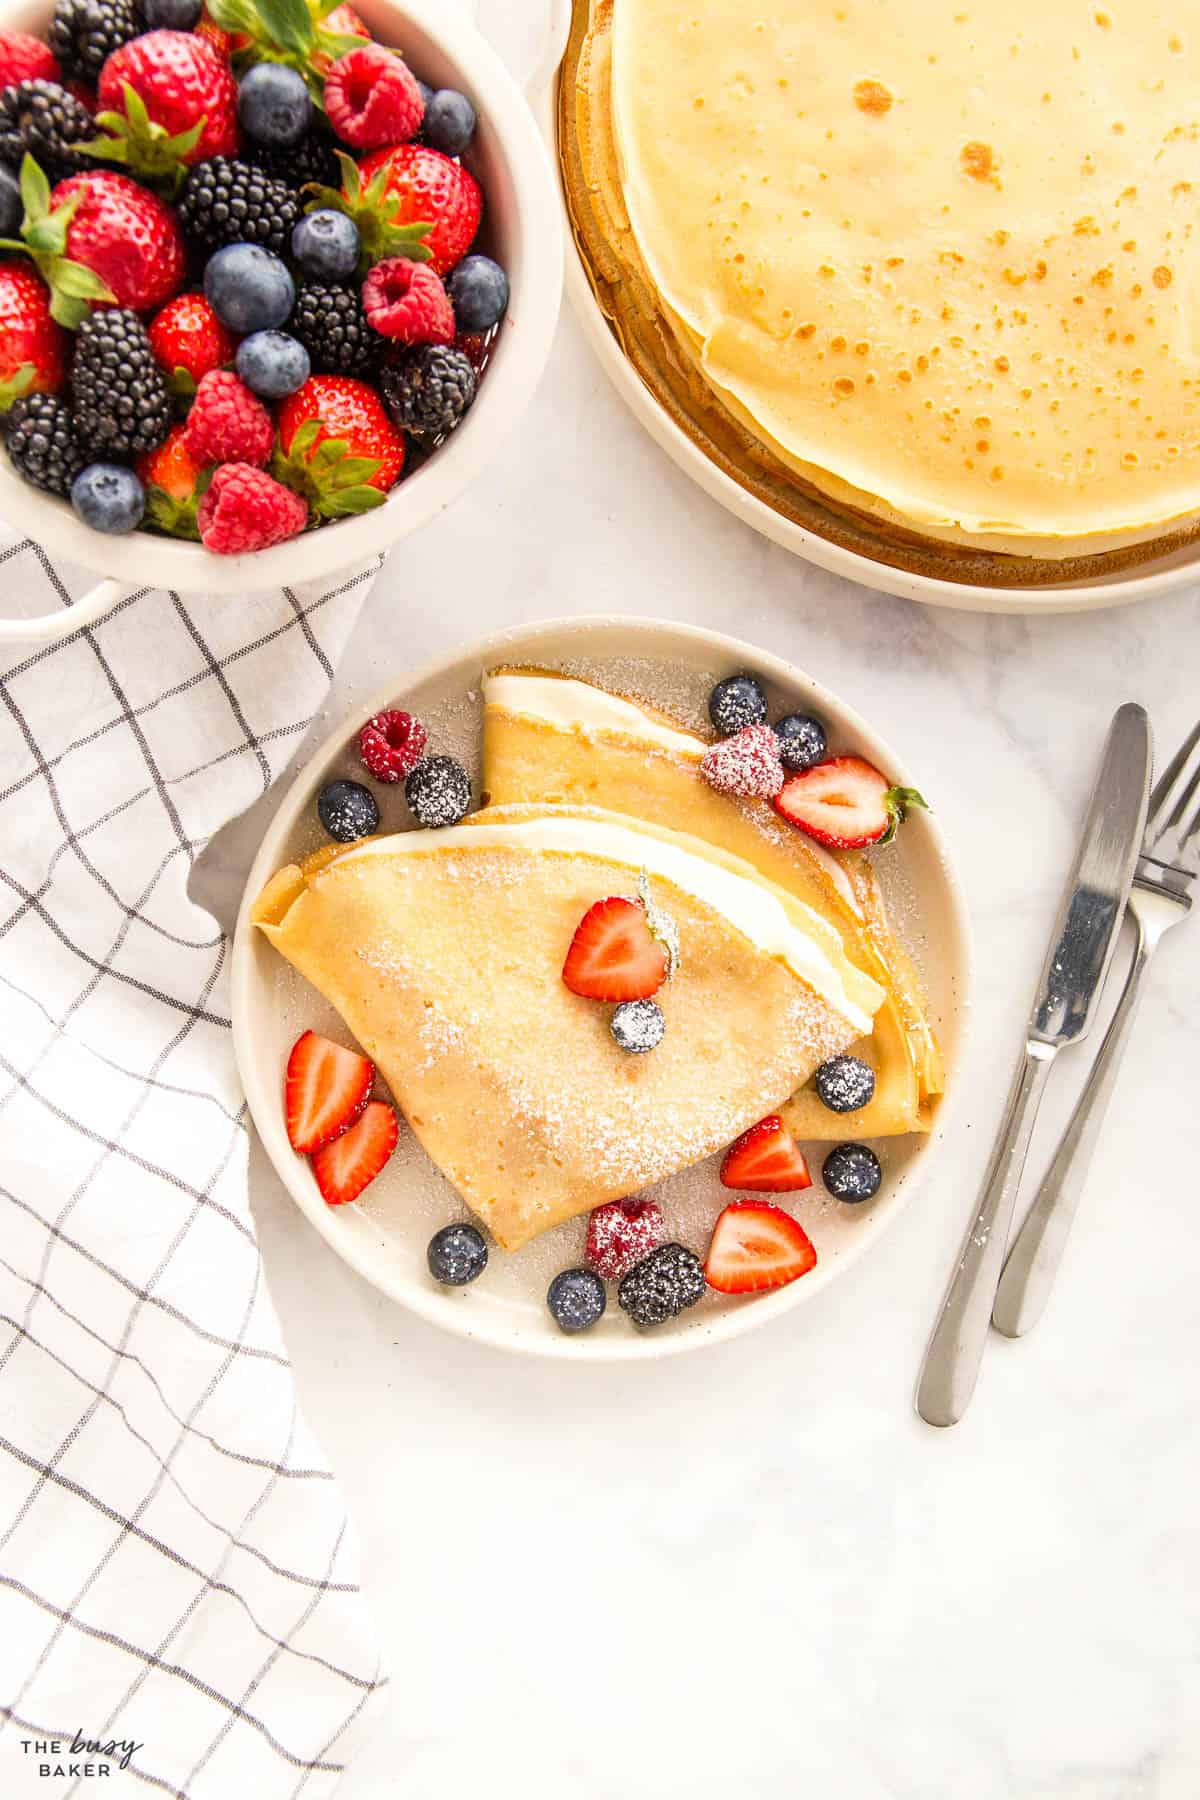
- It’s VERSATILE. We love the endless serving options – ham and cheese with spinach is our favourite savoury way to enjoy them, and for a sweet option we love them with Nutella and bananas, or fresh berries and cream cheese spread.
- It’s easy to MAKE AHEAD. Make the batter the day before, or fry them and store them in the fridge overnight to reheat later.
- It’s FRENCH. We’re currently obsessed with French food (and who wouldn’t be?! It’s amazing!) and this crepe recipe reminds us of the times we’ve spent in France every time we make it!
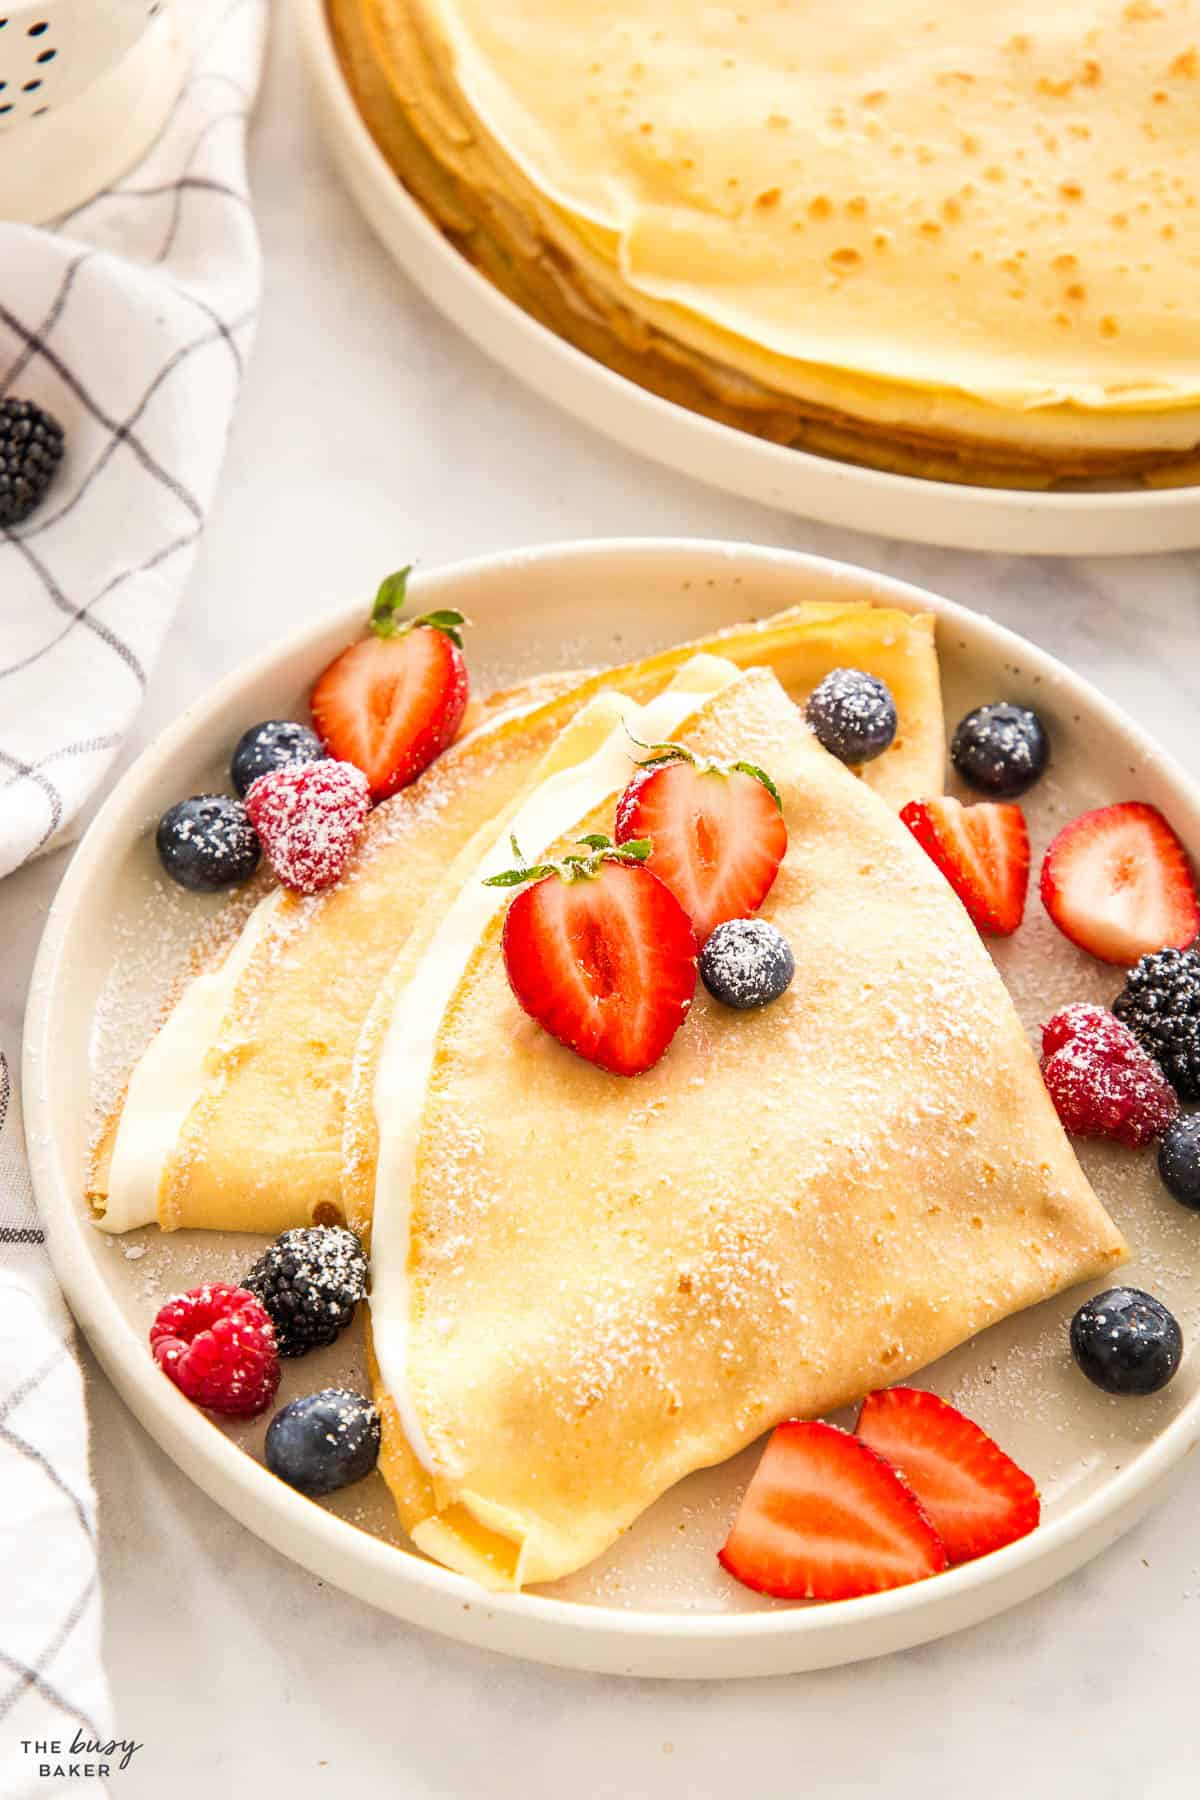
Crepes are the perfect blank canvas for so many beautiful and delicious ingredients. Here are a few great ideas for serving Crepes with delicious crepe fillings!
- Breakfast Crepes: Fill your crepes with scrambled eggs, shredded cheese, ham or bacon, and even sautéed mushrooms or spinach with shredded mozzarella..
- Lunch Crepes: Perfect for a light meal, stuff the crepes with grilled or sautéed vegetables like zucchini, peppers, mushrooms and onions and add a drizzle of pesto or your favourite garlic sauce. You can also create a chicken salad crepe with chopped lettuce and tomato and your favourite dressing, or add some salmon!
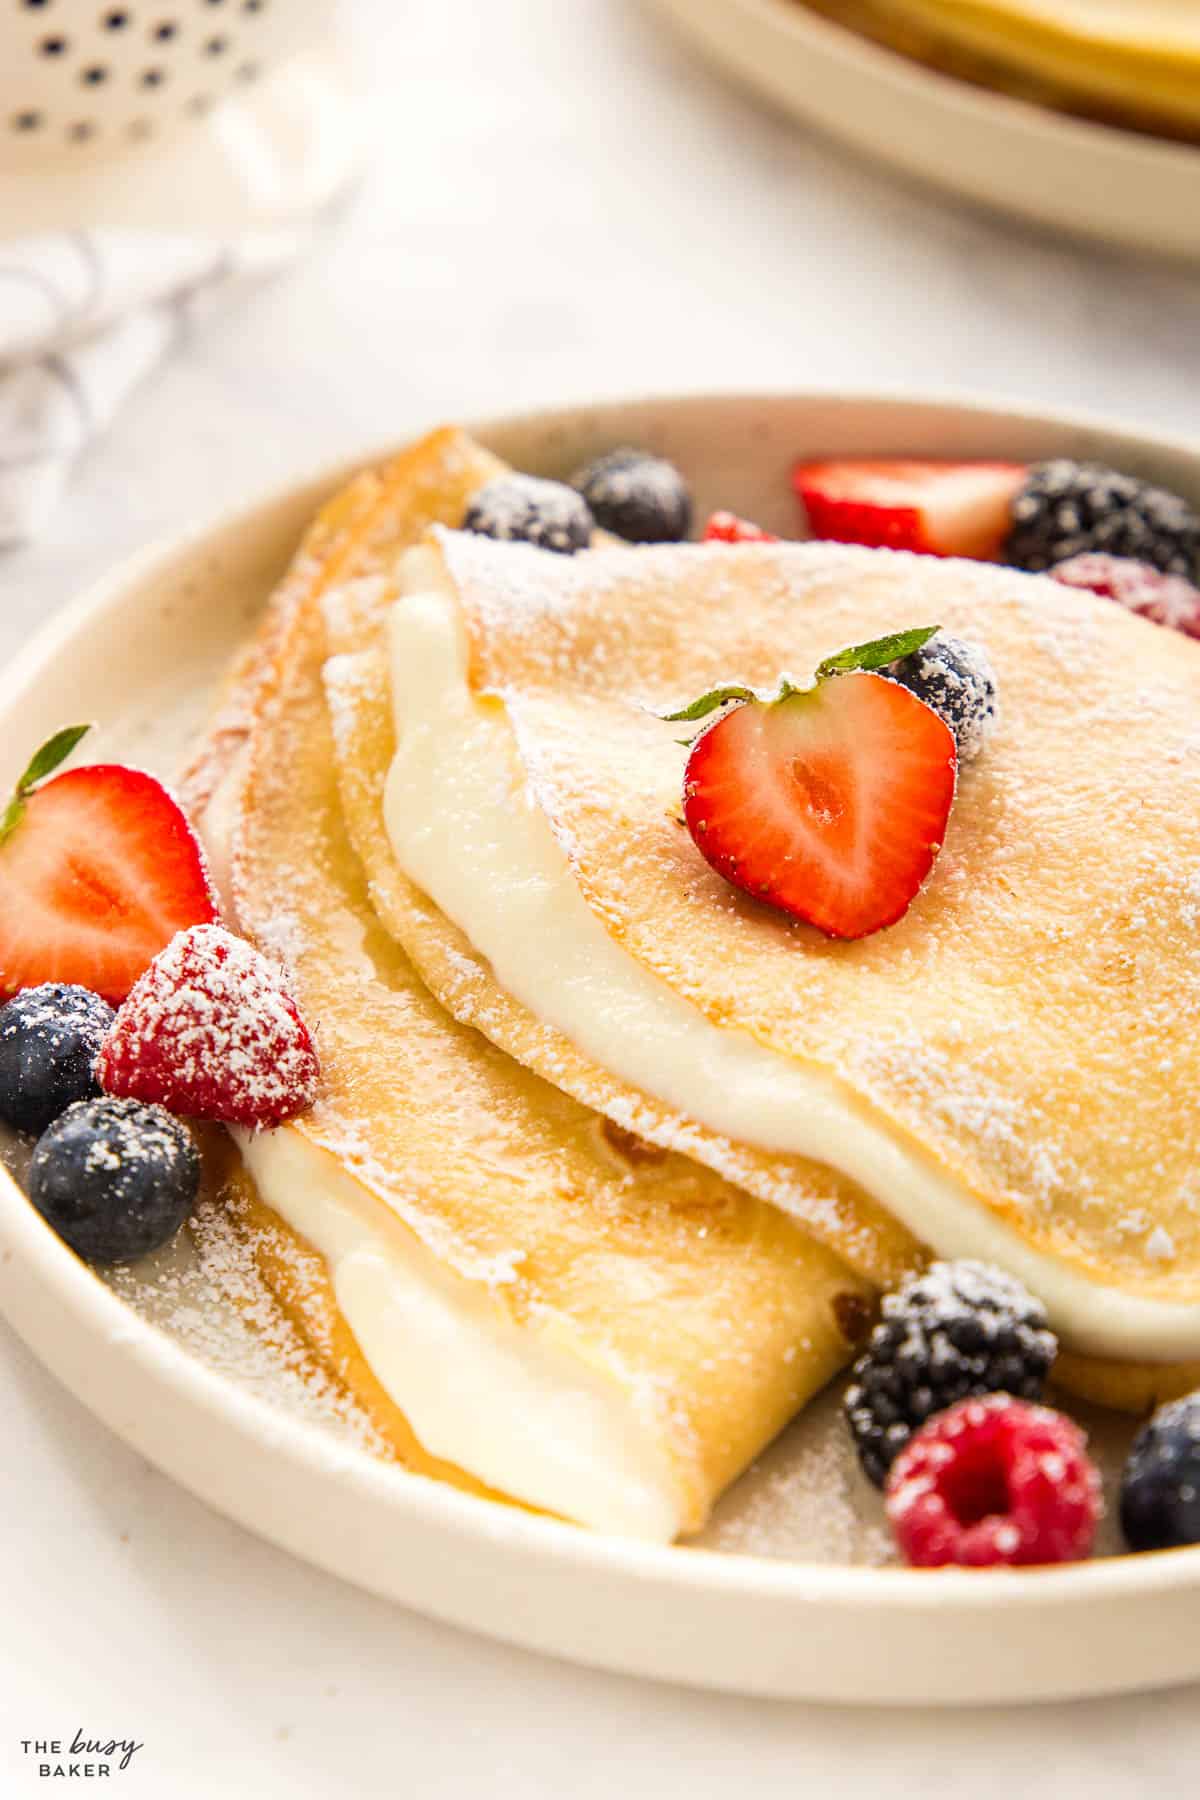
- Dessert or Sweet Crepes: Sweeten some cream cheese with powdered sugar, spread it inside the crepes and then fold or roll it, add some fresh berries and a sprinkle of powdered sugar. You could also try a banana & Nutella version too, or even a lemon curd filling with fresh blueberries!
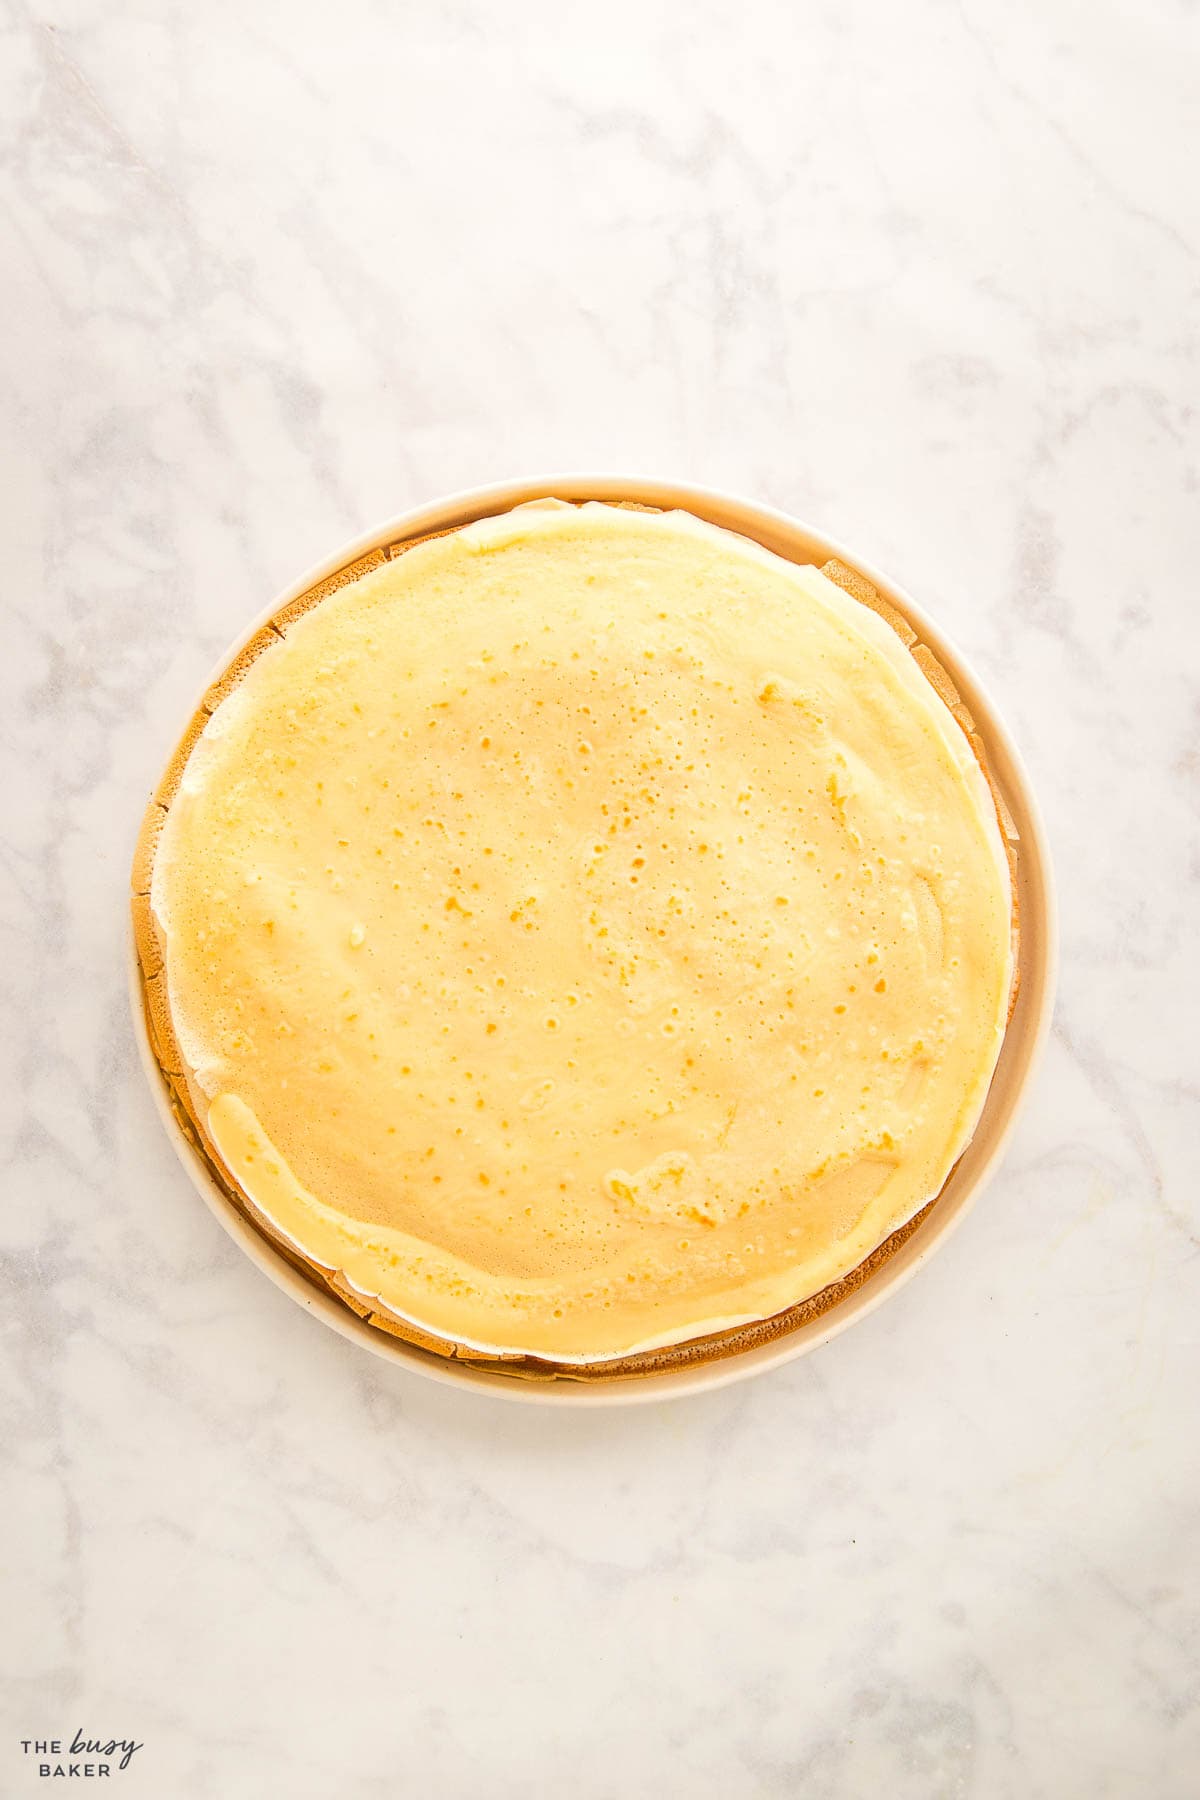
Making crepes might seem hard at first but it’s actually really simple. Here’s a list of ALL our best tips and tricks for making the perfect crepes from scratch!
Combine your batter ingredients in a blender. Blending the batter instead of stirring it together by hand creates a smooth batter with no lumps very quickly and efficiently. Making sure the batter is lump-free ensures texture of the crepes will be soft and delicate.
After blending, it’s critical to let the batter rest for at least an hour, or even better, overnight in the refrigerator (in an airtight container or bowl). Resting helps the flour absorb the liquid completely and lets the gluten in the flour relax, making the batter smooth and the crepes softer and more tender. If you skip this step, the crepes will still be delicious, but they’ll be a little more rubbery and dense.
Just before you begin cooking, add another cup of milk to the batter and gently incorporate it by hand. The batter should be very fluid, similar to heavy cream. Making sure the batter’s texture is correct before cooking ensures the batter can spread thinly and evenly across the pan, creating the classic crepe shape.
Use a non-stick skillet or a specialized crepe pan with low edges to easily flip the crepes when it’s time.
The pan should be heated to a medium or medium-high temperature. A properly heated pan prevents the batter from sticking and helps the crepes cook evenly and caramelize the perfect amount.
Using a pastry brush, lightly butter the pan before pouring the batter. Add only a small amount of butter so the pan is only moistened with the butter. Too much butter will cause too much browning.
Between each crepe, quickly brush the pan with a little more butter to maintain a non-stick surface and help the crepes cook and caramelize evenly.
Here’s the trick to perfect shaped crepes: pour a small amount of batter into the centre of the hot pan, then immediately lift and tilt the pan in a circular motion to spread the batter evenly across the surface until it’s a perfect circle. The goal is to cover the pan with a thin layer of batter, filling it just enough to coat the surface without excess. Be sure to do this quickly so the batter doesn’t cook before it spreads across the pan.
Cook each crepe for about 1 minute on the first side. You’ll know it’s time to flip when the edges begin to lift from the pan and the underside is lightly golden brown. Flip the crepe carefully and cook for another 20-30 seconds to a minute on the second side. Adjust the heat as needed—if the crepes are browning too quickly, lower the heat slightly. If they’re taking too long to cook, turn up the heat slightly.
As you cook the crepes and remove them from the pan, place them on a plate and cover them with a clean kitchen towel. As you continue to add more crepes to the stack, flip the stack over each time and cover it again with the clean towel. This will help the crepes stay warm and distribute the heat evenly throughout the stack. You can also turn the oven on the lowest heat setting and place the stack inside the oven as you cook the crepes one by one.
To store, stack cooled crepes with wax paper or parchment between them, if you wish, to prevent sticking. This isn’t a necessary step for crepes that are cooked properly – only undercooked crepes tend to stick to each other because they are too moist. Store the crepes once they’re cooled in an airtight container in the refrigerator for up to 3 days, or freeze for up to two months. If you choose to freeze them, definitely place a layer of wax paper or parchment paper between them to prevent sticking.
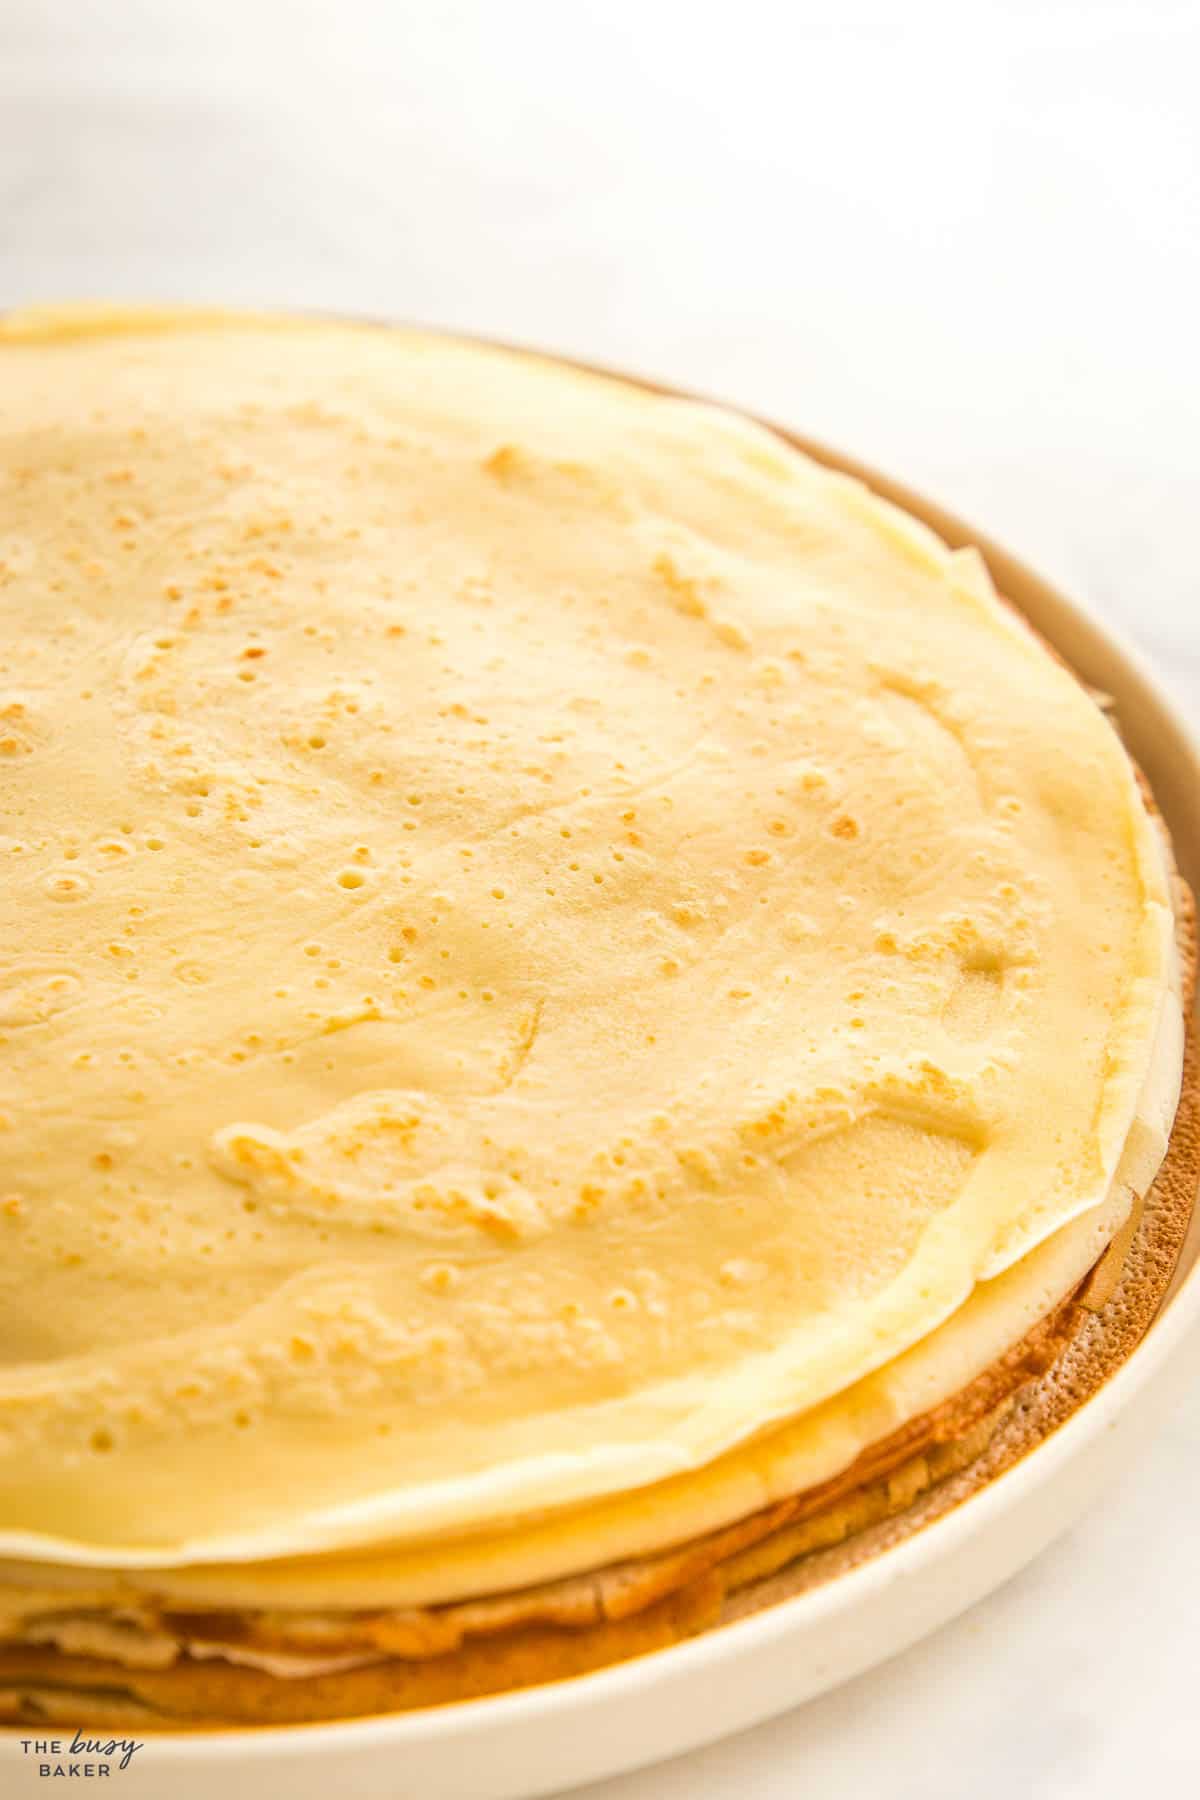
Here are the basics for creating the perfect crepe batter!
- Consistency: The batter should be fluid enough to spread thinly and evenly across the bottom of the pan right when it hits the pan.
- Mixing: To avoid gluten development which can make the crepes tough, the batter should be mixed just until the ingredients are combined.
- Resting: Resting the batter allows the flour to hydrate completely and allows the gluten to relax, resulting in tender, soft crepes. We recommend resting the batter for a few hours in the fridge or even overnight.
- Adjustment before cooking: To achieve the thin, runny consistency required for perfect crepes, we always add additional milk right before cooking.
Making crepes can sometimes present challenges, especially for beginners. Here are solutions to some common issues:
Ensure the crepe is fully cooked on one side before trying to flip it. The edges should lift easily from the pan and when you look at the underside it should appear cooked and slightly browned. If flipping is still difficult, consider using a thin offset spatula that can easily slide under the crepe without causing damage.
First, make sure your pan is properly heated before adding the batter. We always recommend a non-stick pan lightly greased with butter when making crepes.
A lumpy batter will ruin the smooth texture of your crepes. We recommend using a blender to mix the batter, although it’s a good idea to stop the blender once the mixture is smooth and combined.
If this happens, the pan might not be hot enough, or the batter may not be fluid enough. Ensure the pan is hot and adjust the batter’s consistency by adding a little bit of milk. Pour the batter and immediately start tilting and rotating the pan to spread the batter. This should help it spread evenly.
Thick crepes usually mean that you’re adding too much batter to the pan. Pour less batter into the pan or tilt the pan more quickly to spread the batter thinly. The batter should just coat the pan in a sheer layer. Be sure to follow the recipe as it’s written and add the correct amount of batter to the pan for each crepe.
This might be because of inconsistent heating of your cooktop or an uneven pan, or it could be because the pan is too hot. Always preheat the pan properly and try to cook at a consistent medium-high or medium heat.
For crepes with crispier edges, the pan should be slightly hotter, and a bit more butter can be used to fry the crepes. If they’re too crisp and you prefer them softer, lower the heat slightly and cook them for a shorter duration.
Properly cooked crepes shouldn’t stick together, but you can place sheets of parchment paper or wax paper between them when storing to prevent them from sticking.

Making crepes requires minimal kitchen equipment, but here’s a breakdown of the essential equipment you’ll need to have on hand for this recipe (paid links):
- a Blender
- a spatula
- some measuring cups and spoons for measuring ingredients and portioning out the batter for cooking
- a crepe pan that’s about 9-10 inches in diameter with low sides
- a mixing bowl
- a Whisk
- a pastry brush
- a large turner
Here’s a list of ingredients you’ll need to make this Crepes recipe (paid links):
- 3 cups milk divided (reserve one cup of milk for later)
- 4 large eggs
- 4 tablespoons melted butter
- 2 cups all purpose flour
- 2 teaspoons sugar
- 1/2 teaspoon salt
- 1/2 teaspoon vanilla extract
- melted butter for greasing the pan
Want to take your crepes recipe to the next level? Try one of these tasty and creative variations on the basic recipe!
- Whole Wheat: Substitute some or all of the all-purpose flour with whole wheat flour for a nuttier, more earthy flavour and added fibre.
- Gluten-Free: Use a gluten-free flour blend instead of the all purpose flour for a gluten-free version.
- Herb: Add some dried herbs like thyme, basil, parsley, chives, dill, or rosemary to the batter for a savoury, herb-infused version.
- Chocolate: Add a few tablespoons of cocoa powder to your basic batter to make a chocolate dessert version.
- Spiced: Add warm spices like cinnamon, nutmeg, or cardamom into the batter for a fragrant twist. Serve them with sliced apples or cranberry sauce.
- Blueberry Lemon: Add the zest of one lemon to your batter and serve them with fresh blueberries and lemon-infused whipped cream.
Time needed: 2 hours and 40 minutes
Here’s how to make the this crepes recipe!
- Reserve one cup of milk.
Add all the ingredients to your blender in the order outlined in the recipe (liquid ingredients first), reserving one cup of milk for later.
- Blend the ingredients.
Blend on low speed until no more lumps remain.
- Refrigerate the batter.
If your blender has an airtight lid, add the lid and place the blender bottle in the fridge for 2 hours (or overnight). If not, place the batter in an airtight container or bowl with a lid. Let the batter rest in the fridge.
- Whisk in the milk.
Once the batter has rested, add one cup of milk and whisk to combine.
- Preheat the pan.
Heat a large skillet or crepe pan (between 9 and 12 inches in size) over medium-high heat. Prepare the melted butter with a pastry brush to grease the pan.
- Grease the pan.
Before cooking the first one, brush the hot pan with some melted butter.
- Make the crepes.
Pour about 1/3-1/2 cup of batter into the pan and lift the pan off the heat quickly, swirling the pan around in the air slightly so the batter coats the whole pan. Place the pan back on the heat and let the crepe cook on the first side for about 1-2 minutes, just until the it begins to brown slightly and appears cooked.
- Flip the crepes.
Flip the crepe carefully with a large thin spatula or silicone turner. Cook it on the second side for another 1-2 minutes until lightly browned.
- Repeat the process.
Move the crepe to a plate and repeat the process again for each crepe (brush the pan with butter to start). Aim for thin crepes – you should be using about 1/3 cup of batter per crepe, or, depending on the size of your pan, no more than 1/2 cup of batter. Every time you make another crepe and add it to the stack, flip the stack carefully so the heat is distributed evenly.
- Serve.
Serve the crepes immediately with your favourite fillings and toppings, or store them in the fridge covered in plastic wrap or a clean kitchen towel.
Is a crepe a pancake?
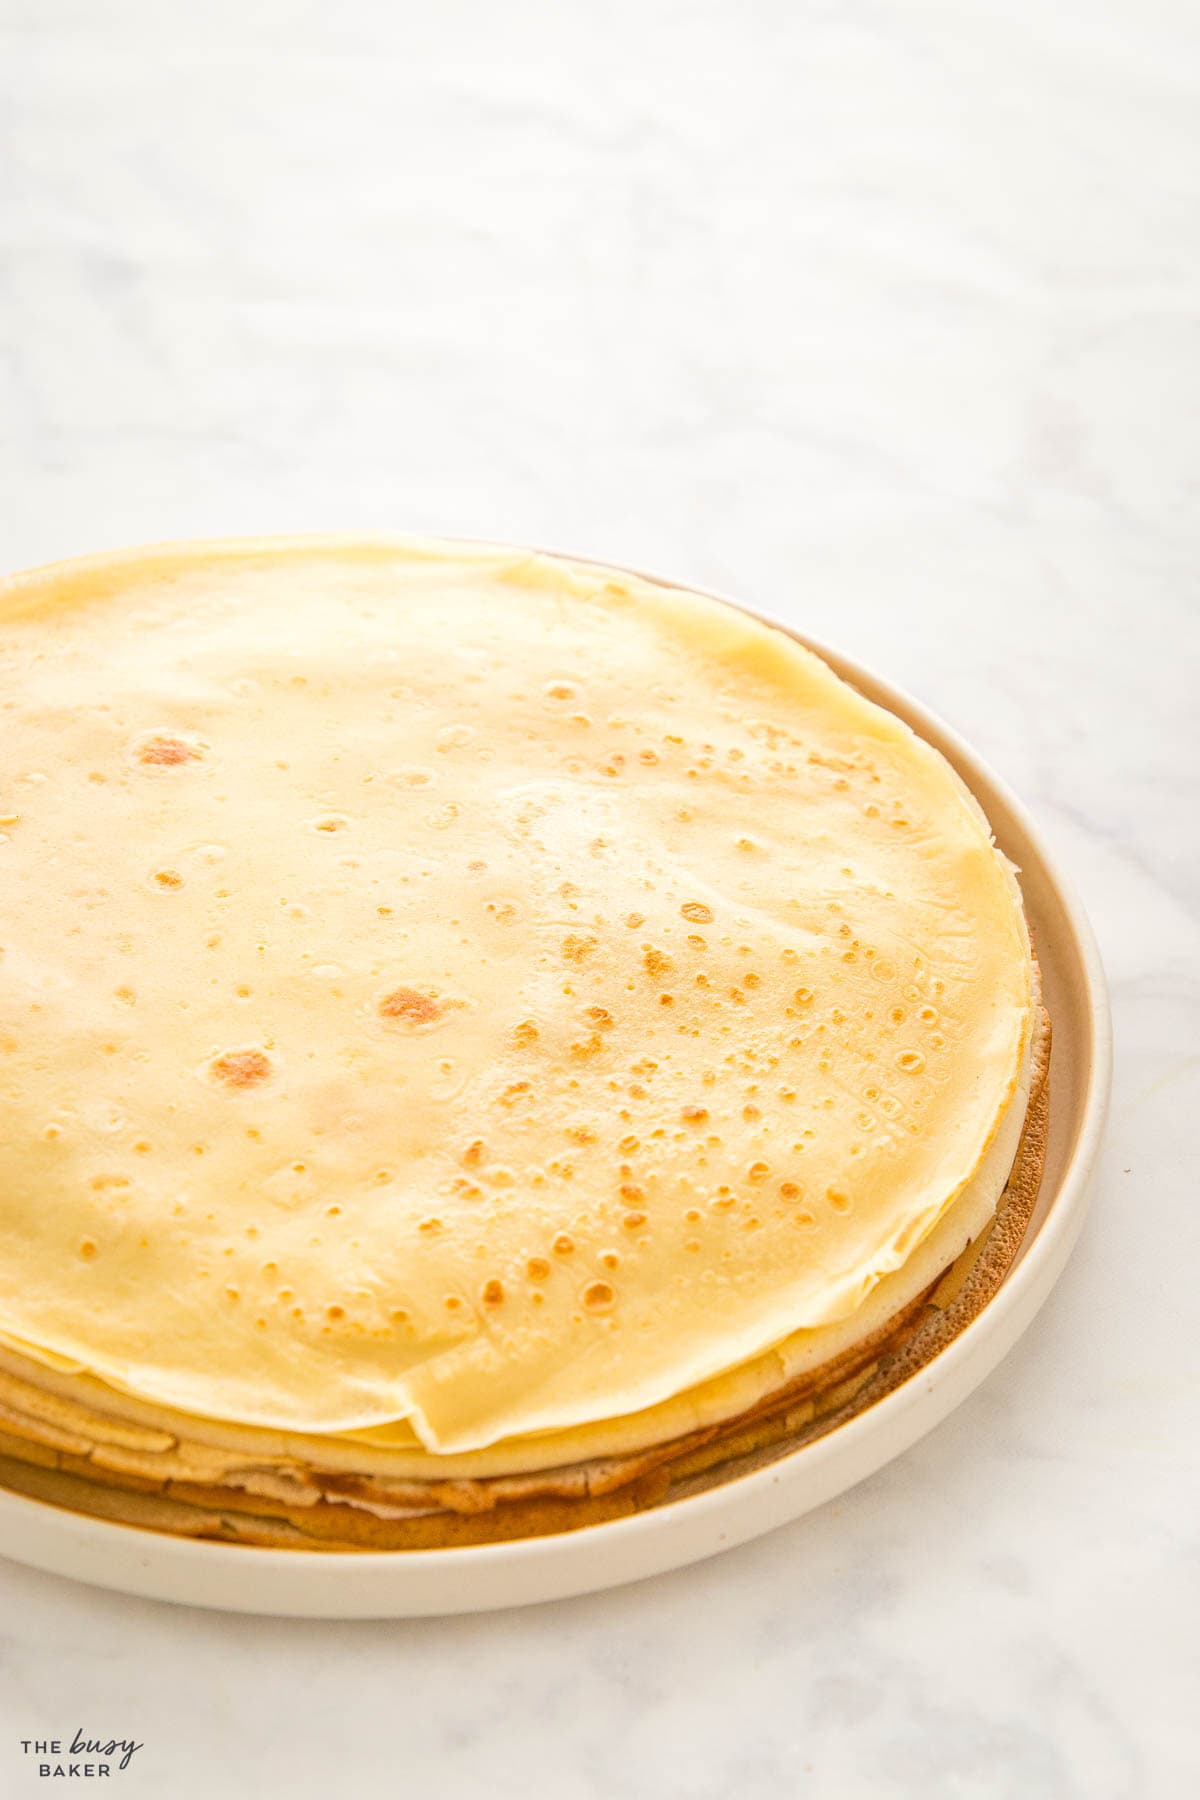
Crepes are very thin pancakes that contain no leavening agents, which makes them soft and very thin and flat.
Will crepes keep overnight?
Yes, store crepes in the fridge overnight in an airtight container or covered in plastic wrap.
Can crepes be reheated?
Yes, simply reheat them in the microwave and then serve.
Are crepes vegan?
No, they contain eggs and dairy milk which makes them unsuitable for a vegan diet.
Can I freeze crepes?
Yes, simply place layers of parchment paper between the crepes, add them to a container or bag that’s airtight and place them in the freezer for up to 6 months.
Can I make crepes suzette or a crepe cake with this recipe?
Yes, feel free to use this recipe as a base for any of your favourite recipes.
What is the secret to great crepes?
The secret to great crepes is resting the batter before frying them. This makes them soft and thin and very tender, instead of thick and rubbery.
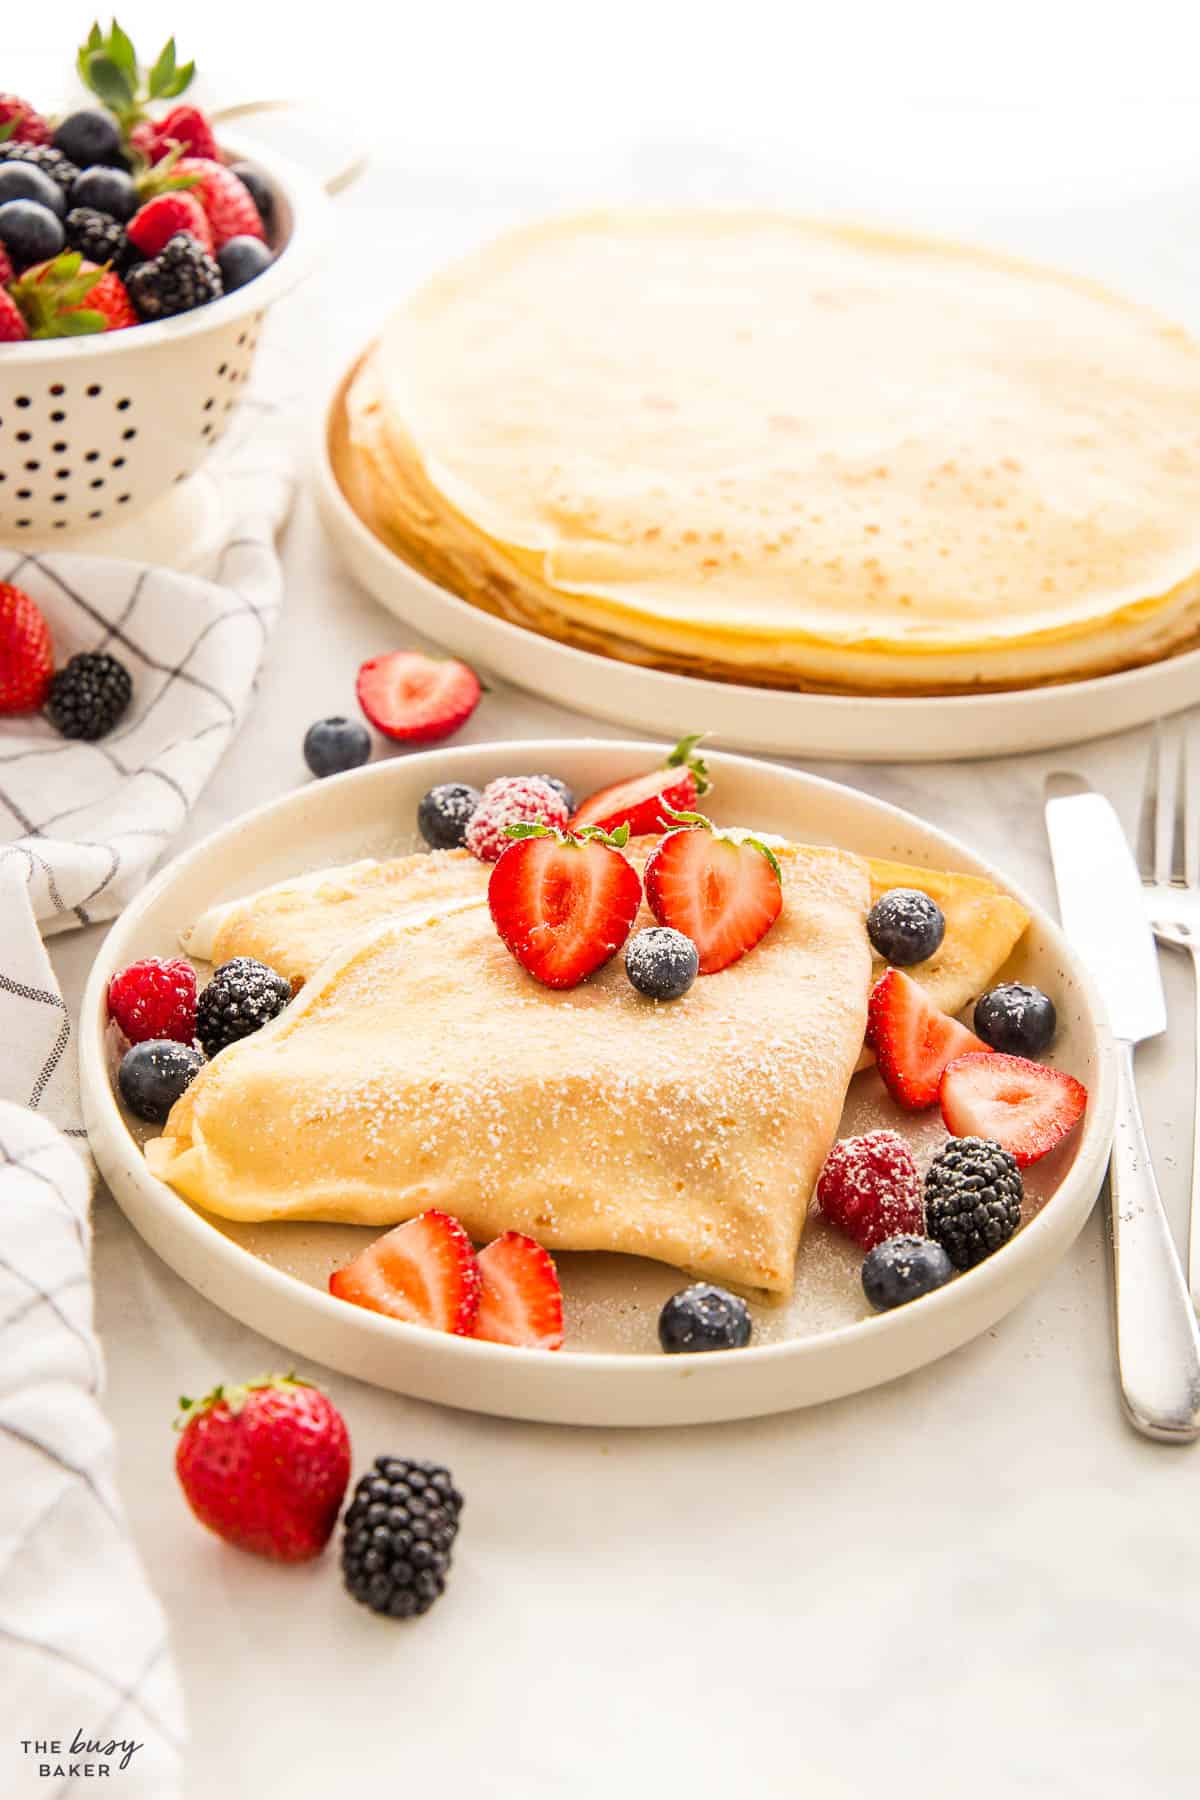
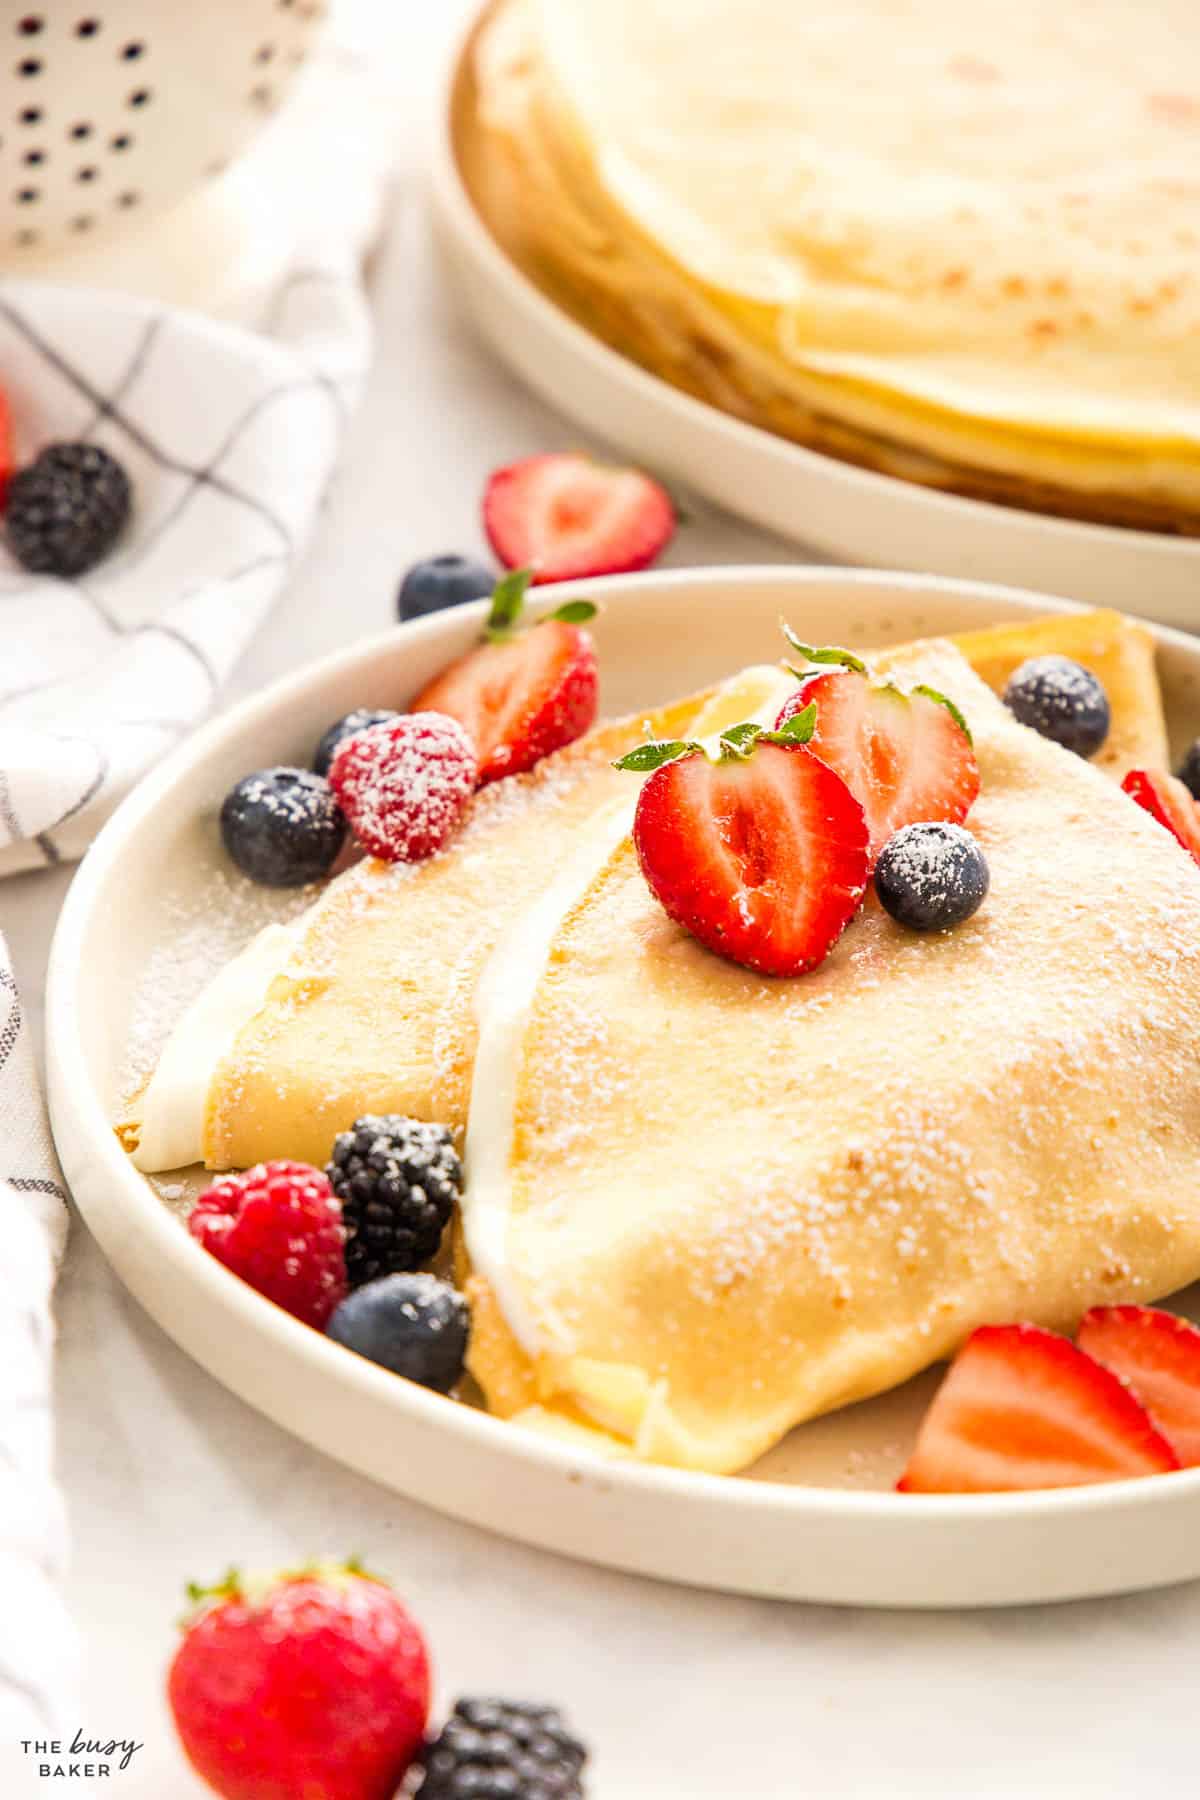
We hope you love this recipe as much as we do! Let us know in the comments below, what’s your favourite French-style dessert? We’d love to know!
- Chocolate Mousse
- No Bake Lemon Tart
- Tarte Tatin
- Easy Blueberry Galette
- Easy Brownies
- Strawberry Shortcake
- Vanilla Cake
- Strawberry Pie
- New York Cheesecake
- Fresh Nectarine Tart with Lemon Mascarpone Filling
Join the June Baking Challenge!
Simply join our Facebook Community, make this No Bake Cheesecake recipe, and post a photo for a chance to win a $100 Amazon Gift Card! PLUS every person who joins will receive a FREE Baking E-Cookbook!
Watch the video below to see exactly how we make this recipe. You can find many more deliciously simple recipe videos on our YouTube channel!
If you made this, share a photo!
Are you trying this recipe? Use the comment form below to share your take; now with support for image uploads and comment voting!
Crepes
Recipe: Equipment
Recipe: Ingredients
- 3 cups milk divided (reserve one cup of milk for later)
- 4 large eggs
- 4 tablespoons melted butter
- 2 cups all purpose flour
- 2 teaspoons sugar
- 1/2 teaspoon salt
- 1/2 teaspoon vanilla extract
- melted butter for greasing the pan
Recipe: Instructions
- Add all the ingredients to your blender in the order outlined in the recipe (liquid ingredients first), reserving one cup of milk for later.
- Blend on low speed until no more lumps remain.
- If your blender has an airtight lid, add the lid and place the blender bottle in the fridge for 2 hours (or overnight). If not, place the batter in an airtight container or bowl with a lid. Let the batter rest in the fridge.
- Once the batter has rested, add one cup of milk and whisk to combine.
- Heat a large skillet or crepe pan (between 9 and 12 inches in size) over medium-high heat. Prepare the melted butter with a pastry brush to grease the pan.
- Before cooking the first crepe, brush the hot pan with some melted butter.
- Pour about 1/3-1/2 cup of batter into the pan and lift the pan off the heat quickly, swirling the pan around in the air slightly so the batter coats the whole pan.
- Place the pan back on the heat and let the crepe cook on the first side for about 1-2 minutes, just until the crepe begins to brown slightly and appears cooked.
- Flip the crepe carefully with a large thin spatula or silicone turner. Cook it on the second side for another 1-2 minutes until lightly browned.
- Move the crepe to a plate and repeat the process again for each crepe (brush the pan with butter to start). Aim for thin crepes – you should be using about 1/3 cup of batter per crepe, or, depending on the size of your pan, no more than 1/2 cup of batter.
- Every time you make another crepe and add it to the stack, flip the stack carefully so the heat is distributed evenly.
- Serve the crepes immediately with your favourite fillings and toppings, or store them in the fridge covered in plastic wrap or a clean kitchen towel.
Recipe: Notes
Storage and Reheating Instructions
To store these crepes, cover them with plastic wrap and store them in the fridge for up to 3 days. Reheat them in the microwave before serving.Freezer Instructions
To freeze these crepes, place a layer of parchment paper or wax paper between them and then place them in a container or airtight bag. Defrost at room temperature or in the fridge, then reheat before serving.Recipe: Nutrition
Notice: Nutrition is auto-calculated, using Spoonacular, for your convenience. Where relevant, we recommend using your own nutrition calculations.

