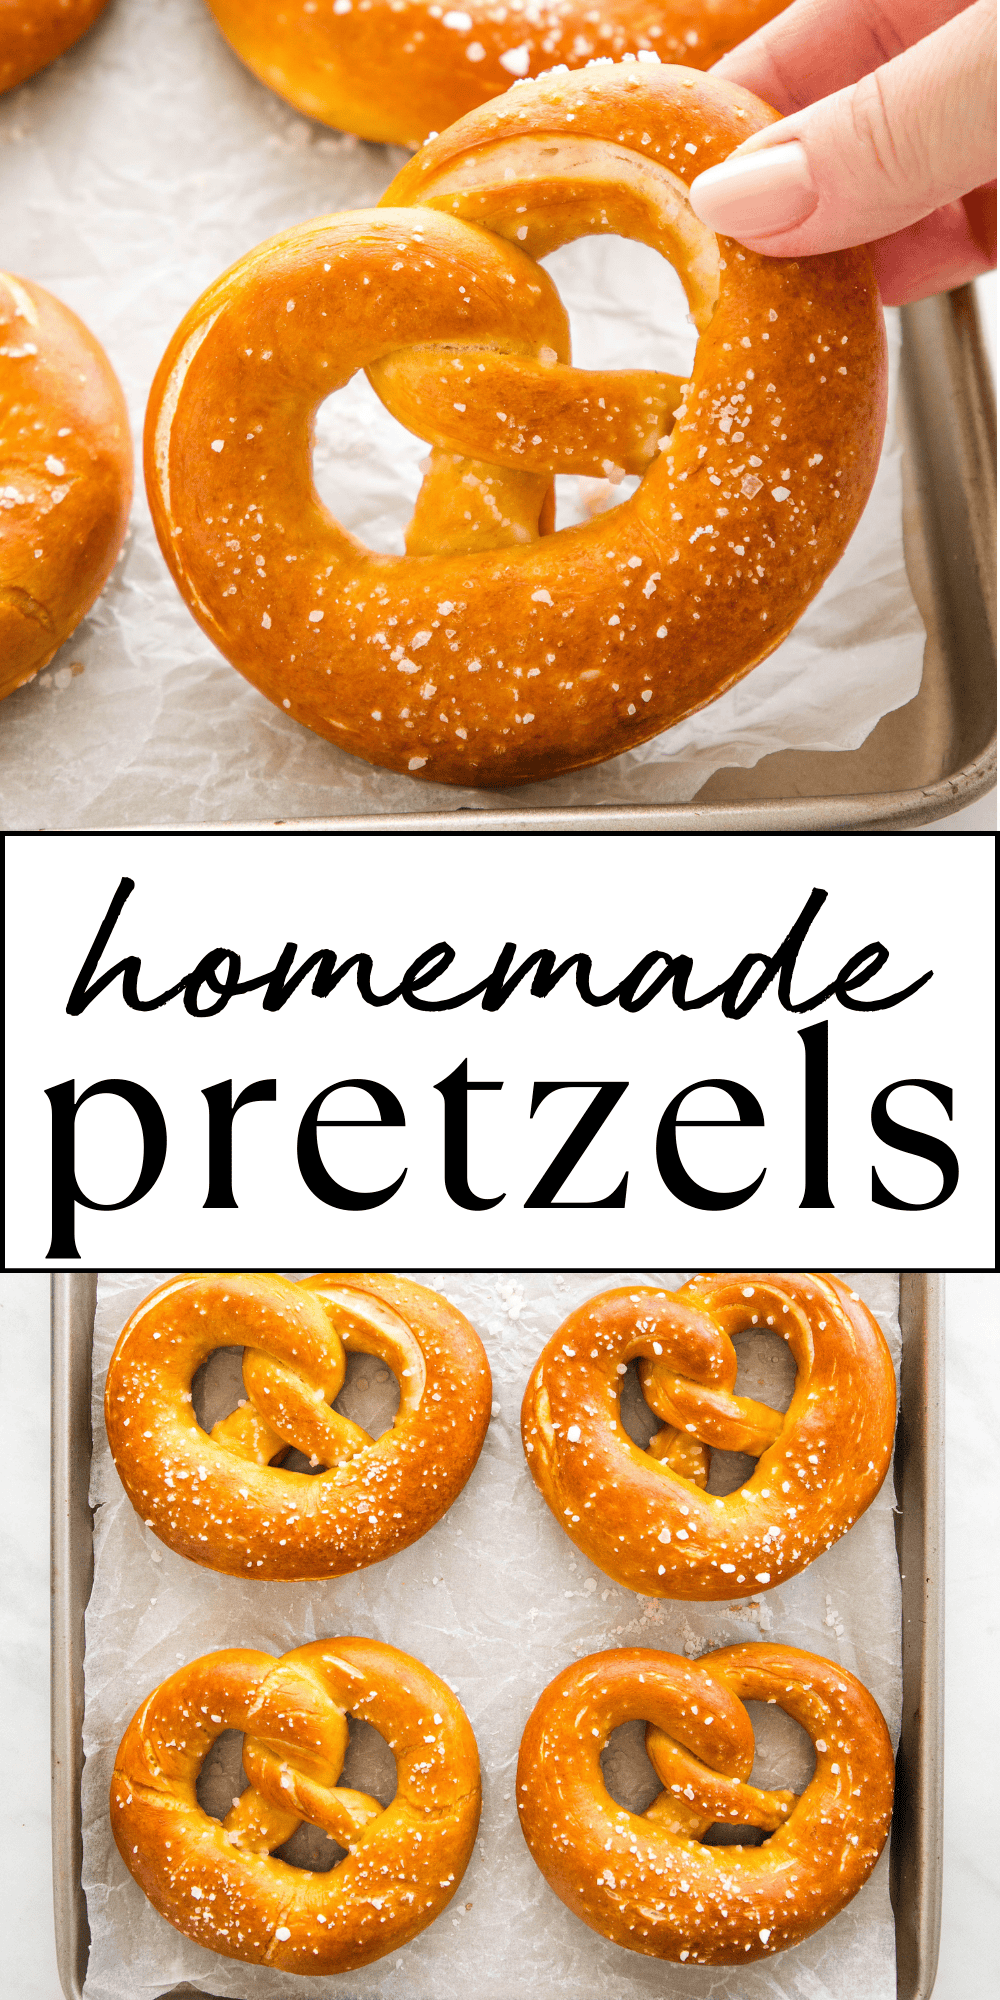
This Pretzels recipe is the ultimate guide to chewy German-style soft pretzels. Make this soft pretzel recipe with basic ingredients and our pro tips and tricks – no lye required!
Estimated reading time: 16 minutes
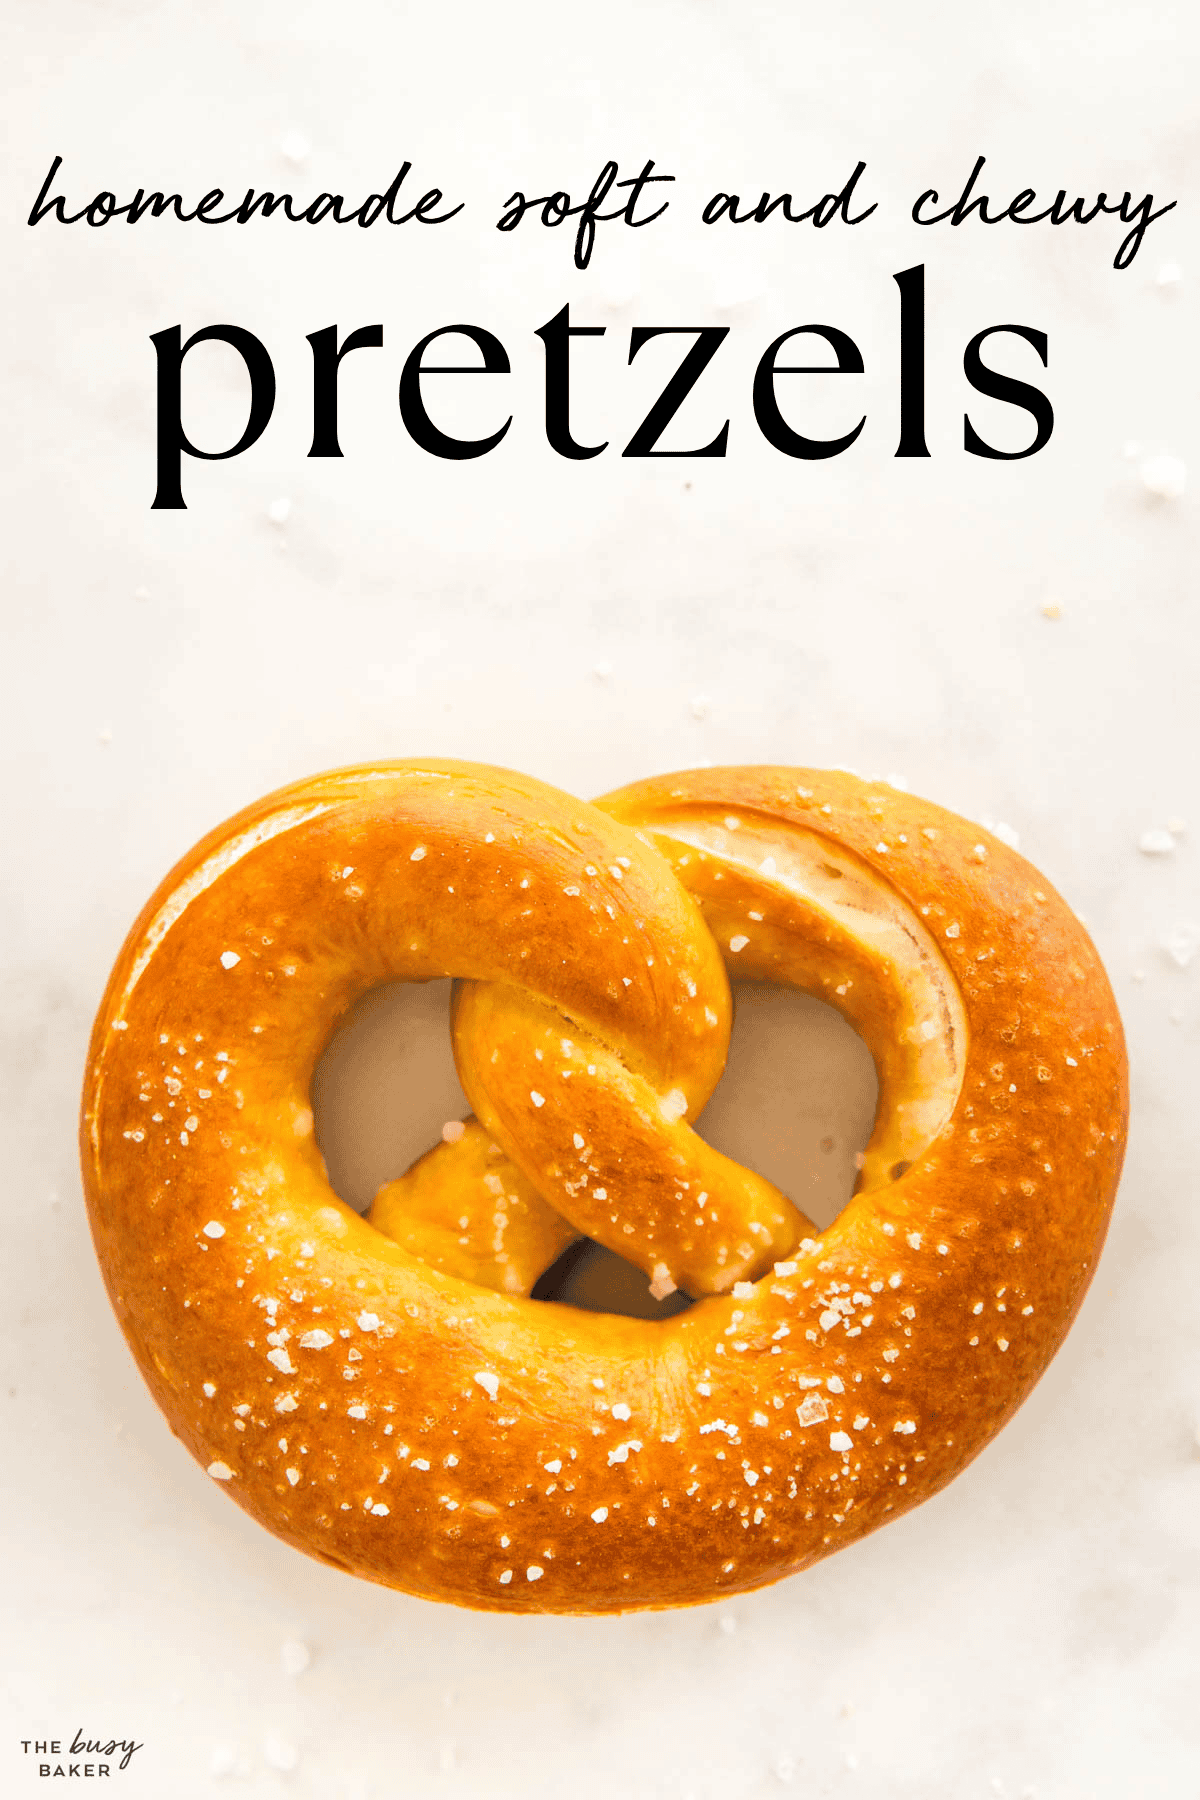
Soft pretzels are, hands down, one of our favourite savoury snacks. Whether it’s the soft and chewy texture, the crunchy salt on the outside, or the fact that they remind us of our times spent in Germany and Austria, this homemade soft pretzel recipe is one of the BEST recipes around.
If you’ve ever wondered how to make delicious soft and chewy pretzels at home with basic ingredients you probably already have on hand, our ultimate guide to homemade pretzels is what you need!
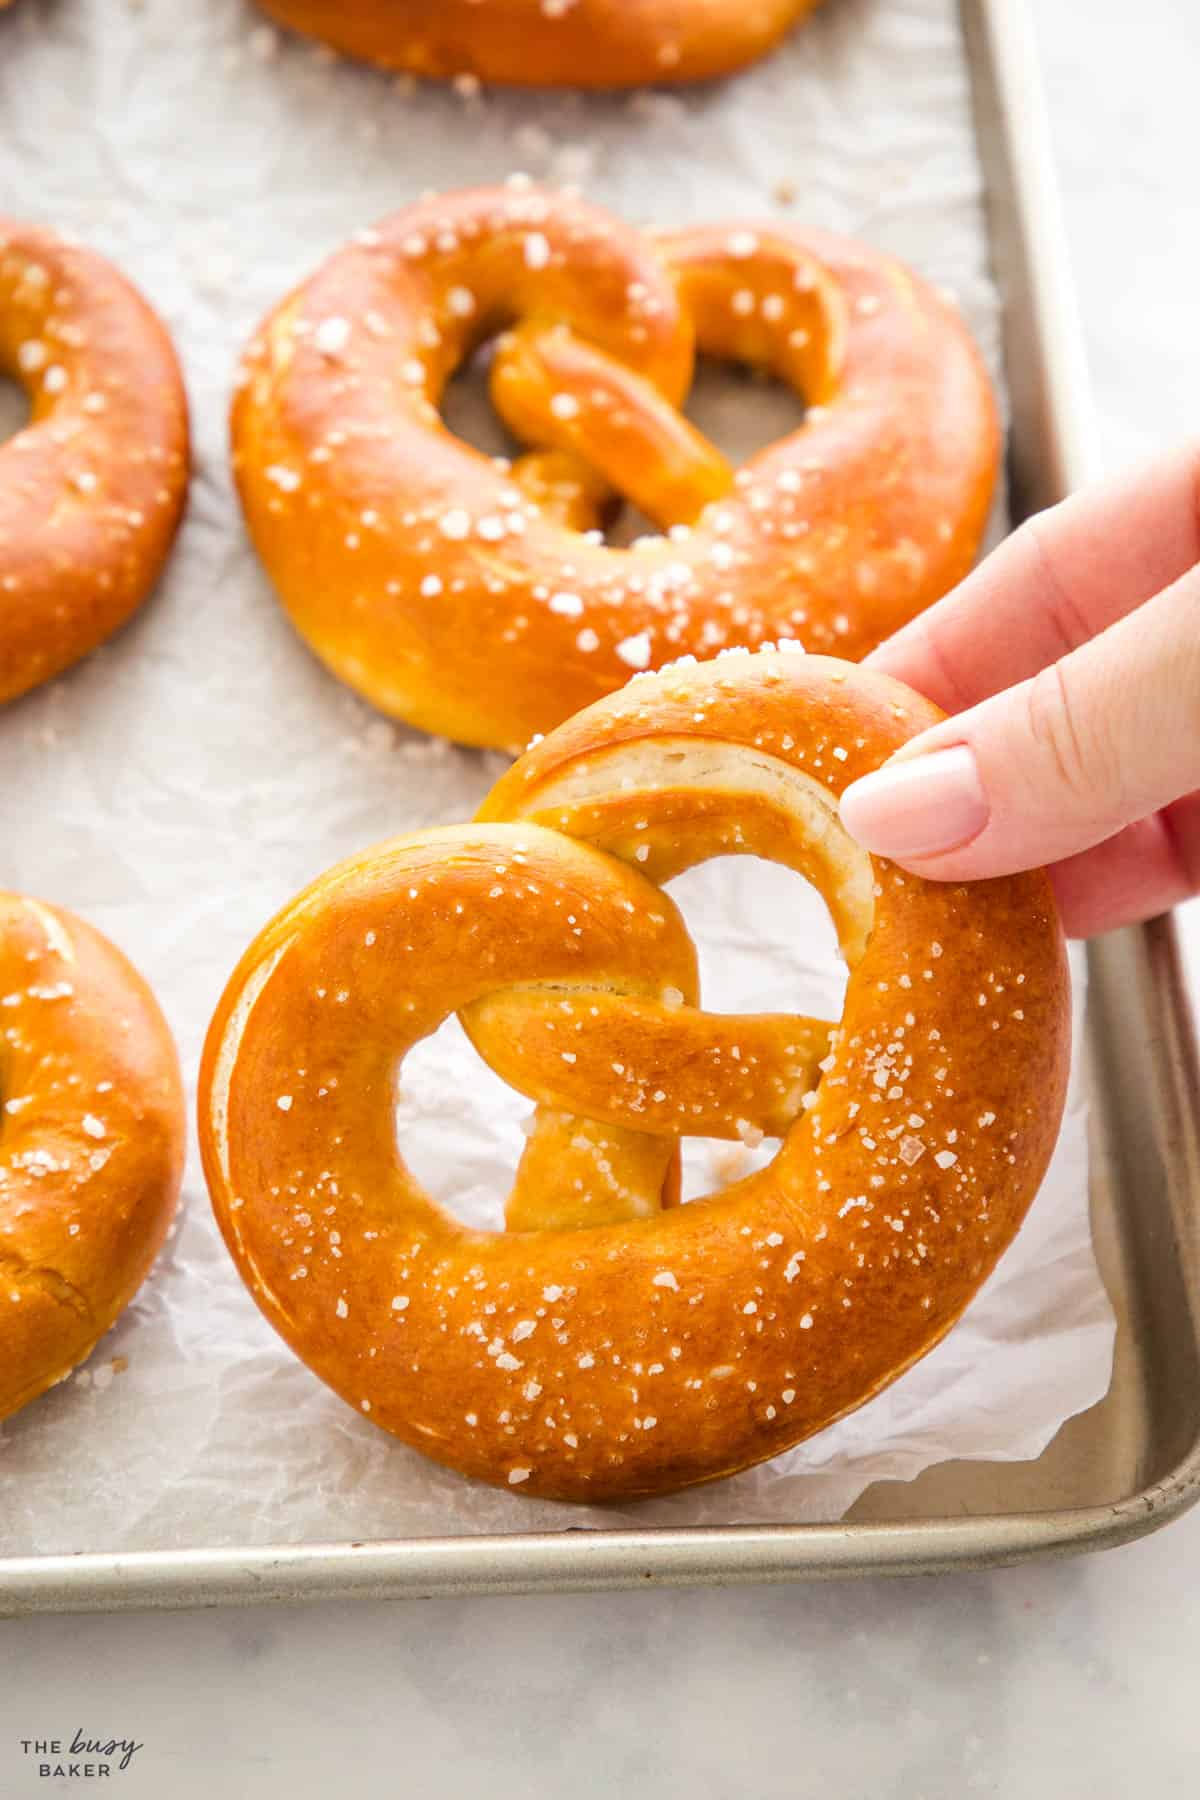
Soft pretzels are a baked treat known for their unique twisted shape and soft, chewy texture. They originated in Europe (from the German ‘bretzel’) and they’ve become a popular snack worldwide. In North America they can sometimes be found in bakeries, at street stands and festivals, and sometimes at the mall.
The dough is made from simple, basic ingredients like flour, water, yeast, and salt. After the dough is kneaded and left to rest for only a short time, it is shaped into the iconic pretzel form. Before baking, they’re traditionally dipped in a lye solution that gives them their distinct brown crust and subtle alkaline flavour after baking. In no-lye recipes like ours, baking soda is a more user-friendly alternative that creates a similar texture and colour to the pretzels traditionally made with lye.
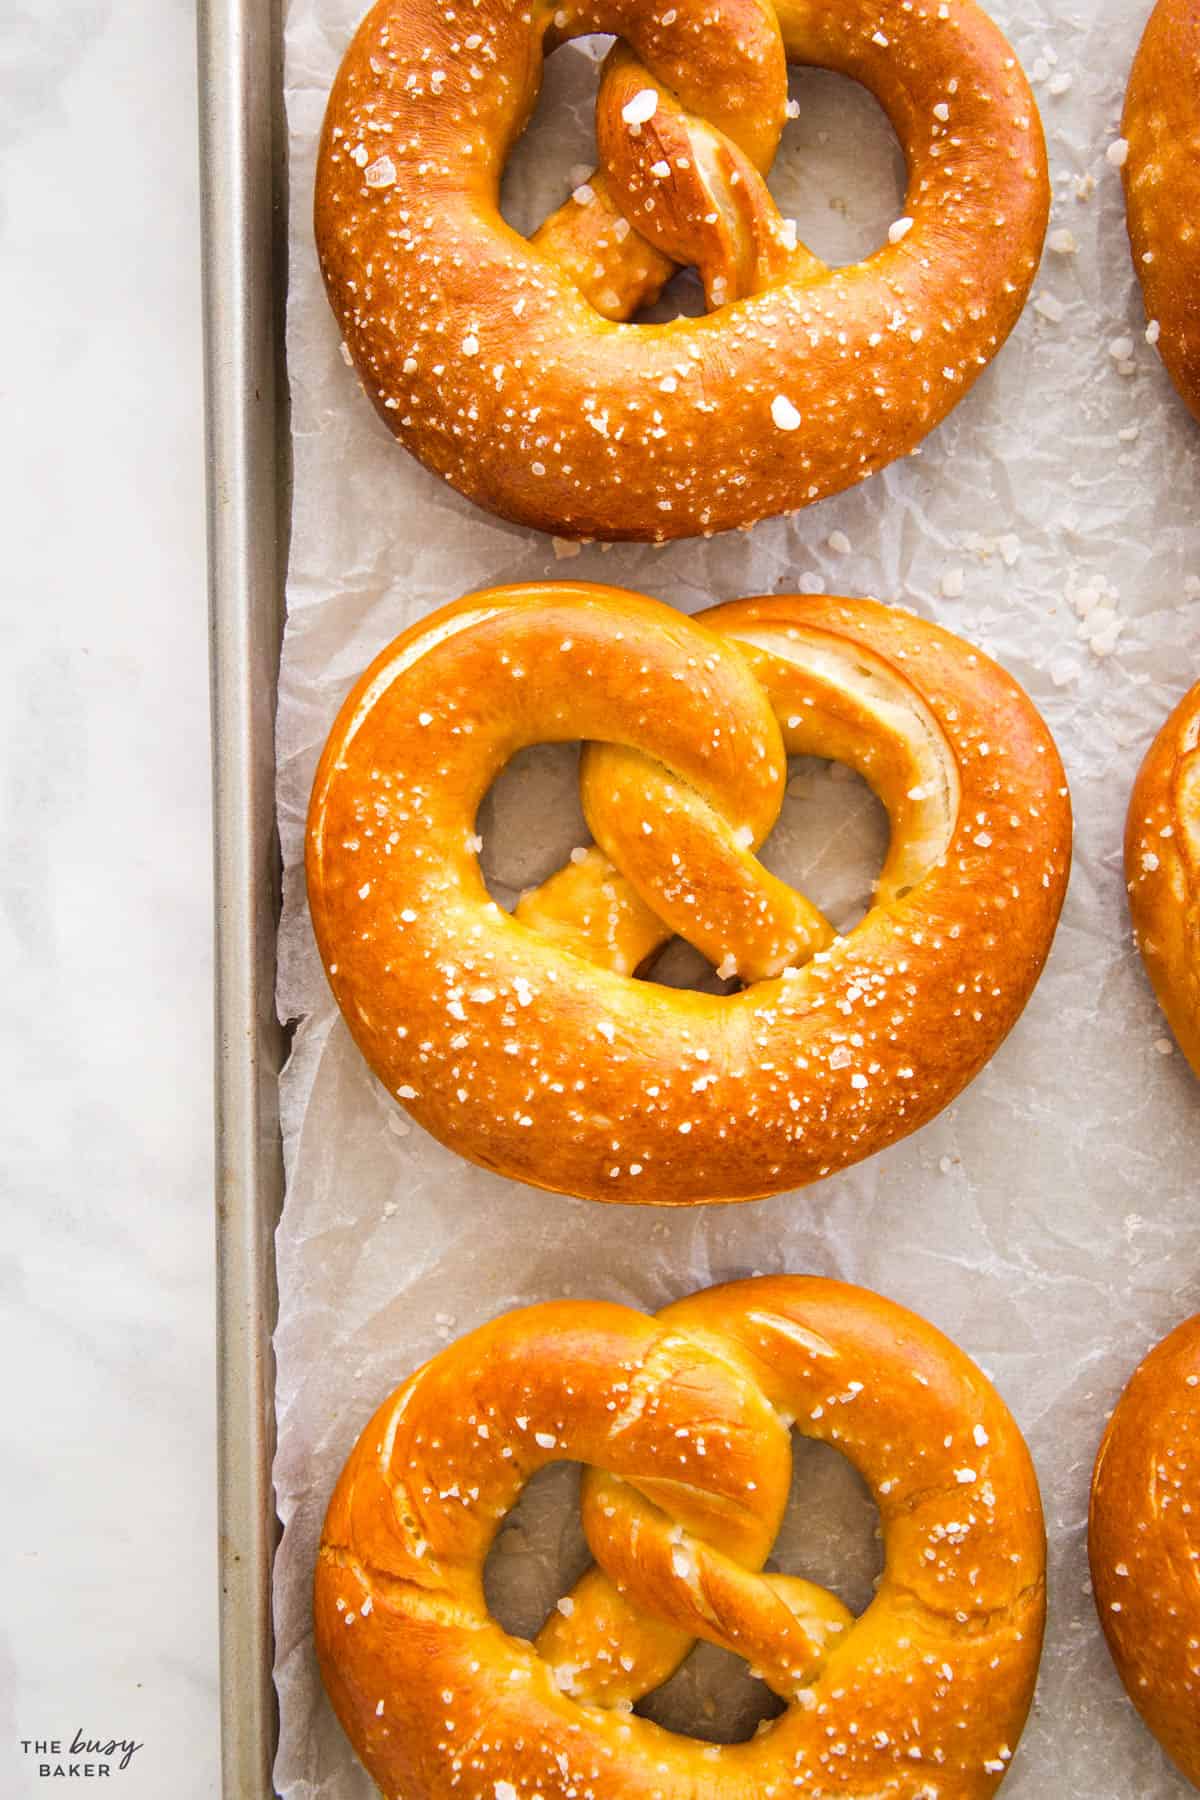
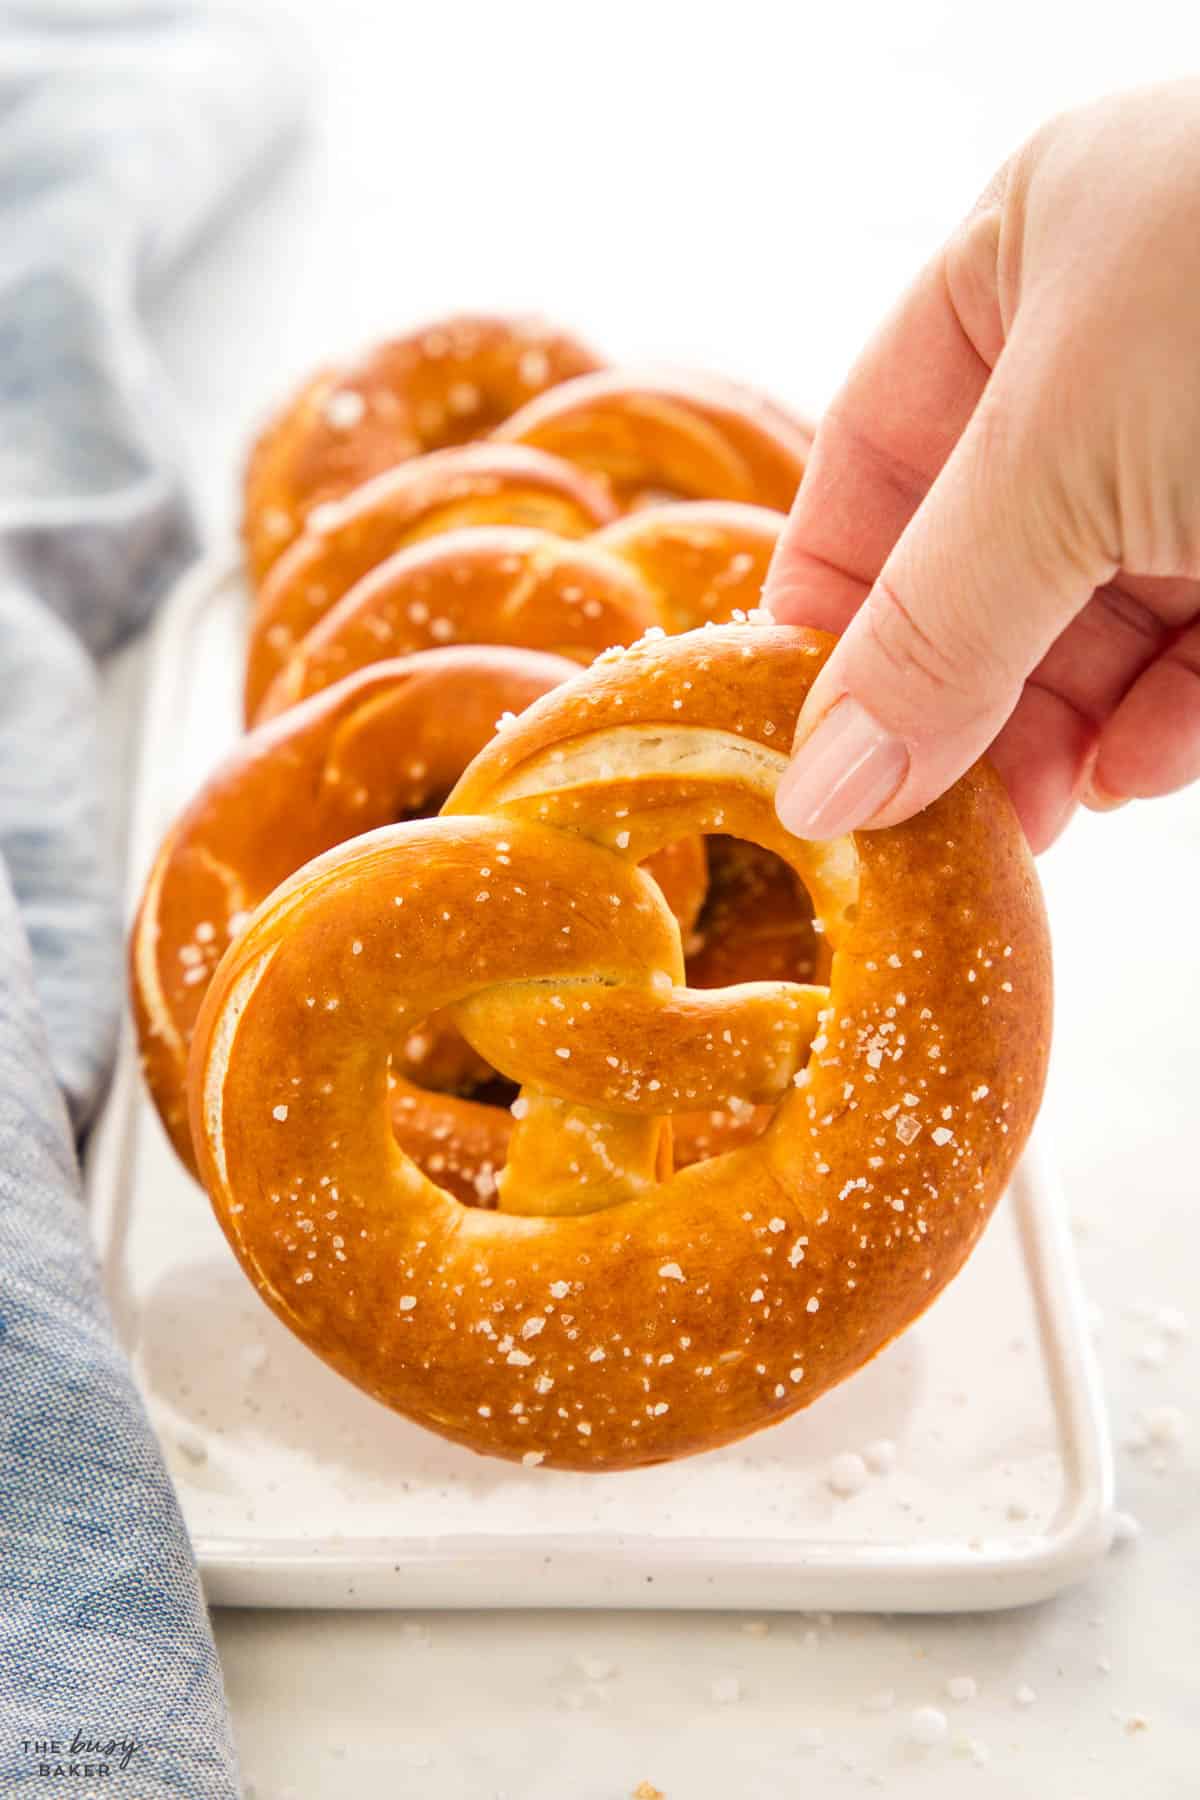
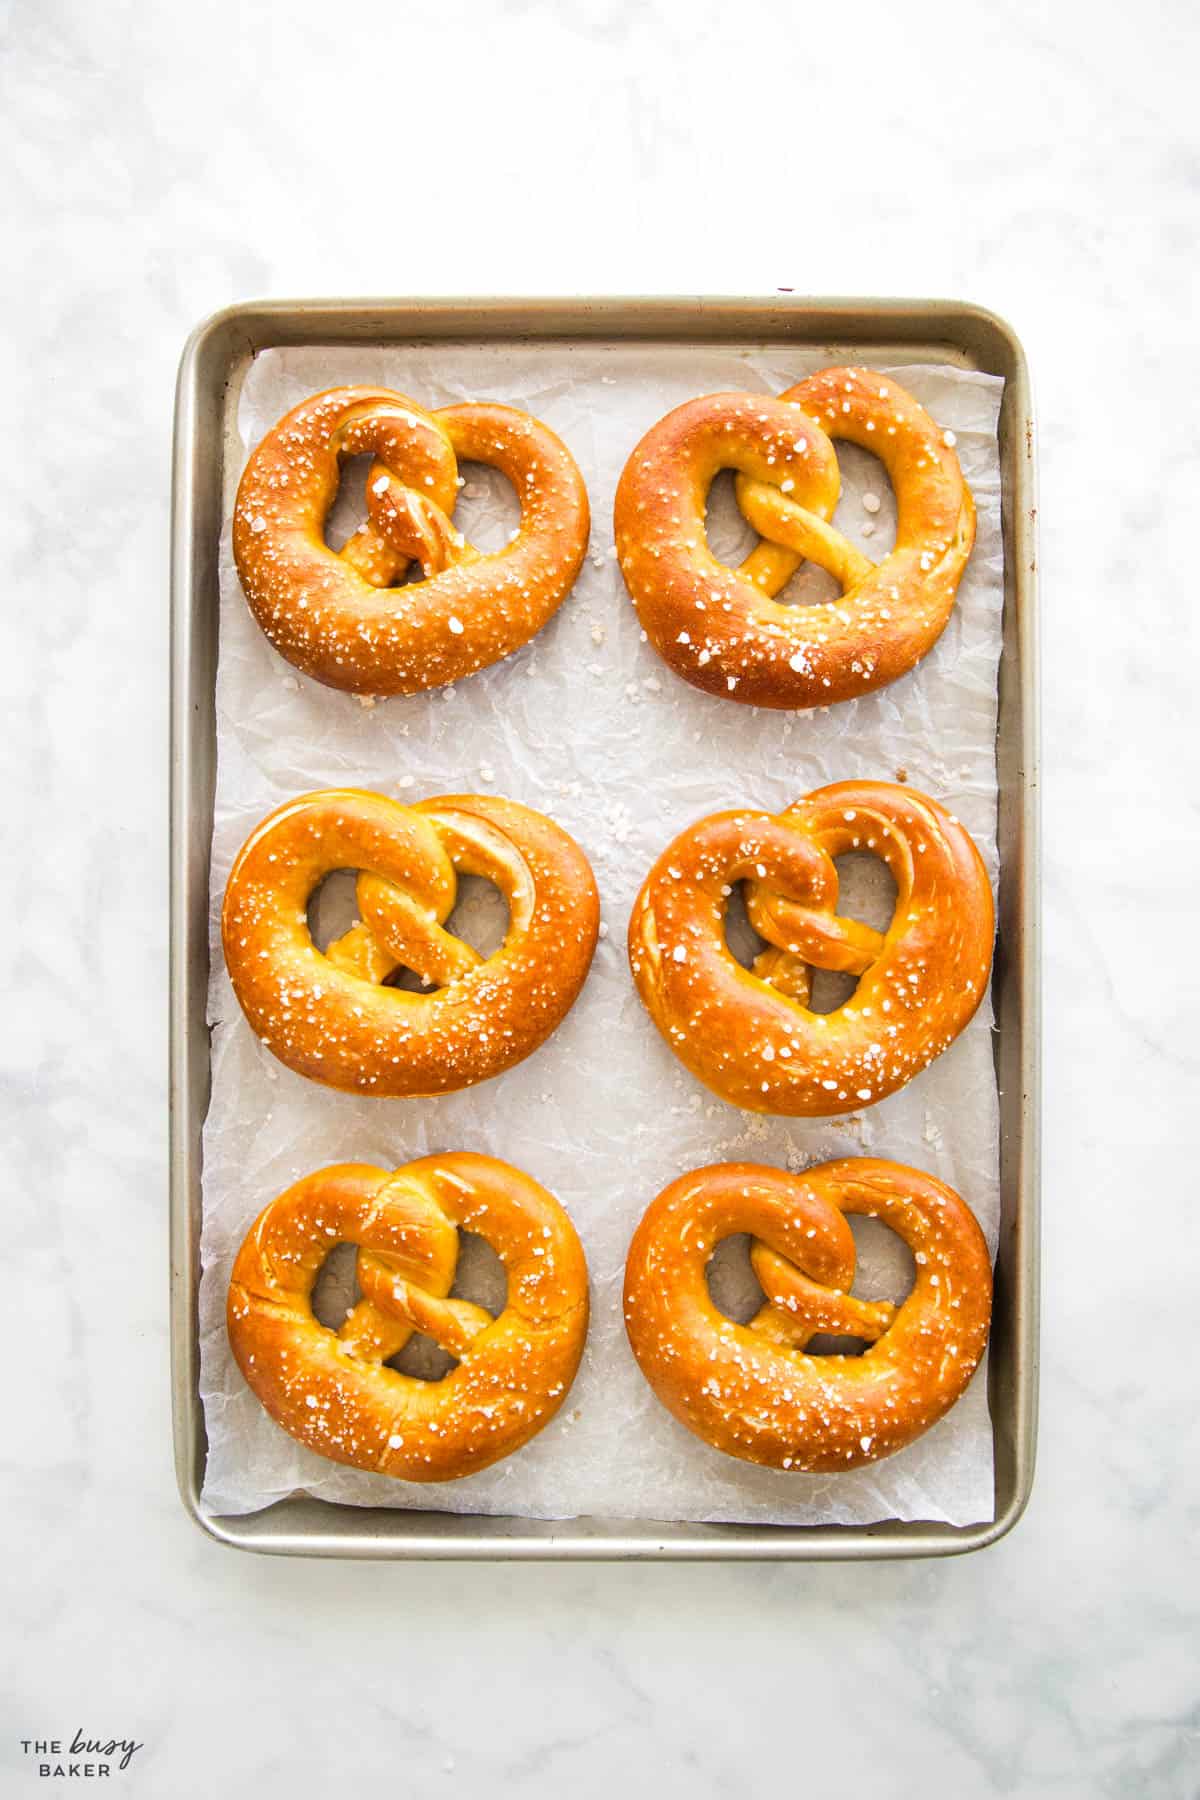
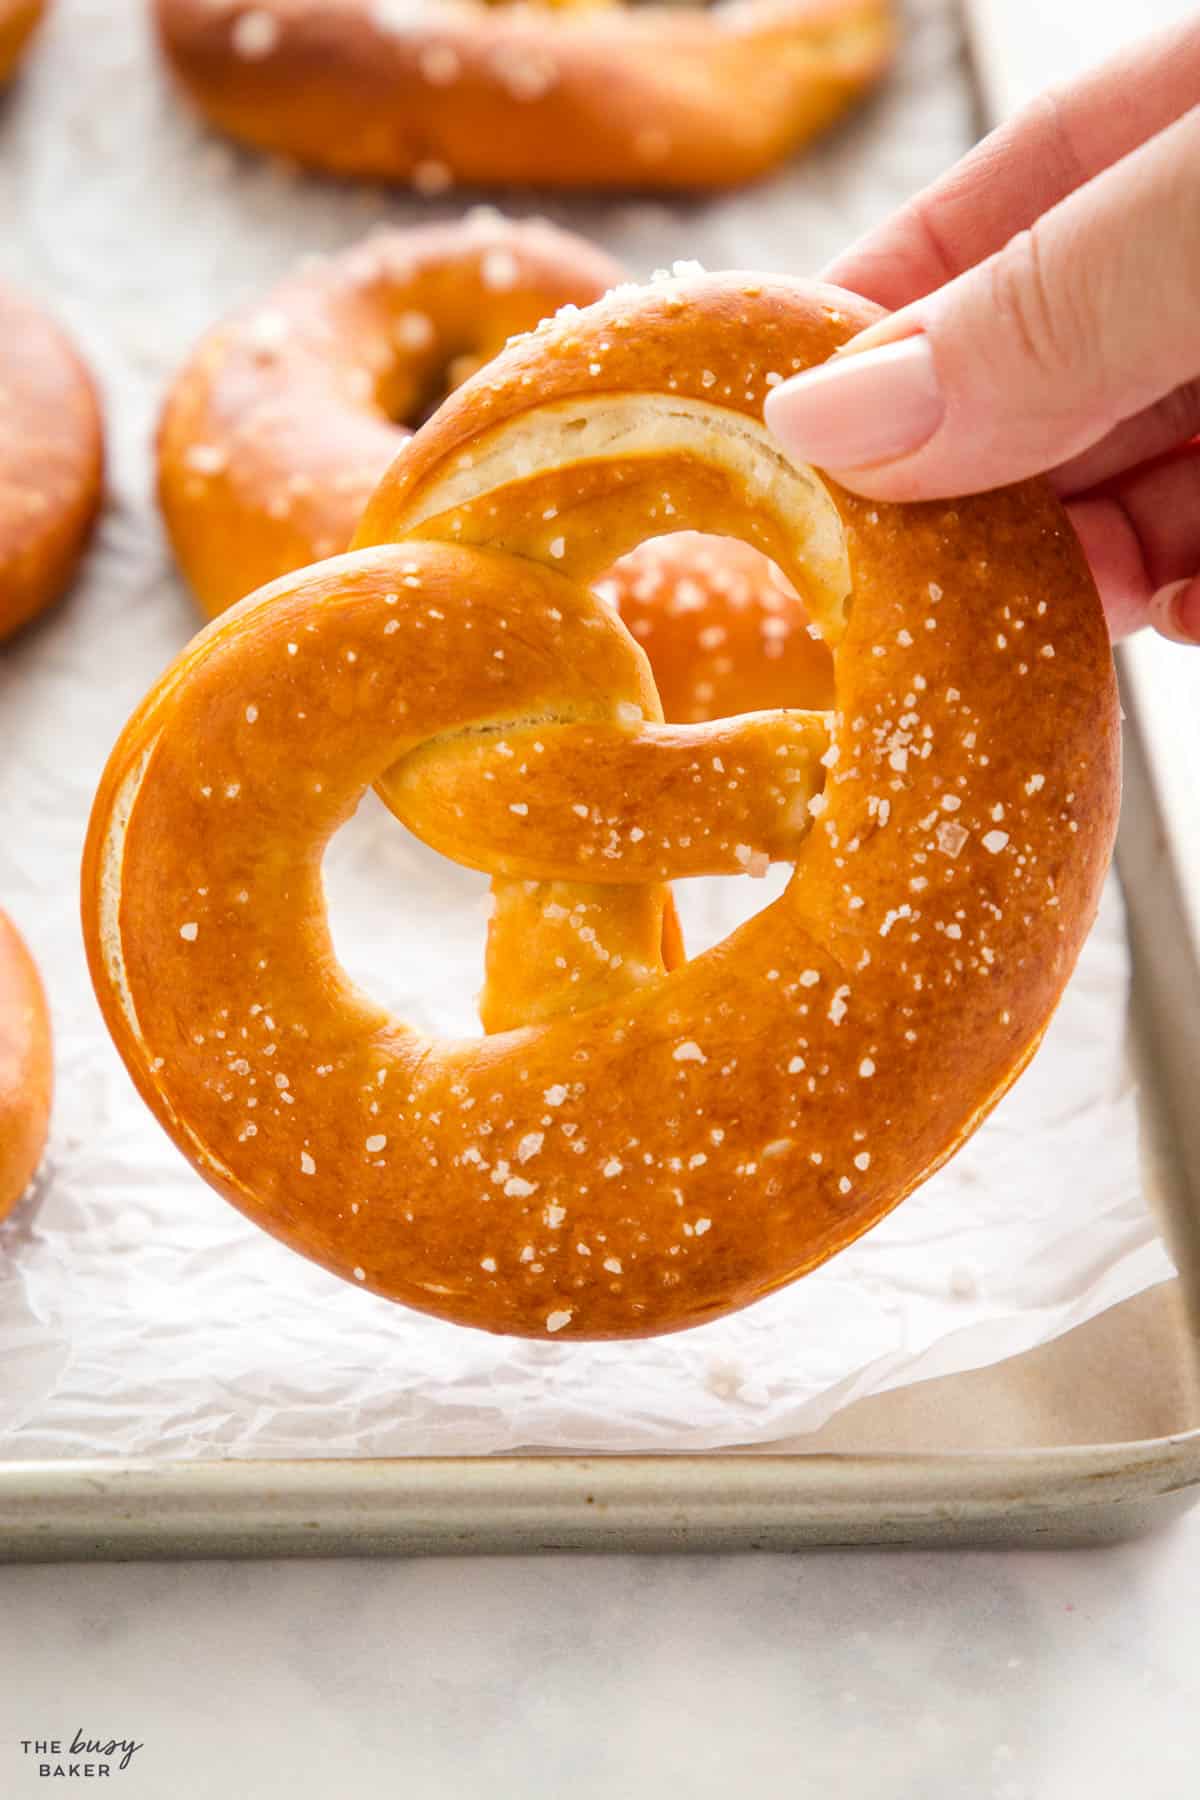
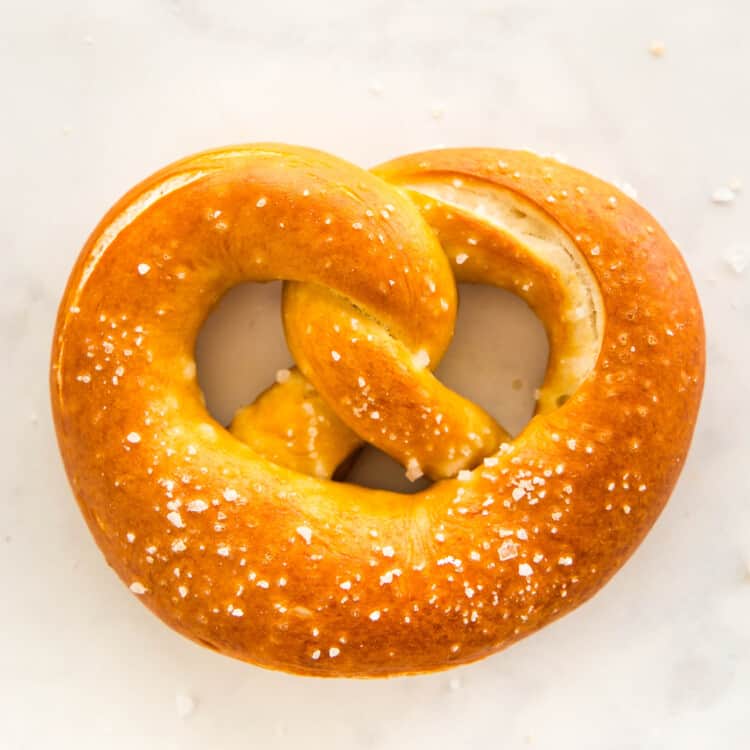
Soft pretzels often have a golden-brown exterior that’s on the chewy side, a soft interior, and the classic sprinkle of coarse salt on top. We serve them plain with frankfurters and a dollop of mustard or with our favourite cheese sauce for dipping. They’re also delicious all on their own.
Because they originated in Germany, American soft pretzels are an adapted version with some differences from the original. Here are some differences between the German and North American versions:
American-Style Soft Pretzels: These are typically larger and much softer than the German ones. The texture is pillowy, almost bread-like. They are often shaped into a thick, loose twist and have a mildly salty and usually a buttery flavour. American pretzels are sometimes (but not always) baked after a dip in a baking soda solution, which helps them achieve a light brown crust without the intense flavour that comes from lye. American-style pretzels are sometimes served dipped in cinnamon sugar, in garlic butter with Parmesan, or with a variety of dipping sauces (which is not how traditional German pretzels are served).
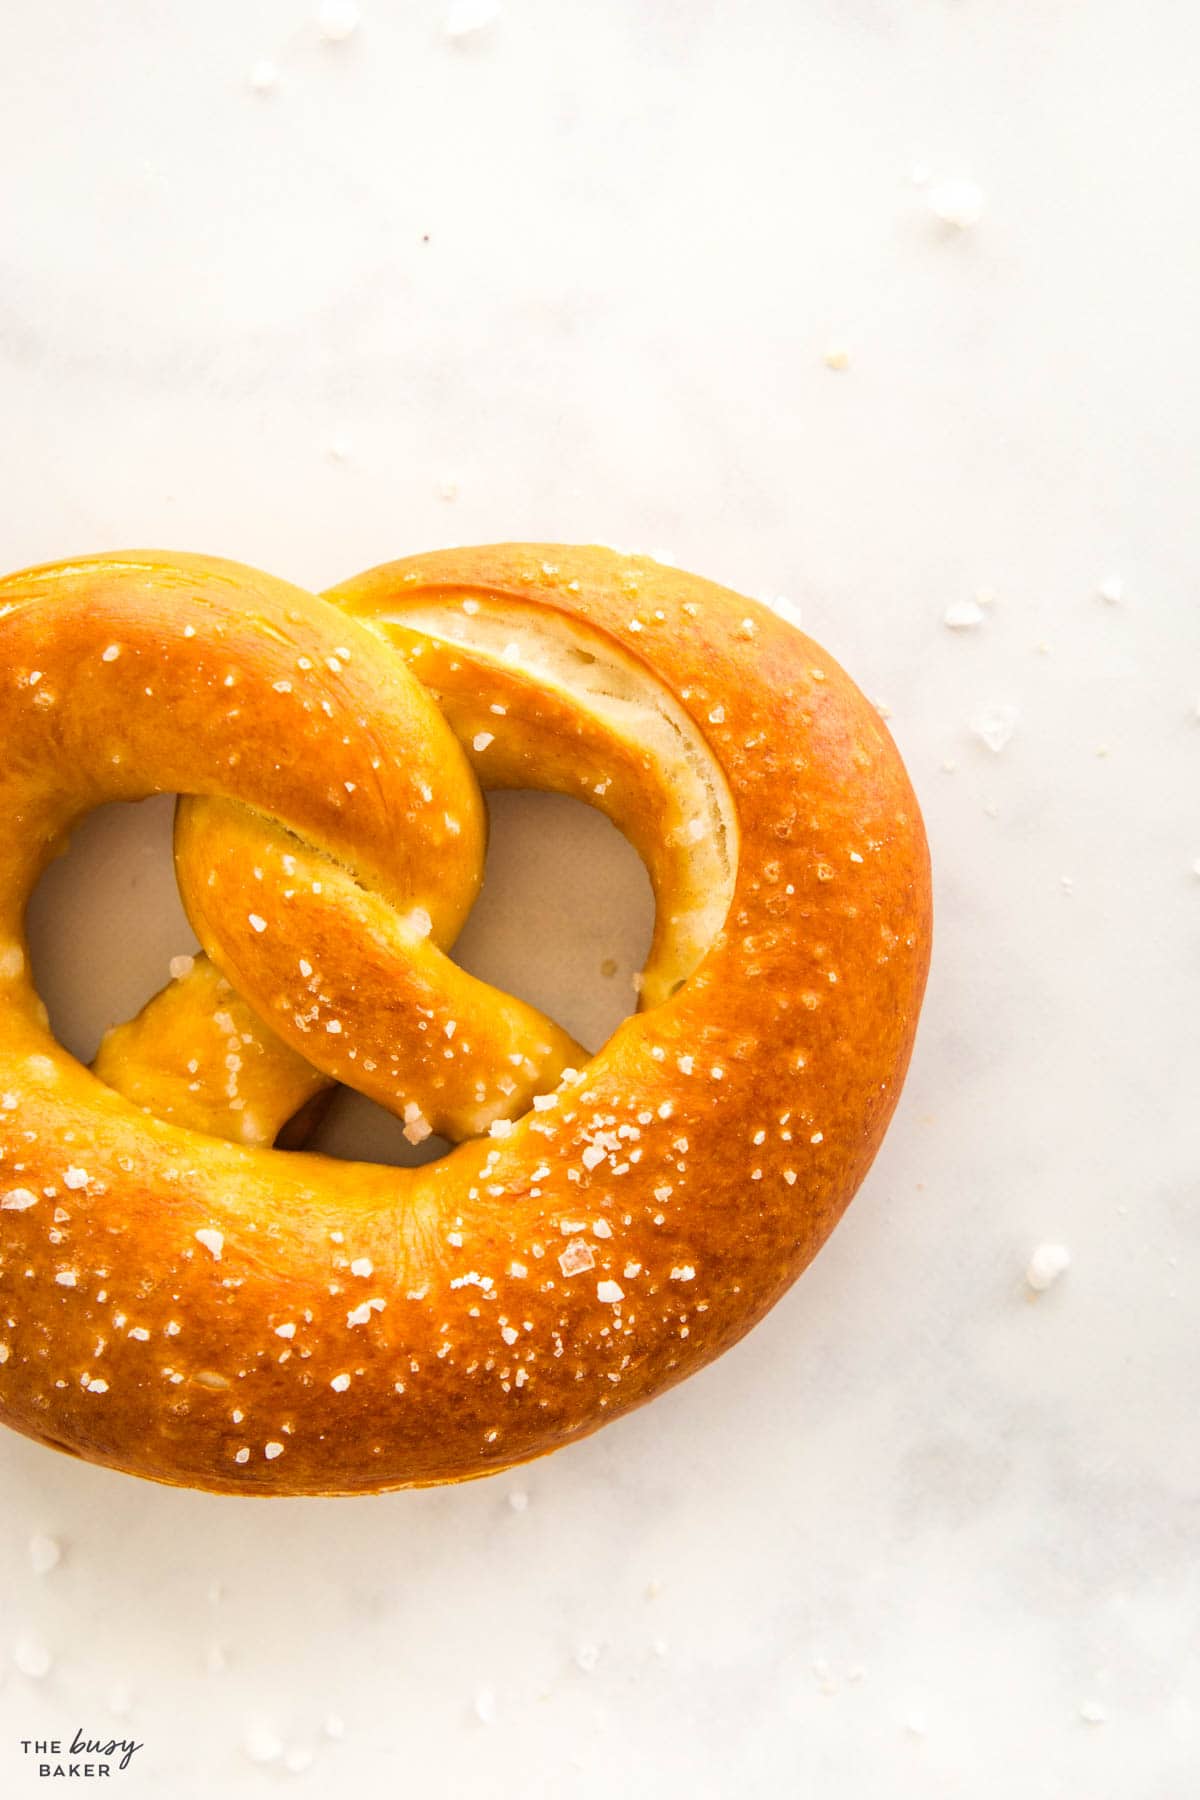
German-Style Pretzels: The German “Brezeln” are smaller, denser, and chewier than American soft pretzels. They are known for their thinner arms and a fat bottom which can burst open slightly during baking to reveal a softer, chewier interior. The dark, glossy crust of a traditional German pretzel is created by dipping the unbaked dough in a lye solution. German pretzels are often sprinkled with coarse salt on the outside before baking and served with mustard and sometimes frankfurters.
Our recipe is the best of both worlds; they are slightly softer than traditional German ones but they still have the classic chewy texture. They’ve got a beautiful brown exterior with crunchy coarse salt, but they’re a little bit puffier than the German-style pretzels. In our opinion, they’re the PERFECT choice for pretzel lovers everywhere!
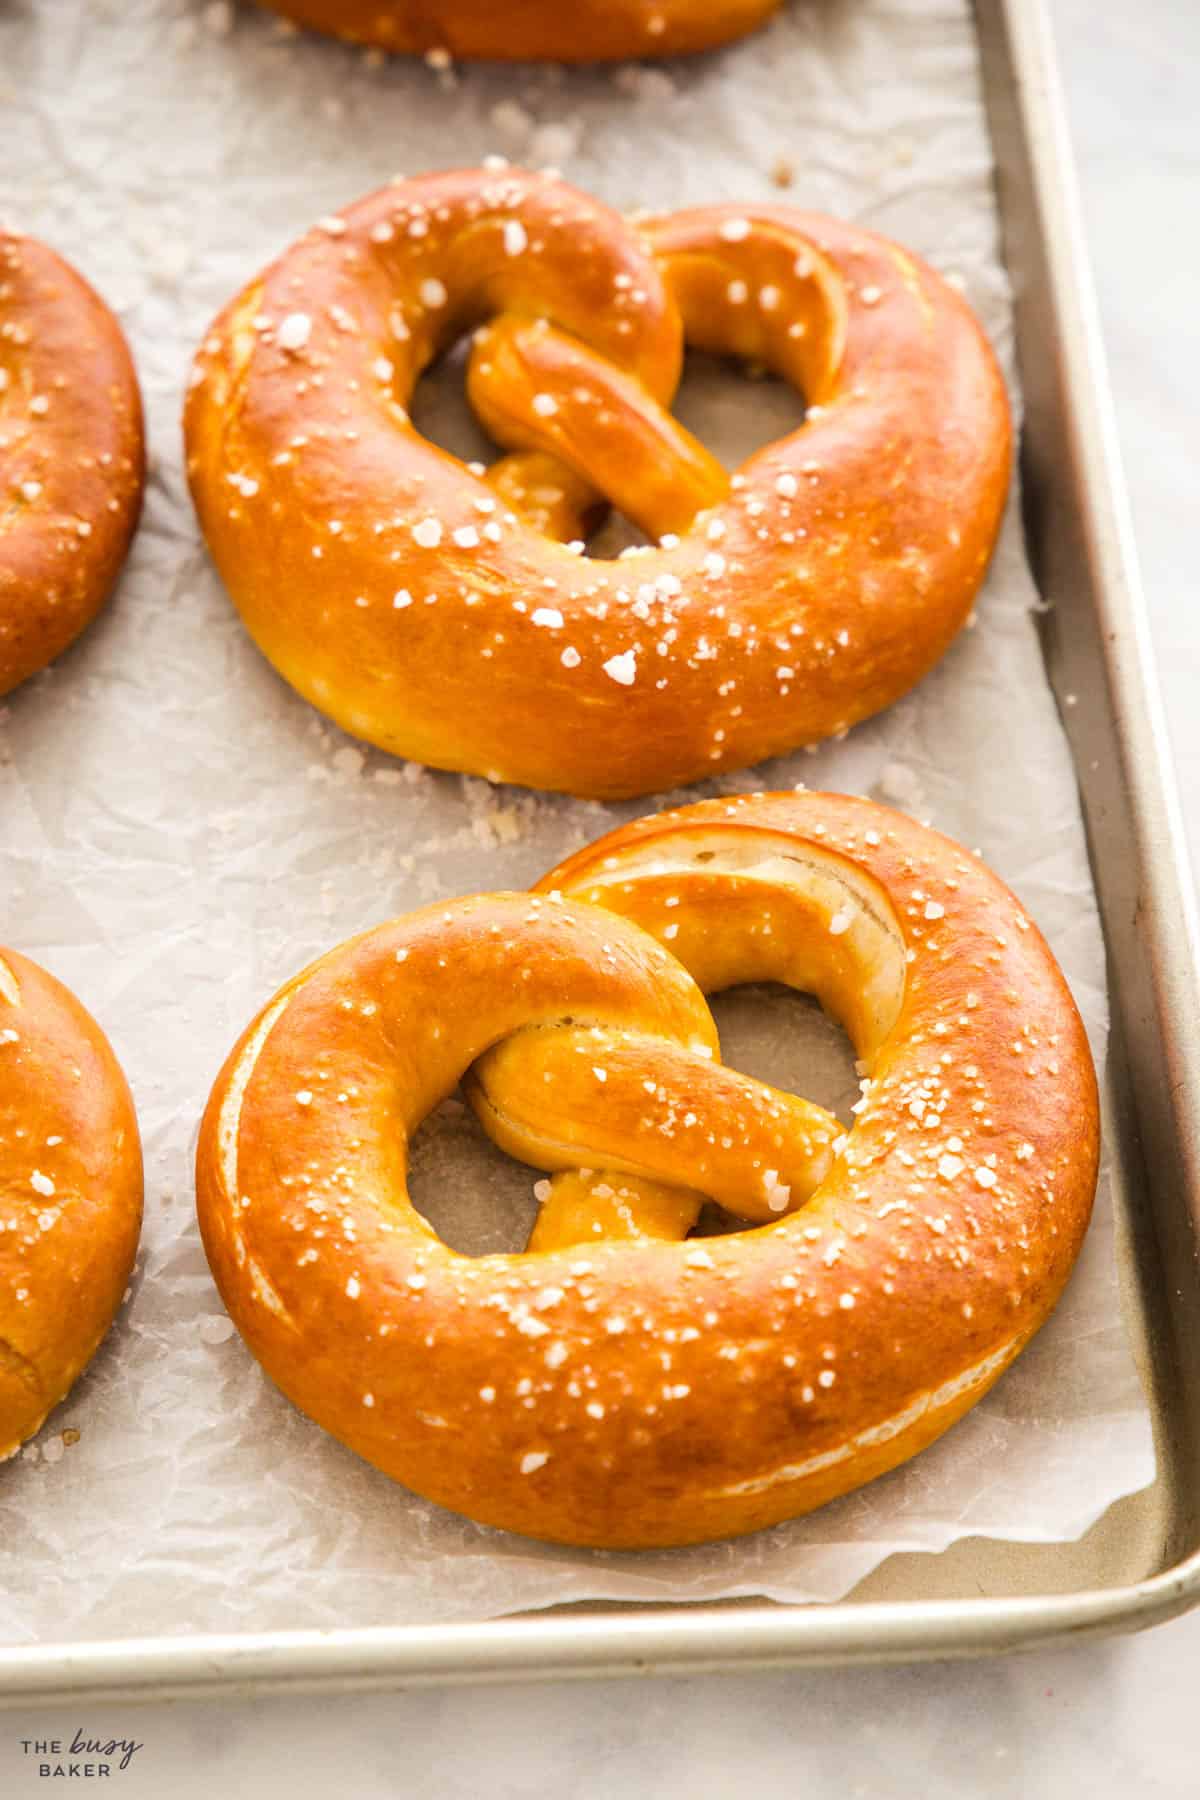
There are SO many reasons why we love these soft pretzels! Here are just a few:
- They’re QUICK to make. These pretzels don’t need to rise like a traditional bread dough. Just a quick rest and they’re ready to go!
- Everybody LOVES them. Name one person who doesn’t love a good soft pretzel… these are always a hit no matter when and where we make them.
- They’re great for PARTIES. If you want to talk about finger food, there’s nothing better than a savoury pretzel you can hold in your hand. Bonus points if you serve them with a dipping sauce!
- They remind us of EUROPE. These soft and chewy pretzels are everywhere in Germany and Austria and we’ve enjoyed them countless times throughout our travels. Our homemade version is JUST as good as anything we’ve tried from a professional bakery.
- Our KIDS love them! These pretzels are great for grab and go lunches, snacks for the car or after school, and they’re delicious as a part of a lunch plate with some ham, cheese, and cut vegetables and fruit.
If you love hosting parties and gatherings with your friends and family and you’re looking for new and easier ways to make homemade party food, we’ve got you covered! We’ve created a FREE No Fail Guide to the Best Party Food that’s packed with all our favourite tips and tricks, secrets and recipes for quick and easy appetizers and snacks that will turn you into the host with the most – the easy way! Sign up for our FREE guide below:
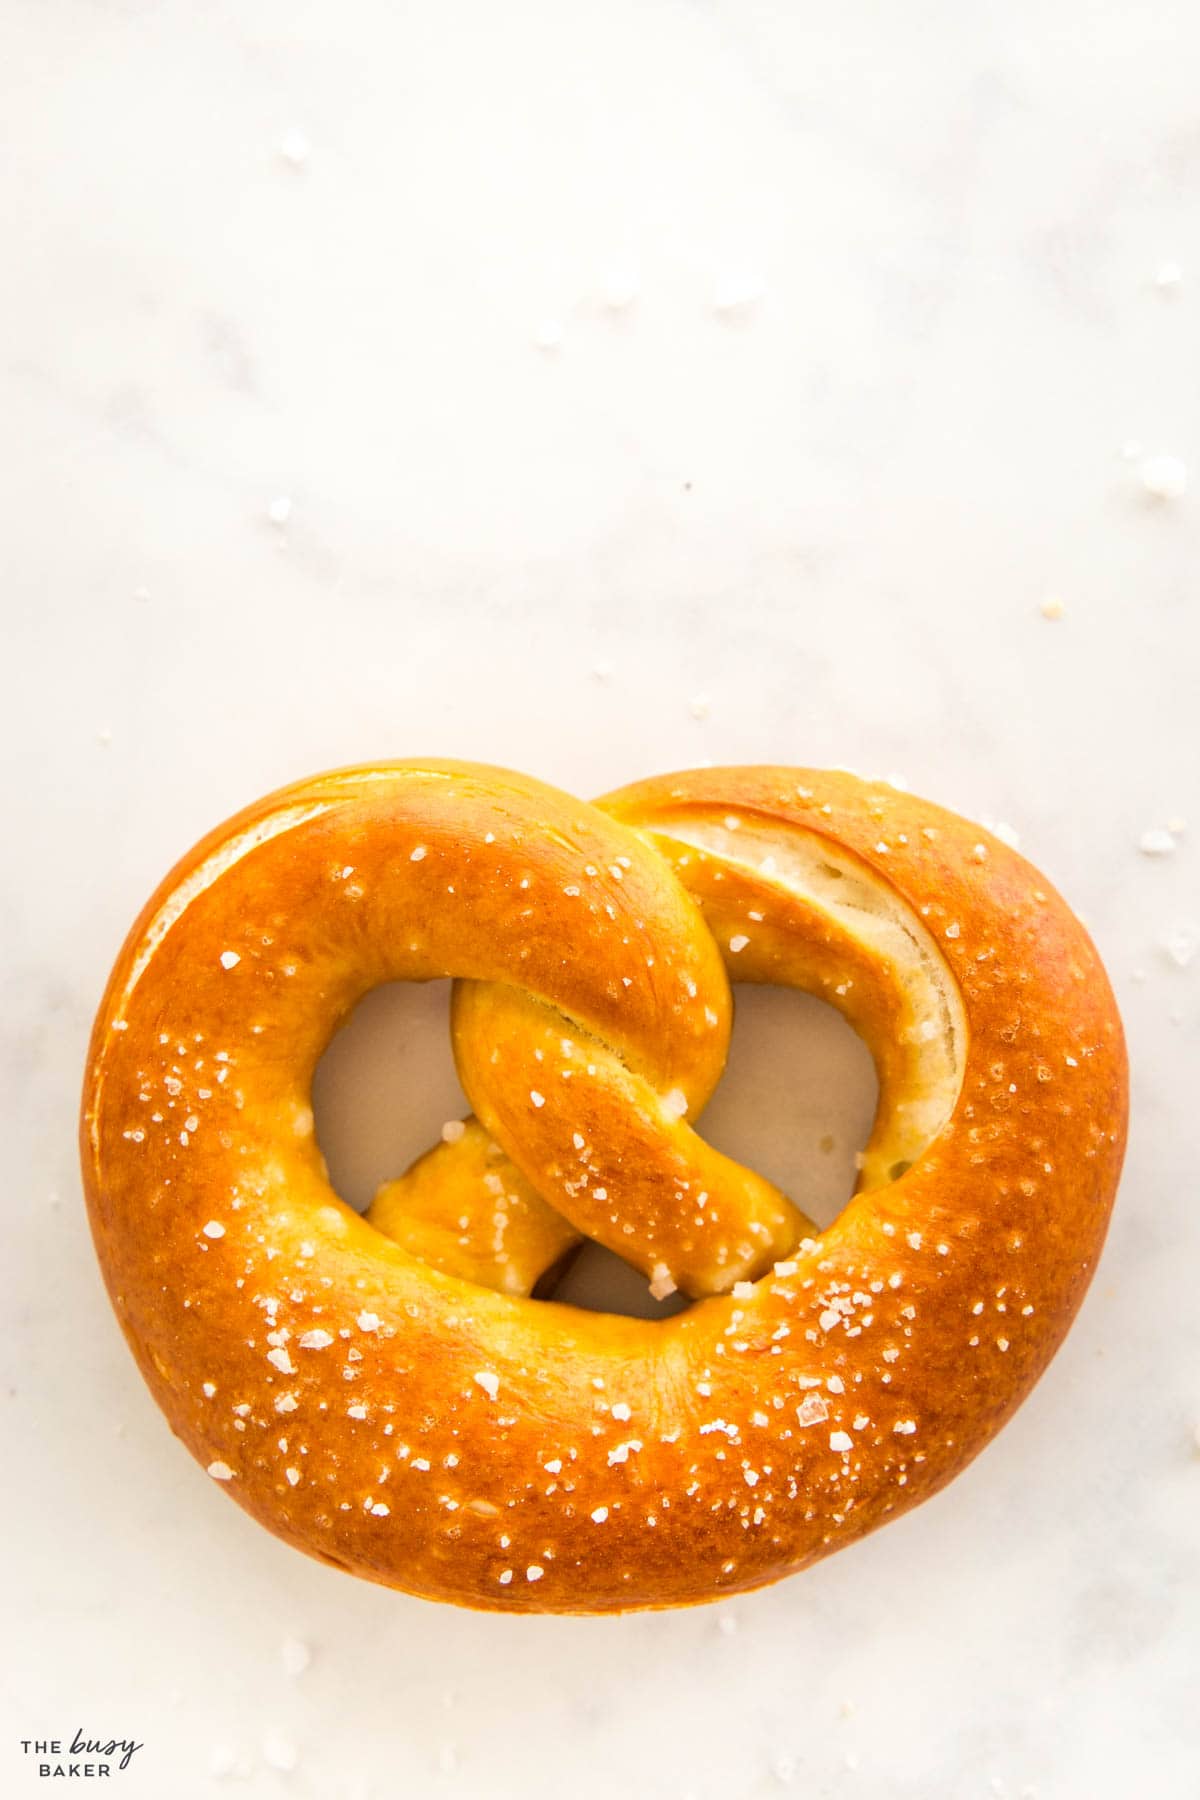
Creating the perfect homemade pretzel is easy, especially when you know all the secrets and expert tips to make sure your homemade soft pretzels turn out just right every single time!
Baking is a science. Measuring your ingredients correctly is how you an ensure your dough has the right texture and the recipe works out. Be sure to measure your flour using the fluff and scoop method.
The pretzel dough should be smooth and pliable, and tacky but not too sticky. If it’s too wet, add flour one tablespoon at a time until it reaches the right consistency. If it appears too dry, don’t add anything – just continue kneading for several minutes and the dough should soften and appear pliable. This recipe requires that you knead the dough a lot in order to develop the gluten.
Cover the dough with plastic wrap while it rests. If you don’t, a skin will form on the dough as it sits, making the dough clumpy as you try to shape it.
When shaping pretzels, roll each piece of dough into a long, even rope before twisting into the pretzel shape. If the dough retracts or is difficult to work with, let it rest for a few minutes more to relax the gluten before trying again. Be sure to create long ropes – ropes that are too short will create thick, fat pretzels that will lose their classic pretzel shape.
Freezing the pretzels after forming them, just for 20 minutes, makes a big difference in how easy they are to handle. It’s an optional step, but we find it helps the pretzels keep their shape when they’re plunged into the baking soda bath.
The purpose of the baking soda bath is two-fold – it creates a brown crust on the outside of the pretzels but it also gives the pretzels that classic salty, almost metallic flavour. Be sure to follow the recipe directions for the correct amount of baking soda and water. Too much baking soda and the pretzels will brown too much and taste too strong. Not enough baking soda and they won’t taste like pretzels and they won’t brown sufficiently.
Dip each pretzel into the solution for 30 seconds or so, using a skimmer or slotted spoon to remove and drain them before baking. This step is simple, but it’s essential for achieving the pretzel’s classic flavour and colour. Don’t leave the pretzels in the baking soda bath too long – they’ll develop an awful metallic taste and get too brown in the oven.
Sprinkle coarse salt while the pretzels are still wet from the soda bath. This helps the salt stick to the outside of the pretzels.
Cool the pretzels on a wire rack for airflow. This helps them maintain their chewy texture and not become soggy. Enjoy them warm, but not hot from the oven. Cooling them before enjoying ensures a soft, chewy texture on the inside.
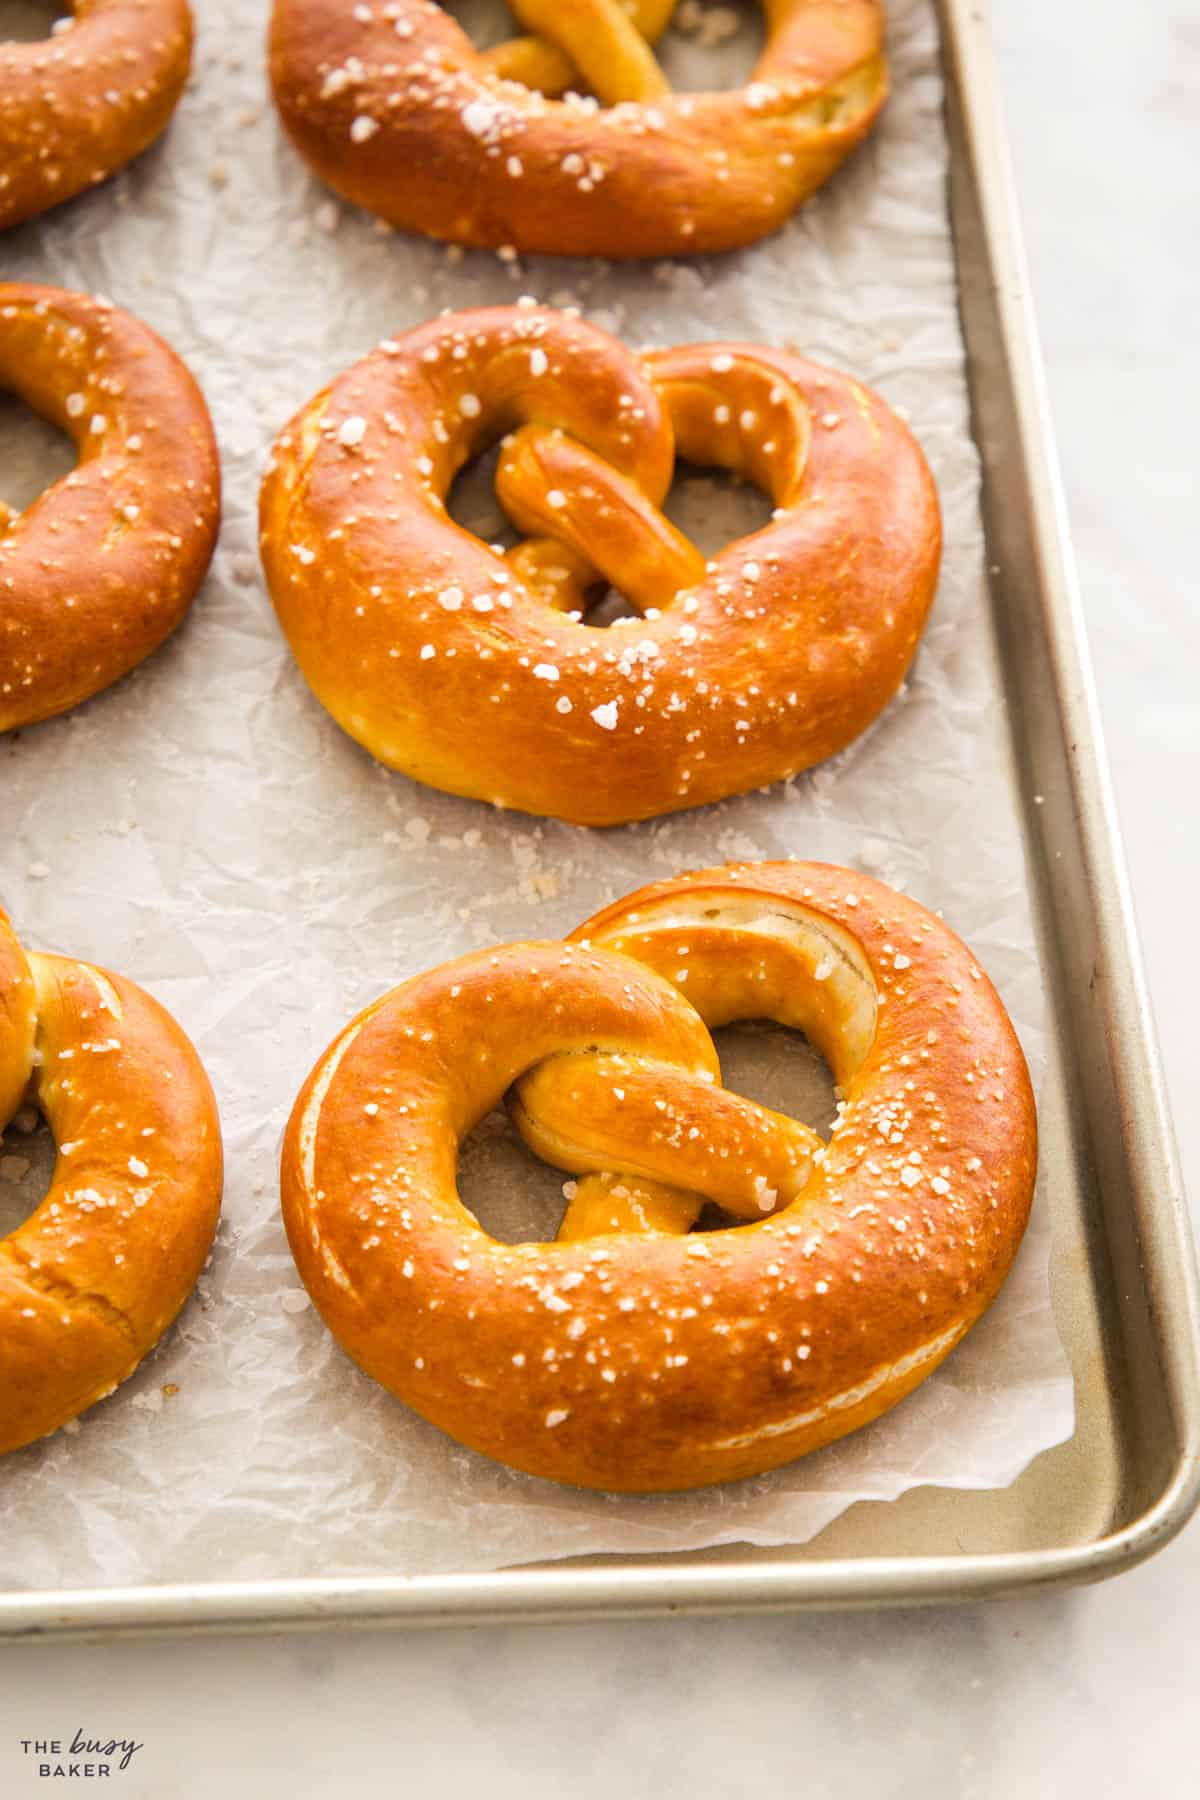
Here are some common pretzel-making problems you might encounter when making this pretzel recipe and how to fix them:
This dough requires a lot of kneading to develop the gluten. If your dough seems tough, continue kneading for several more minutes. The dough will loosen up as you knead.
Humidity can affect dough texture, so if it’s too sticky, add a bit more flour as you knead, one tablespoons at a time. If it’s too dry, continue kneading. Soft pretzel dough requires a lot of kneading to make the pretzels nice and chewy.
Unbaked pretzels can easily lose their shape after you shape them. This is why we recommend freezing them for 20 minutes to stiffen them up. This will help them keep their shape when you move them from the pan into the baking soda bath.
If your pretzels brown too much, it’s possible you’ve over-baked them, baked them at too high a temperature (use an oven thermometer to make sure your oven temperature is correct), or it’s possible your baking soda bath was too concentrated. Too much baking soda will cause the pretzels to brown too much while baking.
If they’re too hard, it’s likely they’ve been over-baked. Be sure to follow the recipe directions and bake them only until they’re baked through.
If your pretzels are browning unevenly or aren’t brown enough, it could be due to inconsistent oven temperature. Use an oven thermometer to verify your oven’s temperature accuracy and rotate the baking sheet halfway through baking. You can also check to make sure you used enough baking soda in the baking soda bath. More baking soda means more browning.
If pretzels have an unpleasant metallic taste, you may have used too much baking soda or left them in the bath too long. Stick to a 30-second dip in the baking soda bath and ensure the baking soda is fully dissolved in the water before adding the pretzels. Be sure to use correct measurements of water and baking soda, as directed in the recipe. Don’t boil the pretzels – keep the water on a low simmer.
If pretzels flatten out during baking, they might have been left to sit too long. Be sure to get them into the oven as soon as possible after they come out of the baking soda bath.
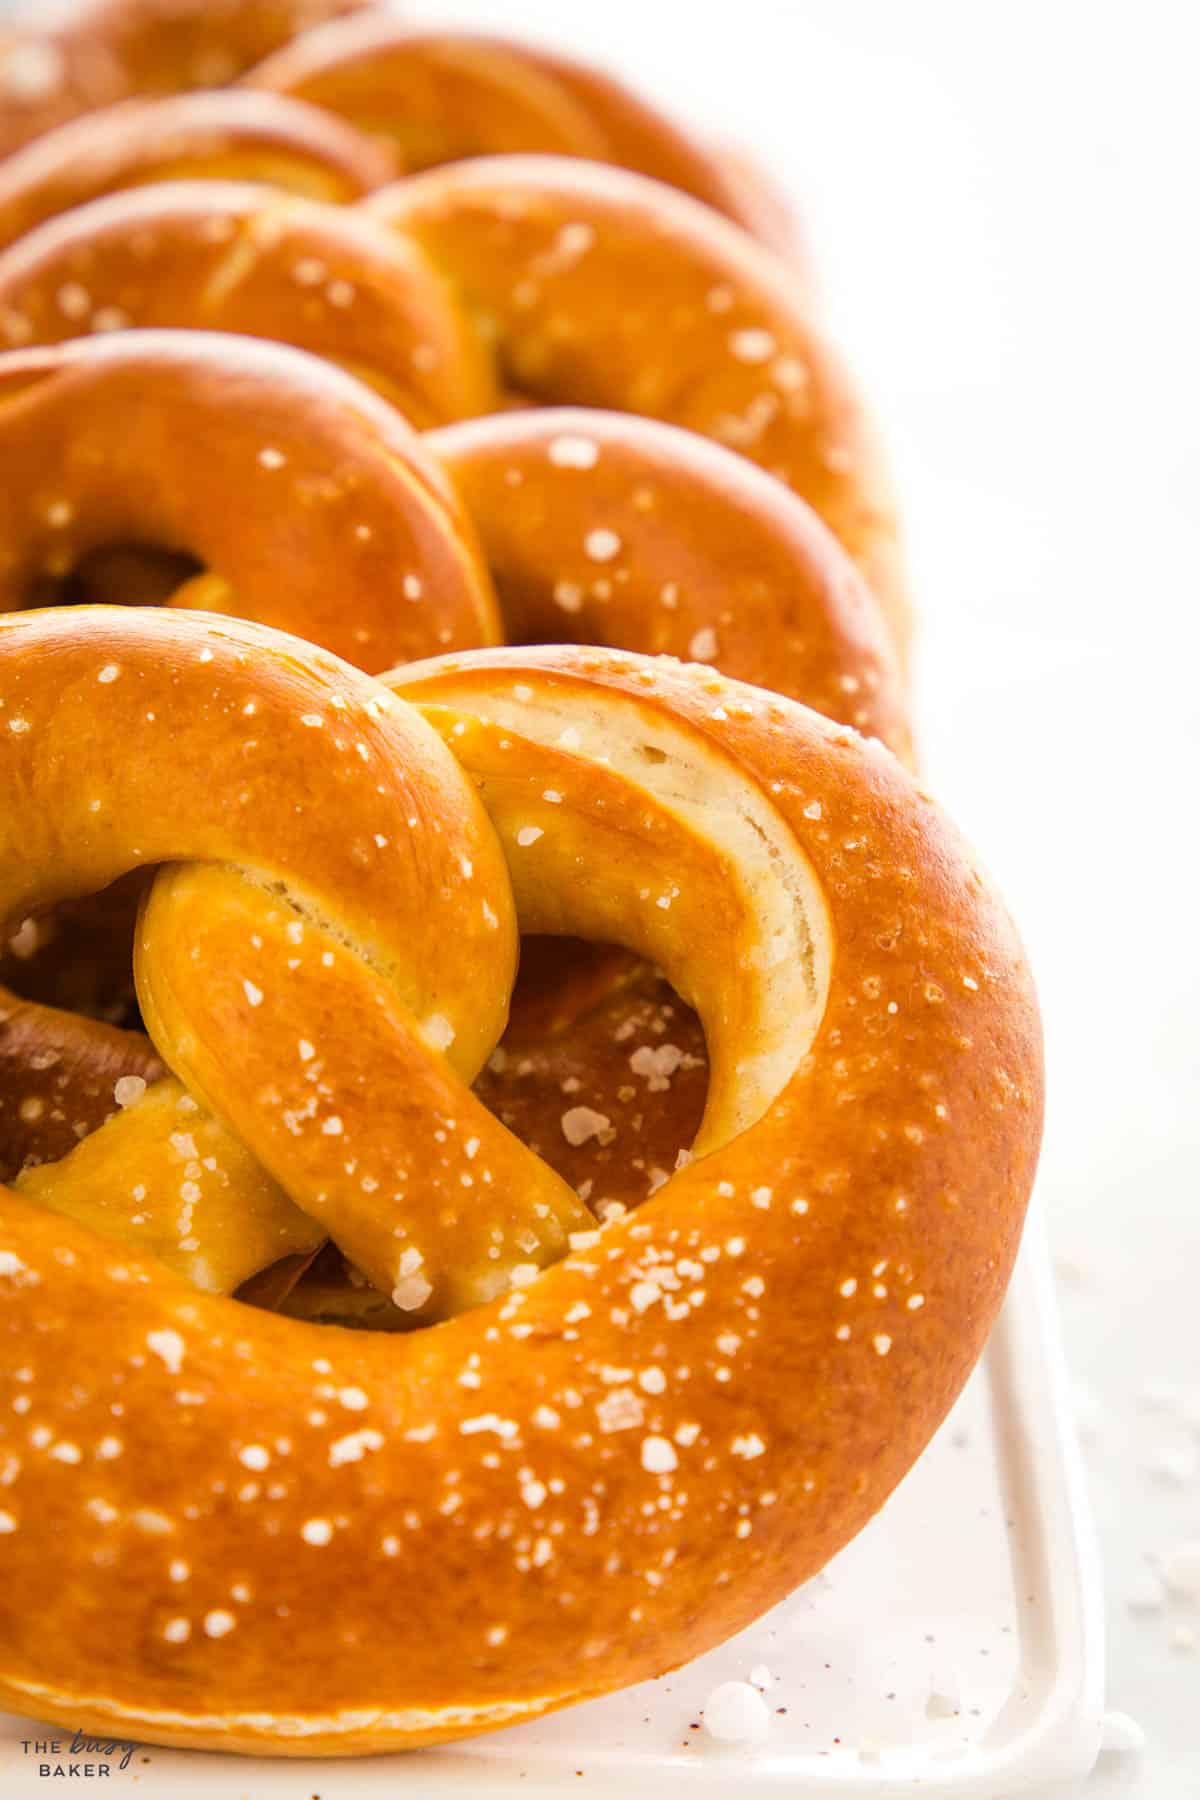
Here’s a list of the basic kitchen equipment you’ll need to make this delicious soft pretzel recipe (paid links):
- a Stand Mixer or mixing bowls, if you’re making them by hand
- a Bench Scraper for working with the dough and dividing it into pieces
- a Slotted Skimmer (a large slotted spoon also works) for placing the pretzels into the baking soda bath and removing them
- a large baking sheet or two
- some Parchment Paper
- a Large Pot
Here’s a list of the ingredients you’ll need to make this delicious soft pretzel recipe (paid links):
- 1 1/4 cup warm water
- 3 teaspoons brown sugar
- 3 tablespoons unsalted butter melted and cooled
- 1 teaspoon active dry yeast
- 4 cups all purpose flour
- 1 1/2 teaspoons salt
- 1/3 cup baking soda
- 10 cups water
- 2 tablespoons coarse sea salt
Time needed: 1 hour and 15 minutes
Here are the steps you need to follow to make this delicious homemade soft pretzel recipe!
- Create the yeast mixture
In the bowl of a stand mixer (or in a mixing bowl if you’re making by hand) mix the warm water, brown sugar, melted butter, and yeast. Be sure the melted butter isn’t hot, as it will kill the yeast. Let rest for 3-5 minutes until it starts to bubble.
- Make the dough.
Add the flour and the salt. Knead using the dough hook attachment for about 5 minutes on medium speed until the dough forms a ball and comes off the walls of the bowl. You may need to add 1-3 tablespoons of extra flour if the dough appears too wet. It should be tacky and a bit sticky, but not wet.
- Divide the dough.
Split the dough into 10-12 equal pieces using a bench scraper (if you want to weigh them, they should be between 75 and 80 grams). Cover the balls lightly with plastic wrap to prevent the dough from drying out and forming a skin.
- Shape the pretzels.
After they rest, roll and stretch each ball into 70-75 cm (35-30 inch) long strands. Create an upside down “U” shape by bringing the ends closer together. Cross the ends once and flip them towards the curve of the “U”. Press the ends into the “belly” of the pretzel. Flip the entire pretzel and place on a tray lined with parchment paper. Follow our detailed guide below to learn even more about how to shape your pretzels.
- Rest, then freeze the pretzels.
Form all the pretzels and lay them on the tray, spacing them well so they don’t touch. Let them rest for about 20 minutes to let them rise just a little bit. Add the baking tray to the freezer and freeze them on the tray for 20 minutes. This step is optional, but helps the pretzels keep their shape through the baking soda bath.
- Make the baking soda bath.
While your pretzels rest and chill in the freezer, mix the 10 cups of water with the baking soda and bring to a simmer.
- Dip the pretzels.
Remove the pretzels from the freezer and bathe them one by one for 20-30 seconds. Remove them from the baking soda bath with a slotted skimmer or large slotted spoon and return them to the baking tray and sprinkle with coarse salt.
- Bake.
Bake your pretzels at 350 degrees Fahrenheit (175 degrees Celsius) for 10-12 minutes until golden brown.
Shaping a pretzel may seem impossible at first, but with a little bit of practice it gets easier and easier. Follow this step-by-step guide to create the classic pretzel shape like a pro chef!
Step 1: Roll the Dough
Start by dividing your pretzel dough into even portions, depending on how large you want your pretzels to be. Take one portion and roll it out on a lightly floured surface. You want to form a long, thin rope, about 70-75 cm (35-30 inch) in length, depending on your desired pretzel size. Aim for an even diameter throughout the rope strand.
Step 2: Make a U-Shape
Pick up both ends of the rope and lift, allowing the centre to sag down into a U-shape. Hold the ends upward so that the curve of the U is at the bottom.
Step 3: Cross the Ends
Lay the rope down on your work surface with the bottom of the U at the top. Cross the ends of the rope over each other, about 5-7 cm (2-3 inches) from the tips.
Step 4: Twist the Ends
Twist the ends around each other once more at the same point where they first crossed. Ensure the twist is tight enough to hold but not so tight that it deforms the dough.
Step 5: Bring the Ends Up
Take the twisted ends and bring them up towards the curve of the U-shape. Press them into the dough where the U curves to secure them. This step is crucial as it forms the classic pretzel shape with its three distinct sections.
Step 6: Perfect the Shape
Adjust the shape as necessary to make sure the loops are even and the arms of the pretzel are neither too tight nor too loose. The pretzel should have a nice, symmetrical look with a triangular “body” at the bottom.
Step 7: Flip
Flip the pretzel over so the loose ends are underneath. Adjust the shape again if necessary.
Can I substitute the melted butter in this soft pretzel recipe for vegetable oil?
Yes, the butter can be substituted for vegetable oil. This will make the dough slightly more soft, but the recipe will work fine.
Do I need to brush the pretzels with egg wash?
No, no egg wash is needed because the salt will adhere to the dough before it bakes thanks to the liquid leftover from the baking soda bath. The baking soda water also helps the pretzels brown, doing the same job as an egg wash.
Can I use instant yeast instead of active dry yeast in this soft pretzel recipe?
Yes, in this recipe you can use either instant or active dry yeast.
Can I make sweet pretzels with this soft pretzel recipe?
Yes, you can skip the coarse salt, brush them with butter after baking and dip them in cinnamon sugar.
Do German pretzels taste like mall pretzels?
Some pretzels you can find at the mall have been dipped in a baking soda bath like German pretzels but others are just dipped in hot water which helps the exterior become chewy but doesn’t have a browning effect or add any flavour.
What’s the secret ingredient which makes a pretzel taste like a pretzel?
The secret ingredient is baking soda! Dipping your soft pretzels in a baking soda and water bath before baking gives them that classic taste.
Can these Pretzels be given as gifts?
Yes! Be sure to gift them the day they’re made and wrap them up in a basket or box with some airflow so they don’t get soggy.
Why do soft pretzels taste so good?
They are a delicious combination of soft, chewy bread dough and flavourful salt… what’s not to love!?
What is the chemical dip on pretzels?
Some recipes call for the use of lye, a chemical, but we recommend using a baking soda bath as it gives a similar flavour and colour to the pretzels but it’s safe to eat.
How do I make soft pretzels soft again?
Pop them in the microwave for just a few seconds and they’ll soften right up!
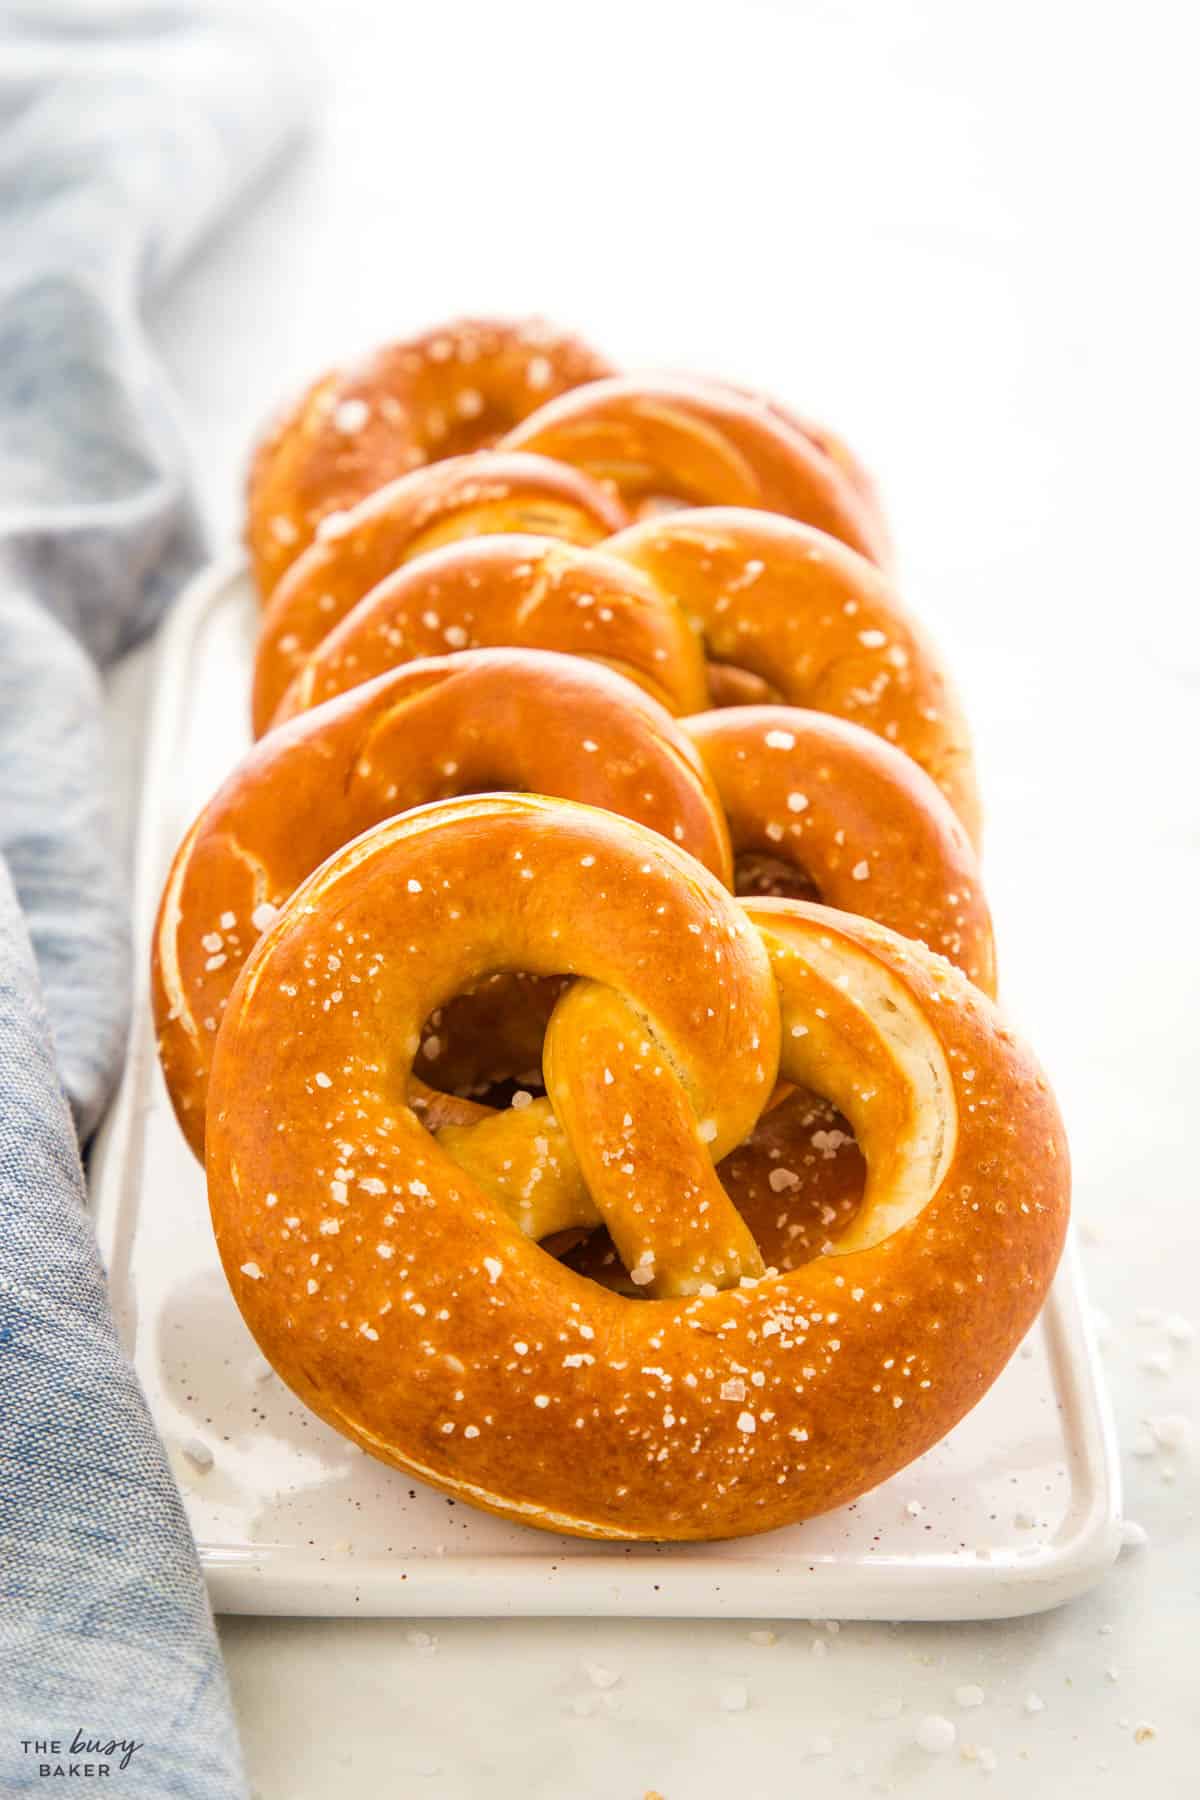
We hope you love this Soft Pretzel recipe as much as we do! Let us know in the comments below, what’s your favourite savoury snack? We’d love to know!
- French Onion Dip
- Pico de Gallo
- How to Make Nachos
- Buffalo Roasted Cauliflower with Blue Cheese Dipping Sauce
- Mango Salsa
- Easy Guacamole
- Whipped Feta Dip
- Baked Buffalo Chicken Ranch Dip
- Cucumber Appetizers with Smoked Salmon
Watch the video below to see exactly how we make this recipe. You can find many more deliciously simple recipe videos on our YouTube channel!
If you made this, share a photo!
Are you trying this recipe? Use the comment form below to share your take; now with support for image uploads and comment voting!
Pretzels
Recipe: Equipment
- Slotted Skimmer a large slotted spoon also works
Recipe: Ingredients
- 1 1/4 cup warm water
- 3 teaspoons brown sugar
- 3 tablespoons unsalted butter melted and cooled
- 1 teaspoon active dry yeast
- 4 cups all purpose flour
- 1 1/2 teaspoons salt
For the baking soda bath:
- 1/3 cup baking soda
- 10 cups water
To garnish
- 2 tablespoons coarse sea salt
Recipe: Instructions
- In the bowl of your stand mixer (or in a mixing bowl if you're making by hand) mix the warm water, brown sugar, melted butter, and yeast. Be sure the melted butter isn't hot, as it will kill the yeast. Let rest for 3-5 minutes until it starts to bubble.
- Add the flour and the salt. Knead for about 5 minutes on medium speed until the dough forms a ball and comes off the walls of the bowl. You may need to add 1-3 tablespoons of extra flour if the dough appears too wet. It should be tacky and a bit sticky, but not wet.
- Split the dough into 10-12 equal pieces using a bench scraper (if you want to weigh them, they should be between 75 and 80 grams). Cover the balls lightly with plastic wrap to prevent the dough from drying out and forming a skin. If you need to, use some oil on your bench when shaping the dough, you don't need much, a little goes a long way.
- Roll and stretch each ball into 70-75 cm (35-30 inch) long strands. Create an upside down "U" shape by bringing the ends closer together. Cross the ends once and flip them towards the curve of the "U". Press the ends into the "belly" of the pretzel. Flip the entire pretzel and place on a tray lined with parchment paper.
- Form all the pretzels and lay them on the tray, spacing them well so they don't touch.
- Let them rest for about 20 minutes to let them rise just a little bit.
- Add the baking tray to the freezer and freeze them on the tray for 20 minutes. This step is optional, but helps the pretzels keep their shape through the baking soda bath.
- While your pretzels rest and chill in the freezer, mix the 10 cups of water with the baking soda and bring to a simmer.
- Remove the pretzels from the freezer and bathe them one by one for 20-30 seconds.
- Remove them from the baking soda bath with a slotted skimmer or large slotted spoon and return them to the baking tray and sprinkle with coarse salt.
- Bake your pretzels at 350 degrees Fahrenheit (175 degrees Celsius) for 10-12 minutes until golden brown.
Recipe: Notes
Make Ahead Instructions & Storage Instructions
These pretzels are best served the day they’re made, but they can be stored in an airtight container or bag at room temperature for up to 3 days. Reheat them in the microwave for a few seconds before serving, if desired.Recipe: Nutrition
Notice: Nutrition is auto-calculated, using Spoonacular, for your convenience. Where relevant, we recommend using your own nutrition calculations.

TRY OUR MEAL PLAN BUNDLE!
Let us do the work for you with 11 WEEKS of deliciously easy family dinners, grocery lists, meal prep guides and so much MORE!
11 weeks of done-for-you family meal plans for only $9.99!
