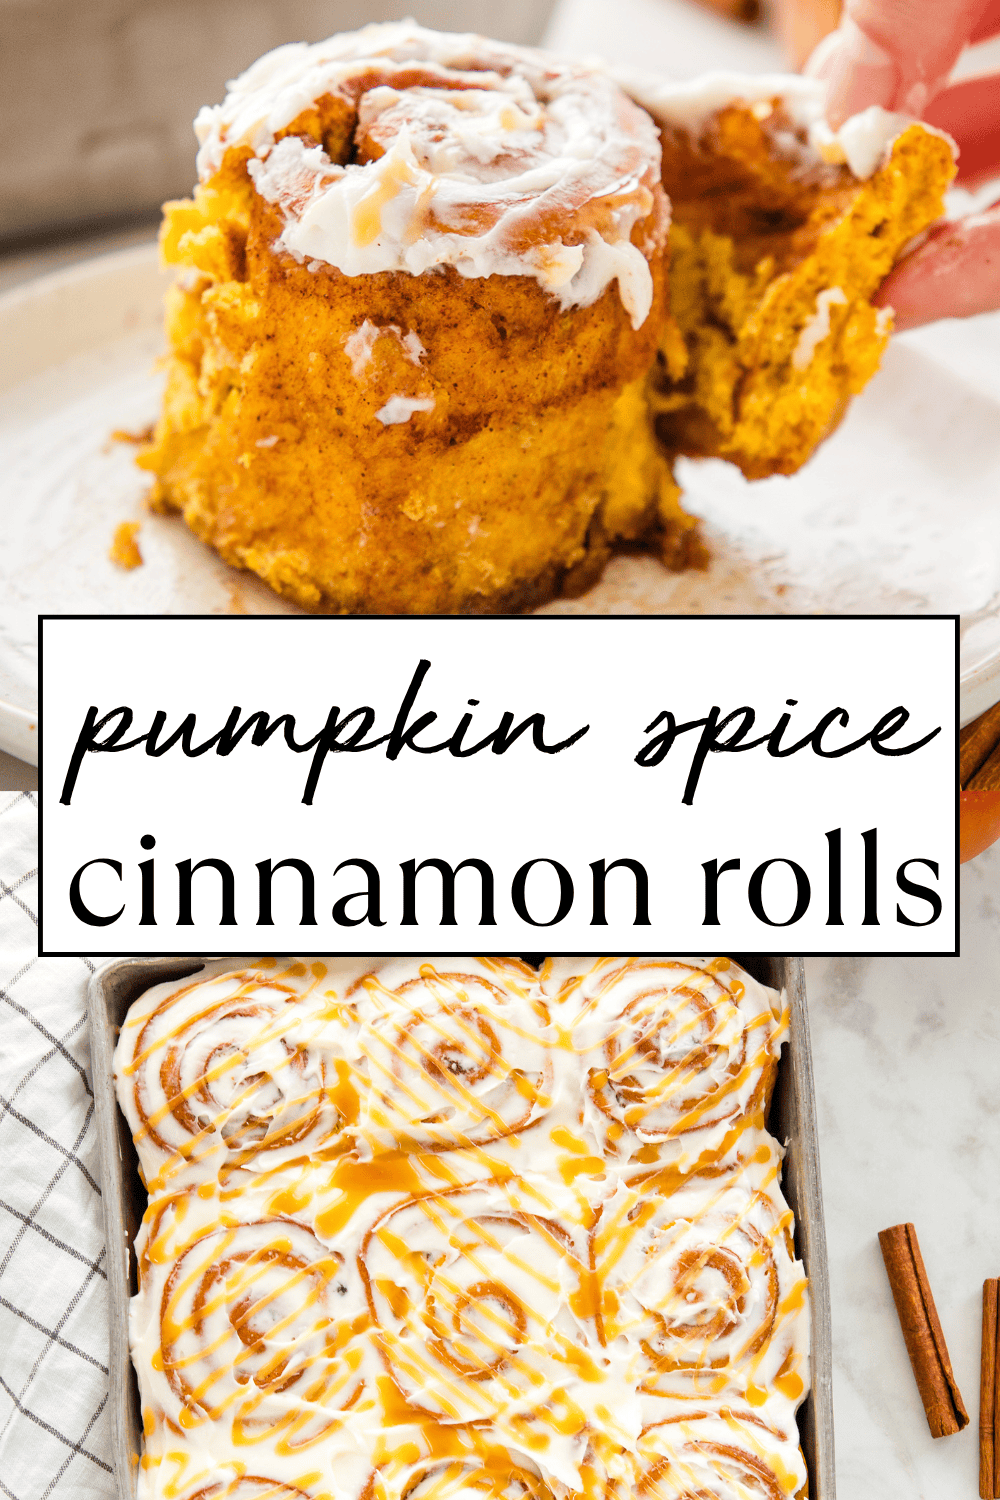
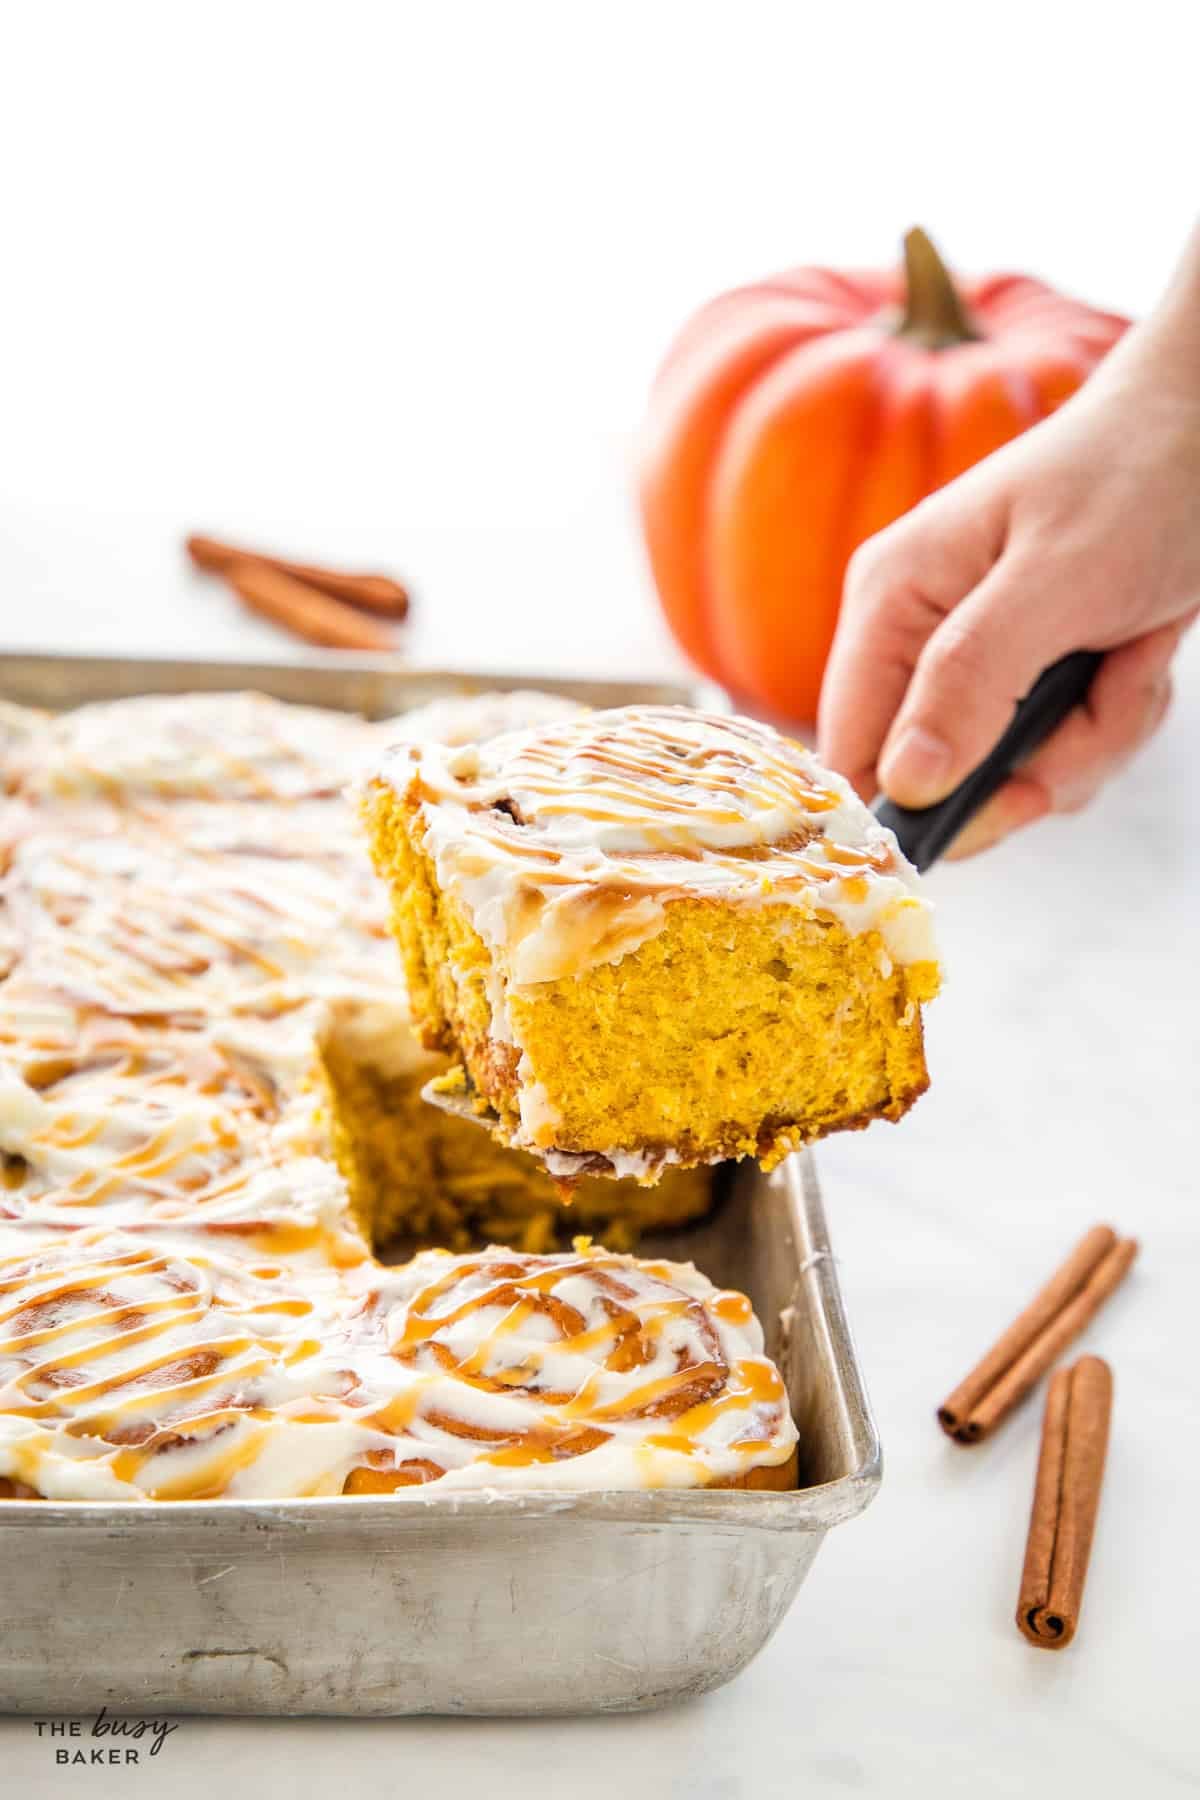
Soft, tender pumpkin cinnamon rolls made with real pumpkin and warm fall spices, finished with a cream cheese glaze and a drizzle of caramel. This easy makes a full dozen rolls in a 9×13 pan, with an overnight option so you can prep tonight and bake fresh tomorrow morning!
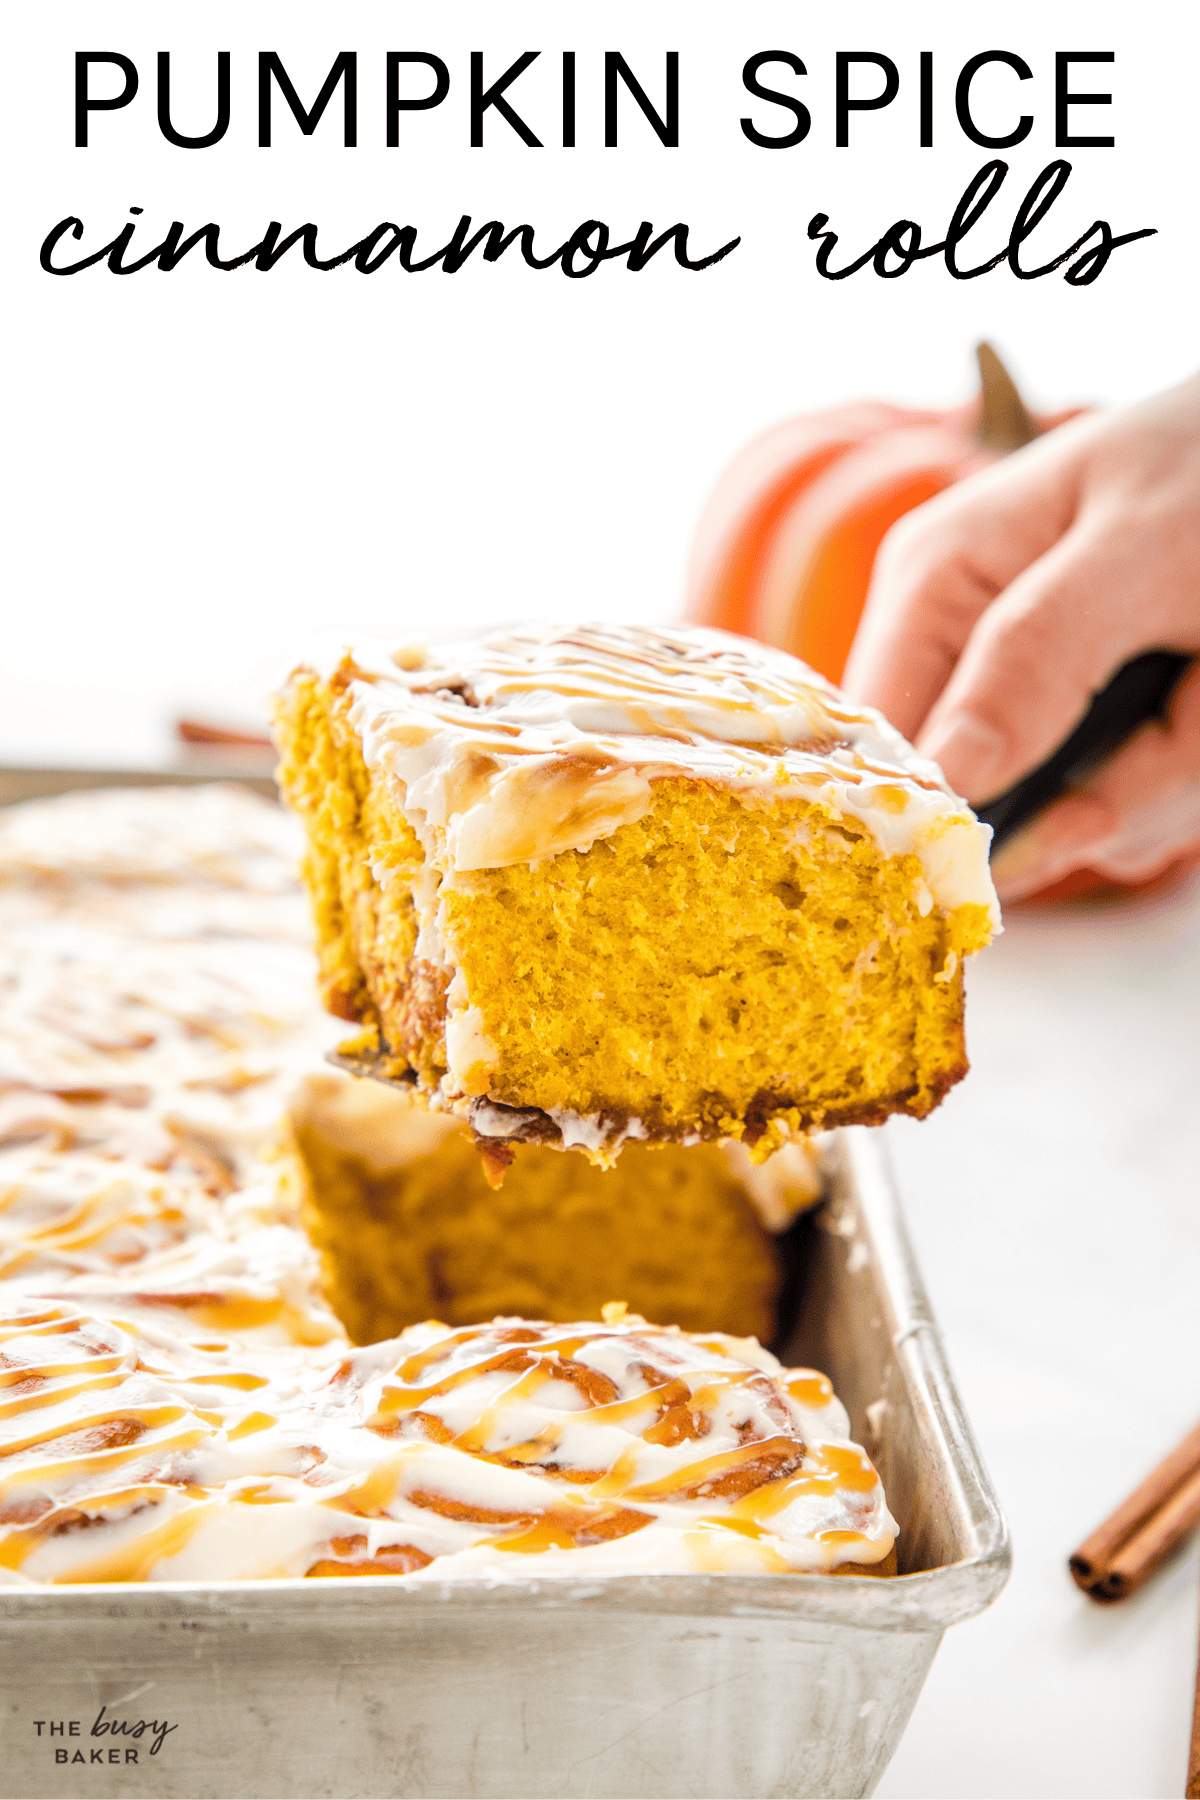
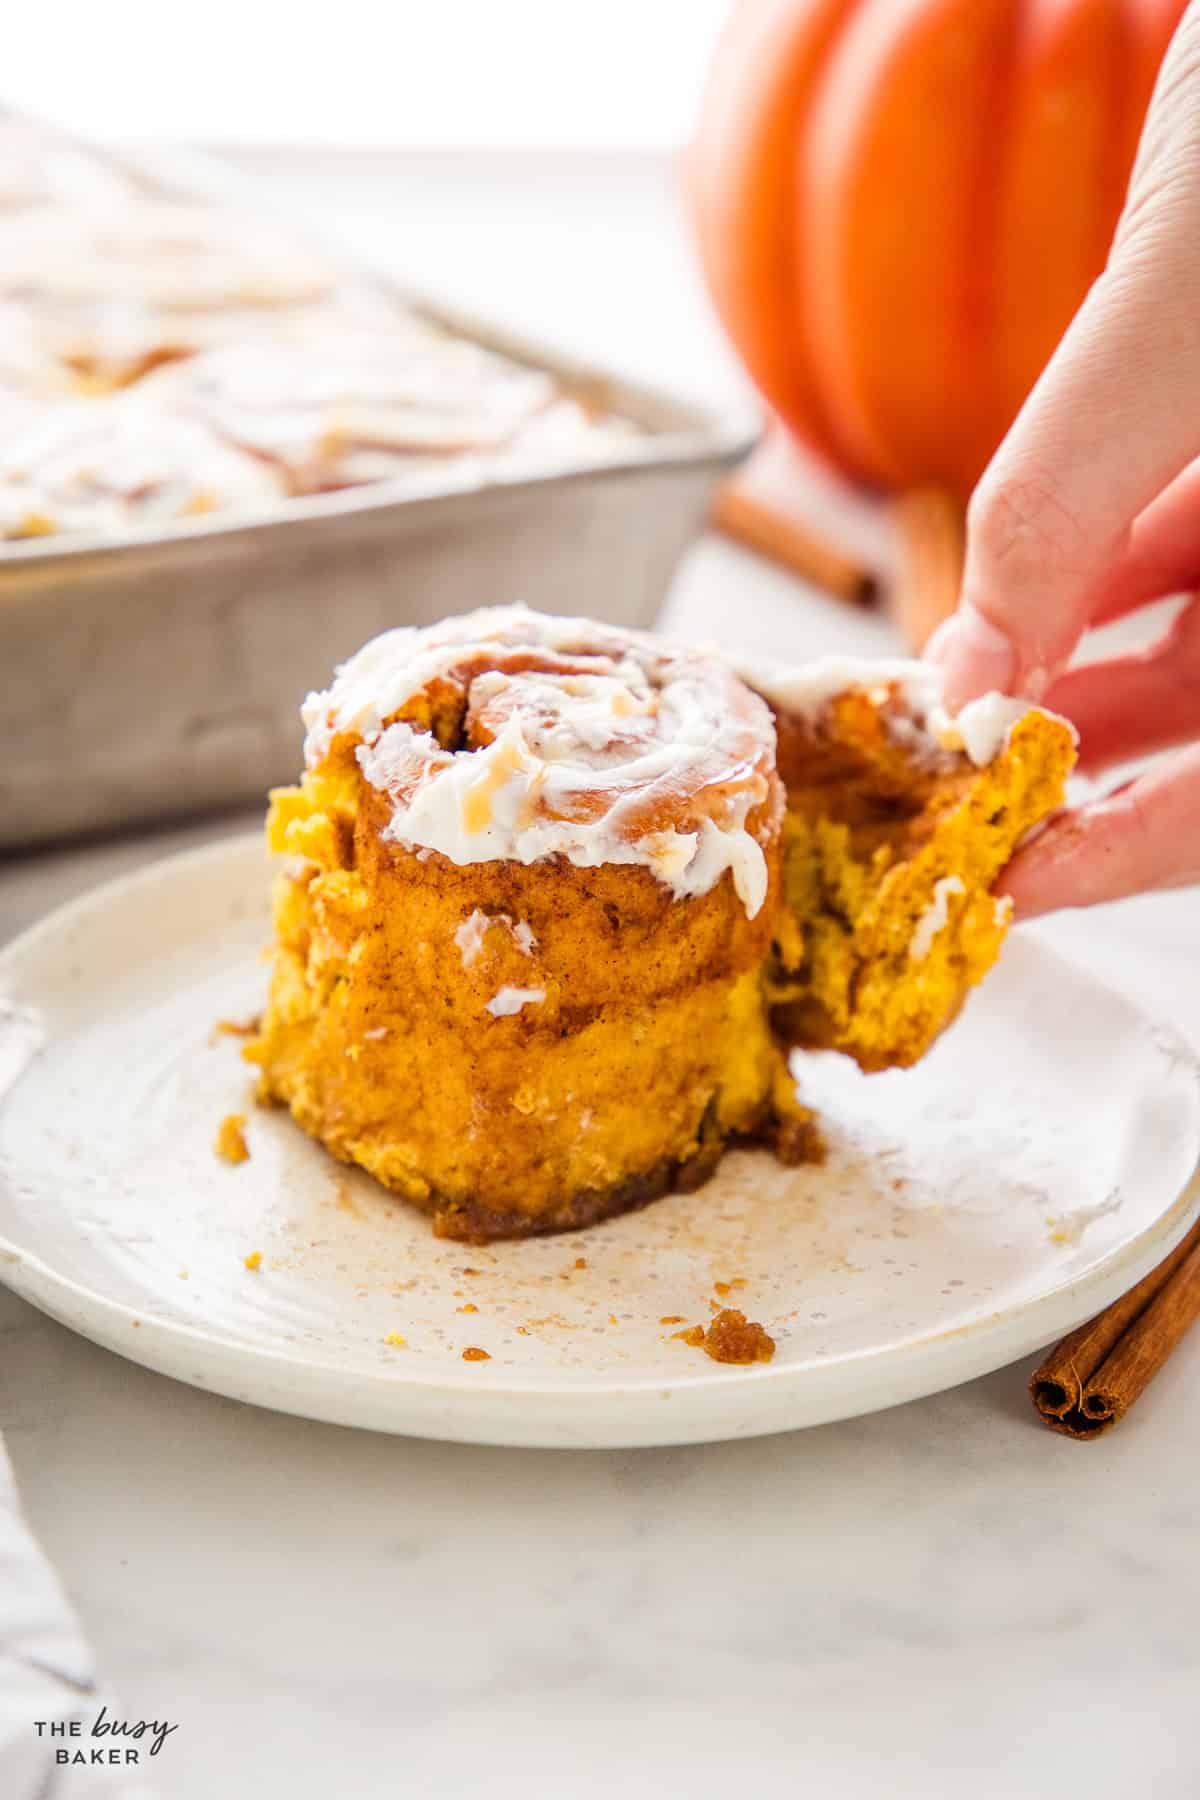
If there’s one recipe I make on repeat every single fall without fail, it’s this one! These Pumpkin Cinnamon Rolls have all the soft, pillowy texture of a classic cinnamon roll, with a tender dough made from real pumpkin puree, the warm spices that make fall taste like fall, and a simple cream cheese glaze with a drizzle of caramel on top. They’re truly the BEST fall treat!
The best part of this recipe? The overnight rise option. You can do the entire mixing, rolling, and slicing the evening before, then let the rolls do their last slow rise in the fridge overnight. In the morning, the pan goes straight into a cold oven, you set the temperature, and about 30 minutes later you have warm pumpkin cinnamon rolls. It’s the easiest way to serve fresh-baked cinnamon rolls at a brunch, a holiday morning, or a lazy Sunday!
This recipe has been a fall favourite on the blog for years, and the bigger-batch version is the one I lean on for Thanksgiving morning, the first weekend the leaves turn, and every cozy fall hosting moment in between! I KNOW you’re going to love it as much as I do!
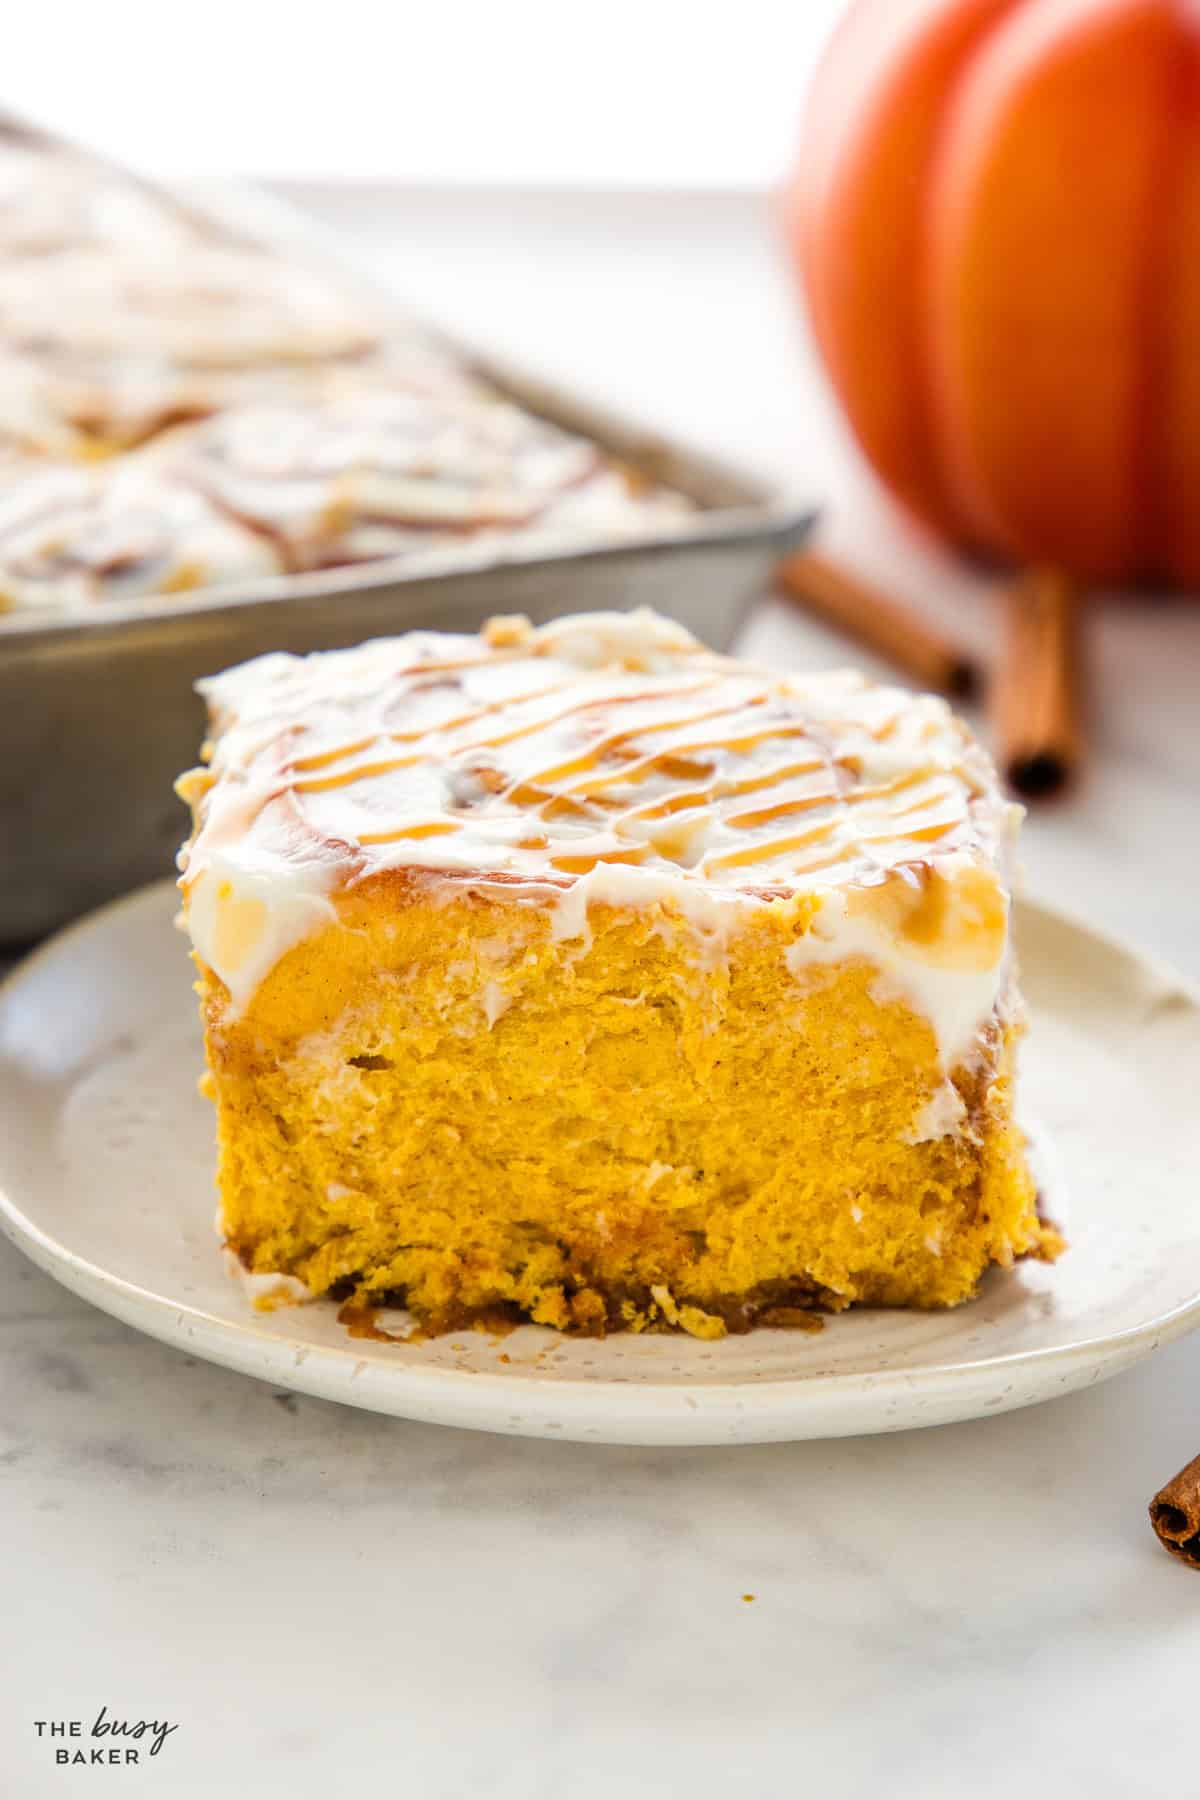
Real pumpkin in the dough. A full cup of pumpkin puree goes right into the dough, which is what gives these rolls their soft texture and gentle pumpkin colour. It’s not a sugar-bomb pumpkin pie filling, it’s pure pumpkin doing its best work!
Warm spices in the filling. Cinnamon, nutmeg, and cloves in the filling are layered over cinnamon and nutmeg in the dough. The spice flavour comes through in every bite instead of just showing up in only one place, which is what separates these from a basic cinnamon roll.
A full dozen in a 9×13 pan. The bigger batch fits a standard rectangular baking dish, which is what most home cooks have on hand, and 12 rolls is the right amount for a brunch crowd or a family holiday morning.
Maple syrup in the bottom of the pan. This is the trick that makes them taste like a proper diner cinnamon roll. The maple syrup pools, caramelizes a little under the heat, and gives the bottoms of the rolls a soft, sticky finish that’s the perfect contrast to the soft top.
Real overnight option. Make-ahead is built into the recipe, if you need that option. The cold rise in the fridge actually improves the flavour and gives you a softer, more tender crumb than a quick warm rise would.
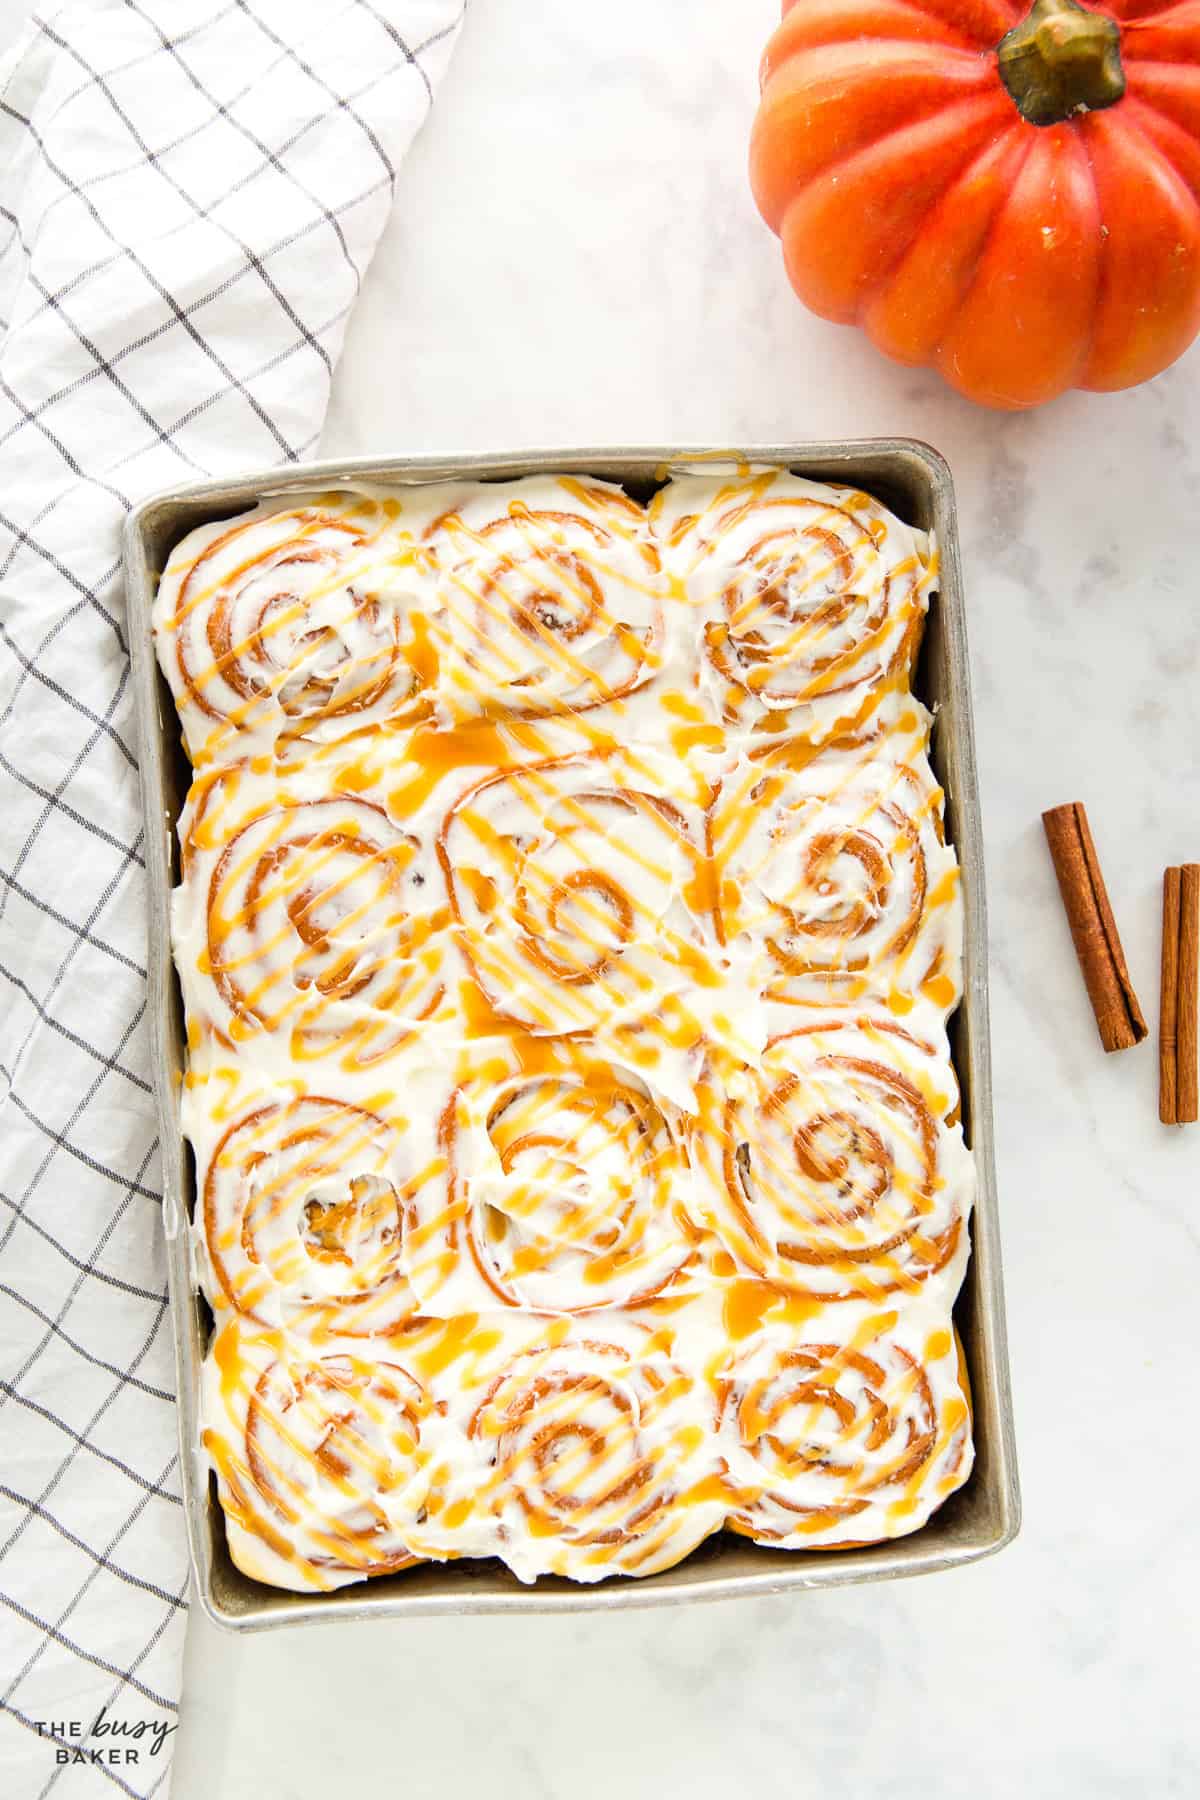
If you’ve never made cinnamon rolls before, here’s a comprehensive list of all the tips and tricks you need to ensure this pumpkin cinnamon rolls recipe turns out perfectly, every single time!
Your water for the yeast should feel like baby’s bath water (100 to 110 degrees Fahrenheit). Too hot and you kill the yeast; too cold and it won’t activate. Your butter, eggs, and pumpkin should all be at room temperature so they don’t shock the yeast.
The dough should feel slightly tacky to the touch but pull cleanly off your hands. If it’s truly sticky, add flour 1 tablespoon at a time and go light. Over-flouring the dough is the number-one cause of dry rolls.
Pumpkin dough rises a little slower than a plain dough because of the moisture and fat from the puree, so don’t rush it. A warm, draft-free spot is ideal (the inside of an off oven with just the light on works beautifully).
The maple syrup in this recipe is a fantastic secret ingredient that creates the beautiful golden, sticky bottom to these cinnamon buns. If you’re looking for a diner-style cinnamon bun, this is exactly how to do it at home! Pour the maple syrup into the pan, tilting the pan if necessary to make sure the syrup coats the bottom completely. If you want to add a little extra syrup, go ahead. You’ll get no judgment from me!
A spritz of vegetable oil on the counter or a sheet of parchment is better than flour for rolling. Flour absorbs into the dough and dries it out.
A medium-firm spiral is what you want. Too tight and the centres pop up into little cones as they bake.
You’ll probably notice there is some space left between the rolls. This is exactly what you want to see because you’re about to let the rolls rise again for about 20 minutes. For these rolls, a shorter second rise helps to maintain a super soft-textured dough that’s fluffy but not too airy. The key here is not to over-rise; the heat of the oven will cause them to puff up even more and if they’ve risen too much before going in the oven they can actually lose their height and lose their beautiful texture. When large air pockets develop in the dough it creates rolls that are misshapen, which causes them to brown unevenly when baking. Over-rising is a recipe for disaster, so if you want uniform cinnamon rolls that stay in the pan while baking, only rise for 20 minutes the second time.
Avoid over-baking as it can make the rolls tough and chewy. Be sure to follow the recipe and bake the rolls just until they’re golden brown.
Allow the rolls to cool for at least 20-30 minutes before trying to remove them from the pan. If you plan to frost the cinnamon rolls, I recommend waiting until they’ve cooled almost completely to prevent the icing from melting off.
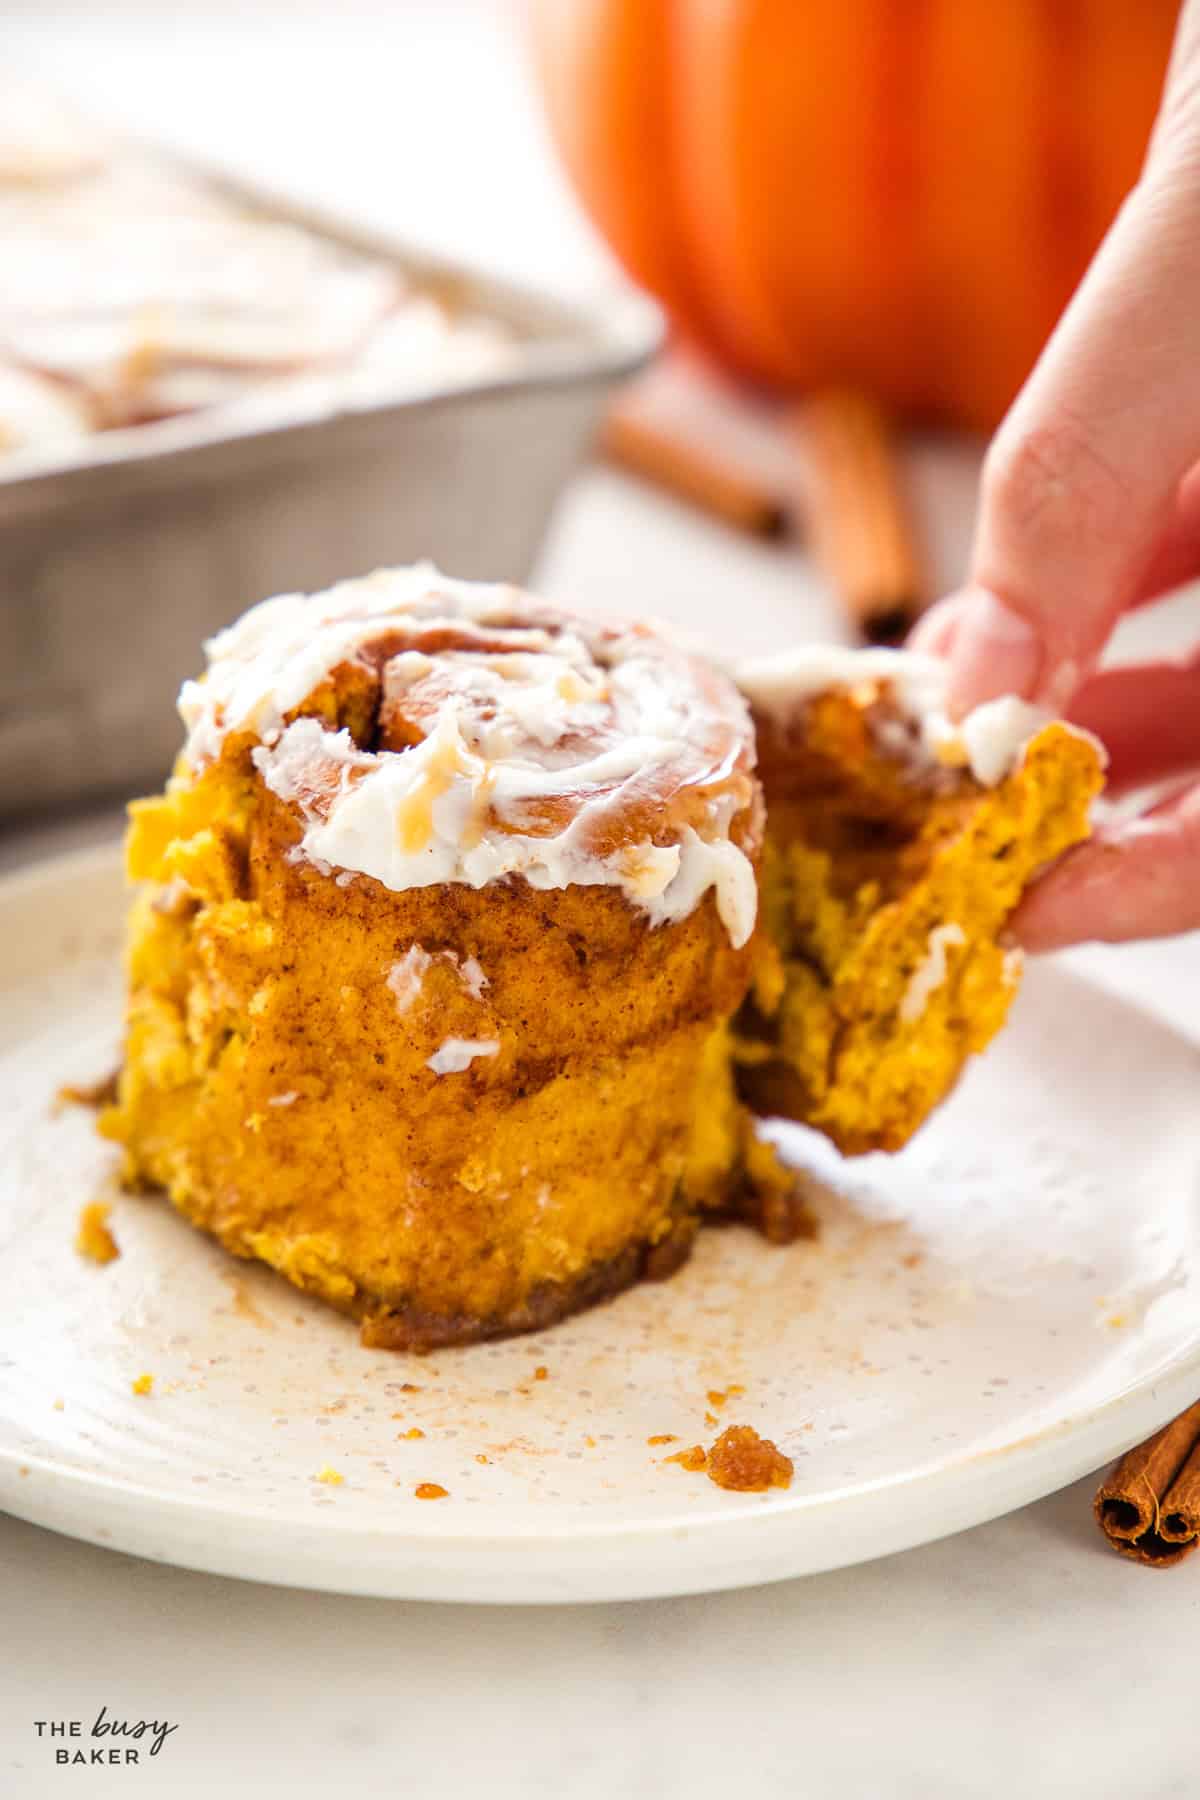
Time needed: 3 hours
Follow these steps for making the BEST ever Pumpkin Spice Cinnamon Rolls!
- Bloom the yeast.
Add 6 tablespoons of warm water (100 to 110 degrees Fahrenheit), 3 1/4 teaspoons of active dry yeast, and 3 tablespoons of white sugar to the bowl of a stand mixer fitted with the dough hook. Stir gently with a fork and let sit for 3 to 5 minutes, until the yeast looks foamy.
- Combine the dry ingredients.
Into a separate bowl, measure the flour, sea salt, cinnamon, and nutmeg and mix them together with a wire whisk until they’re combined.
- Add the other wet ingredients.
Once you’ve noticed the yeast has begun to grow, add the pumpkin puree, the egg, the 1/4 cup sugar, and the melted butter to the yeast mixture. Dump the dry ingredients into the bowl of the mixer as well, right over top of the wet ingredients. Turn the mixer on low and let the dough hook go to work combining the ingredients and forming a soft, sticky dough. Once the dough begins to form, increase the speed just slightly and let the machine knead the dough for about 5 minutes. It’s a good idea to keep an extra 1/4 cup of flour on hand, just in case your dough is a little too sticky and you need to add a little here or there to keep the dough together.
- Rise the dough.
Form the dough into a ball, return it to the bowl, cover with plastic wrap, and let rise in a warm spot for 90 minutes (or until more than doubled).
- Roll out the dough.
Roll the dough out on a lightly greased surface into a large square, about 22 inches by 18 inches. Brush the melted butter onto the dough.
- Add the filling.
Combine the filling ingredients (sugar and spices) in a small bowl and spread the filling evenly over the surface of the dough. Starting with the end closest to you and rolling away from you, roll the dough up gently and as tightly as you can, creating a spiral pattern on the inside. Slice the log you’ve created into 12 rolls that are equal in size.
- Prepare the pan.
Grease a 9×13 inch baking dish with butter. Drizzle 1/4 cup of maple syrup into the bottom of the pan. Arrange the 12 rolls cut-side-up in three rows of four, leaving a little space between each one.
- Let the rolls rise and then bake.
Let the rolls rise at room temperature for another 30 minutes after you’ve placed them in the greased pan. Be sure to cover them with plastic wrap while they complete this last rise, and remove the plastic wrap before placing them in the oven that’s been preheated to 350 degrees Fahrenheit, baking them for 25-30 minutes.
- Add the glaze.
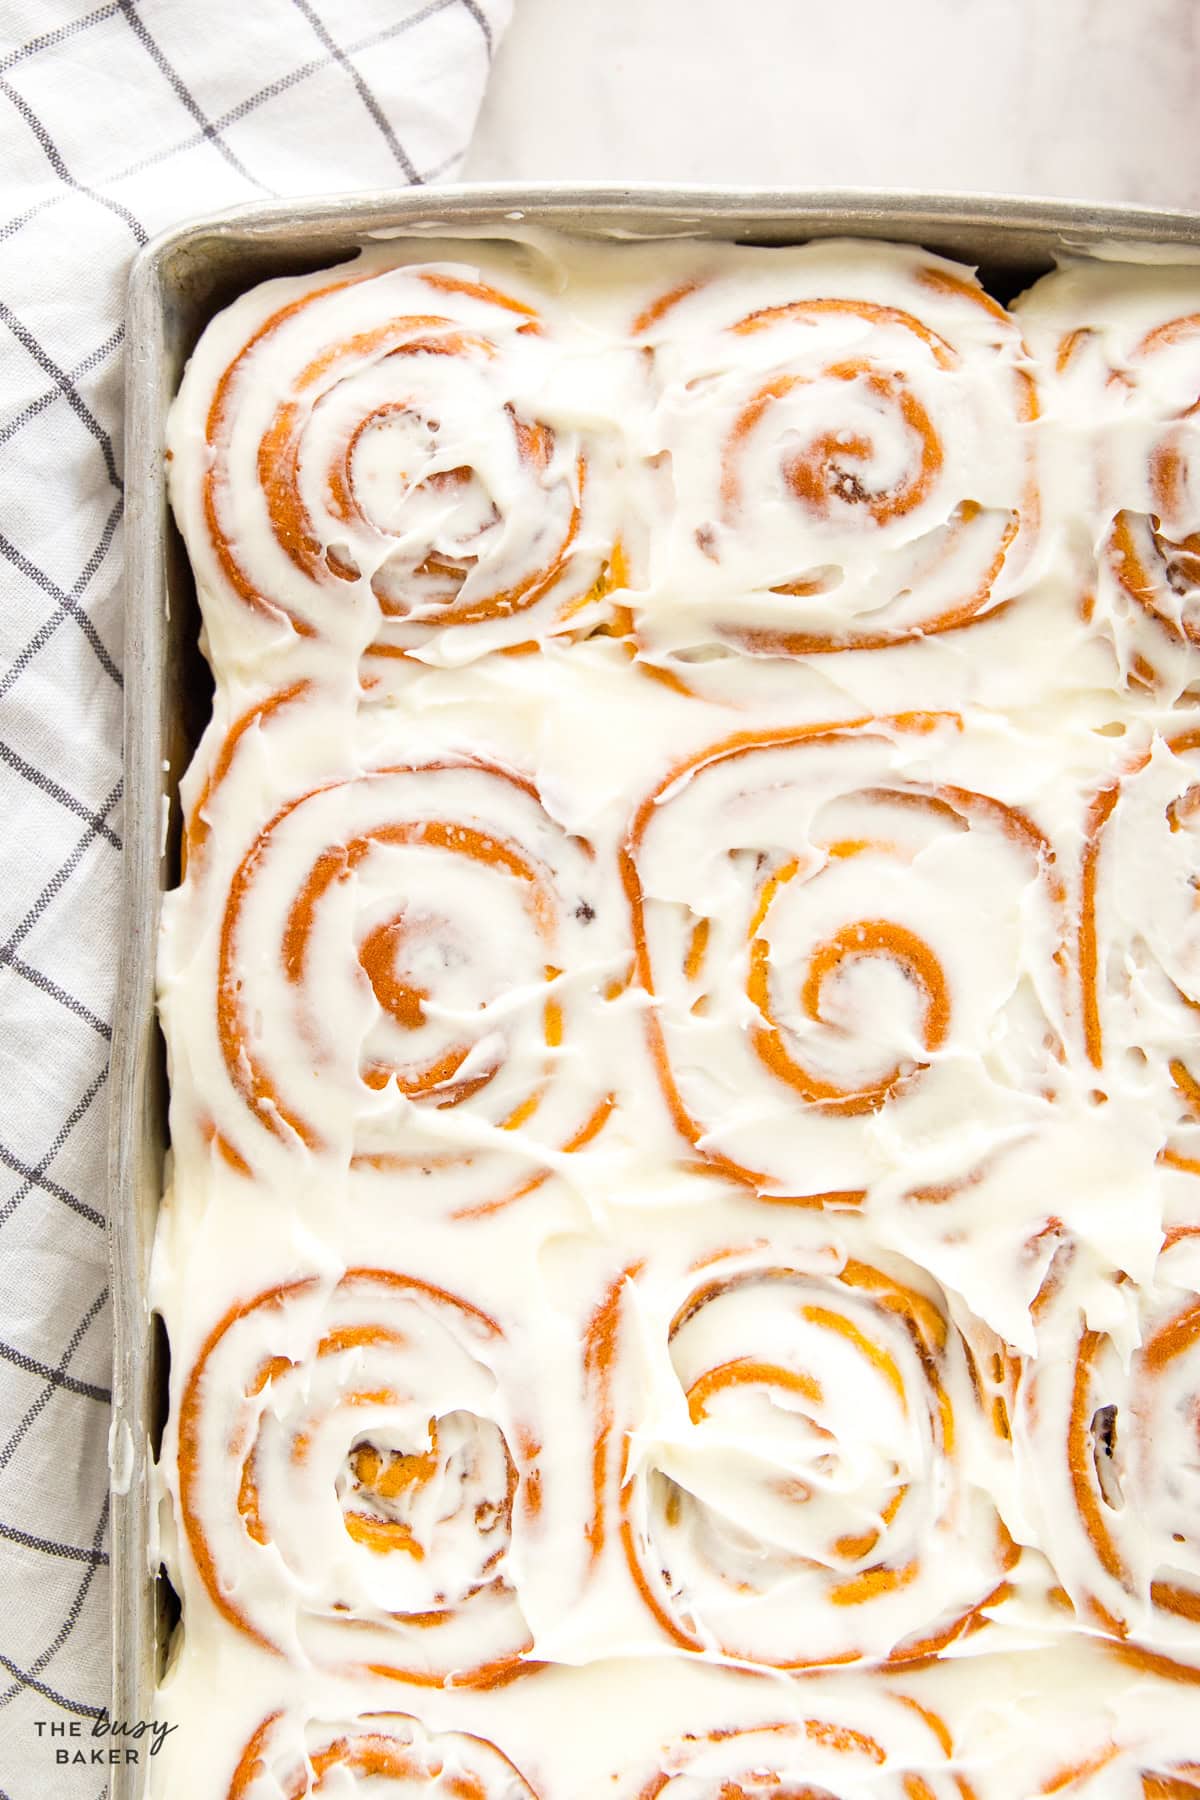
While you’re waiting for the rolls to cool, add the softened cream cheese and the powdered sugar to a mixing bowl and cream them together with a rubber spatula. Once the mixture is creamy and smooth, add the milk a few teaspoons at a time until the glaze has reached a consistency that’s somewhere between spreadable and drizzle-able (and now I’m making up words…). Once the rolls have cooled almost completely (it’s okay if they’re still a bit warm), pour the glaze over the top of the rolls and spread it around evenly with a rubber spatula. Drizzle the caramel sauce over the top and enjoy.
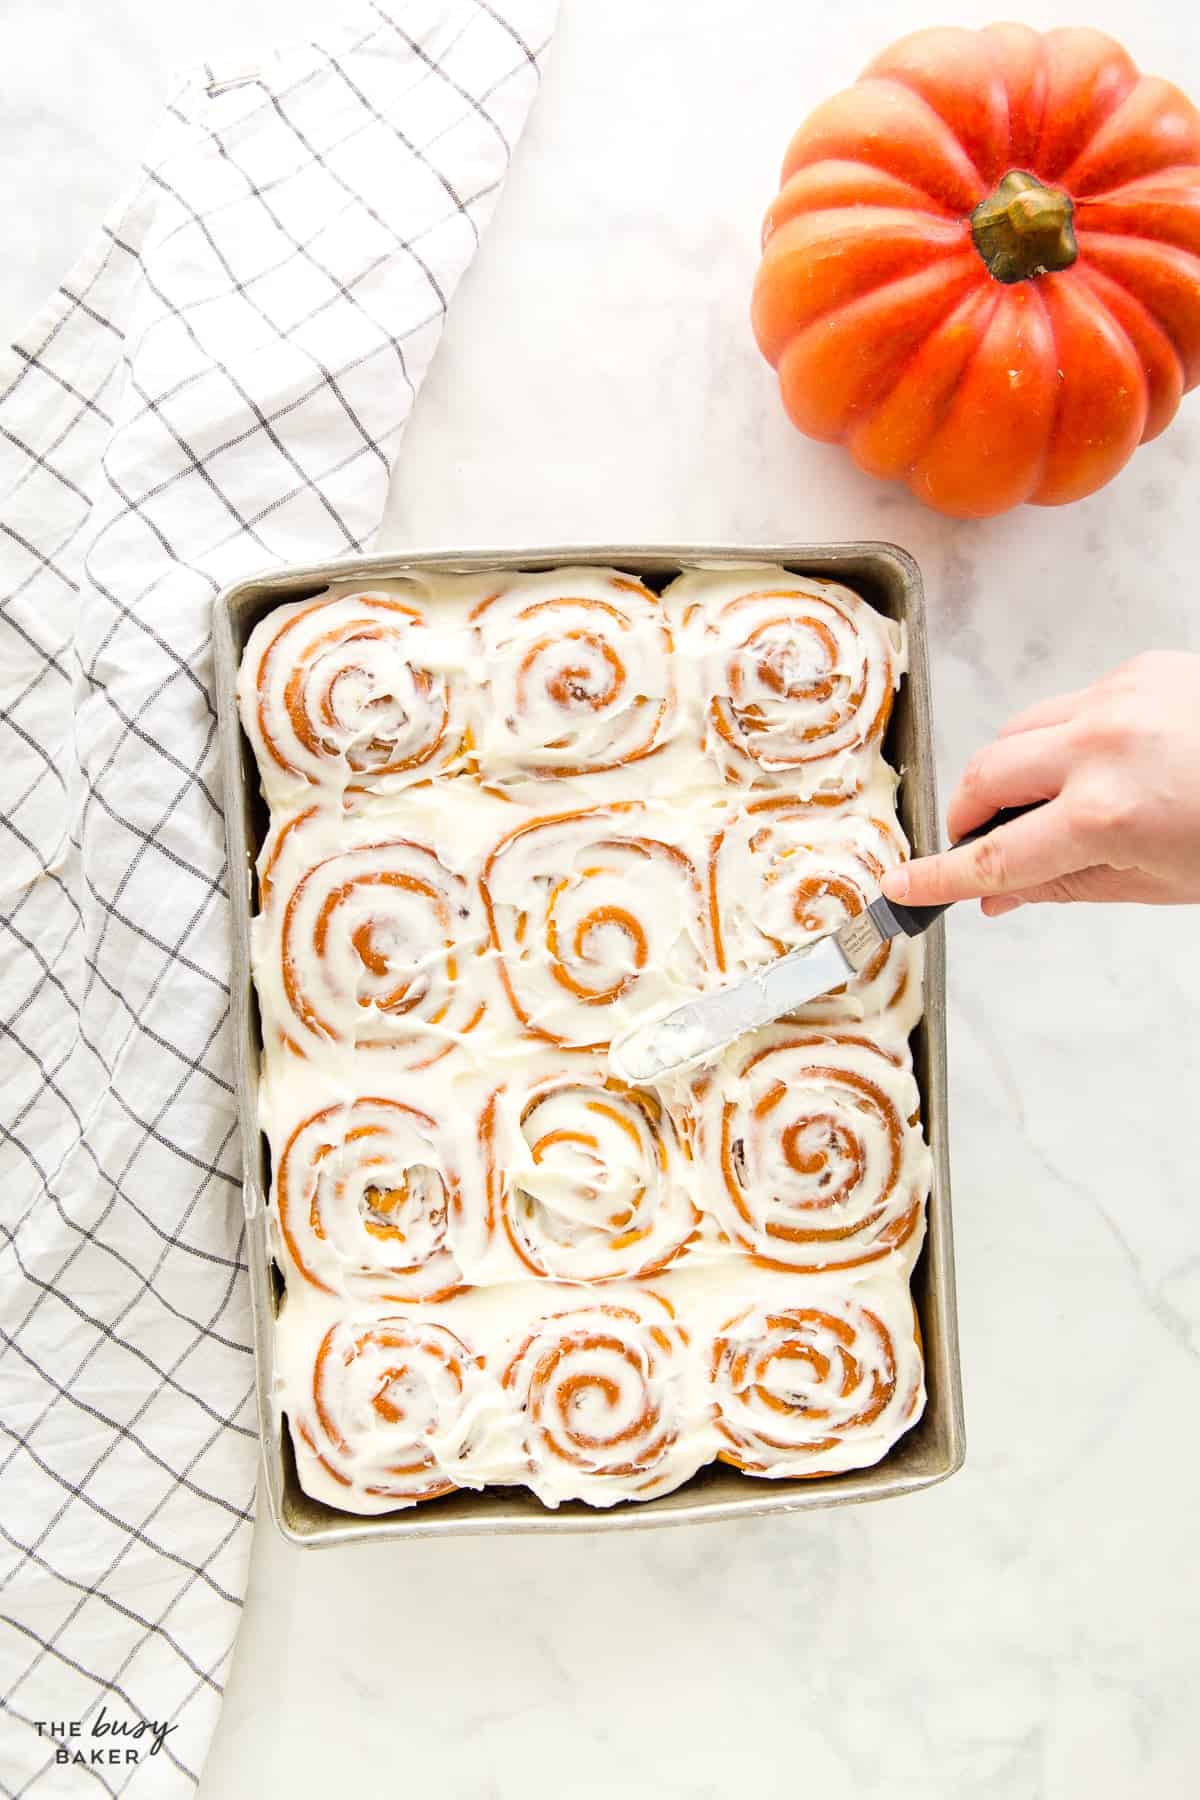
Yes, and this is the version I make any time we have houseguests, holiday mornings, or a big brunch planned in the fall or winter season. All the work happens the evening before, and the morning is just bake and glaze.
- Make the dough through the pan-arrangement step the evening before. Drizzle the maple syrup into the greased pan, arrange the 12 sliced rolls in three rows of four, and cover the pan loosely with plastic wrap.
- Place the covered pan in the fridge overnight. The cold temperature slows down the yeast so the rolls rise slowly for 8 to 12 hours. The slow cold rise actually develops more flavour than a fast warm rise.
- In the morning, remove the plastic wrap and place the cold pan into a cold oven. Starting cold-to-cold protects the glass dish from thermal shock.
- Set the oven to 350 degrees Fahrenheit. Once the oven reaches temperature, start timing 25 to 30 minutes.
- Cool, glaze, serve. Same as the same-day version.
For the same-day version, the first rise takes about 90 minutes in a warm spot, until the dough has more than doubled in size. The second rise (after the rolls are sliced and arranged in the pan) is much shorter, only 20 to 30 minutes at room temperature. For the overnight version, the second rise happens slowly in the fridge over 8 to 12 hours instead.
You’ll know the first rise is done when the dough has more than doubled and a finger gently pressed into the top leaves an indent that doesn’t immediately spring back. A fully sprung-back dough needs more time; a totally collapsed dough has over-risen and you’ll need to start again.
No. Pumpkin pie filling has added sugar and spices that will throw off the dough and make it too wet and too sweet. Always use 100% pure pumpkin puree (sometimes labelled just “pumpkin”). The can should list pumpkin as the only ingredient. Libby’s makes the most widely available version in North America, and store brands of pure pumpkin puree work just as well as name brands.
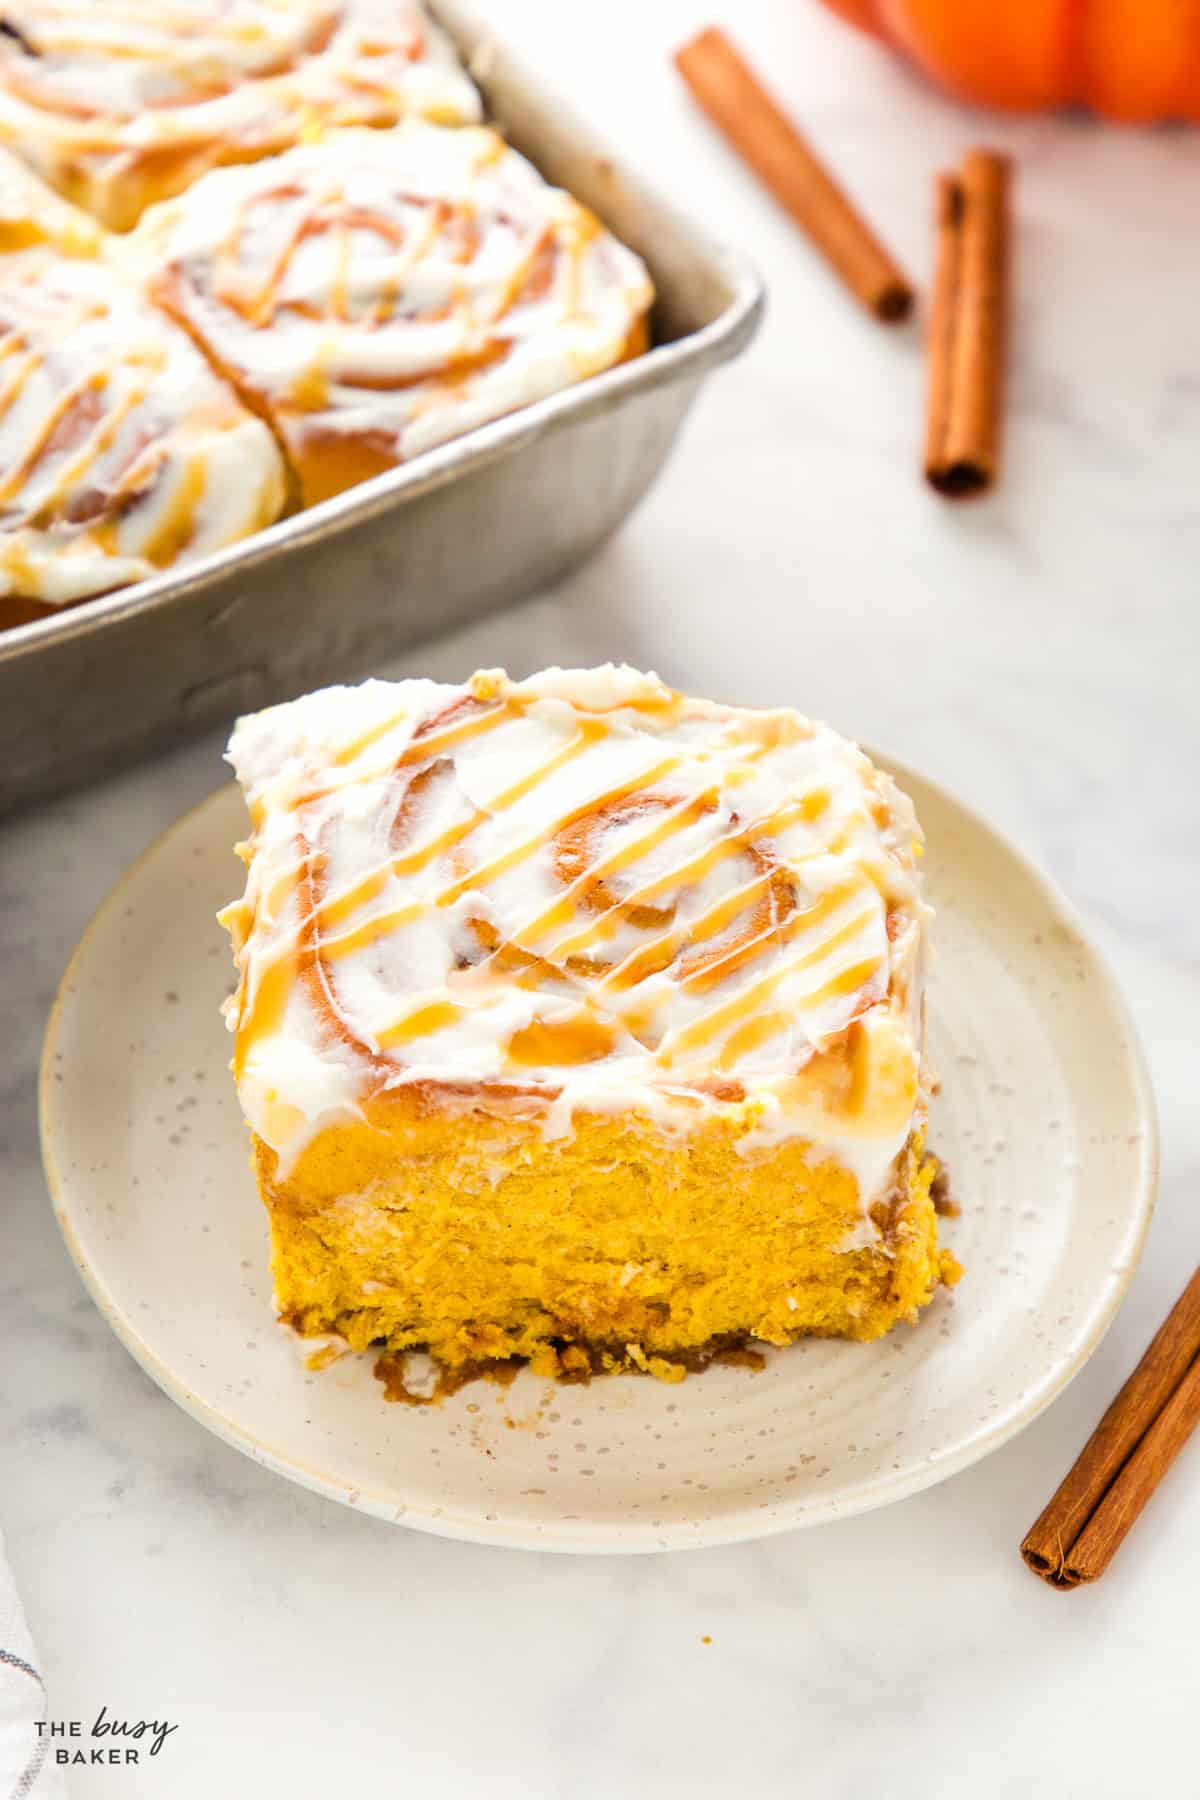
- Cinnamon-sugar butter topping (skip the cream cheese). Instead of the cream cheese glaze, brush the warm rolls with 3 tablespoons of melted butter and sprinkle with a mix of 3 tablespoons brown sugar and 1 1/2 teaspoons cinnamon. Lighter, less sweet, but still cozy.
- Bake in two 9-inch round pans. If you don’t have a 9×13, you can split the 12 rolls between two 9-inch round pans (6 rolls per pan). The bake time stays about the same.
- Maple glaze instead of cream cheese. Whisk together 1 cup of powdered sugar with 3 tablespoons of maple syrup and 1 to 2 teaspoons of milk for a maple-forward glaze that doubles down on the warm fall flavours.
- Add chopped pecans or walnuts. Sprinkle 1/2 cup of finely chopped pecans over the buttered, sugared dough before rolling for nutty, crunchy layers.
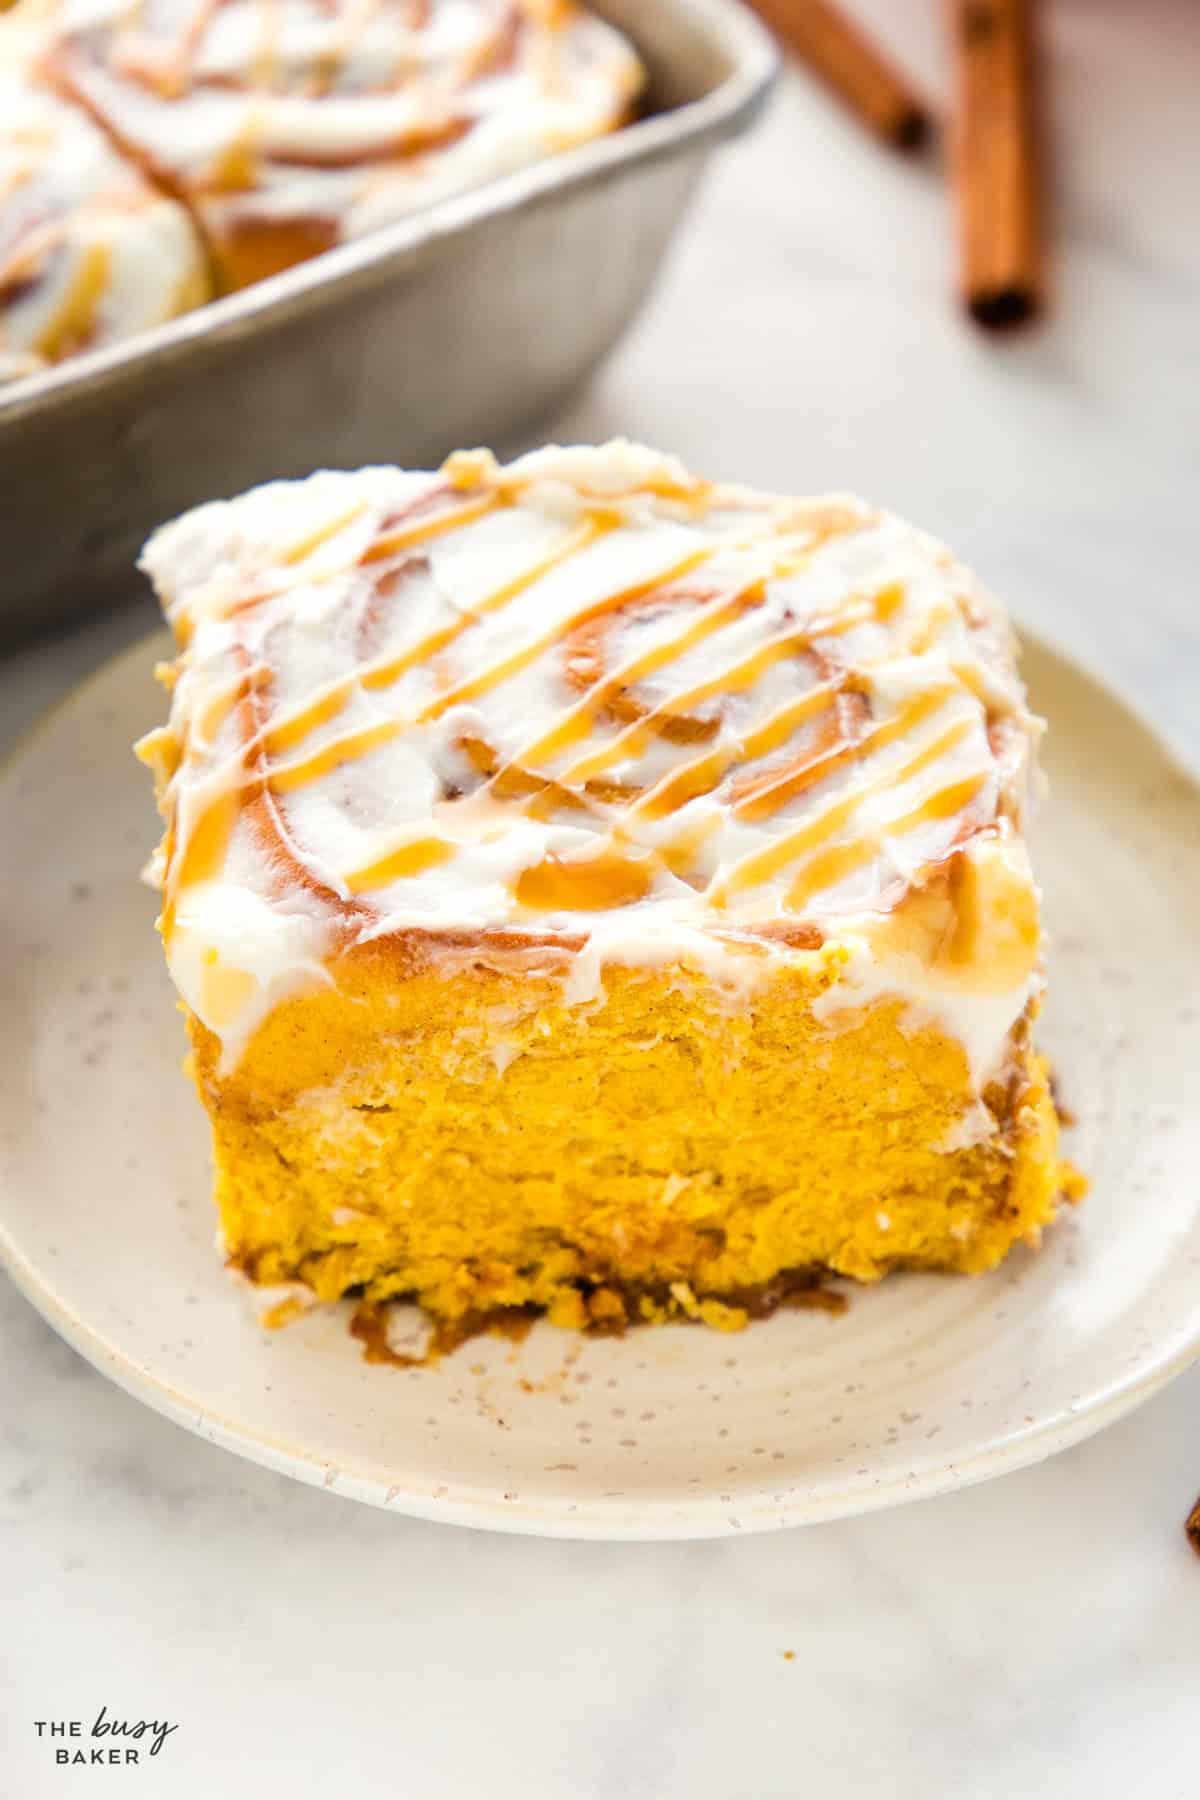
These are at their best as the centrepiece of a cozy fall breakfast or brunch spread. Pair them with a savoury egg dish (a quiche, baked eggs, or scrambled eggs with herbs), some crispy bacon or breakfast sausage, and fresh fruit salad to balance the sweetness. A pot of strong coffee and a Slow Cooker Pumpkin Spice Latte for a crowd makes this a proper fall hosting situation.
For holiday mornings (Thanksgiving or the first weekend of October when you finally decide it’s officially fall), serve them warm from the pan with extra glaze on the side and a small jug of warm caramel sauce for drizzling!
Room temperature: Store the cooled, glazed rolls in an airtight container at room temperature for up to 3 days. Warm them for 15 to 20 seconds in the microwave before serving for that fresh-baked texture.
Freezer (unglazed, baked): Cool the rolls completely, wrap the pan tightly in plastic wrap and foil, and freeze for up to 2 months. Thaw overnight in the fridge, warm in a 300 degrees Fahrenheit oven for 10 minutes, then glaze.
Freezer (unbaked): Make the recipe through the pan-arrangement step. Cover the pan tightly with plastic wrap and foil and freeze for up to 1 month. To bake, thaw overnight in the fridge, then proceed with the second rise and bake as directed.
Yes. Mix the ingredients in a large bowl with a wooden spoon, then turn the dough out onto a lightly floured surface and knead by hand for about 8 to 10 minutes, until smooth and slightly tacky. It’s a bit more work but completely doable.
Usually too much flour. The dough should be slightly tacky, not dry. Adding a lot of flour during kneading (or during rolling) is the most common cause. The other culprit is over-baking, so pull the rolls out as soon as the tops are golden.
The log was rolled too tightly. As the yeast pushes the dough up during the second rise and the bake, the tightest part (the centre of each spiral) is forced upward. Aim for a medium-firm spiral, not a tight one.
Yes! Freeze the rolls in a freezer-safe baking pan and cover well with plastic wrap. Thaw them in the fridge and then bake as directed.
You can. Use a dairy-free butter substitute (the stick kind, not the spread) and a dairy-free cream cheese for the glaze. Use plant-based milk for the glaze too. The pumpkin and spices carry the recipe so the dairy substitution works well here.
I haven’t tested this recipe with a gluten-free flour blend, so I can’t promise the results. The dough relies on gluten development for that soft, stretchy texture. A 1-to-1 gluten-free baking flour might work for the basic structure but the texture won’t be the same.
We don’t recommend this. Cake flour contains less protein, making it a poor choice for yeast doughs like this one that require gluten to develop. All purpose flour is the best choice.
We don’t recommend this. Bread flour makes baked goods chewy and using it in this recipe will cause the cinnamon buns to lose their soft and fluffy texture. All purpose flour is the best choice.
3 days at room temperature in an airtight container, or up to 2 months in the freezer.
Yes, but plan for about 2 1/2 hours start to finish. The overnight version is much more relaxing if you have houseguests.
A standard 9×13 inch baking dish fits 12 rolls perfectly in a 3-by-4 grid. If you don’t have one, you can split the rolls between two 9-inch round pans (6 rolls per pan).
Yes, but at that point you’re making 24 rolls, which is a lot of dough for most stand mixers. I’d recommend making two separate batches back-to-back rather than trying to double the dough in one bowl.
Layering spice in the dough and the filling gives the rolls a more complex, fully spiced flavour. Without spice in the dough, you only taste the filling, and the actual pumpkin and yeast layers taste a little flat in comparison.
PERFECT PUMPKIN RECIPES & COOKING AND BAKING TIPS
Get my perfect pumpkin recipes e-cookbook!

More Pumpkin Recipes
- Pumpkin Spice Chocolate Chip Cookies
- Pumpkin Waffles
- Pumpkin Cheesecake Cookies
- Pumpkin Scones
- Pumpkin Roll
- Pumpkin Bread
- Pumpkin Muffins
- Pumpkin Chili
- Slow Cooker Pumpkin Spice Latte
- Pumpkin Pancakes
Watch the video below to see exactly how I make this fall recipe. You can find more delicious recipe videos on my YouTube channel.
If you made this, share a photo!
Are you trying this recipe? Use the comment form below to share your take; now with support for image uploads and comment voting!
Pumpkin Cinnamon Rolls

Recipe: Equipment
Recipe: Ingredients
For the rolls:
- 6 tablespoons water slightly warmer than room temperature
- 3 1/4 teaspoons active dry yeast
- 3 tablespoons white sugar
- 1 cup pumpkin puree
- 6 tablespoons white sugar
- 2 eggs
- 3 tablespoons melted butter
- 4 1/2 cups all purpose flour
- 2 teaspoons ground cinnamon
- 3/4 teaspoon ground nutmeg
- 1 teaspoon sea salt
For the filling:
- 1/4 cup melted butter
- 1 1/2 cups brown sugar
- 4 teaspoons ground cinnamon
- 1 1/2 teaspoon ground nutmeg
- 1/2 teaspoon ground cloves
For the glaze:
- 2 ounces low fat cream cheese softened to room temperature
- 1/2 cup powdered sugar
- 2 tablespoons + 2 teaspoons whole milk
- 1/4 cup of your favourite caramel sauce to drizzle over the top optional
- a little butter for greasing the pan
- 1/4 cup maple syrup for the bottom of the pan
Recipe: Instructions
- Add the warm water, the yeast, and the 3 tablespoons sugar to the bowl of your stand mixer fitted with the dough hook attachment. Stir the mixture gently with a fork just until all the yeast is moistened and then set the yeast mixture aside for 3-5 minutes.
- Into a separate bowl, measure the flour, sea salt, cinnamon, and nutmeg and mix them together with a wire whisk until they're combined.
- Once you've noticed the yeast has begun to grow, add the pumpkin puree, the egg, the 6 tablespoons sugar, and the melted butter to the yeast mixture. Dump the dry ingredients into the bowl of the mixer as well, right over top of the wet ingredients. Turn the mixer on low and let the dough hook go to work combining the ingredients and forming a soft, sticky dough. Once the dough begins to form, increase the speed just slightly and let the machine knead the dough for about 5 minutes. It's a good idea to keep an extra 1/4 cup of flour on hand, just in case your dough is a little too sticky and you need to add a little here or there to keep the dough together.
- Remove the dough hook and form the dough into a ball with your hands, returning it to the bowl of the stand mixer and covering the bowl with plastic wrap. Place the dough in a warm, dry place in your kitchen and let the dough rise for 90 minutes or until it has more than doubled in bulk.

- Roll the dough out on a floured surface into a large rectangle. Brush the melted butter onto the dough.
- Combine the filling ingredients (sugar and spices) in a small bowl and spread the filling evenly over the surface of the dough.
- Starting with the end closest to you and rolling away from you, roll the dough up gently and as tightly as you can, creating a spiral pattern on the inside.
- Slice the log you've created into 12 rolls that are equal in size.
- Grease a 9-inch by 13-inch rectangular baking pan (or equivalent) with some butter.
- Drizzle the maple syrup into the bottom of the greased pan and arrange the 12 rolls in the pan. Cover the pan loosely with plastic wrap to get the rolls ready for their last rise.
- Now here's the best part about this recipe: you can easily turn it into an "overnight" recipe by completing all the steps up to this point in the evening and placing the rolls in the fridge to complete their last rise while you get your beauty sleep. The cool temperature of the fridge retards the yeast so it rises very slowly all night long. When you wake up in the morning, set your oven to 350 degrees Fahrenheit and place the rolls in the COLD oven (plastic wrap removed, of course). Because the rolls have been in the cold refrigerator all night, they'll complete the last bit of their rise in the oven as the oven heats up. Once the oven reaches 350°F (175°C), set the timer for 25-30 minutes and the rolls will be perfectly done after that time.
- Alternatively, if you'd rather get the whole recipe over with in one day, feel free to let the rolls rise at room temperature for another 30 minutes after you've placed them in the greased pan. Be sure to cover them with plastic wrap while they complete this last rise, and remove the plastic wrap before placing them in the oven that's been preheated to 350°F (175°C). The baking time is the same – 25-30 minutes at 350°F (175°C). The only difference is that you'll wait to put the rolls in the oven until the oven has reached the correct temperature rather than placing the rolls in the cold oven.
- While you're waiting for the rolls to cool, add the softened cream cheese and the powdered sugar to a mixing bowl and cream them together with a rubber spatula. Once the mixture is creamy and smooth, add the milk a few teaspoons at a time until the glaze has reached a consistency that's somewhere between spreadable and drizzle-able (and now I'm making up words…). Once the rolls have cooled almost completely (it's okay if they're still a bit warm), pour the glaze over the top of the rolls and spread it around evenly with a rubber spatula. Drizzle the caramel sauce over the top and enjoy.


Recipe: Notes
Recipe: Nutrition
Notice: Nutrition is auto-calculated, using Spoonacular, for your convenience. Where relevant, we recommend using your own nutrition calculations.
I made these on Sunday. They are amazing.
I would probably increase the cinnamon in the dough to 2 tsp. just because I love it.
Otherwise….wonderful and easy.
Thanks so much
Feel free to add some more cinnamon, as you wish, and thanks for the great review Lois!
Could I substitute half the flour with white whole wheat flour?
You sure can! Enjoy!
I just made these today and I’m super excited to try them – however one note: make sure you put a baking sheet underneath your round pan! I didn’t and now my oven is on self clean to try to mop up the mess of maple syrup that exploded out of the pan and onto the bottom of the oven. Maybe my pan was packed too tight, but I did everything as written! Regardless, thanks for the recipe!
Thanks for the tip! 🙂
Lovely recipe and very easy! Love the addition of maple syrup to the bottom 9f the dish. I also added a tsp of vanilla to the glaze because I love vanilla. To Thank you!!! This will be added to our family traditions for the holidays.
So glad you love them as much as we do! Thanks for the positive feedback! 🙂
These are my favorite to make!! Can you freeze the dough? I’m hoping to try to freeze a bunch !
Great question! I’d personally freeze them after baking, and then defrost on the counter overnight and reheat in the oven before serving. 🙂
Is it really just a quarter cup of water not one and a quarter cup?!?
Yes, it’s just 1/4 cup. The pumpkin adds so much moisture.
I made three batches of these yesterday so learned a few things with each successive effort. They are super easy, letting the mixer do all the work. I made the following changes. Roll to 12 x 18 and use a parchment to facilitate the roll. Making 8 rolls out of the 18×18 batch = 2.25″ per which is too tall. Also, I rolled over the sugar mixture to help it stick and prevent it from falling out the sides of the roll. Lastly they are wonderfully Rich and pumpkin-y, no need to add caramel in addition to the glaze! I would add a drop of vanilla to the glaze.
Thanks so much for taking the time to leave a comment! Glad you liked them!!
What do you use for your caramel drizzle? So excited to try these!
I use a store-bought caramel sauce sometimes, and other times I make a homemade recipe. Stay tuned, I’ll be sharing that recipe on the blog soon!
If I wanted to freeze these a few days before, say, xmas or thanksgiving, what step would I do that? Thanks! I can’t wait to try!!!
Great question! You can freeze them after they’re baked (cool them completely first), just be sure to freeze them in something airtight (like a ziploc bag or plastic container) and thaw them completely at room temperature before serving. You can also freeze them right in the baking tray, if you wish, and then reheat slightly in the oven after they’ve thawed. Hope you enjoy them as much as we do!
Looks wonderful and trying to make this before work… but there is a problem with time. Total Time says 1 he 20 minutes but step 4 alone is 1 hr 30 minutes…???
Thanks for pointing that out! Rise times do vary though, so be careful! I hope you enjoy them!
I made it today and the were the best cinnamon rolls I ever had!!! Best recipe ever! Thanks for sharing 🙂
Thanks so much for the positive feedback!! So glad you loved them as much as we do! 🙂
Definitely I will made them many more times :). A tip, I made them with coconut sugar and the flavor is delicious 😉
Thanks so much! So glad you liked them!
I’m afraid the maple syrup might make it to pancakeish/breakfastish. Do I have to add it?
The maple syrup flavour actually disappears – it really only serves to create that sticky bottom that’s so irresistible! 🙂
These look so delicious, the perfect comfort food to go with coffee…absolutely love it!!
The recipes on your blog are amazing. Thank you for sharing!!
Thank so much for the positive feedback! 🙂
I have been trying to make a treat for my husband’s office every Friday. I made these last week and they were fabulous!!! Everyone in his office loved them!!! Yup, even the guy who doesnt like pumpkin, but didn’t know they were pumpkin….he came back to tell my husband those were the best rolls he had ever had!! I changed up the frosting to more of a thicker cream cheesy frosting and omitted the caramel. It reminded me so much of a pumpkin roll that I make around the holidays! I have tried a few of your other recipes and they have all been delish!!! This recipe was so easy even as a mother of a 15 month old and the owner of a 17 week Great Dane puppy had time to make these!!! Lol
Thanks for the recipe!!
WOW! So glad you loved the recipe so much! And yes, the recipe is pretty simple!!
That looks like pumpkin heaven. WOW!
These rolls are DEFINITELY pumpkin heaven!!
Wonderful dessert for the fall!!
Thanks Jocelyn!
These look SO tasty!
Thanks so much Meg!
Girlllll, these cinnamon rolls are off the hook! So good!
Thanks Lauren!!
Yum! I have to make these soon!!
Thanks! Hope you enjoy them! 🙂
These look fabulous! I love the amazing colour they have – looks just like fall on a plate! I love cinnamon rolls (clearly, my blog is named after them), and pumpkin spice ones are at the top of the list! Looking forward to trying these soon 🙂
Thanks Amanda! I love the orange colour of the dough 🙂 I hope you enjoy the recipe!