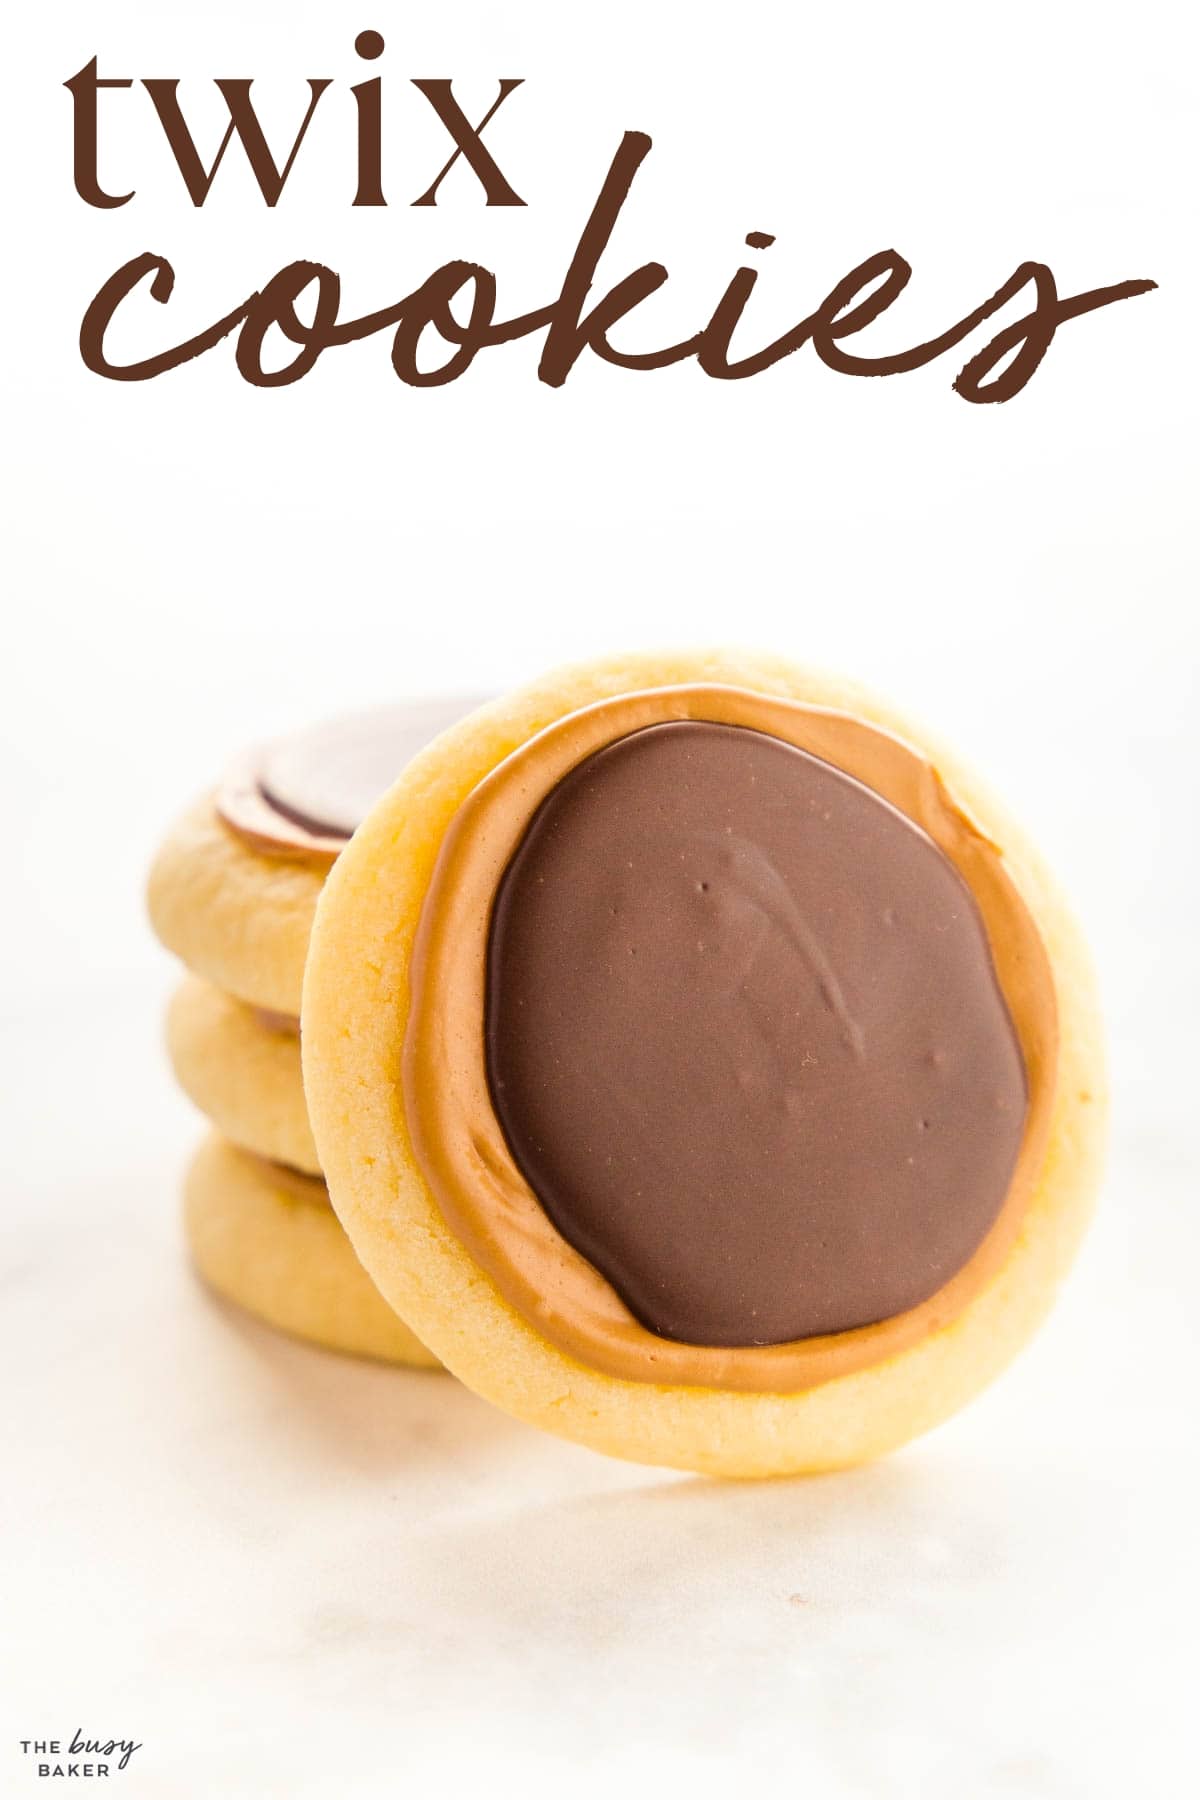
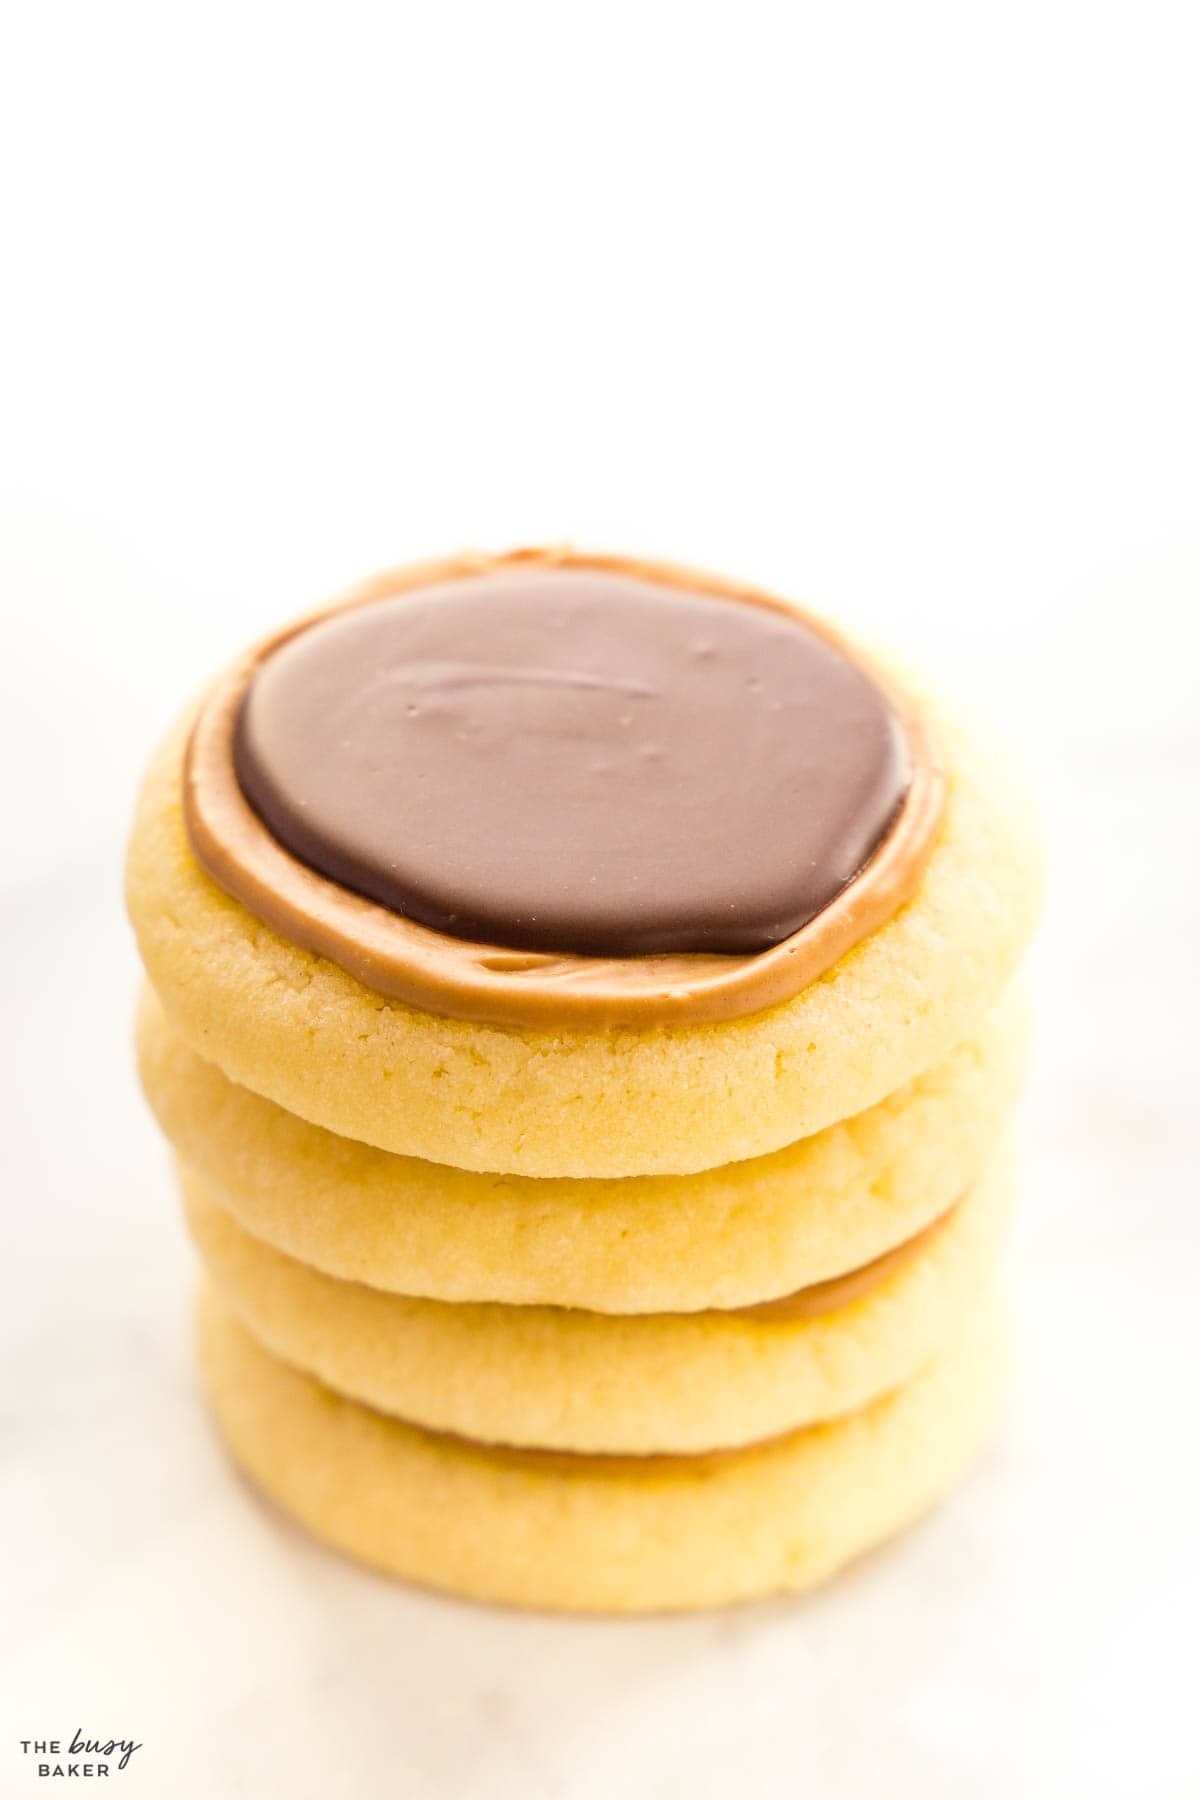
This Twix Cookies recipe is the perfect homemade treat made with a chewy sugar cookie base, creamy caramel and melted chocolate – just like a Twix bar!
Estimated reading time: 38 minutes
There’s nothing quite like a Twix bar – that deliciously chewy cookie base, soft caramel and a delicious milk chocolate coating. It’s one of the best candy bars, in our opinion, and we’ll take any chance we get to enjoy the classic Twix flavours in a homemade treat – like these Twix Cookies!
They’re a delicious and easy cookie recipe that’s the perfect homemade treat and we’re thrilled to be sharing the recipe with you!
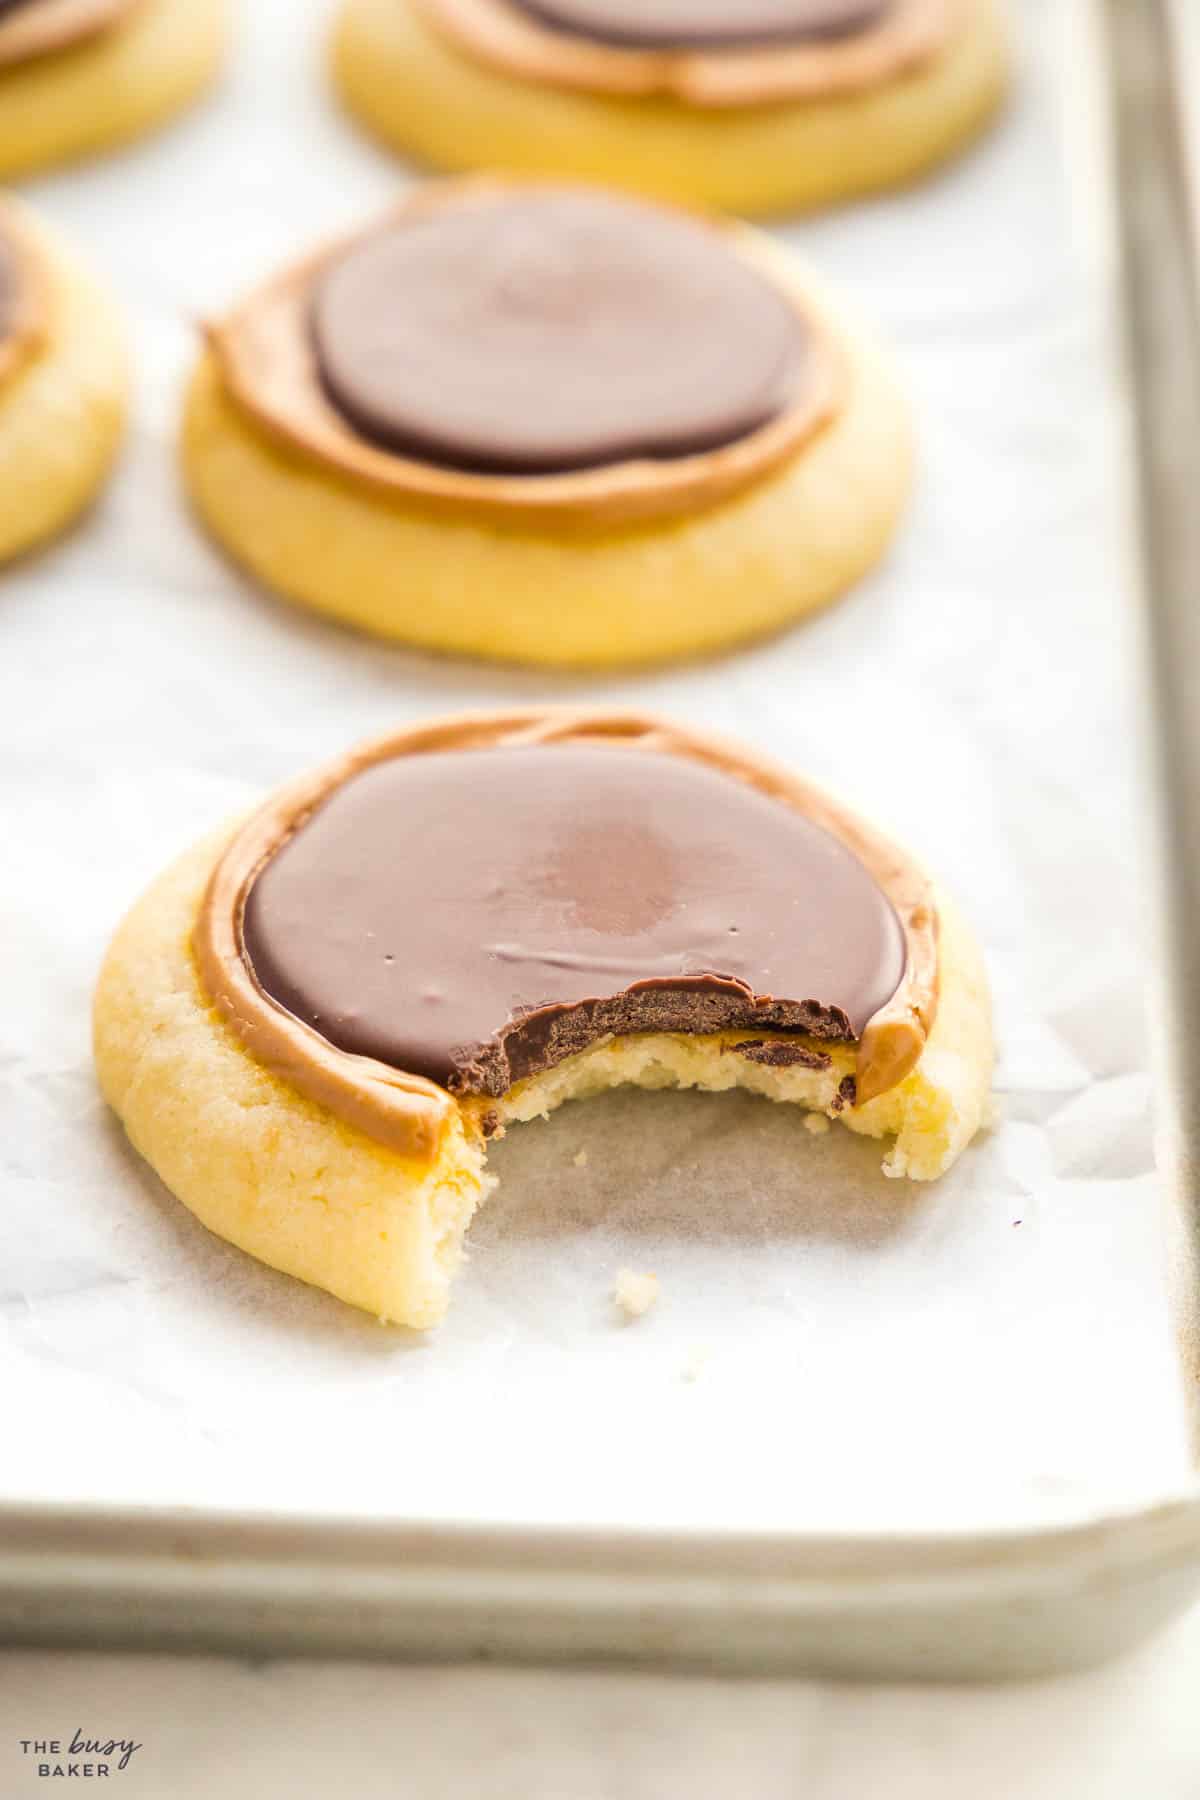
A Twix Cookie is a homemade cookie made with all 3 components of the iconic Twix candy bar – a buttery cookie base, soft chewy caramel, and delicious milk chocolate. Twix bars have been around for more than half a century and their flavours are timeless!
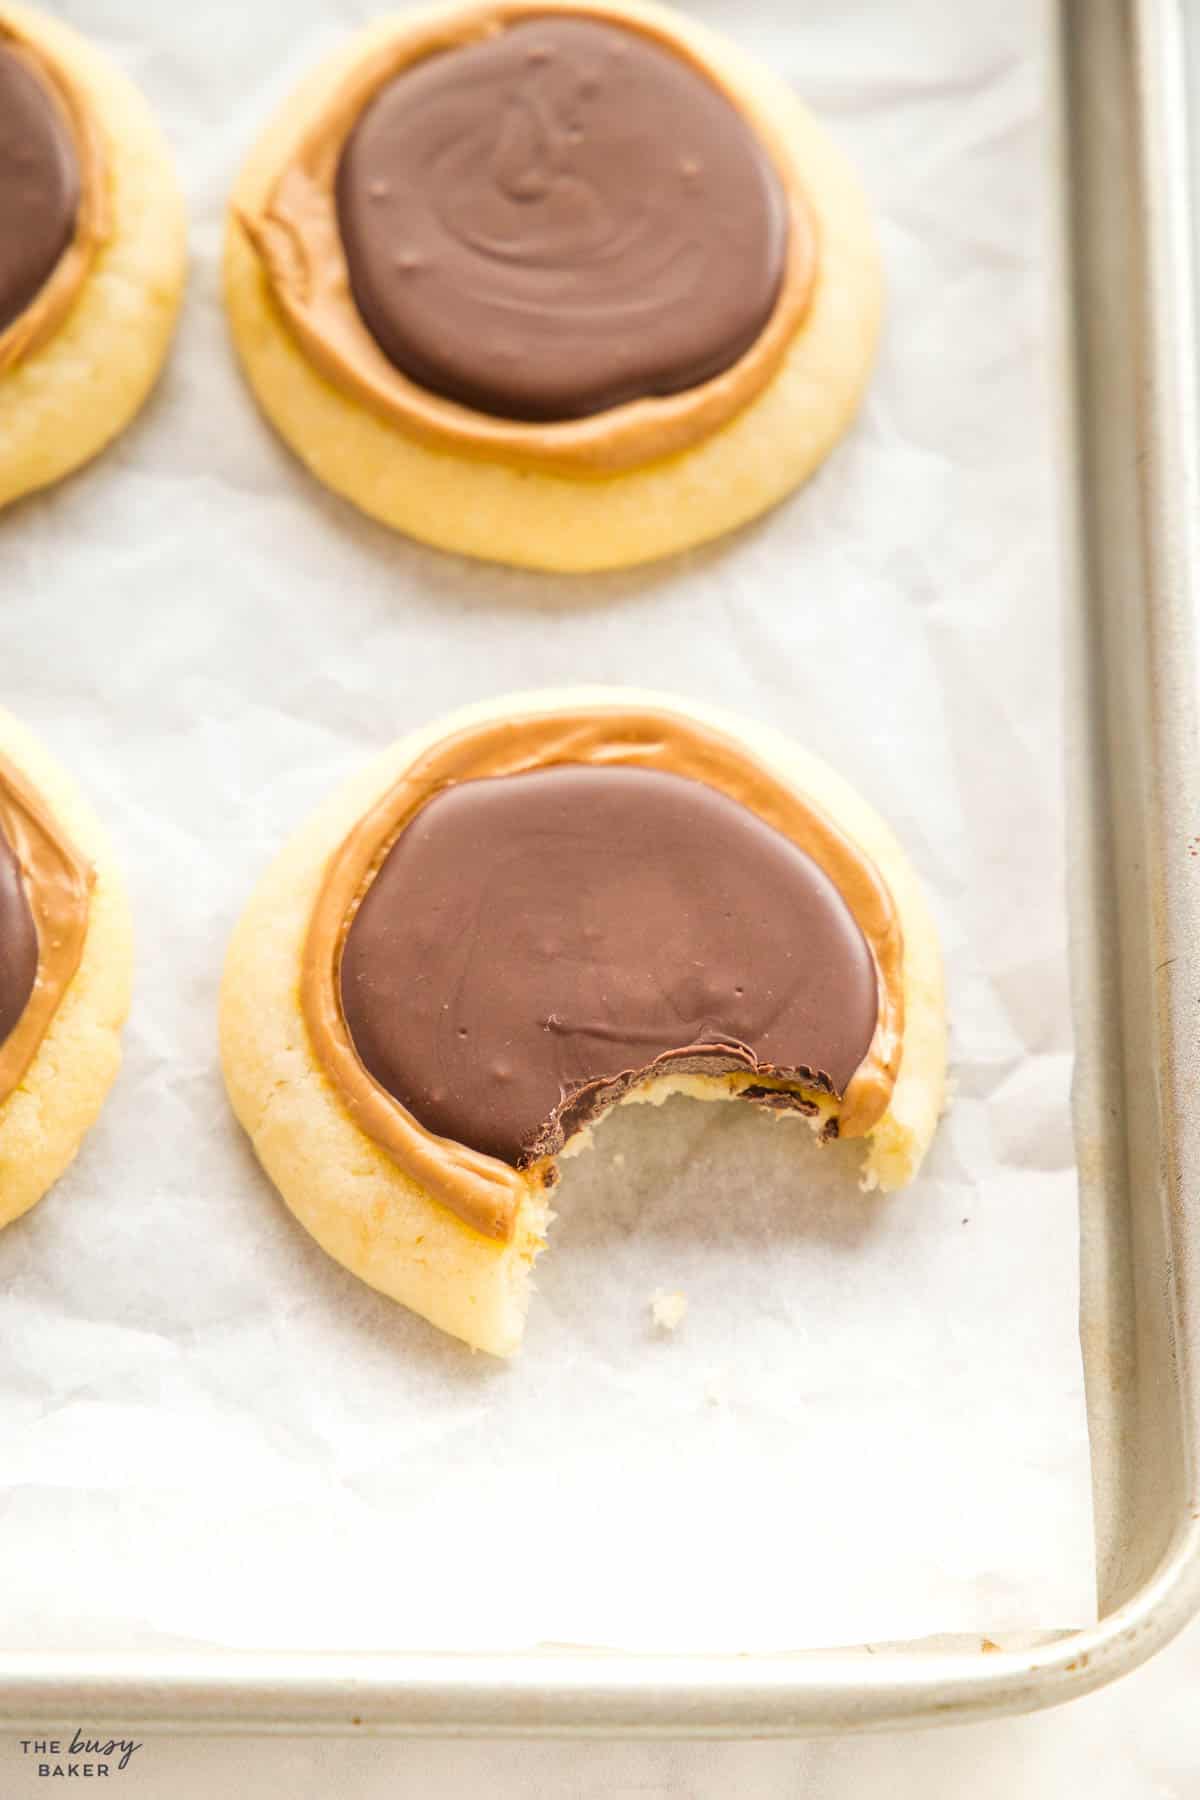
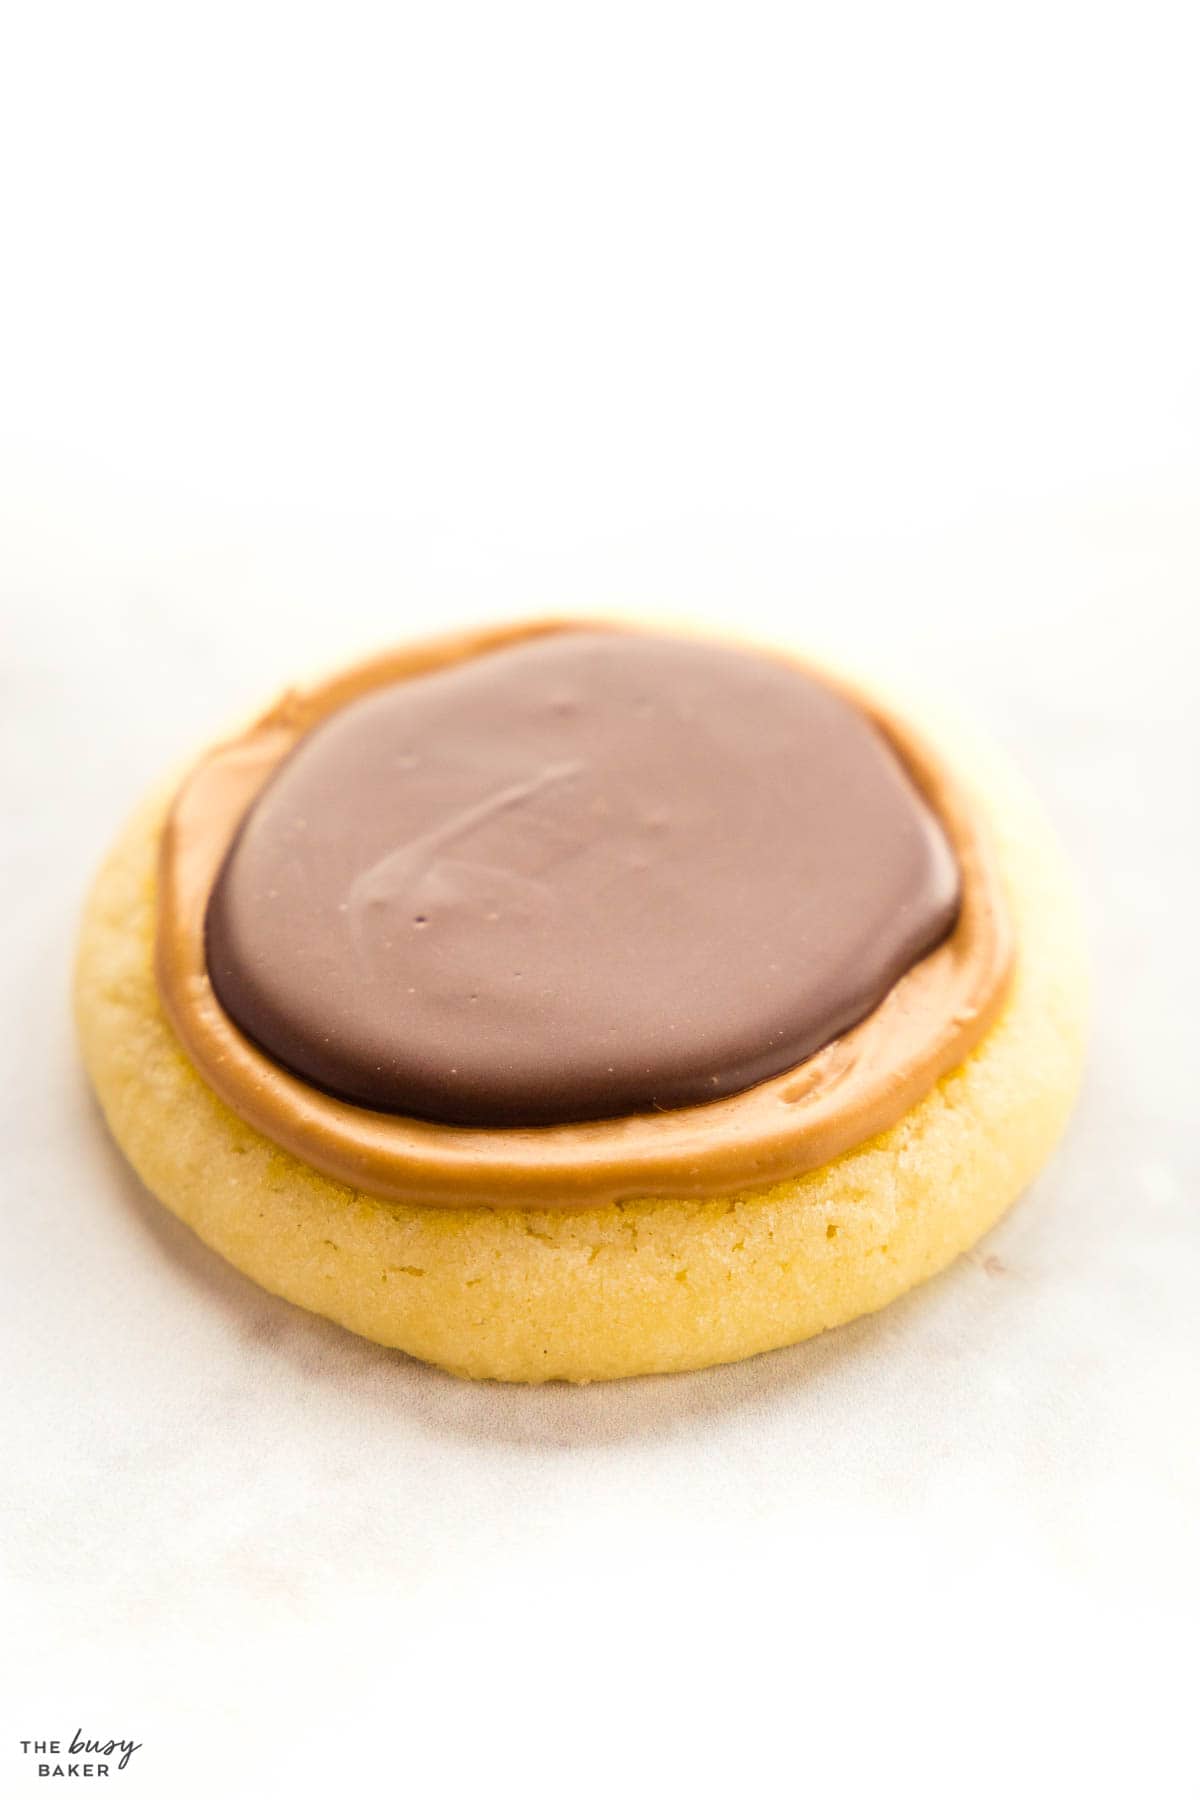
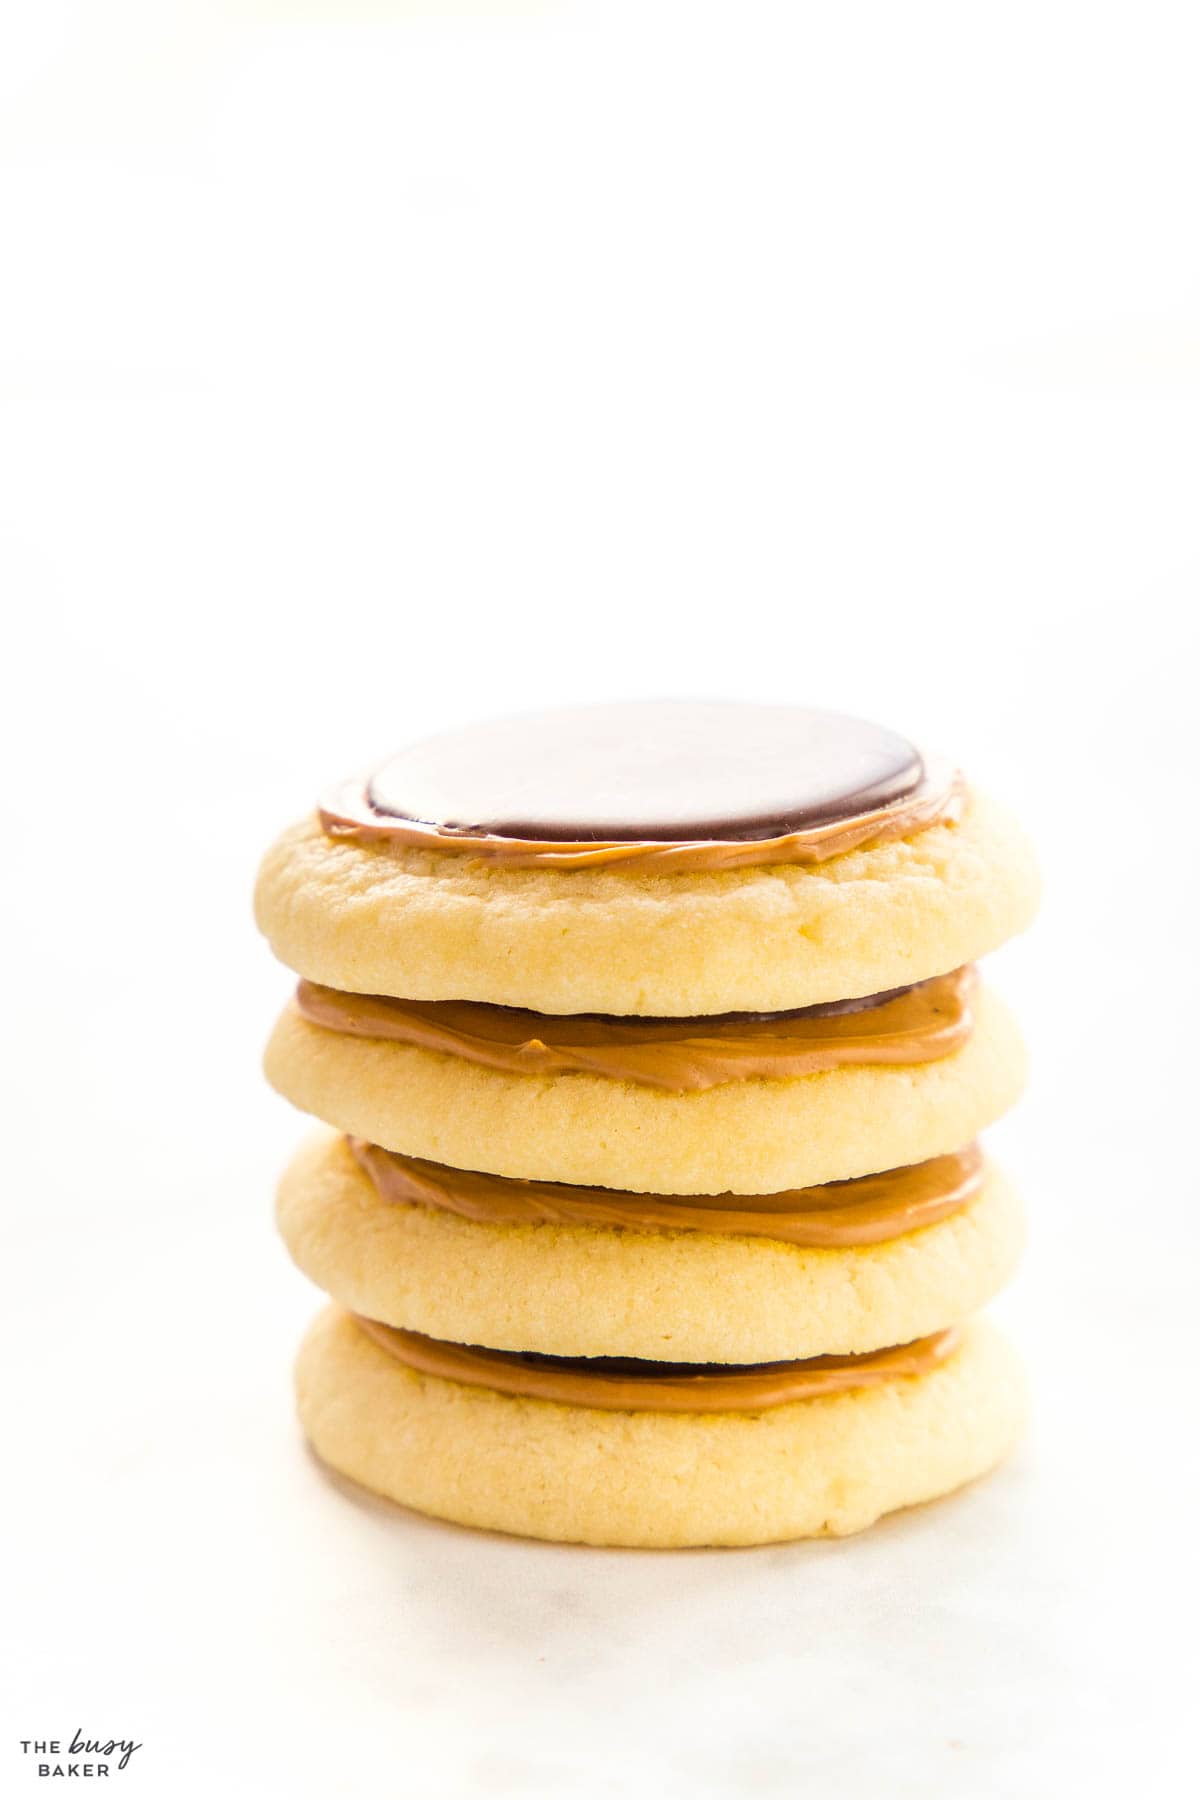
These cookies are made with a simple, buttery cookie dough that’s rolled into balls, flattened, and then baked until soft and chewy. Once the cookies are cool, a layer of caramel (often made from melted caramels or a ready-made caramel sauce) is spread over each cookie. After the caramel has set, the cookies are finished with a layer of melted milk chocolate on top. The end result is a batch of cookies with a classic blend of textures and flavours – it’s a Twix bar experience in homemade cookie form!
Looking for PERFECT cookies? Here are my best cookie baking tips!
- Sift the dry ingredients! – Nobody likes clumpy, lumpy cookies, or cookies that don’t rise properly in some places. To ensure your cookies are soft and fluffy with a cake-like texture, sift together your flour with the leavening agents (baking powder or baking soda) to ensure the perfect rise!
- Soft butter – If your butter is too cold you’ll end up with cookies that don’t spread properly. If your butter is too soft you’ll end up with cookies that melt all over the baking pan (and nobody wants that!). Remove your butter from the fridge only about 30 minutes before baking (in a normal, room-temperature kitchen) and make sure it’s not rock hard and not so soft it’s practically melting either. Firmly spreadable is a good texture to go for when making sugar cookies
- The right consistency of dough for the best texture – Achieving the right dough consistency is very important. Your dough should be firm enough to hold its shape when rolled into balls but soft enough to be slightly pliable. If the dough is too dry, your cookies might crumble. If the dough is too wet, the dough will be too sticky and difficult to roll, and they will probably spread too much during baking. A good trick is to refrigerate the dough for about 30 minutes before baking. This ensures the butter solidifies in the dough, which means it will be easier to work with and will bake up perfectly in the oven.
- Proper spacing on the baking sheet to avoid merging cookies: No one wants a mega-cookie formed by smaller cookies merging together. Ensure that you space your dough balls at least 2 inches apart on the baking sheet. This gives each cookie ample space to spread without interfering with the other cookies.
- Don’t over-bake! – If the edges of your cookies start to become brown, they’re over-baked. Watch the top of the cookies as they bake to judge the doneness – if the cookies lose their shine on top, they’re done!
- Cool your cookies on the baking pan – Cooling your cookies on the baking pan will ensure they don’t lose their shape if you try to move them to a cooling rack a little too soon. The cookies continue baking on the inside even after you’ve removed them from the oven and it’s best not to move them until the baking process is completed (you’ll know they’re ready to move if they’re cool and firm to the touch).
There are two pieces of kitchen equipment we use every single time we bake cookies!
- Achieving the perfect cookie size: Uniformity is key for even baking. Using a cookie scoop (paid link) is our favourite trick for uniform cookies, the easy way! It helps ensure that each cookie is roughly the same size, which leads to consistent baking times and textures.
- Optimal baking temperature and time to achieve the desired cookie texture: Most recipes recommend baking at around 350°F (175°C). However, oven temperatures can vary, so keep a close eye on your first batch to judge the perfect baking time for your oven. One of our most important baking tips is to use an oven thermometer (paid link)! Most home bakers don’t have one, but it’s a CRITICAL kitchen tool that allows you to know whether or not your oven temperature is accurate! This will help you adjust baking times and the temperature of your oven and will prevent you from burning or under-baking your treats!
- Over-baking: Over-baked cookies can be dry and hard. If the edges start to darken significantly, they’re likely overdone. Using an oven thermometer to help ensure your oven’s temperature is accurate can prevent over-baking. Don’t forget to set a timer when baking!
- Preventing the cookies from falling apart: Letting your cookies cool on the pan is the best way to ensure they keep their shape after baking. Cookies continue baking and set in the middle after they’ve been removed from the oven. The cooling process is a critical step to achieving the perfect cookies! Be sure to cool them most of the way before removing them gently and carefully to a cooling rack to cool completely.
- Ensuring your cookies don’t crumble, break or spread: If your dough is too dry, your cookies might crumble. If the dough is too wet, the cookies might spread. Ensure you’ve measured your ingredients accurately and used ingredients at the right temperature – your eggs and butter should be at room temperature, and your ingredients can be weighed for accuracy (use grams) or measured carefully (be sure to fluff and scoop your flour so it’s not packed too tightly).
- Decorating or frosting too soon: Be sure to wait to add any frosting or toppings until the cookies have cooled completely. If you try to frost or top the cookies hot from the oven, the topping will melt and create a huge mess, ruining the cookies you worked so hard to bake!
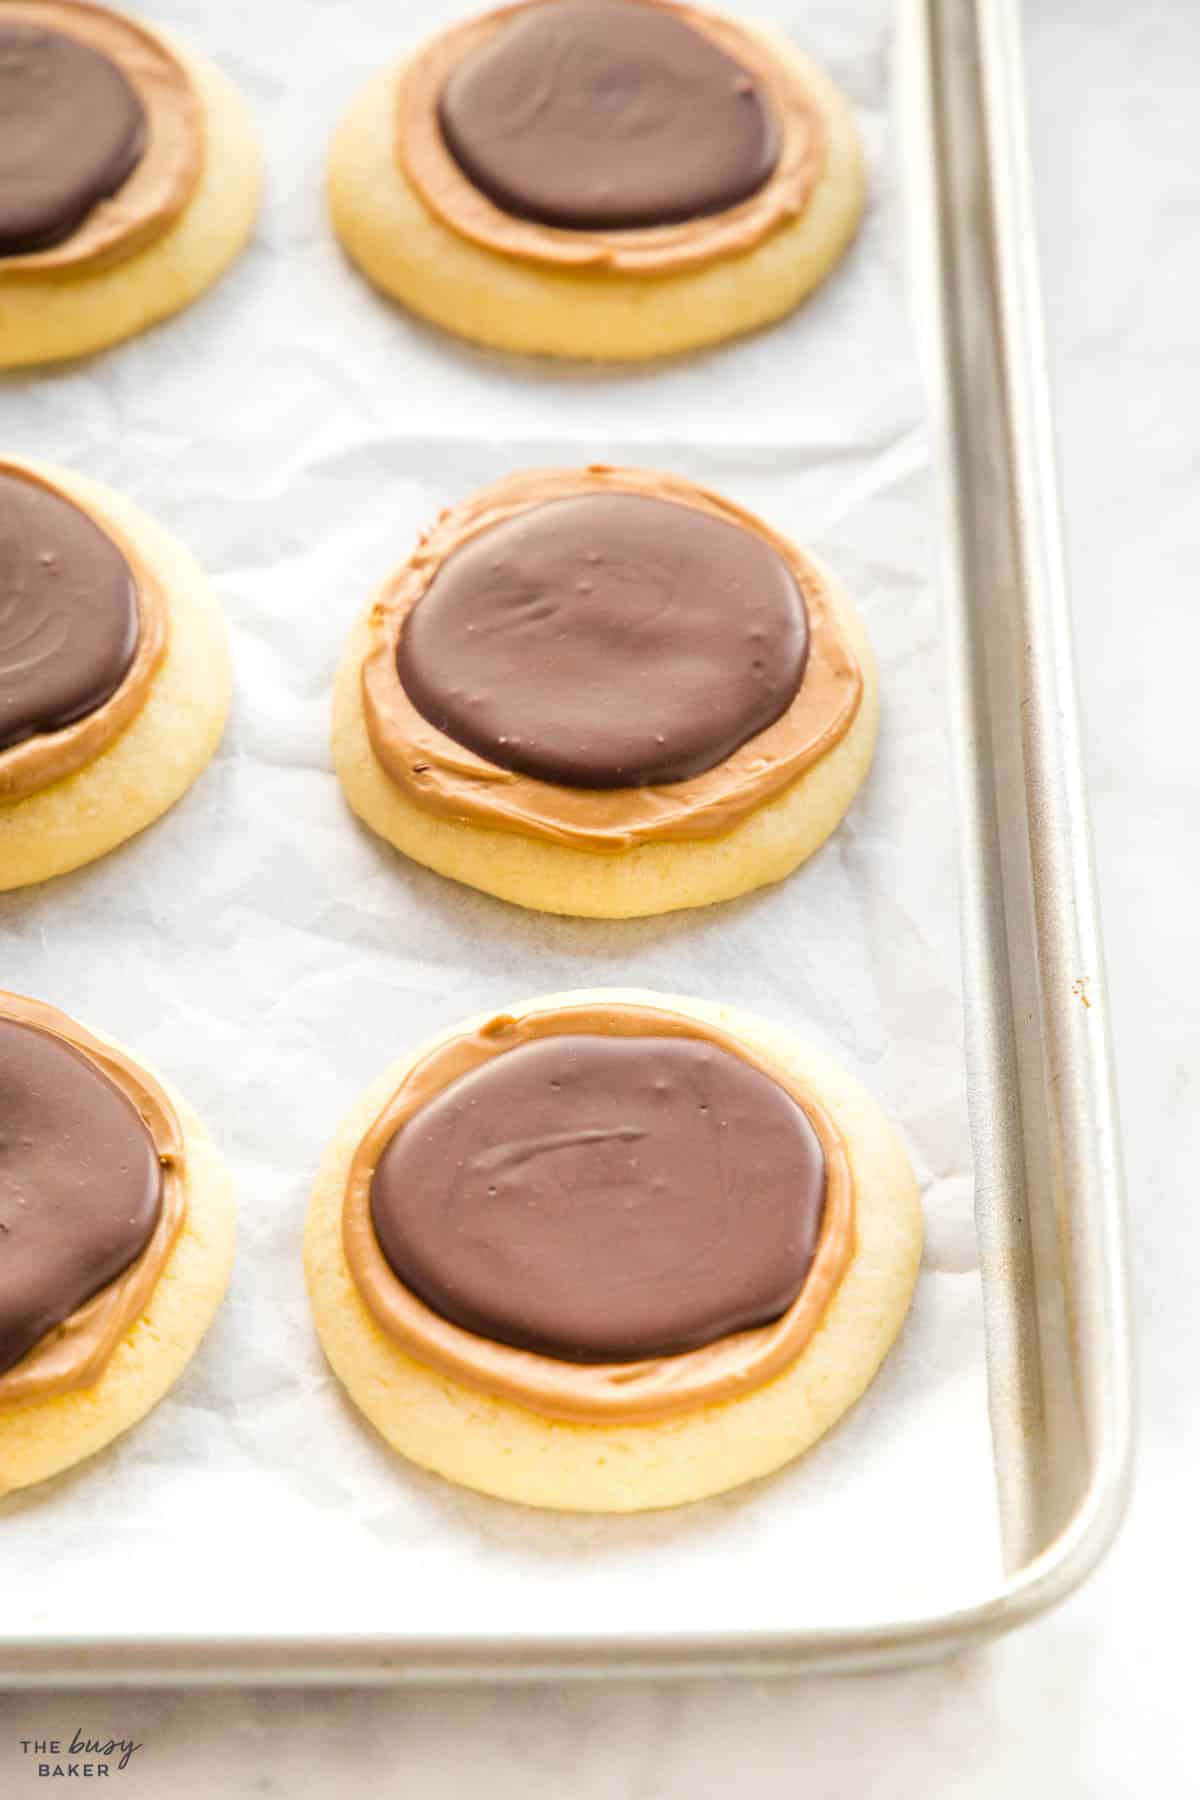
Here are all our best tips and tricks to making this Twix Cookie recipe:
The secret to the perfect soft and chewy cookies lies in the quality and temperature of the ingredients. Go for the good stuff – high quality butter that’s COOL, not warm (and not cold from the fridge) and pure vanilla extract. Be sure to leave your eggs out at room temperature for about 20-30 minutes before mixing up the dough and don’t skip sifting the dry ingredients – this will prevent lumps in the cookie dough and create a delectably soft and cakey texture.
Nobody wants a super flat cookie or one that’s dry and hard – it’s all about that soft, chewy middle and cookies that spread just the right amount. The leavening agents are crucial here. Make sure your baking powder is fresh because it’s what causes the cookies to puff up in the oven. Also, don’t over-beat the dough; just mix until the ingredients are combined. Overworking the dough activates the gluten, leading to cookies that look and feel more like hockey pucks.
To refrigerate or not? THAT is the ultimate baking question. If you’re asking yourself whether or not your dough is too soft, it might be. To make cookies with the perfect texture, use cool butter, not butter that’s too warm or too cold. If you’re unsure, refrigerate the dough until solid and then let it relax at room temperature for about 20-30 minutes before rolling. The key here is that the dough should be chilled enough that you should be able to roll them without the dough sticking to your hands, but the dough should also be relaxed enough that the cookies spread just the right amount when baking.
We recommend making these Twix Cookies with a jar of caramel spread (paid link) that’s easy to find at most grocery stores. Caramel spread is ideal because it’s spreadable at room temperature and it allows you to skip a step of melting caramel candies in the microwave, spreading the hot melted caramel, and allowing it to set. If you can’t find caramel spread, a jar of dulce de leche (paid link) works in a pinch and gives a delicious, caramel flavour.
A Twix bar isn’t a Twix bar without milk chocolate so don’t be tempted to use dark or semi-sweet chocolate in this recipe! When baking anything that requires melting chocolate, we always recommend using baking chocolate or couverture chocolate that’s designed for melting. This kind of chocolate can easily be found in the baking aisle at your local grocery store and it will melt and spread much more smoothly than just any old bar of chocolate. Chocolate meant for baking also sets well at room temperature, making it perfect for cookies like this!
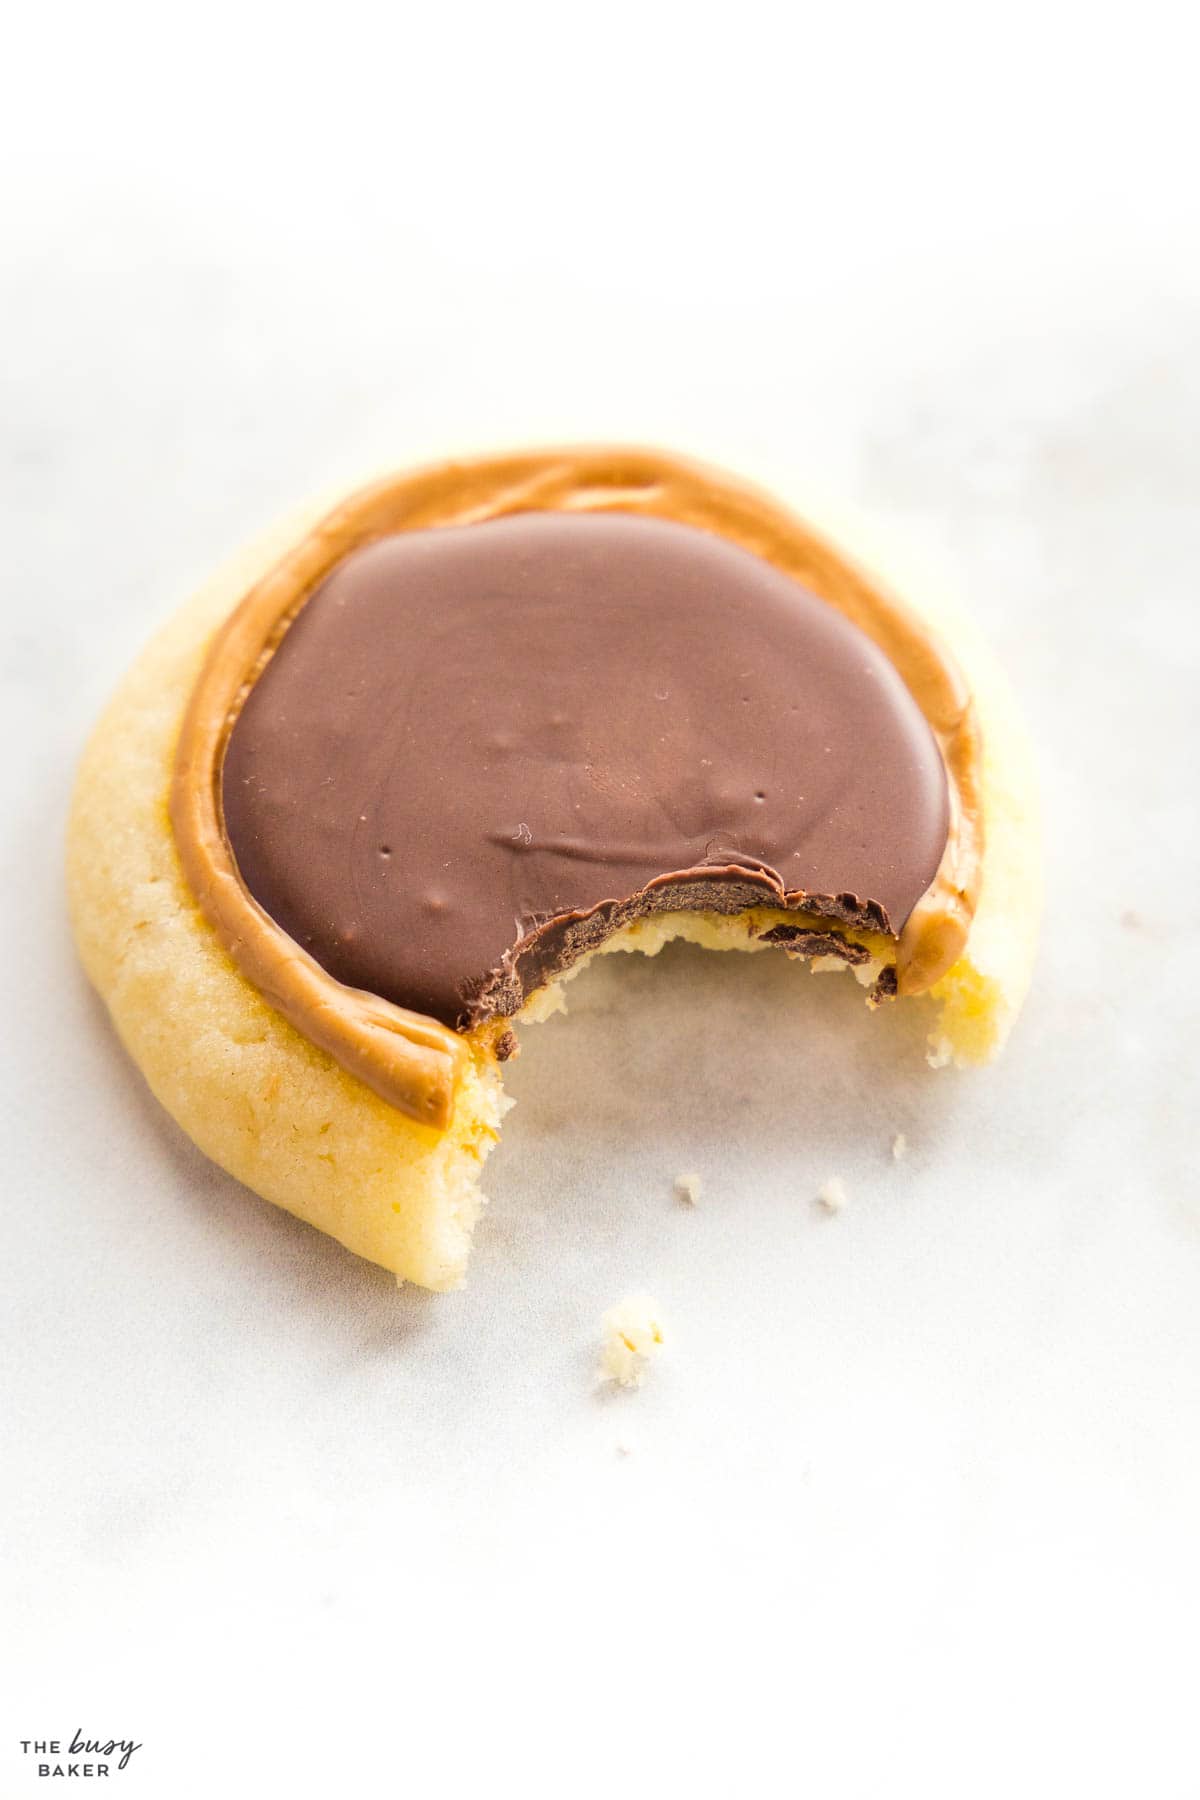
When it comes to baking the perfect cookies, the question of baking soda or baking powder is a matter of baking science!
- Baking soda promotes browning. The best butter cookies are very blond and don’t brown on the edges at all. This is part of what makes them so soft and chewy. Baking powder adds lift and air into the cookie dough while it bakes but doesn’t cause the cookies to brown like baking soda does.
- Baking soda makes cookies spread more. This is because when dough contains baking soda it sets more slowly than doughs that don’t contain baking soda. This causes cookies to spread and flatten more than cookies made with baking powder.
- Baking soda makes cookies more firm and chewy. This is because it doesn’t cause baked goods to rise as much as baking powder does. Denser, more chewy cookie recipes call for baking soda and cookie recipes that are more soft and cakey call for baking powder. Some recipes call for both to create the perfect texture. This is why following the recipe is so important.
- Baking powder adds an airy, light texture. Most baking powders are double-acting, which means they provide lift and air to the cookie dough when they come into contact with liquid (ex: the butter mixture) AND when they come into contact with heat. This creates cookies that are lighter and fluffier.
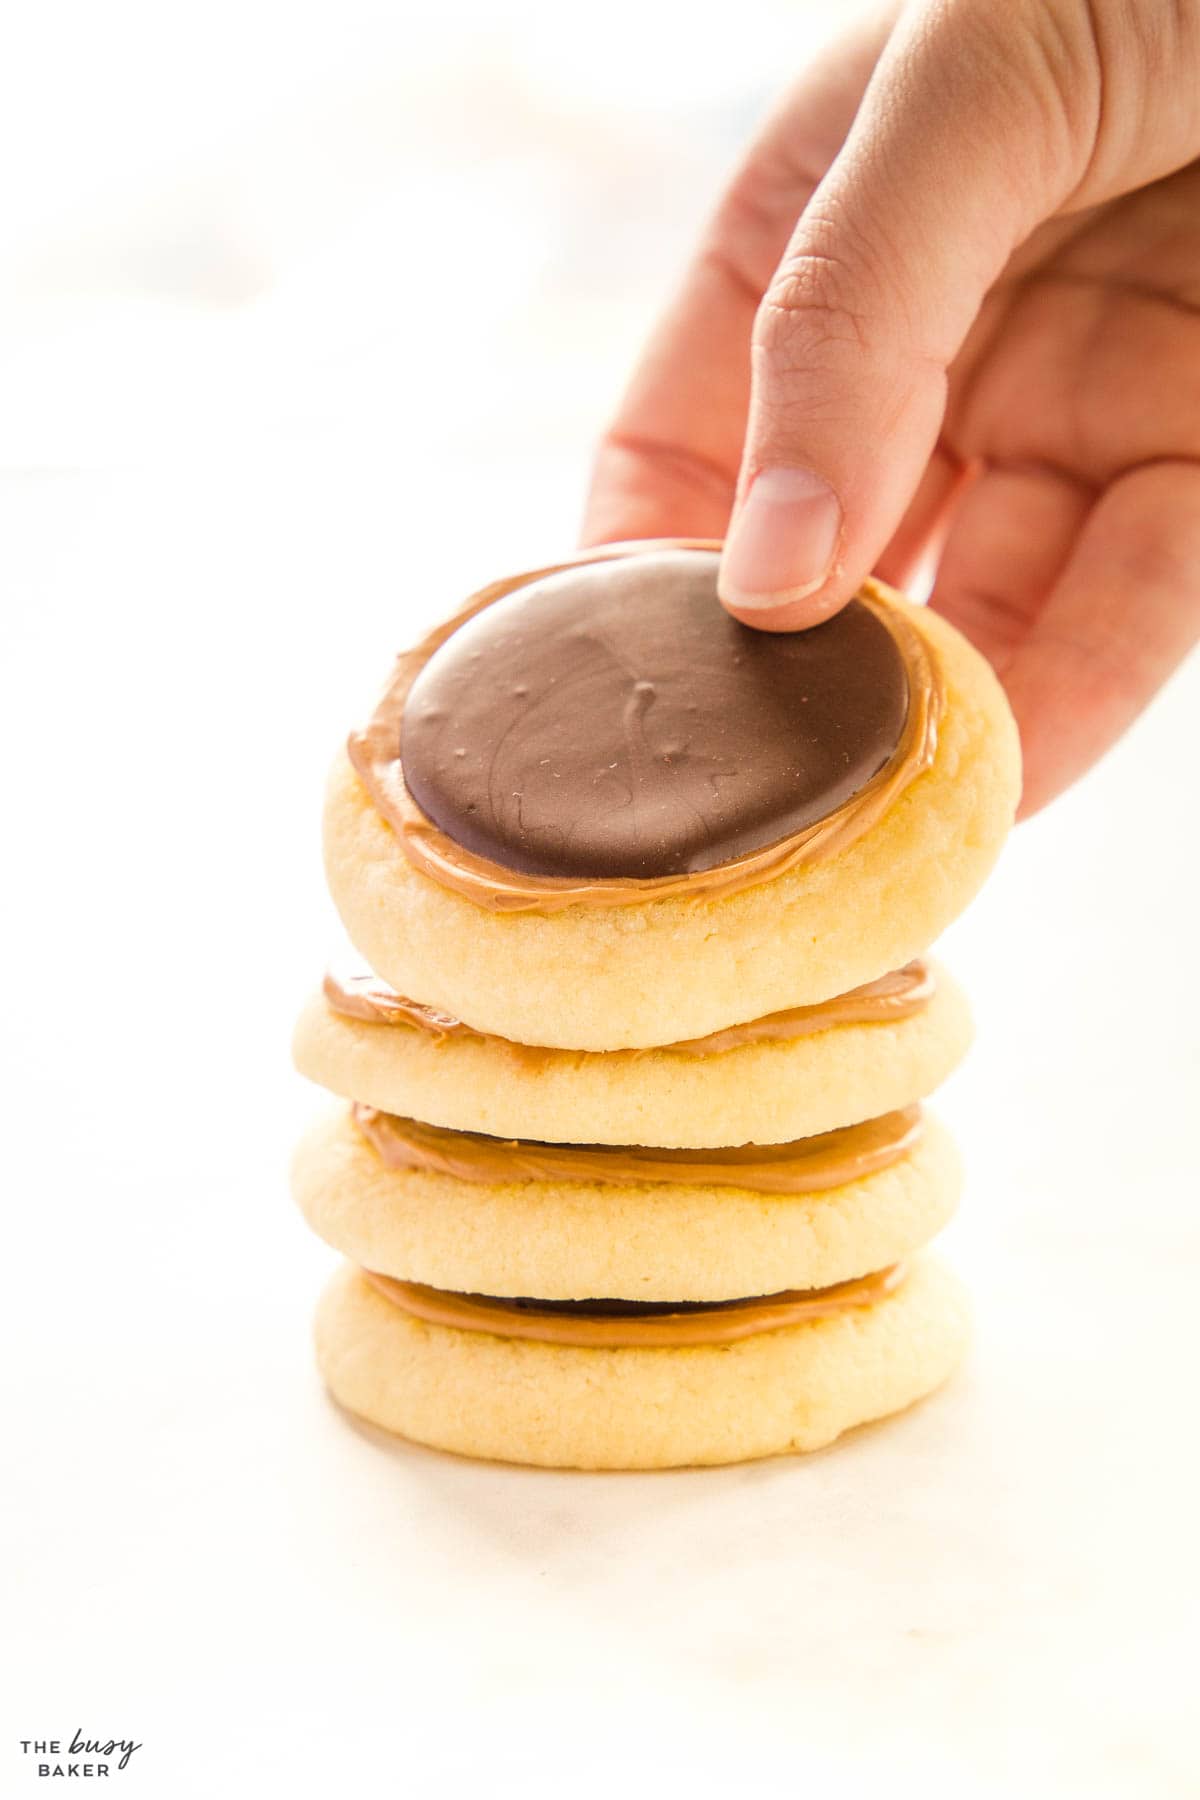
Even the best bakers hit a few bumps along the road, especially when it comes to baking cookies like these! If you find yourself in a cookie recipe conundrum when making this Twix Cookie recipe, here’s how to troubleshoot:
If your cookies are spreading out and flattening, your kitchen might be a tad too warm or the butter you used was too warm, making the dough too soft. If this happens, stick your dough in the fridge and chill it for 2 hours. Then remove the dough from the fridge, let rest for 20-30 minutes and try again. This should help them spread perfectly.
If your cookies look like high mounds on your baking sheet, it’s probably because the butter you used was too cold or you added a little too much flour to the dough. To fix this, after you roll the balls of dough with your hands, press them down slightly to flatten them a little bit before baking. Be sure they don’t crack around the edges as you do this. If they do, smooth out the edges with your hands.
Dough too sticky? Refrigerate it. Refrigerating the dough causes it to become easier to roll and less sticky. It will be firm enough to roll but still a bit tacky. If it’s too dry and crumbly, it could be that the measurements were off or the ingredients weren’t mixed thoroughly.
The 2 biggest cookie-baking mistakes home bakers make when making a homemade cookie recipe is using butter that’s either too cold (hard) or too warm (soft), and mis-measuring the ingredients. Both these errors have a BIG impact on the dough consistency and the end result.
If you’re having issues with your caramel being too thick and not easily spreadable, it can make a huge mess of your beautiful cookies. We recommend warming up the caramel a little bit in the microwave so it’s spreadable, and then letting the caramel set on the cookies either at room temperature or in the fridge until it’s solid enough to spread the melted chocolate on top.
We always recommend melting chocolate in the microwave at 50% power for 30-second increments, stirring between each increment. If your chocolate seizes up, becoming hard or grainy when you’re melting it, it’s likely because it’s burning and you’ve over-heated it. Unfortunately, there’s no fixing burnt chocolate so you’ll have to start again.
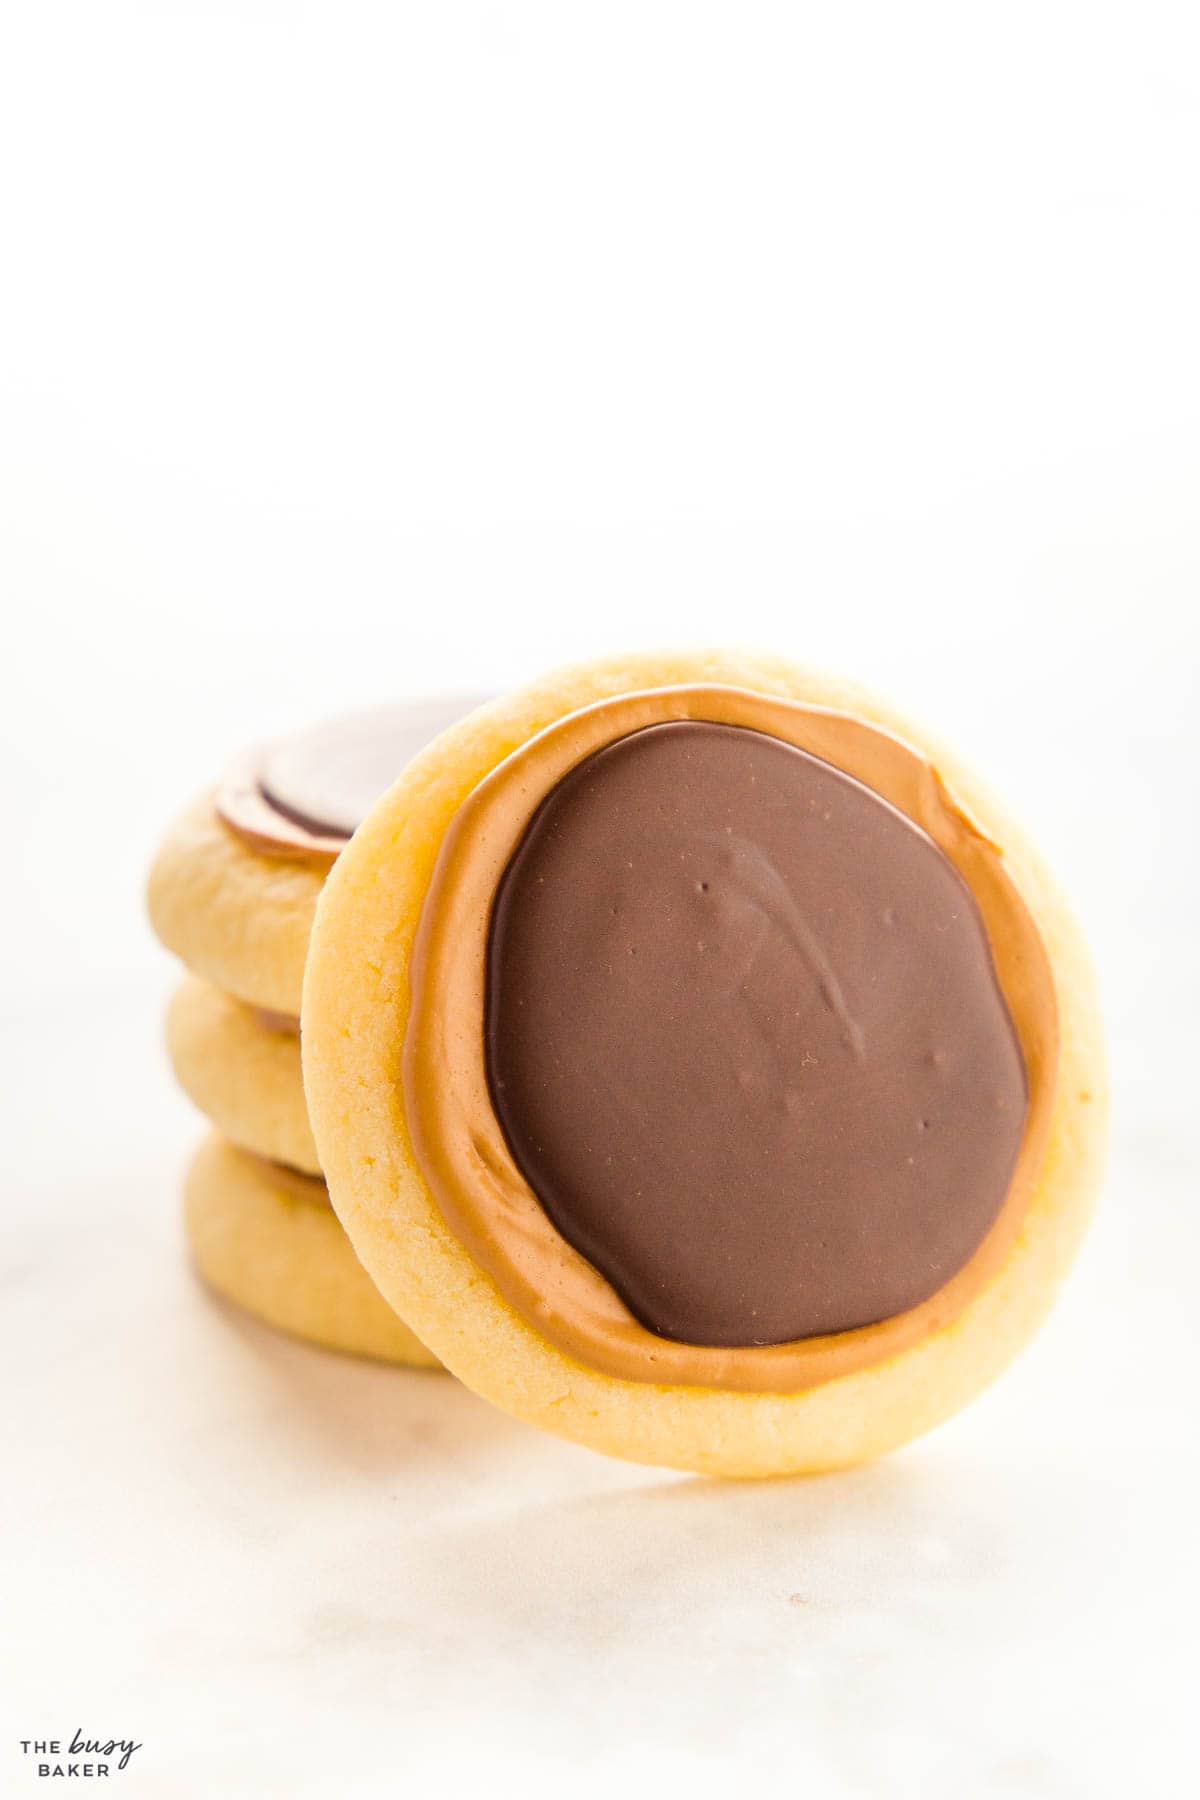
Here’s what you’ll need to make this Twix Cookie Recipe (paid links):
- Baking Sheets
- Parchment paper
- a Cookie scoop
- a silicone turner
- a set of cooling racks
- a silicone spatula
- a set of measuring cups and spoons
- microwave safe bowls
- a stand mixer OR a hand mixer and some mixing bowls
To make this Twix Cookie recipe, you’ll need the following ingredients (paid links):
FOR THE COOKIES:
- 2/3 cup unsalted butter at cool room temperature
- 3/4 cup granulated sugar
- 1 egg
- 1 teaspoon vanilla extract
- 1 3/4 cups all purpose flour
- 1 teaspoon baking powder
- 1/4 teaspoon salt
FOR THE TOPPING:
- 2/3 cup caramel spread or use 30 soft caramel candies
- 6 ounces milk chocolate melted
Take this Twix Cookie recipe to the next level with one of these fun variations on the original!
- Peanut Butter: Inspired by the Peanut Butter Twix, mix the caramel spread with some peanut butter and top with a layer of milk chocolate.
- Dark Chocolate: A nod to the Dark Chocolate Twix, use a rich dark chocolate for the topping instead of milk chocolate.
- White Chocolate: For fans of the White Chocolate Twix, swap the milk chocolate topping with white chocolate. This variation offers a sweeter, creamier twist on the original.
- Salted Caramel: Emphasizing the popular trend of salted caramel, add a sprinkle of flaky sea salt over the caramel layer before adding the chocolate topping.
- Espresso Twix Cookies: For a coffee twist, mix espresso powder into the shortbread cookie dough, creating a rich, coffee-flavoured base that complements the traditional caramel and chocolate layers.
- Orange Chocolate Twix Cookies: Infuse the caramel layer with some orange zest and top with a chocolate-orange flavoured chocolate.
Time needed: 45 minutes
Follow these steps to make this Twix Cookie recipe to perfection!
- Prepare your pans.
Line your baking pans with parchment paper and be sure to preheat your oven to 350 degrees Fahrenheit.
- Cream your butter and sugar.
Cream the butter and sugar for a few minutes until pale in colour, then mix in the egg and vanilla.
- Sift your dry ingredients.
Sift the dry ingredients to remove any lumps. This will help your cookies to be ultra soft and cakey. Mix the dry ingredients into the butter mixture just until blended.
- Roll and shape the cookies.
Use a cookie scoop to portion the cookies and roll them into balls, placing them on the baking sheet. Press down the cookies slightly with the palm of your hand or something flat.
- Bake to perfection.
Don’t over-bake – the cookies should be soft and not at all golden around the edges. They’re done baking when they lose their shine on top.
- Let the cookies cool completely.
Be sure the cookies are completely cool before you try to add the caramel and chocolate. It’s best to let them cool on the baking pan for as long as possible before moving them to a cooling rack to cool completely.
- Add the caramel.
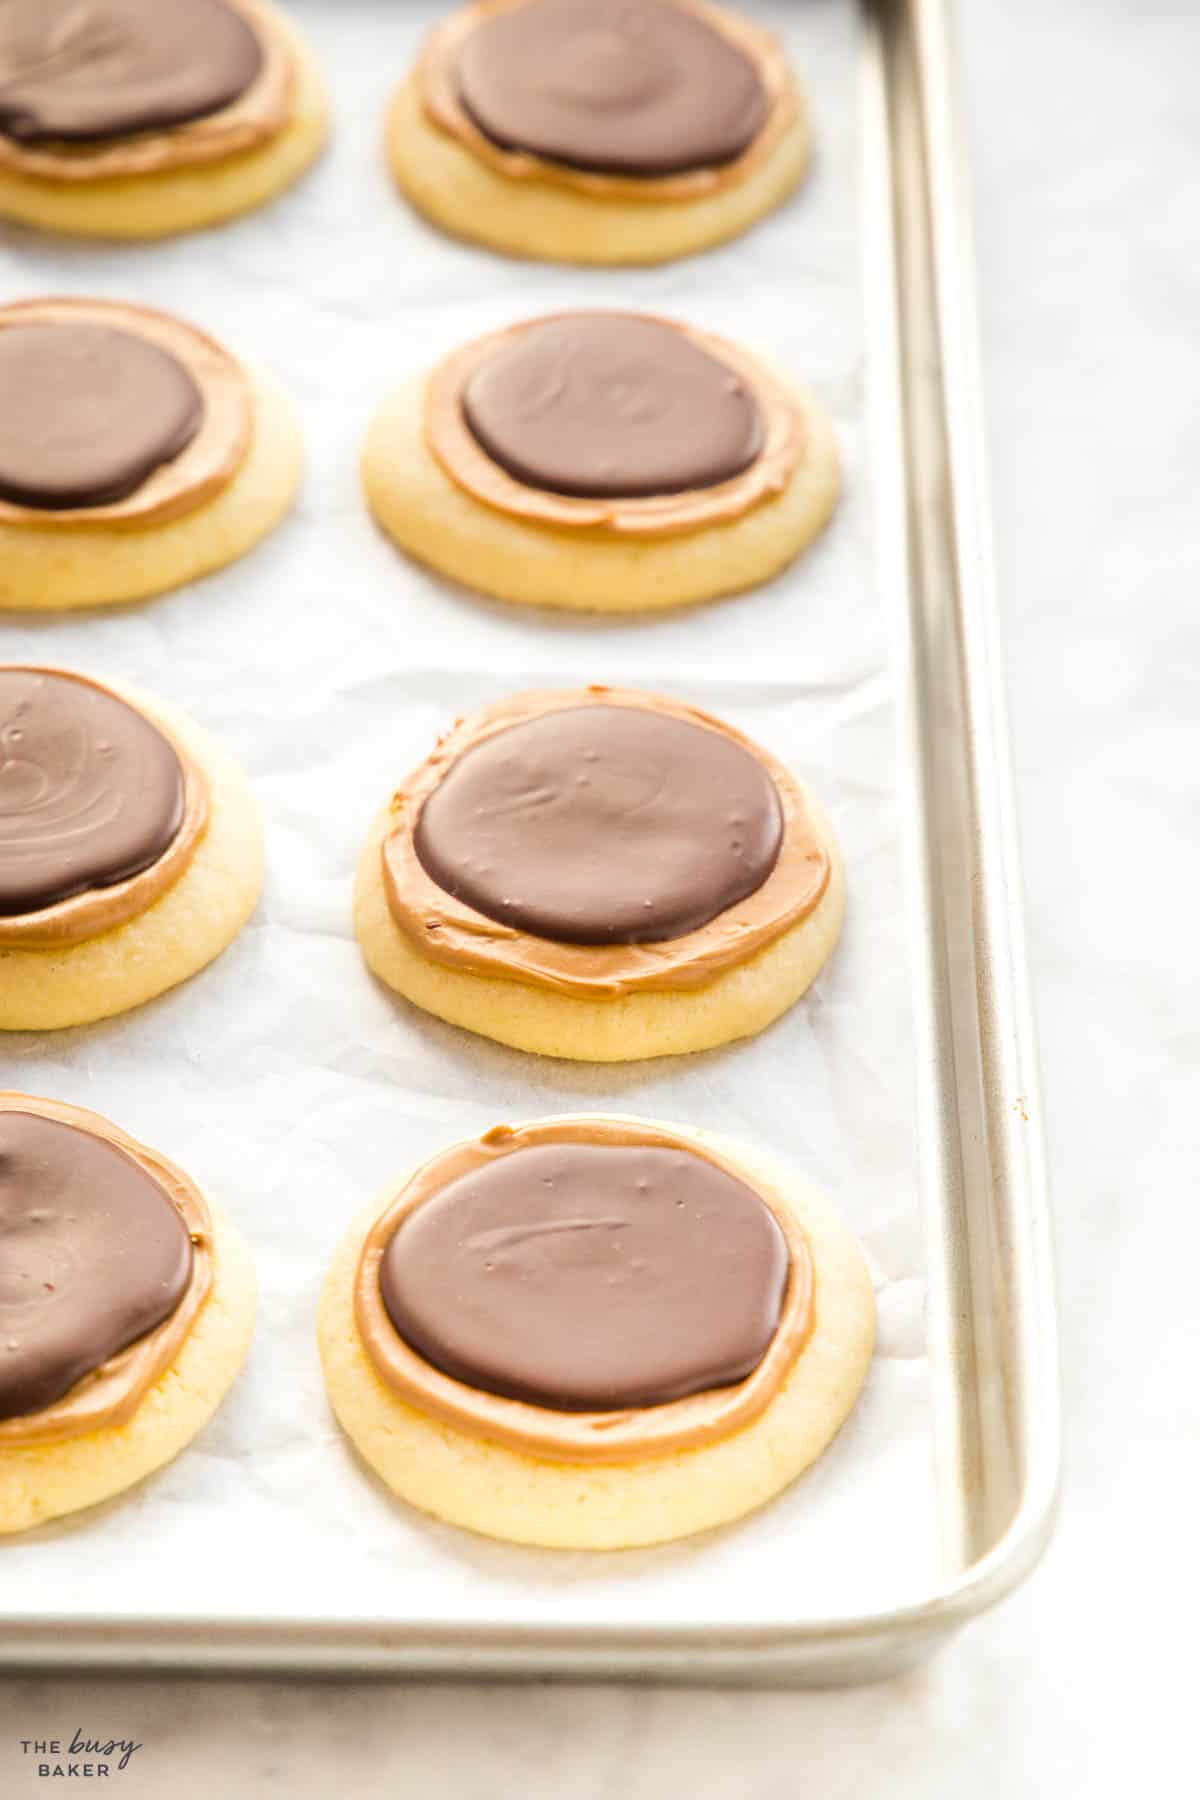
Spread about 3/4 to 1 teaspoon on top of each cooled cookie. Leave a small margin around the edge so the cookie is visible beneath the caramel.
- Melt and add the chocolate.
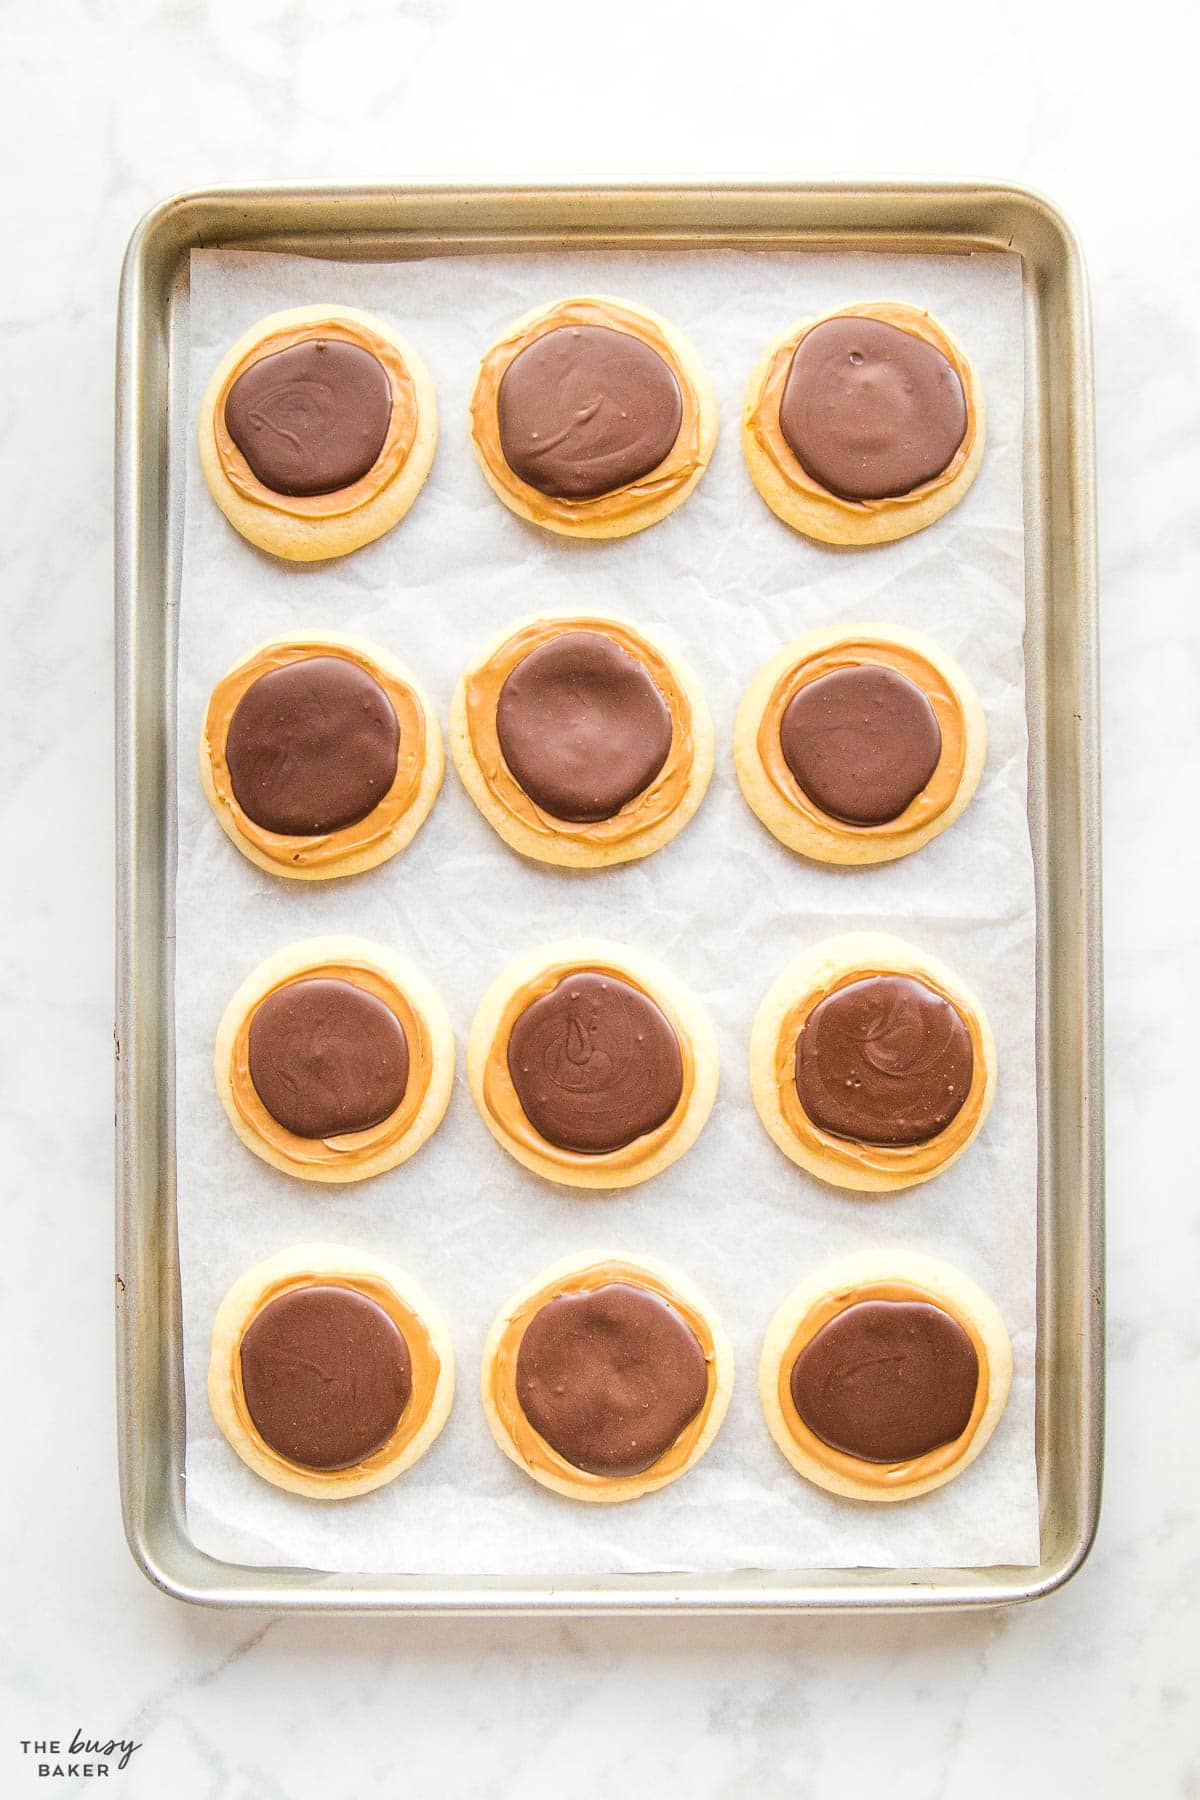
Add the chocolate to a microwave-safe bowl and microwave the chocolate on 50% power for 30-second increments until melted, making sure to stir every 30 seconds or so. Once the chocolate is melted, spread about 3/4 to 1 teaspoon of melted chocolate on top of the caramel on each cookie leaving another margin around the edge so both the cookie and the caramel are visible.
- Let the chocolate set.
Allow the chocolate to harden before serving.
How do I know when Twix Cookies are done baking?
The cookies are done when they lose their shine on top. If the edges are golden, they’re over-baked. They may still seem soft in the centre, but they will harden as they cool.
Chilling the cookie dough is recommended in many recipes because it helps prevent the cookies from spreading too much and losing their shape during baking. However, if you use butter that’s cool (not warm or cold), the cookie dough will be the right consistency without chilling.
What’s the best way to store Twix Cookies?
Store Twix cookies in an airtight container at room temperature to keep them fresh. They can last up to a week if stored properly.
Can I use salted caramel topping from a jar?
Caramel sauce or topping that’s meant for ice cream or other desserts is far to runny to use in this Twix Cookie recipe. It’s important to use caramel spread or even dulce de leche that’s thick enough to spread and not run off the cookies.
Do Twix Cookies need to be refrigerated?
They don’t need to be stored in the fridge, but it might be a good idea to chill the cookies after you add the caramel to help it firm up before adding the chocolate.
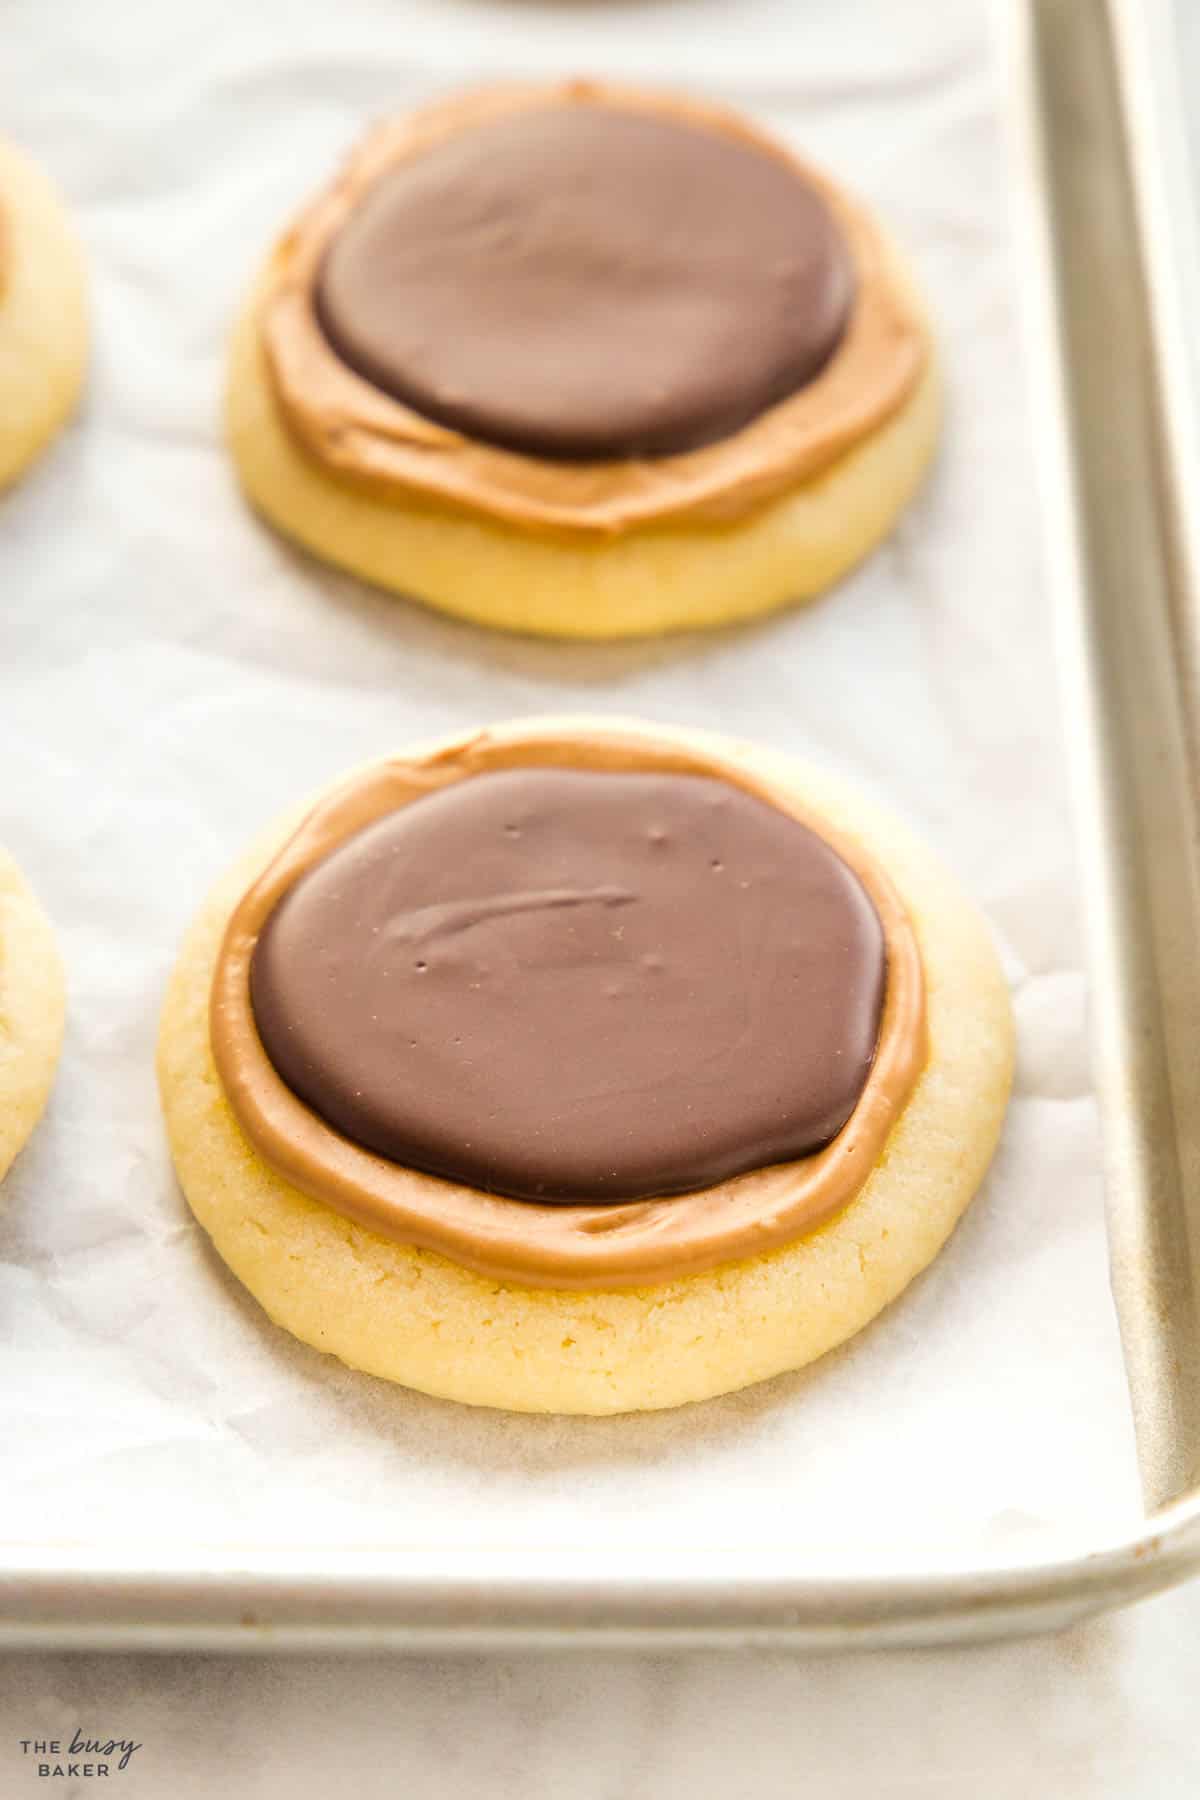
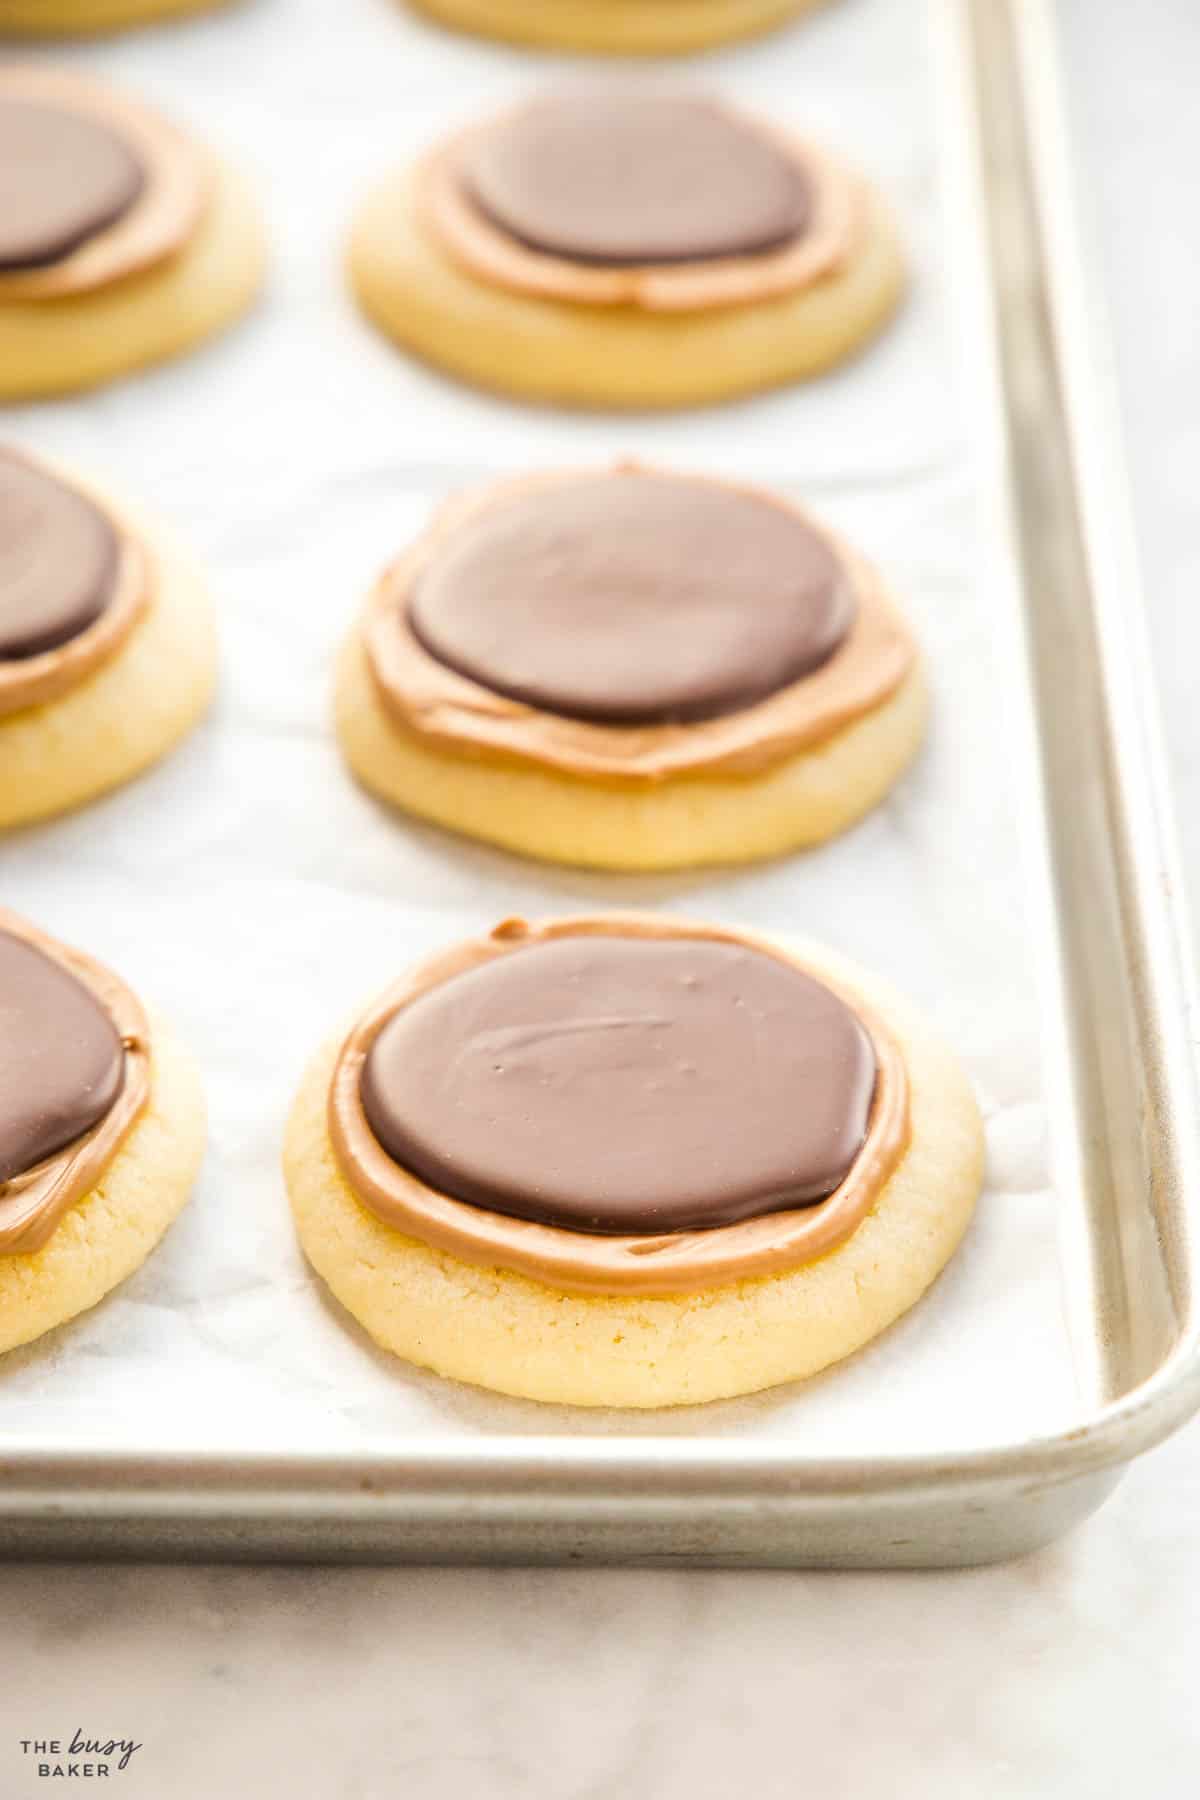
We hope you love this delicious Twix Cookie recipe as much as we do! Let us know in the comments below, what’s your favourite candy bar flavour? We’d love to know!
If you made this, share a photo!
Are you trying this recipe? Use the comment form below to share your take; now with support for image uploads and comment voting!
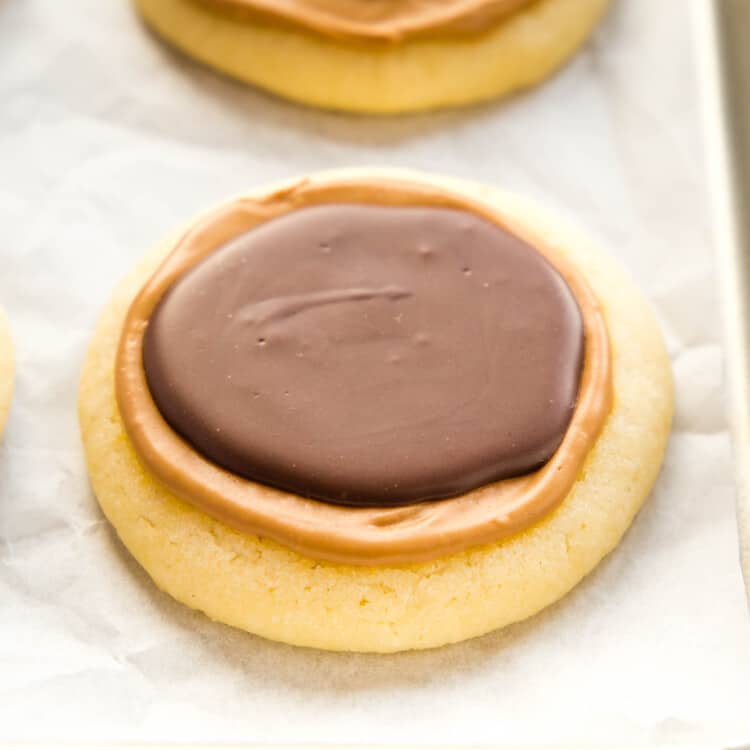
Twix Cookies
Recipe: Equipment
Recipe: Ingredients
For the cookies:
- 2/3 cup unsalted butter at cool room temperature
- 3/4 cup granulated sugar
- 1 egg
- 1 teaspoon vanilla extract
- 1 3/4 cups all purpose flour
- 1 teaspoon baking powder
- 1/4 teaspoon salt
For the Topping:
- 2/3 cup caramel spread or use 30 soft caramel candies
- 6 ounces milk chocolate melted
Recipe: Instructions
For the Cookies:
- Preheat your oven to 350 degrees Fahrenheit and prepare baking sheets by lining with parchment paper. Set aside.
- In a medium bowl, sift the flour, baking powder and salt together through a sifter or sieve at least twice. This will ensure ultra fluffy cookies.
- Using a stand mixer or hand mixer, beat the butter on high speed until it’s light and fluffy and very creamy.
- Beat the sugar into the butter until the mixture is creamy.
- Add the vanilla and egg, mixing just until combined.
- With the mixer running on low speed, add the flour mixture slowly, mixing as you go. Stop mixing when no streaks of flour remain (don't forget to scrape down the bowl to ensure everything is incorporated!).
- Using a 1-tablespoon sized cookie scoop or your hands, scoop out approximately tablespoon-sized amounts of dough and roll them into balls, placing them spaced out on the prepared baking sheets.
- Flatten the dough balls down slightly with the palm of your hand or a flat-bottomed drinking glass or measuring cup.
- Bake at 350 degrees Fahrenheit for about 9-10 minutes or until the cookies just lose their shine on top.
- Let the cookies cool on the pans until they’re firm enough to move to cooling racks to cool completely.
For the Topping:
- Once the cookies have cooled, spread each one with about 1 teaspoon of the caramel spread.
- Let the caramel spread set in the fridge for a few minutes if necessary.
- Add the chocolate to a microwave-safe bowl and melt it on 50% powder in the microwave 30 seconds at a time, stirring after every 30 seconds.
- Spread about 3/4 to one teaspoon of melted chocolate over the caramel on each cookie, leaving a small margin of caramel visible.
- Let the chocolate set at room temperature or in the fridge before serving.
Recipe: Notes
Storage Instructions
These cookies keep well in an airtight container for about 3-5 days at room temperature. The chocolate and caramel might transfer, so it’s best to store them in a single layer or with parchment paper between them.Freezer Instructions
We recommend freezing these cookies with a sheet of parchment paper between the layers to prevent them from sticking. These cookies freeze well in an airtight container for up to 3 months.Recipe: Nutrition
Notice: Nutrition is auto-calculated, using Spoonacular, for your convenience. Where relevant, we recommend using your own nutrition calculations.

