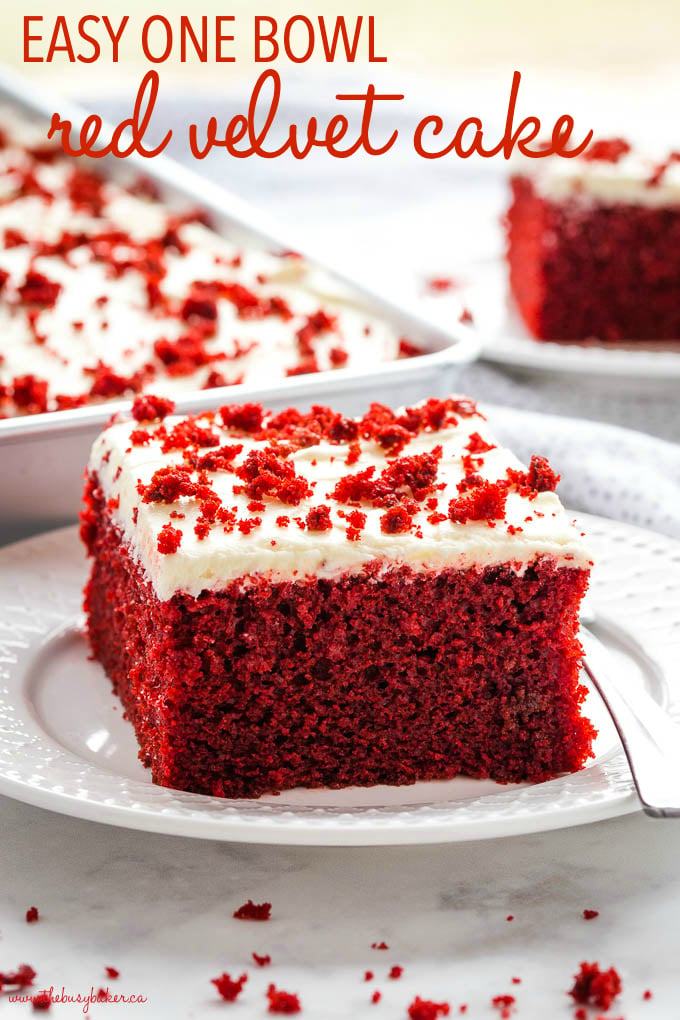
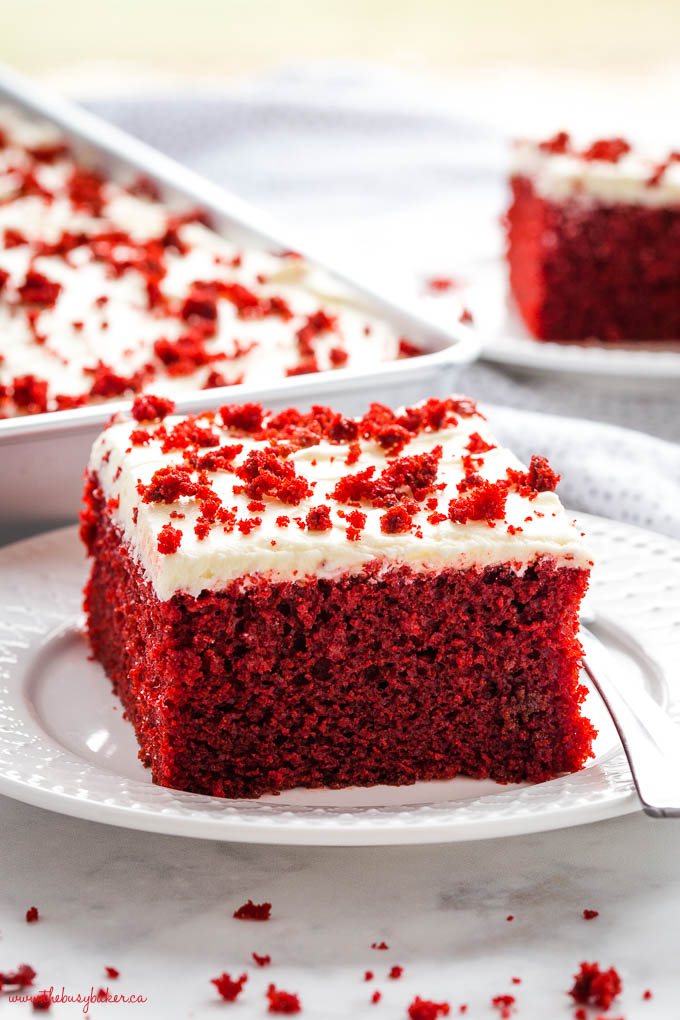
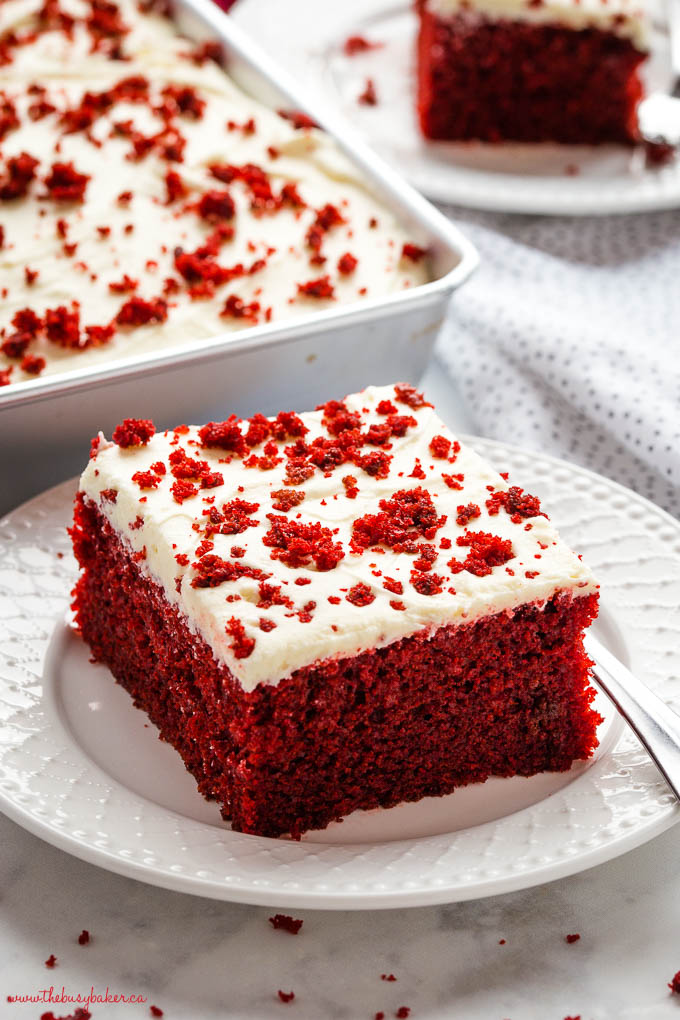
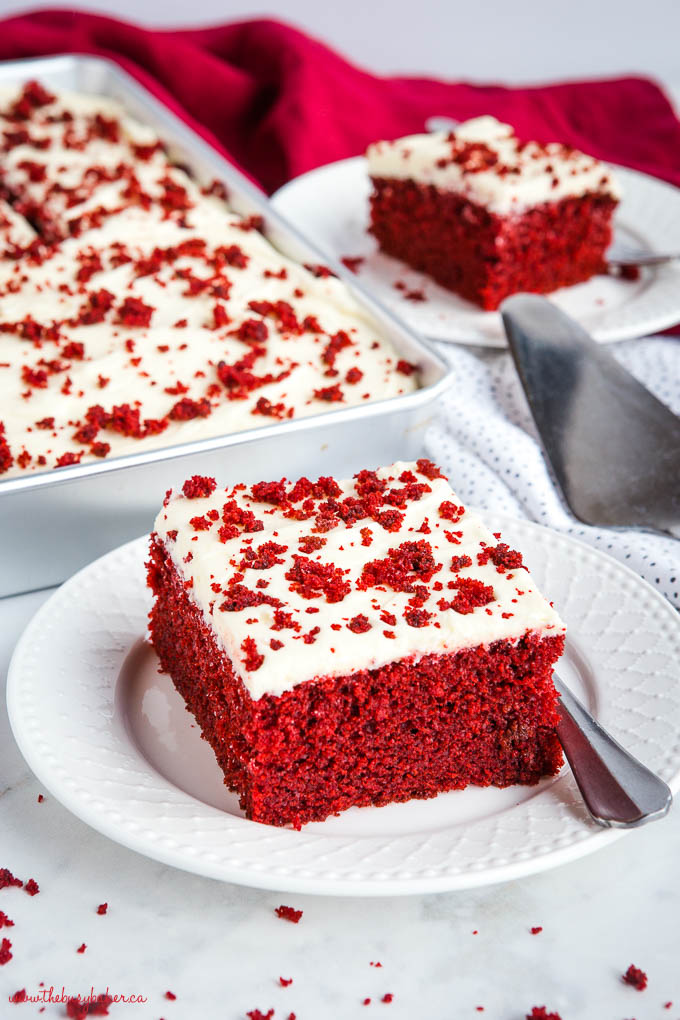
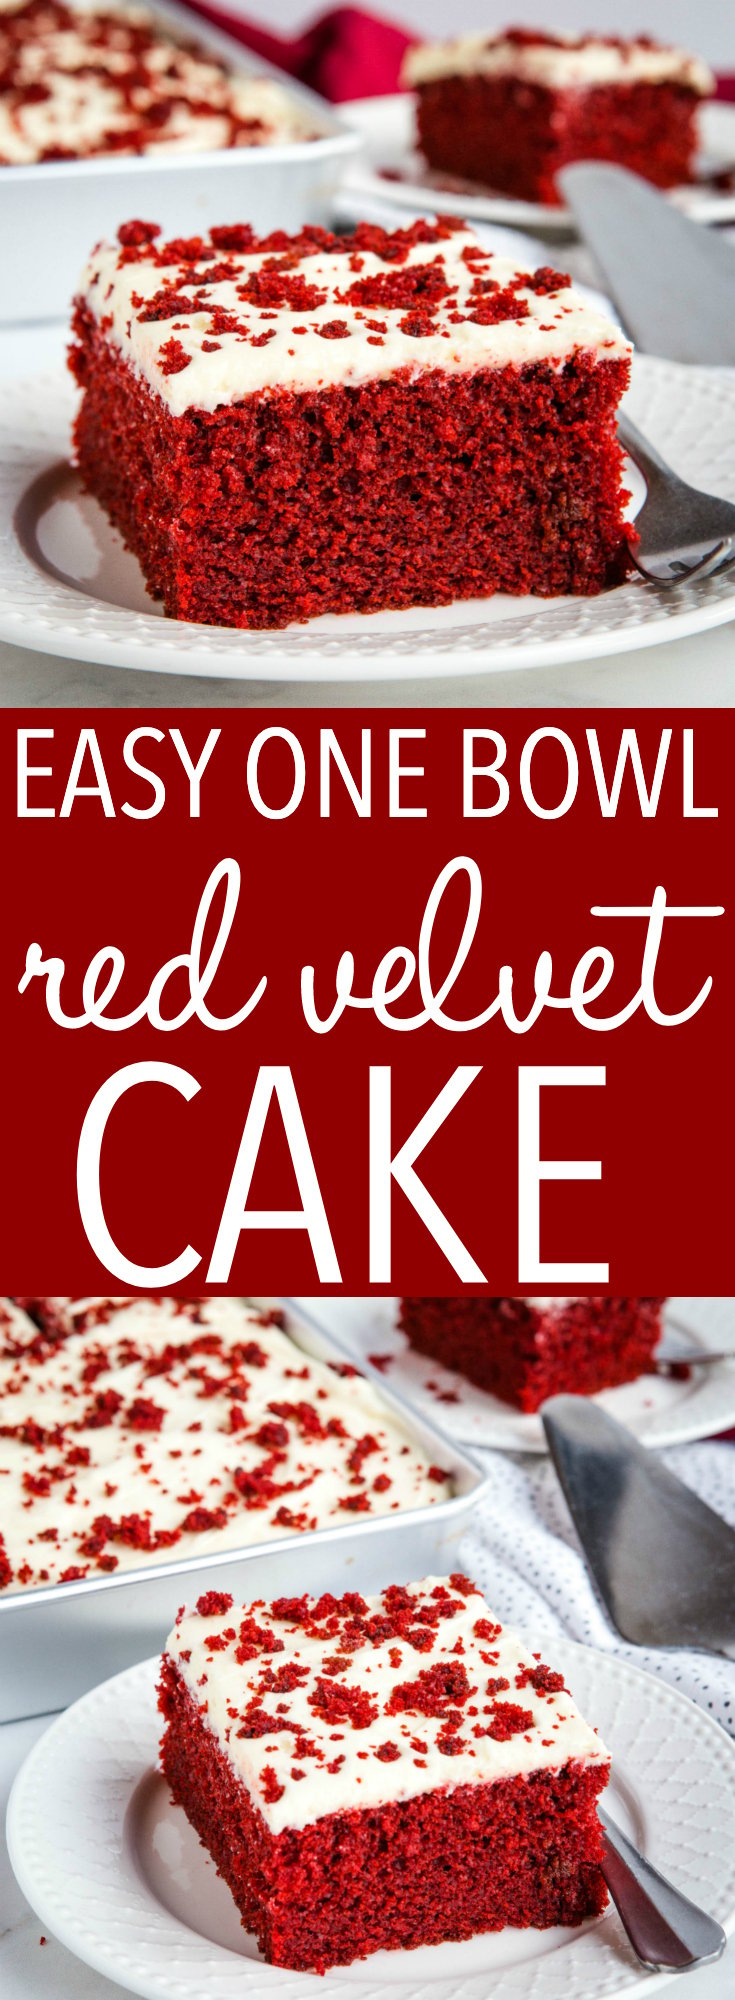
This Best Red Velvet Cake recipe is moist and delicious, bright red and chocolatey, with fluffy cream cheese buttercream frosting on top. Make this easy recipe in ONE bowl!
Estimated reading time: 9 minutes
It’s almost Valentine’s Day and this easy red velvet cake is our go-to Valentines Day recipe! There’s nothing quite like a slice of cake that’s ultra delicious, ultra moist and tender, with just the right amount of sweet. It’s everybody’s favourite red velvet recipe, but it’s made in ONE BOWL! As a result, it’s really easy for beginners to make.
If you need a cookie Valentine’s treat, try our Soft and Chewy Valentines Day Sugar Cookies or these Soft and Chewy Red Velvet Sugar Cookies!
Here’s a list of all our best cake-baking tips and tricks you need to make the BEST cake!
Make sure your milk and eggs are at room temperature. This will create a smooth cake batter and help the ingredients combine properly.
The best way to measure flour is in grams, but if you’re using cup measurements, be sure to fluff the flour in its bag or container before scooping VERY gently (don’t pack the flour into the measuring cup at all), then level it off with the back of a knife or other flat object.
Do not over-mix, especially after adding the flour. Over-mixing can create a dry, tough cake because it reduces the number of air bubbles present in the batter which give the cake its lift as it bakes.
This can create something called tunnelling where long, thin air bubbles appear in the baked cake. This is caused by vigorous mixing that strengthens the gluten strands in the cake batter too much. Instead, mix on low to medium speed just until the ingredients combine.
Always grease your cake pans generously with butter and dust the inside with cocoa powder or flour on all sides (use flour if you’re making a white cake and cocoa powder for a chocolate one). This will prevent the cake from sticking to the pan. We suggest using spring-form pans for baking round cakes for even easier removal.
Don’t let an unbaked cake sit out on the counter. Always preheat your oven first and bake the cake immediately after adding the batter to the pans. This will help the cake rise properly in the oven as the leavening agent in the cake batter is activated as soon as the wet and dry ingredients are combined.
Don’t place the pan too close to one side of the oven as this can cause it to brown unevenly. Add the pan to the centre of the oven so it bakes evenly.
Avoid opening the oven during baking unless it’s absolutely necessary to rotate the cake while baking (if your oven is small or has a hot spot). Opening the oven door at the end of the baking time is okay, especially because testing the cake with a toothpick is necessary to prevent over-baking.
Over-baked cakes are dry and crumbly. Be sure to remove them from the oven as soon as a toothpick inserted into the top of the cake comes out clean.
Under-baked cakes are partly baked but gummy on top and in the centre. Test the cake with a toothpick to be sure the cake is baked completely.
Don’t try to frost a cake that’s still warm, especially if you’re using a butter-based frosting as the butter will melt and you’ll be left with a mess. Wait for the cakes to cool completely, then frost.
If necessary, level the cake. Use a large serrated knife (like a bread knife) to cut any domed top off the cake before assembling and frosting.
Place the cake in the fridge once you’ve finished frosting it so the frosting can firm up. This will make the cake easier to slice and create clean, uniform slices.
You’ll need these items on hand to make this Red Velvet Cake (paid links):
- a Large bowl
- a 9 x 13 pan
- a liquid measuring cup
- measuring cups and spoons
- a whisk
- a hand mixer
- a spatula
- an icing spatula
- wire cooling racks
You will need these ingredients to make this red velvet cake (paid links):
- granulated sugar
- all purpose flour
- unsweetened cocoa powder
- baking powder
- baking soda
- salt
- low fat buttermilk
- vegetable oil
- eggs
- vanilla extract
- white vinegar
- red food colouring paste
- boiling water
- unsalted butter at room temperature
- full fat cream cheese at room temperature
- powdered sugar sifted to remove lumps
- a few drops of vanilla extract
- heavy whipping cream or half and half
It’s a really good idea to use gel or paste food colouring for this recipe instead of liquid food colouring drops. Paste or gel food colouring is more concentrated so you’ll end up needing less food colouring. This is important because adding too much food colouring can affect the taste and texture of the cake.
Our favourite red food colouring for this recipe is Wilton’s No Taste Red Food Colouring Gel (paid link). It creates the gorgeous red colour that Red Velvet Cake is known for and it has no taste, making it perfect for this Red Velvet Cake recipe.
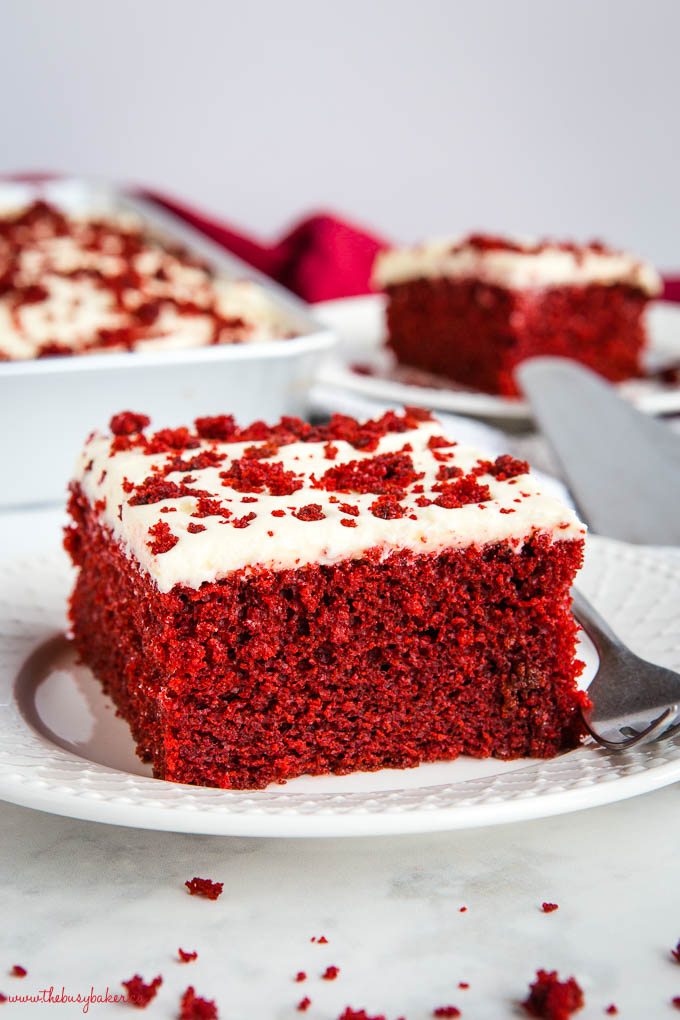
- Chocolate Chip – Fold some semi-sweet chocolate chips into the red velvet batter for some added chocolate flavour.
- Raspberry – Stir freeze dried raspberries into the batter and garnish with fresh raspberries on top of the cream cheese frosting.
- Strawberry – Add freeze dried strawberries to the cake batter and on top of the frosting for a berry twist!
- White chocolate – Drizzle melted white chocolate over the top of the cake or add shaved white chocolate for an even prettier presentation.
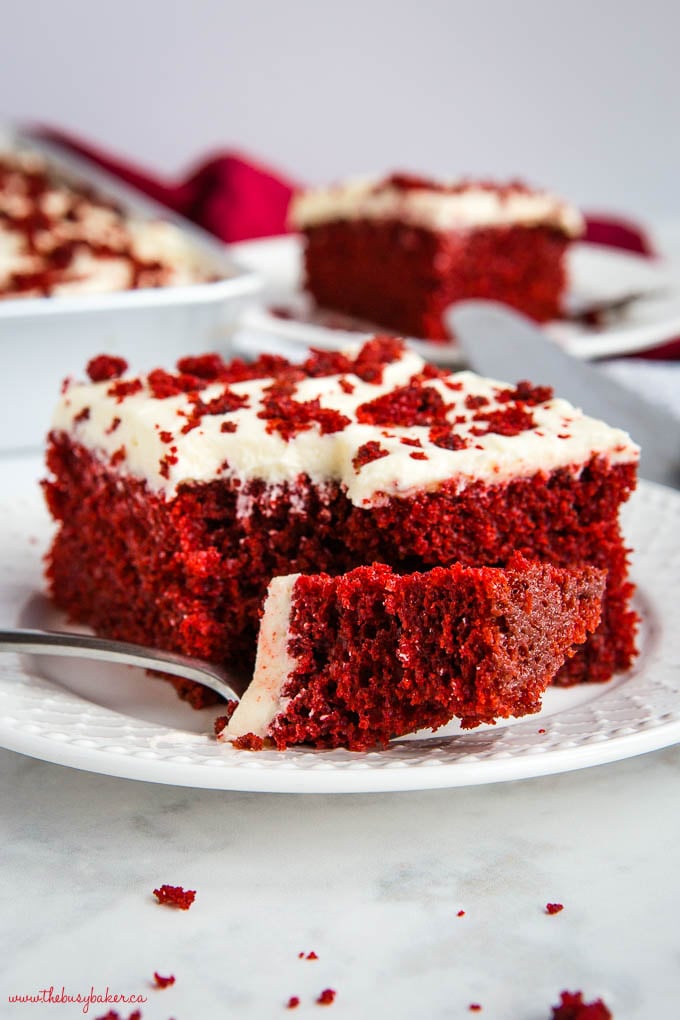
Time needed: 1 hour
Follow these easy steps to make this Red Velvet Cake recipe with frosting.
- Preheat your oven and prepare your pan.
Preheat to 350 degrees Fahrenheit and grease a 9-inch by 13-inch rectangular cake pan with butter, lining the bottom with parchment paper.
- Grab a large bowl.
Combine the sugar, flour, cocoa powder, baking powder, baking soda and salt with a wire whisk.
- Make the milk mixture.
Measure the buttermilk and vegetable oil into a large liquid measuring cup.
- Combine the rest of the wet ingredients.
Add the eggs, vanilla and vinegar to the milk mixture, along with the red food colouring, and whisk all the wet ingredients together with a fork.
- Mix the wet and dry ingredients together.
Add the wet ingredients to the dry ingredients and whisk together just to combine (until no streaks of flour remain and the batter is a smooth, even red colour.
- Whisk constantly.
Slowly add the boiling water, whisking constantly until the batter is smooth and everything is combined.
- Bake the cake.
Pour the batter into the prepared baking pan and bake for about 30-35 minutes or until the toothpick inserted into the middle of the cake comes out clean.
- Let it cool.
Let cool on a wire rack in the pan until cooled completely to room temperature.
- Make the frosting.
Clean out the large bowl and add the butter and powdered sugar, mixing on medium-high speed with an electric mixer until smooth and creamy.
- Add in the cream cheese.
Add the cream cheese and whip until smooth. Add the vanilla and heavy cream.
- Whip the frosting until fluffy.
Whip on high speed until the frosting is pale in colour (almost white) and is nice and fluffy. Add the other tablespoon of heavy cream if needed to achieve a fluffy texture.
- Decorate.
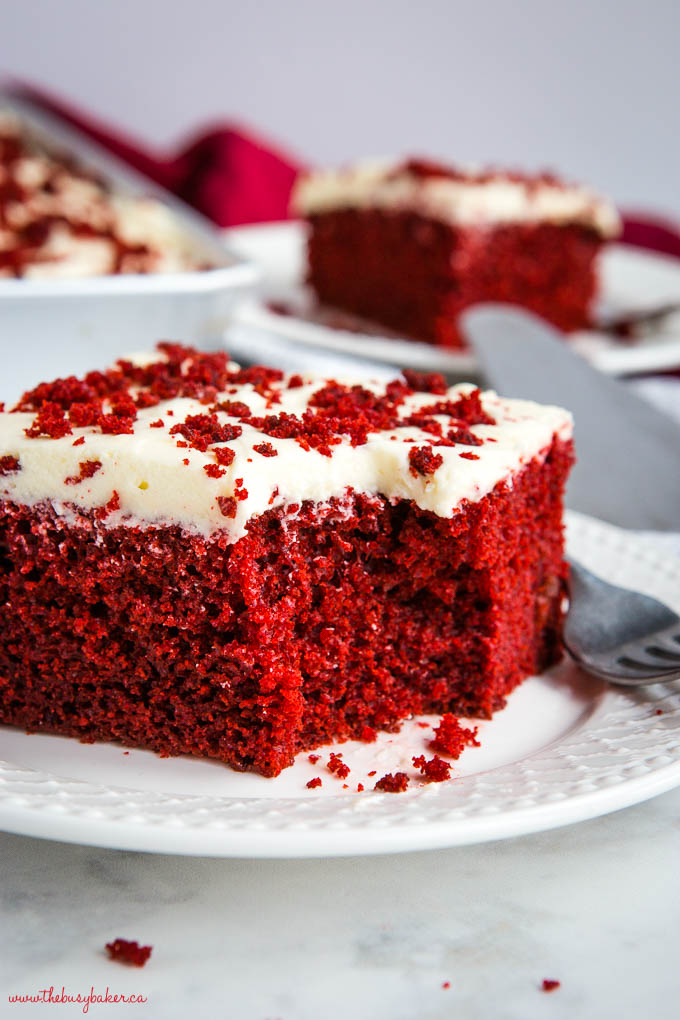
Spread the frosting over the cake and if you’ve levelled off the top of the cake, sprinkle some red cake crumbs over the top of the frosting.
Can the cake be made without food colouring?
If you make it without food colouring it won’t have the classic red colour. A natural alternative would be beet juice or pomegranate, though the colour may vary.
Why is the cake red?
Red food gel is used as well as cocoa powder give the cake a deep red hue.
What is red velvet cake?
Red Velvet Cake is made with cocoa powder to give it a light chocolate taste. It is not the same as a chocolate cake that has a deeper chocolate flavour.
Can I make this red velvet cake ahead of time?
Yes, this cake can be made two days ahead of time. Store the cake in an airtight container in the fridge until ready to serve.
How do I prevent a dry cake?
Make sure you use room temperature ingredients, use precise measurements and be careful not to over-mix or over-bake.
What make this cake moist?
This recipe has buttermilk, vinegar and oil in the batter to help make the batter moist.
We hope you love this red velvet cake recipe as much as we do! Let us know in the comments below, what is your favourite Valentine’s Day dessert? We’d love to know!
Watch the video below to see exactly how we make this recipe. You can find more delicious recipe videos on our YouTube channel.
If you made this, share a photo!
Are you trying this recipe? Use the comment form below to share your take; now with support for image uploads and comment voting!
Best Red Velvet Cake
Recipe: Equipment
Recipe: Ingredients
For the cake:
- 1 1/2 cups granulated sugar
- 2 cups all purpose flour plus 2 tablespoons
- 2 tablespoons unsweetened cocoa powder
- 1 1/2 teaspoons baking powder
- 1 1/2 teaspoons baking soda
- 3/4 teaspoon salt
- 1 cup low fat buttermilk
- 1/2 cup vegetable oil
- 2 eggs
- 1 teaspoon vanilla extract
- 1 teaspoon white vinegar
- 3 teaspoons red food colouring paste
- 3/4 cup boiling water
For the frosting:
- 3/4 cup unsalted butter at room temperature
- 6 ounces full fat cream cheese at room temperature
- 3 cups powdered sugar sifted to remove lumps
- a few drops of vanilla extract
- 2 tablespoons heavy whipping cream or half and half
Recipe: Instructions
For the cake:
- Preheat your oven to 350 degrees Fahrenheit (175 degrees Celsius) and grease a 9-inch by 13-inch rectangular cake pan with butter, lining the bottom with parchment paper.
- In a large bowl, combine the sugar, flour, cocoa powder, baking powder, baking soda and salt with a wire whisk.
- Measure the buttermilk and vegetable oil into a large liquid measuring cup.
- Add the eggs, vanilla and vinegar to the milk mixture, along with the red food colouring, and whisk all the wet ingredients together with a fork.
- Add the wet ingredients to the dry ingredients and whisk together just to combine (until no streaks of flour remain and the batter is a smooth, even red colour).
- Slowly add the boiling water, whisking constantly until the batter is smooth and everything is combined.
- Pour the batter into the prepared baking pan and bake for about 30-35 minutes or until the a toothpick inserted into the middle of the cake comes out clean.
- Let cool on a wire rack in the pan until cooled completely to room temperature.
For the frosting:
- Wash the large bowl and to it add the butter and cream cheese, mixing on medium-high speed with an electric mixer until smooth and creamy.
- Slowly add the powdered sugar one cup at a time until a frosting forms.
- Add the vanilla and one tablespoon of the heavy cream.
- Whip on high speed until the frosting is pale in colour (almost white) and is nice and fluffy. Add the other tablespoon of heavy cream if needed to achieve a fluffy texture.
Assembly:
- Once the cake has cooled, trim off any high points on the top of the cake to level it slightly. Reserve these scraps for topping the cake.
- Smooth the frosting over the top of the cake with a rubber spatula or an offset spatula until evenly distributed, creating a smooth top.
- Crumble the cake scraps leftover from levelling the top of the cake on top of the frosting, and serve.
Recipe: Notes
Storage Instructions
Store this cake in the fridge in an airtight container for up to 2 days before serving. Although not totally necessary, it’s a good idea to refrigerate the cake for at least an hour before you serve it. This will make it much easier to cut evenly and it will help the frosting to set.Freezer Instructions
Freeze the cake wrapped in plastic wrap for up to 3 months. Freeze the frosted cake whole, or in slices, in an airtight container for up to 3 months. Be sure to defrost to room temperature before serving.Recipe: Nutrition
Notice: Nutrition is auto-calculated, using Spoonacular, for your convenience. Where relevant, we recommend using your own nutrition calculations.
EASY NO-BAKE CHEESECAKE RECIPES & TIPS
Get my easy no bake cheesecakes e-cookbook!

Hello can this be made as cupcakes?
It can, but you will have to adjust the baking time. Unfortunately, I have never tried it so I couldn’t tell you exactly for how long to bake them.