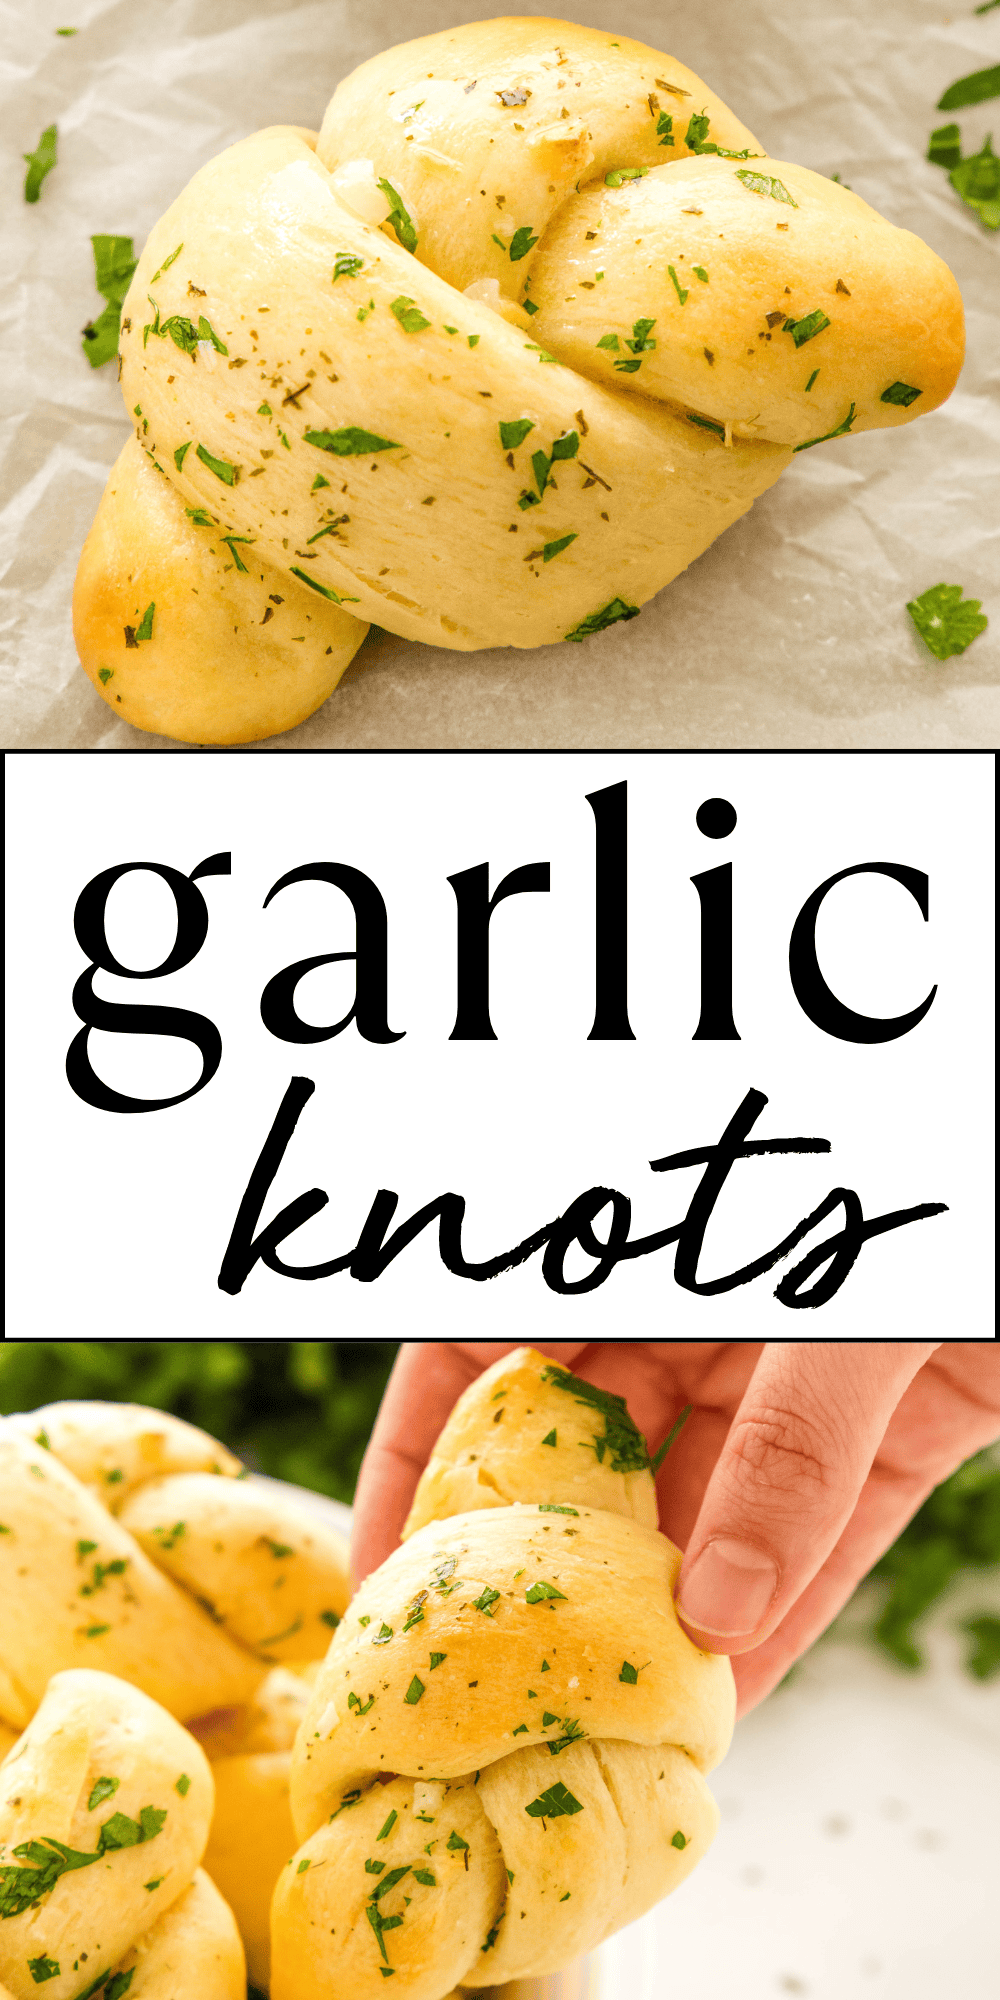
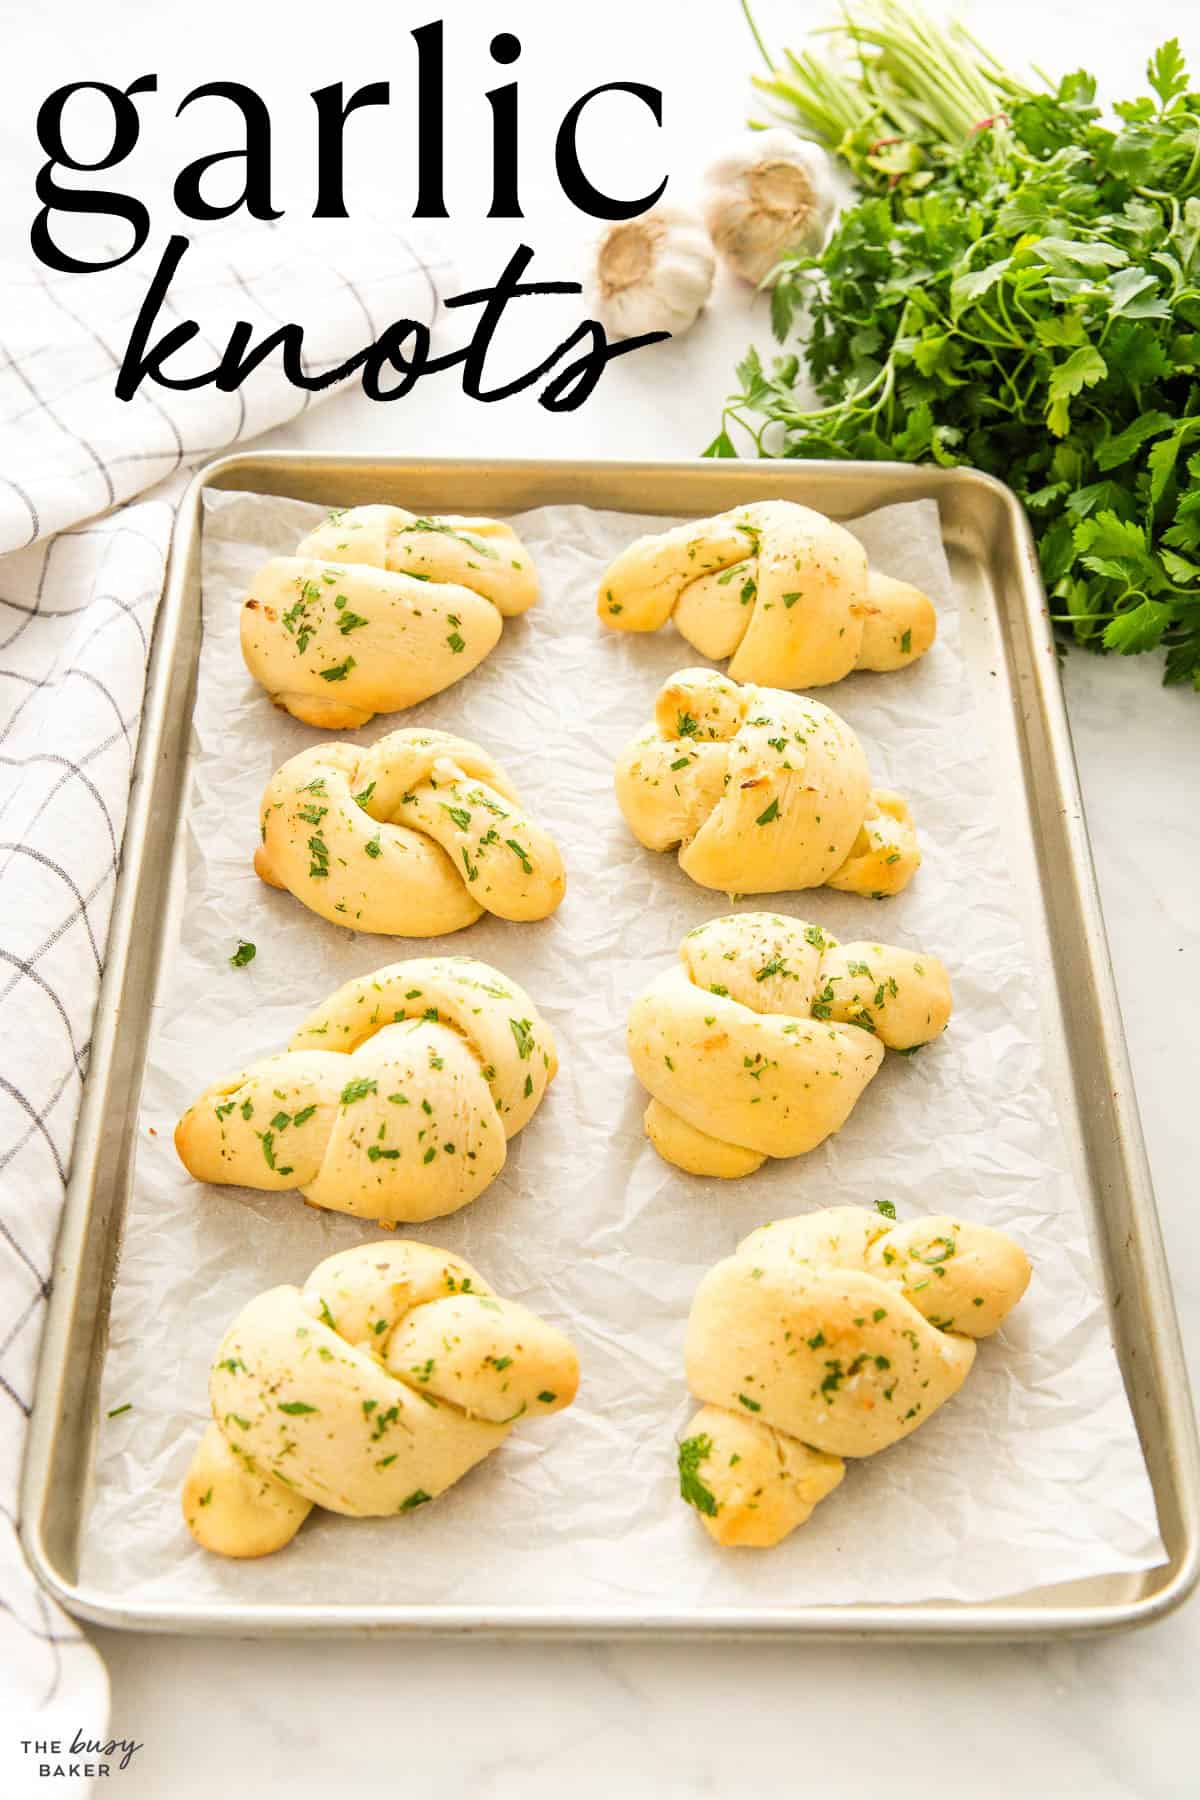
This Garlic Knots recipe makes the perfect fluffy rolls topped with savoury garlic butter. An easy, soft and buttery garlic knot recipe for beginners – with PRO tips!
Estimated reading time: 12 minutes
Is there anything better than a soft and fluffy roll dipped in garlic butter? We certainly don’t think so! This Garlic Knot recipe is one of our favourite recipes to serve alongside spaghetti and meatballs, our favourite vegetable or chicken stew, and our famous minestrone soup recipe. It’s also an amazing addition to an appetizer spread with marinara sauce for dipping. However you serve them, these garlic knots are the perfect savoury roll and we just can’t get enough!
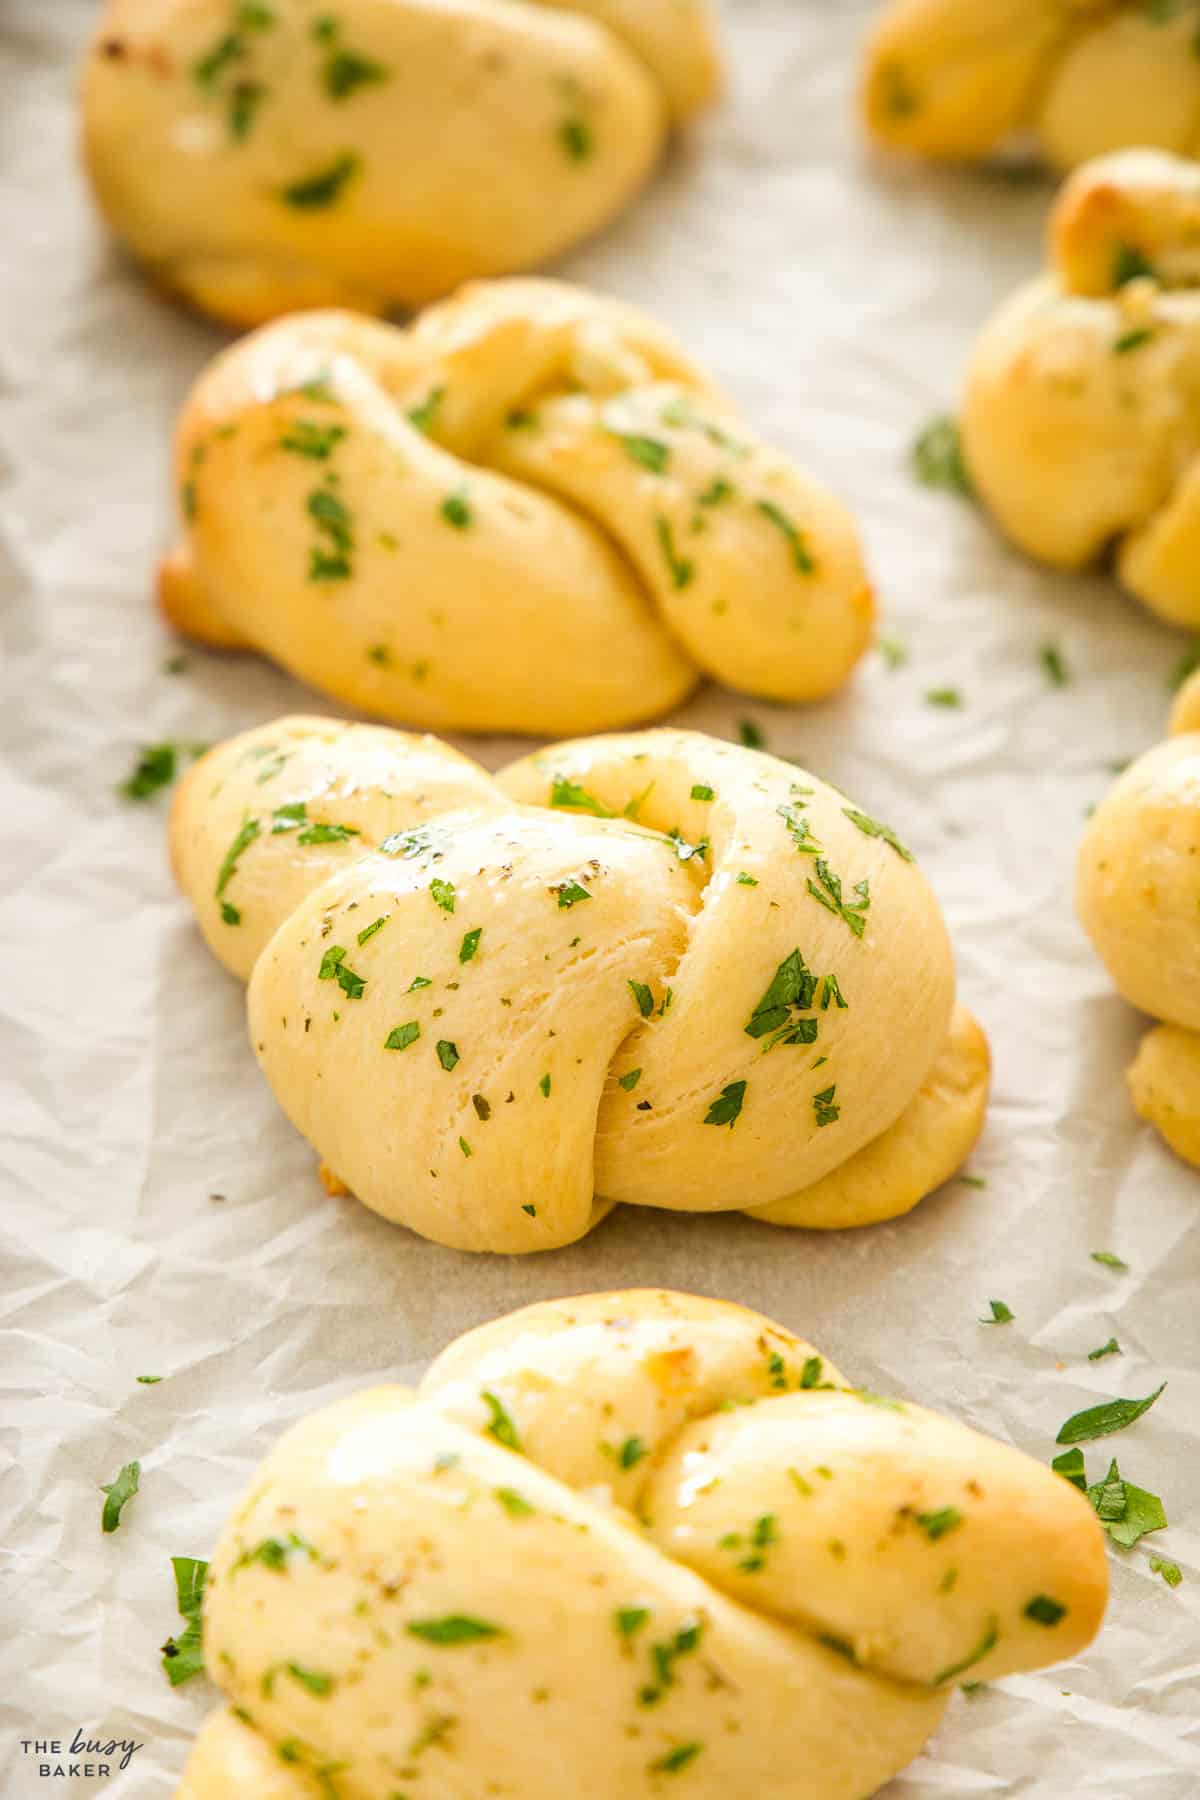
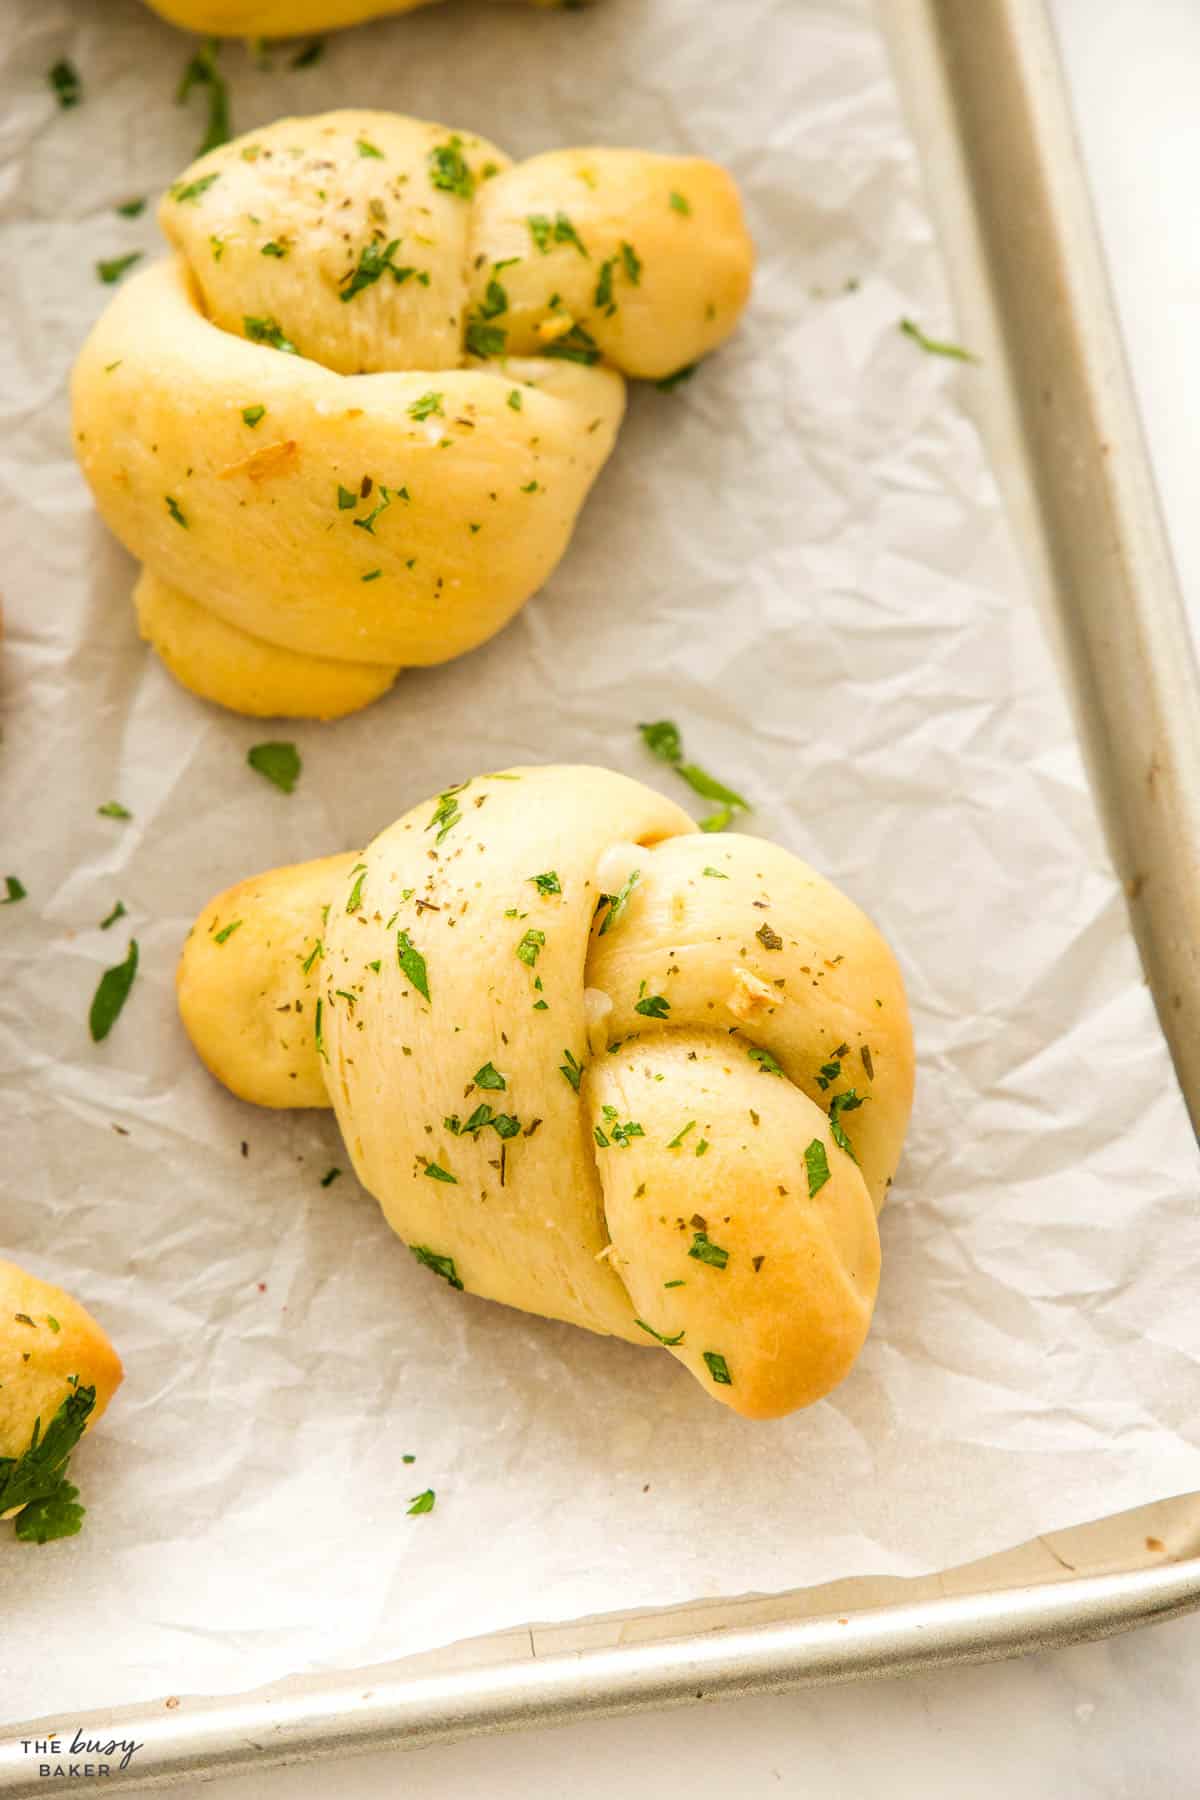
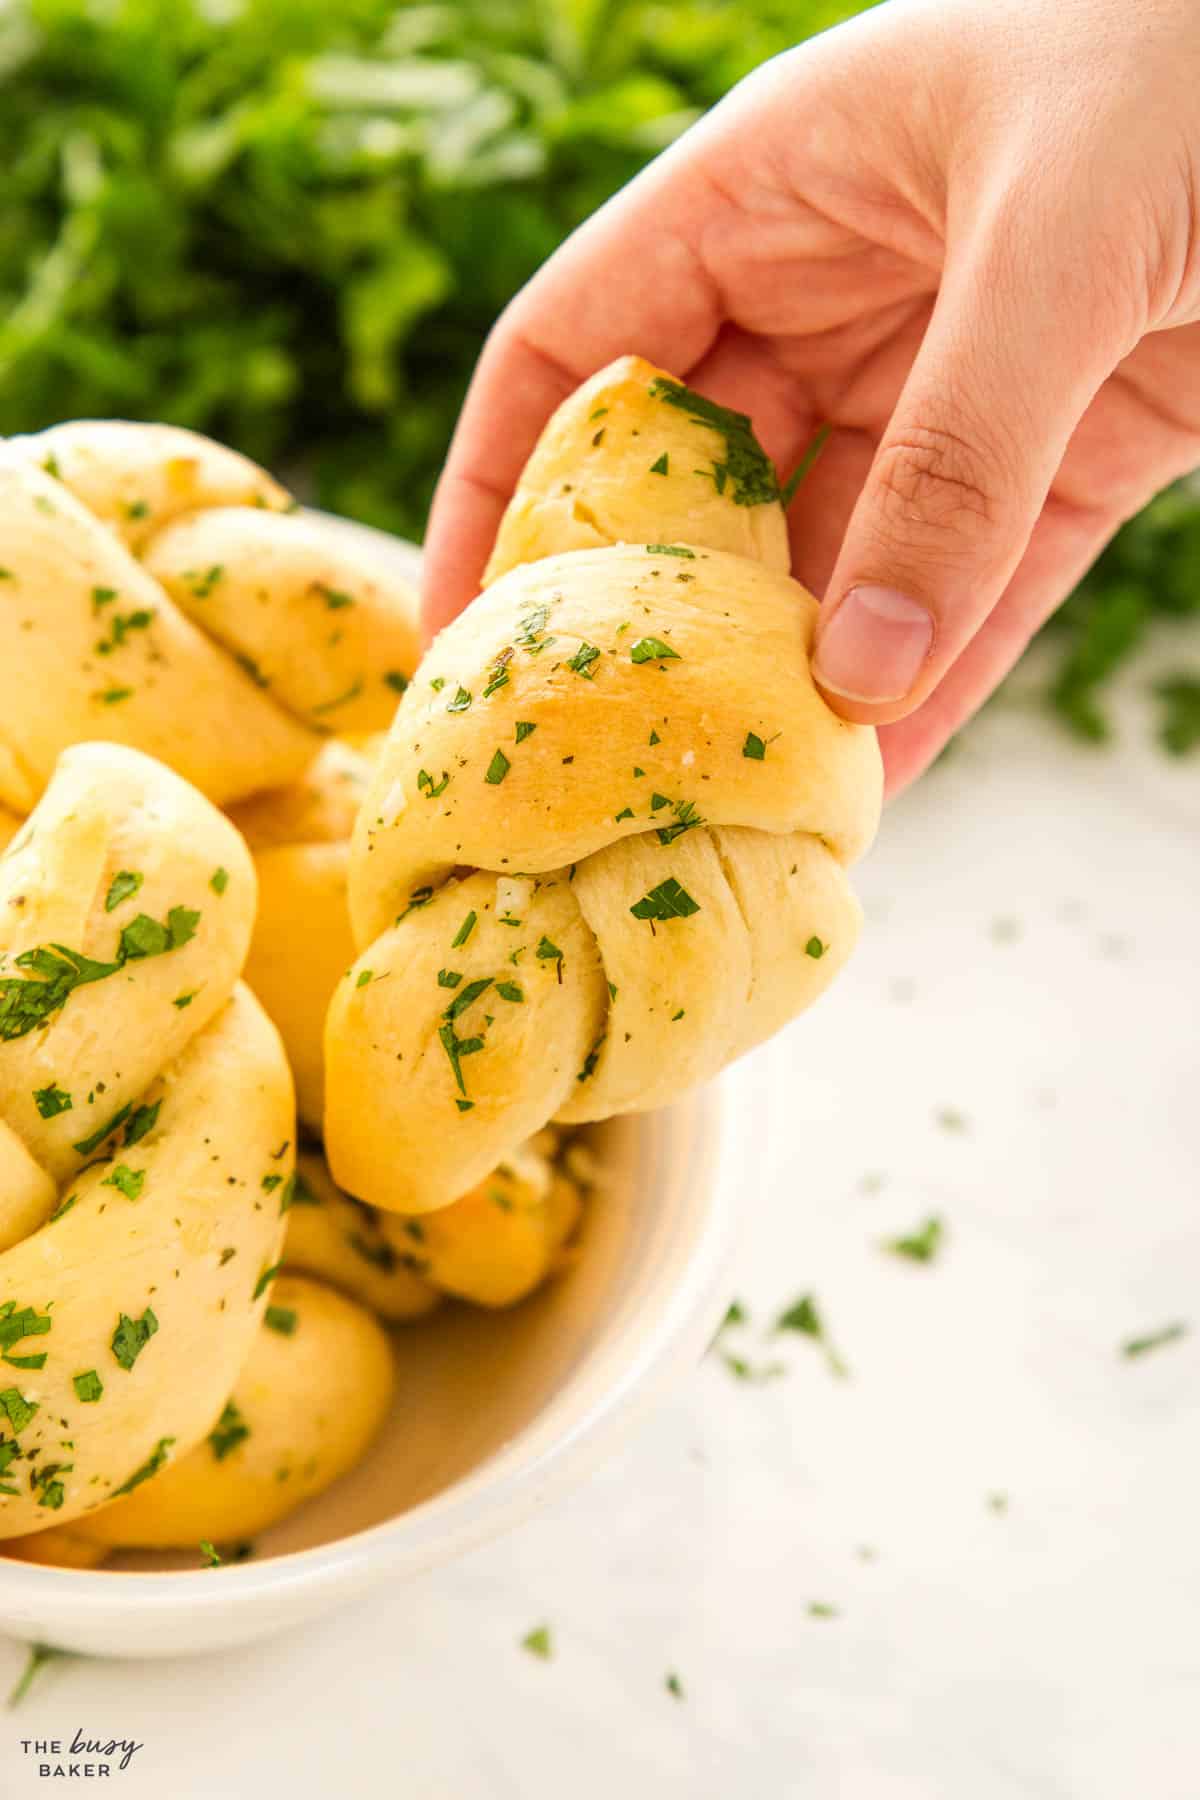
Garlic knots are classic rolls usually made from a dough similar to pizza dough. The dough is cut into small balls, rolled into a long snake-like shape and tied into a knot, then baked until golden brown! They’re brushed with garlic butter and baked in the oven, and then brushed again with the garlic butter after baking for even more buttery garlic flavour.
They’re often served with marinara sauce or pizza sauce for dipping, and they make a great addition to any Italian-style meal – we love to serve them with any pasta dish and use them for scooping up any extra sauce. They’re a staple in Italian-American cuisine, created originally as a way to use up leftover pizza dough in pizzerias. They’re sometimes even served with parmesan cheese on top.
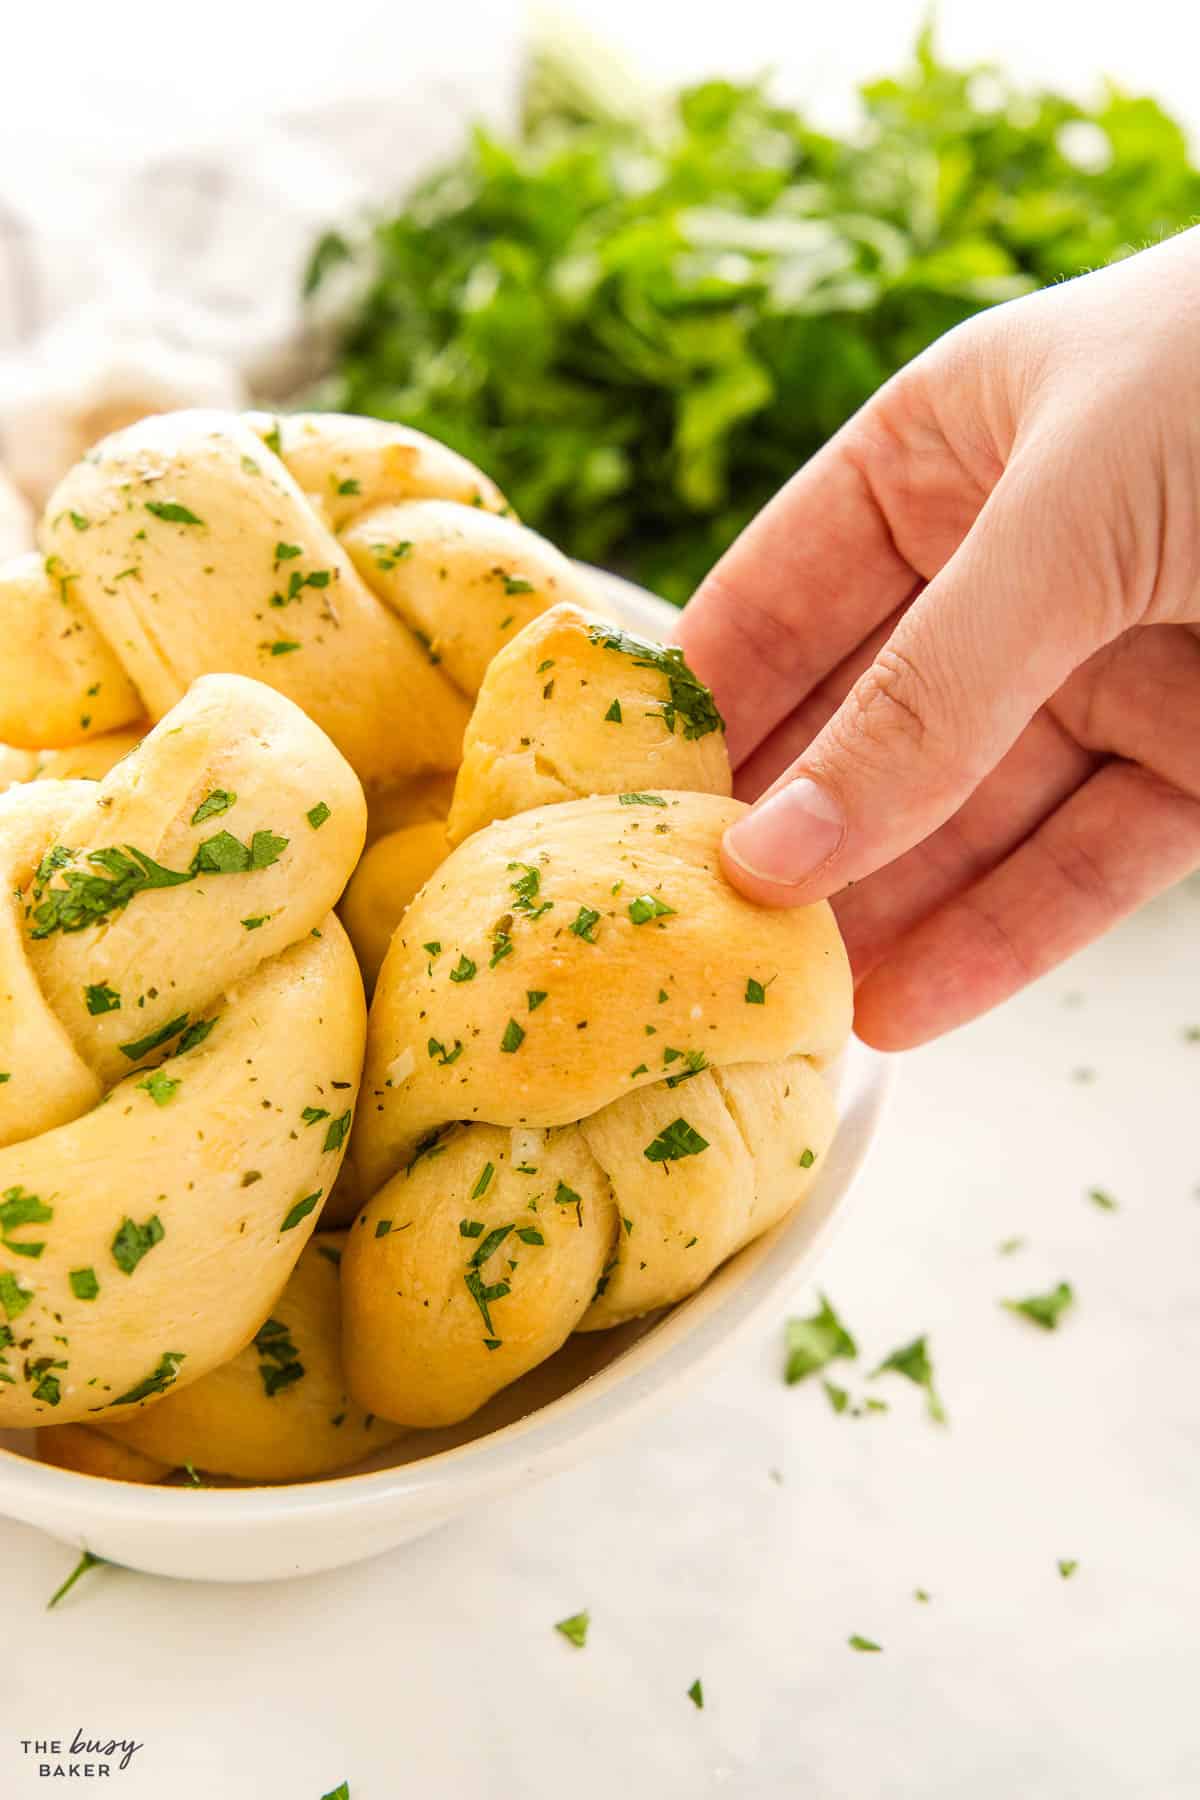
There are countless reasons why this homemade garlic knots recipe is a family favourite. Here are just a few:
- They’re EASY to make. Just throw all the ingredients into the bowl of your mixer and let it do the work. The dough comes together in minutes and it’s easy to roll out after it rises. This recipe is foolproof and kid-friendly!
- They’re SO SOFT and fluffy. The dough is easy to handle and the rolls puff up in the oven beautifully. It’s one of our favourite dough recipes!
- They’re VERSATILE. Add more or less garlic and add whatever fresh herbs you like – this recipe can be adapted to your family’s tastes!
- They use BASIC INGREDIENTS. This recipe uses basic, straightforward ingredients that are easy to find and may already be in your pantry and fridge, making it a super convenient recipe to make in a pinch.
- They FREEZE well. We love making a big batch and freezing half for later. Just heat them up in the microwave or the oven and brush with more garlic butter before serving.
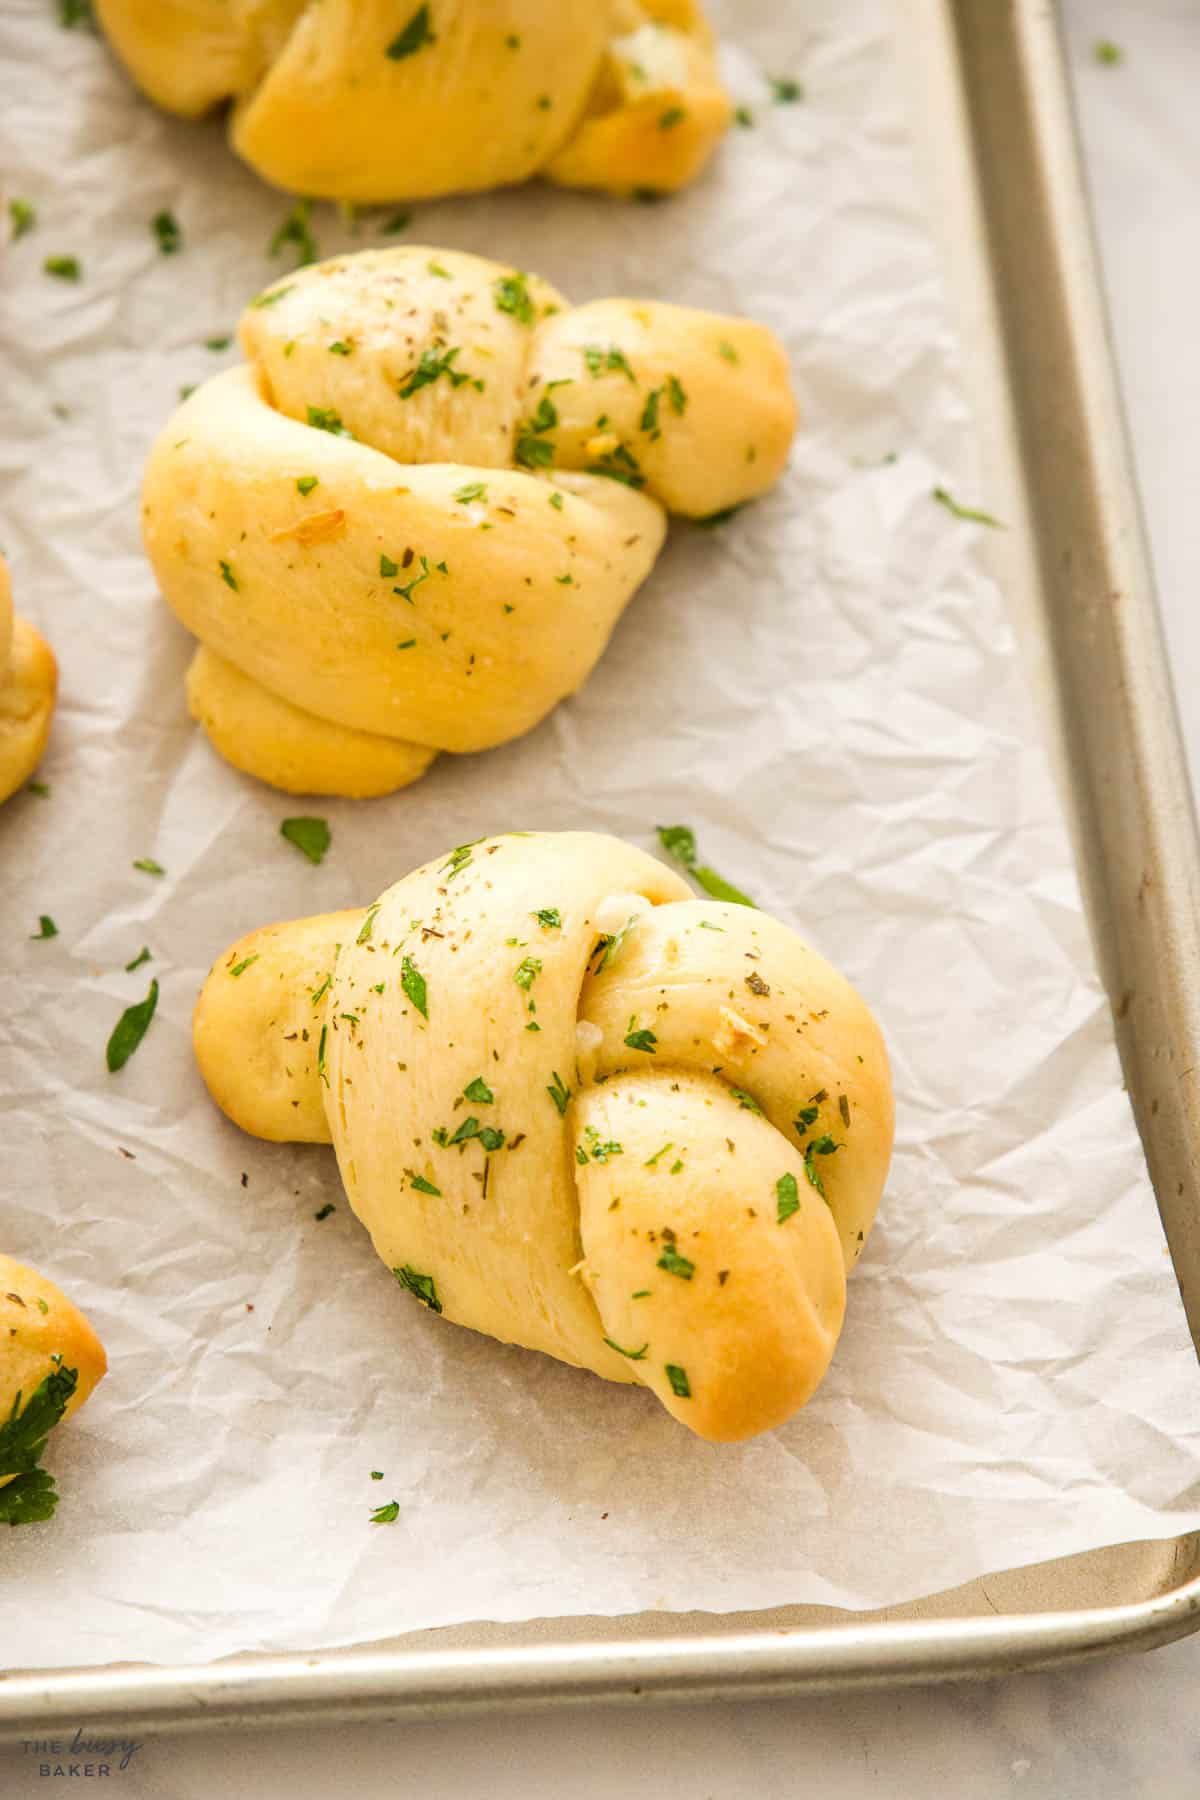
There are so many ways to serve these garlic knots. Here are just a few ways we like to serve them:
- With SOUP. Our favourite Minestrone Soup or this Rustic Italian Sausage Tortellini Soup are the perfect soups to serve with garlic knots.
- With tomato-based PASTA Dishes. They’re absolutely delish alongside our favourite Best Ever Spaghetti and Meat Sauce.
- With CREAMY PASTA dishes. Our kids love using them to soak up the extra Alfredo sauce in this One Pan Chicken Alfredo Pasta.
- With MARINARA SAUCE for dipping. They make a delicious snack hot from the oven with marinara sauce or pizza sauce for dipping.
- As an APPETIZER. Add a basket of garlic knots to any appetizer spread with a variety of meats, cheeses, and dips.
- Instead of CLASSIC DINNER ROLLS. Substitute garlic knots for basic dinner rolls at any dinner party – they’re delicious with almost any meal!
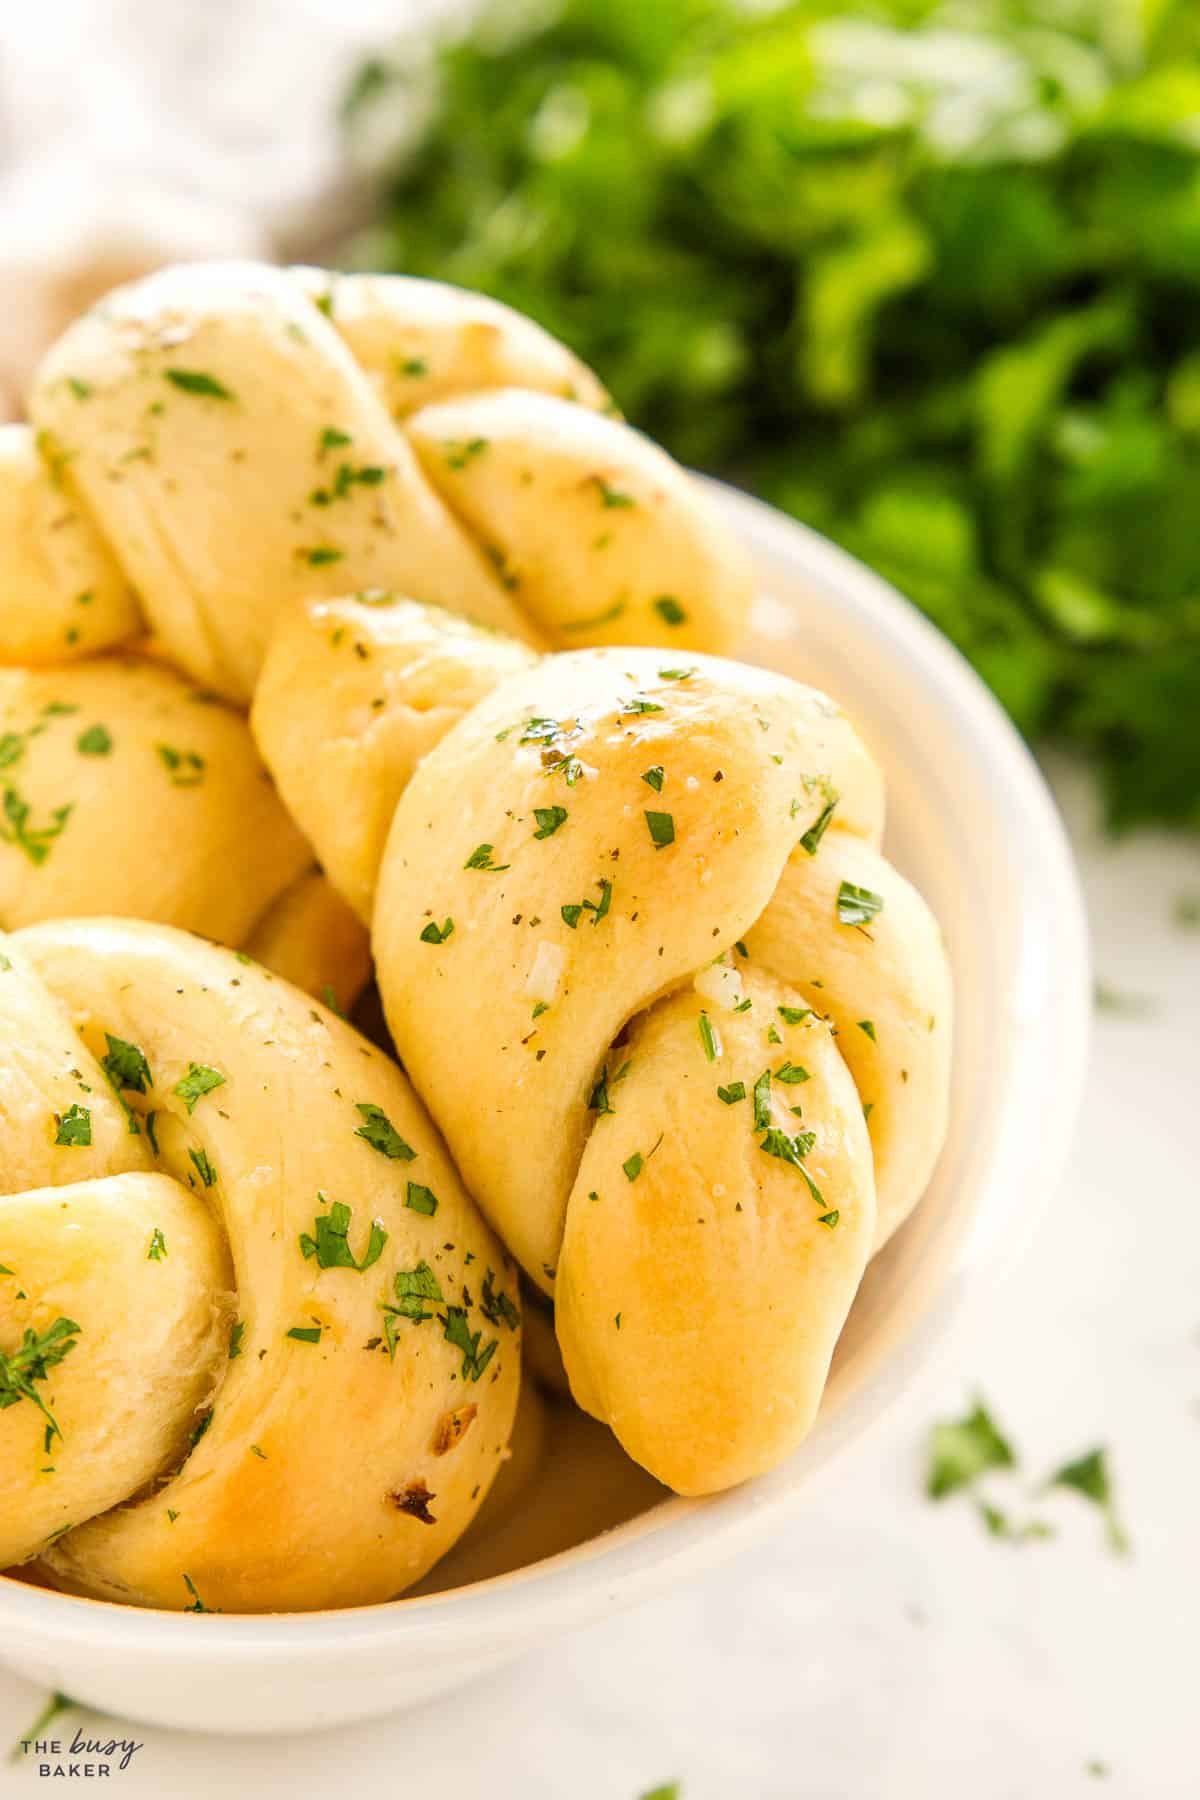
Want to make the BEST garlic knots you’ve ever tried? Here are all our best pro tips and tricks!
Be sure your yeast is fresh and use high-quality butter to enhance the flavour of your garlic knots.
The temperature of the milk should be lukewarm when mixing it with yeast to activate it. If it’s too hot, it will kill the yeast and if it’s too cold, it’ll take a long time for the yeast to begin rising the dough. The eggs and the butter should be at room temperature too, so they mix evenly into the dough.
Knead the dough well until it’s very smooth and elastic. This usually takes around 7 or 8 minutes by hand or 5-6 minutes in a stand mixer with a dough hook attachment. Proper kneading develops the gluten in the dough, giving your garlic knots the perfect texture.
Add the soft butter at the end of the mixing process, as the dough begins to knead. This will create a soft, enriched dough that’s smooth and just a bit sticky. It will help the garlic knots be soft and tender when they bake.
Since enriched dough (dough that contains butter, milk, and eggs) tends to be softer and stickier, lightly oil your hands and work surface as you’re rolling out the dough to prevent sticking. Adding more flour will make the dough tough, so be sure to opt for a few drops of oil to prevent sticking instead.
Allow your dough to rise in a warm area in your kitchen for about 45 minutes or until it doubles in size. This is a critical step for developing a soft, fluffy texture. Rushing this rising step can result in dense, dry garlic knots.
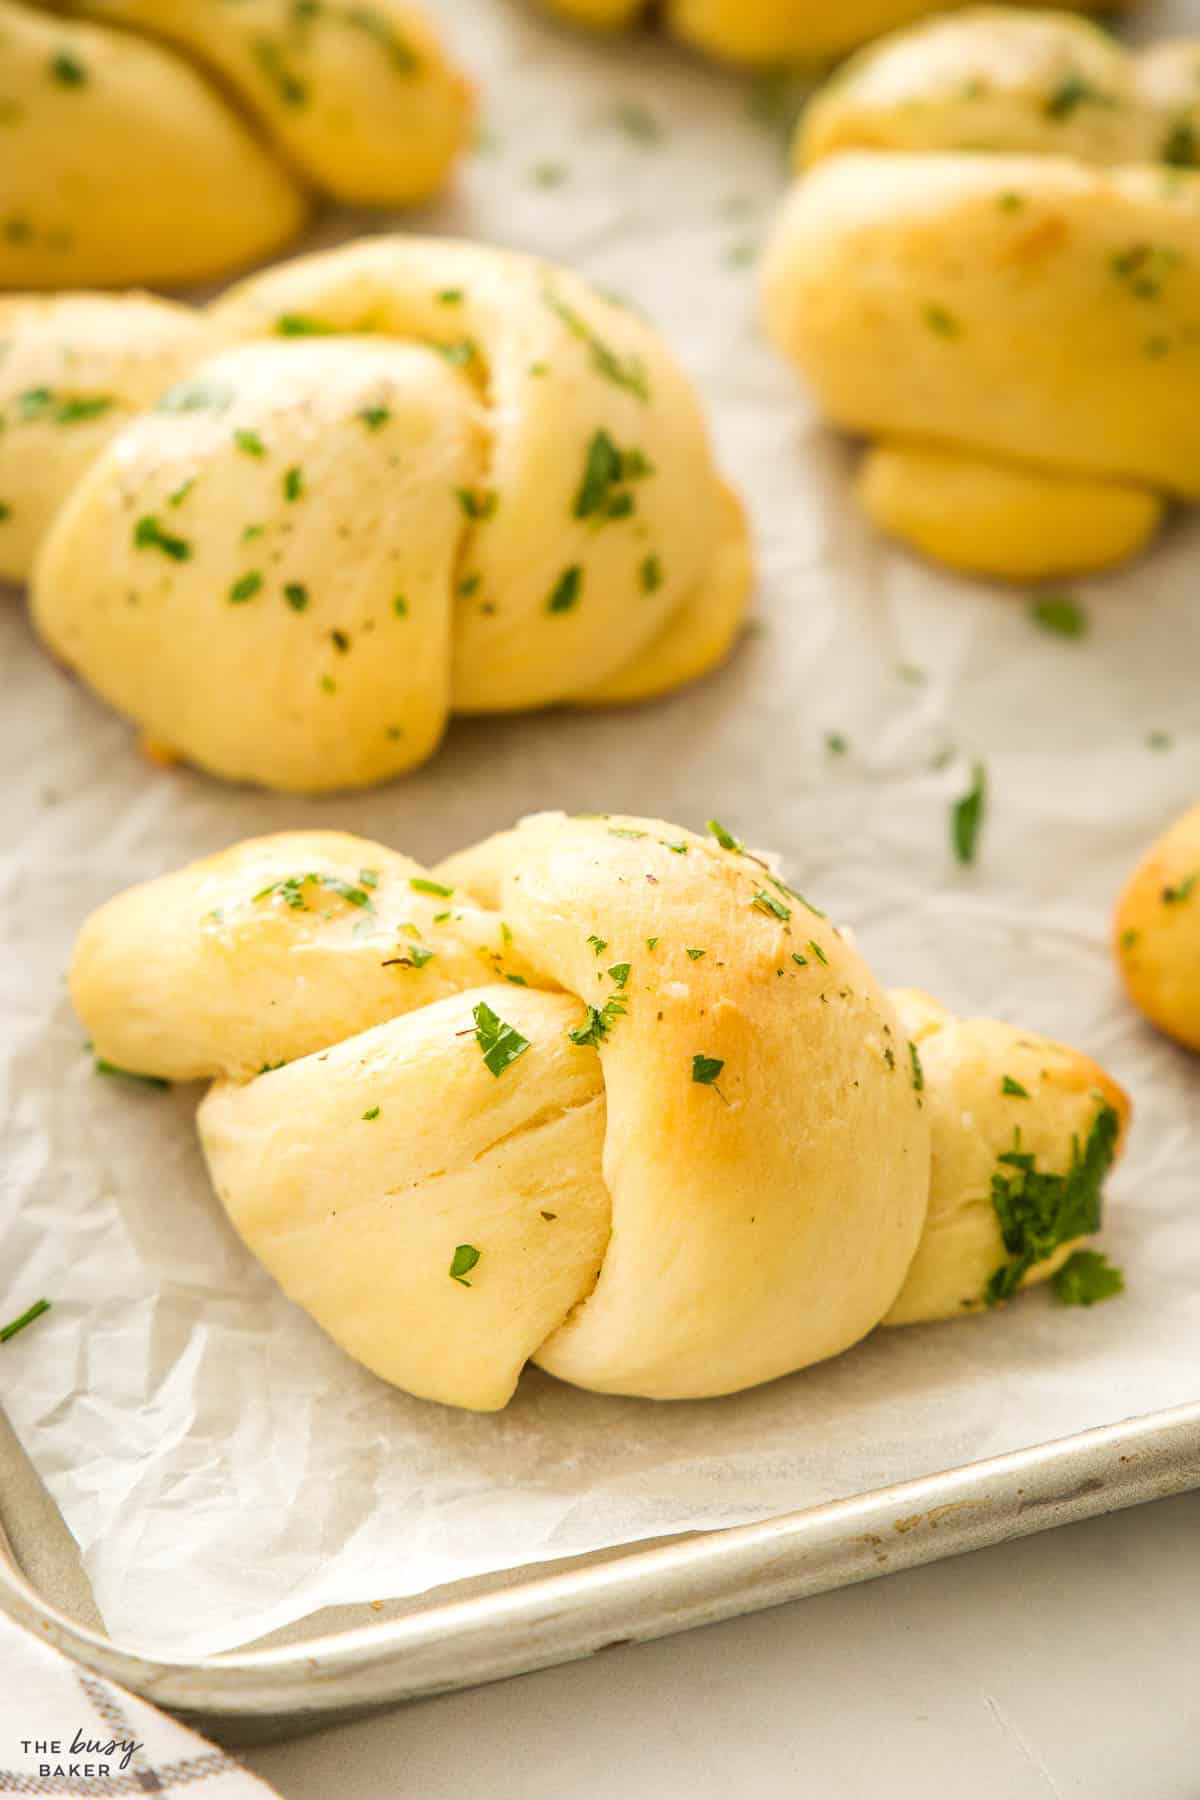
When shaping your garlic knots, aim for a uniform size to ensure they bake evenly. Roll each piece of dough into a log about 6 to 8 inches long, then tie it into a simple knot.
Brush your knots with the garlic butter mixture right before baking and again immediately after baking. This gives them maximum flavour a shiny finish.
Space the garlic knots evenly on the baking sheet to allow for proper air circulation and to prevent them from touching while baking. Proper spacing will help them achieve a uniform golden-brown exterior.
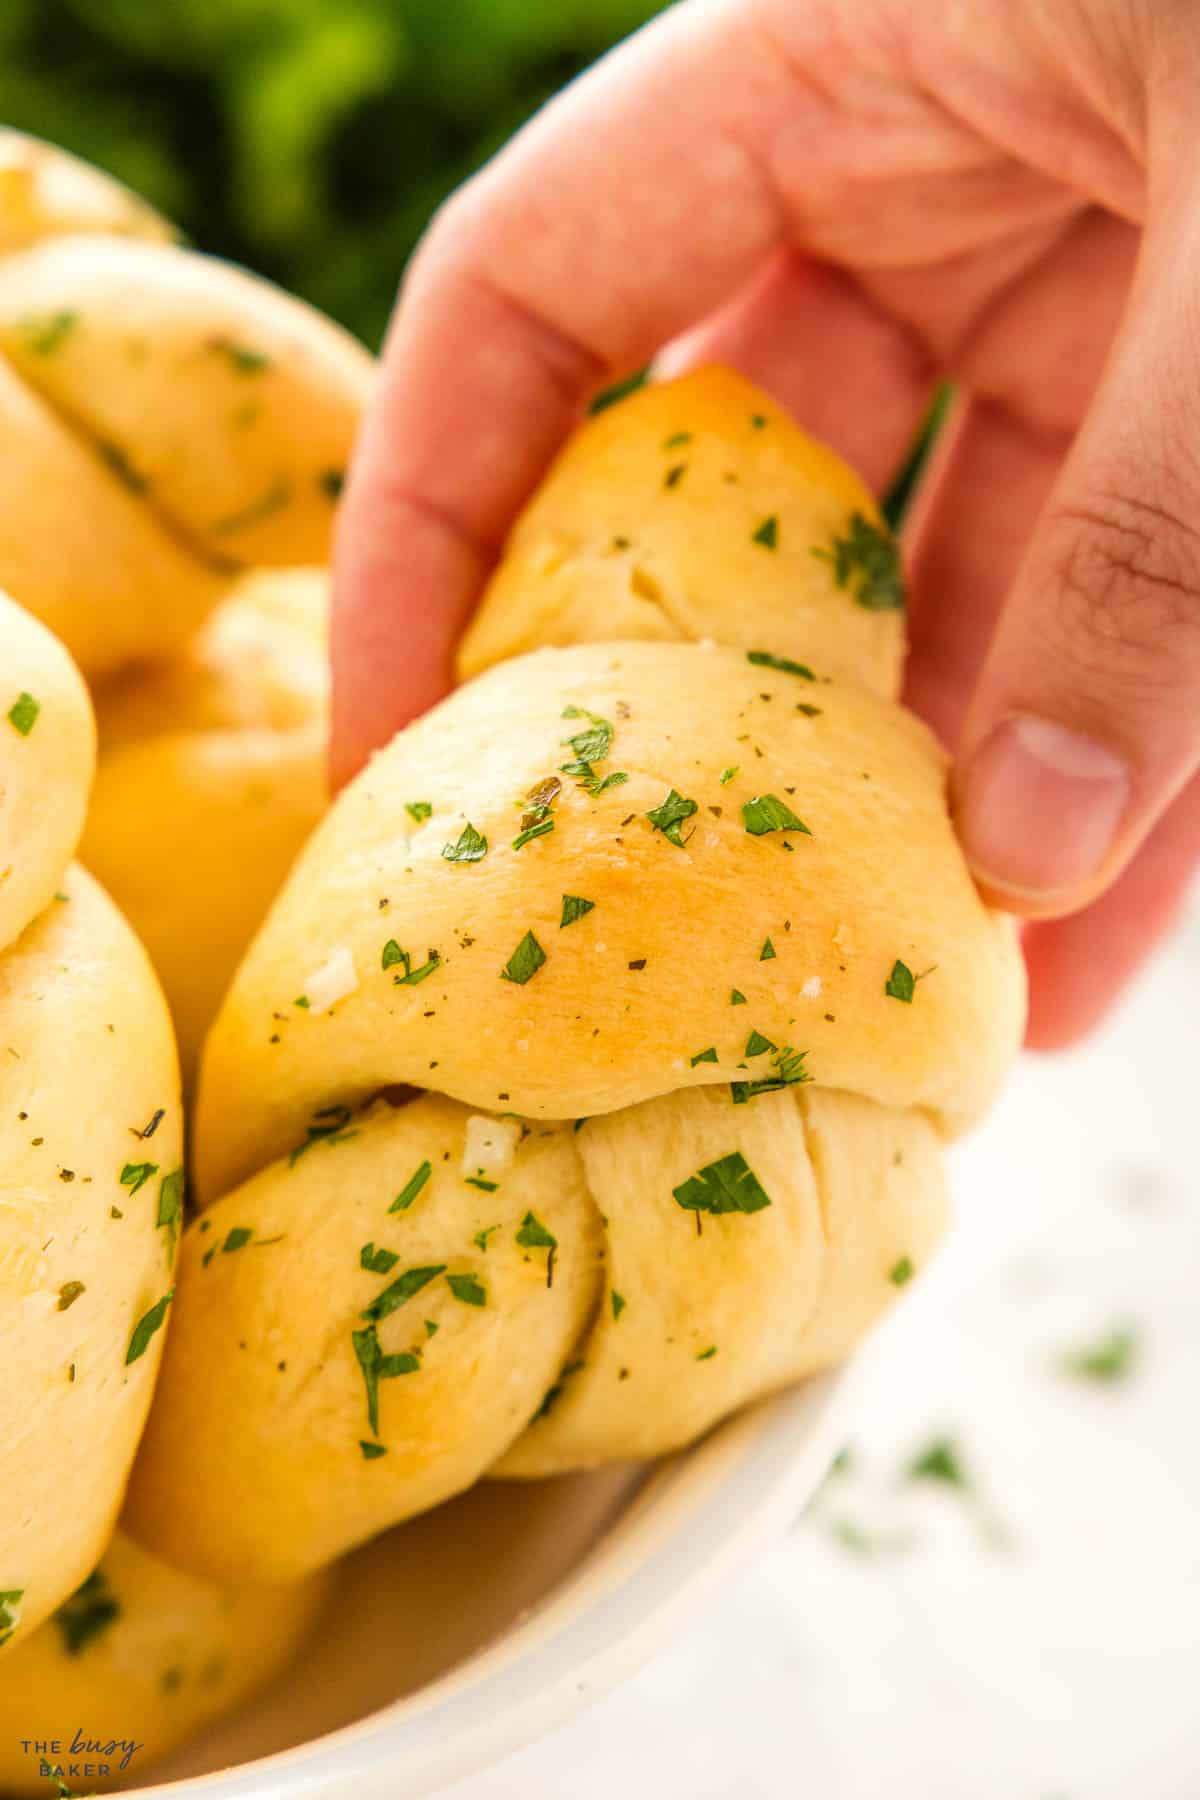
Let the garlic knots cool slightly on a wire rack after baking. They’ll continue to bake on the inside as they cool, but be sure to serve them warm for maximum flavour and delicious texture.
Here’s a list of the basic kitchen equipment you’ll need to make this garlic knots recipe (paid links):
- Stand Mixer, or make them by hand in a large bowl
- liquid measuring cups
- measuring cups and spoons
- microwave safe bowl
- Silicone Spatula
- large baking sheet
- Parchment Paper
- Pastry Brush
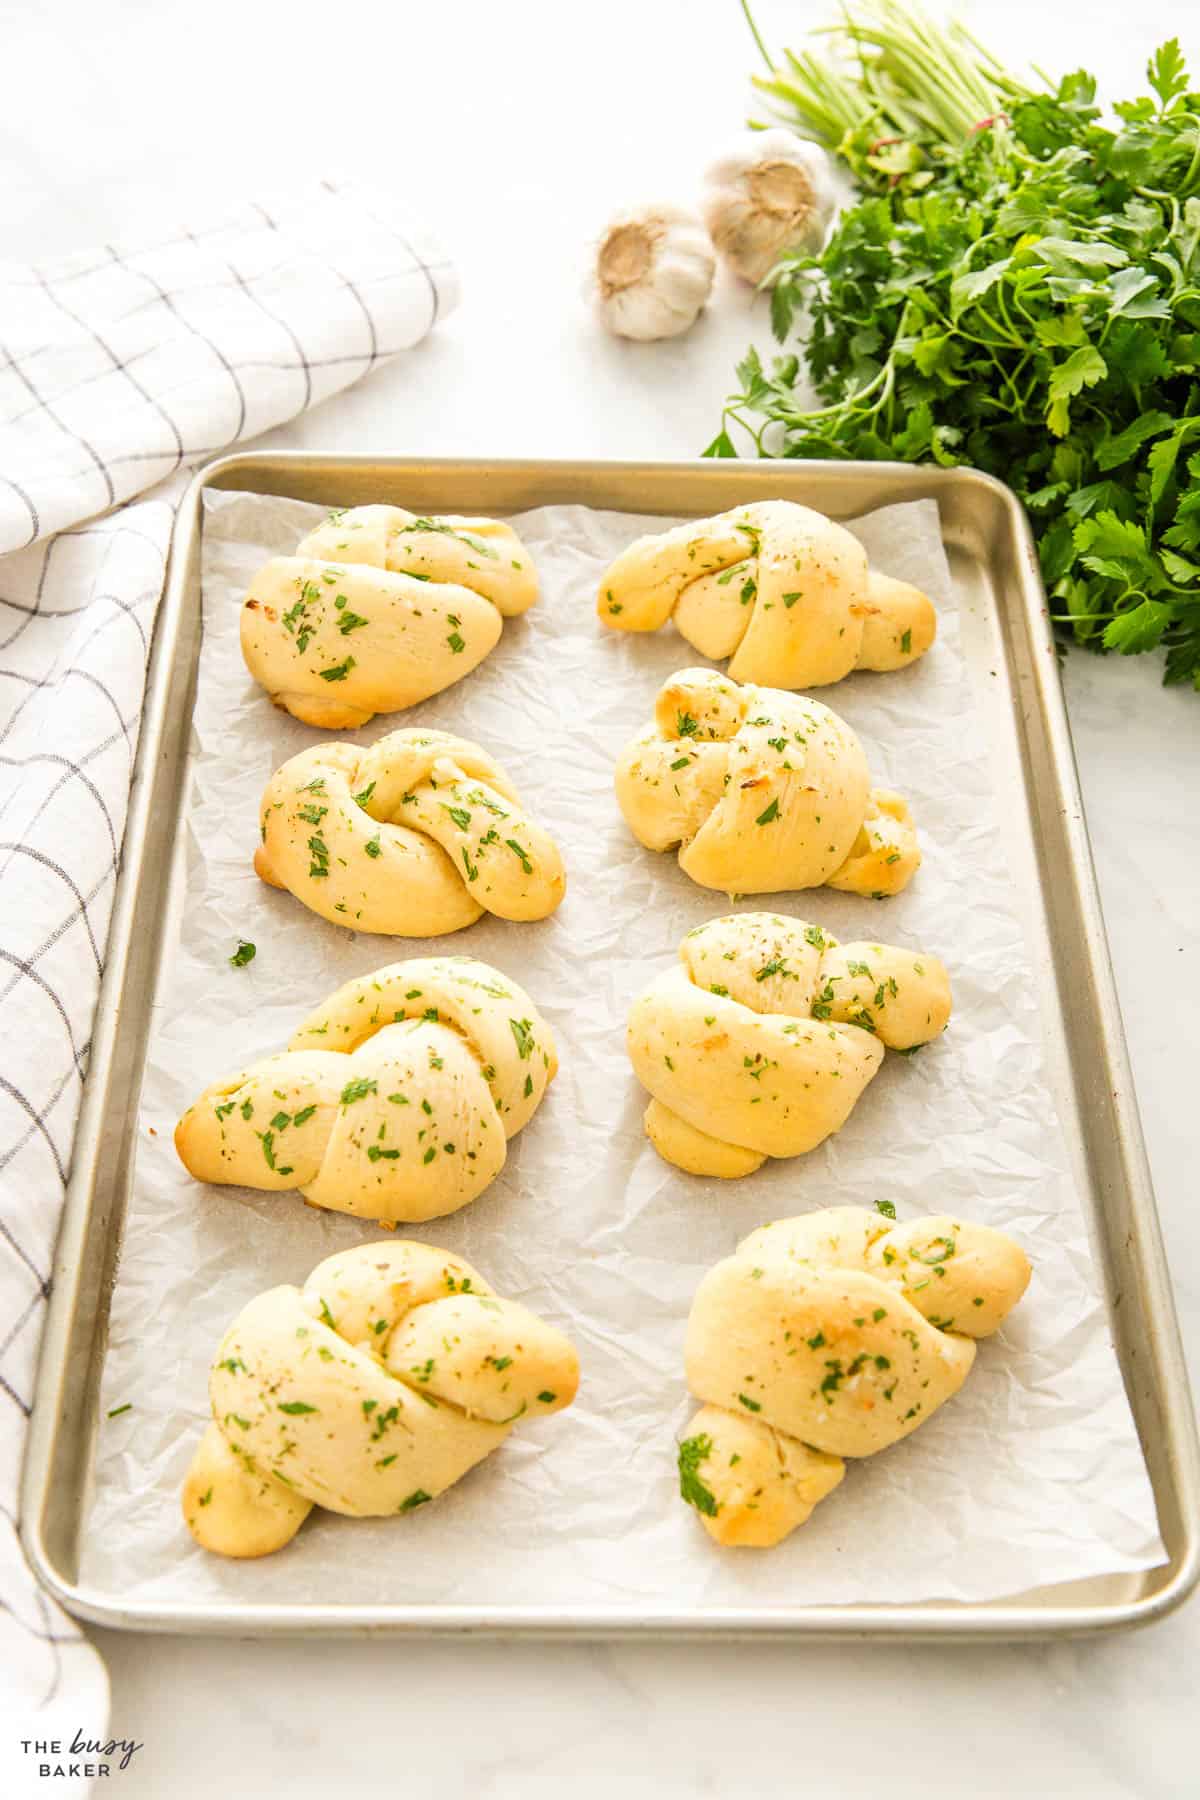
Here’s a list of the ingredients you’ll need to make this garlic knot recipe (paid links):
For the dough:
- 1 1/4 cup milk at room temperature
- 2 1/4 teaspoons active dry yeast
- 2 tablespoons white sugar
- 3 1/4 cup all purpose flour plus 1/4 cup if necessary
- 1 teaspoon sea salt
- 1 large egg
- 6 tablespoons softened butter
For the garlic butter:
- 1/3 cup unsalted butter melted
- 1 teaspoon garlic powder (or use 2 cloves garlic, finely minced)
- 1 teaspoon dried parsley
- 1/4 teaspoon salt
- chopped fresh parsley for garnish
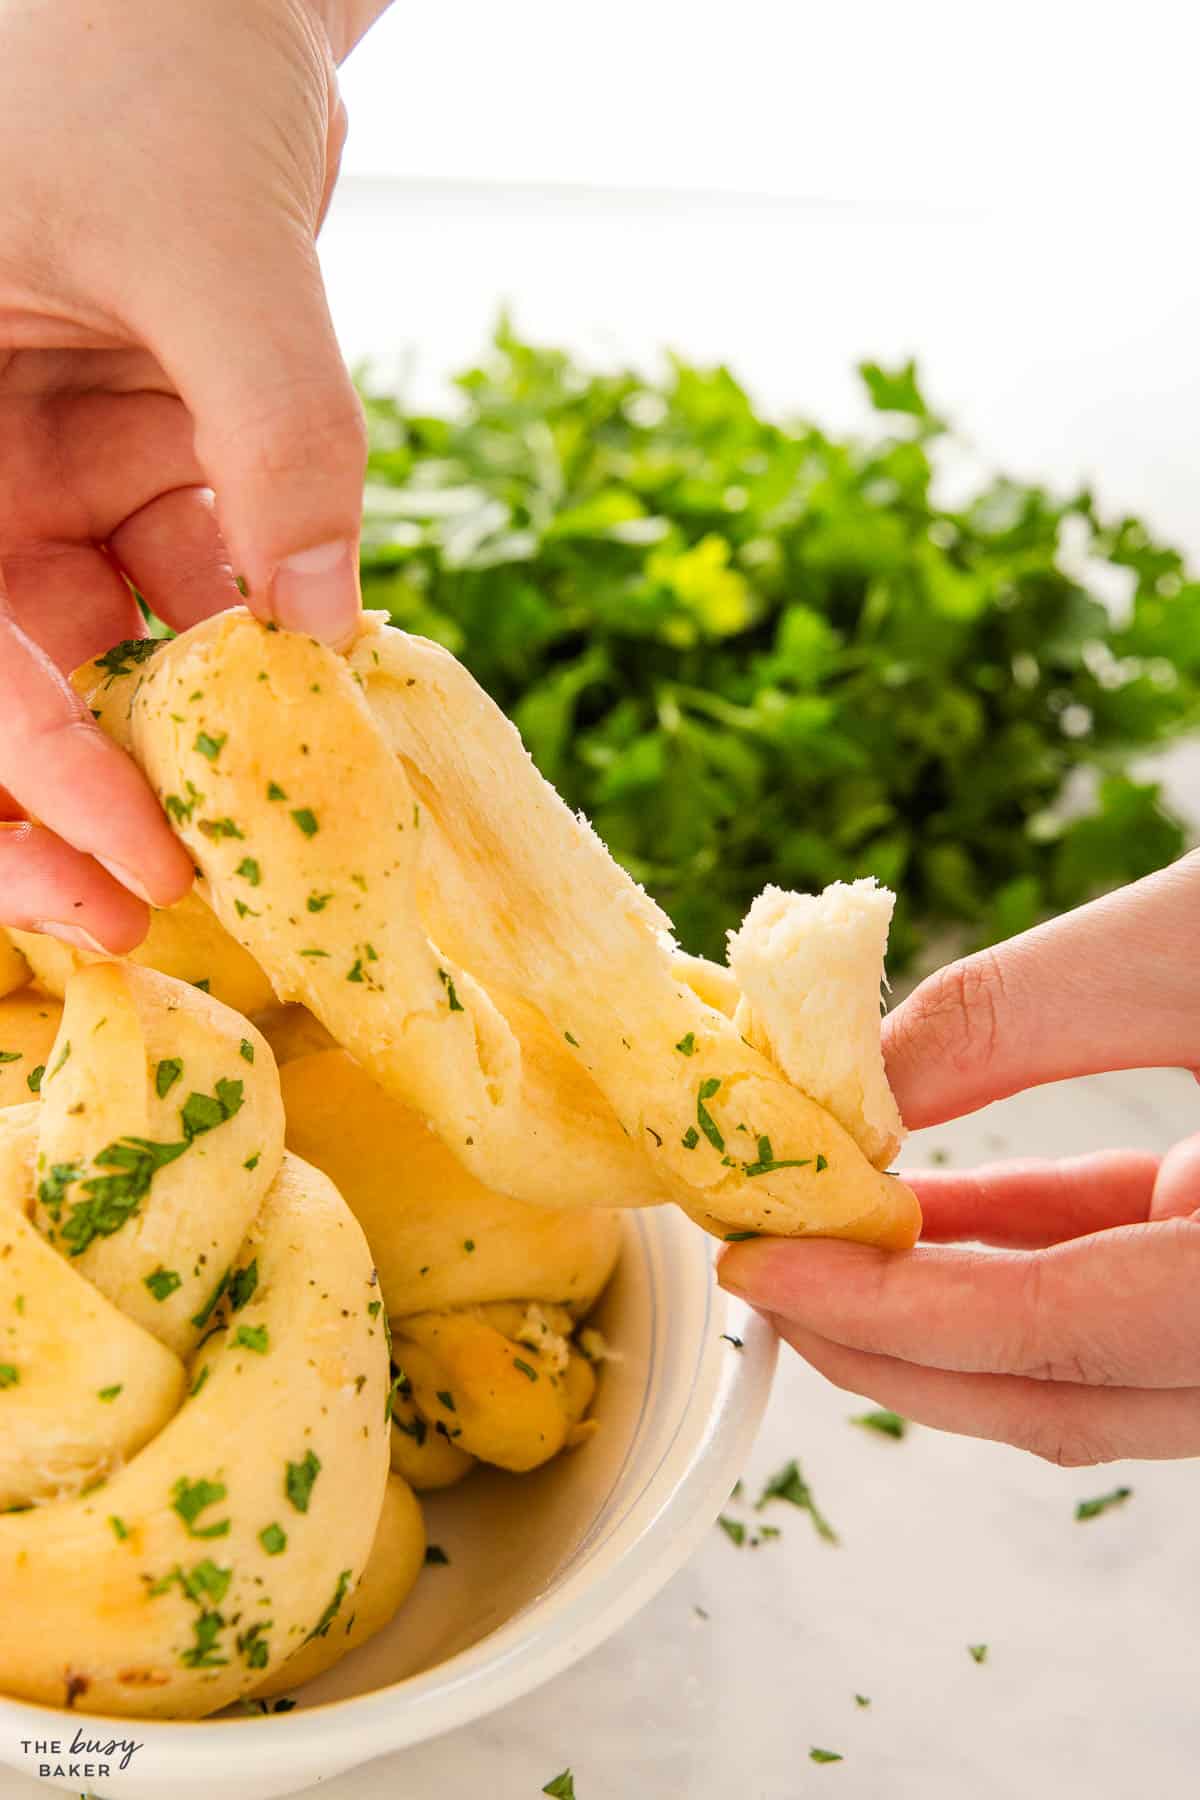
The classic garlic knot is hard to beat but there are plenty of delicious variations on the basic recipe! Here are a few of our favourites:
- Cheesy Garlic Knots: Sprinkle some grated Parmesan or mozzarella on the knots before the final few minutes of baking for a gooey, cheesy treat.
- Pesto Garlic Knots: Mix in some pesto with the butter mixture for an flavourful twist on the classic.
- Spicy Garlic Knots: Sprinkle some red pepper flakes into the garlic butter for a spicy version.
- Herb Garlic Knots: Incorporate a mix of fresh or dried herbs such as rosemary, thyme, and oregano into the butter.
- Vegan Garlic Knots: Use plant-based butter and vegan milk or warm water to make this recipe vegan.
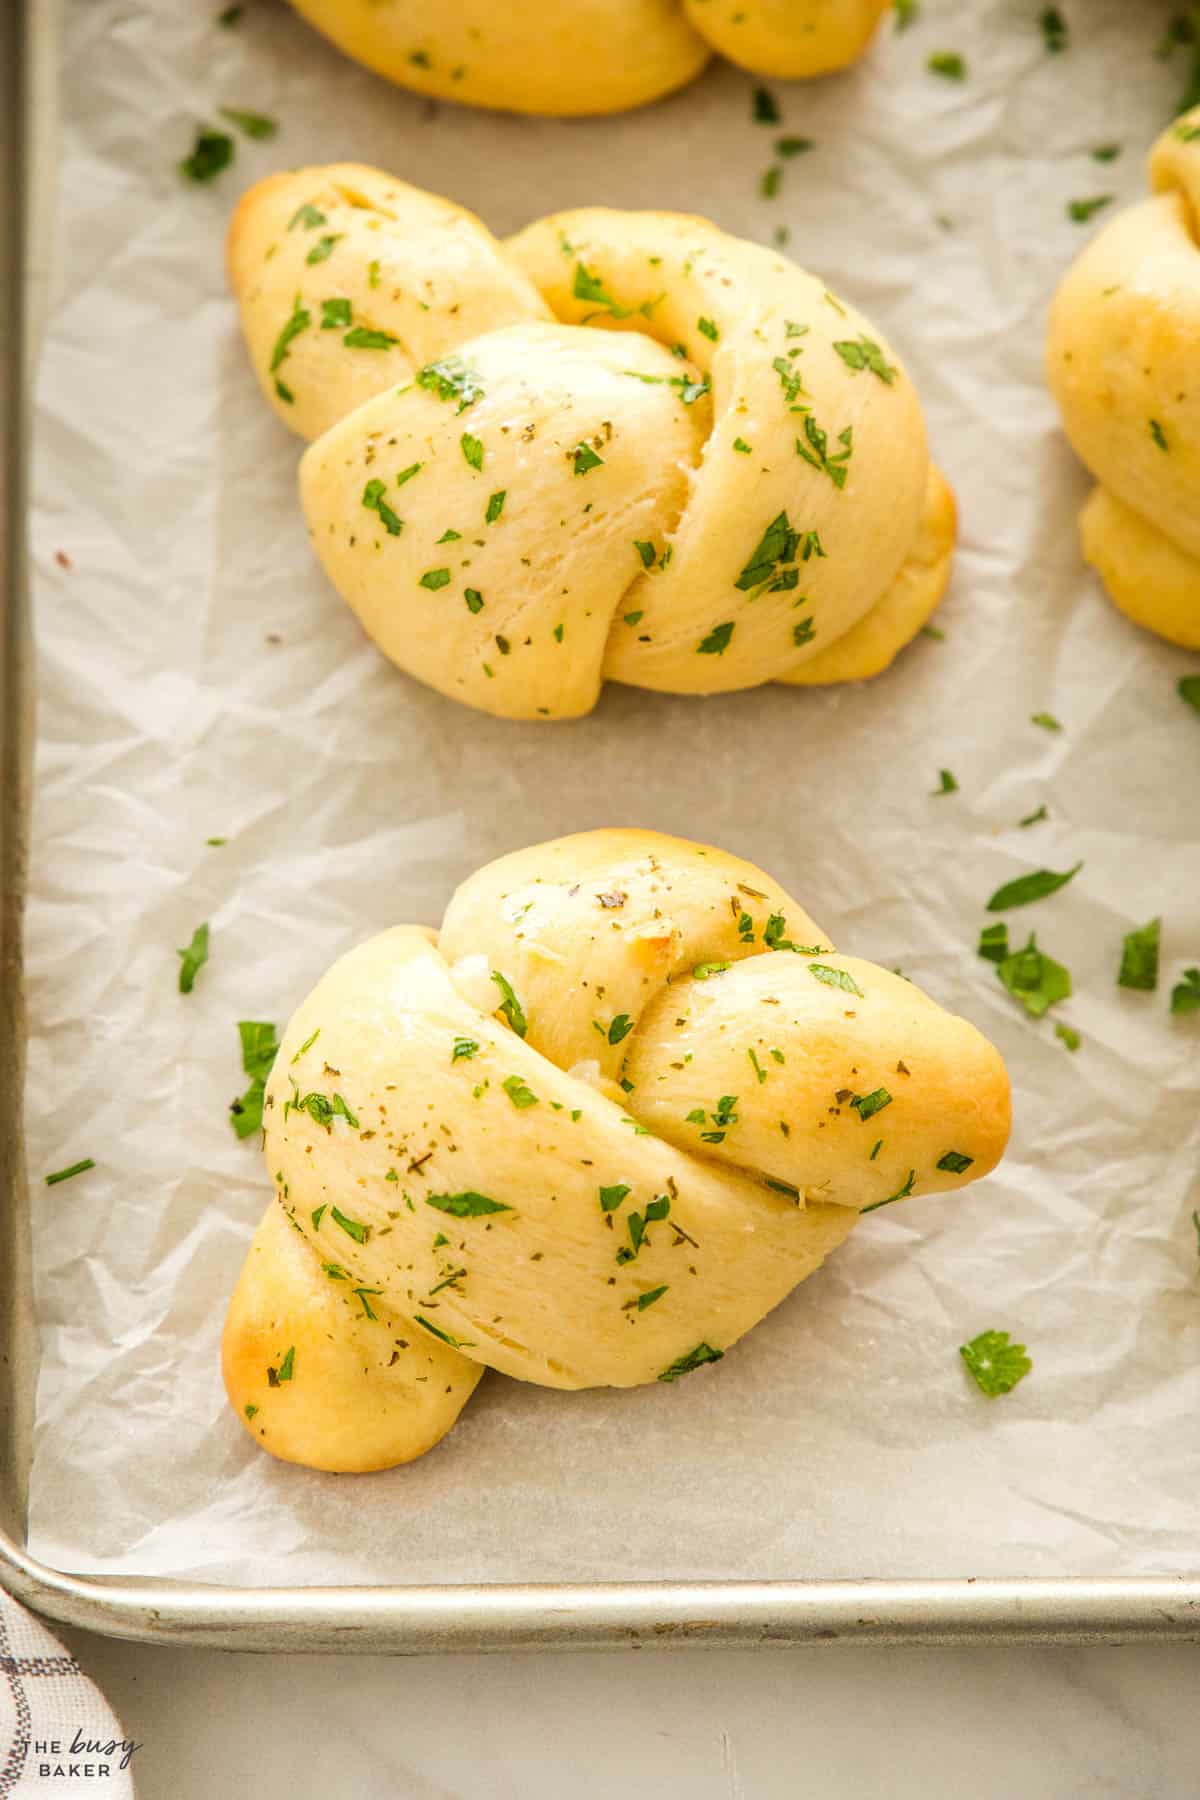
Time needed: 1 hour and 35 minutes
Follow these steps to make the perfect homemade garlic knots.
- Start with the yeast.
Add the milk, yeast, and sugar to the bowl of your stand mixer fitted with the dough hook attachment (or, if you’re making them by hand, to a mixing bowl). Stir them together and let sit for 5 minutes until the mixture is bubbly.
- Mix to form a dough.
Next add the flour, salt, and egg to the bowl with the yeast mixture and stir everything together on low speed until a soft dough forms.
- Add the soft butter.
Continue kneading the dough on low or medium-low speed and add the soft butter to the dough as it kneads, one tablespoon at a time. This will seem strange at first, but as it mixes into the dough the dough will become more elastic and soft.
- Rise the dough.
Form the dough into a ball and rise it in the mixing bowl covered in plastic wrap for about 45 minutes or until the dough almost doubles in size.
- Shape the knots.
Preheat the oven to 350 degrees Fahrenheit (175 degrees Celsius). After the dough has risen, punch down the dough and divide it into 16 pieces. Roll each piece into a snake-like shape that can be tied, about 6-8 inches in length. Tie each one in a single knot and place them on a prepared baking sheet lined with parchment paper (or two, depending on the size of your baking sheets). Be sure to space them out as they will puff up in the oven. Let them sit for about 10 minutes.
- Brush with garlic butter.
Mix the melted butter with the garlic powder (or fresh garlic), dried parsley, and salt. Brush the butter mixture over the garlic knots before baking, reserving about 1/3 of the butter mixture for after baking.
- Bake.
Bake the rolls at 350 degrees Fahrenheit (175 degrees Celsius) for about 15 minutes or until they begin to turn golden brown.
- Brush with more butter.
When you remove them from the oven, add some freshly chopped parsley to the remaining butter mixture and brush it onto the garlic knots.
- Enjoy!
Let the baked knots cool a little bit, then serve warm and enjoy!
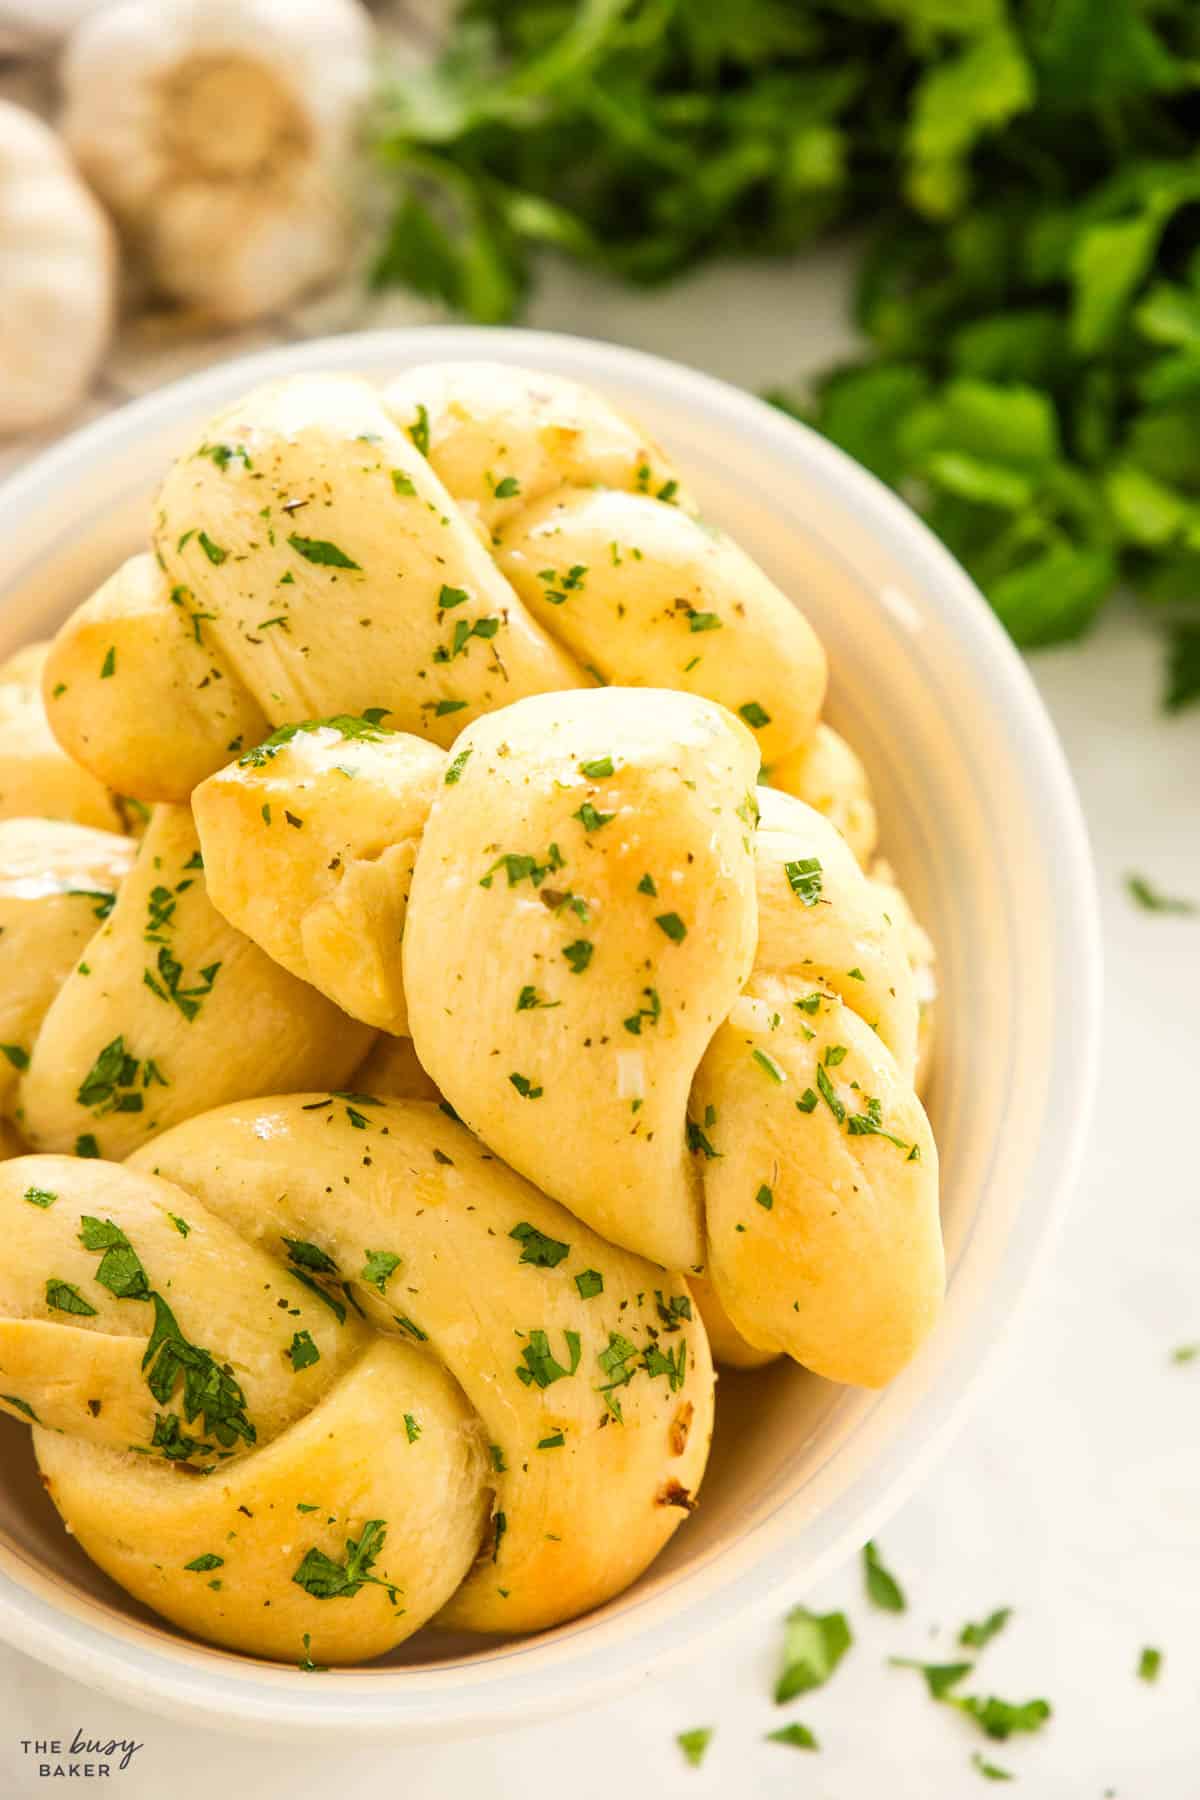
Can I make garlic knots with homemade pizza dough?
Yes, garlic knots can be made with homemade pizza dough.
Can I use olive oil instead of butter?
We don’t recommend using olive oil instead of butter in this recipe, simply because the butter helps the knots brown in the oven, and the butter gives a delicious flavour. But, olive oil can be used if you don’t have butter on hand.
Can I make this recipe ahead of time?
To make this recipe ahead of time, rise the dough in the mixing bowl in the refrigerator overnight. When ready to bake, let the dough sit at room temperature before shaping the knots and baking.
Can I use bread flour in this recipe?
We don’t recommend using bread flour in this recipe because it will make the garlic knots more dense and chewy and less fluffy.
What are garlic knots made of?
Garlic knots are made of a soft dough, but they’re sometimes made with pizza dough. They’re brushed with garlic butter and baked until golden brown.
How do you make a garlic knot shape?
Shaping garlic knots is easy – just roll the pieces of dough into a snake-like shape, tie in a knot, and place them on a baking sheet lined with parchment paper to bake.
Are garlic knots fried?
Homemade garlic knots are baked, not fried, but they are brushed with a generous amount of garlic butter before and after baking.
How much prep time does it take to make garlic knots?
The dough takes about 15-20 minutes to make, about 45 minutes to rise, and then another 15 minutes or so to bake.
We hope you love this garlic knots recipe as much as we do! Let us know in the comments below, what’s your favourite recipe featuring garlic? We’d love to know!
- Quick Dinner Rolls – Ready in one hour!
- One Pot Spaghetti and Meat Sauce
- Easy Homemade Classic Buttermilk Buns
- Easy Classic Italian Pasta Salad
- Homemade Biscuits
- Easy 15-Minute Pasta Carbonara
- Easy One Pot Italian Sausage Pasta
- One Pot Spaghetti and Meatballs
- Easy Homemade Garlic Butter Dinner Rolls
If you made this, share a photo!
Are you trying this recipe? Use the comment form below to share your take; now with support for image uploads and comment voting!
Garlic Knots
Recipe: Equipment
Recipe: Ingredients
- 1 1/4 cup milk at room temperature
- 2 1/4 teaspoons active dry yeast
- 2 tablespoons white sugar
- 3 1/4 cup all purpose flour plus 1/4 cup if necessary
- 1 teaspoon sea salt
- 1 large egg
- 6 tablespoons softened butter
- 1/3 cup unsalted butter melted
- 1 teaspoon garlic powder
- 1 teaspoon dried parsley
- 1/4 teaspoon salt
- chopped fresh parsley for garnish
Recipe: Instructions
- Add the milk, yeast, and sugar to the bowl of your stand mixer fitted with the dough hook attachment (or, if you're making them by hand, to a mixing bowl). Stir them together and let sit for 5 minutes until the mixture is bubbly.
- Next add the flour, salt, and egg to the bowl and stir everything together on low speed until a soft dough forms.
- Continue kneading the dough on low or medium-low speed and add the soft butter to the dough as it kneads, one tablespoon at a time. This will seem strange at first, but as it mixes into the dough, the dough will become more elastic and soft.
- Form the dough into a ball and rise it in the mixing bowl covered in plastic wrap for about 45 minutes, or until the dough almost doubles in size.
- After it rises, punch down the dough and divide it into 16 pieces.
- Preheat the oven to 350 degrees Fahrenheit (175 degrees Celsius).
- Roll each piece into a snake-like shape that can be tied, about 6-8 inches in length.
- Tie each one in a single knot and place them on a baking sheet lined with parchment paper (or two, depending on the size of your baking sheets). Be sure to space them out as they will puff up in the oven. Let them sit for about 10 minutes.
- Mix the melted butter with the garlic powder (or fresh garlic), dried parsley, and salt.
- Brush the butter mixture over the garlic knots before baking, reserving about 1/3 of the butter mixture for after baking.
- Bake the rolls at 350 degrees Fahrenheit (175 degrees Celsius) for about 15 minutes or until they begin to turn golden brown.
- When you remove them from the oven, add some freshly chopped parsley to the remaining butter mixture and brush it onto the garlic knots.
- Let them cool a little bit, then serve warm.
Recipe: Notes
Make Ahead Instructions
To make these garlic knots ahead of time, make the dough and rise it in the fridge overnight. In the morning, let the dough sit out for 30 minutes at room temperature before shaping the knots and baking as directed in the recipe.Freezer Instructions
We recommend freezing the knots after baking for best results. Freeze them in an airtight container or bag with a layer of parchment paper between them to keep them from sticking. Thaw them at room temperature and reheat before serving in the oven for a few minutes.Storage Instructions
Store the garlic knots in an airtight container or bag at room temperature for up to 3 days. For best results, reheat them in the oven for a few minutes before serving.Recipe: Nutrition
Notice: Nutrition is auto-calculated, using Spoonacular, for your convenience. Where relevant, we recommend using your own nutrition calculations.
