This Vanilla Bean Scones recipe is the perfect make-at-home coffee shop treat for vanilla lovers! Follow all our pro tips for making the best homemade flaky scones!

Is there anything better than a delicious scone with a cup of coffee or tea on a cold weather day? If there is, we can’t think of anything! This Vanilla Bean Scones recipe is one that we shared in the first month of thebusybaker.ca and we continue to make them because they’re just SO delicious and simple to make!
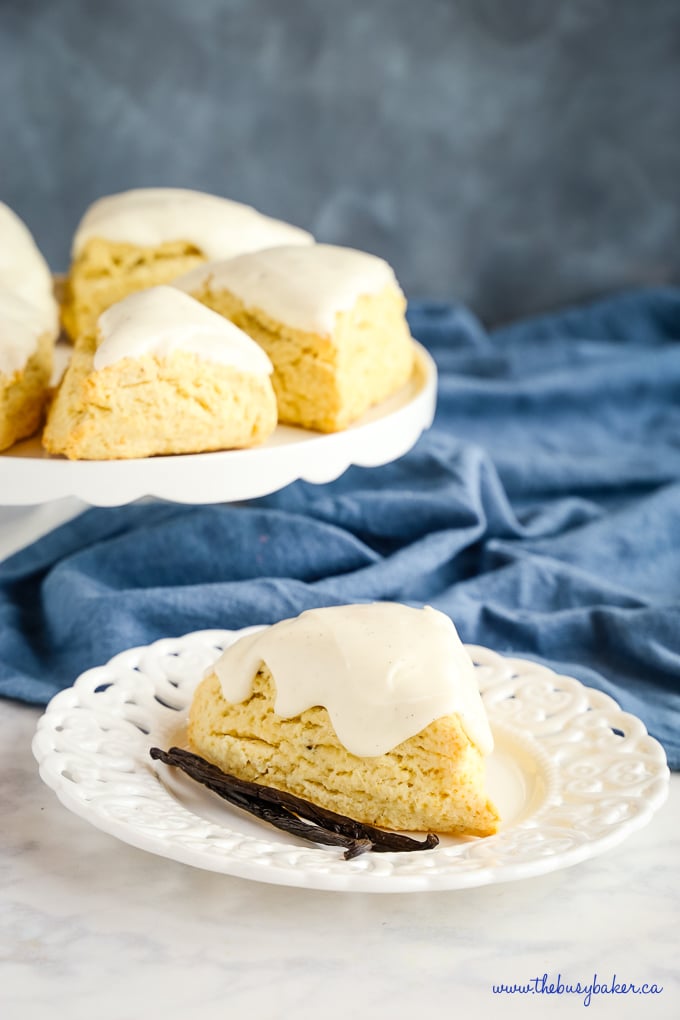
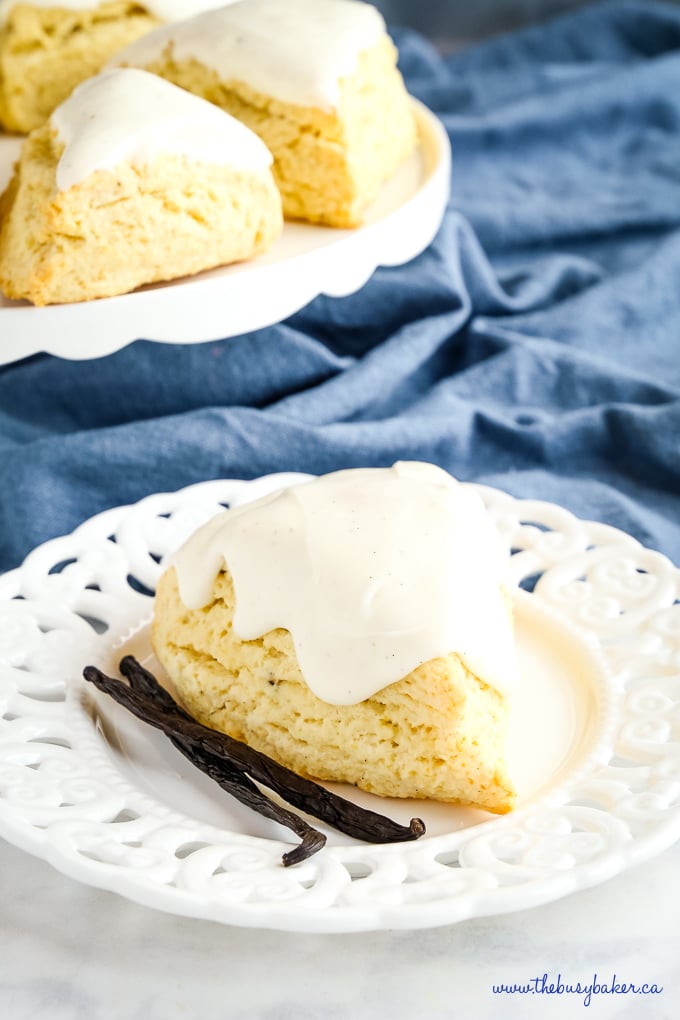
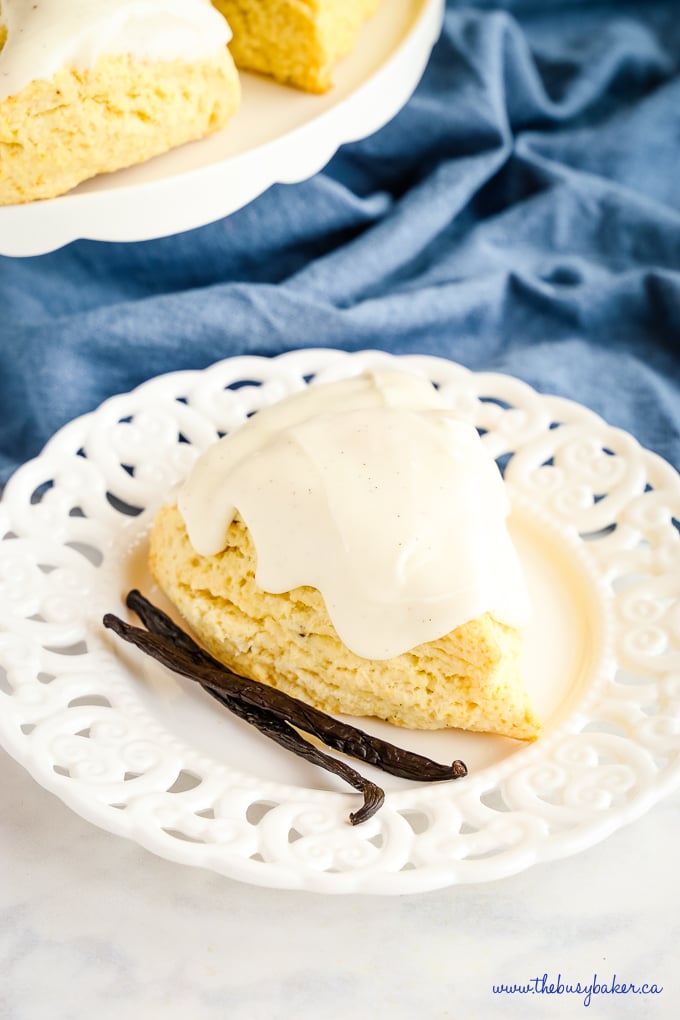
We’ve enjoyed making all different kinds of scones for years, and we’ve shared some of our favourite scone recipes with you before, like these Best Ever Starbucks Pumpkin Scones. These Vanilla Bean Scones follow a very similar recipe that’s super simple, but at the same time taken to the next level by real vanilla beans. When it comes to vanilla anything, real vanilla beans or real vanilla bean paste is the only way to go. It’ll give you the most authentic vanilla flavour and it’ll will make your kitchen smell like vanilla for days (and who wouldn’t want that??!).
Don’t toss out those empty beans after retrieving the seeds either! Save them in an airtight container and use them for infusing hot milk or other liquids with delicious vanilla flavour, like in our Easy Homemade Earl Grey Vanilla Tea Latte! It goes perfectly with these Vanilla Bean Scones!
You’ll need these kitchen items to make this Starbucks vanilla bean scones recipe (affiliate links):

EASY NO FAIL MUFFIN RECIPES AND BAKING TIPS
Get my easy no-fail muffin baking e-cookbook!
You need these ingredients to make this Vanilla bean scones recipe:
- all purpose flour
- white sugar
- baking powder
- salt
- 2 vanilla beans
- unsalted butter
- whole milk
- egg
- icing sugar
- whipping cream
Time needed: 40 minutes
Follow these tips on how to make Starbucks Vanilla Bean Scones flaky and how to use real Vanilla beans!
- Retrieve the seeds.
Simply slice open the the vanilla bean lengthwise and open it up with the tip of your knife. Using the back of your knife, scrape out all the black seeds inside (they’ll stick together in a big clump) and add to whatever recipe you desire!
- Use COLD butter!
Cold butter straight from the fridge is what helps create those flaky layers you see in bakery scones. Using warm or room temperature butter will cause your scone dough to be too liquid-y and you’ll end up with a mushy mess!
- Use your HANDS!
The best way to combine the dry ingredients and the butter is with your hands, using quick rubbing motions. Pick up a handful and rub it once between your hands to create small sheets of butter instead of tiny clumps. This will help create those flaky layers!
- FOLD, don’t knead!
When the dough is just about mixed (when you still see flour!), pour it out onto a work surface and fold it in half, and in half again (and again…) until everything is combined. This will also create those delicious layers and prevent the dough from becoming dry.
- Don’t over-mix!
Nobody likes a tough, dry scone. Mix just until the flour almost disappears and you’ll be left with flaky layers and a nice, tender scone!
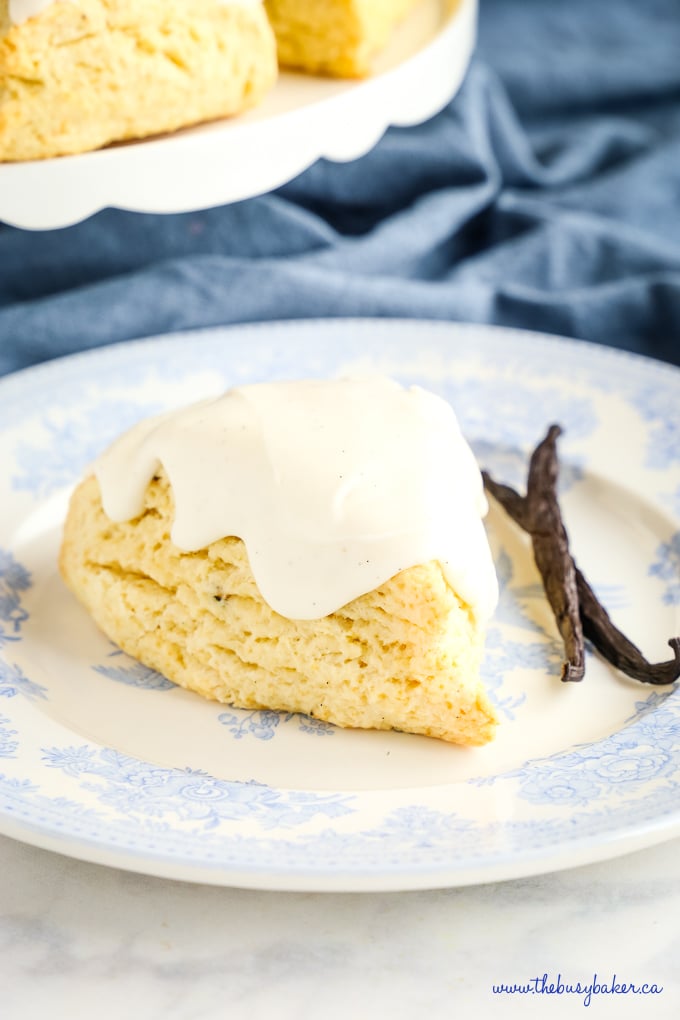
Can I replace the whole vanilla bean in this Vanilla Bean Scone recipe?
You can substitute a whole vanilla bean with 2 tsp of high quality vanilla extract or vanilla bean paste.
How best to store these vanilla bean scones?
These vanilla bean scones are best enjoyed the day they are made. Extras can be stored in an airtight container at room temperature for up to three days.
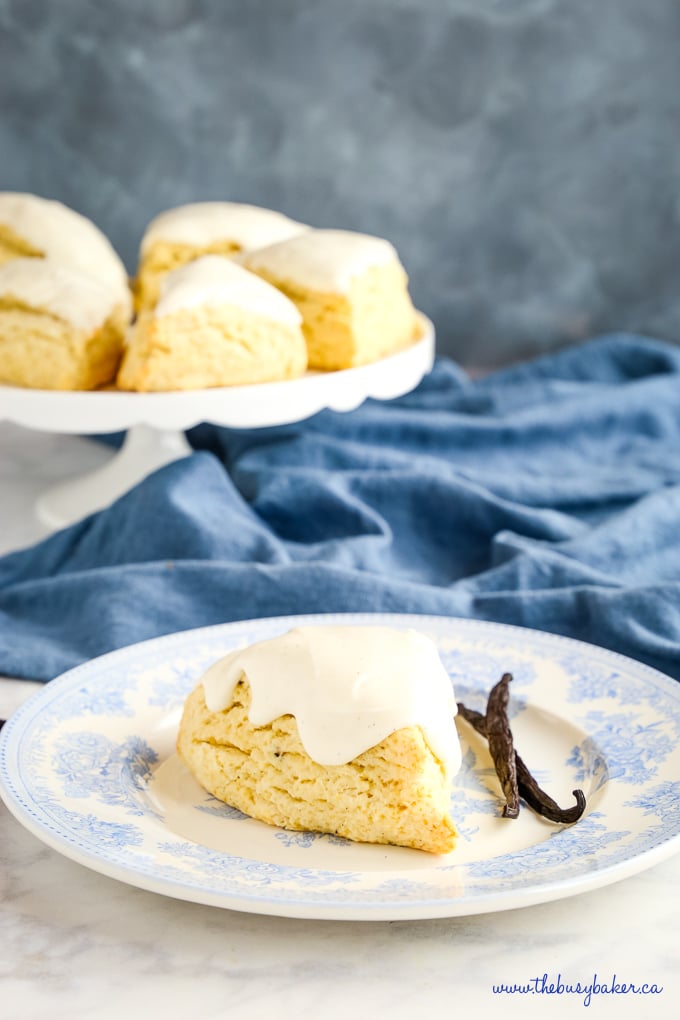
We hope you love these Vanilla Bean Scones as much as we do! Let us know in the comments below, what’s your favourite coffee shop treat to make at home? We’d love to know!!

EASY NO FAIL MUFFIN RECIPES AND BAKING TIPS
Get my easy no-fail muffin baking e-cookbook!
If you made this, share a photo!
Are you trying this recipe? Use the comment form below to share your take; now with support for image uploads and comment voting!
Best Ever Vanilla Bean Scones
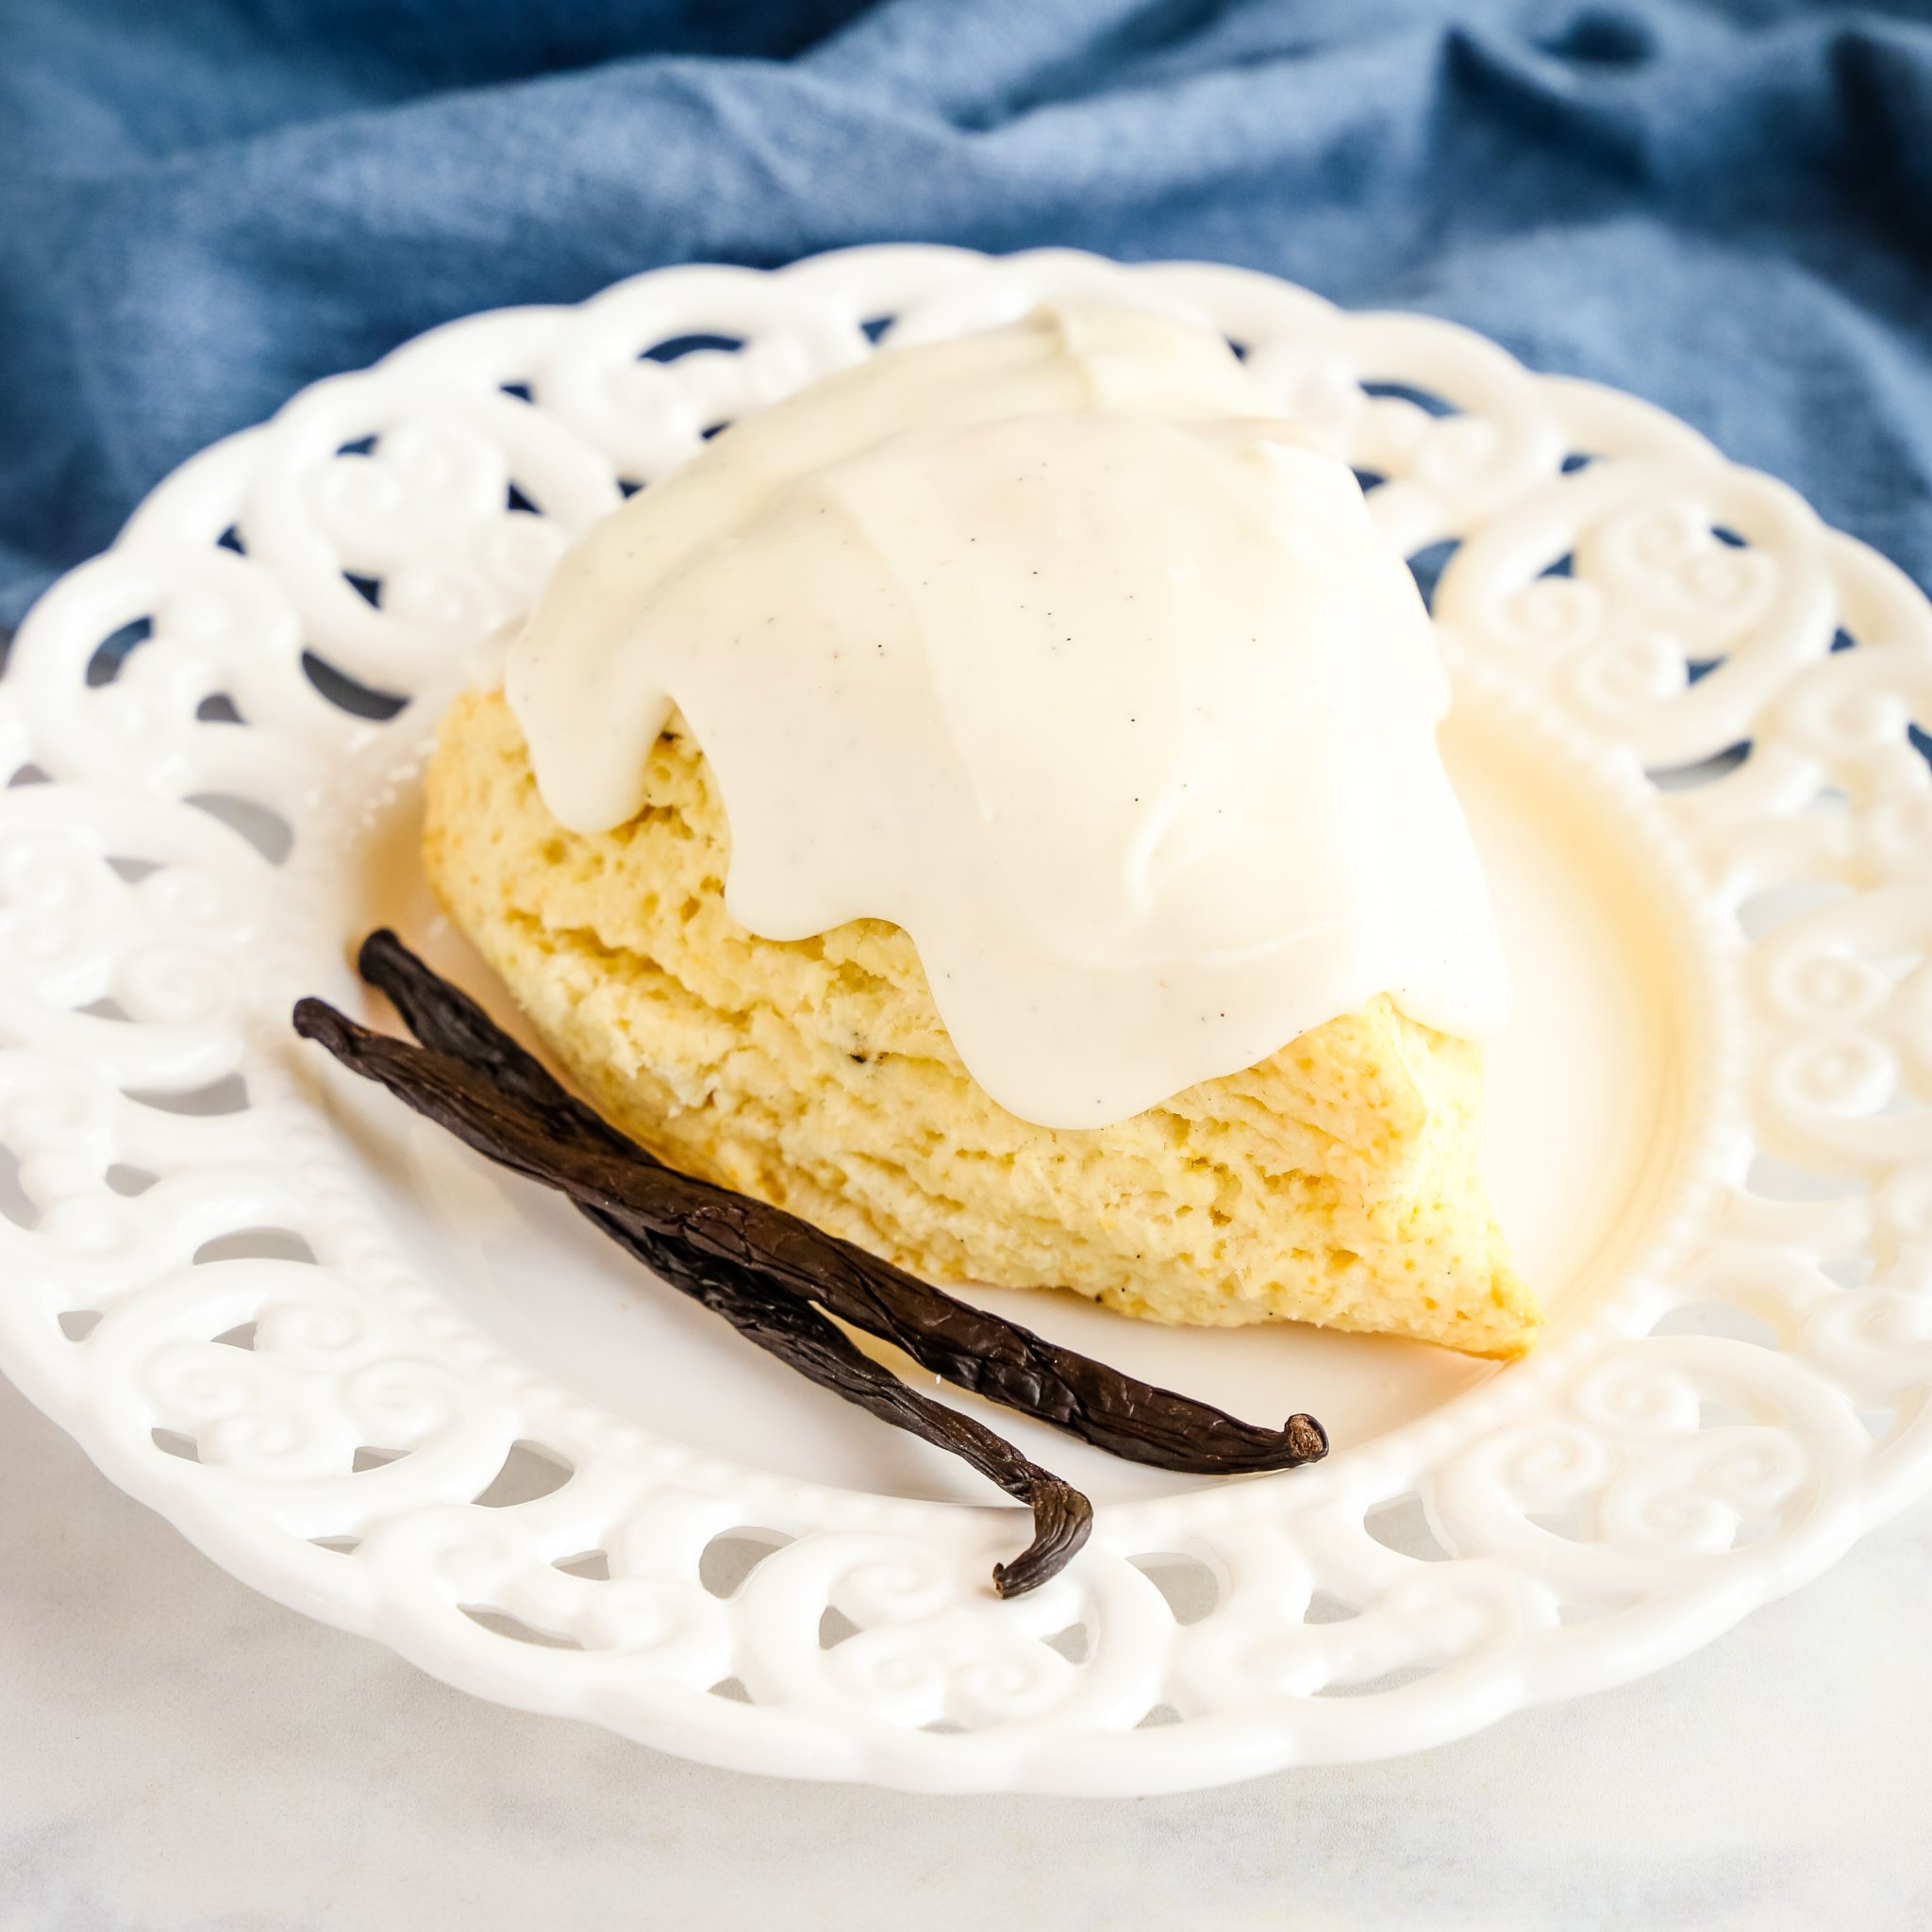
Recipe: Ingredients
- 2 cups all purpose flour
- 1/3 cup sugar
- 1 tbsp baking powder
- 1/4 tsp salt
- 1 vanilla bean
- 1/2 cup unsalted butter cold
- 3/4 cup whole milk
- 1 egg
For the glaze:
- 1 cup icing sugar
- 1 1/2 tbsp whipping cream
- 1 vanilla bean
Recipe: Instructions
- Preheat your oven to 375 degrees Fahrenheit.
- Start by sifting the flour, baking powder, sugar and salt into a clean, dry bowl using a sieve or sifter. Tap the sieve against the palm of your hand until all the dry ingredients have passed through it and you’re left with the lumps. Push the lumps through the sieve with your finger tips.
- Next, slice a vanilla bean down the centre lengthwise using a paring knife.
- Open it up and scrape out as many of the teeny tiny vanilla bean seeds as you can using the back edge of your knife.
- Even after you’ve scraped out all the vanilla seeds you can, don’t throw away the rest of the bean! Pit it back in its container or in an airtight bag and reserve it for another recipe that requires you to simmer a vanilla bean (ex: homemade pudding or custard), use it in tea or even a homemade latte or steamer.
- Add the vanilla bean seeds to the flour mixture and blend in using a whisk. Try your best to break up the clumps of vanilla bean seeds, but if there are a few tiny clumps left that’s ok. The vanilla bean seeds will probably disappear into the flour mixture, but don’t worry. They’ll become visible again once the wet ingredients are added.
- In a liquid measuring cup, measure the whole milk and add the egg. Whisk together using a fork and set aside.
- The next few steps should be done quickly, as you’re working with cold butter and you want the butter to be as cold as possible when it hits the heat of the oven. This will result in a flaky scone, rather than a heavy and dense one.
- Cut up your butter, right from the fridge, into little pieces and dump it into the flour mixture.
- Using your hands (wash them well first and remove any rings), pick up handfuls of the butter and flour mixture, rubbing the pieces of butter and the flour between the heels of your hands to create “sheets” of butter. You should act quickly here, and don’t allow the pieces of butter to sit in your hands for any length of time as the heat from your hands will cause it to soften. The goal is to create paper-thin pieces of butter, small and large throughout the mixture. Once there are no thick chunks of butter remaining, only thin sheets, remove your hands from the mixture. Hands equal heat, so handle the mixture as little as possible.
- Pour in the wet ingredients and mix roughly with a fork. Do not over mix, or the result will be heavy and dense. Once the wet ingredients have been incorporated but there are still several streaks of flour, turn the dough out onto a clean and floured counter surface. Press the dough down into the counter and then fold one half over the other half like you are folding a piece of paper. Press down again and make another fold. Repeat this 2 or 3 more times, gathering any outlying dough bits and flour into your folds. Don’t knead the dough like you would if you were making bread, and don’t stir or mix the dough like you would if you were making muffins. Scones are technically a pastry, so the goal is flaky layers that are created by the thin sheets of butter and all the folding.
- Once your dough is formed after folding several times, shape it into a 10-inch circle (approximately).
- Again, be careful not to handle the dough too much, so a few little cracks here and there are fine.
- Cut the circle into eight triangles with a very sharp knife (like you’d slice a pizza)
- Arrange the 8 triangles on a parchment-lined baking sheet and bake for about 18-22 minutes. I usually set the timer and start watching them after about 16 minutes. You want them to stay nice and white and not get too brown, especially on the narrow end of the triangle.
- Remove them from the oven when they're just barely golden brown on the bottom and the surface of the scones lose their shine. Let them cool for 3-5 minutes on the baking sheet. Transfer them to a cooling rack to cool completely.
For the glaze:
- Sift your icing sugar into a bowl and add the seeds from another vanilla bean, using the same method you used to add the vanilla bean to the dry ingredients for the scones (using the back of your knife and a wire whisk). Slowly add the whipping cream, 1-2 tsp at a time, whisking constantly. You may need to add a little more or a little less than 1 1/2 tbsp, depending on the consistency of the mixture.
- It’s ideal if the icing isn’t too thin and drippy and ends up running down the sides of the scones.
- If you think you’ve got the right consistency of the icing, test it by dipping the back of a spoon into the icing and turning it over. This will give you an idea of how the icing will perform once you ice the scones.
- Once you have the right consistency, dip the top of each scone in the icing and place it onto a wire rack. Let the icing set for about an hour before storing the scones in an airtight container.
Recipe: Notes
Recipe: Nutrition
Notice: Nutrition is auto-calculated, using Spoonacular, for your convenience. Where relevant, we recommend using your own nutrition calculations.
I’ve adapted this recipe from Anna Olson’s basic scone recipe that you can find here.

Love vanilla bean! So excited to try this recipe!
Thanks! Hope you love it!! 🙂
I would like to wake up with these scones! They look divine!
Thanks so much!
I am going to try these this week! Thanks!!
Hope you love them! 🙂
We love scones with a cup of tea! These are fantastic!
We do too 😉
These would go great with a cup of coffee in the morning or for dessert!
We agree 🙂
Scone are my favorite breakfast treat! Can’t wait to make these!
Hope you love them!
These sound delicious right about now!
Thanks! 🙂
I just made these scones today. So light, flaky and buttery! And the vanilla beans, words can’t express how happy I was!
Thank you!
I’m SO glad you loved them! Thanks!
How much vanilla extract might be used instead of beans? I don’t have any beans but always have a lot of extract on hand.
I’d recommend using high quality vanilla extract (2 teaspoons) or vanilla bean paste.
I have this recipe baking in the oven now. The dough not turn out for some reason, it was still quite wet. I ended up adding flour as I went but I probably overworked it.
This scone dough is quite a wet dough. Was your butter very cold? It could also be that you did not measure the flour correctly. That used to happen to me all the time when I began baking. I hope it ends up working fine for you. Happy baking ☺️
The dough was VERY wet so I had to quickly add more flour as I was trying to fold the dough. What did I do wrong?
I’m glad you liked the recipe, and if your dough was too wet I’d recommend adding a little extra flour like you did. If you mis-measure the flour even slightly it can make a big difference. Be sure to only add enough flour to be able to fold the dough and ensure it doesn’t stick to the countertop. Happy baking!
I have made several different recipies of scones, and this one is now on my top 5 scone list. My only disappointment was the lack of vanilla flavor. I used a whole vanilla bean and tried hard to get a hint of vanilla taste as I ate the scone, but my guests and I did not taste it. They were still wonderful!
I’m glad you enjoyed them! Feel free to add some vanilla extract or vanilla bean paste for an even more intense vanilla flavour!
is there a video for making the sheets of the butter and folding the dough?
We don’t have a video for this recipe at the moment but we’re working on it! Happy baking!