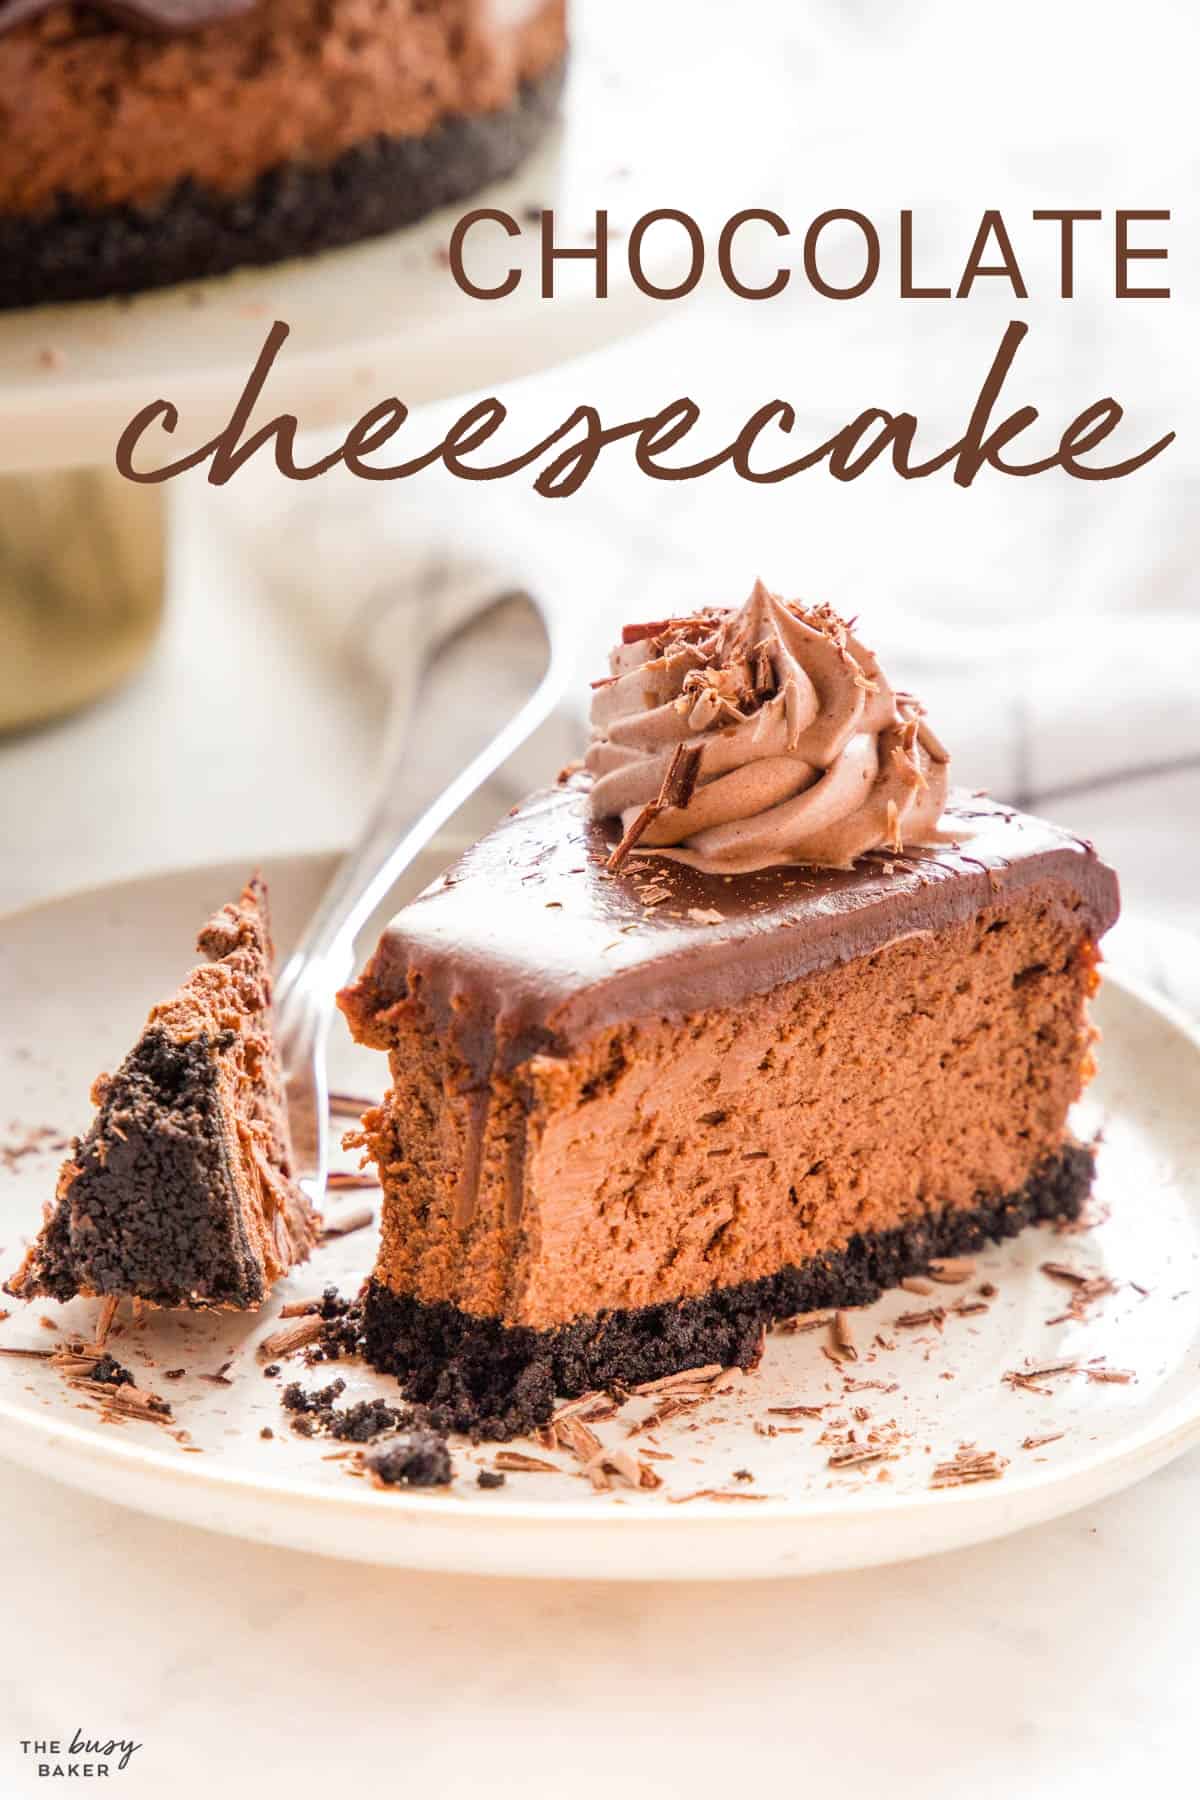
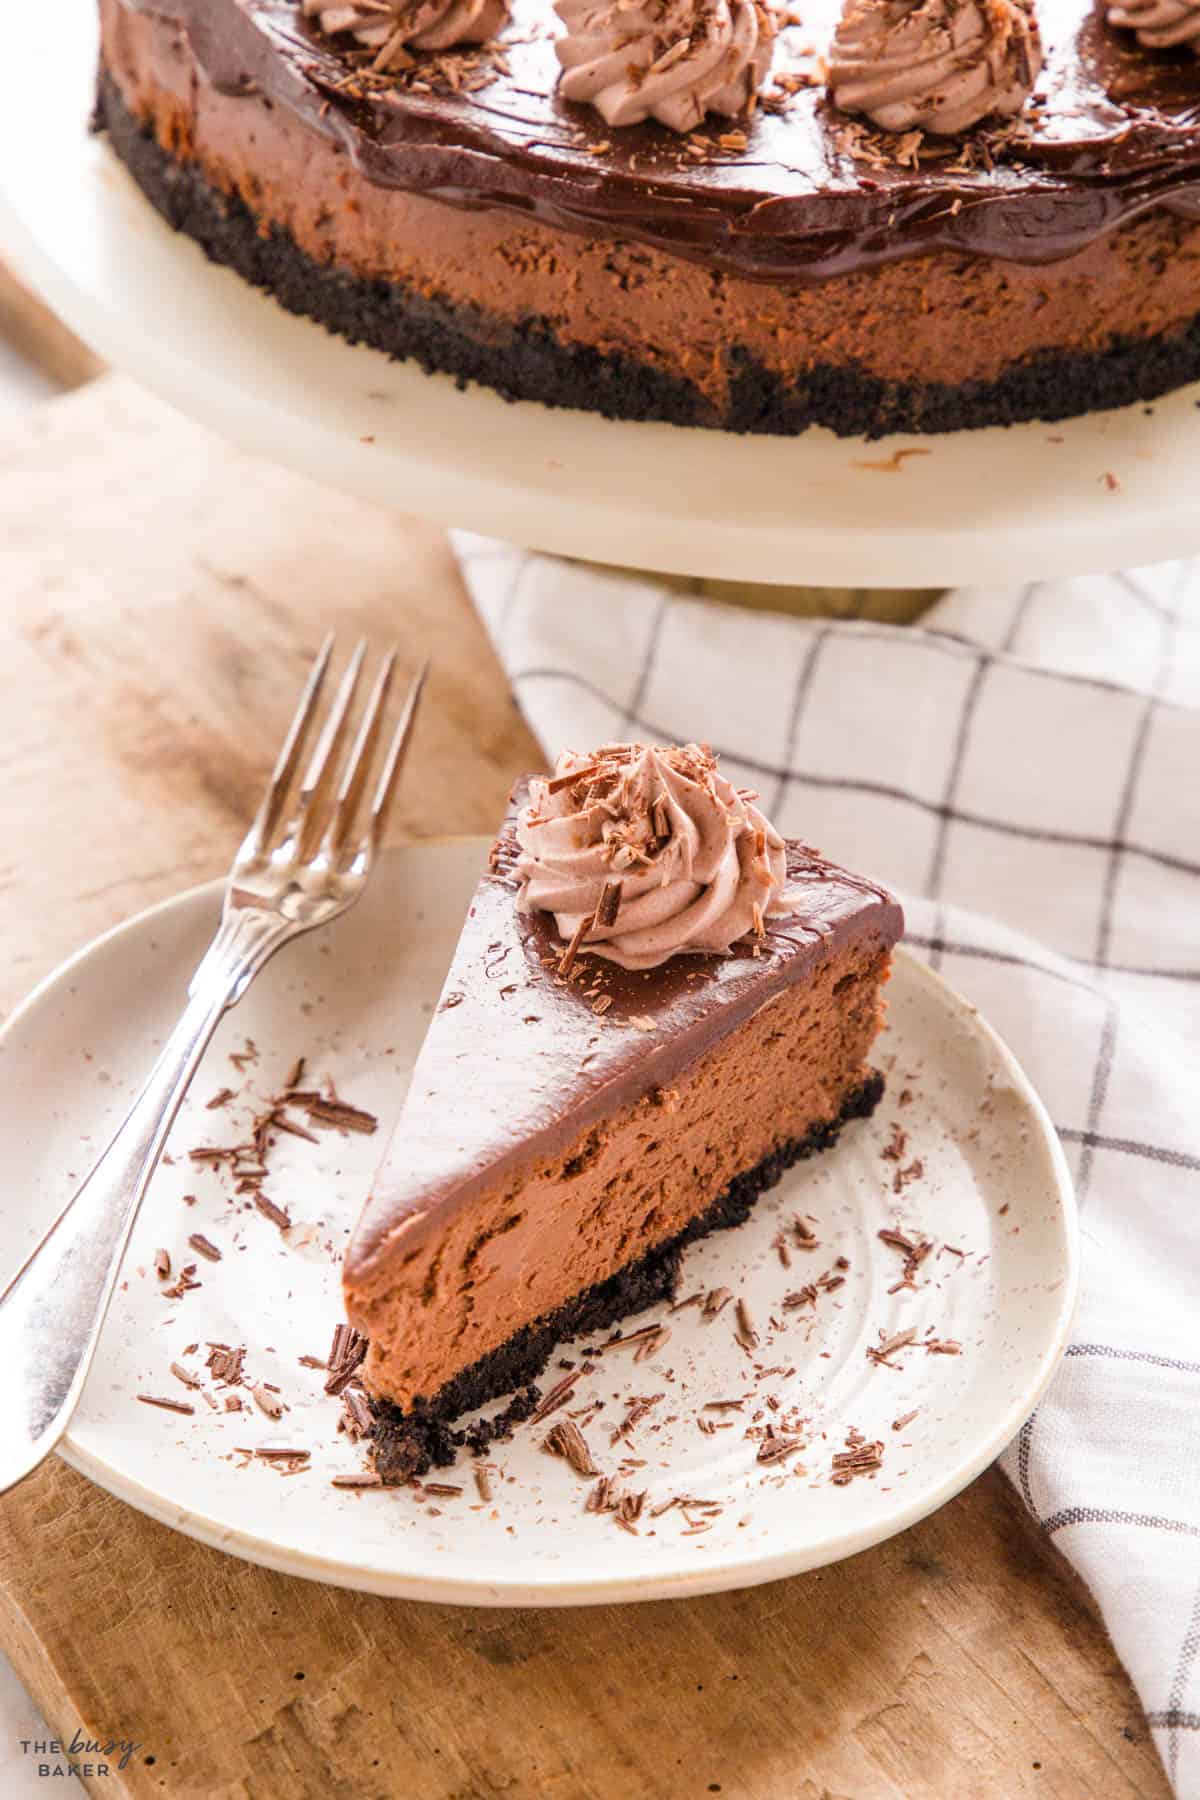
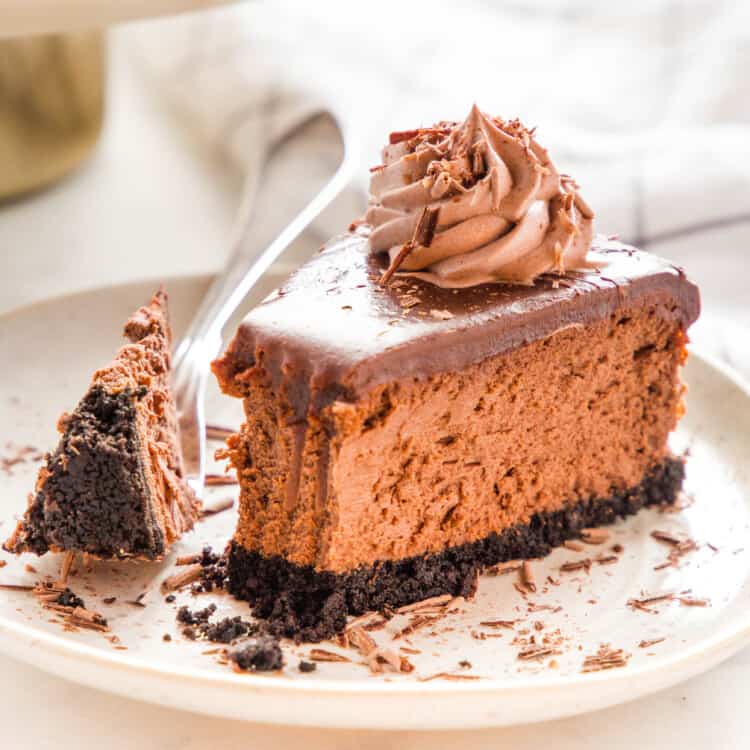
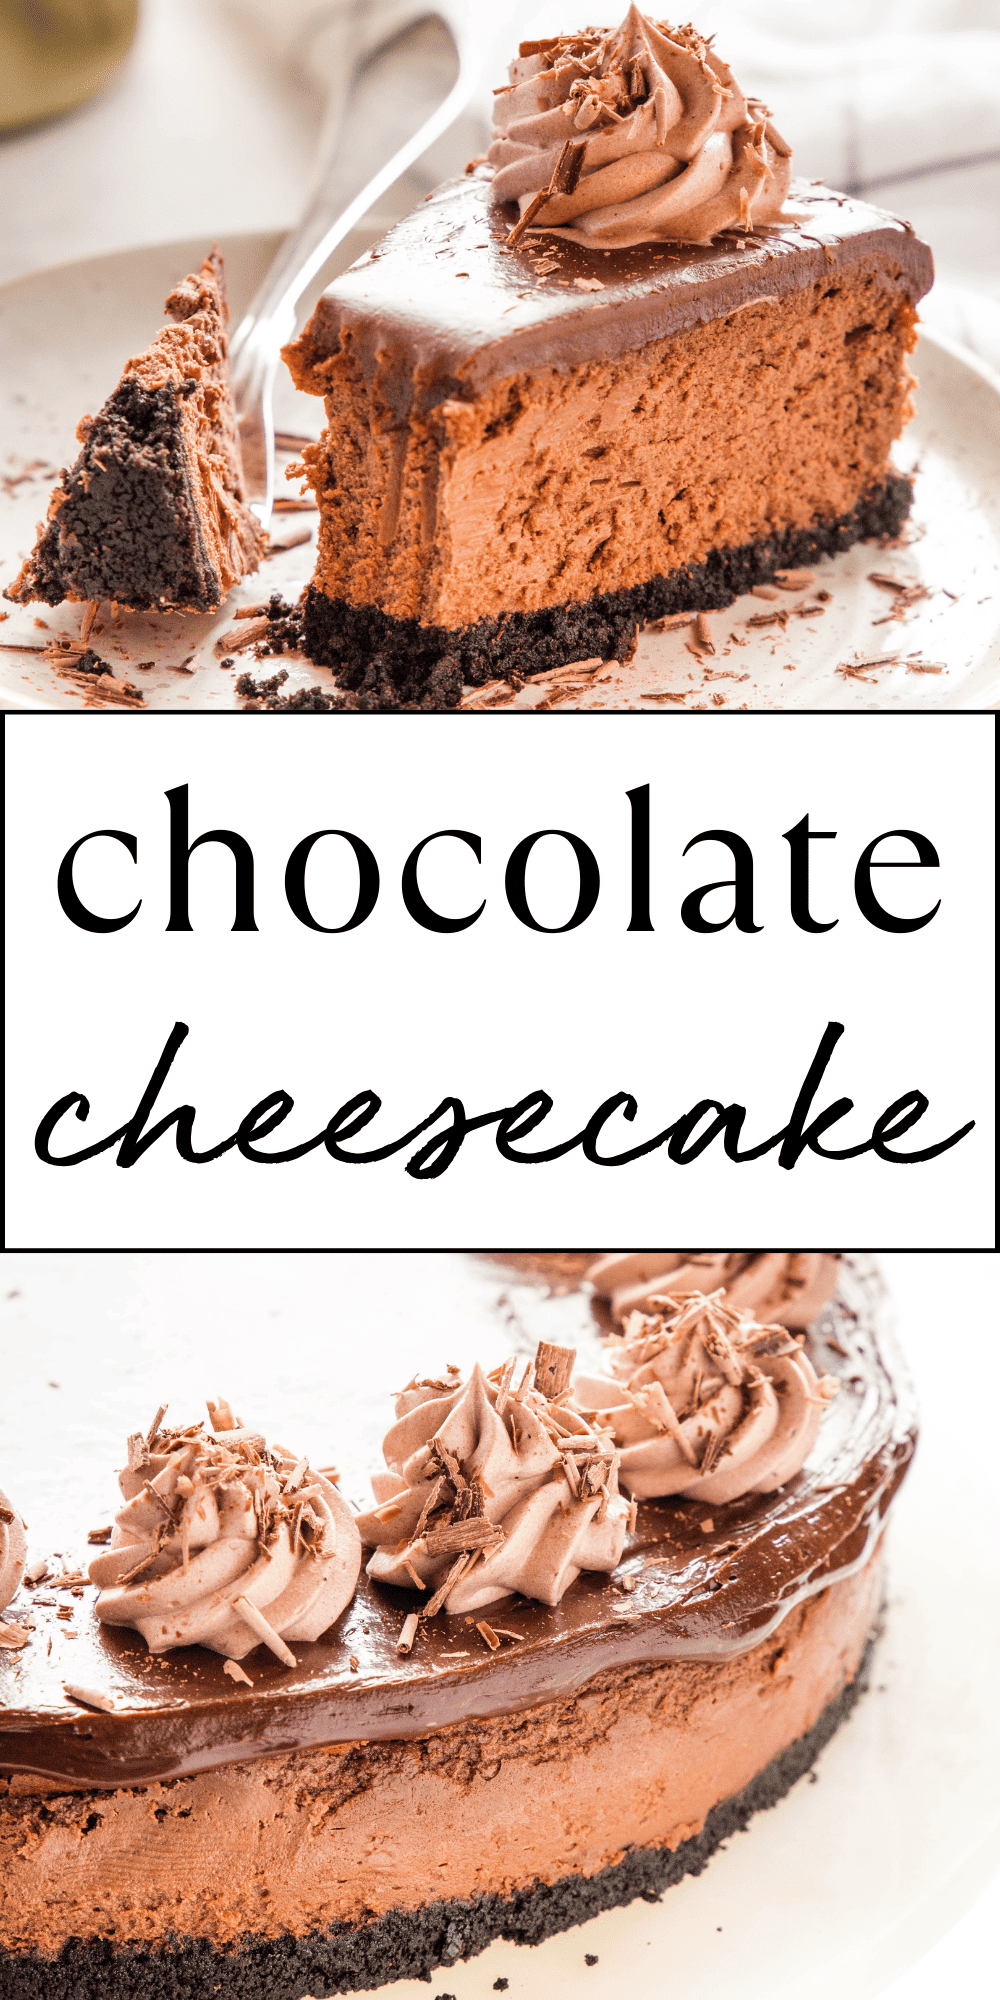
This Chocolate Cheesecake recipe is a deliciously creamy and indulgent dessert with a chocolate cookie crust and topped with a decadent chocolate ganache. It’s the PERFECT homemade chocolate cheesecake, with no water bath required, and easy to make with our pro tips, tricks and secrets!
Estimated reading time: 14 minutes
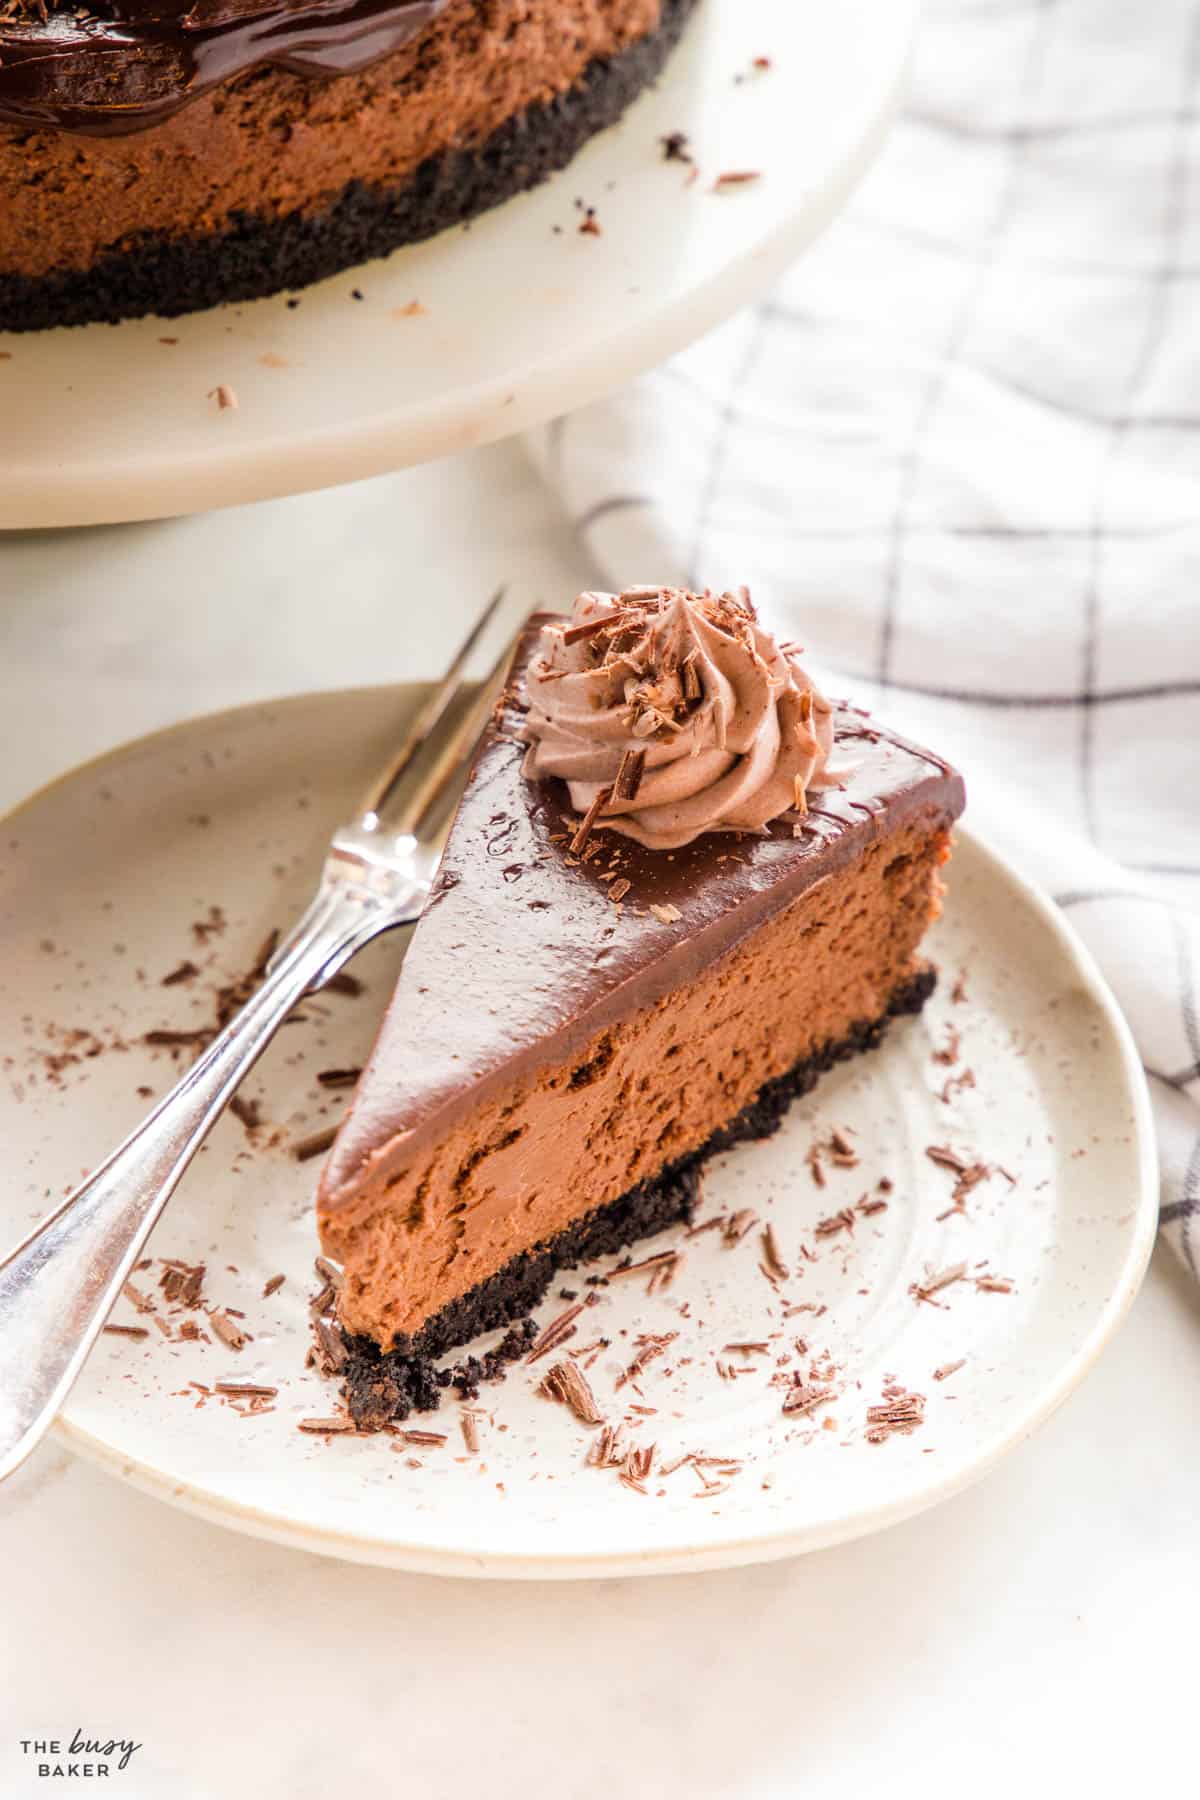
If you’ve been a reader of The Busy Baker for any length of time you’ll already know how much we love a good cheesecake. Cheesecakes are truly the perfect dessert – they’re sweet but not too sweet, they’re ultra creamy and decadent, and they’re pretty easy to make with just a few simple tips and tricks for success.
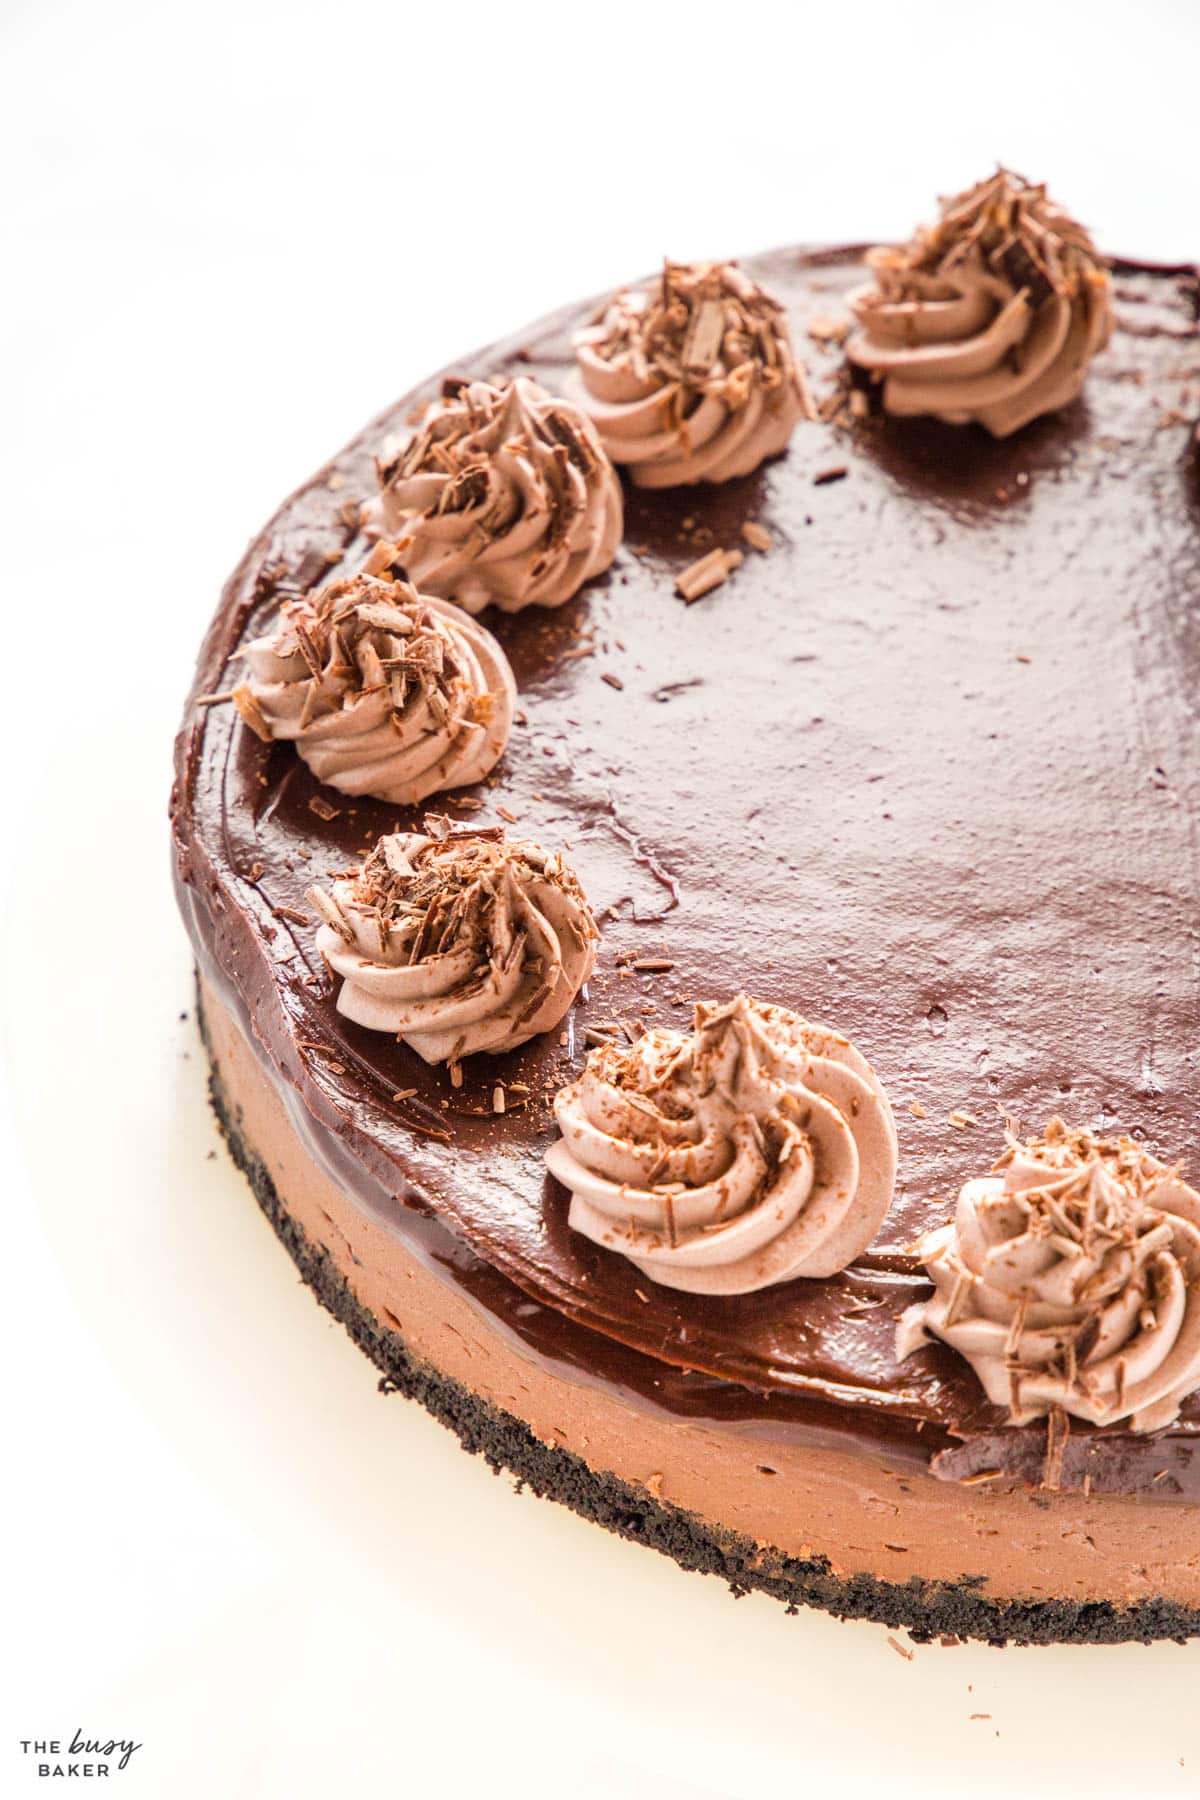
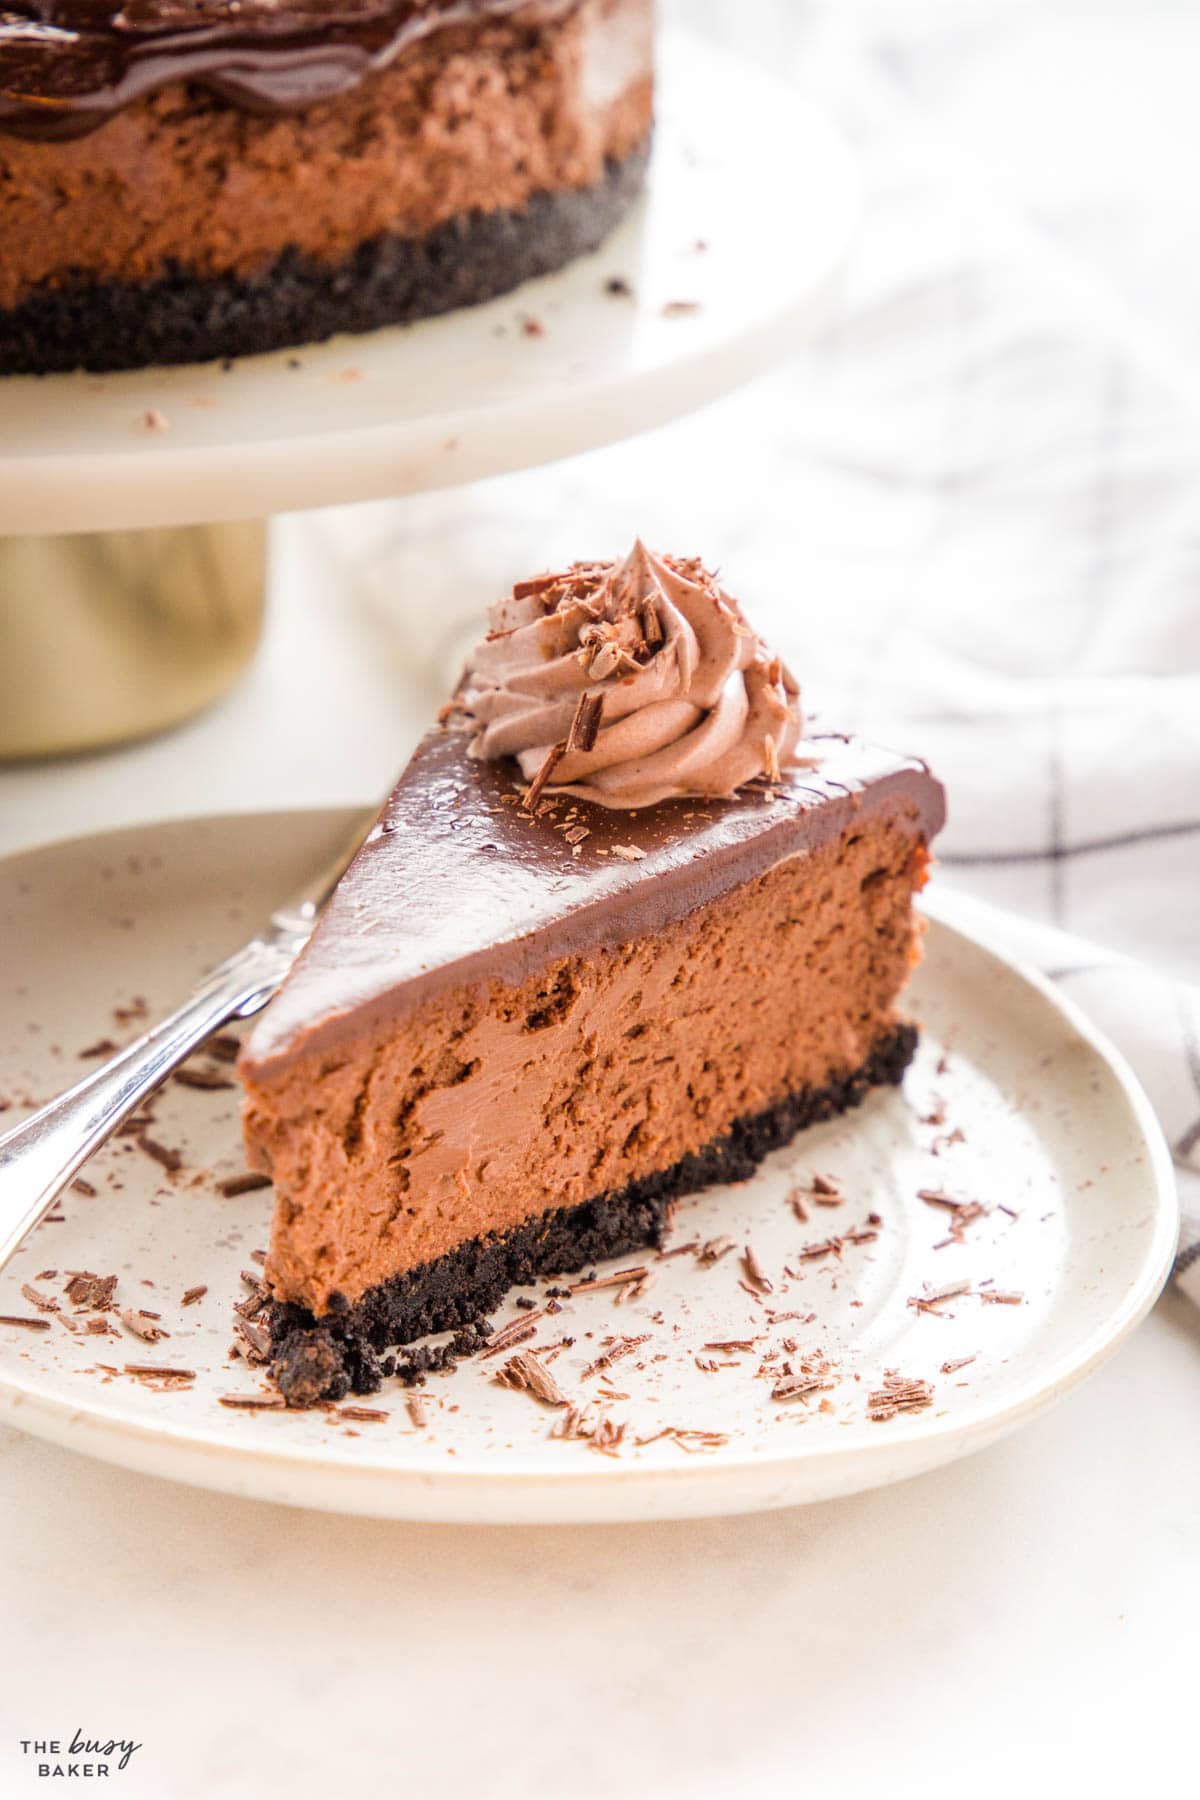
This Chocolate Cheesecake recipe is absolutely amazing. It’s the perfect cheesecake with the perfect texture – so creamy and smooth, light but absolutely indulgent, and the rich ganache topping just takes it over the top! If you love chocolate even a little bit, you’re going to LOVE this chocolate cheesecake recipe!
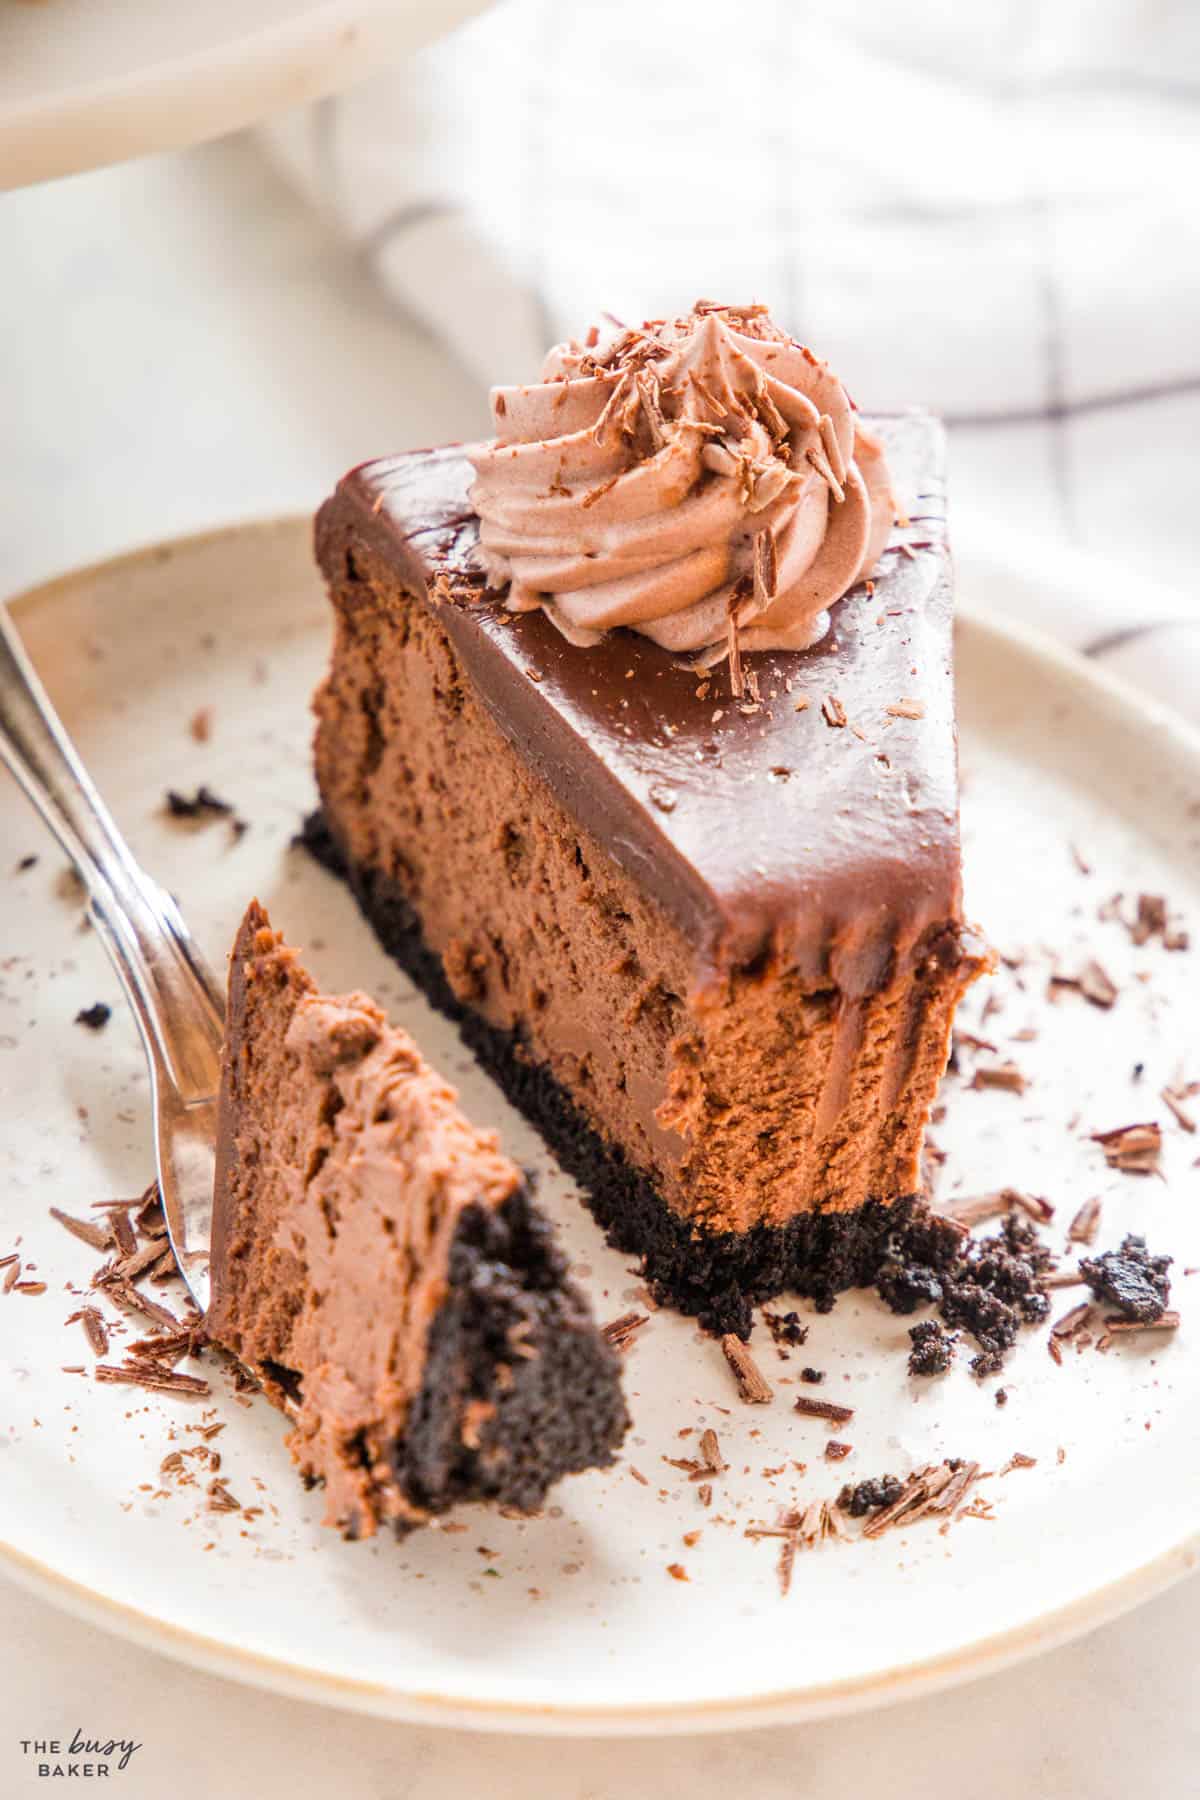
If you’re looking for a delicious Valentine’s Day dessert, this Chocolate Cheesecake recipe is the ultimate in decadence! Here’s some other desserts for Valentine’s Day that we recommend!
- Red Velvet Cheesecake
- Chocolate Lava Cake
- Red Velvet Brownies
- Easy No Bake Triple Chocolate Cheesecake
- Chocolate Milkshake
- Best Red Velvet Cake
- Best Ever No Bake Chocolate Cheesecake
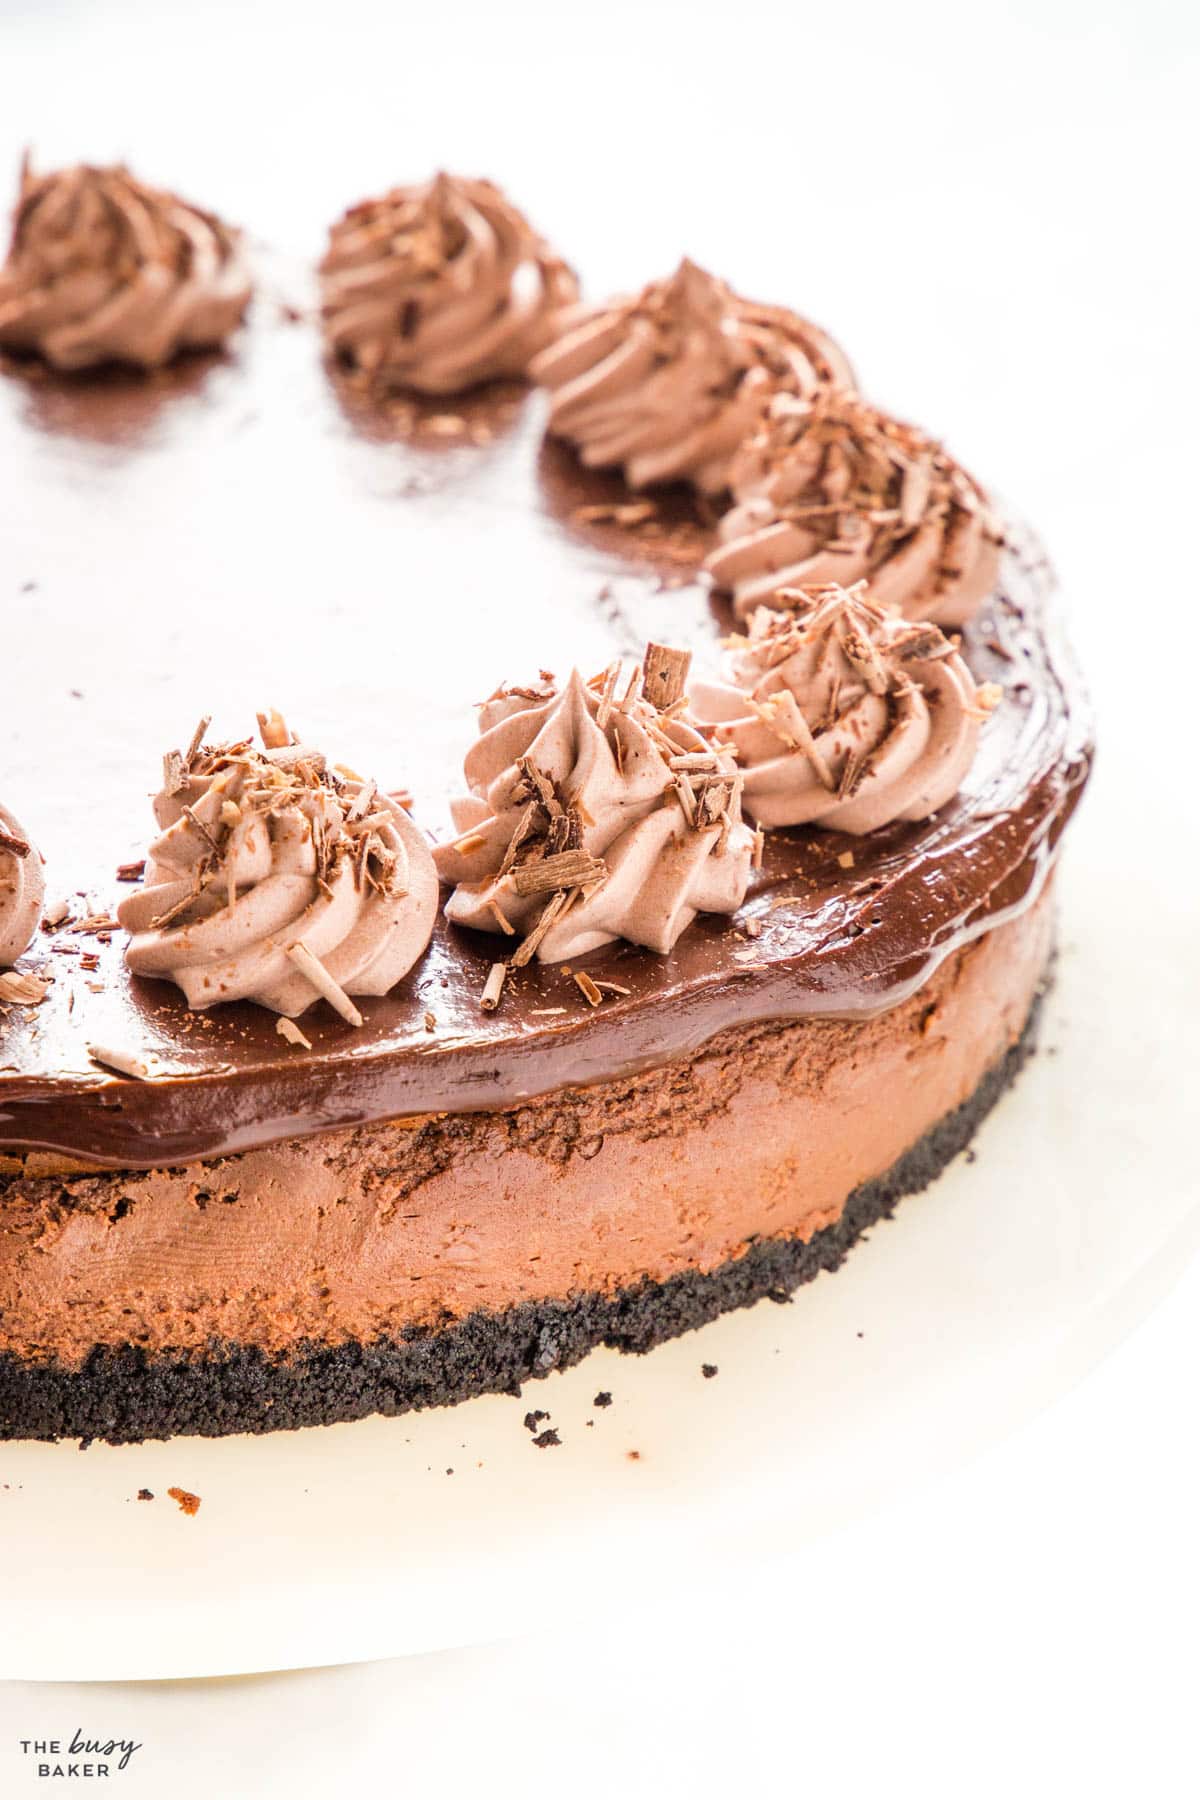
Creating the perfect chocolate cheesecake is possible, even if you’re a beginner in the kitchen! Here’s a collection of all our best pro tips and tricks you’ll need to make the best creamy, decadent cheesecake that’s sure to impress, whether you’re a beginner or a seasoned baker.
When making cheesecake, ingredients should always be at room temperature to ensure they blend together smoothly. Cold ingredients can lead to a lumpy batter, which affects the texture of your cheesecake once it’s baked. Be sure to leave the ingredients at room temperature for at least 30-45 minutes before beginning.
We also recommend mixing the cream cheese on its own first to ensure it’s completely smooth before adding other ingredients. This will also help the cheesecake become creamy and smooth.
Choose a high-quality brand of cream cheese, fresh eggs, and chocolate that’s meant for melting and baking. High-quality ingredients will increase the quality of your cheesecake!
Making the crust first is the key to being able to get the cheesecake into the oven as quick as possible after you prepare the filling.
Avoid low fat cream cheese when making cheesecakes. The full fat version contains more fat and less water, giving the cheesecake that creamy texture.
When adding the eggs, add them one at a time, mixing on low speed just until combined. Eggs help create the cheesecake’s structure as the cheesecake bakes, but over-mixing when adding eggs incorporates far too much air into the cheesecake batter. These pockets of air expands in the oven and deflate during the cooling process, which creates large cracks in the cheesecake. Be careful not to over-aerate the batter when adding the eggs!
For a chocolate cheesecake made with melted chocolate, melt the chocolate gently and let it cool slightly before adding it to the cheesecake mixture. If there’s a big difference between the temperature of the batter and the temperature of the chocolate, the chocolate could seize up and harden when you add it, creating chunks of chocolate in the batter. Incorporate it slowly into the batter to ensure it distributes evenly throughout the mixture without over-mixing.
Over-mixing leads to cracks in your cheesecake, so as tempting as it might be to whip the cheesecake batter, don’t do it! Mix on low or medium-low speed just until the ingredients are combined.
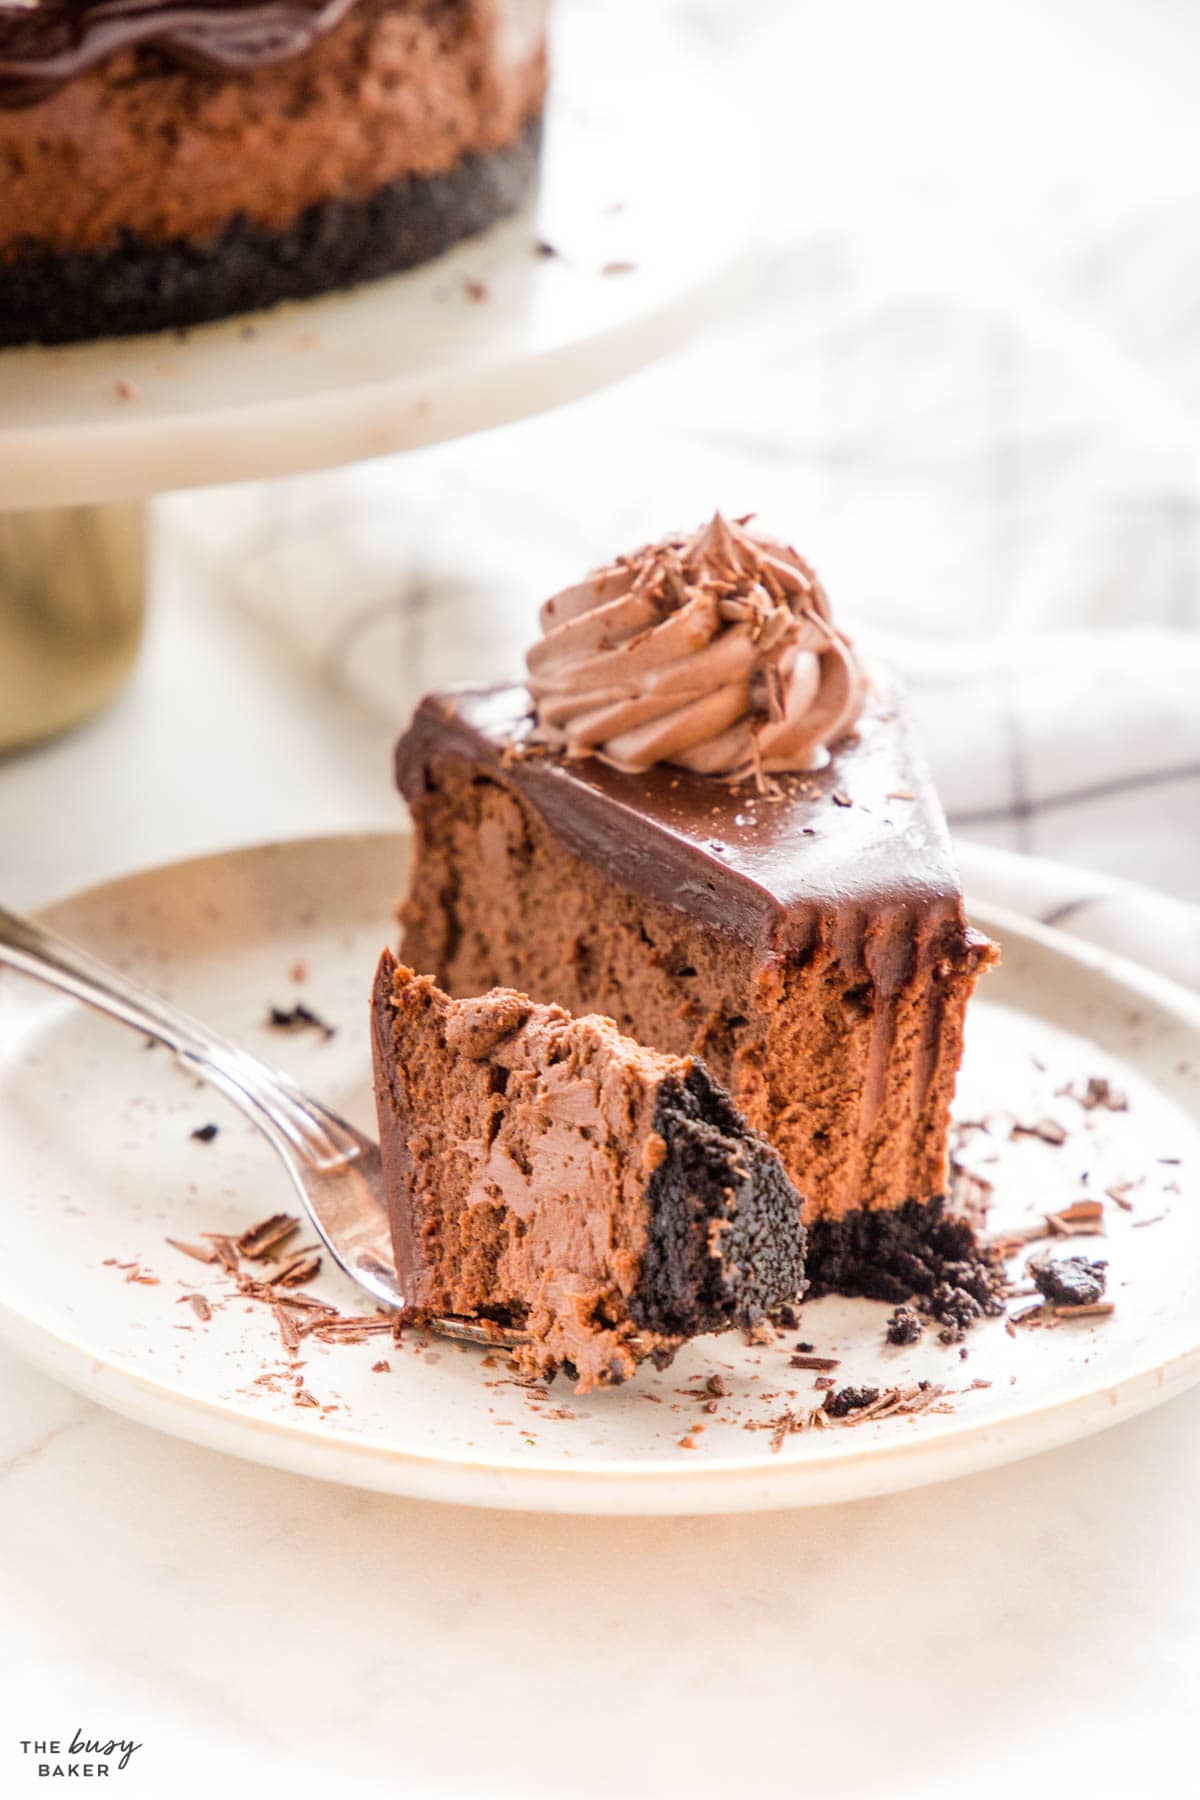
To avoid under or over-baking, look for the edges to be set and the centre to jiggle like jello, not like liquid when you gently move the pan. This indicates it’s perfectly baked throughout.
We always recommend slowly cooling the cheesecake to avoid cracks. The best way to do this is to turn off the oven and crack the oven door open with a thick wooden utensil. This will allow the heat to escape slowly and consistently and will help the cheesecake reach room temperature slowly.
It’s essential to chill your cheesecake in the refrigerator for at least 2 hours or overnight once it’s completely cooled. This step is crucial for achieving the right texture and firmness. Don’t be tempted to place it directly in the fridge after baking though – this can cause it to fall and lose its shape. Cool it to room temperature before chilling. Trust us, having patience is worth it.
A velvety chocolate ganache not only adds a layer of flavour to the chocolate cheesecake but also covers any surface imperfections or small cracks (tiny cracks are normal!). Pouring the ganache over the cheesecake and allowing it to drip down the sides a little bit creates a professional finish. It’s an easy step to add that makes a BIG difference!
For clean uniform slices, use a warm, dry knife for each cut. This technique will give you beautiful pieces, just like in a restaurant or bakery!
We’ve been baking cheesecakes for years and we’ve gone back and forth on water baths. If you’re not familiar with what a water bath is, it’s a baking method for cheesecakes, custards, and desserts like Creme Brûlée that submerges the baking pan halfway into a pan of simmering hot water in the oven.
- Even Baking: The idea of a water bath is that the moisture surrounding the cheesecake as it bakes acts as an insulator, distributing the heat gently and evenly, causing the cheesecake to bake very evenly throughout. It can prevent the edges from cooking faster than the centre, ensuring a uniformly baked cheesecake.
- Moisture: The water bath creates moisture into the oven, creating a steamy environment that prevents the cheesecake from drying out and cracking.
- Texture and Appearance: By maintaining a moist atmosphere, a water bath helps avoid common issues like rubbery edges, a dark top, and a sunken center, leading to a creamy texture and a smooth top
- Risk of Leakage: When baking a cheesecake in a springform pan, there’s always a risk of the water leaking into the pan and ruining your cheesecake, even if you’ve wrapped it well in foil first. We’ve ruined more than our fair share of cheesecakes this way!
- Adds an Extra Step: Baking with a water bath adds an extra step that’s not totally necessary – there are other ways to achieve even heat distribution and to avoid cracking.
- Slow Cooling Process: Using the slow cooling process with the oven door ajar does the same job as the water bath when it comes to slow-baking and avoiding cracks.
- Baking at the Correct Temperature: If you ensure your oven temperature is consistent and you bake your cheesecake at a low temperature (we recommend 300 degrees Fahrenheit), you should be able to bake your cheesecake with consistent, even, low heat that will help the cheesecake bake perfectly.
Even with careful preparation and even if you’ve followed all the directions, sometimes things don’t go as planned. Here’s how to troubleshoot common issues you might encounter when making this homemade Chocolate Cheesecake recipe:
Lumps typically occur when ingredients are not at room temperature or are not mixed sufficiently. Ensure all components are at room temperature and mix just until smooth, paying particular attention to eliminating cream cheese lumps before adding other ingredients.
Cracks are often caused by over-mixing the batter, sudden temperature changes, or overbaking. To prevent them, add eggs last and mix just until combined, use a water bath or steam method, and let the cheesecake cool gradually in the oven before transferring it to the fridge.
If the cheesecake is sinking deeply in the middle after you remove it from the oven it’s likely under-baked. Be sure to follow the baking directions exactly, making sure your oven temperature is correct so the cheesecake bakes evenly.
If the cheesecake seems too wobbly or soupy, it’s likely underbaked. Return it to the oven for a few additional minutes. Remember, the centre should be set but have a slight jiggle when it’s fully baked. It shouldn’t seem liquid-y or too fluid in the middle.
An over-baked cheesecake can become very dry and crumbly. To avoid this, start checking for doneness a few minutes before the recommended baking time is up. The edges should be set, but the centre should still have a slight jiggle.
Grease your pan even if it’s non-stick. We always recommend lining the bottom of the pan with parchment paper to make sure it’s easy to release the cheesecake from the pan.
To prevent condensation from forming on the surface when the cheesecake is chilling in the fridge, cool the cheesecake uncovered in the refrigerator. This helps to avoid moisture buildup on the surface.
Here’s a list of the kitchen equipment you’ll need to make this delicious Chocolate Cheesecake recipe (paid links):
- 9-inch springform pan
- Parchment Paper
- measuring cups and spoons
- liquid measuring cups
- microwave safe bowls
- Silicone Spatula
- Hand Mixer or Stand Mixer
- Offset Spatula
- Food Processor optional, for crumbling the cookies
Here’s what you’ll need to make this delicious Chocolate Cheesecake recipe (paid links):
FOR THE CHEESECAKE
- 20-24 oreo cookies
- 6 tablespoons unsalted butter melted
- 1 cup granulated sugar
- 2 pounds full fat cream cheese
- 3/4 cup sour cream
- 3 tablespoons unsweetened cocoa powder
- 12 ounces semi-sweet chocolate
- 2 teaspoons vanilla extract
- 2 large eggs
FOR THE GANACHE
- 10 ounces semi-sweet chocolate
- 1 cup heavy cream
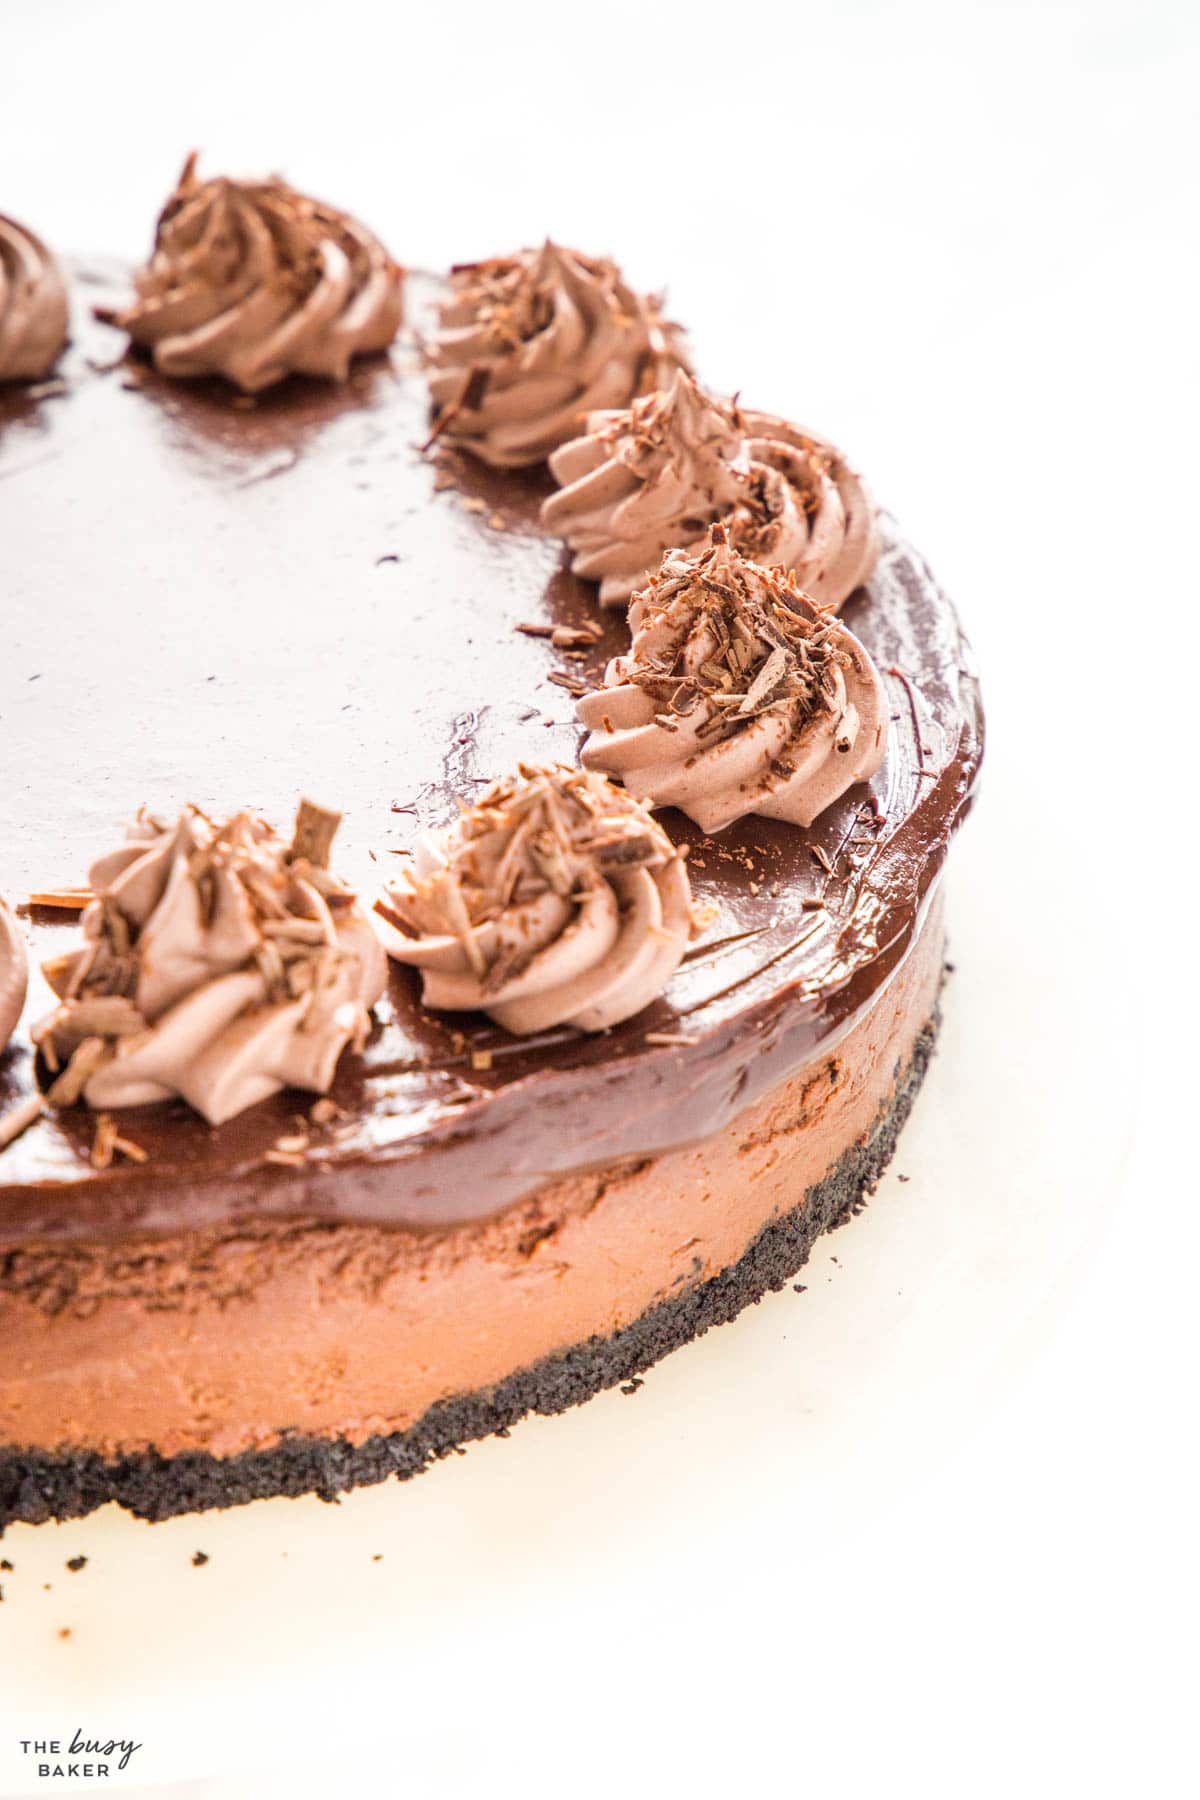
Take this cheesecake to the next level with one of these delicious variations on the basic recipe!
- White Chocolate Raspberry: Add melted white chocolate (cooled to room temperature) into the cheesecake batter. Before baking, add raspberry jam or sauce to the top and swirl for a beautiful and delicious contrast.
- Black Forest: Create a ring around the cheesecake with the ganache and add some cherry pie filling on top of the cheesecake in the middle. top each slice with whipped cream and shaved chocolate.
- Chocolate Orange: By adding orange zest to the chocolate cheesecake batter and topping with a chocolate-orange ganache, you can create a refreshing citrusy twist on the classic.
- Mocha: Infuse your chocolate cheesecake with espresso powder, and add a hint of coffee liqueur for a mocha variation that coffee lovers will adore.
- Chocolate Peanut Butter: Swirl peanut butter into the chocolate cheesecake batter before baking. Top with chopped peanuts or a peanut butter ganache after baking for a rich and indulgent treat.
- Salted Caramel Chocolate: Drizzle salted caramel over the chocolate cheesecake and sprinkle with sea salt before serving for a perfect balance of sweet and salty.
- Chocolate Hazelnut: Incorporate chocolate hazelnut spread into the batter then top with toasted, chopped hazelnuts after baking for a nutty, rich flavour.
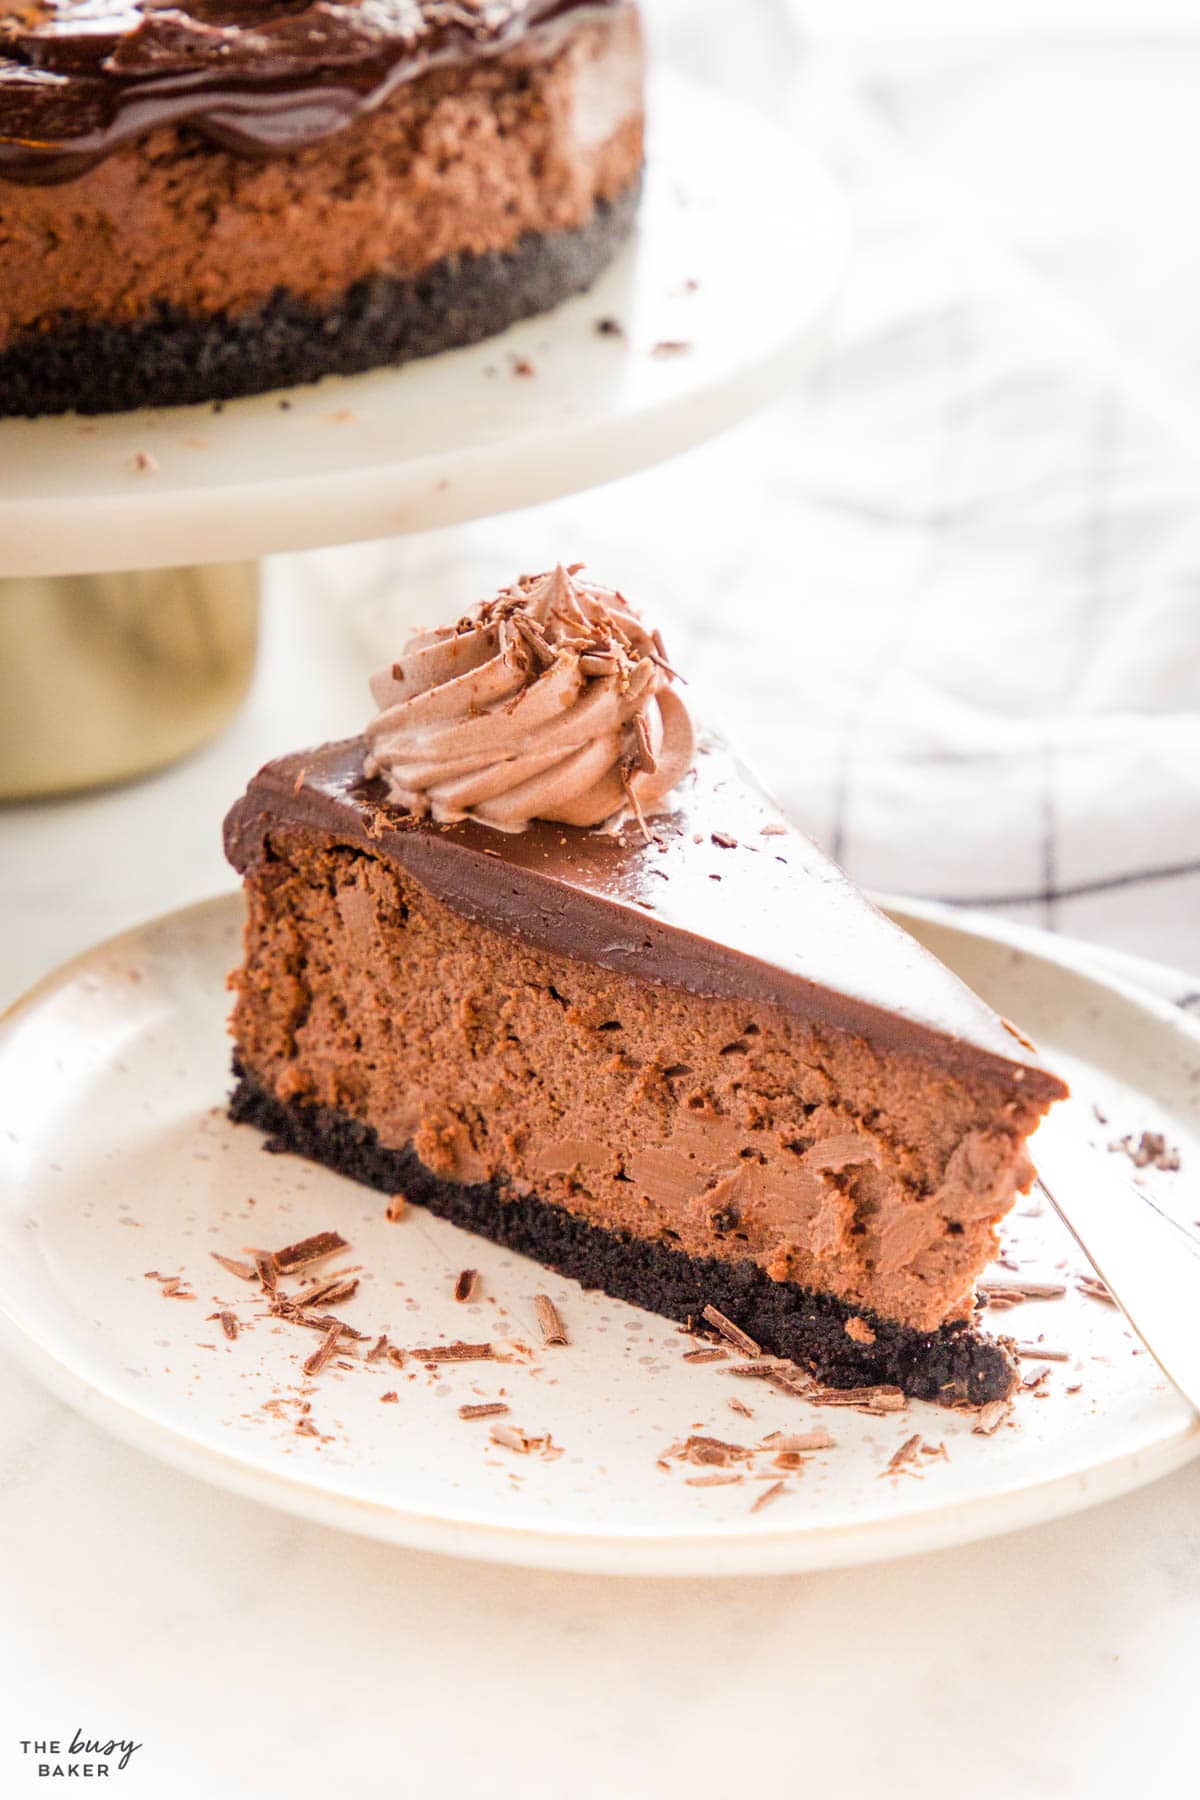
Time needed: 5 hours and 20 minutes
Follow these steps to make the perfect Chocolate Cheesecake!
- Prepare your pan.
Preheat your oven to 300 degrees Fahrenheit (150 degrees Celsius) and line a 9-inch springform pan with a large sheet of parchment paper.
- Make the crust first.
Process the Oreo cookies and mix them with melted butter. Press the base mixture in the bottom of the pan and bake for 15 minutes.
- Mix the cream cheese.
Add the room temperature cream cheese to a large bowl and mix well with a hand mixer until creamy and smooth (you can also use a stand mixer fitted with a paddle attachment).
- Add the sugar and other ingredients.
Add the sugar, room temperature sour cream, cocoa powder and vanilla and mix well. Melt the chocolate, cool it so it’s barely warm, and add in a slow, continuous stream to the cheesecake mixture while mixing.
- Add the eggs one at a time.
Add the room temperature eggs one at a time, slowly mixing and scraping down the sides of the bowl after each addition. Mix well, but don’t over-mix or whip the batter. This will create large air bubbles in the batter which can cause cracking and an uneven texture.
- Get rid of the bubbles.
Pour the batter into the line springform pan and bang the pan on the countertop to encourage any bubbles to come to the top.
- Bake to perfection.
Place the pan in the oven and bake for an hour until the cheesecake is set around the edges but jiggly in the middle.
- Cool slowly, then chill.
When the cheesecake is done, prop the oven door open with a wooden spoon and let it cool for 2 hours. Place the cheesecake in the fridge, uncovered, to chill for at least 2 hours or overnight.
- Before serving, heat up the cream until it’s hot but don’t let it boil. Add the chocolate in small chunks and cover for a couple of minutes to allow to melt. Mix well.
- Remove the cheesecake from the pan and spread the chocolate ganache all the way to the edge, pushing it a little so it starts dripping down the sides a bit.
- Return to the fridge for 20-30 more minutes to set the ganache.
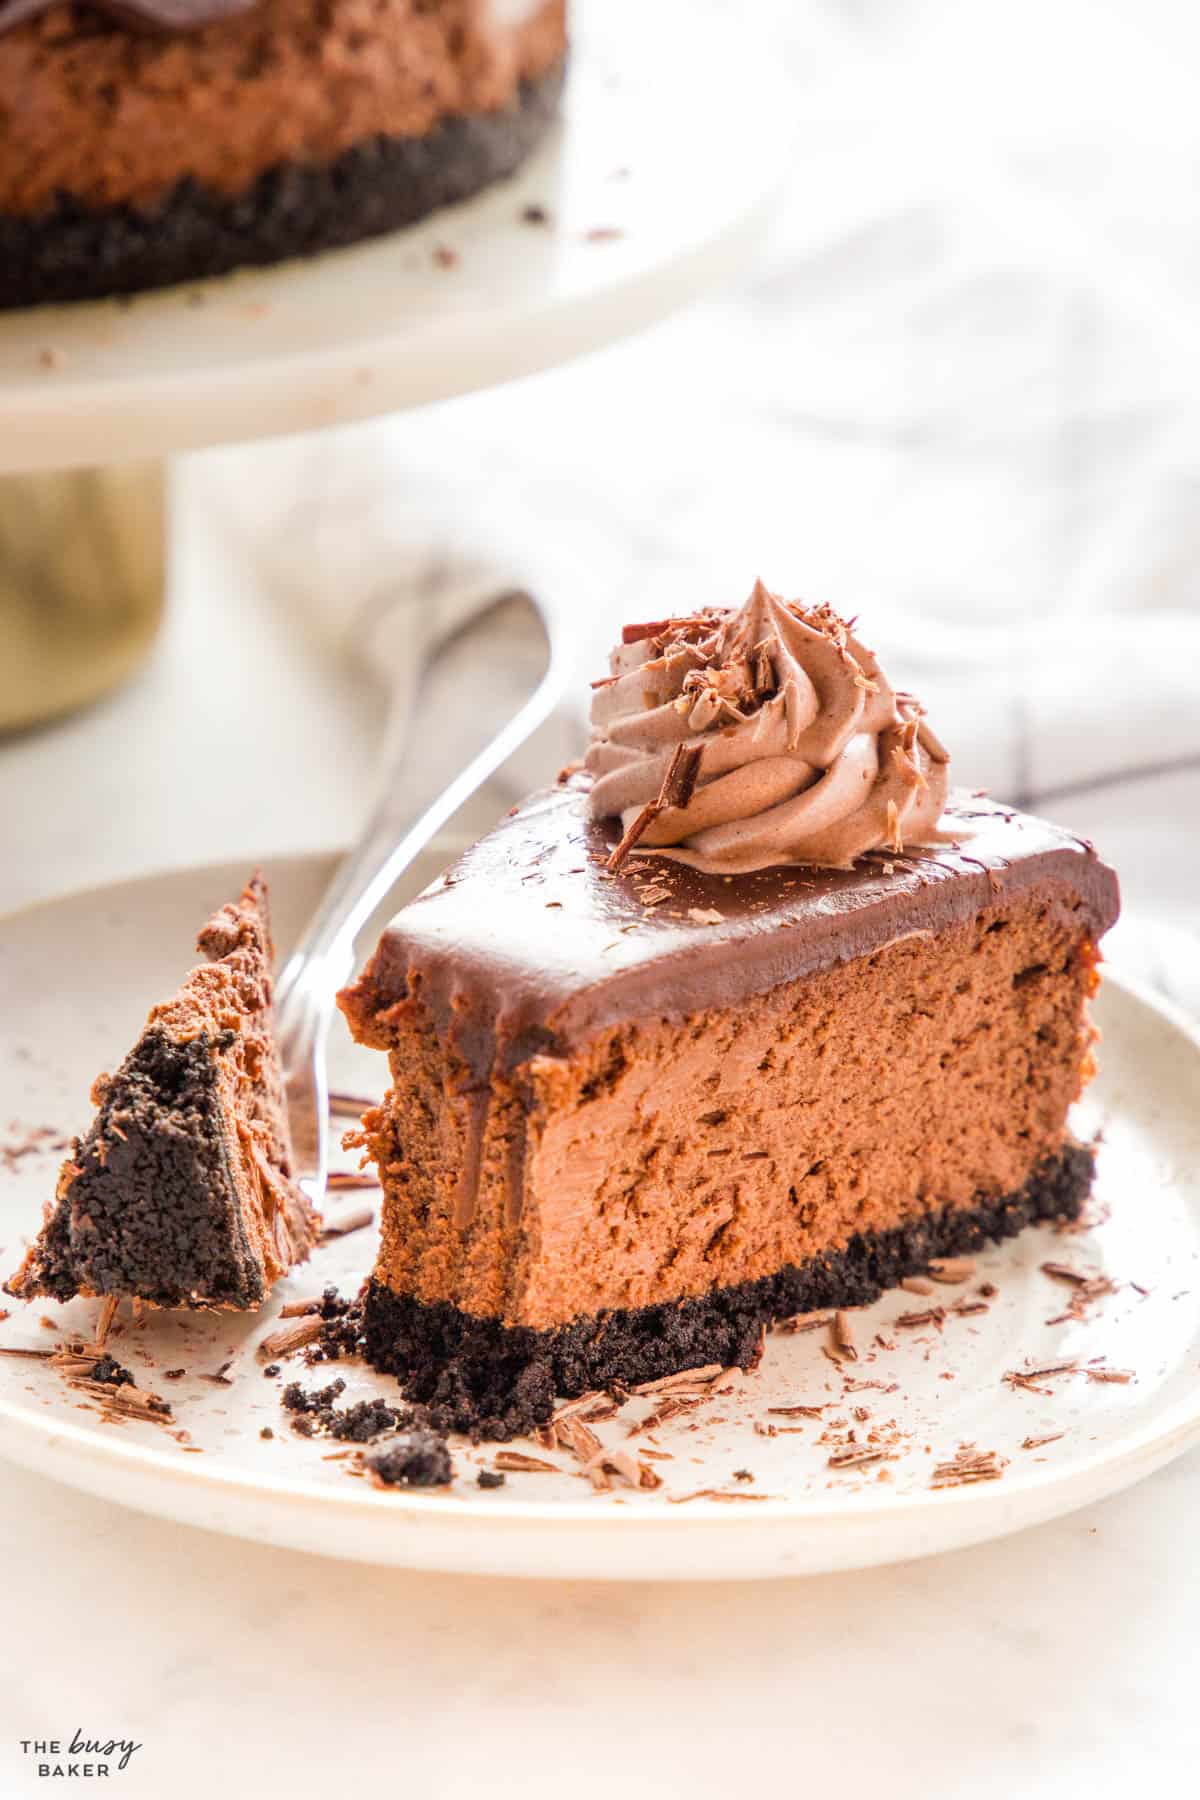
- Slice and serve with some fresh berries, chocolate whipped cream, shaved chocolate, or all on its own.
What happens if you over-mix your cheesecake?
Over-mixing your cheesecake can cause it to crack and deflate.
How can you prevent cracking when baking a cheesecake?
Prevent cracking by avoiding over-mixing and be sure to cool the cheesecake slowly to prevent it from cracking as it cools.
What is cheesecake made from?
Cheesecake is made from cream cheese, sugar, eggs and other ingredients.
How do you store cheesecake?
Cheesecake should be stored in the fridge since it’s made primarily from cheese and needs to stay cool to be safe to eat.
How long does it take to bake cheesecake?
Cheesecake takes about an hour to bake.
Can you make cheesecake ahead of time?
Yes! Cheesecake needs to chill in the fridge for several hours or overnight, so it must be made ahead of time.
Can I make chocolate cheesecake with milk chocolate?
Yes! Choose dark, milk, semi-sweet or even white chocolate but be sure to melt it and incorporate it according to the directions in the recipe.
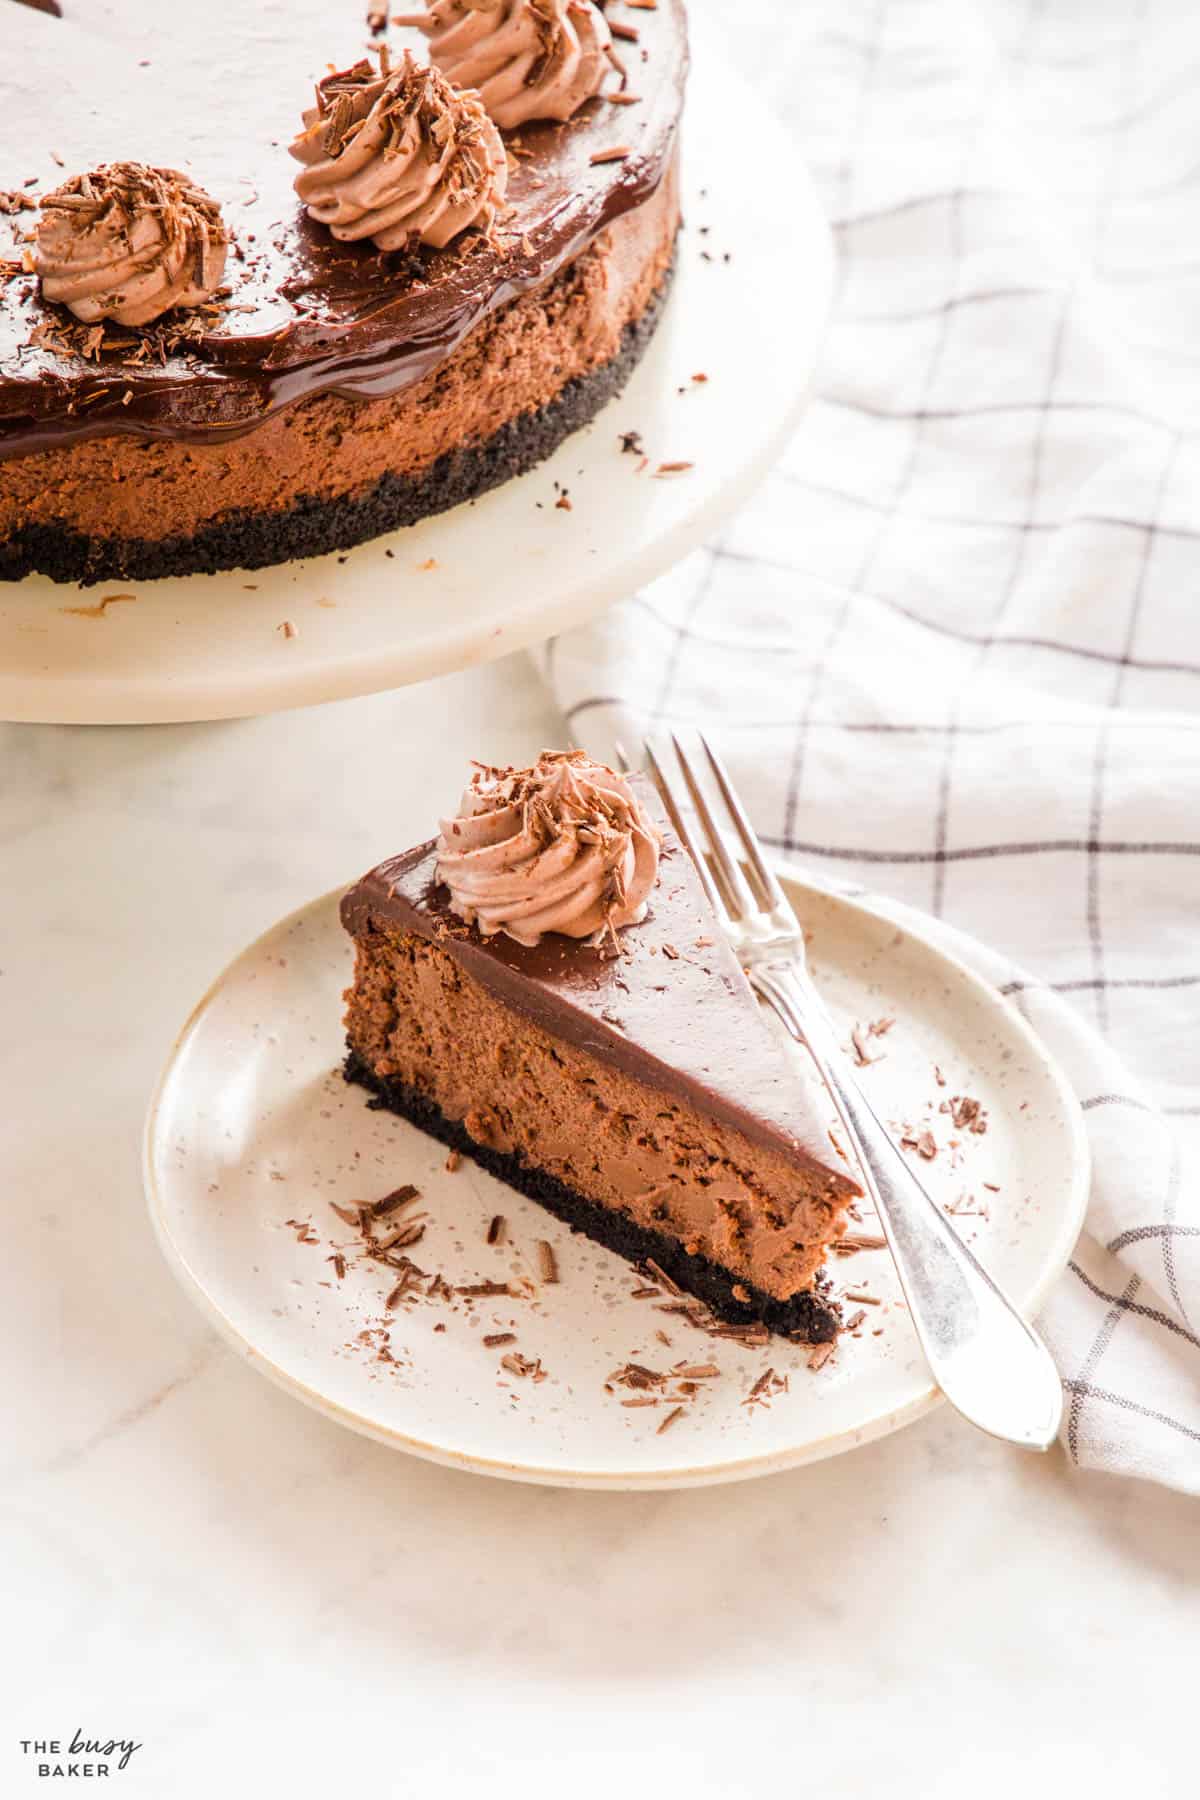
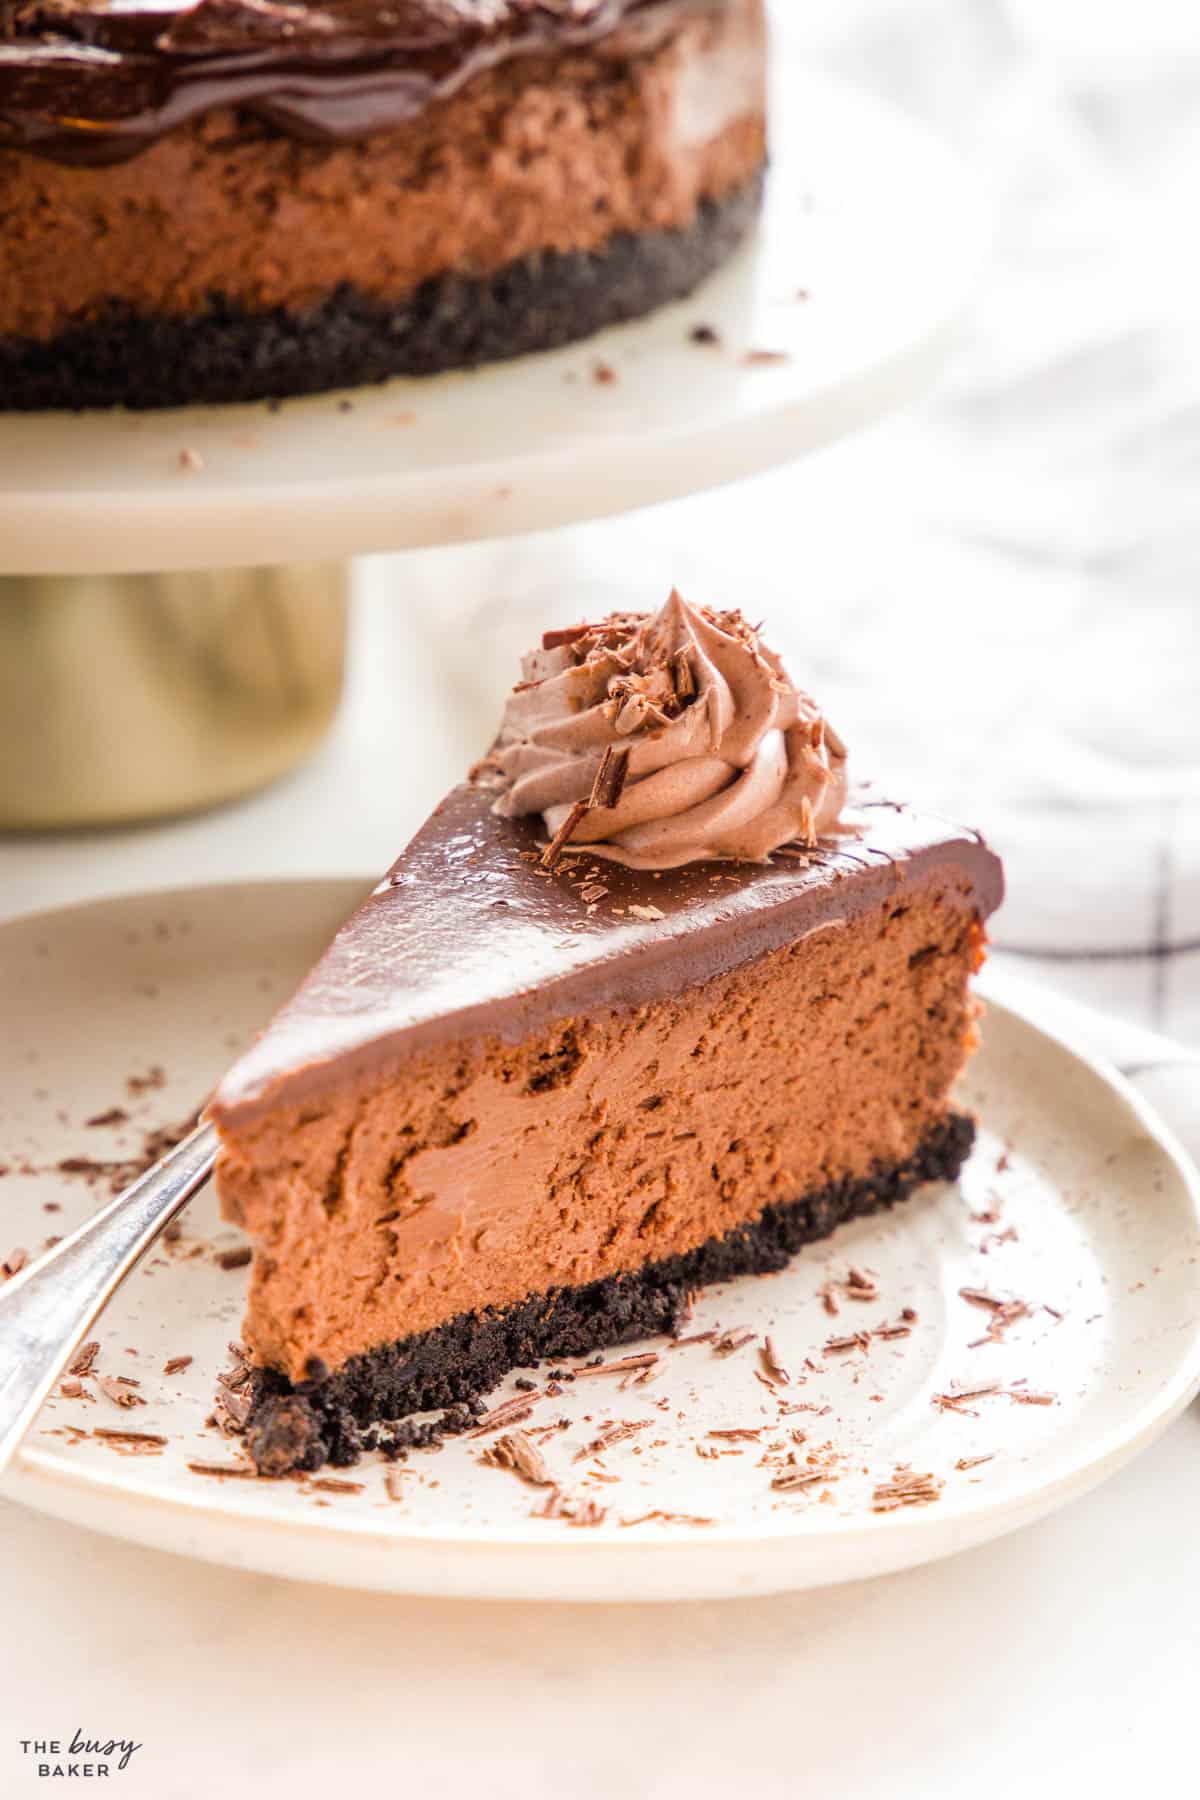
We hope you love this Chocolate Cheesecake recipe as much as we do! Let us know in the comments below, for what occasion would YOU make this decadent dessert? We’d love to know!
- Red Velvet Cheesecake
- Best Ever No Bake Chocolate Cheesecake
- No Bake Blueberry Cheesecake
- Easy No Bake Baileys Irish Cream Cheesecake
- Easy No Bake Key Lime Cheesecake
- Oreo Cheesecake Bites
- No Bake Chocolate Mousse Cheesecake
- Pumpkin Cheesecake Bars
- Easy No Bake Lemon Cheesecake
- Pumpkin Cheesecake Cookies
- San Sebastian Cheesecake
- Gingerbread Cheesecake Bites
If you made this, share a photo!
Are you trying this recipe? Use the comment form below to share your take; now with support for image uploads and comment voting!
Chocolate Cheesecake
Recipe: Equipment
- Food Processor optional
Recipe: Ingredients
- 20-24 oreo cookies
- 6 tablespoons unsalted butter melted
- 1 cup granulated sugar
- 2 pounds full fat cream cheese
- 3/4 cup sour cream
- 3 tablespoons unsweetened cocoa powder
- 12 ounces semi-sweet chocolate
- 2 teaspoons vanilla extract
- 2 large eggs
For the ganache
- 10 ounces semi-sweet chocolate
- 1 cup heavy cream
Recipe: Instructions
- Preheat your oven to 300 degrees Fahrenheit (150 degrees Celsius) and line a 9-inch springform pan with a large sheet of parchment paper.
- Put your oreo cookies in a food processor and process until you get crumbs. You can also crumble them by hand in a Ziploc bag, crushing them with a rolling pin. Mix with the melted butter.
- Press the base mixture in the bottom of the pan and bake for 15 minutes.
- Add the room temperature cream cheese to a large bowl and mix well with a hand mixer until creamy and smooth (you can also use a stand mixer fitted with a paddle attachment).
- Add the sugar, room temperature sour cream, cocoa powder and vanilla and mix well.
- Melt the chocolate, cool it so it's barely warm, and add in a slow, continuous stream to the cheesecake mixture while mixing.
- Add the room temperature eggs one at a time, slowly mixing and scraping down the sides of the bowl after each addition. Mix well, but don't over-mix or whip the batter. This will create large air bubbles in the batter which can cause cracking and an uneven texture.
- Pour the batter into the line springform pan and bang the pan on the countertop to encourage any bubbles to come to the top.
- Place the pan in the oven and bake for an hour until the cheesecake is set around the edges but jiggly in the middle.
- When the cheesecake is done, prop the oven door open with a wooden spoon and let it cool for 2 hours.
- Place the cheesecake in the fridge, uncovered, to chill for at least 2 hours or overnight.
For the ganache:
- Before serving, heat up the cream until it's hot but don't boil it. Add the chocolate in small chunks and cover for a couple of minutes to allow to melt. Mix well.
- Remove the cheesecake from the pan and spread the chocolate ganache all the way to the edge, pushing it a little so it starts dripping down the sides a bit.
- Return to the fridge for 20-30 more minutes to set the ganache.
- Slice and serve with some fresh berries, chocolate whipped cream, shaved chocolate, or all on its own.
Recipe: Notes
Storage instructions
Store it in the fridge in an airtight container for up to 3 days.Freezer instructions
Freeze the cheesecake after baking, with or without the ganache, and thaw it in the fridge for 24 hours before serving.Recipe: Nutrition
Notice: Nutrition is auto-calculated, using Spoonacular, for your convenience. Where relevant, we recommend using your own nutrition calculations.

You say to add room temperature whipping cream but none listed in ingredients. Only whipping cream listed is for Grenache. Would love to make this. Maybe I’m missing something. Thanks.
Mary, you are not missing anything! The ingredient list is correct – that particular step should not have been there and has been removed. We hope you are ready to bake it now 🙂