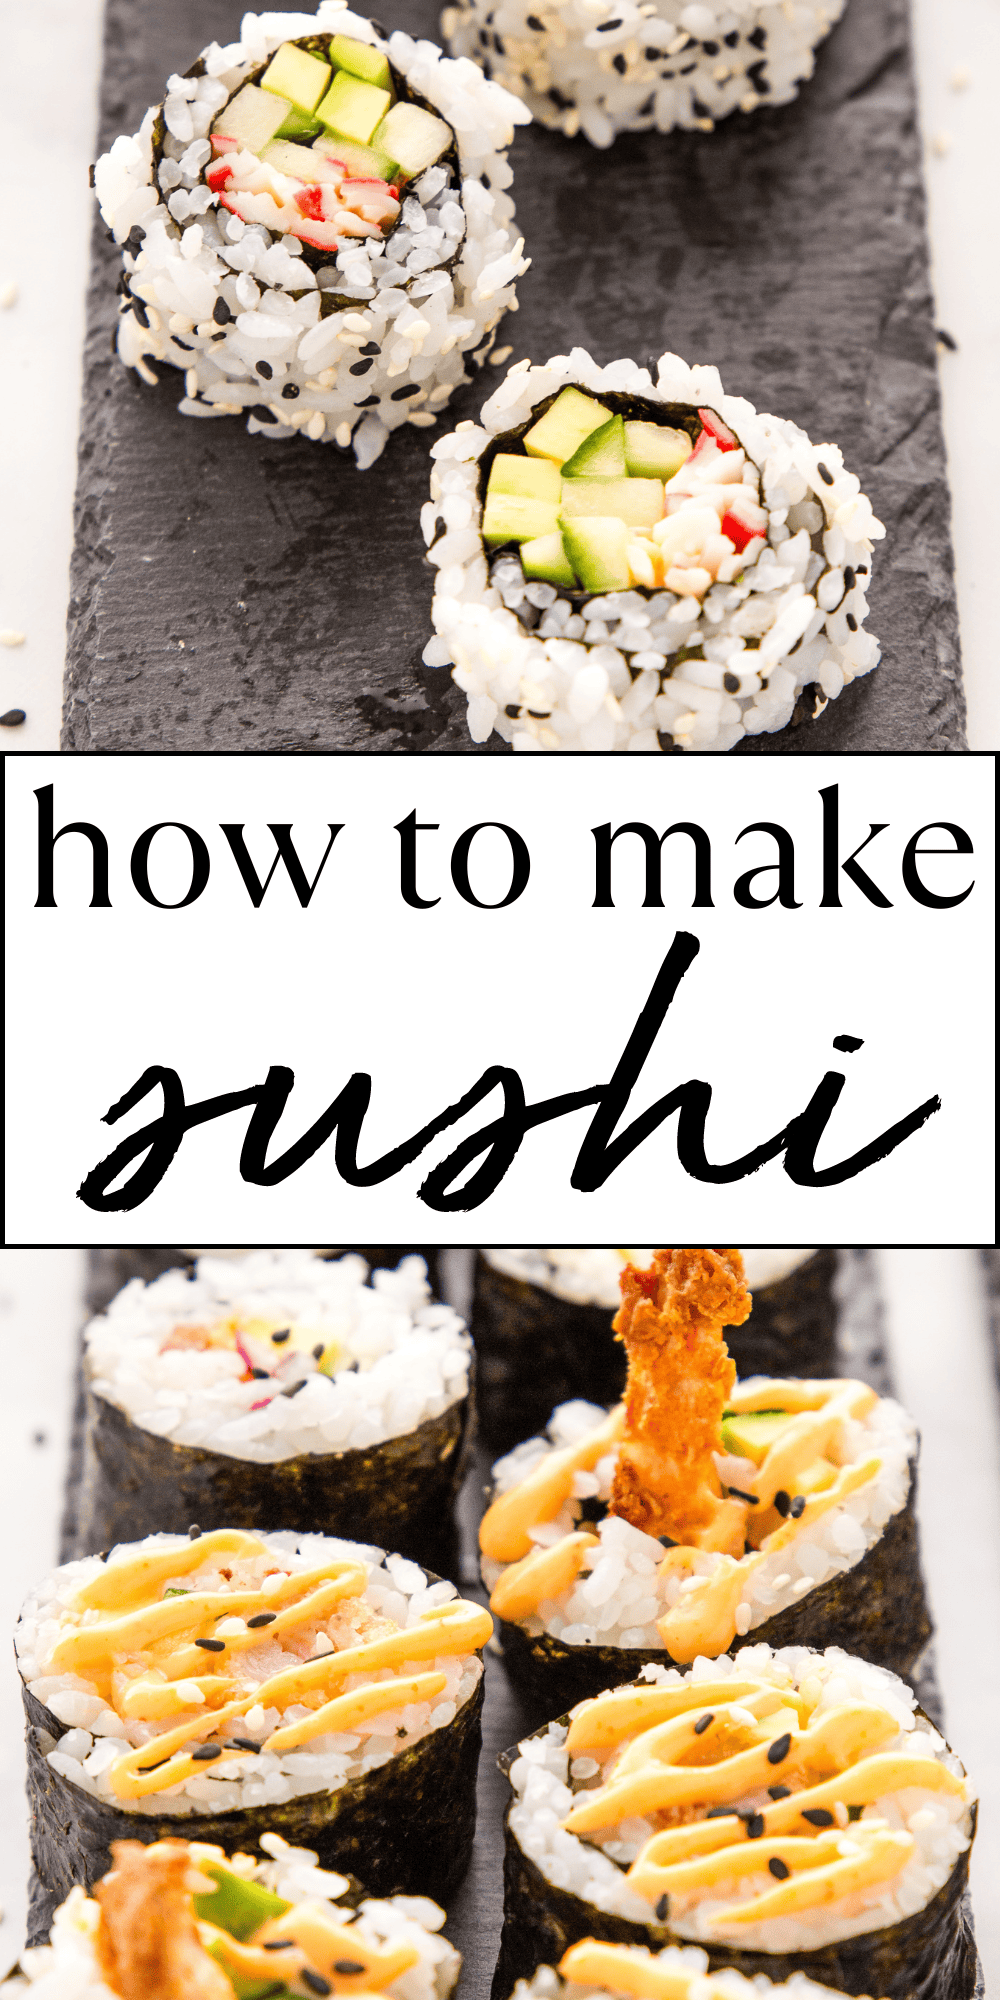
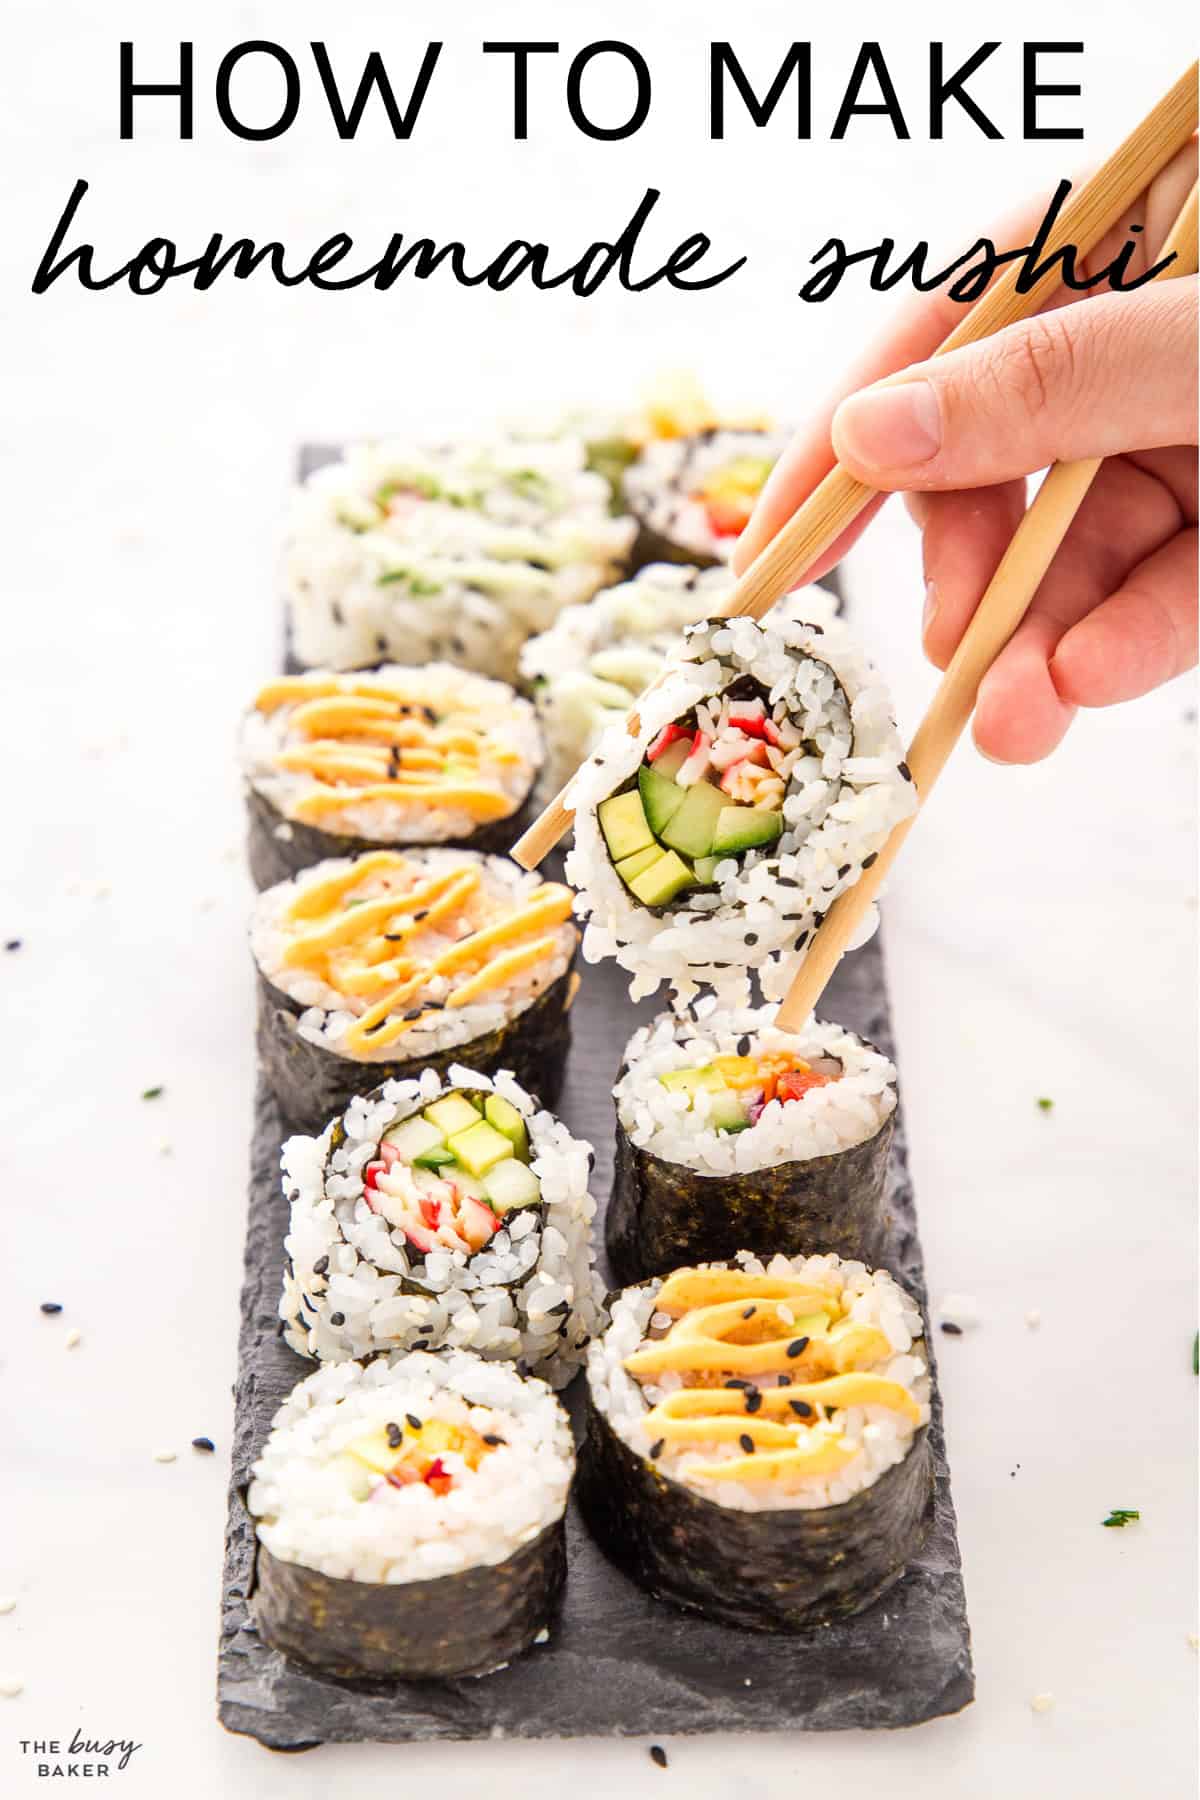
Learn How To Make Sushi with this simple sushi recipe. Follow our tutorial for making a homemade California Roll, Dynamite Roll, Philadelphia Roll, or Rainbow Veggie Roll, and learn how to make Maki Sushi (Sushi Rolls), Uramaki (Inside-Out Rolls), and Teramaki (Sushi Cone Rolls).
Estimated reading time: 1 minute
If you’ve been a reader of The Busy Baker for any length of time you’ll already be familiar with our obsession with making restaurant-quality meals at home. Making your favourite restaurant and take-out dishes at home is a fantastic way to save money and make healthier versions of your favourite meals. We LOVE ordering our favourite sushi rolls from our local sushi restaurant, but with the cost going up over the last few years we’ve started making them at home!
Making your own sushi rolls is easier than it might seem, and with a few simple tips and tricks and our delicious Sushi Recipe, you’ll be well on your way to learning how to make sushi at home!
Sushi is a staple of Japanese cuisine and it’s traditionally made with vinegared rice paired with various toppings, especially raw fish and seafood. Classic sushi styles include nigiri (sushi rice topped with a slice of fish, seafood, or egg), sashimi (just the fish, no rice), and maki (sushi rolls).
Sushi has become a worldwide favourite, especially in North America where it’s taken on a slightly different flavour, influenced by North American cuisine. Sushi that’s readily available in countries outside Japan often includes surprising ingredients – in sushi restaurants and grocery aisles, you’ll find a mix of rolls designed for a wide range of tastes, including those a bit wary of raw fish.
Here’s a quick rundown of the types of sushi rolls we’ll cover in our tutorial:
- Maki Rolls: These are the traditional sushi rolls, with seaweed on the outside, rice just beneath, and fillings like fish, veggies, or both at the core.
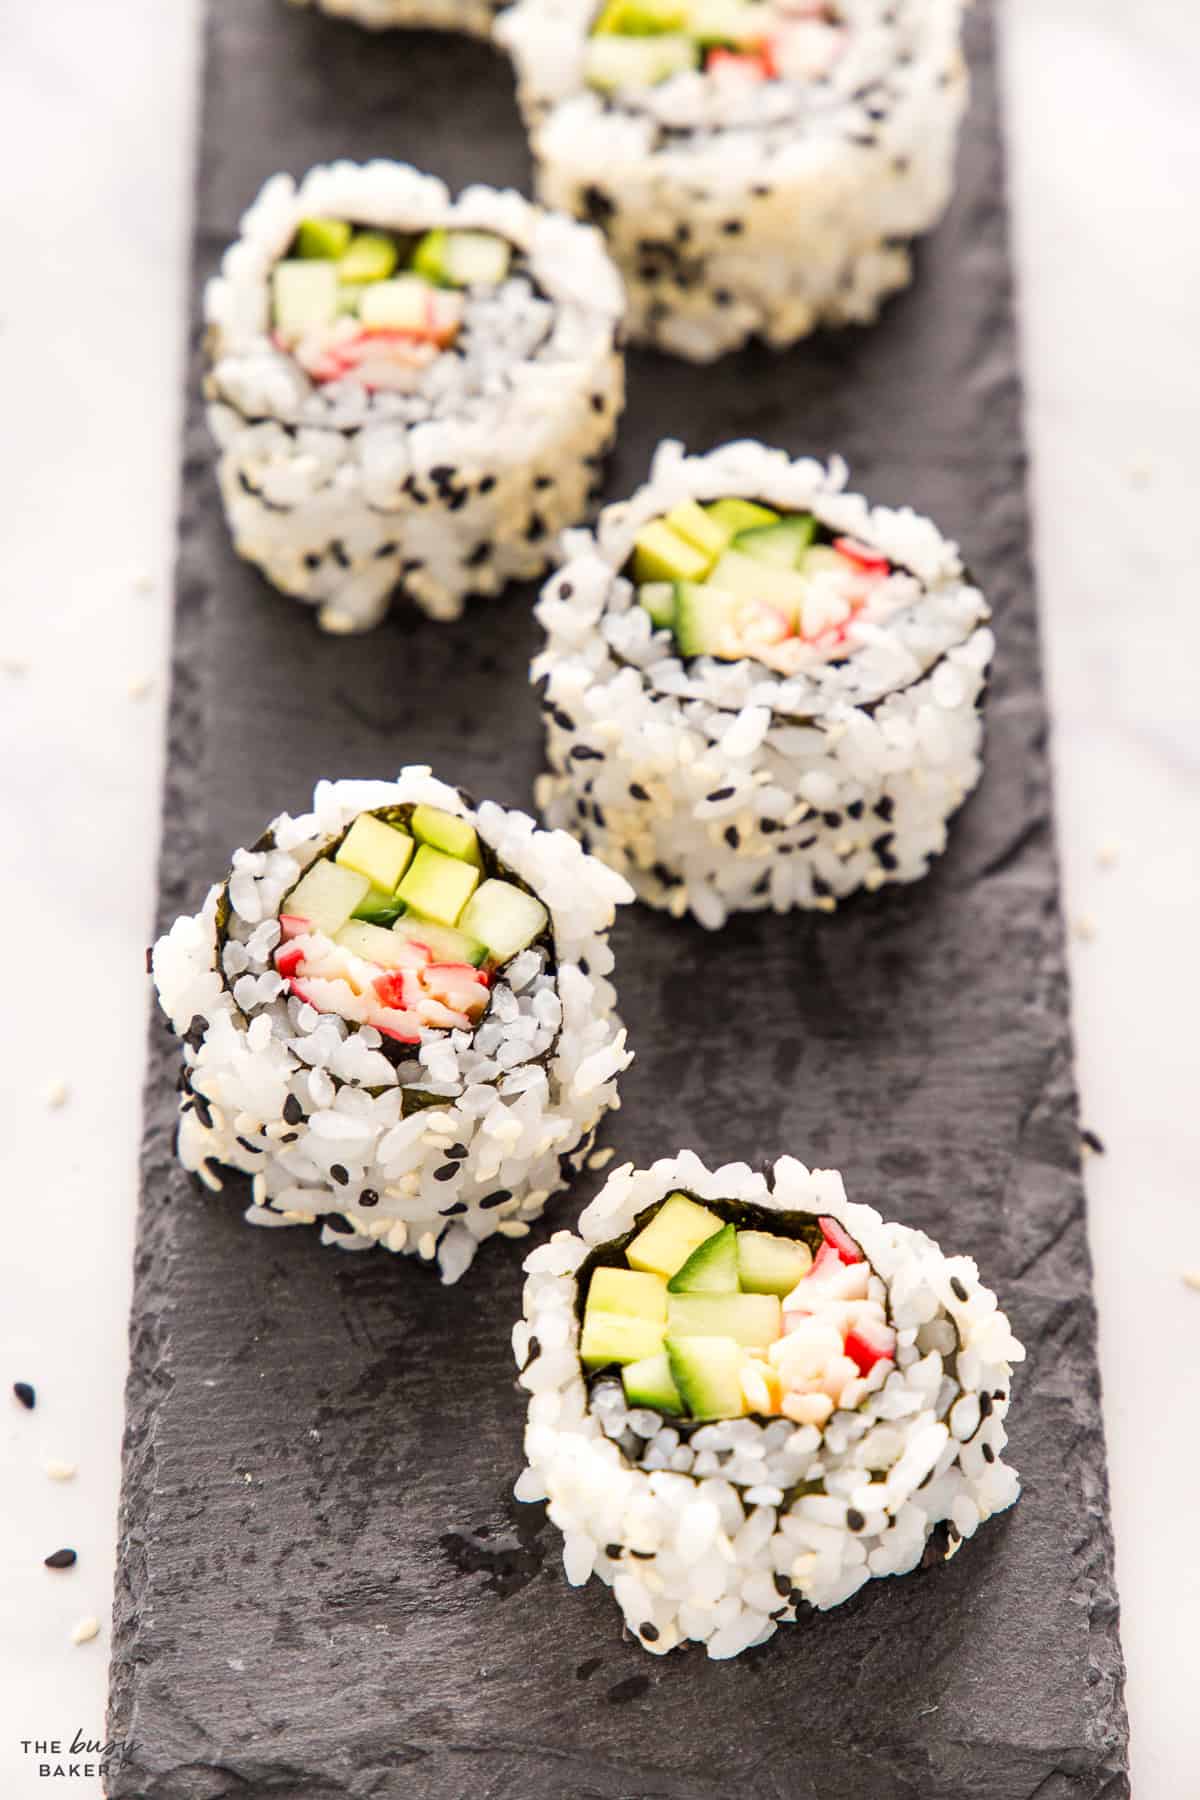
- Uramaki Rolls (Inside Out Rolls): As the name suggests, these rolls flip the traditional maki inside out. The rice is on the outside, and the seaweed wraps around the filling. This type is popular in many North American sushi creations.
- Sushi Cone Rolls (Temaki): These are hand-held sushi cones, with seaweed on the outside, forming a cone shape that’s filled with rice and other ingredients. They’re fun to eat and easy to make, even for kids!
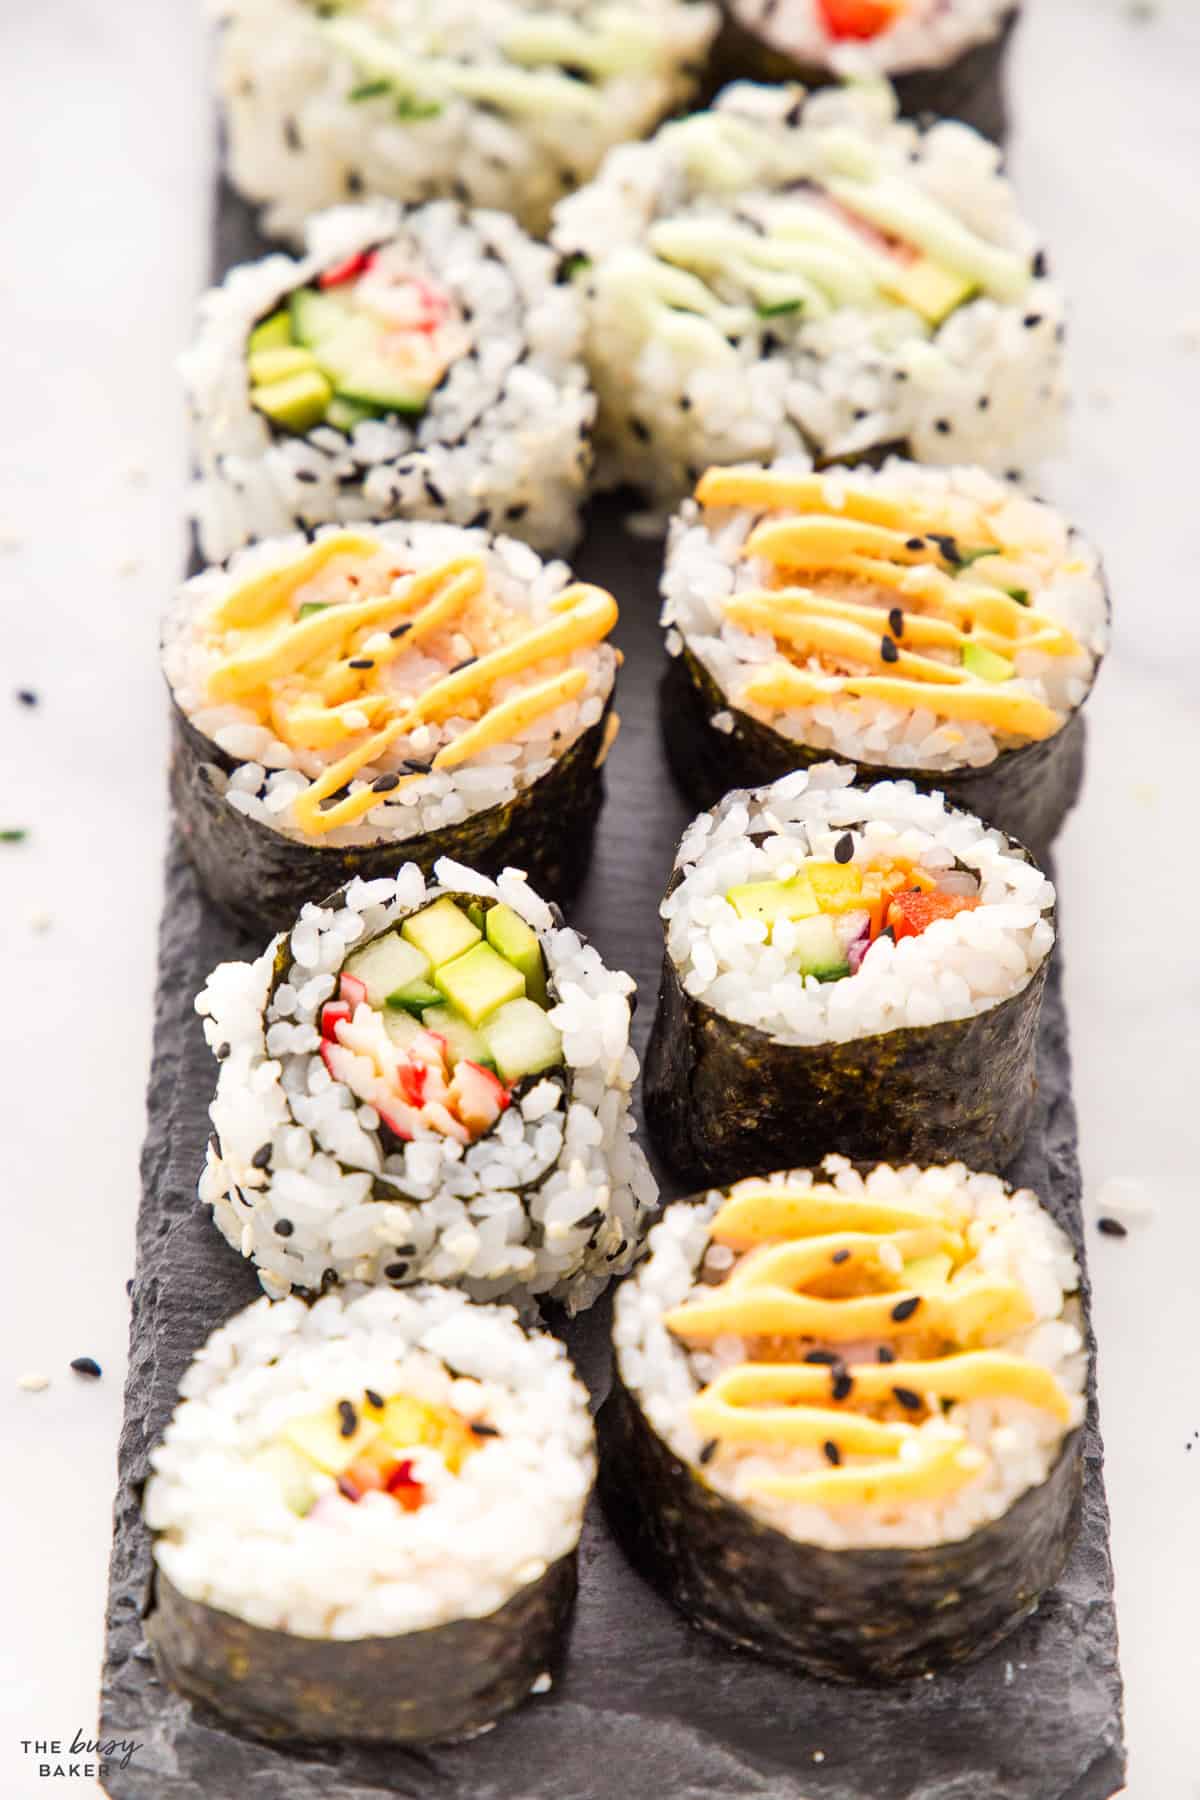
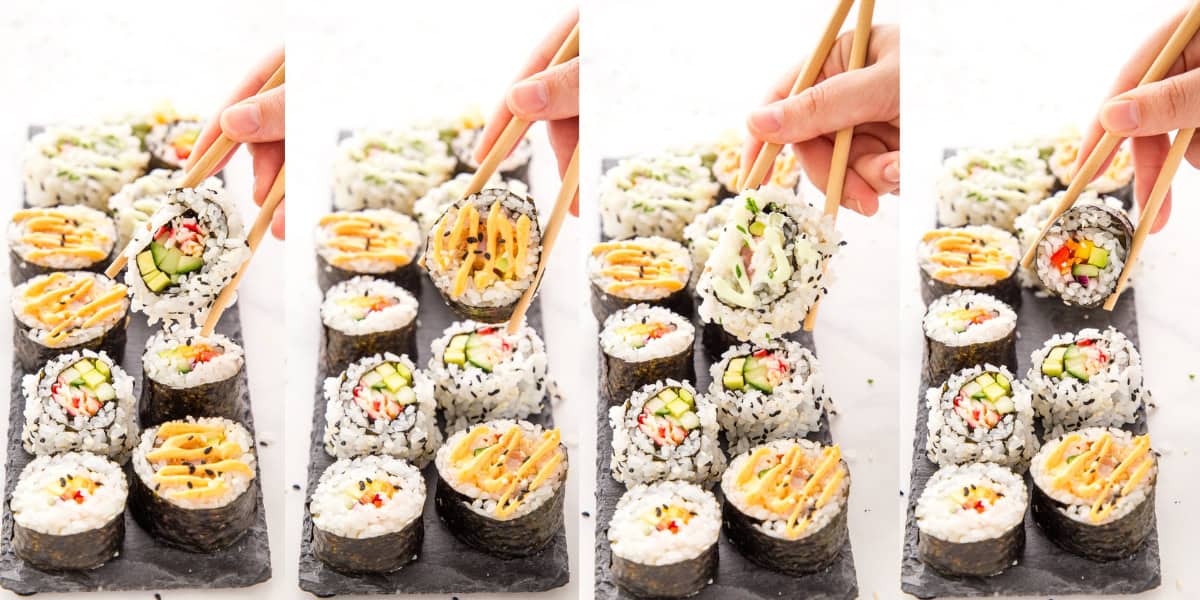
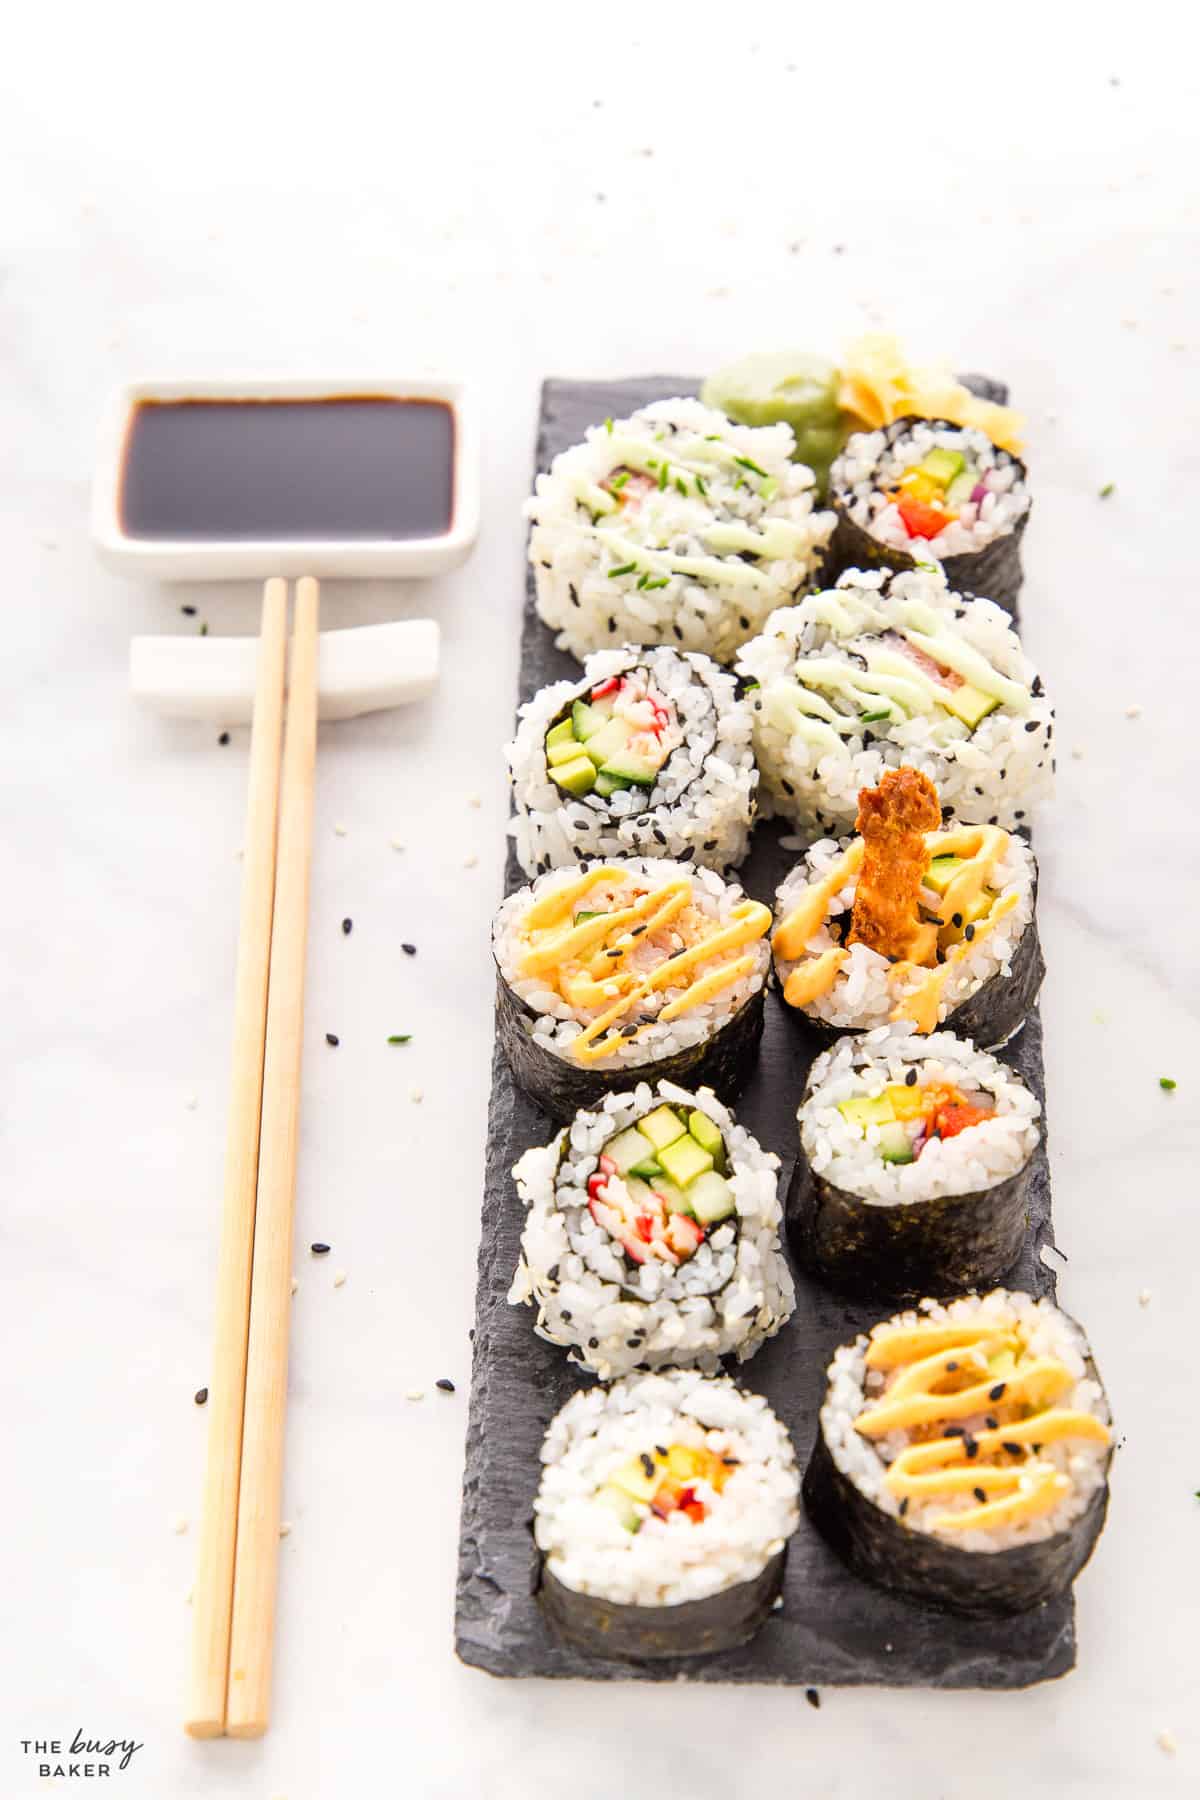
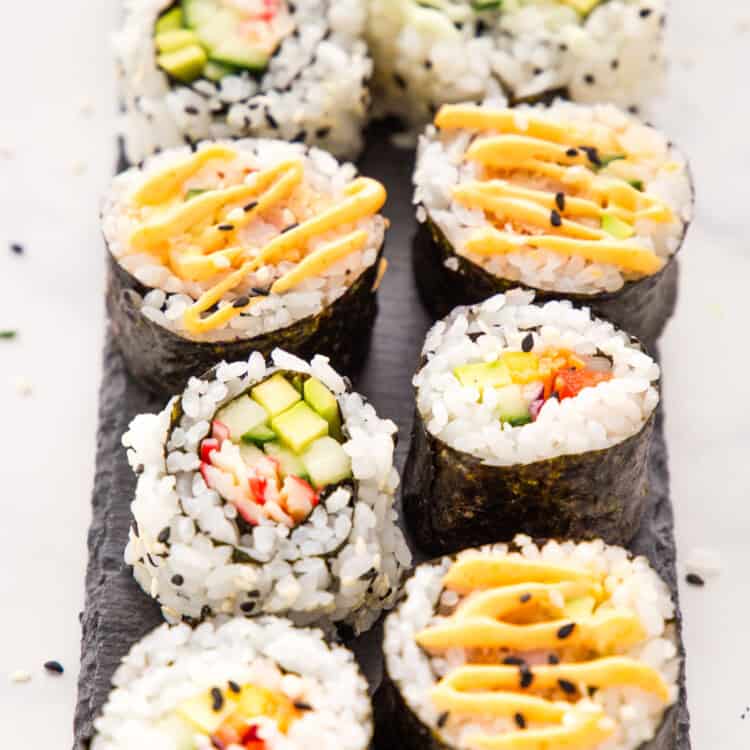
In our tutorial, we’re sharing some beloved sushi rolls that are super easy to whip up at home. They may not be traditionally Japanese, but they’re 4 popular rolls you’ll find on almost every sushi restaurant menu outside of Japan:
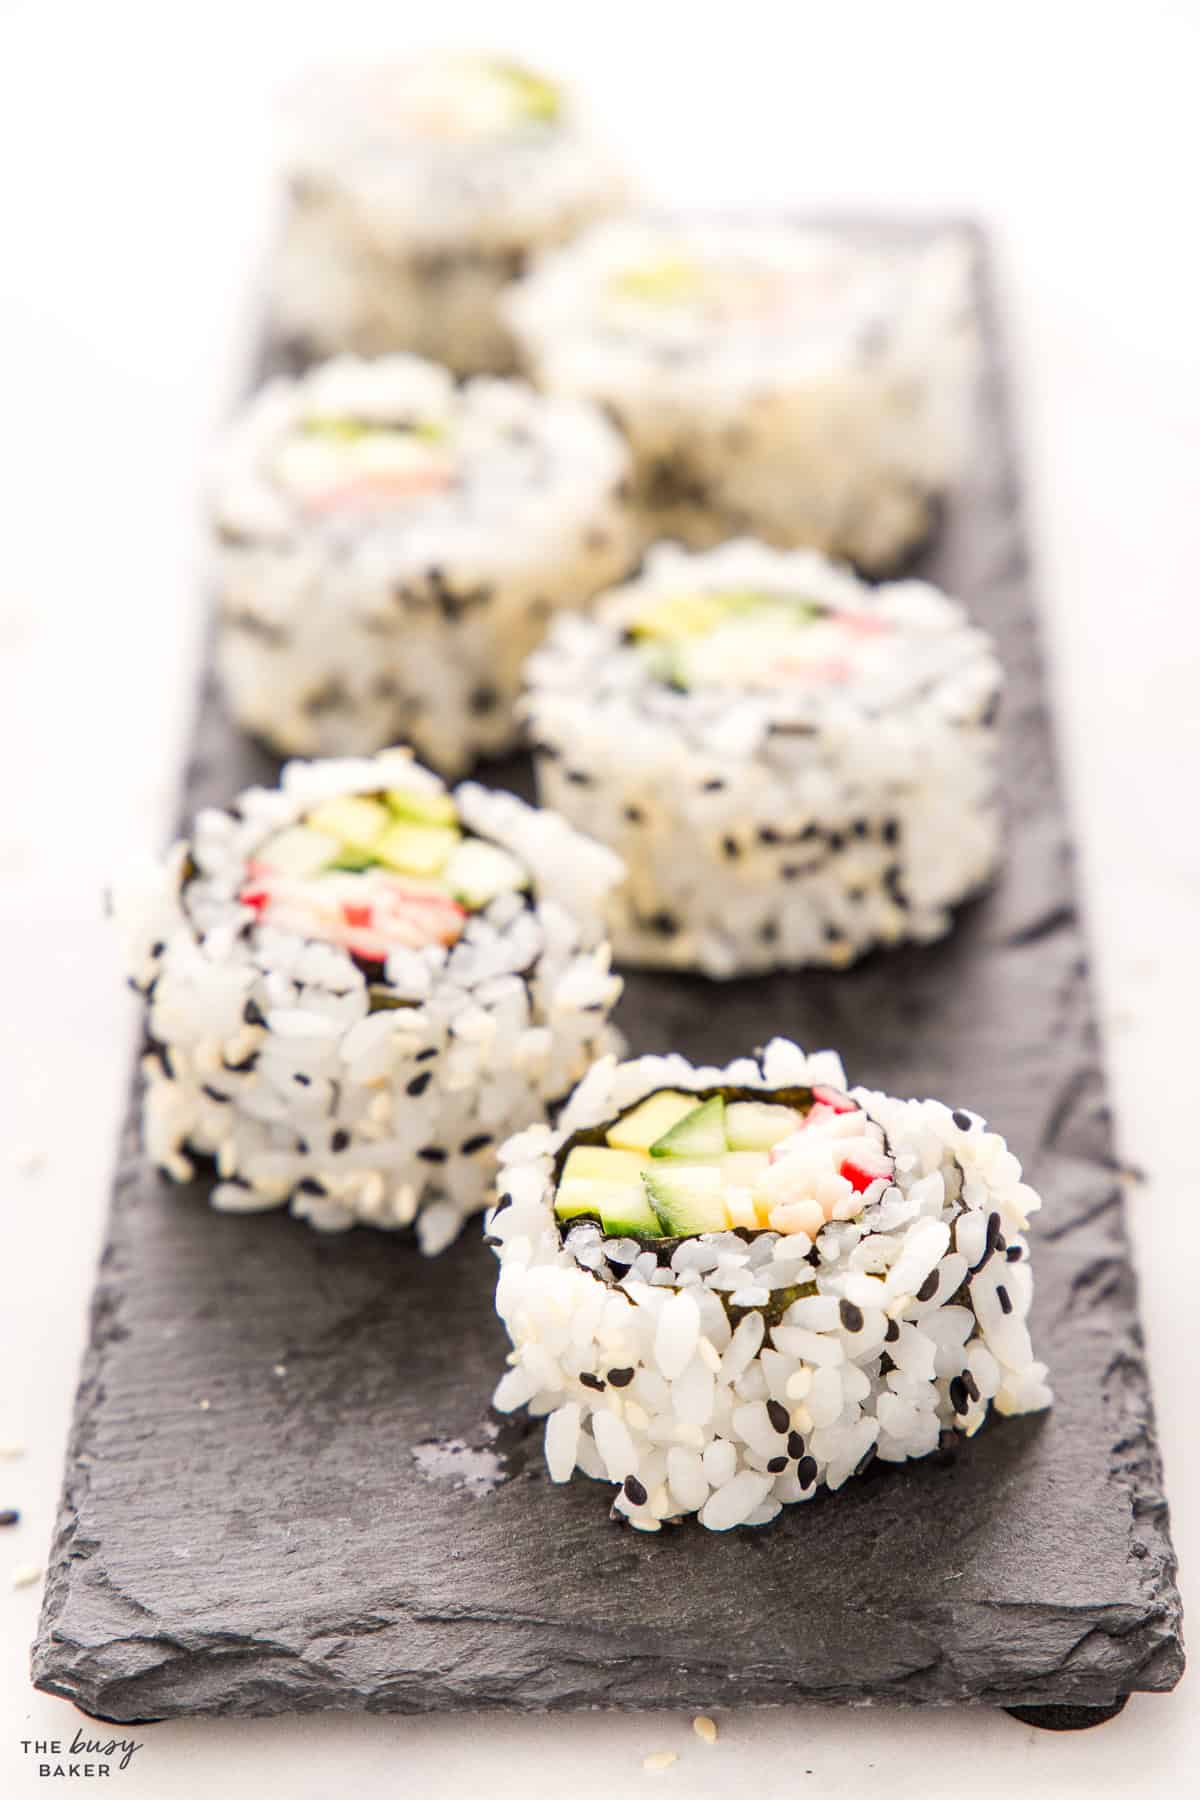
- California Rolls: The classic intro to sushi for many, California rolls have crab (often the imitation kind), avocado, and cucumber.
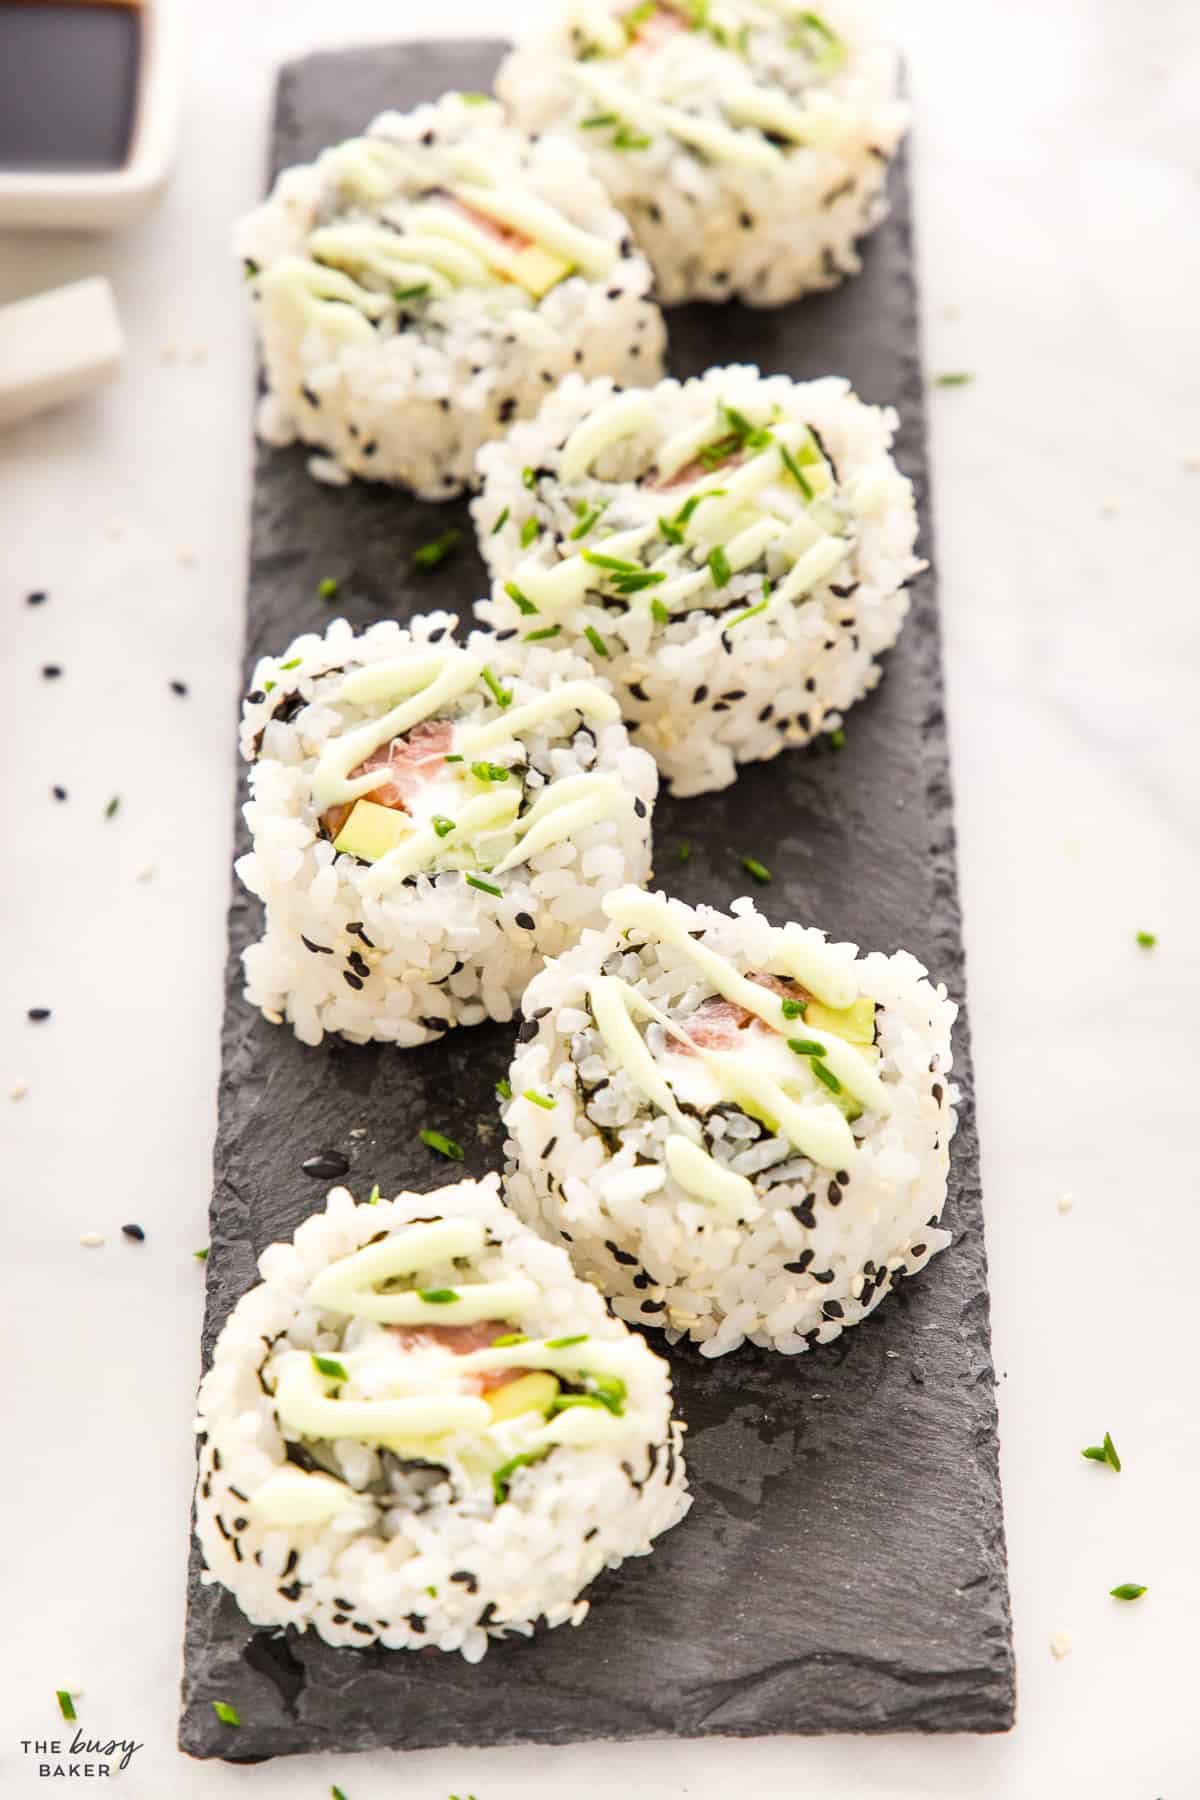
- Philadelphia Rolls: A mashup of cream cheese, smoked salmon, and cucumber, Philadelphia rolls combine creamy cheese with the tangy taste of salmon, a combo you’d be hard-pressed to find in traditional sushi bars.
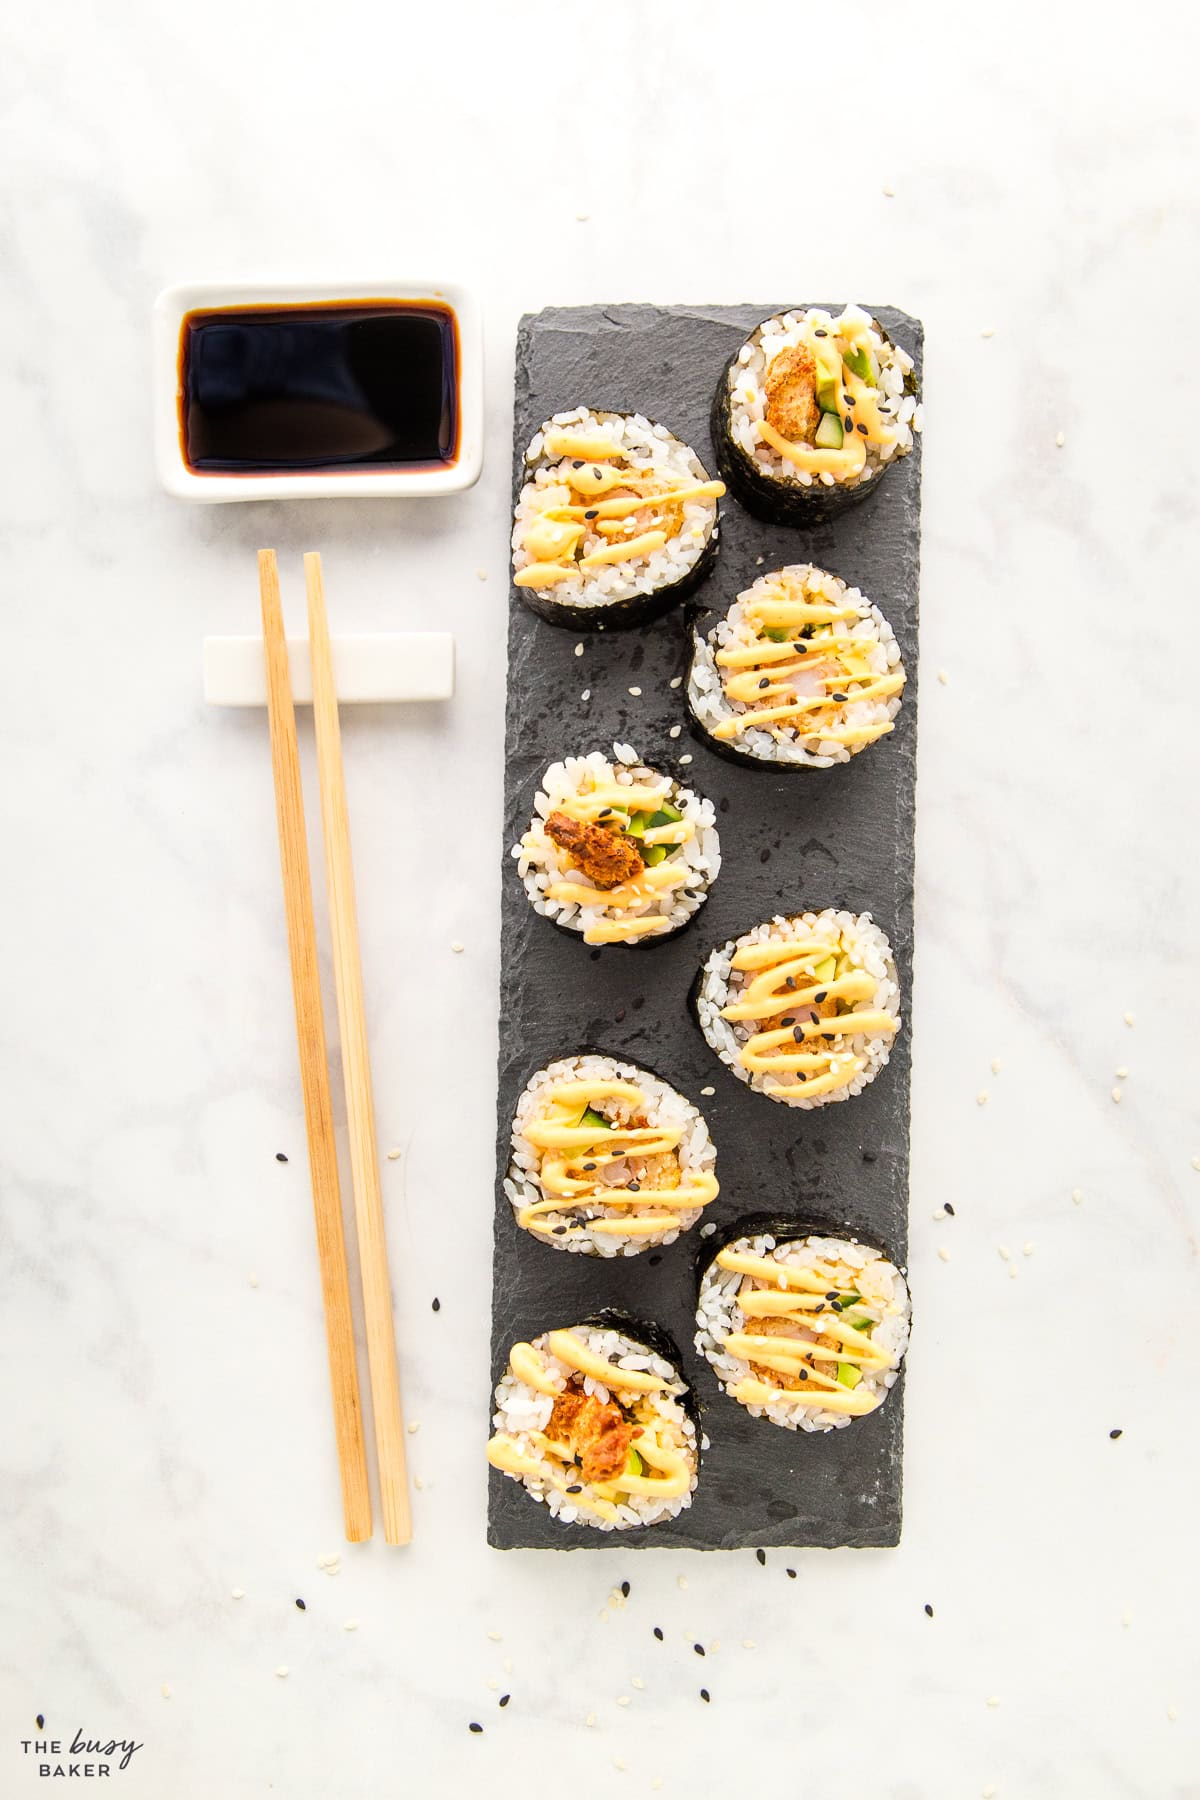
- Dynamite Rolls: Known for their crunch, Dynamite rolls often feature tempura shrimp or other fried seafood, spiced up with a zesty mayo.
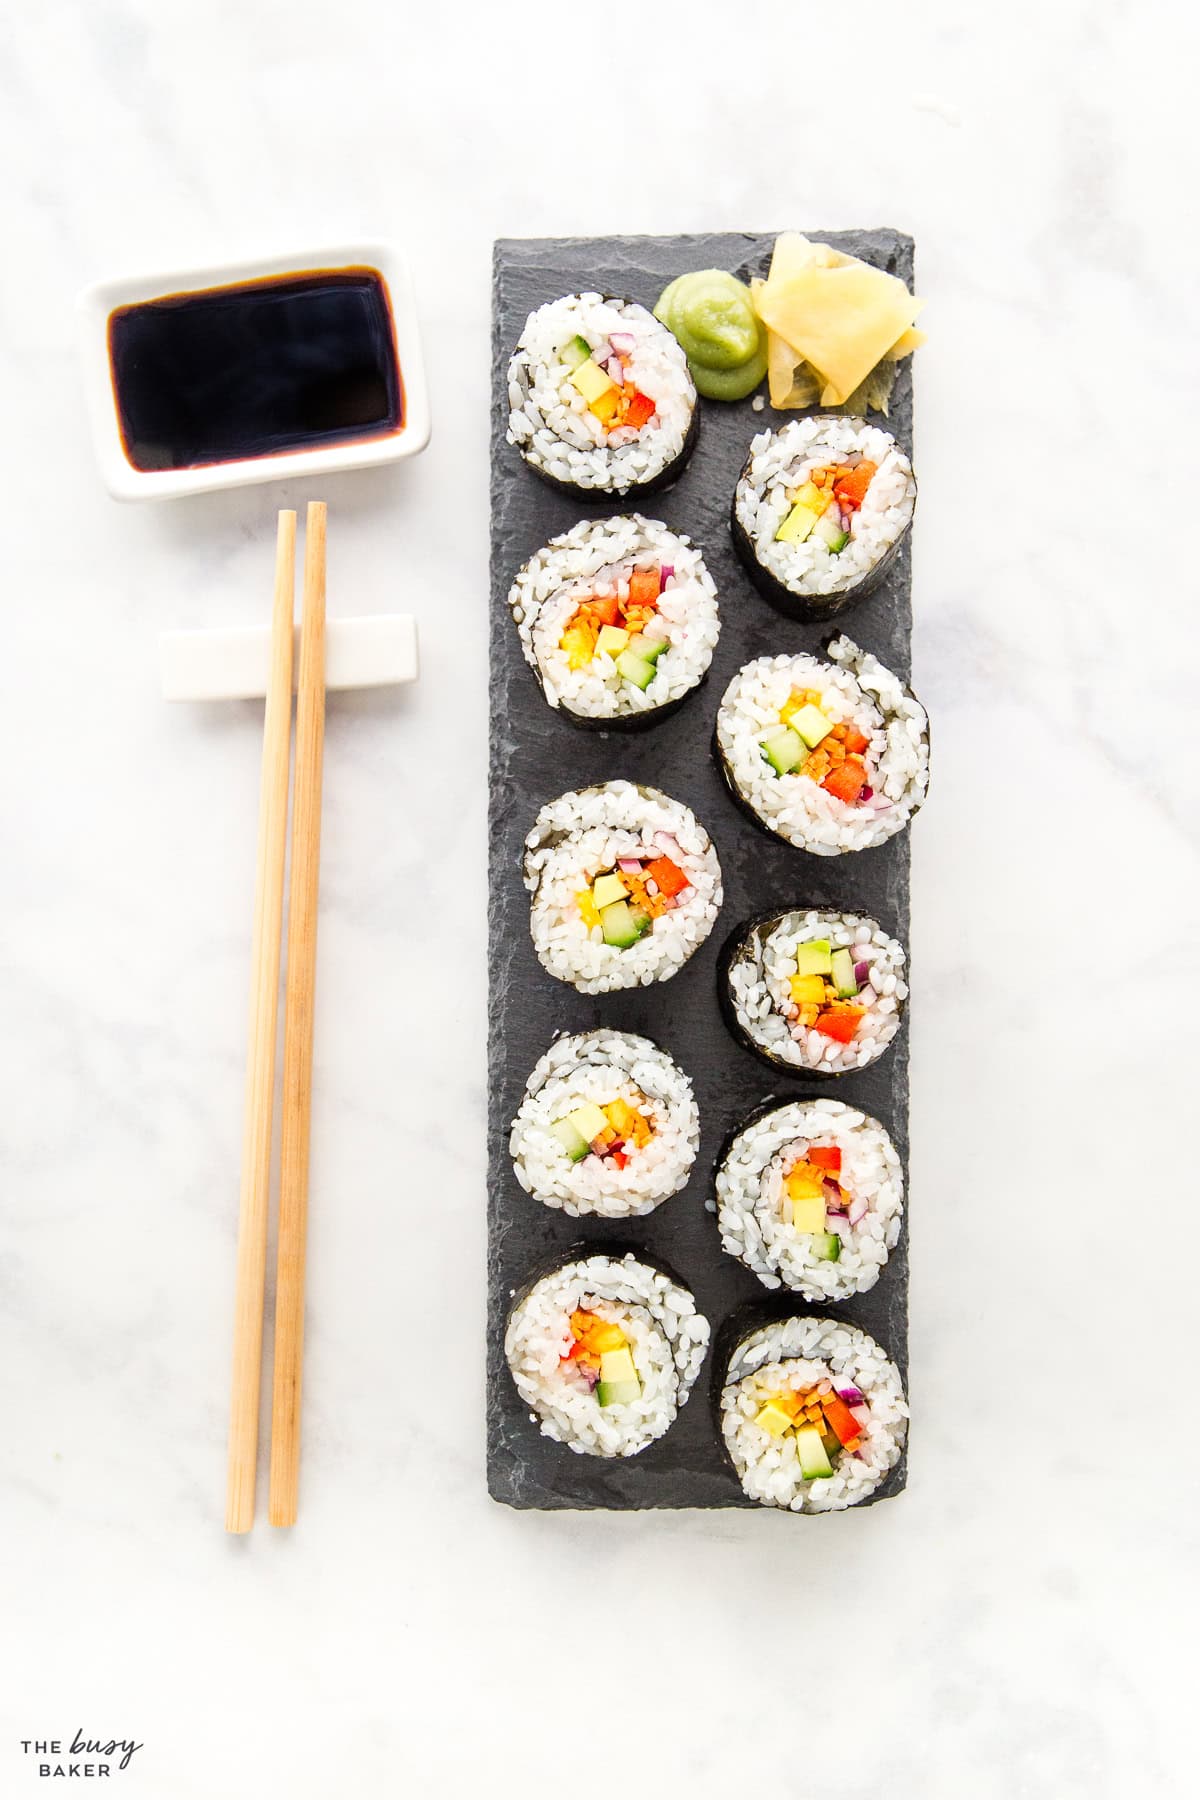
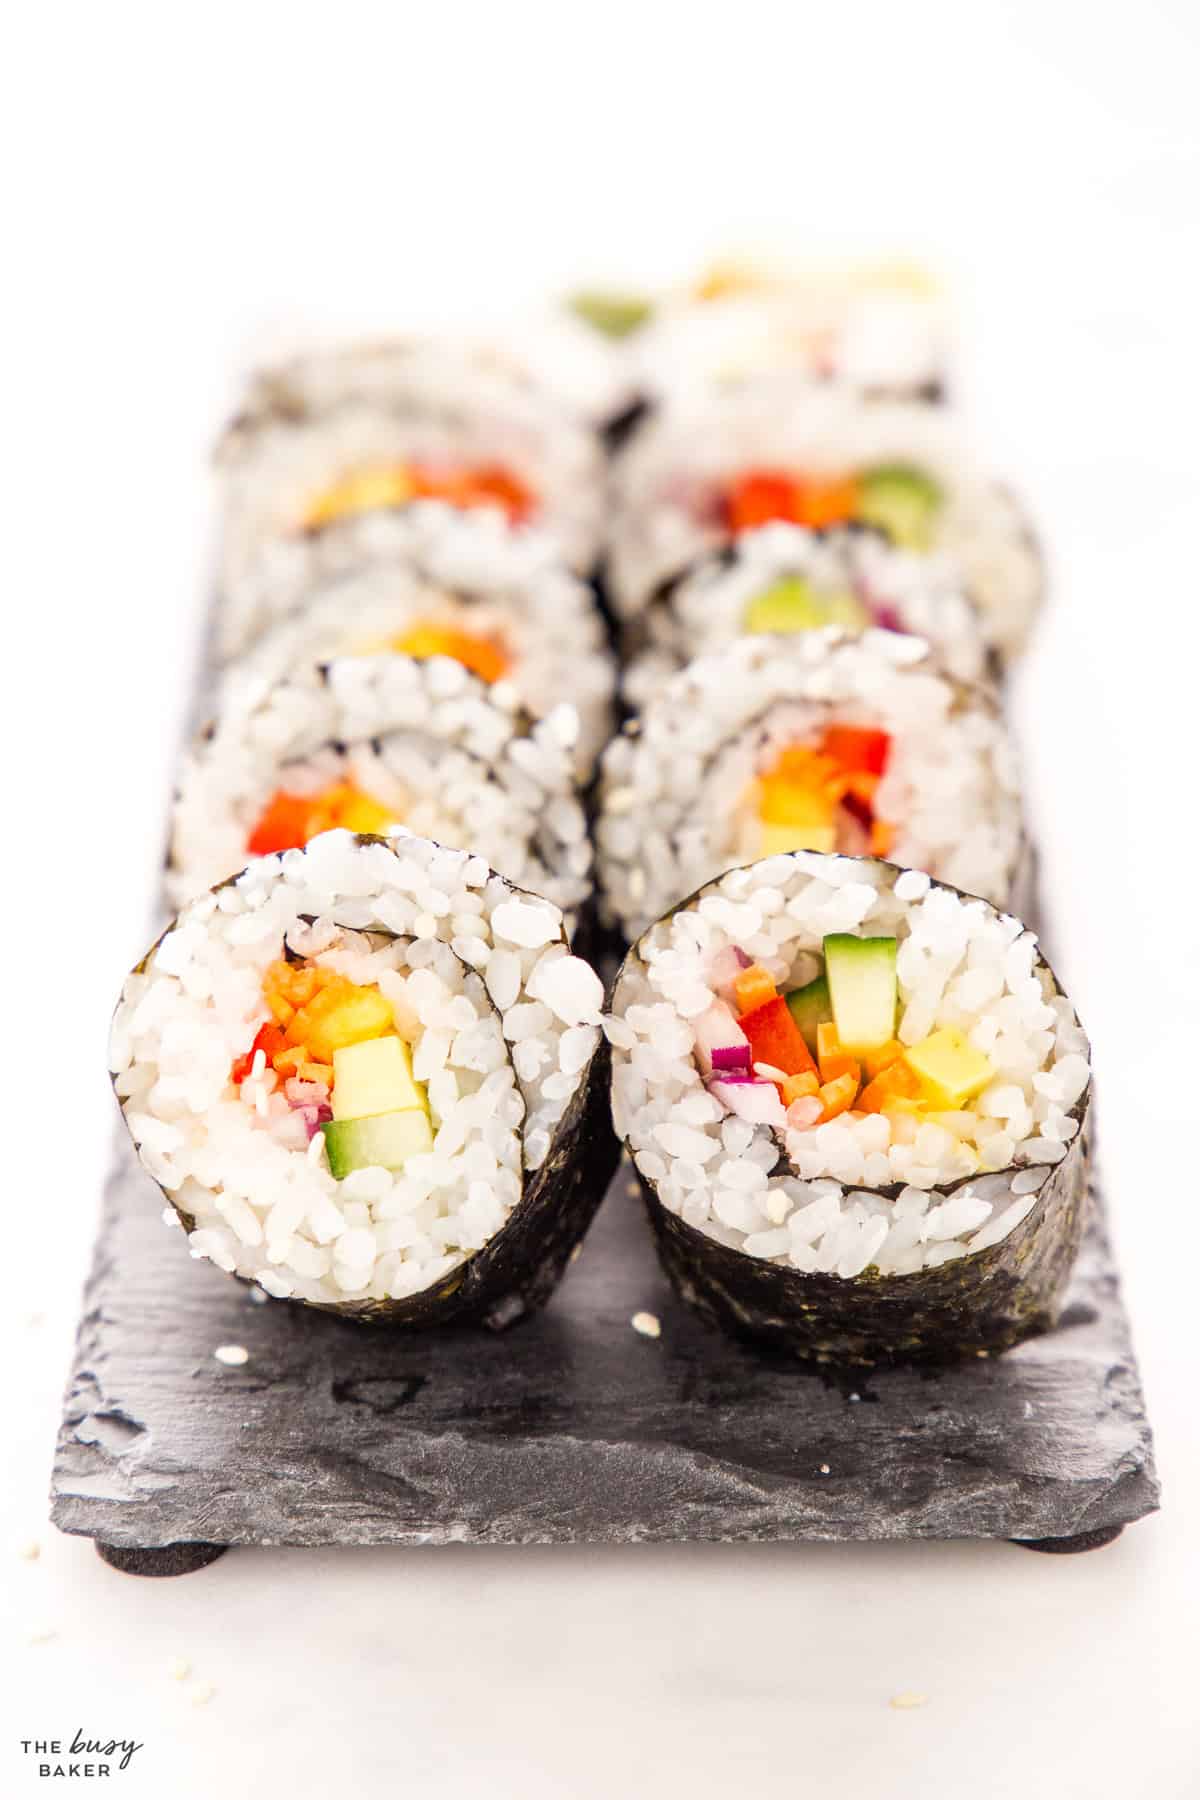
- Rainbow Veggie Rolls: Perfect for veggie lovers or anyone looking for a fresh, colourful option, these rolls are packed with veggies like bell peppers, carrots, and avocados. All wrapped in rice and seaweed, they’re sometimes topped with more veggies to make that rainbow pop.
This tutorial doesn’t just show you how to make these popular rolls, it’s a full-on guide to the tools and techniques you’ll need to roll sushi like a pro at home!

HEALTHY WHOLE FOOD RECIPES AND COOKING TIPS
Get my healthy whole-food recipes e-cookbook!
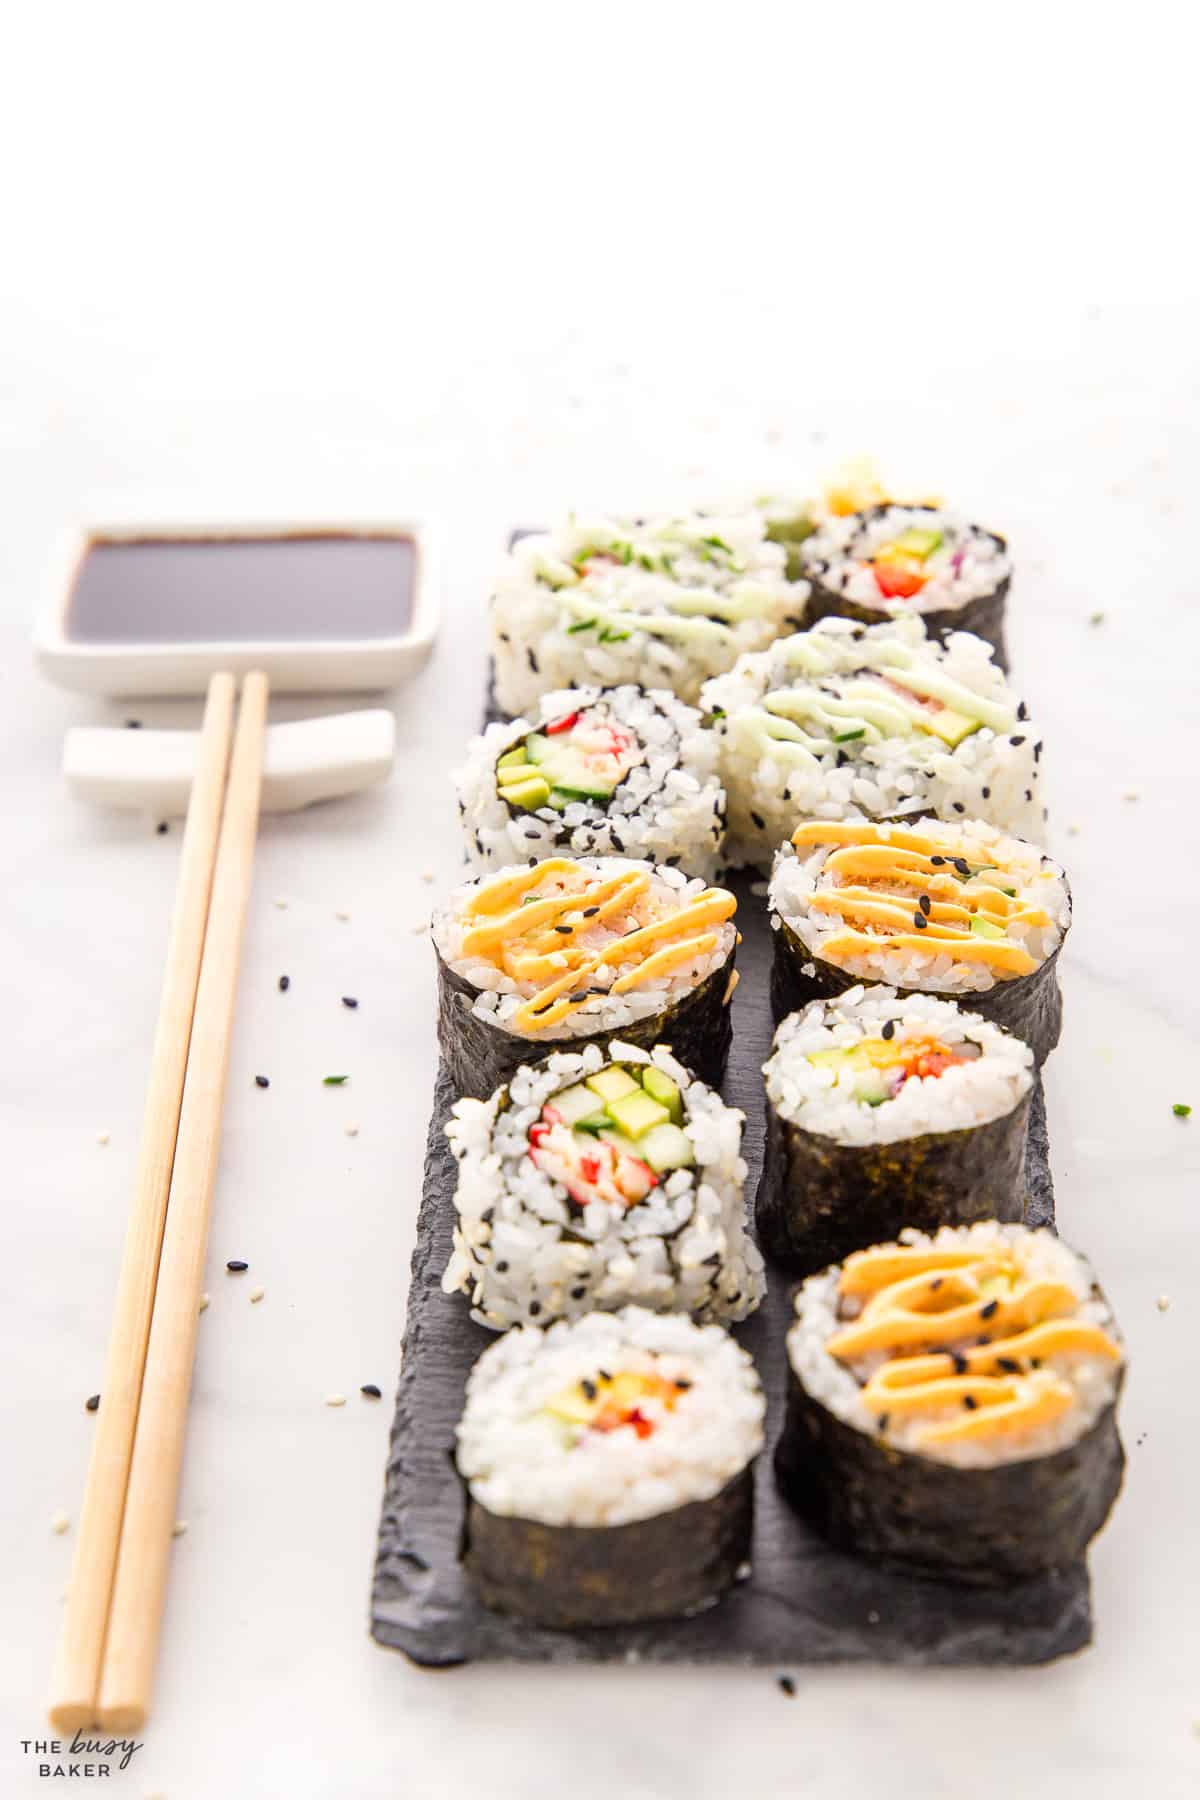
There are SO many reasons we love this Sushi recipe. Here are just a few!
- It’s BUDGET-FRIENDLY. Rice is cheap, especially when you buy it in bulk, and you can pick and choose the other ingredients to meet your budget goals. Also, there’s lots of things that you only need to buy once and then enjoy making homemade sushi over and over again!
- It’s EASY to make. Once you make it once, you’ll see that it’s not as difficult as you think! You can prep some things in advance and quickly assemble the rolls when you want to eat.
- It’s VERSATILE. You can make the sushi rice in the rice cooker, on the stove, or even in the Instant Pot – the choice is yours! As that is cooking, you can prep your favourite toppings and only make the rolls you like.
- It’s easy to MAKE AHEAD. We love making a big batch of sushi rice and prepping all the fillings (aside from the avocado) in advance, then assembling just before eating, sometimes even with our guests.
- It’s great for ENTERTAINING. There’s nothing quite as fun as a make-your-own-sushi night! We love creating a spread of sushi ingredients for a birthday dinner and having our guests roll their own sushi rolls, just the way they like them.
- It’s a new LUNCH idea. Tired of sending your kids to school with PB and J? Our kids love taking a California roll or a dynamite roll to school for lunch with some soy sauce for dipping!
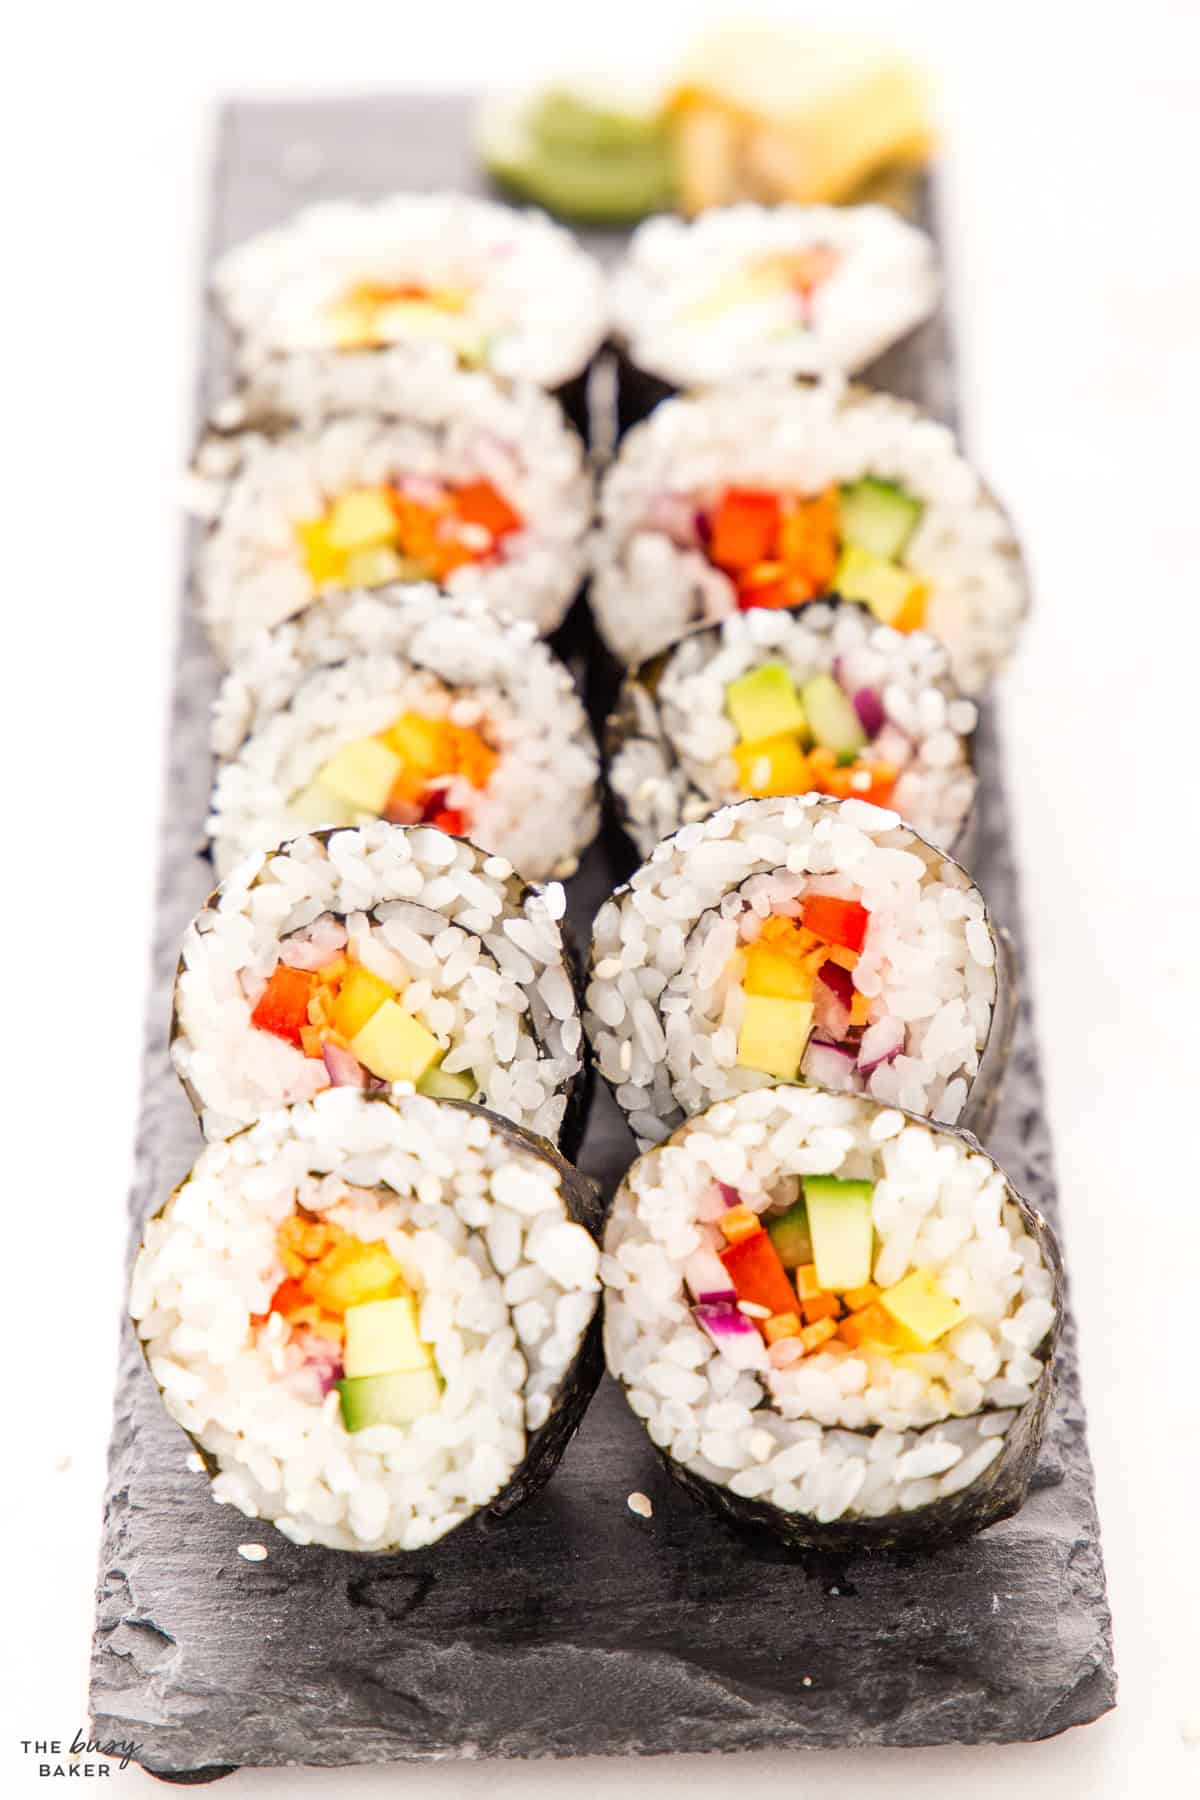
Want to make the BEST sushi at home? Here’s how to guarantee your homemade sushi is top notch!
Sushi is a dish where individual ingredients shine. You don’t need to make many types of rolls, but make sure you use as high quality ingredients as you can afford in the rolls you choose to make.
The best rice for this recipe is Japanese short grain rice. You can use generic Sushi Rice (paid link) or you can look for more specialized rice like Nishiki (paid link) which is a medium grain rice cultivated especially for sushi. Don’t use long-grain rice like jasmine or basmati which are too dry and not sticky enough. Good sushi rice is key!
A good bamboo mat (paid link) or even a silicone mat (paid link) for rolling the sushi will help you immensely. Also, make sure you use a very sharp knife when cutting the rolls for nice clean slices.
Make sure you add multiple textures and flavours to each roll you make. Use creamy (avocado), crunchy (carrot, cucumber, onions, or even Air Fryer Salmon Bites), sweet (mango), and spicy (Spicy Mayo), and follow our recipe to make a homemade California roll, Dynamite Roll, Rainbow Veggie Roll, and Philadelphia Roll.
Treat this tutorial as a starting point for your sushi journey. We’ve given you a recipe for 4 of the most popular rolls but feel free to play around with the fillings as you like. Can’t find smoked or sushi grade salmon? Whip up this Easy Glazed Miso Salmon or Air Fryer Salmon Bites, smash them in smaller pieces and add them in. If you can’t find breaded shrimp, chop up some precooked or pan fried shrimp in small cubes, mix it with Spicy Mayo and some sesame oil and seeds and add it into your homemade sushi rolls.
Whip up this Spicy Mayo and even a Wasabi Mayo to serve alongside the soy sauce (or tamari) with your homemade sushi.
Drizzle some Spicy Mayo, add some crispy onions (paid link), black and white sesame seeds, finely cut green onions, or even some pickled ginger (paid link) on top of every piece of sushi for nice presentation.
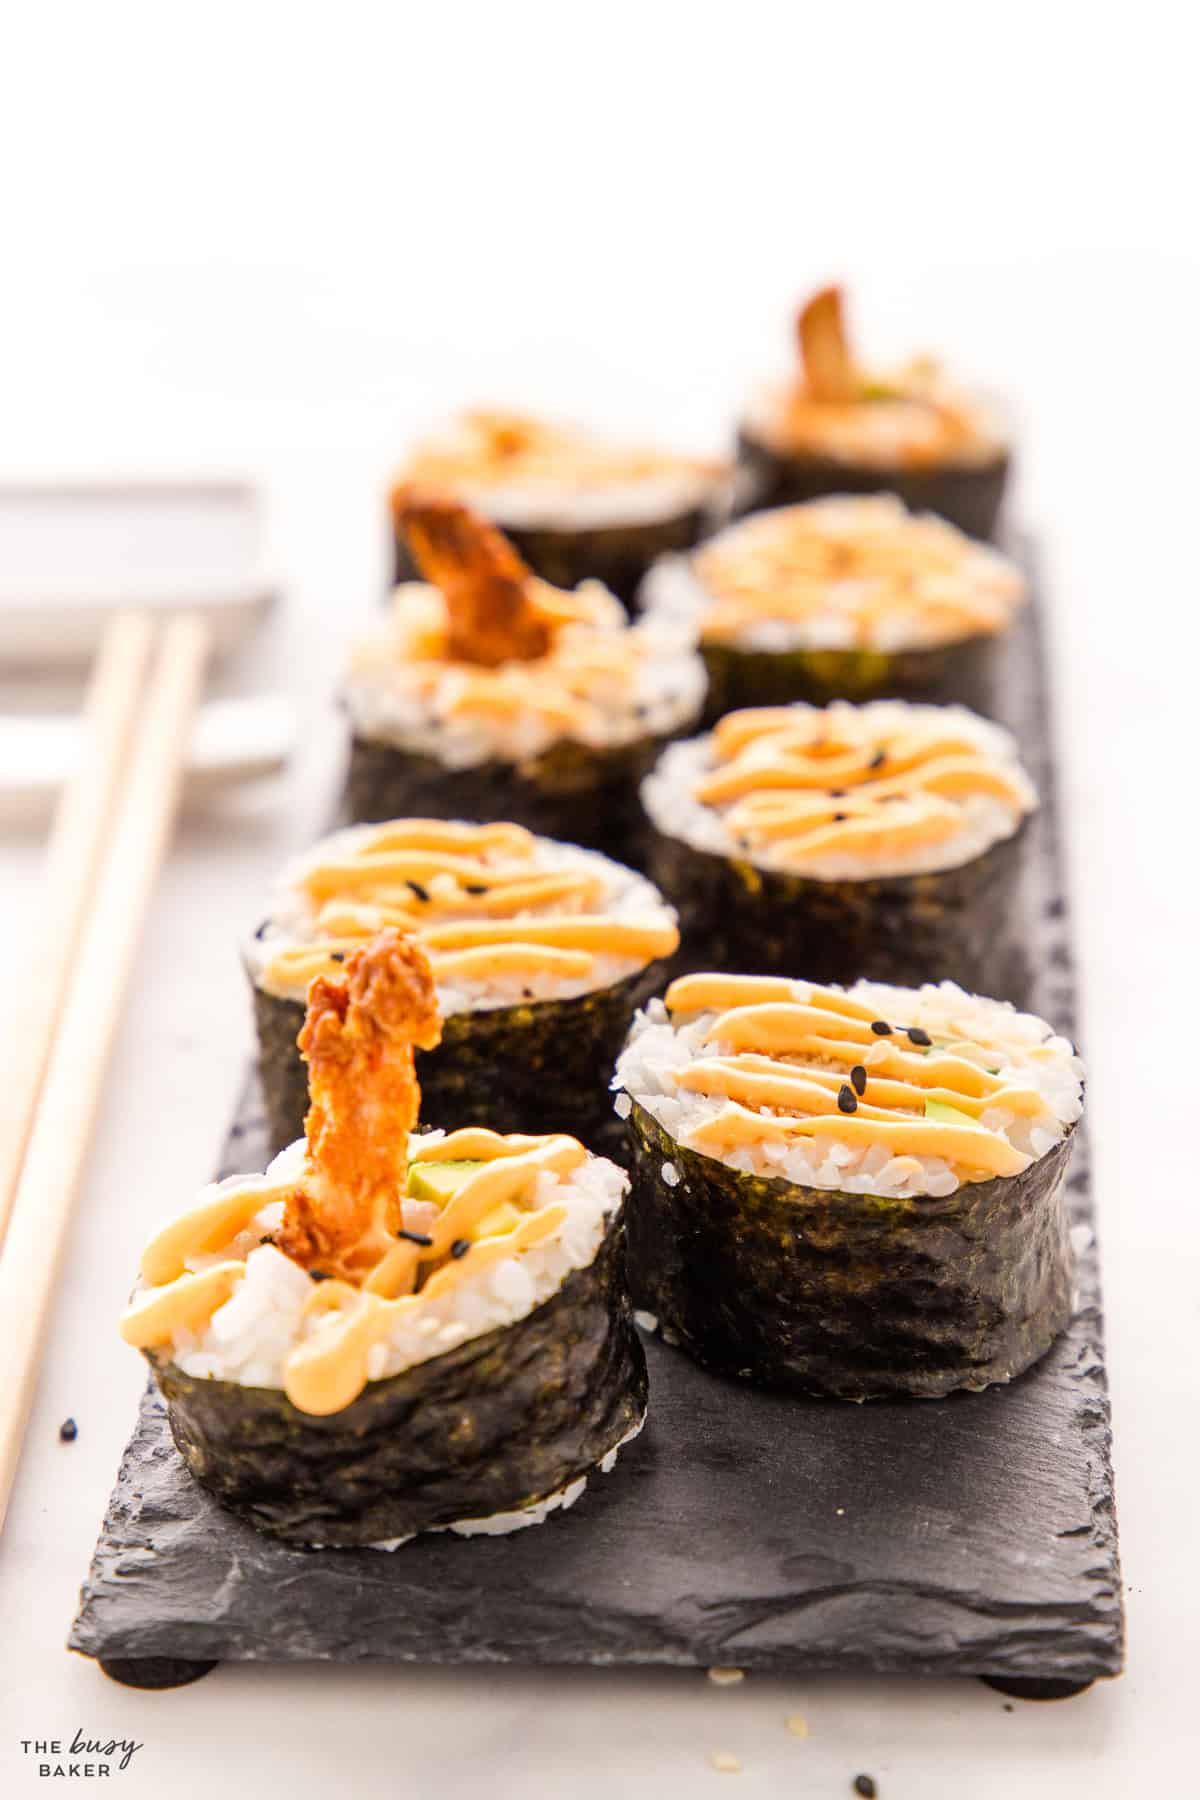
If you’re having trouble with this homemade sushi recipe, be sure to check out our troubleshooting ideas – common issues you might encounter and how to fix or prevent them!
An important step to ensure the proper rice texture for sushi is washing the rice until the water runs clear to remove excess starch. Make sure you use the correct amount of water and that you don’t overcook your rice.
Also, over mixing the seasoning liquid in the rice and using strong movements can damage the rice grains and cause your sushi rice to become mushy.
There are a couple of reasons why this can happen: the rice layer is too thick, you added too many fillings or you’re not tightening your sushi enough as you roll it.
Make sure you make a layer of rice that is at most half an inch thick. Be sure the rice layer is a consistent thickness, and use wet hands to easily handle the rice (so it doesn’t stick to your hands) and try to not mush the grains as you flatten it.
For fillings, make sure you don’t add too much. Trust us, your sushi won’t be bland or lack flavour. Stick to a few pieces of fish and a few types of veggies or fruit per roll.
To properly tighten your sushi, always apply a gentle but firm downward pressure on your sushi mat as you roll.
Make sure you leave about an inch of nori (seaweed) free of rice on the opposite edge from where you’re standing. As you’re rolling your sushi add a few dabs of water on the free edge to help it stick to the roll.
If the rice sticks to your knife as you cut, dip the knife in water before you cut. Be careful not to rip the nori as you slice. If your roll is falling apart when you cut it, refrigerate it for 10 minutes before you cut into it.
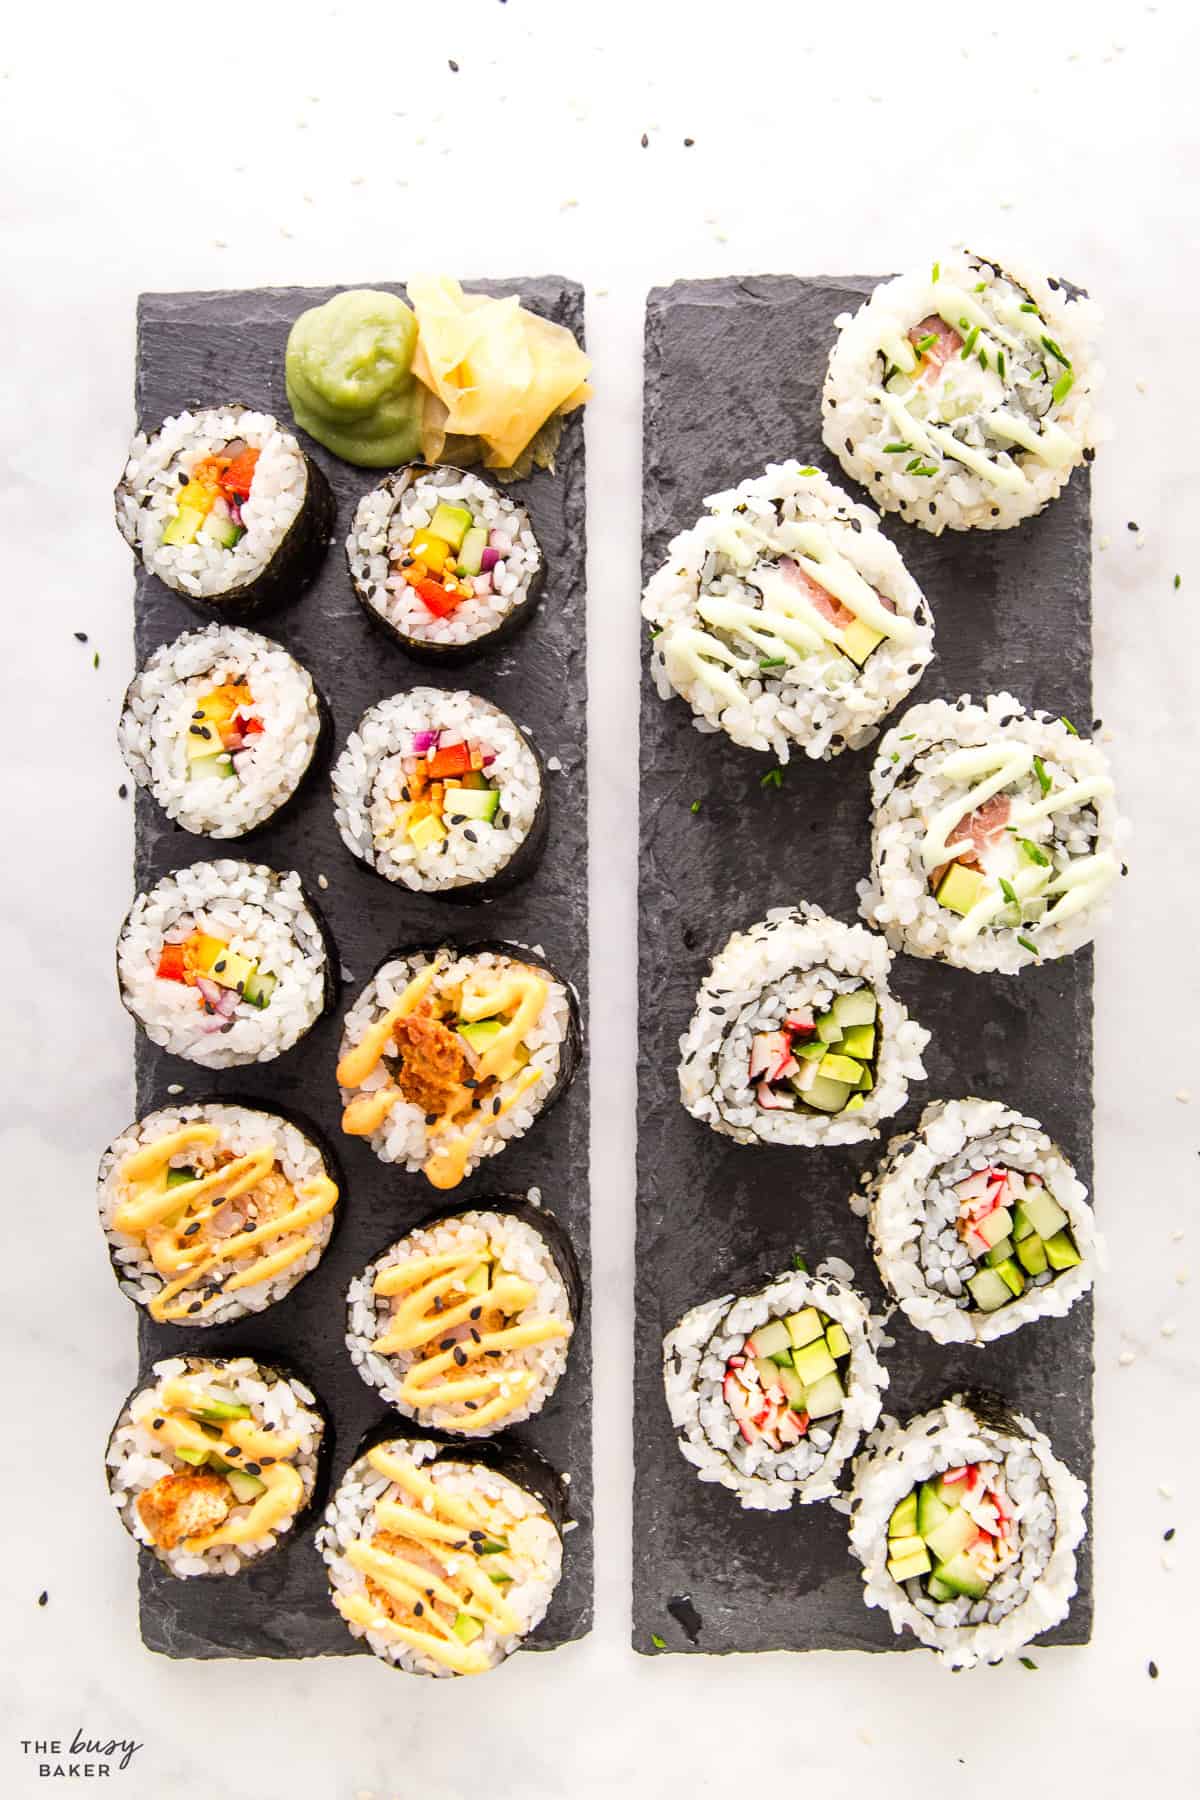
Here’s a list of the basic kitchen equipment you’ll need to make this homemade sushi recipe (paid links):
- Strainer
- Rice Cooker or a Large Pot
- spatula
- Sushi Mat and Plastic Wrap
- measuring cups and spoons
- large knife
- chopsticks
- small pot
- large baking sheet
- piping bag
- liquid measuring cups
To make this homemade sushi recipe, here’s a list of the ingredients you’ll need to have on hand (paid lnks):
For the sushi rice:
- 4 cups sushi rice
- 4 cups water
- 1/3 cup rice vinegar
- 4 tablespoons sugar
- 3 teaspoons salt
For 2 California rolls:
- 4 sticks crab meat or use imitation crab
- 1/4 English cucumber
- 1/4 avocado
- 2 sheets dried nori (seaweed)
- 2 tablespoons wasabi mayo
- 1 teaspoon sesame seeds we like to use a mix of black and white
For 2 Philadelphia rolls:
- 4 ounces smoked salmon
- 1/4 English cucumber
- 1/4 avocado
- 1/4 cup cream cheese
- 2 sheets dried nori (seaweed)
For 2 Dynamite rolls:
- 4 battered shrimp
- 1/4 English cucumber
- 1/4 avocado
- 2 sheets dried nori (seaweed)
- 2 tablespoons sriracha mayo
For 2 Rainbow Veggie rolls:
- 1/4 avocado
- 1/4 english cucumber
- 1/2 carrot
- 1/4 mango
- 1/2 red bell pepper
- 1 small red onion
- 2 sheets dried nori (seaweed)
For serving:
Want to take this sushi recipe to the next level and try some new rolls? Here are some great ideas!
- Spicy tuna roll: Mix some cubed sushi grade tuna fish or canned tuna with some Spicy Mayo and add it in a roll along with cucumber, spring onions, and sesame seeds.
- Spider roll: Fry some battered soft-shell crab, and add it in a roll with avocado, cucumber, lettuce, and Spicy Mayo.
- Mango avocado roll: Make a roll with mango, avocado, cucumber, and pickled ginger (affiliate link)
- Salmon and cream cheese roll: To an inside out roll (Uramaki) add smoked or sushi-grade salmon, cream cheese, cucumber, avocado, sesame seeds.
- Spicy crab roll: Add imitation crab (or real crab meat), Spicy Mayo, cucumber, and avocado to a roll
- Grilled Teriyaki Chicken Roll: Add grilled teriyaki chicken, cucumber, avocado, and sesame seeds to a roll.
- Tropical roll: Make a roll with shrimp, mango, cucumber, avocado, and cream cheese.
Time needed: 5 minutes
Here’s how to make this basic maki sushi roll recipe, step by step!
- Set up your rolling station.
Wrap the bamboo sushi mat with plastic wrap on all sides to prevent the rice from sticking.
Prepare a bowl of water with a bit of rice vinegar and keep it close to wet your hands, which will prevent the rice from sticking to your fingers. - Prepare the roll.
Lay a sheet of nori, shiny side down, on the bamboo mat.
Wet your hands and place a handful of sushi rice (about 3/4 cup-1 cup) on your nori sheet. Push the rice towards the edges, gently with your fingers, covering the entire sheet.
Place your chosen fillings in a horizontal line across one end of the rice (close to you), leaving about one inch between the fillings and the edge. Make sure you don’t overfill your roll. - Roll.
Lift the edge of the bamboo mat closest to you with your thumbs and index fingers while holding the fillings in place with your other fingers. Roll the mat away from you, pressing gently to shape the roll.
Continue rolling until you reach the border of the nori without rice. Moisten the bare edge of the nori with water from your bowl and continue rolling tight to seal the roll.
1. Set up your rolling station.
Wrap the bamboo sushi mat with plastic wrap on all sides to prevent the rice from sticking.
Prepare a bowl of water with a bit of rice vinegar and keep it close to wet your hands, which will prevent the rice from sticking to your fingers.
2. Prepare your roll.
Lay a sheet of nori, shiny side down, on the bamboo mat.
Wet your hands and place a handful of sushi rice (about 3/4 cup-1 cup) on your nori sheet. Push the rice towards the edges, gently with your fingers, leaving a bare edge of about 1/2-3/4 inch on the opposing side from where you’re standing. (top edge)
Sprinkle a mix of white and black sesame seeds on the rice.
With a fast and sure movement, flip the nori sheet upside down. Don’t worry, the plastic wrap will prevent the rice from sticking to your rolling mat.
Place your chosen fillings in a horizontal line across one end of the nori (close to you), leaving about one inch between the fillings and the edge. For the inside out rolls, you can add a little more of your fillings, think a few more cucumber sticks and avocado slices.
3. Roll your roll.
Lift the edge of the bamboo mat closest to you with your thumbs and index fingers while holding the fillings in place with your other fingers. Roll the mat away from you, pressing gently to shape the roll.
Continue rolling until you reach the border of the nori without rice. Moisten the bare edge of the nori with water from your bowl and continue rolling tight to seal the roll.
1. Set Up Your Rolling Station
Wrap the bamboo sushi mat with plastic wrap on all sides to prevent the rice from sticking.
Prepare a bowl of water with a bit of rice vinegar and keep it close to wet your hands, which will prevent the rice from sticking to your fingers.
2. Prepare your ingredients
Cut each nori sheet in half to form rectangles. Each piece will be used to make one sushi cone.
Wet your fingers and take a small handful of sushi rice.
Spread the rice on the left half of the nori, leaving about an inch border on the top left corner.
3. Roll your roll
Place your chosen fillings diagonally across the middle of the rice. Do not overfill.
Fold the bottom left corner of the nori over the fillings towards the top right edge.
Roll the nori into a cone shape, continuing to wrap until you reach the end of the nori sheet.
Use a dab of water to seal the edge of the nori to keep the cone shape intact.
What can I serve with my Homemade Sushi?
Aside from Spicy Mayo, Wasabi mayo, soy sauce(or tamari), pickled ginger, and wasabi paste, you could make some Vegan Miso Soup, an Asian Cucumber Salad with Carrots or even Easy Homemade Ramen Bowls.
What are some budget friendly alternatives to sushi grade fish?
You can use canned tuna, smoked salmon, imitation crab meat, tofu, or just make vegetarian sushi rolls.
What is the best rice to use for this Homemade Sushi recipe?
The ideal rice for any sushi recipe is Japanese short grain rice because of its high starch content, which gives it the texture and stickiness we’re looking for.
How to make homemade sushi taste as good as the sushi restaurant?
Season your rice with sugar, salt and rice vinegar. For even more umami, you can add a 4 inch square of kombu to the water as you boil the rice. Make sure you season the fillings you cook like teriyaki salmon and balance the flavours with sauces. Don’t forget to add some crispy elements like carrots, cucumbers, onions, crispy onions, and sesame seeds to each roll.
Can I make sushi without raw fish?
You absolutely can! Use cooked fish and seafood like tempura shrimp, teriyaki salmon or smoked salmon or opt for vegetarian fillings like tofu, avocado, asparagus, sweet potato, cucumber, carrots, peppers, and mango!
How do I stop sushi rice from sticking to my hands?
Keep a small bowl of water with a splash of rice vinegar close by and dip your hand in it before handling the rice.
Can I make sushi in advance for a party?
You can prepare most of the ingredients in advance but we suggest you only assemble the rolls before you want to eat.
Is sushi gluten free?
Yes, as long as you use gluten free fillings, sushi is gluten free.
We hope you love this sushi recipe and tutorial for making homemade sushi! Let us know in the comments below, what’s your favourite sushi roll? We’d love to know!
- Vegan Miso Soup
- Poke Bowl
- Cashew Chicken
- Easy Homemade Ramen Bowls
- Air Fryer Chicken Fajitas
- Power Bowl
- Beef and Broccoli Stir Fry
- Fried Rice
- Salt and Pepper Chicken
- Mexican Rice
- Air Fryer Steak Fajitas
If you made this, share a photo!
Are you trying this recipe? Use the comment form below to share your take; now with support for image uploads and comment voting!
Homemade Sushi
Recipe: Equipment
Recipe: Ingredients
For the rice:
- 4 cups sushi rice
- 4 cups water
- 1/3 cup rice vinegar
- 4 tablespoons sugar
- 3 teaspoons salt
For 2 California rolls:
- 4 sticks crab meat or use imitation crab
- 1/4 English cucumber
- 1/4 avocado
- 2 sheets dried nori (seaweed)
- 2 tablespoons wasabi mayo
- 1 teaspoon sesame seeds we like to use a mix of black and white
For 2 Philadelphia rolls:
- 4 ounces smoked salmon
- 1/4 English cucumber
- 1/4 avocado
- 1/4 cup cream cheese
- 2 sheets dried nori (seaweed)
For 2 Dynamite rolls:
- 4 battered shrimp
- 1/4 English cucumber
- 1/4 avocado
- 2 sheets dried nori (seaweed)
- 2 tablespoons sriracha mayo
For 2 Rainbow Veggie rolls:
- 1/4 avocado
- 1/4 english cucumber
- 1/2 carrot
- 1/4 mango
- 1/2 red bell pepper
- 1 small red onion
- 2 sheets dried nori (seaweed)
For serving:
Recipe: Instructions
To make the sushi rice:
- Wash the rice in a sieve until the water is running clear. Add it to a pot with 4 cups of water.
- Bring the rice to a boil over medium-high heat, then reduce the heat to low, cover with a lid, and let it cook for 10 minutes. Turn the heat off and allow the rice to sit, still covered, for another 15 minutes.
- Meanwhile, in a small saucepan, combine the sugar and salt with the rice vinegar, heating them gently until dissolved.
- Drizzle the rice vinegar mixture evenly over the rice, and carefully fold it in with a spatula or a wooden spoon. Spread the rice on a big sheet pan and allow to cool until it’s slightly above room temperature.
For assembling the sushi rolls:
- As the rice cools, prep all your fixings, leaving the avocados for last. Deep fry or air fry your battered shrimp and warm up and shred your crab sticks.
- Wash and julienne the carrots, cucumbers, and bell peppers. Thinly slice the red onion, mango, and avocado. Put some cream cheese in a piping bag and leave it at room temperature.
- Wrap your sushi mat in plastic wrap for easy rolling and cleanup.
- For the Rainbow roll, Dynamite roll and Philadelphia roll you will first place a nori sheet on the sushi mat, shiny side down. On top of that, with wet hands, spread out a layer of sushi rice of about 1/2 inch in height, leaving about 1 inch free on one side. Dipping your hands in a small bowl of water with some rice vinegar as you do this will help the rice not stick to your hands.
- For the California roll, do the same thing, spreading the rice over the whole sheet of nori. After the rice is spread out, sprinkle with 1/2 teaspoon of sesame seeds. With a fast and sure movement, flip the nori sheet upside down. Don't worry, the plastic wrap will prevent the rice from sticking to your rolling mat.
- For the Rainbow roll, add a few sticks/slices of the veggies and mango, in a straight line across the middle of the rice.
- For the Philladelphia roll, add the salmon, cucumber sticks, and avocado slices and pipe cream cheese in a straight line across the middle of the rice.
- For the Dynamite roll, add the shrimp (tail side out), cucumber sticks, and avocado slices in a straight line across the middle of the rice.
- For the California roll, add the shredded crab sticks, cucumber sticks, and avocado slices in a straight line across the middle of the nori.
- Lift the edge of the bamboo mat closest to you with your thumbs while holding the fillings in place with your fingers. Roll the mat away from you, pressing gently to shape the roll. Continue rolling until you reach the border of the nori without rice. Moisten the bare edge of the nori with water to seal the roll.
- Cut each roll in 8 pieces, with a very sharp knife. Place, laying them down on a serving platter and, for the Dynamite roll, drizzle each piece with spicy mayo. Optionally, you can add the spicy mayo and a sprinkle of sesame seeds on the other rolls too. Serve with soy sauce, pickled ginger, and wasabi paste.
Recipe: Notes
Storage instructions
Ideally sushi should be consumed fresh but if you need to, you can refrigerate it for up to 24 hours in airtight containers in the refrigerator.Recipe: Nutrition
Notice: Nutrition is auto-calculated, using Spoonacular, for your convenience. Where relevant, we recommend using your own nutrition calculations.

TRY OUR MEAL PLANS!
Let us do the work for you with 7 days of deliciously easy family dinners, grocery lists, meal prep guides and MORE!
Buy 2, save 20%!
Buy 3, save 30%!
Buy 4 or more, save 40%!
