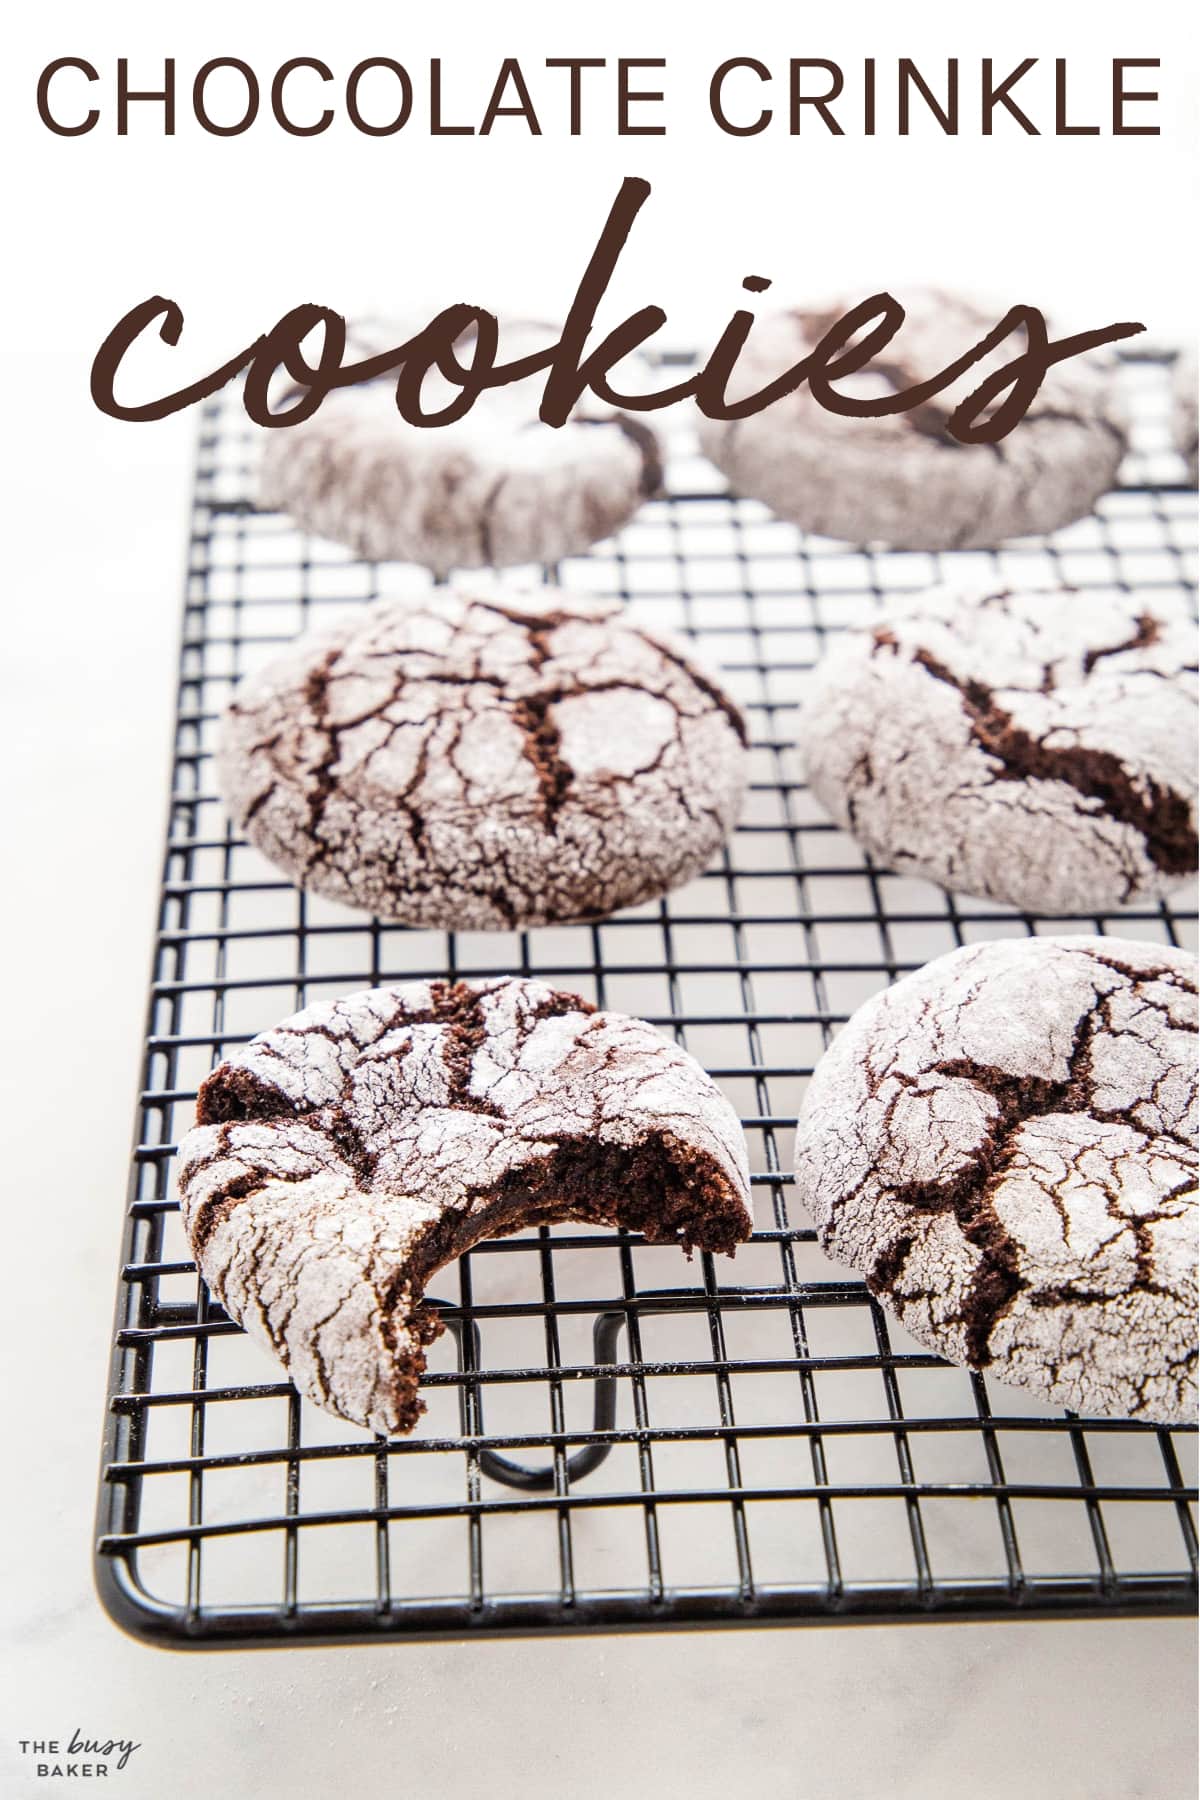
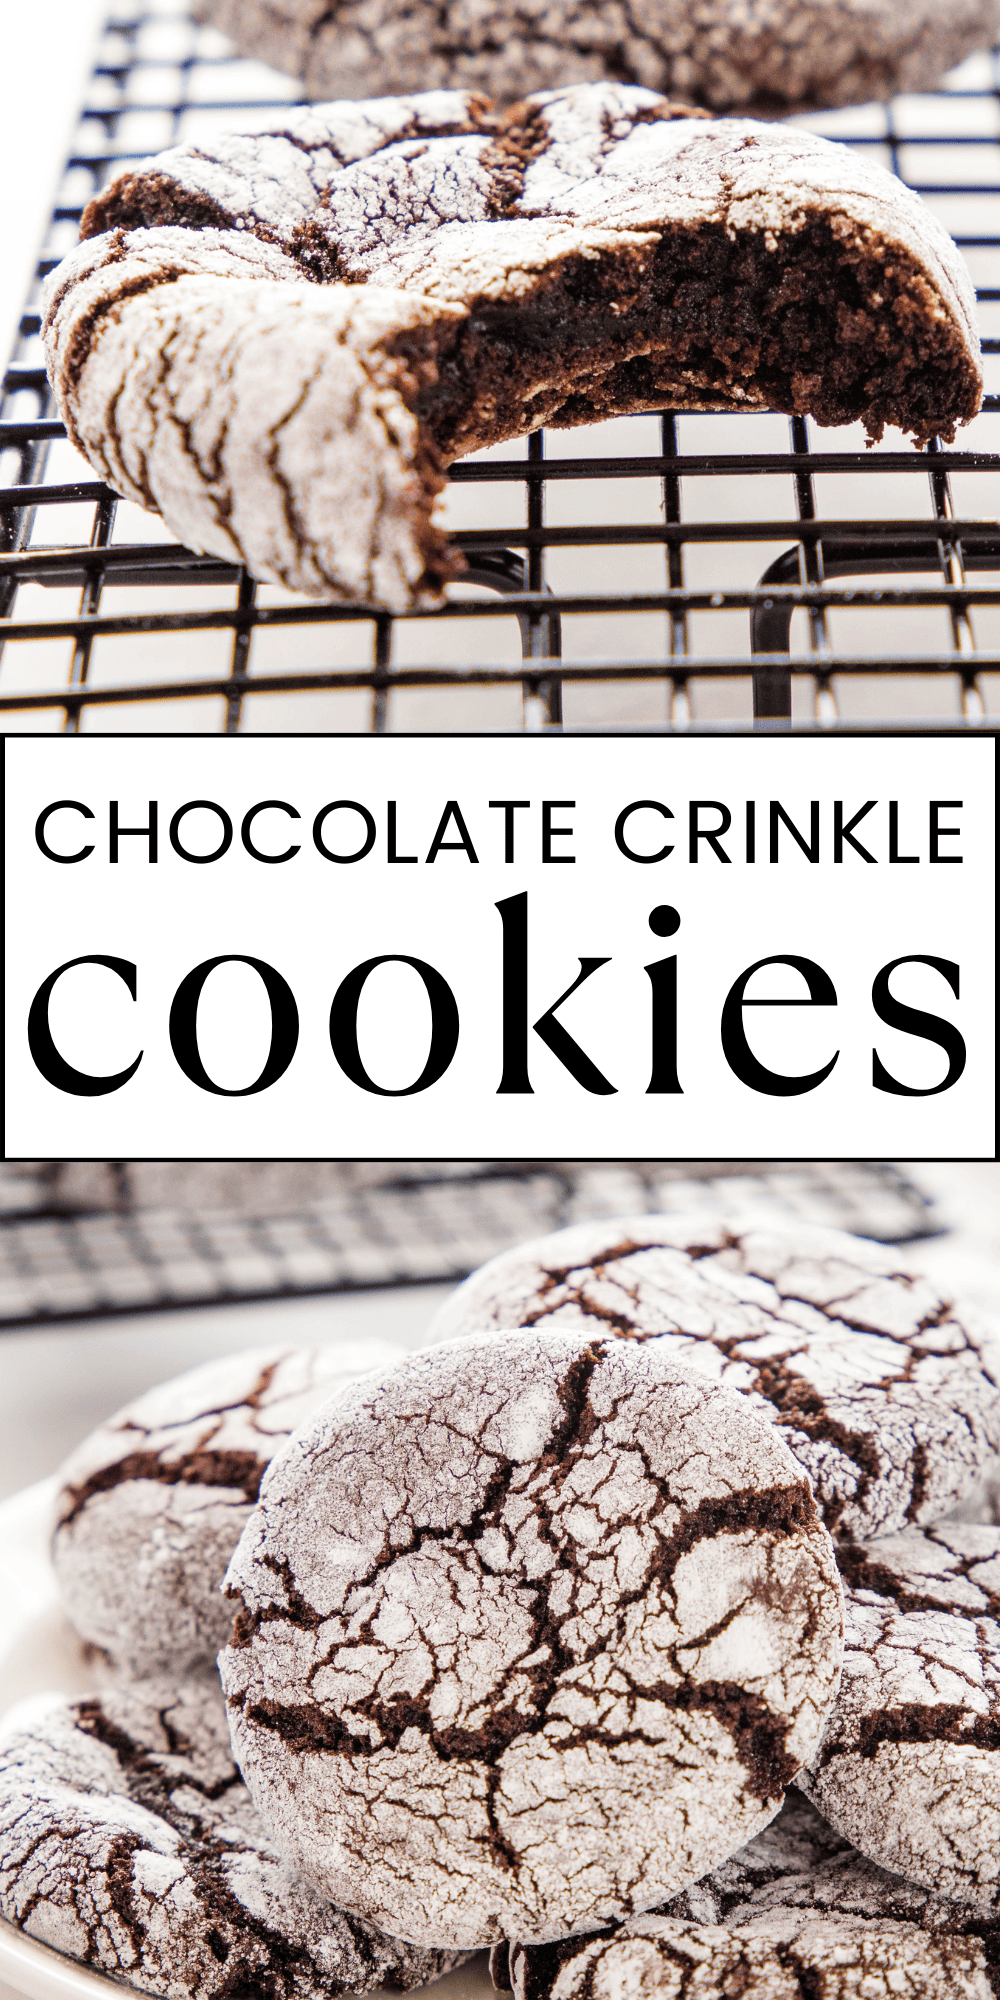
This Chocolate Crinkle Cookies recipe is an easy-to-make chocolate Christmas cookie recipe that’s perfect for the holidays! They’re crispy on the outside and soft & fudgy on the inside.
Estimated reading time: 0 minutes
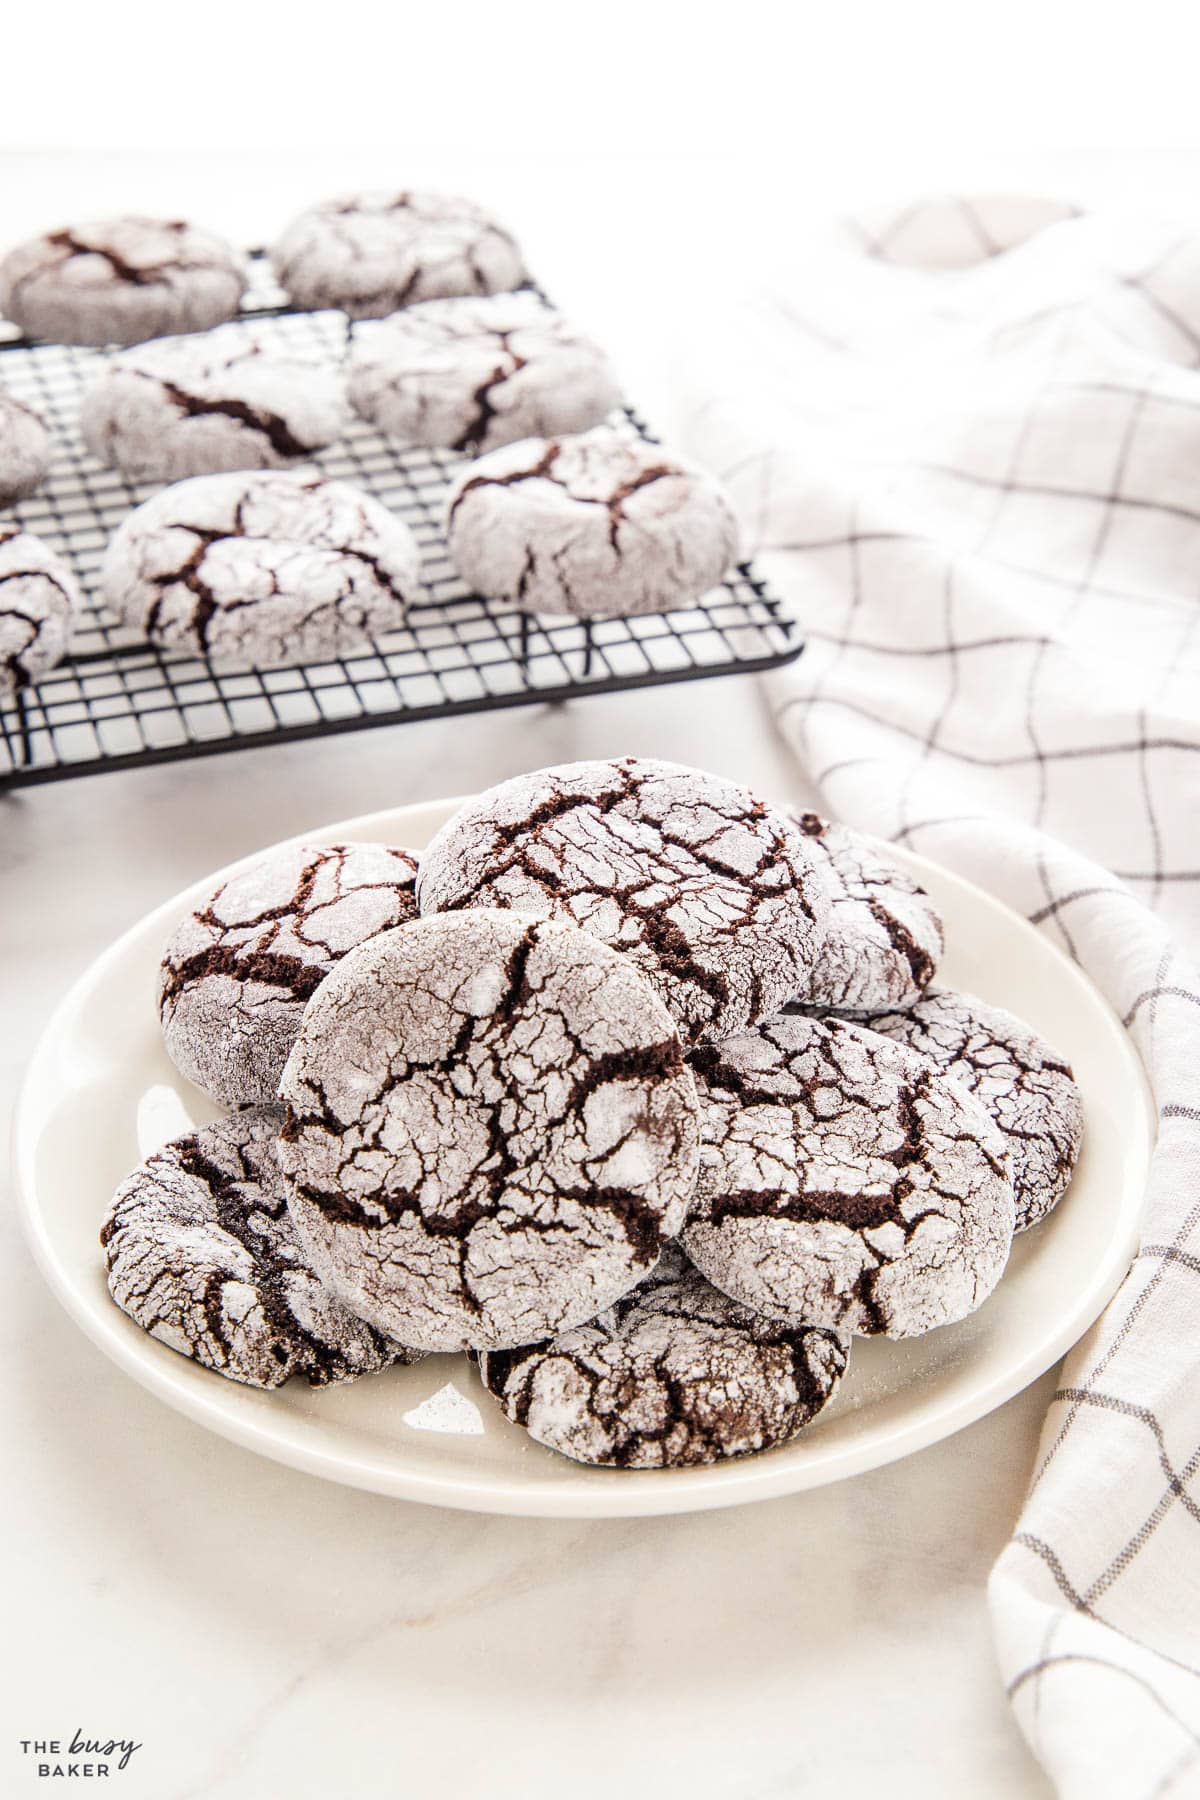
Holiday baking season has arrived and today we’re sharing a Christmas classic that’s sure to get your taste buds jingling in time for the holidays: Chocolate Crinkle Cookies! This Chocolate Crinkle Cookie recipe makes the most beautiful chocolate Christmas cookies that look like they’ve been dusted with a blanket of snow – they’re picture-perfect and ready for your holiday table!
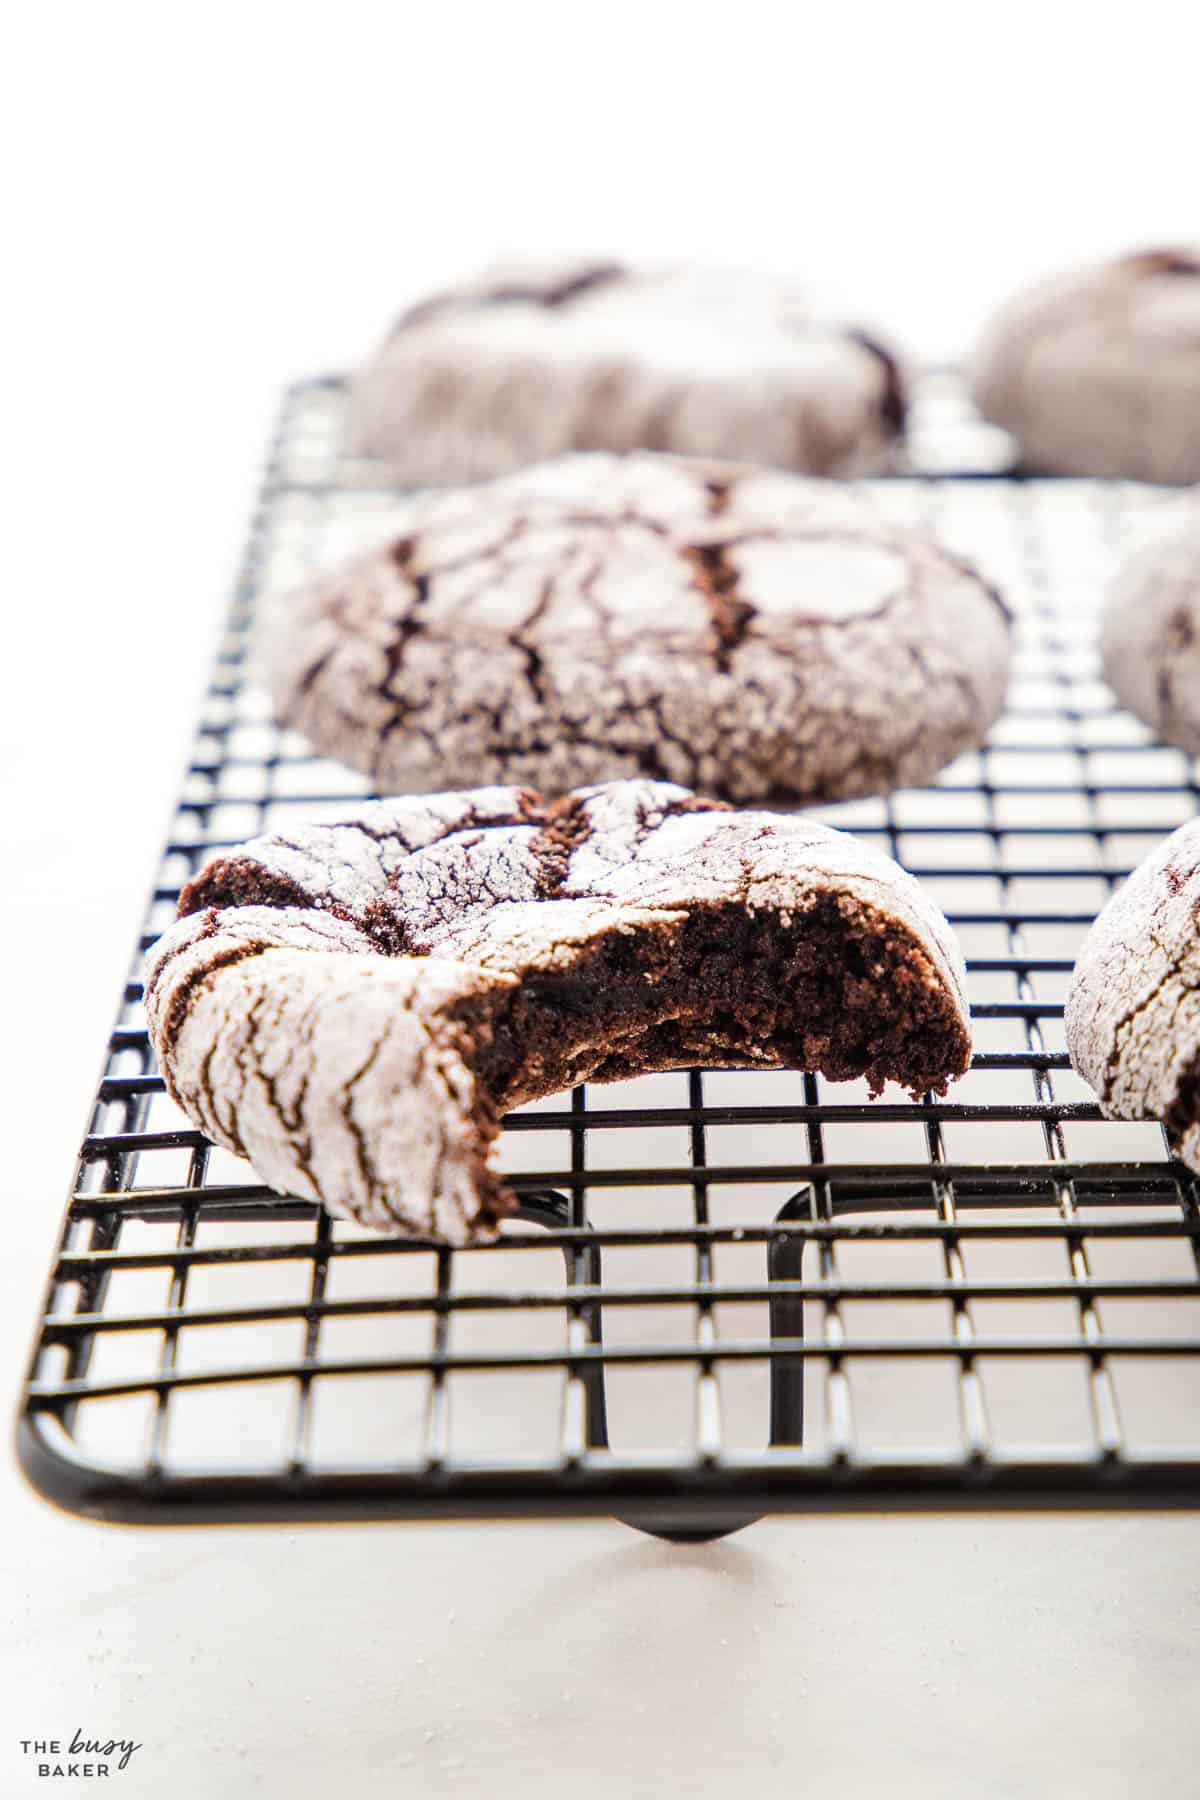
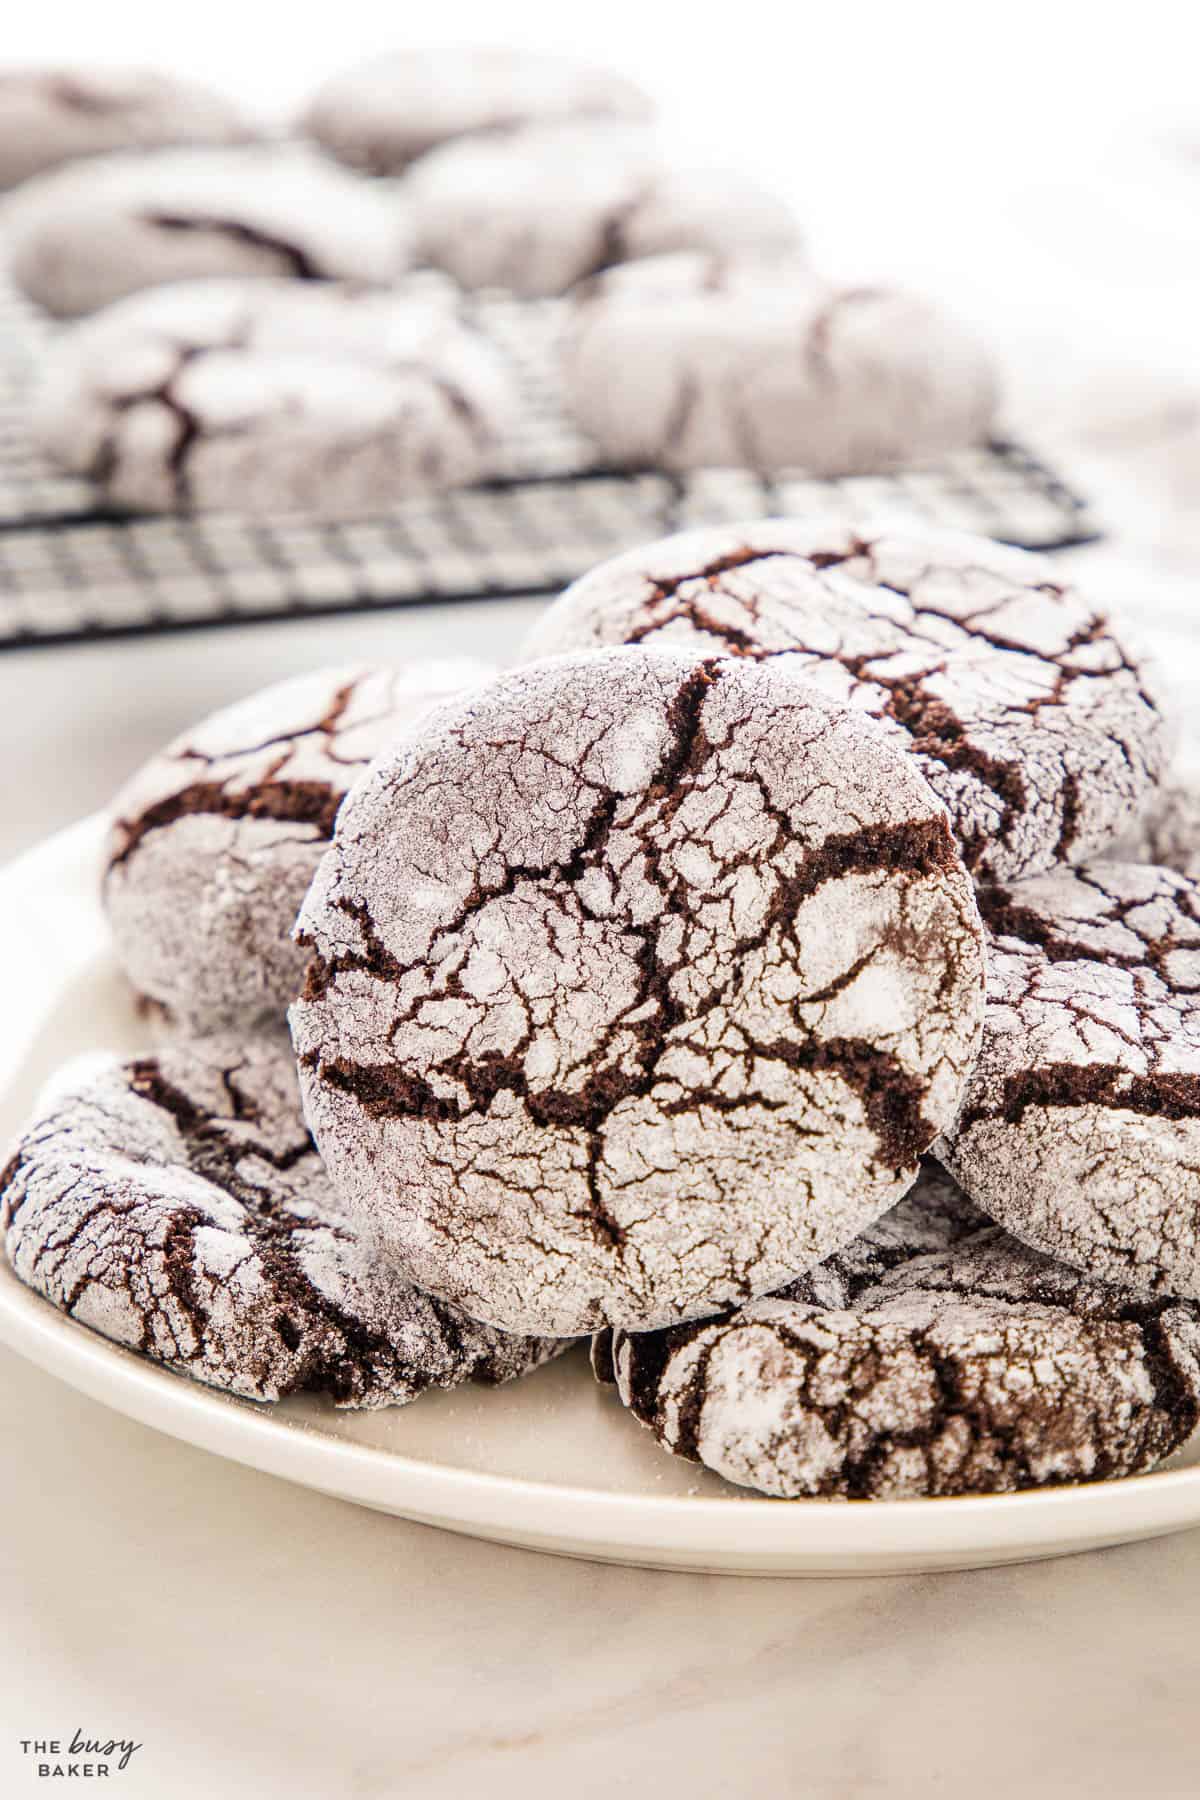
And not only are they gorgeous, they also taste divine with a crispy and sugary exterior and a soft, fudgy, and indulgent interior. It’s the perfect chocolate crinkle cookies recipe for chocolate lovers and we just know you’re going to LOVE them as much as we do!
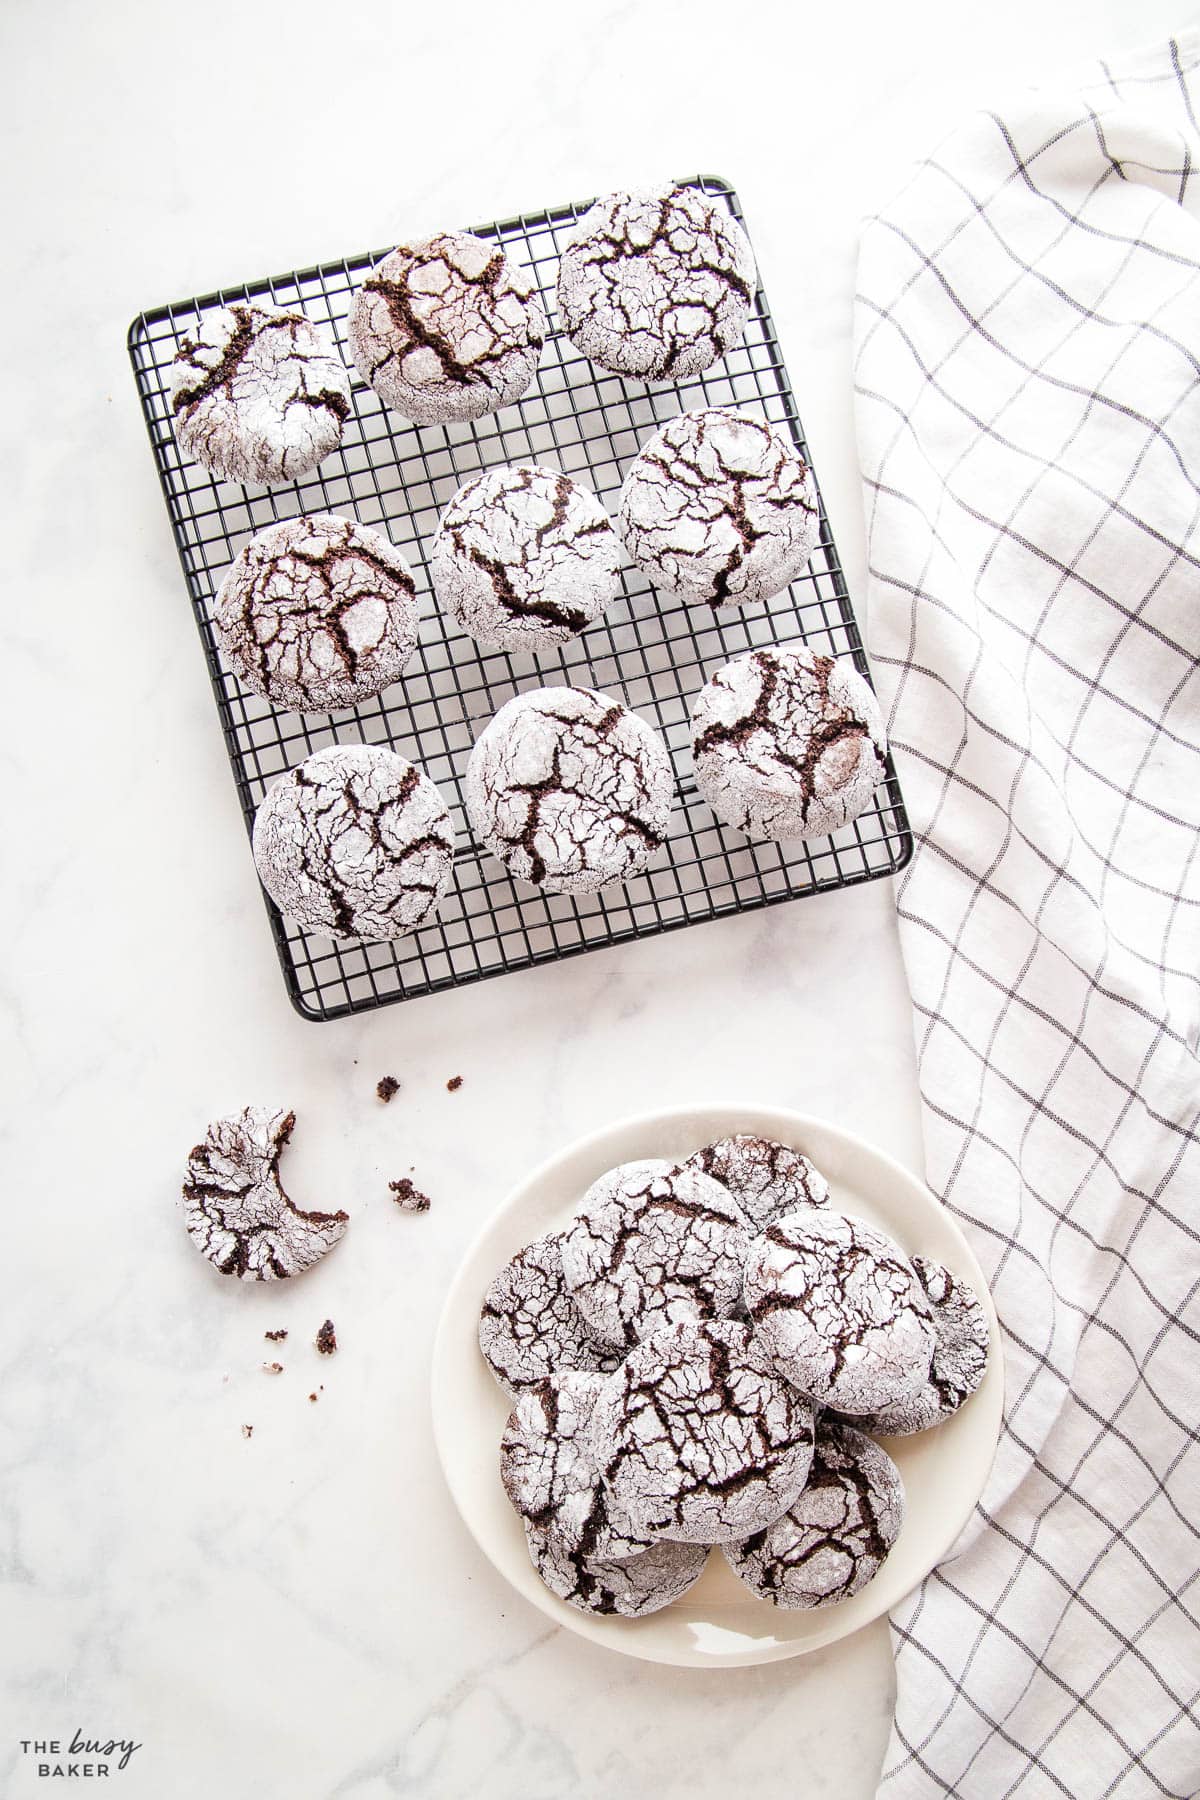
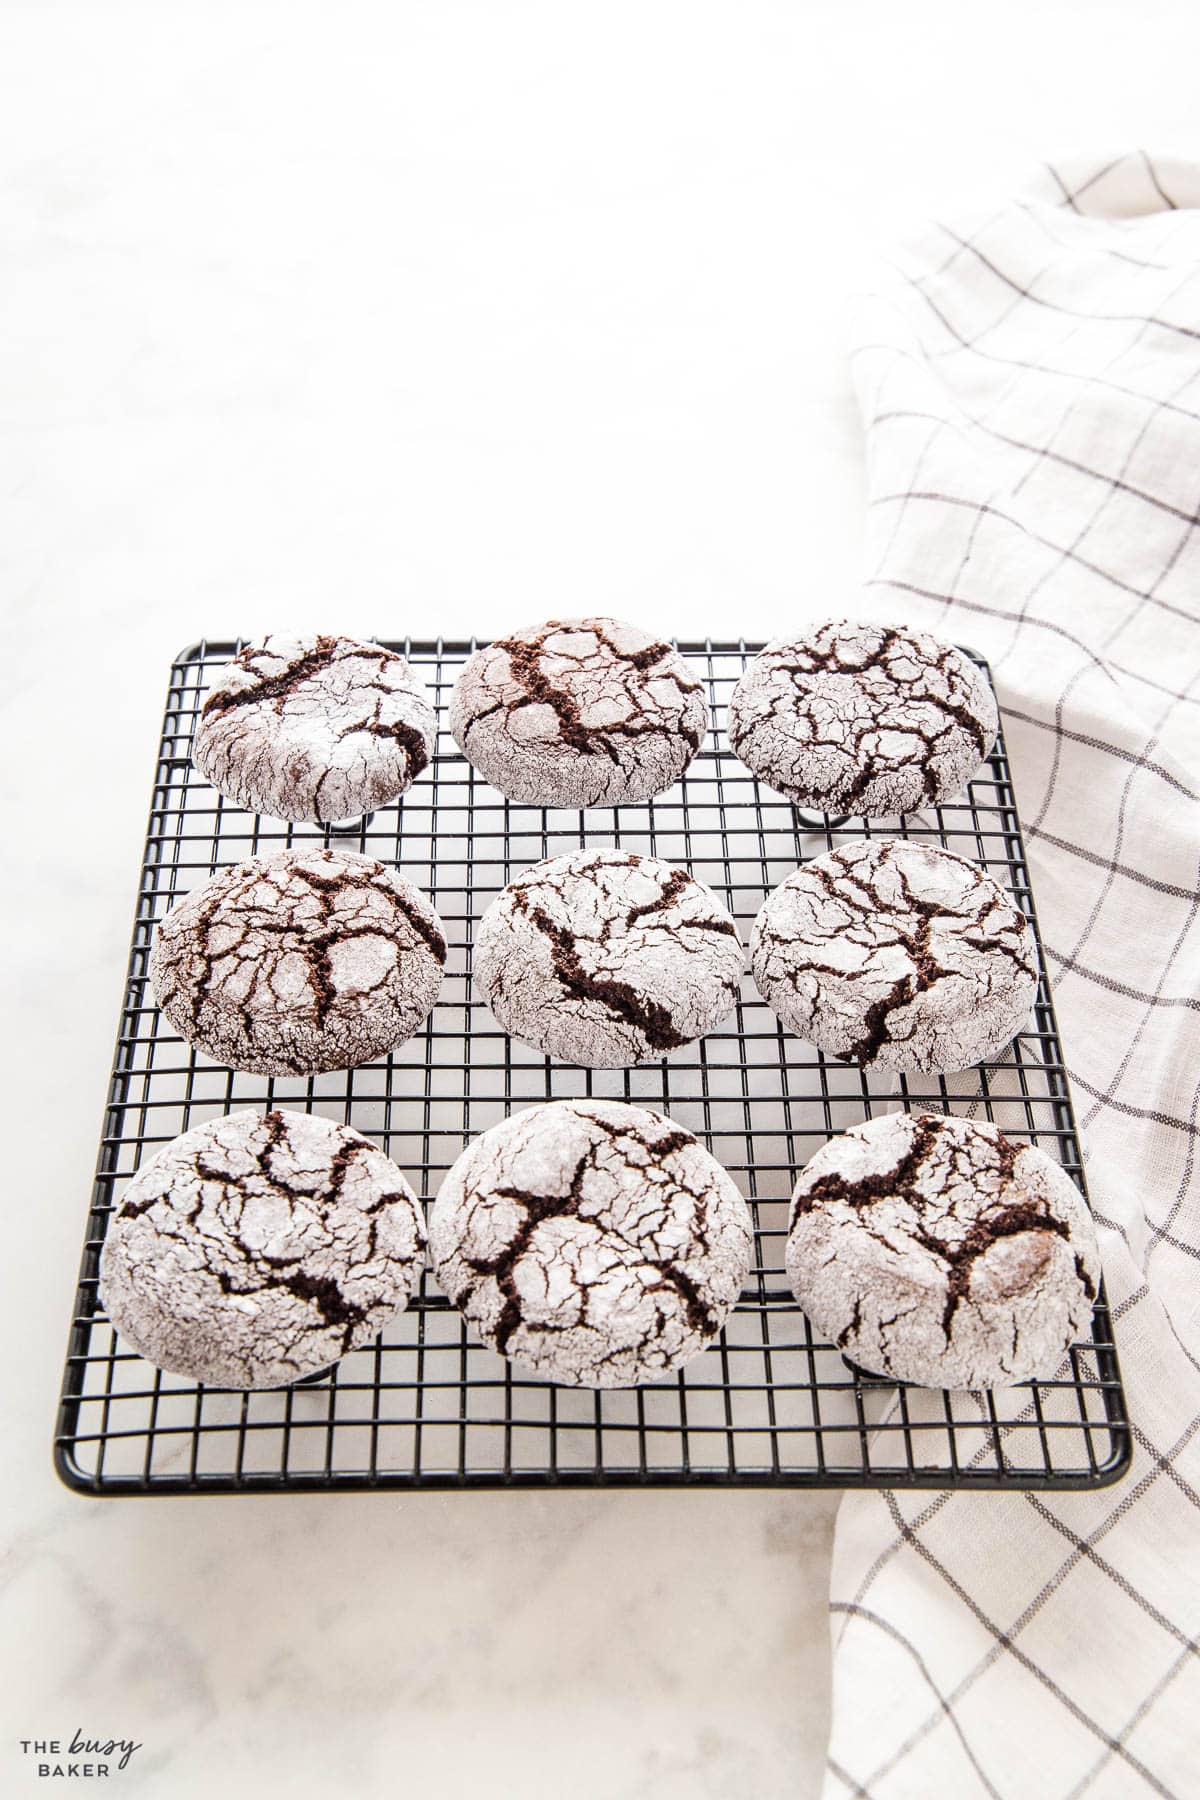
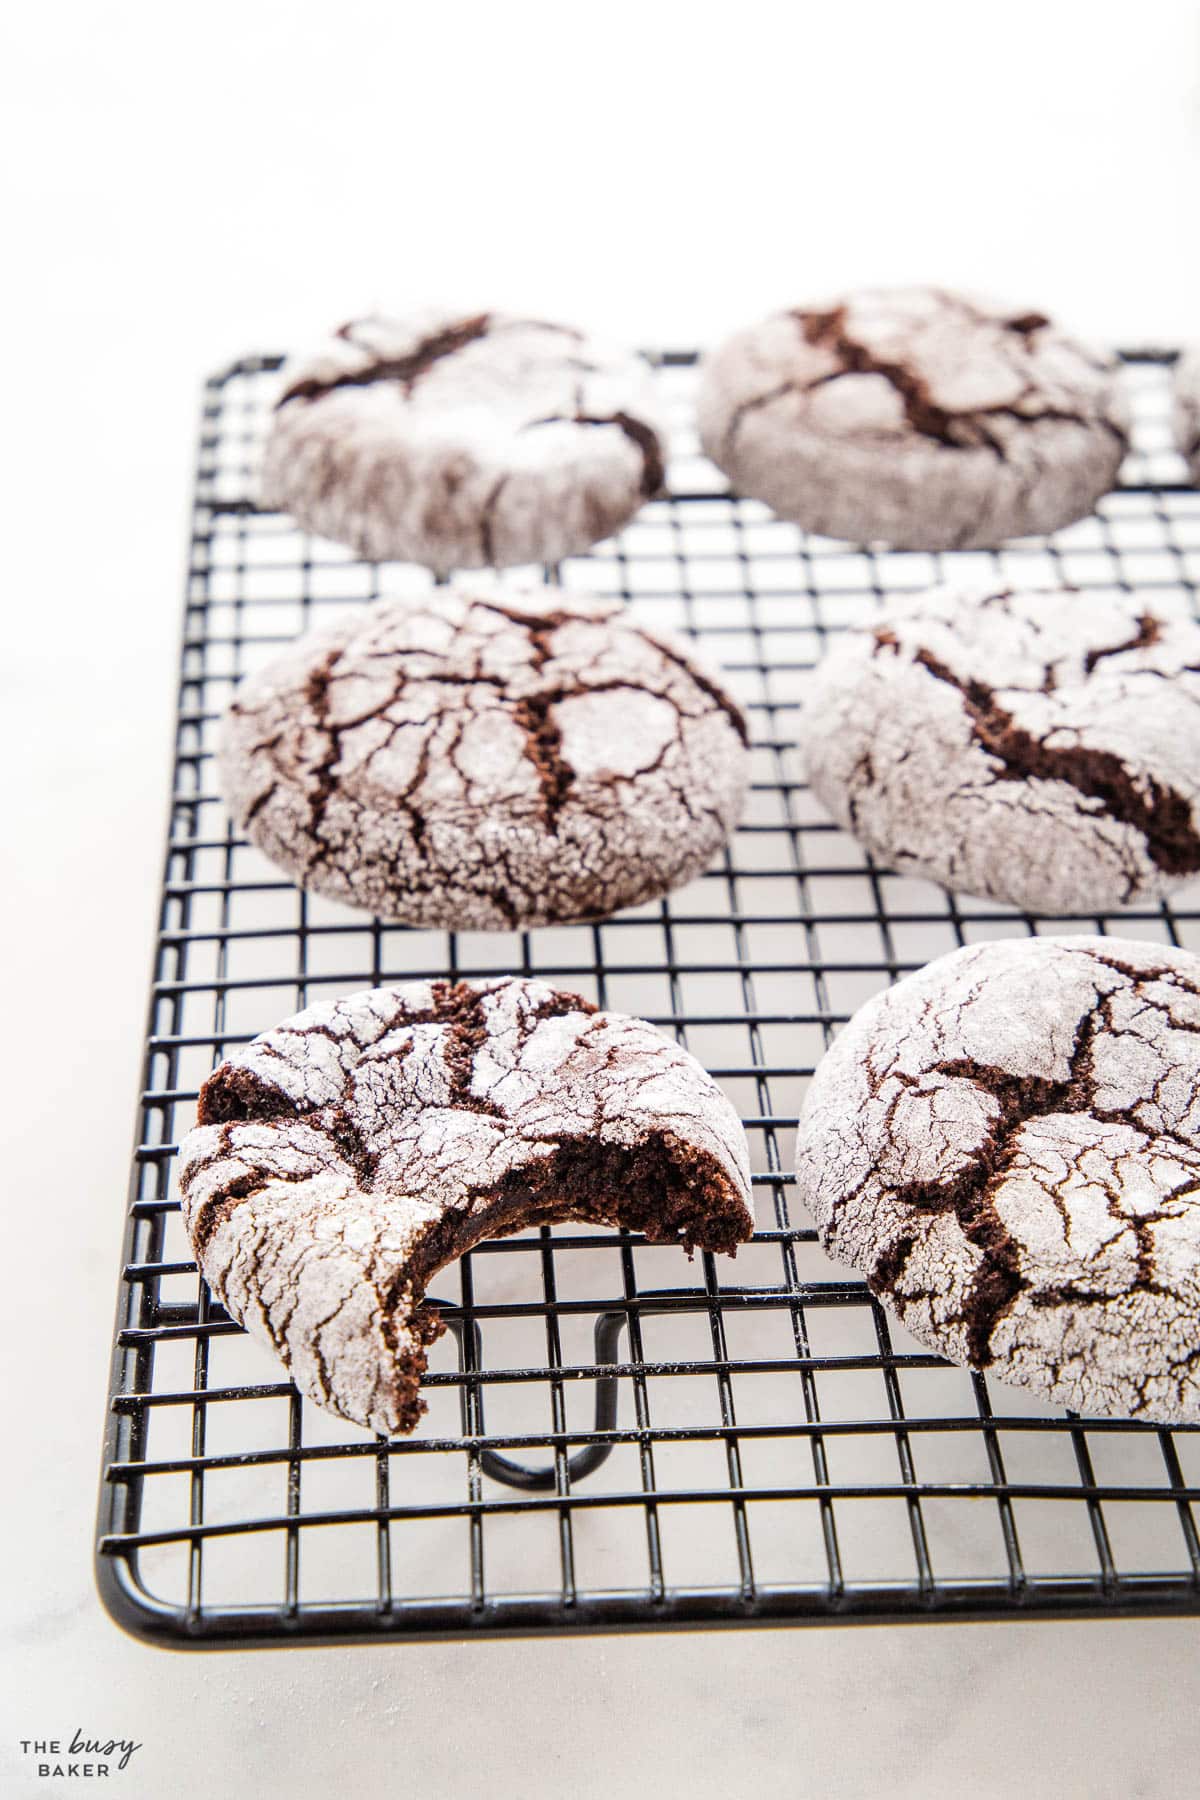
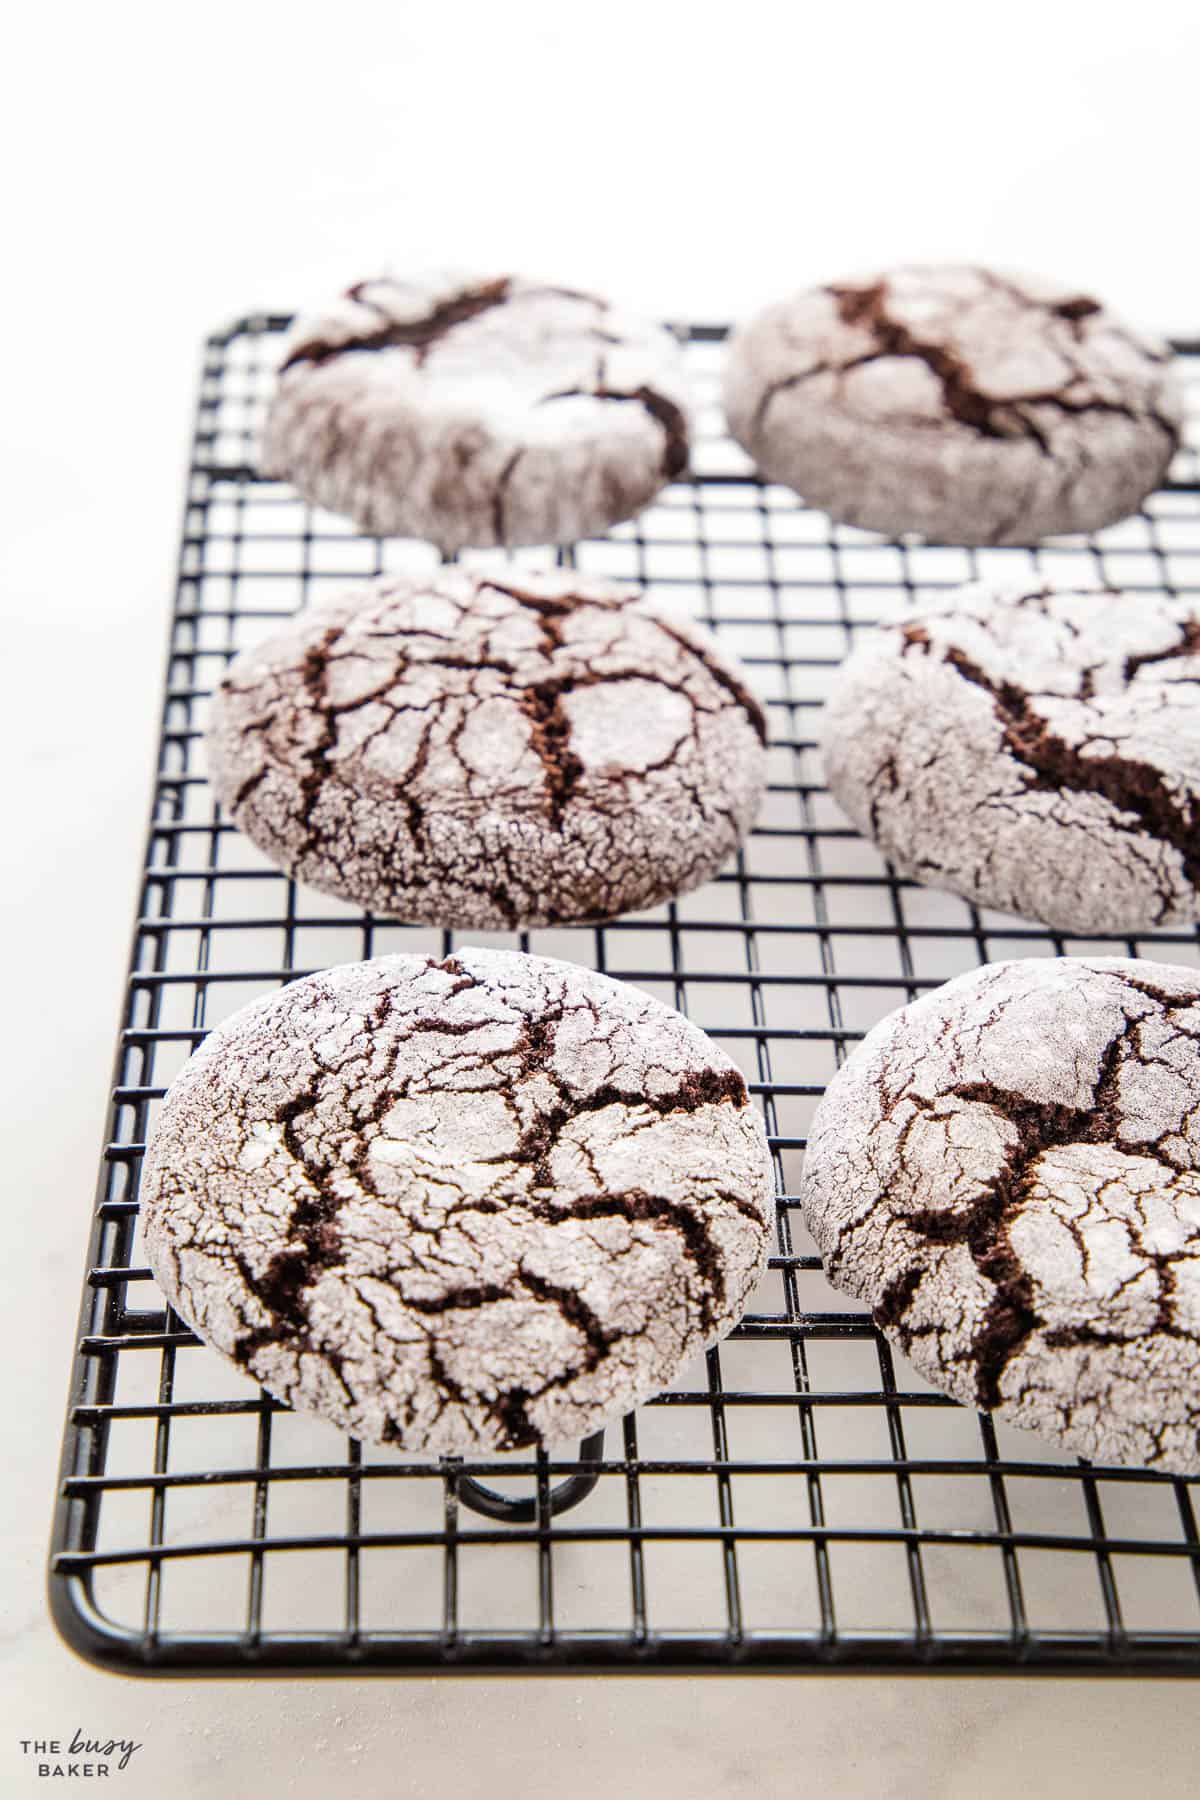
If you’ve never enjoyed one of these beauties you might be asking yourself, “So, what’s the deal with Chocolate Crinkle Cookies?” Imagine the softest, fudgiest centre – almost brownie-like – wrapped up in a crinkly coating of powdery icing sugar. It’s this signature crackly look that gives these cookies their name – trust us, they’re as delicious as they are pretty!
It’s no mystery why Chocolate Crinkle Cookies have become synonymous with Christmas. Their snowy-white tops bring to mind a winter wonderland, making them a festive favourite. Whether they’re left out for Santa, shared at cookie exchanges, or just enjoyed with a glass of cold milk or hot cocoa by the fireplace, their rich chocolatey taste combined with their beautiful and charming appearance makes them a seasonal must-bake recipe!
- The Right Consistency of Dough for the Best Texture: Achieving the right dough consistency is very important. Your dough should be firm enough to hold its shape when rolled into balls but soft enough to be slightly pliable. If the dough is too dry, your cookies might crumble. If the dough is too wet, the dough will be too sticky and difficult to roll, and they will probably spread too much during baking. A good trick is to refrigerate the dough for about 30 minutes before baking. This ensures the butter solidifies in the dough, which means it will be easier to work with and will bake up perfectly in the oven.
- Proper Spacing on the Baking Sheet to Avoid Merging Cookies: No one wants a mega-cookie formed by smaller cookies merging together. Ensure that you space your dough balls at least 2 inches apart on the baking sheet. This gives each cookie ample space to spread without interfering with the other cookies.
There are two pieces of kitchen equipment I use every single time I bake cookies!
- Achieving the Perfect Cookie Size: Uniformity is key for even baking. Using a cookie scoop (paid link) is our favourite trick for uniform cookies, the easy way! It helps ensure that each cookie is roughly the same size, which leads to consistent baking times and textures.
- Optimal Baking Temperature and Time to Achieve the Desired Cookie Texture: Most recipes recommend baking at around 350°F (175°C). However, oven temperatures can vary, so keep a close eye on your first batch to judge the perfect baking time for your oven. One of our most important baking tips is to use an oven thermometer (paid link)! Most home bakers don’t have one, but it’s a CRITICAL kitchen tool that allows you to know whether or not your oven temperature is accurate! This will help you adjust baking times and the temperature of your oven and will prevent you from burning or under-baking your holiday treats!
- Over-baking: Signs to watch out for and prevention: Over-baked cookies can be dry and hard. If the edges start to darken significantly, they’re likely overdone. Using an oven thermometer to help ensure your oven’s temperature is accurate can prevent over-baking. Don’t forget to set a timer when baking!
- Preventing the cookies from falling apart: Letting your cookies cool on the pan is the best way to ensure they keep their shape after baking. Cookies continue baking and set in the middle after they’ve been removed from the oven. The cooling process is a critical step to achieving the perfect cookies! Be sure to cool them most of the way before removing them gently and carefully to a cooling rack to cool completely.
- Ensuring Your cookies don’t crumble, break or spread : If your dough is too dry, your cookies might crumble. If the dough is too wet, the cookies might spread. Ensure you’ve measured your ingredients accurately and used ingredients at the right temperature – your eggs and butter should be at room temperature, and your ingredients can be weighed for accuracy (use grams) or measured carefully (be sure to fluff and scoop your flour so it’s not packed too tightly).
If you’re making this Chocolate Crinkle Cookie recipe for the first time, or you’re looking to up your Chocolate Crinkle Cookies game, We’ve got all the tips and tricks you need to make sure your cookies are nothing short of perfection.
The secret to the perfect Chocolate Crinkle Cookies recipe lies in the quality of the ingredients you choose and how you prepare them. Go for the good stuff – pure, unsweetened cocoa powder and pure vanilla extract. Be sure to leave your eggs out at room temperature for about 20-30 minutes before mixing up the dough, and don’t skip sifting the dry ingredients – this will prevent lumps in the cookie dough and create a delectable fudgy centre.
Nobody wants a flat crinkle cookie or one that’s dry and hard – it’s all about that soft, fudgy middle with a slightly crisp edge, and cookies that spread just the right amount. The leavening agents are crucial here. Make sure your baking powder is fresh because it’s what causes the cookies to puff up in the oven. Also, don’t over-beat the dough; just mix until the ingredients are combined. Overworking the dough activates the gluten, leading to cookies that look and feel more like hockey pucks.
To refrigerate or not? THAT is the holiday baking question. To make the perfect Chocolate Crinkle Cookies, it’s best to refrigerate the dough until solid and then let it relax at room temperature for about 20-30 minutes before rolling. The key here is that the dough should be chilled enough that you should be able to roll them without the dough sticking to your hands, but the dough should also be relaxed enough that the cookies spread just the right amount when baking. For BEST results, refrigerate for 2 hours or overnight, and then let the dough sit for about 20 minutes while the oven preheats and you prepare the pans and sugar for rolling and baking.
That signature crinkle is what sets these cookies apart from your run-of-the-mill chocolate cookie. To get that perfect crinkle cookie look and texture, make sure your dough is nice and chilled; it should be firm enough to roll without sticking to your hands. Roll them in granulated sugar first, then give them a generous coat of icing sugar. The granulated sugar creates a sticky base for the icing sugar to cling to, and it also helps to draw out moisture, which enhances the crinkling effect. The granulated sugar also creates a delicious crispy exterior which crinkle cookies are famous for.
Even the best holiday bakers hit a few bumps along the road. If you find yourself in a chocolate crinkle cookie recipe conundrum, here’s how to troubleshoot:
If your cookies are spreading out and losing that crinkle effect, your kitchen might be a tad too warm or you might not have refrigerated the dough enough. Make sure to chill your dough sufficiently (for at least 2 hours). If they’re not spreading enough, your oven might not be hot enough, or you’ve chilled the dough a bit too much – let it sit out a little (20-30 minutes) before baking so it spreads the perfect amount while baking.
Are your cookies coming out of the oven looking a bit too smooth? They’re likely missing their sugar coats. Don’t skimp on rolling your dough balls first in granulated sugar and then in icing sugar right before baking. It’s this double-sugar combo that gives them their crinkly top.
Dough too sticky? Refrigerate it. Refrigerating the dough causes it to become easier to roll and less sticky. It will be firm enough to roll but still a bit tacky. If it’s too dry and crumbly, it could be that the measurements were off or the ingredients weren’t mixed thoroughly. Remember, you’re looking for a balance where the dough is chilled enough to handle but not so cold that it refuses to spread in the oven.
We love sharing our favourite holiday meal ideas with you, our dear readers. If you’re looking for more where this came from, check out our FREE No Fail Holiday Meals Email Course where we share ALL our best tips, tricks, and recipes for simplifying your holiday meals! Did we mention it’s FREE?! Sign up below:
And if you’re looking for even MORE Holiday Entertaining ideas and recipes, check out our e-cookbook with even MORE holiday meal solutions you’re going to LOVE – available NOW in The Busy Baker Shop!

EASY NO-FAIL HOLIDAY RECIPES AND COOKING & BAKING TIPS
Get my easy no-fail holiday meals e-cookbook!
And if it’s holiday treats you’re after, sign up for our FREE Guide to the Perfect Easy Christmas Treats!
Holiday baking requires that you have some basic kitchen equipment on hand. Here’s a list of our favourite kitchen items for baking during the holiday season (paid links):
- A Stand Mixer. A stand mixer is one of our favourite pieces of kitchen equipment, especially for holiday baking. It makes whipping up cookie dough or dough for cinnamon buns an absolute breeze, and whipping cream or egg whites takes almost no effort at all with a stand mixer. This KitchenAid stand mixer is one we’ve used for almost 20 years and we love it!
- A Hand Mixer. A good quality hand mixer is a great substitute for a stand mixer if you don’t have one and a stand mixer isn’t a good fit for your budget. We love our KitchenAid hand mixer and use it all the time in The Busy Baker kitchen!
- Good Quality Mixing Bowls. Having a set of good mixing bowls is critical for holiday baking. Whether you’re melting chocolate or whipping up cookie dough, these stainless steel mixing bowls do a great job!
- Measuring Cups and Spoons. Measuring your ingredients properly is an important part of baking. Here’s a set of measuring cups and spoons for dry ingredients we recommend.
- Liquid Measuring Cups. When measuring liquid ingredients it’s important to use measuring cups that are meant for measuring liquids. These liquid measuring cups are our favourite ones.
- A Kitchen Scale. If you’re preparing a more difficult recipe that requires that your ingredient amounts be precise, a kitchen scale is great because you can accurately measure your ingredients in grams or ounces. Here’s our favourite kitchen scale we use almost daily.
- A Whisk. A whisk is an important tool for blending dry ingredients, making glazes or sauces, and so many other uses! Here’s our favourite whisk to use for baking.
- A Silicone Spatula. A silicone spatula is great for scraping down the bowl when baking, and incorporating ingredients together without adding air into your batter. It’s always a bonus when your silicone spatulas are heat safe for making caramel on the stovetop. Check out our favourite silicone spatulas for baking!
- Microwave Safe Bowls. Because you can’t put metal in the microwave, having a good set of glass or pyrex bowls is important for tasks like melting chocolate in the microwave. Here’s our favourite set of pyrex bowls for baking.
- Baking Sheets. What kind of baking sheets you use will depend on the size of your oven, but these Nordic Ware Baking Sheets and these Wilton Baking Sheets are our top 2 favourite baking sheets for all our baking needs.
- Parchment Paper. We always stock up on parchment paper before the holidays because it’s the best way to keep your baking sheets from becoming stained, it prevents your cookies from sticking when baking, and it helps keep your holiday treats looking beautiful when they’re packed and stored in the freezer.
- A Cookie Scoop. We love our cookie scoop and use it every single time we bake cookies! It creates cookies that are uniform in size and shape which helps them not only look beautiful but also bake evenly!
- A Silicone Turner. Removing your cookies from the baking sheet with precision requires a turner that easily slips underneath the cookies. Here’s our favourite silicone turner for this job!
- Cooling Racks. Cooling your holiday baking before before storing is absolutely critical, so having a set of cooling racks on hand is essential!
Here’s a list of the ingredients you’ll need to make this Chocolate Crinkle Cookie Recipe from scratch (paid links):
- 1 cup unsweetened cocoa powder
- 1 1/2 cups granulated sugar
- 1/4 cup brown sugar
- 1 teaspoon espresso powder optional
- 4 eggs
- 1/2 cup vegetable oil
- 2 teaspoons vanilla extract
- 2 cups all purpose flour
- 2 teaspoon baking powder
- 1/2 teaspoon salt
- 3/4 cup granulated sugar
- 3/4 cup powdered sugar
Time needed: 2 hours and 30 minutes
Follow these steps for the perfect fudgey chocolate crinkle cookies recipe!
- Measure and sift the dry ingredients.
Sifting the dry ingredients is critical to achieving a lump-free cookie dough.
- Mix the eggs in one at a time.
It’s important to mix well to be sure they’re incorporated and to scrape down the sides of the bowl well.
- Chill the dough for about two hours.
Refrigerate the dough so it’s easier to roll and achieves the perfect texture. You can also chill it overnight.
- Let the chilled dough rest.
Rest the cookie dough for 20-30 minutes before rolling so the cookies spread just the right amount in the oven.
- Make into balls, roll in granulated sugar and then powdered sugar.
Use a cookie scoop to portion the cookie dough evenly. Roll the balls in granulated sugar first, then powdered sugar, to create the classic crinkle cookie appearance.
- Bake, cool, and enjoy!
Bake for 10 minutes, then cool on the pans after baking so the cookies keep their shape.
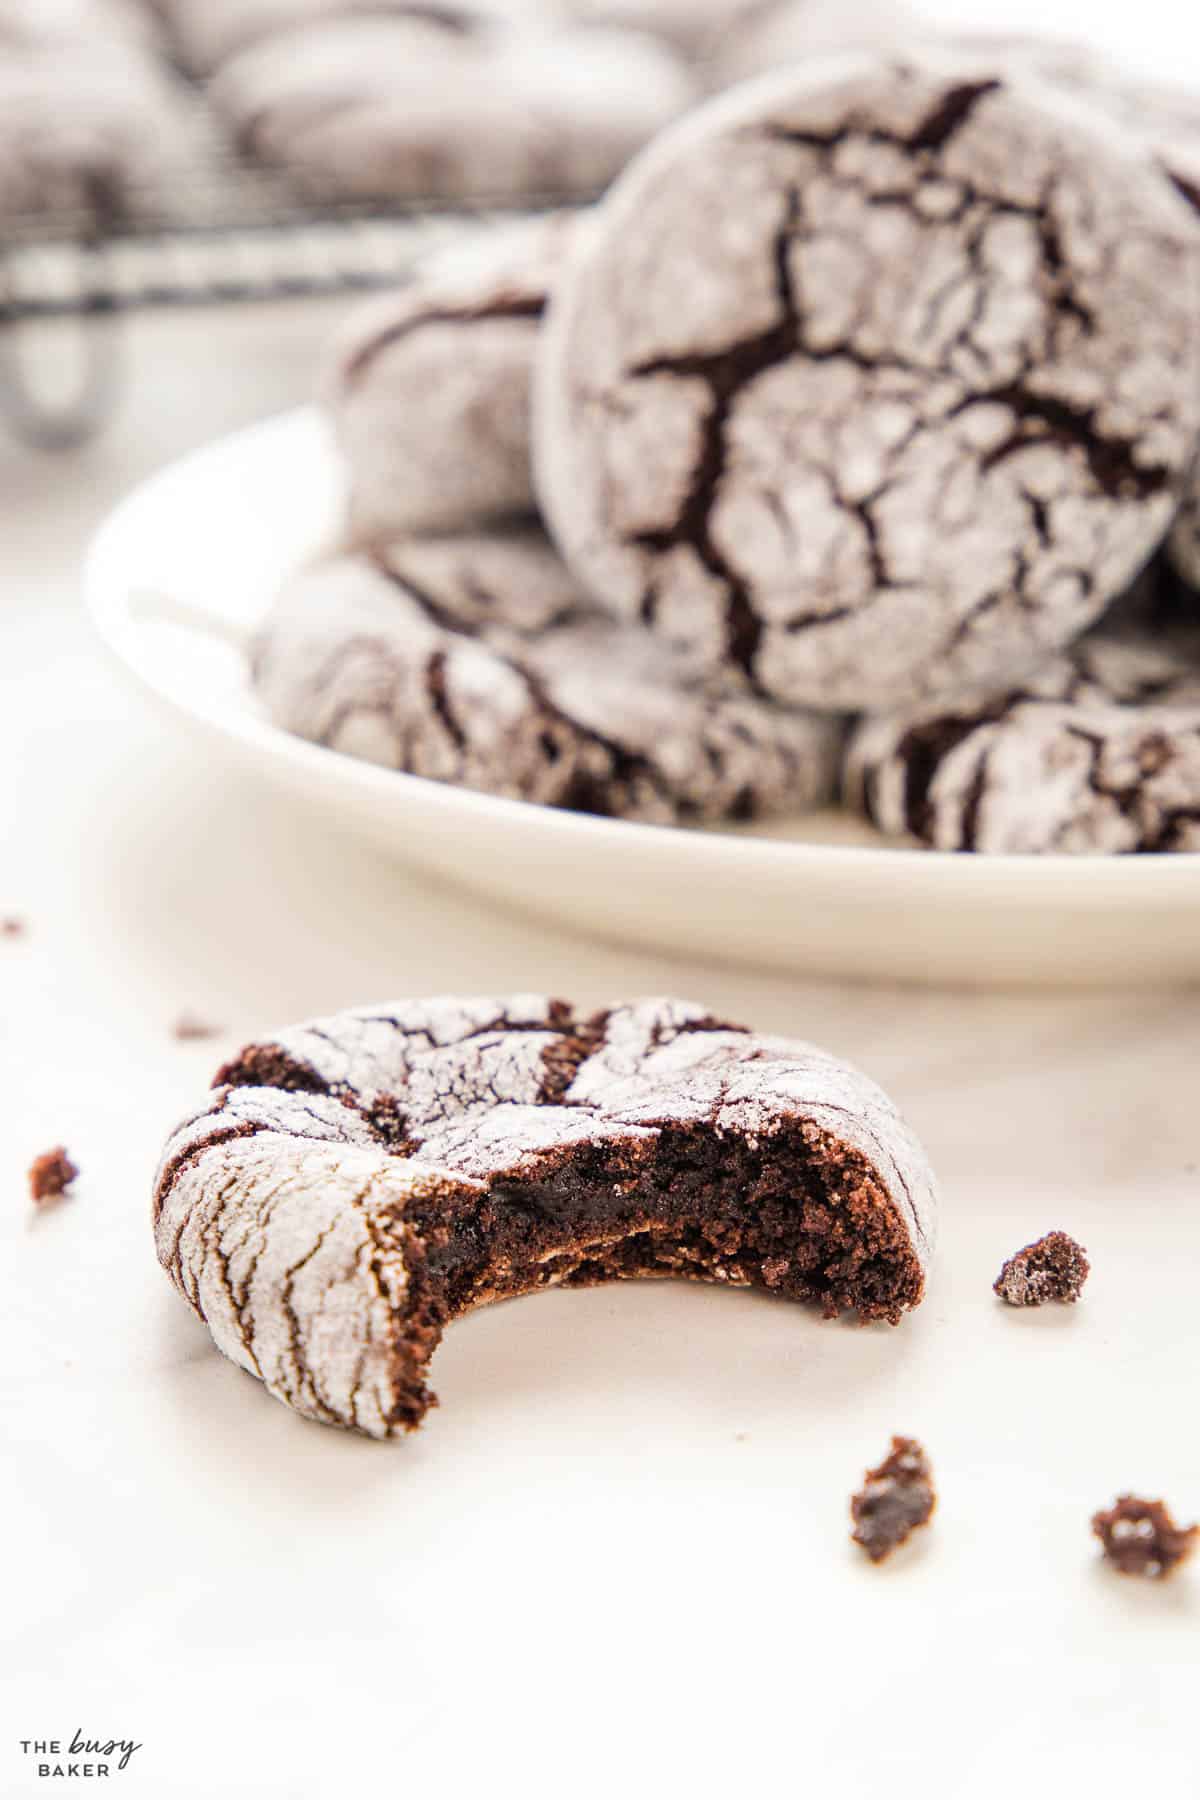
Your cookies might go flat if your dough isn’t chilled enough, causing the fat to melt too quickly in the oven before the cookies set. Additionally, make sure your leavening agents are fresh; expired baking powder won’t give the necessary rise.
For more pronounced crinkles when making a chocolate crinkle cookies recipe, the key is in the sugar coating. Roll your cookie balls in granulated sugar first, then generously in icing sugar. The contrast between the cookie dough and the icing sugar, along with the proper dough consistency, creates those distinct crinkles.
Absolutely! You can prepare the dough and keep it chilled in the refrigerator for up to 48 hours. You can also freeze it for longer storage – just make sure to thaw it in the refrigerator before rolling and baking.
When stored in an airtight container, chocolate crinkle cookies can last for up to 5 days at room temperature. They can also be frozen for up to 3 months.
Yes, many recipes actually call for cocoa powder rather than melted chocolate, as it provides a rich chocolate flavour and contributes to the dry ingredients to help form the dough.
There are a few reasons why this could happen: the dough may not have been chilled long enough, the cookies weren’t rolled in enough sugar, or there was an issue with the baking powder.
Chocolate crinkle cookies are typically soft and chewy on the inside with a slightly crispy exterior if baked correctly.
How do you keep the powdered sugar from melting into the dough?
To keep the powdered sugar from melting into the dough, coat the dough balls in granulated sugar first, which absorbs any moisture, and then roll them in powdered sugar. This helps the powdered sugar to stay on the surface and form the crinkle effect.
Over-measuring the flour, over-baking, or not using enough fat can lead to dry cookies. Ensure you measure ingredients accurately and keep an eye on the baking time.
Yes! Simply use a gluten-free baking blend that performs similarly to all purpose flour.
Yes, oil typically makes for a softer cookie, while butter can add flavour and help with the traditional crinkle texture. It depends on the recipe and the desired outcome. We suggest following the recipe as written for the best chocolate Christmas cookies.
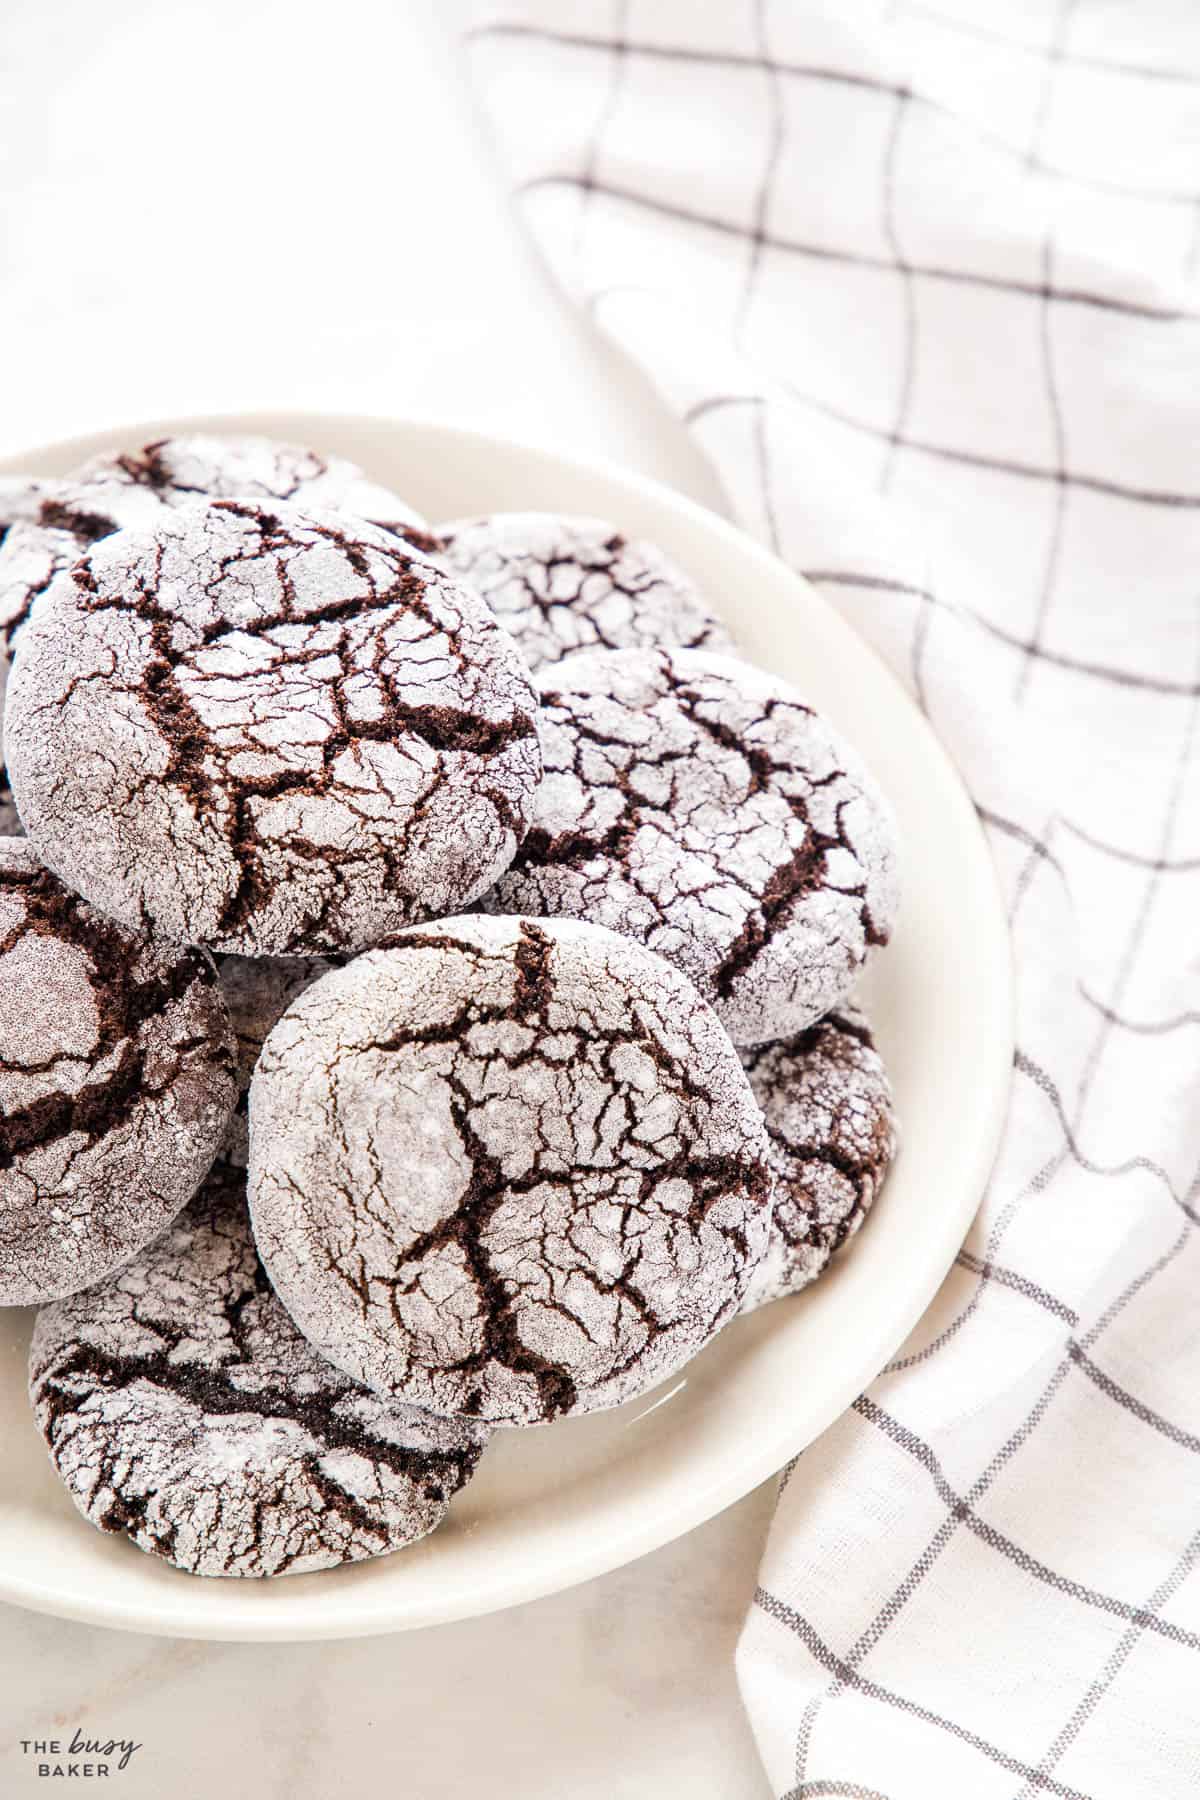
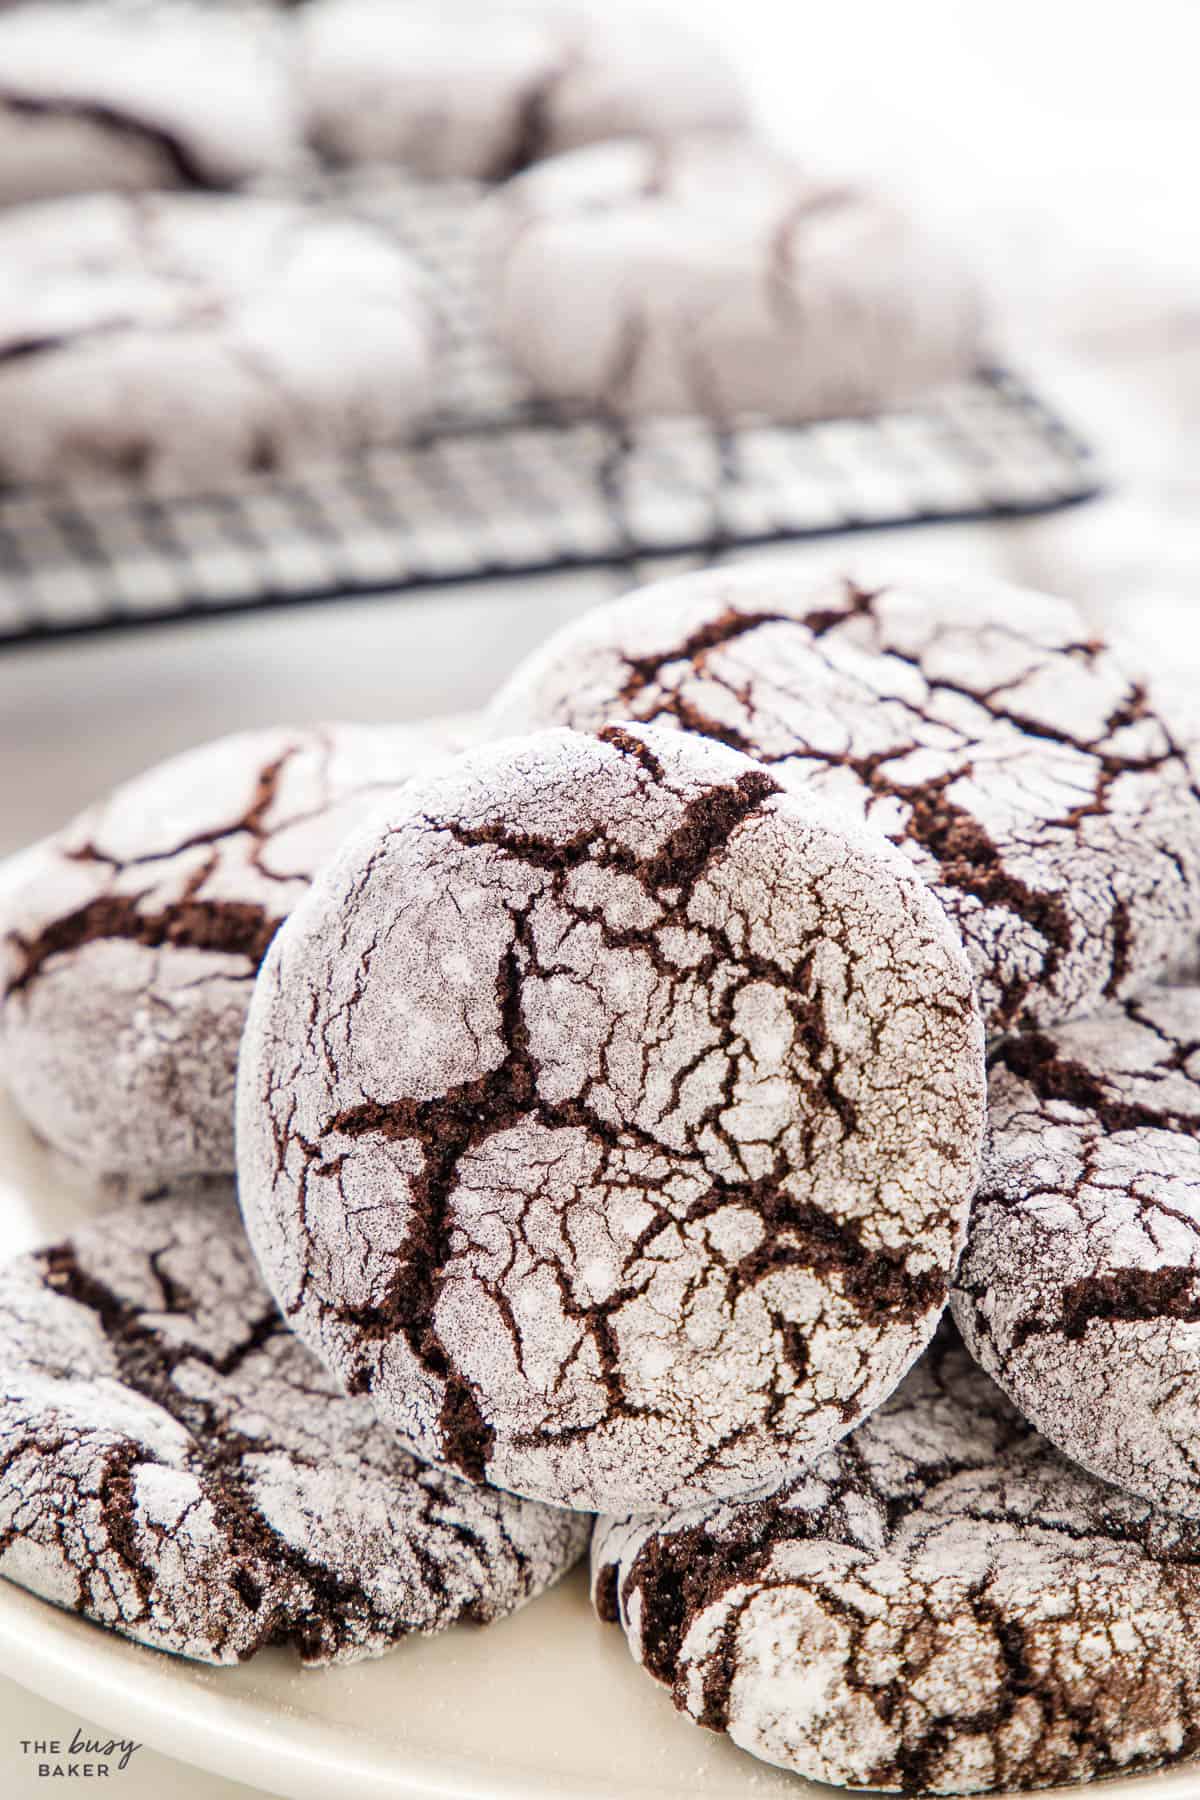
We hope you love this Chocolate Crinkle Cookie recipe as much as we do! Let us know in the comments below, what’s your favourite chocolate Christmas cookie recipe to make for friends and family? We’d love to know!
If you made this, share a photo!
Are you trying this recipe? Use the comment form below to share your take; now with support for image uploads and comment voting!
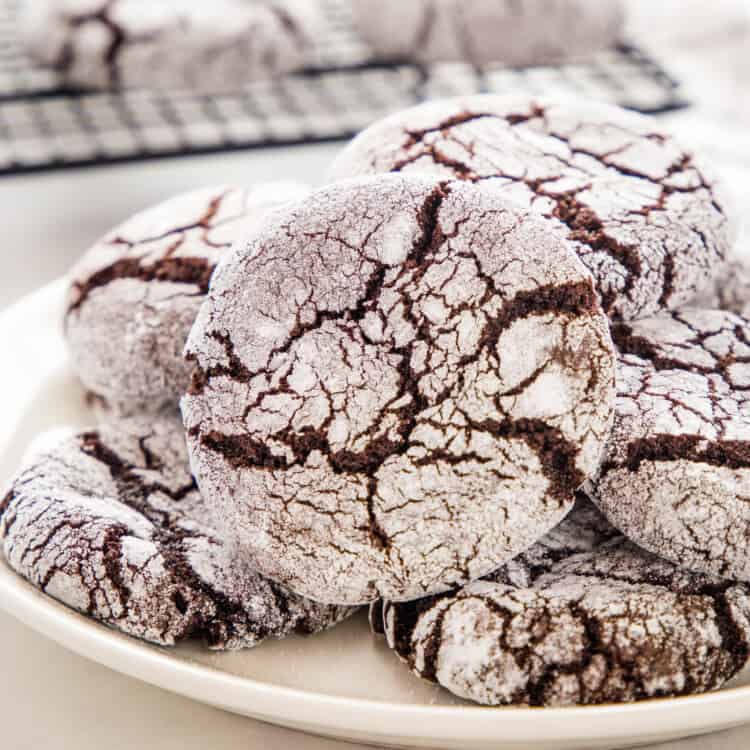
Chocolate Crinkle Cookies
Recipe: Equipment
- Sieve for sifting dry ingredients
Recipe: Ingredients
- 1 cup unsweetened cocoa powder
- 1 1/2 cups granulated sugar
- 1/4 cup brown sugar
- 1 teaspoon espresso powder optional
- 4 eggs
- 1/2 cup vegetable oil
- 2 teaspoons vanilla extract
- 2 cups all purpose flour
- 2 teaspoon baking powder
- 1/2 teaspoon salt
For rolling:
- 3/4 cup granulated sugar
- 3/4 cup powdered sugar
Recipe: Instructions
- In a mixing bowl, sift together the cocoa powder, granulated sugar, brown sugar, and espresso powder.
- Add the oil and vanilla and mix well with a hand mixer or stand mixer until well combined.
- Add the eggs one at a time, mixing well on medium-high speed after each addition. Be sure to scrape down the bowl.
- Place a fine mesh sieve over the bowl and add the flour, baking powder and salt, sifting it as you add it to the chocolate mixture.
- Mix everything together well, just until combined and the flour disappears.
- Cover the bowl with plastic wrap or a lid and refrigerate for about 2 hours.
- After the dough has chilled, take it out of the fridge and let it sit at room temperature for about 20-30 minutes.
- Preheat your oven to 350 degrees Fahrenheit.
- Prepare one or two baking pans by lining them with parchment paper.
- Using a spoon or a cookie scoop, scoop out the dough by the tablespoon and roll each spoonful in your hands to create a ball.
- Dip the balls in the granulated sugar, and then in the powdered sugar, until completely coated.
- Place the balls on the prepared baking sheets, spacing them apart (about 12 cookies on a large baking sheet).
- Bake at 350 degrees Fahrenheit for about 9-10 minutes.
- Remove the pans from the oven and let the cookies cool on the pan for at least 5-10 minutes before removing them to a wire rack to cool completely.
Recipe: Notes
Storage Instructions
These cookies can be stored in an airtight container at room temperature for up to 5 days or in the freezer for up to 2 months.Make-Ahead Instructions
To make these cookies ahead of time, make the dough up to 2 days ahead and store in the fridge (in an airtight container). Before scooping, rolling and baking, simply let the dough sit at room temperature for about 20-30 minutes.Freezer Instructions
To freeze these cookies, place them in an airtight container with layers of parchment paper between them. To prevent condensation when thawing, let them thaw in a single layer. This will prevent the powdered sugar from disappearing as they thaw.Recipe: Nutrition
Notice: Nutrition is auto-calculated, using Spoonacular, for your convenience. Where relevant, we recommend using your own nutrition calculations.

EASY NO-FAIL HOLIDAY RECIPES AND COOKING & BAKING TIPS
Get my easy no-fail holiday meals e-cookbook!

These cookies are so good! They are the best cookies I’ve ever tasted.
We’re so glad you enjoyed them! Thank you for your feedback.