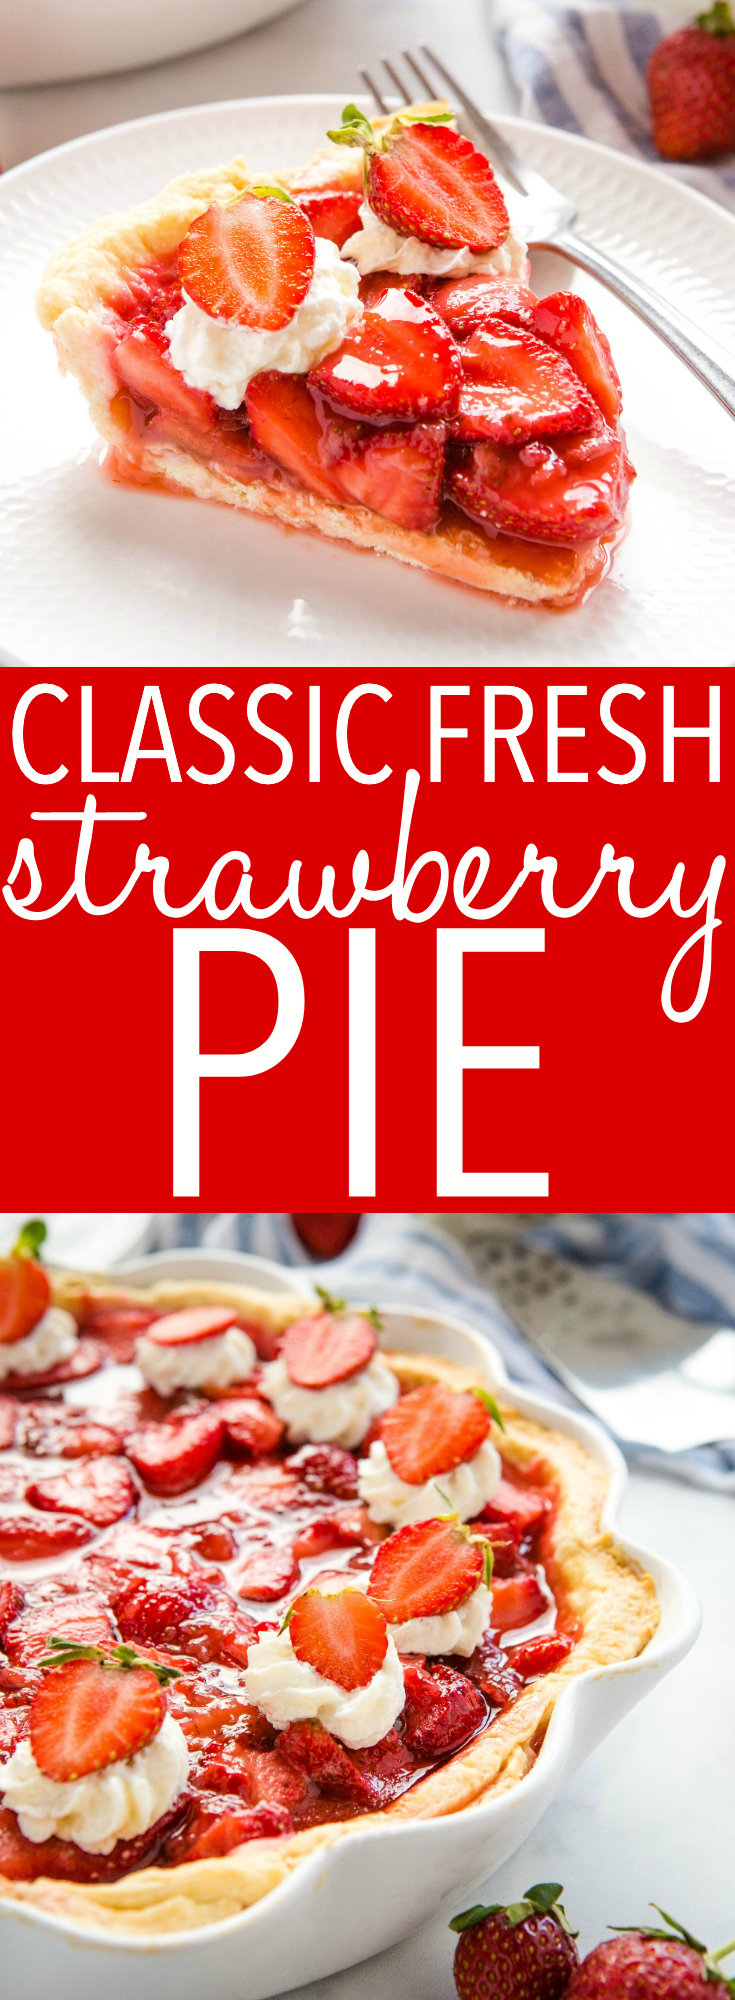
This Fresh Strawberry Pie is an old family recipe for the perfect easy summer dessert! It’s packed with fresh strawberries and made with an easy trick for the perfect juicy slice every time!

Estimated reading time: 9 minutes
If there’s one fruit that’s undeniably summery, it’s strawberries – don’t you agree? This Fresh Strawberry Pie is one of our favourite ways to enjoy fresh strawberries in the summer time. It is an old family recipe courtesy of my great aunt Bernice, and it’s one that we grew up enjoying every summer when I was a child, especially after our family went strawberry picking!
What makes this pie so easy to make is that it’s not baked! That’s right, the only thing that requires baking is the crust, and if you buy a pre-baked crust from the grocery store or bakery, there’s no baking required at all! How easy is that?!

There are so many reasons why we love this fresh strawberry pie recipe! Here are just a few:
- It’s QUICK and EASY to make: This pie can be made in an hour if you are making your own crust and even quicker if you use a pre-baked crust!
- It calls for FRESH ingredients: Freshly picked strawberries have so much flavour and are so juicy! They take this pie to the next level!
- It’s perfect for SUMMER: This is a simple and easy dessert to make for yourself or to enjoy with others. It is quick to make and uses delicious fresh strawberries.

In the recipe card below you’ll find all the instructions you need to make this delicious pie yourself, but here’s a list of all our pro tips to make your own pie crust at home – the perfect base for this Fresh Strawberry Pie!
Use COLD butter. And COLD water. This will help the butter stay in small, solid pieces as you mix which will create a flaky crust (and who doesn’t love a flaky pie crust??). Using your food processor to make the crust helps the butter stay cold and creates a nice tender dough, plus it makes making your own pie crust from scratch super easy and low maintenance!
If you do work the butter into the flour mixture using your hands, make sure you use quick motions, flattening the pieces of butter between your hands as you slide your hands apart (one toward you, one away from you). The goal here should be to handle the butter as little as possible because the heat from your hands will cause it to soften and even melt. It’s ideal for the butter to remain cold and hard but be distributed throughout the flour mixture in small pieces.
Once the dough comes together, gently form it into a round disc shape. This makes it easy to roll out later in a round shape!
After you chill the pie dough, take it out of the fridge and let it sit for a couple of minutes on your work surface to let the dough relax just a bit before rolling.
Be sure you flour your work surface well and flour your rolling pin. This will prevent your dough from sticking and falling apart.
Making holes in the bottom of the pie crust before baking will help it bake evenly and not puff up too much, making it perfect for filling with the fresh strawberry pie filling.

If you’re running into trouble with this Fresh Strawberry Pie recipe, here are some troubleshooting ideas for common problems – how to fix and prevent them!
Strawberries taste best when they are fresh and ripe. Using old strawberries or frozen strawberries will impact the water content and will affect the taste and flavour. Use fresh, ripe strawberries for the BEST pie!
The filling can be too runny if the filling doesn’t thicken enough while it is cooking. The thickening agent needs to be stirred in properly while cooking to allow it to work.
The dough will be too tough and dense if it is over-worked. Handle the dough as little as possible and use cold ingredients to make sure the crust stays flaky.
An under-baked crust will become soggy and not be able to hold in the strawberry filling. Make sure to bake the crust until it’s golden brown around the edges.
If the strawberries are different sizes the texture will be inconsistent. Make sure to chop the strawberries all the same size so the pie filling stays firm and looks beautiful.

You’ll need these kitchen items on hand to make this fresh strawberry pie recipe (paid links):
- mixing bowls
- measuring cups and spoons
- Silicone Spatula
- pie dish
- Rolling Pin
- Pastry Brush
- Food Processor
- wooden spoon
- wire rack
- saucepan
- masher
- plastic wrap
- chef’s knife
- cutting board

To make this fresh strawberry pie recipe you will need these ingredients (paid links):
FOR THE CRUST:
- 1 1/2 cups all purpose flour
- 1 tablespoon granulated sugar
- 1/2 teaspoon salt
- 1/2 cup cold unsalted butter, cut into small chunks
- 1/4 teaspoon lemon juice
- 3-4 tablespoons ice cold water
FOR BAKING:
- 1 egg
- 1 tablespoon water
FOR THE FILLING:
- 1 cup fresh strawberries
- 3 tablespoons cornstarch
- 1 cup granulated sugar
- a splash of lemon juice
- 5 cups sliced fresh strawberries
Try one these variations on this strawberry pie recipe.
- Strawberry Blueberry: Add fresh blueberries with the fresh strawberries in the pie for a mixed berry take on this classic recipe.
- Chocolate Ganache: Add a thin layer of ganache to the bottom of the crust before pouring in the strawberry filling.
- Strawberry Lemonade: Add in lemon zest and lemon juice to the filling for a citrusy take on this pie.
- Strawberry Rhubarb: Mix some chopped rhubarb into the pot with the strawberries to soften them for the filling.
- Cream Cheese Filled: Add in a sweetened cream cheese filling with the strawberry filling. Either swirl it in or layer it underneath the strawberry filling.

Time needed: 1 hour
Follow these steps to make this fresh strawberry pie.
- Make the crust or pull out a pre-baked crust.
Follow the tips for making a homemade crust.
- Make the filling.
Add the 1 cup strawberries to a small pot over medium heat, along with the cornstarch, sugar, and lemon juice.
- Mash strawberries.
Let the mixture cook, mashing the strawberries really well as it cooks and thickens.
- Stir occasionally.
Cook until the mixture is slightly thick and gelatinous (looks like jam) and the strawberries have completely fallen apart.
- Pour strawberry glaze into crust.
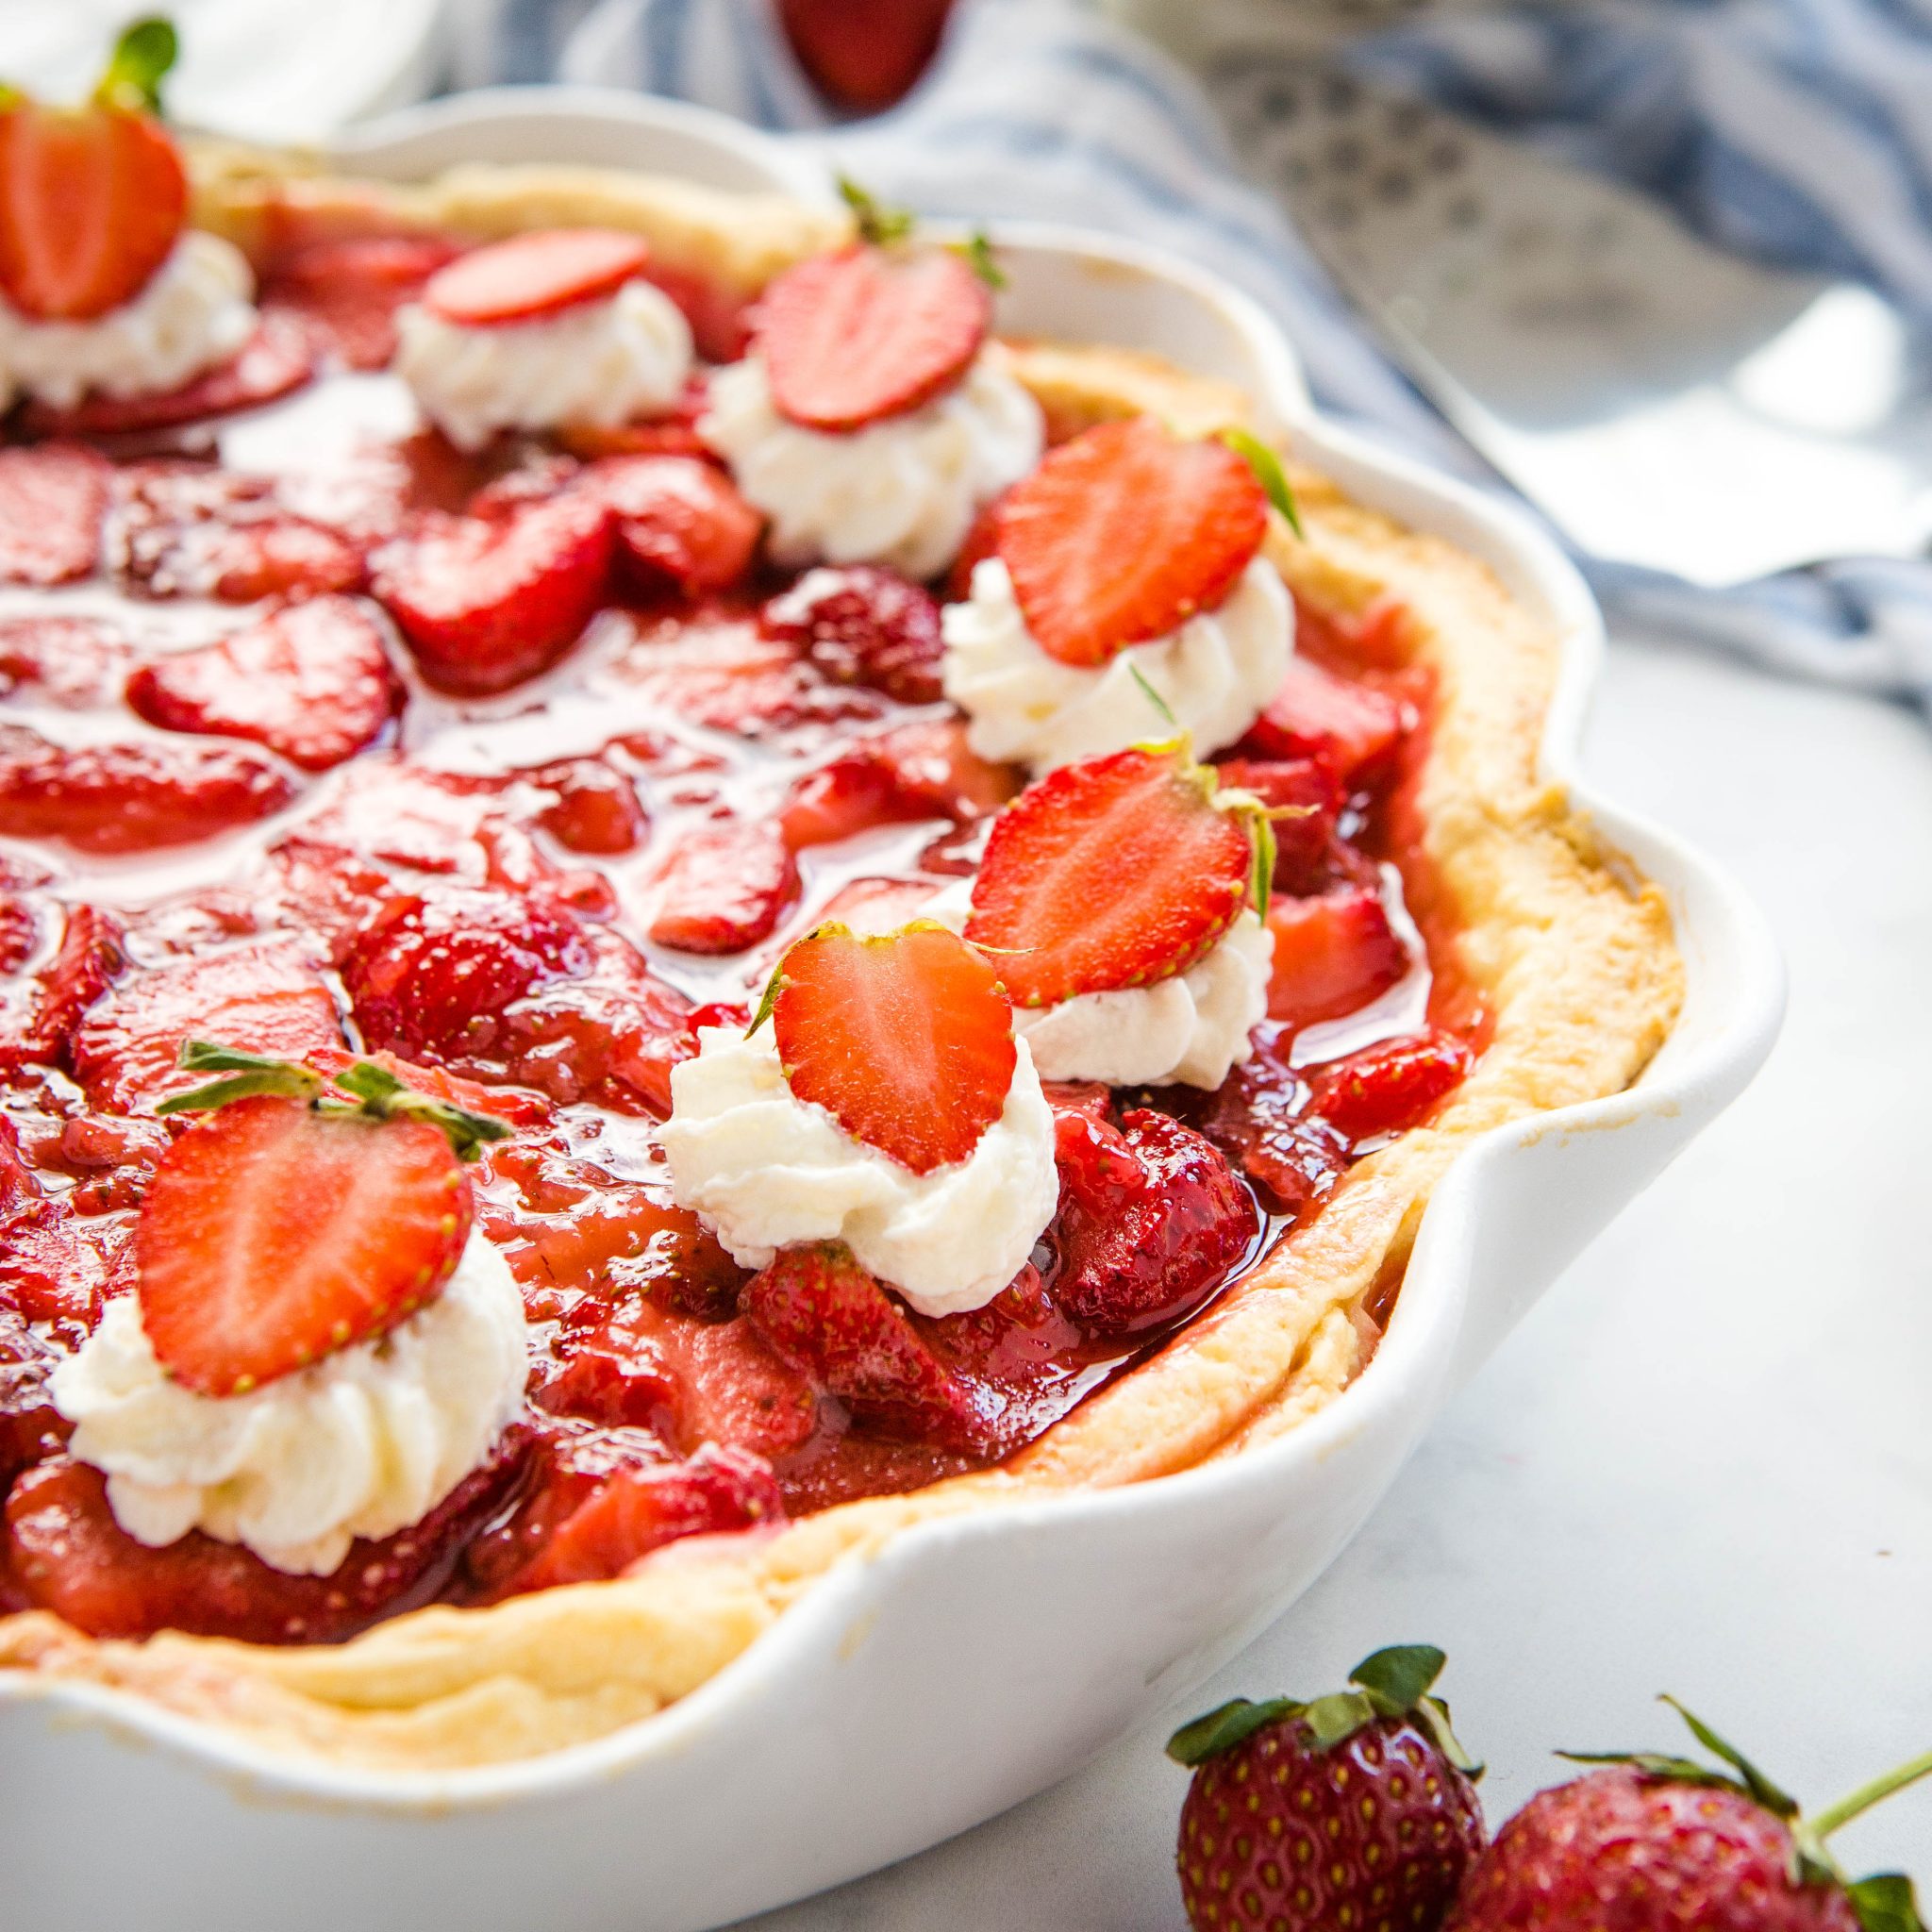
Add the sliced strawberries to the pre-baked crust and pour the cooked strawberry mixture over them, tossing the mixture just a little bit to make sure all the fresh strawberries are coated in the cooked strawberry mixture. Smooth out the top as best you can.
- Let it set.
Let the pie cool almost to room temperature and then add it to the fridge to chill until the filling is set (about 2-4 hours). It will be set enough to slice after chilling, but still juicy.
- Serve.
Slice and serve with whipped cream or ice cream.

Can I make this pie completely no baked?
Yes you can use a pre baked crust such as a graham cracker crust to make this pie completely not baked.
How do I keep the homemade crust from getting puffy while baking?
Dock the bottom of the crust with a fork and you can add pie weights to the bottom of the pan while baking to ensure it doesn’t shrink.
What are other thickening agents that can be used in this recipe for fresh strawberry pie?
We use cornstarch as it doesn’t change the taste. Other options are strawberry gelatin powder (strawberry jello) pectin, or agar-agar (gluten-free option)
How long does the fresh strawberry pie need to set?
The pie needs to set in the fridge for 2-4 hours to allow the pie filling to set and hold its shape.
How long does the fresh strawberry pie last?
When stored properly, the strawberry pie will stay good for up to 3 days.
How do I store the fresh strawberry pie?
Make sure it is completely cool before you place it in an airtight container, so it doesn’t get soggy. Another option is wrapping the pie with aluminum foil or plastic wrap before placing it in the fridge.
Can I freeze this fresh strawberry pie recipe?
It is not recommended to freeze this fresh pie because the filling will become too watery and the texture will change.

We hope you love this homemade pie recipe as much as we do! Let us know in the comments below, what’s your family’s favourite summer pie? We’d love to know!

Looking for more recipes featuring fresh summer fruit? You’ll LOVE these!
- Easy Classic Peach Pie
- No Bake Lemon Blueberry Icebox Cake
- Classic Apple Berry Fruit Crisp
- Strawberry Swirl Cupcakes with Fresh Strawberry Buttercream
- Easy Strawberry Hand Pies
- Raspberry Pie
- Blueberry Pie
- Easy 3-Ingredient Chia Seed Raspberry Jam
- Strawberry Spinach Salad with Lemon Poppyseed Dressing
If you made this, share a photo!
Are you trying this recipe? Use the comment form below to share your take; now with support for image uploads and comment voting!
Fresh Strawberry Pie
Recipe: Ingredients
For the crust:
- 1 1/2 cups all purpose flour
- 1 tablespoon granulated sugar
- 1/2 teaspoon salt
- 1/2 cup cold unsalted butter, cut into small chunks
- 1/4 teaspoon lemon juice
- 3-4 tablespoons ice cold water
For baking:
- 1 egg
- 1 tablespoon water
For the filling
- 1 cup fresh strawberries
- 3 tablespoons cornstarch
- 1 cup granulated sugar
- a splash of lemon juice
- 5 cups sliced fresh strawberries
Recipe: Instructions
For the crust:
- Add the flour, sugar, and salt to the bowl of your food processor (or a large bowl if your making the dough by hand).
- Turn the food processor on low speed and add the chunks of cold butter one at a time while the food processor runs, until all the butter is added and the mixture resembles coarse crumbs.If making by hand, use a pastry blender or your hands to work the butter into the dough until the mixture is crumbly. Try not to handle the butter too much (the heat from your hands will soften it) – use quick movements and don't worry if some larger chunks of butter still remain.
- Add the lemon juice and the water slowly as the food processor runs on low, just until the dough comes together and pulls away from the sides of the bowl. Depending on the weather and even on the brand of flour, I use anywhere between 2 and 4 tablespoons of water. If making by hand, use your hands to form the dough gently and quickly using just enough water for the dough to come together.
- Dump the rough dough onto the counter and form the dough into a disc shape and wrap in plastic wrap, placing it in the fridge to chill for 45 minutes or overnight.
- After the dough chills, preheat your oven to 375 degrees Fahrenheit (190 degrees Celsius).
- Remove the chilled pie dough from the fridge and let it sit for about 10 minutes before rolling. Roll out the disc of dough into a large circle using a rolling pin. Add a generous amount of flour to the rolling surface and to the rolling pin, to prevent sticking and cracking.
- Peel the rolled out dough off the counter surface gently by rolling it backwards onto the rolling pin.
- Transfer it to a 9-inch pie plate and gently press the dough into the bottom of the pie plate and over the edges (try for a 1-2 inch overhang if possible).
- Trim any dough that hangs over the edge of the pie to 1-2 inches past the edge (try to keep the overhang amount even all the way around). Tuck any overhanging dough under and into the pie plate to create a clean edge. Creating a double layer around the edges also helps keep the pie crust from shrinking when it bakes.
- If your pie plate has a wide edge, seal the edge of the pie by creating a fluted pattern – press into the edge of the pie from the outside with your left thumb and index finger while pressing into the edge of the pie from the inside with your right index finger. Do this all the way around the edge of the pie to create a fluted pattern (and see my tutorial HERE for how to create a beautiful fluted edge to your pies!)
- Beat the egg and 1 tablespoon of water and brush it lightly onto the unbaked crust. Use a light hand while brushing – too much egg wash creates an eggy texture after baking.
- Dock the unbaked crust with a fork several times on the bottom of the pie dish. This will prevent the crust from bubbling up and help it bake evenly.
- Bake at 375 degrees Fahrenheit (190 degrees Celsius) for about 20-25 minutes, or until the crust is a light golden brown.
- Remove it from the oven and let it cool completely to room temperature.
For the filling:
- Add the 1 cup strawberries to a small pot over medium heat, along with the cornstarch, sugar, and lemon juice.
- Let the mixture cook, mashing the strawberries really well as it cooks and thickens.
- Cook until the mixture is slightly thick and gelatinous (looks like jam) and the strawberries have completely fallen apart.
- Add the sliced strawberries to the pre-baked crust and pour the cooked strawberry mixture over them, tossing the mixture just a little bit to make sure all the fresh strawberries are coated in the cooked strawberry mixture. Smooth out the top as best you can.
- Let the pie cool almost to room temperature and then add it to the fridge to chill until the filling is set (about 2-4 hours). It will be set enough to slice after chilling, but still juicy.
- Slice and serve with whipped cream or ice cream.
Recipe: Notes
Recipe: Nutrition
Notice: Nutrition is auto-calculated, using Spoonacular, for your convenience. Where relevant, we recommend using your own nutrition calculations.

The Done-For-You SUMMER BUNDLE + BONUS Menu Guide!
5 complete recipe guides for effortless summer hosting. The invisible work of summer? Done for you.
This is gorgeous! I love strawberries! Adding this to my must try list!
Thanks so much! Give it a try and let us know!🙂
Ohhhh YUM! That looks so luscious and your pics are gorgeous!
Thank you Meghan!!😊
This was really good – I made for a friends birthday dinner and it was a HUGE hit!!!
So glad you liked it! Thanks for taking the time to leave a comment! 🙂
This strawberry pie is perfect! Super easy to make and I loved it!! Thanks for the recipe!
You’re welcome Dara!🙂
This pie looks crazy fabulous Chrissie!! THANK YOU!!!
You’re welcome Inna! Glad you like it🙂
OMGoodness seasonal goodness in a pie. That slice makes me want to take a bite at the screen. No seriously I am not kidding! 🙂
I know, right!?😄 I hope you give it a try!
I have been wanting to make this pie forever! Looks like you hit the nail right on the head. Can’t imagine a better-looking strawberry pie!!
You’re so nice Alina! Thank you!🙂
Best strawberry pie EVER! I will always make it this exact way.
Thanks so much! Glad to hear you like this recipe so much!🙂
Gorgeous work! I wish emoticons existed in comment sections so that I could send a smiley face with a kiss to this pie…so pretty.
Thanks so much Tolan!🙂
This pie was delicious. I tried to make a Strawberry pie before and it was too sweet, this one was just right. I would recommend this pie.
Thanks so much for your positive feedback on the recipe! So glad you love it!
I love summer strawberries and this pie looks delicious!
Thanks Marianna!
This sounds SO GOOD! I cannot wait to make this! Thanks for your recipe. The photos just about have me drooling.
Thanks so much! I hope you give it a try!🙂
Summer isn’t summer without strawberry pie! I can’t wait to make this!
Exactly!😊Let us know how it goes!