This Easy Homemade Naan Bread recipe is perfect served with all your favourite curries and Middle Eastern dishes – it’s restaurant-quality, easy to make, and perfectly fluffy and chewy! 
NEVER MISS A POST! FOLLOW ME ON:
FACEBOOK | PINTEREST | INSTAGRAM | TWITTER
 This Naan Bread recipe is one I’ve been waiting to share with you for quite some time! If you’ve been around here for awhile you’ll already know how much our family loves a good curry and whenever I make my One Pan Lentil Daal Curry (which is at least a few times a month!) this Naan Bread recipe makes an appearance too. I almost always double or even triple the recipe because once you’re grilling the Naan it’s easier to grill a lot at once, and we enjoy this Naan Bread for DAYS afterward with hummus and veggies for dipping, with leftover curry, and even as the base for simple Naan pizzas we make with whatever we happen to have in the fridge.
 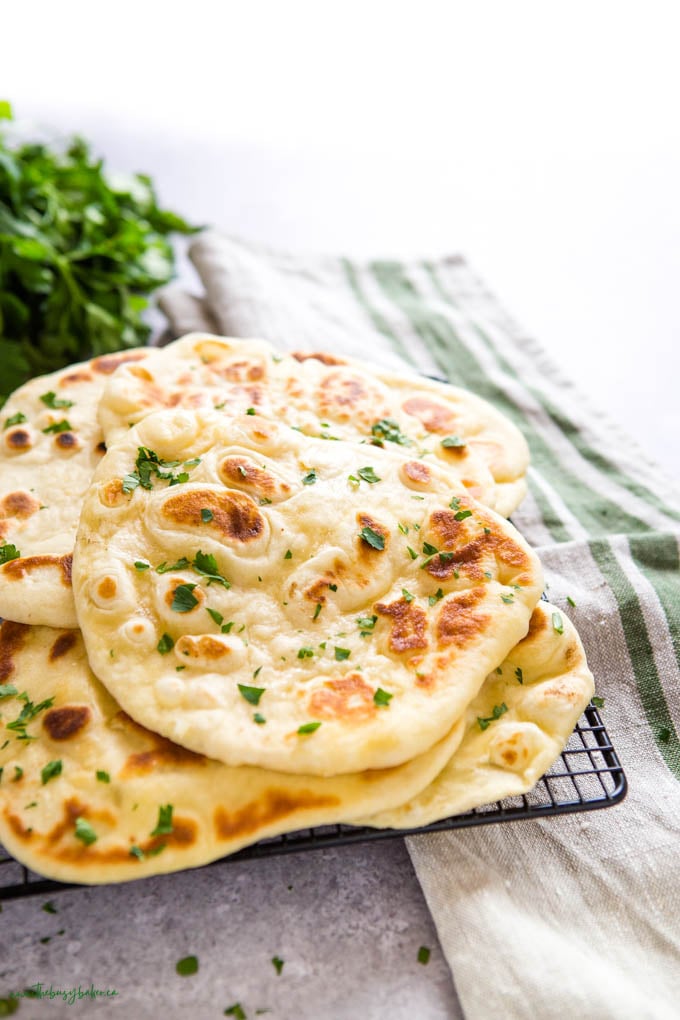 If you love Naan as much as we do, you are going to LOVE this recipe – it rivals any restaurant Naan I’ve ever eaten and it’s pretty simple to make with basic ingredients and a cast iron skillet!
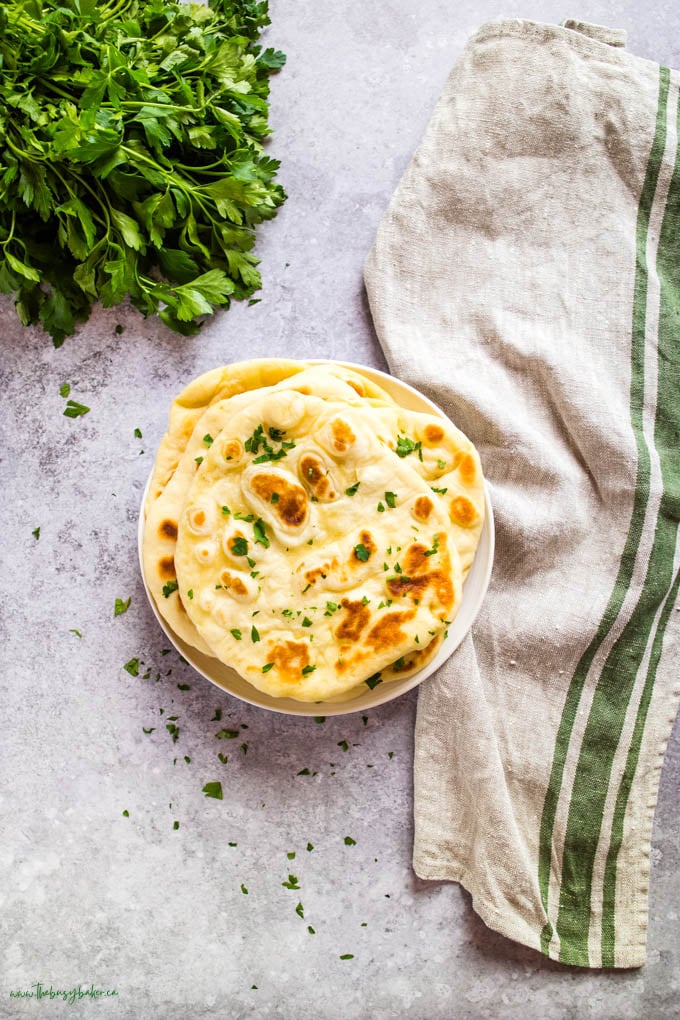
Ingredients for Homemade Naan Bread
- active dry yeast
- honey
- water
- vegetable oil (avocado oil or sunflower oil works well)
- egg
- Greek yogurt
- all purpose flour
- sea salt
- salted or unsalted butter
- minced garlic
- fresh parsley (optional)
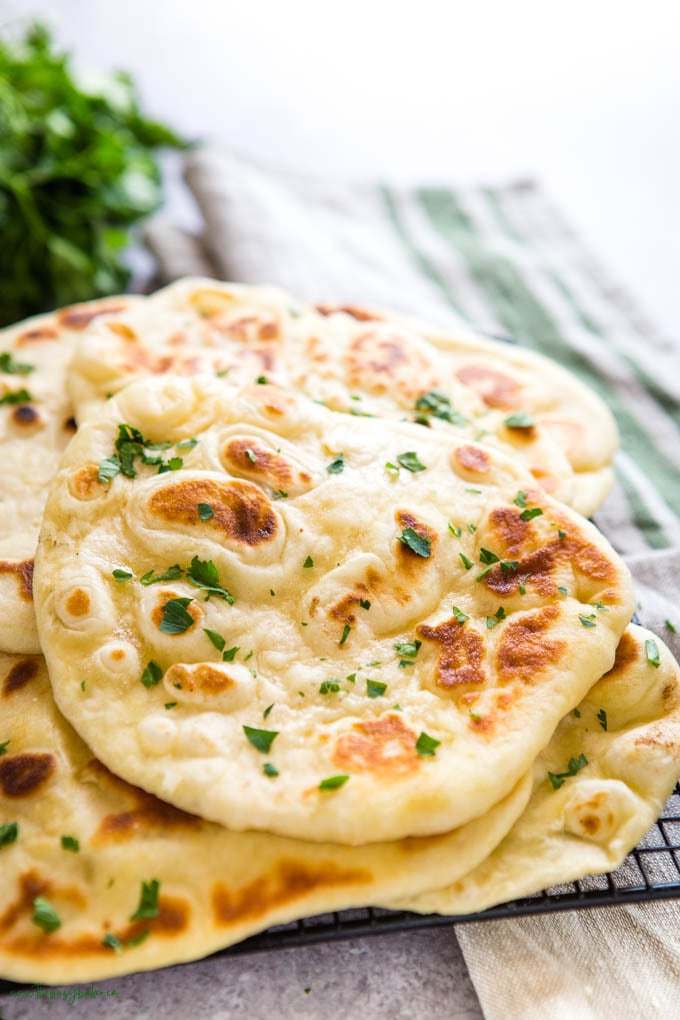
Kitchen Equipment for Homemade Naan Bread
To make this Naan Bread you’ll need these kitchen tools (affiliate links):
- Measuring Cups (liquid and dry) and Measuring Spoons
- Stand mixer fitted with the dough hook attachment (This one is totally optional – you can also make them by hand with a wooden spoon and a large mixing bowl)
- Plastic wrap for covering the bowl
- Rolling Pin
- Heavy cast-iron skillet that performs well over high heat
- A pastry brush for brushing with garlic butter (optional)

Pro Tips for Easy Homemade Naan Bread
- Pro Tip #1: Use Warm Water
In order to achieve a fluffy dough that rises well, the temperature of the wet ingredients when they hit the yeast is critical: too cold, and the yeast won’t be able to grow; too hot and the liquid will kill the yeast. Both of these situations will cause your dough to be tough and dry, and you’ll be lucky if it rises at all. To help these rolls rise properly and quickly, use warm water that feels like the temperature of a baby’s bath water (not too hot!).
- Pro Tip #2: Room temperature ingredients.
Take your Greek yogurt out of the fridge for about 30 minutes before using it in this recipe. Room temperature yogurt will blend well into the dough and it won’t slow down the rising time like cold yogurt would.
- Pro Tip #3:Use Greek yogurt, not regular plain yogurt.
Greek yogurt is strained plain yogurt, which means it contains far less water than regular plain yogurt contains. If you use regular plain yogurt in this recipe the dough will be very wet and impossible to work with. If all you have is plain yogurt, simply place some yogurt in a strainer lined with paper towel or cheesecloth and place the strainer over a bowl. Place it in your fridge overnight and in the morning you’ll be left with a thick yogurt in the strainer and liquid in the bowl that you can discard. Use the thick yogurt you’ve made in the recipe in place of Greek yogurt.
- Pro Tip #4: The dough should be sticky.
Naan Bread dough should be tacky to the touch, but not so sticky that it’s very messy. It should pull away from the sides of the mixing bowl easily and the bowl should appear fairly clean. If the dough appears too sticky, continue kneading and add flour one tablespoon at a time until the dough reaches that tacky texture. Too little flour and the dough will be too sticky and difficult to work with. Too much flour and the dough will be tough, resulting in dry, crumbly Naan.
- Pro Tip #5: Use a HOT pan. Cast iron is best!
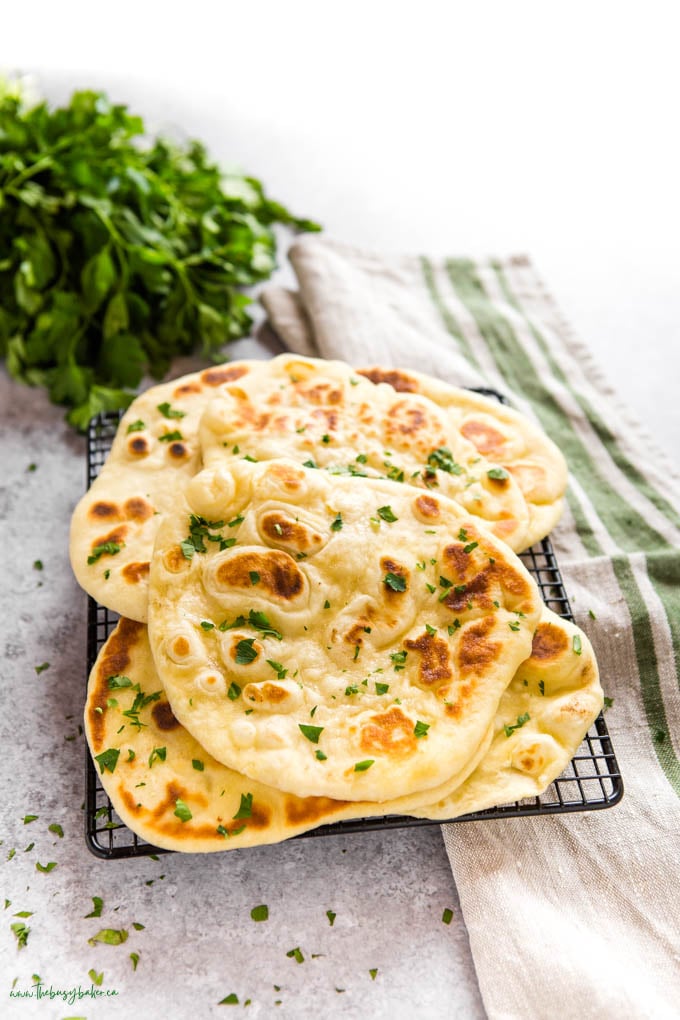
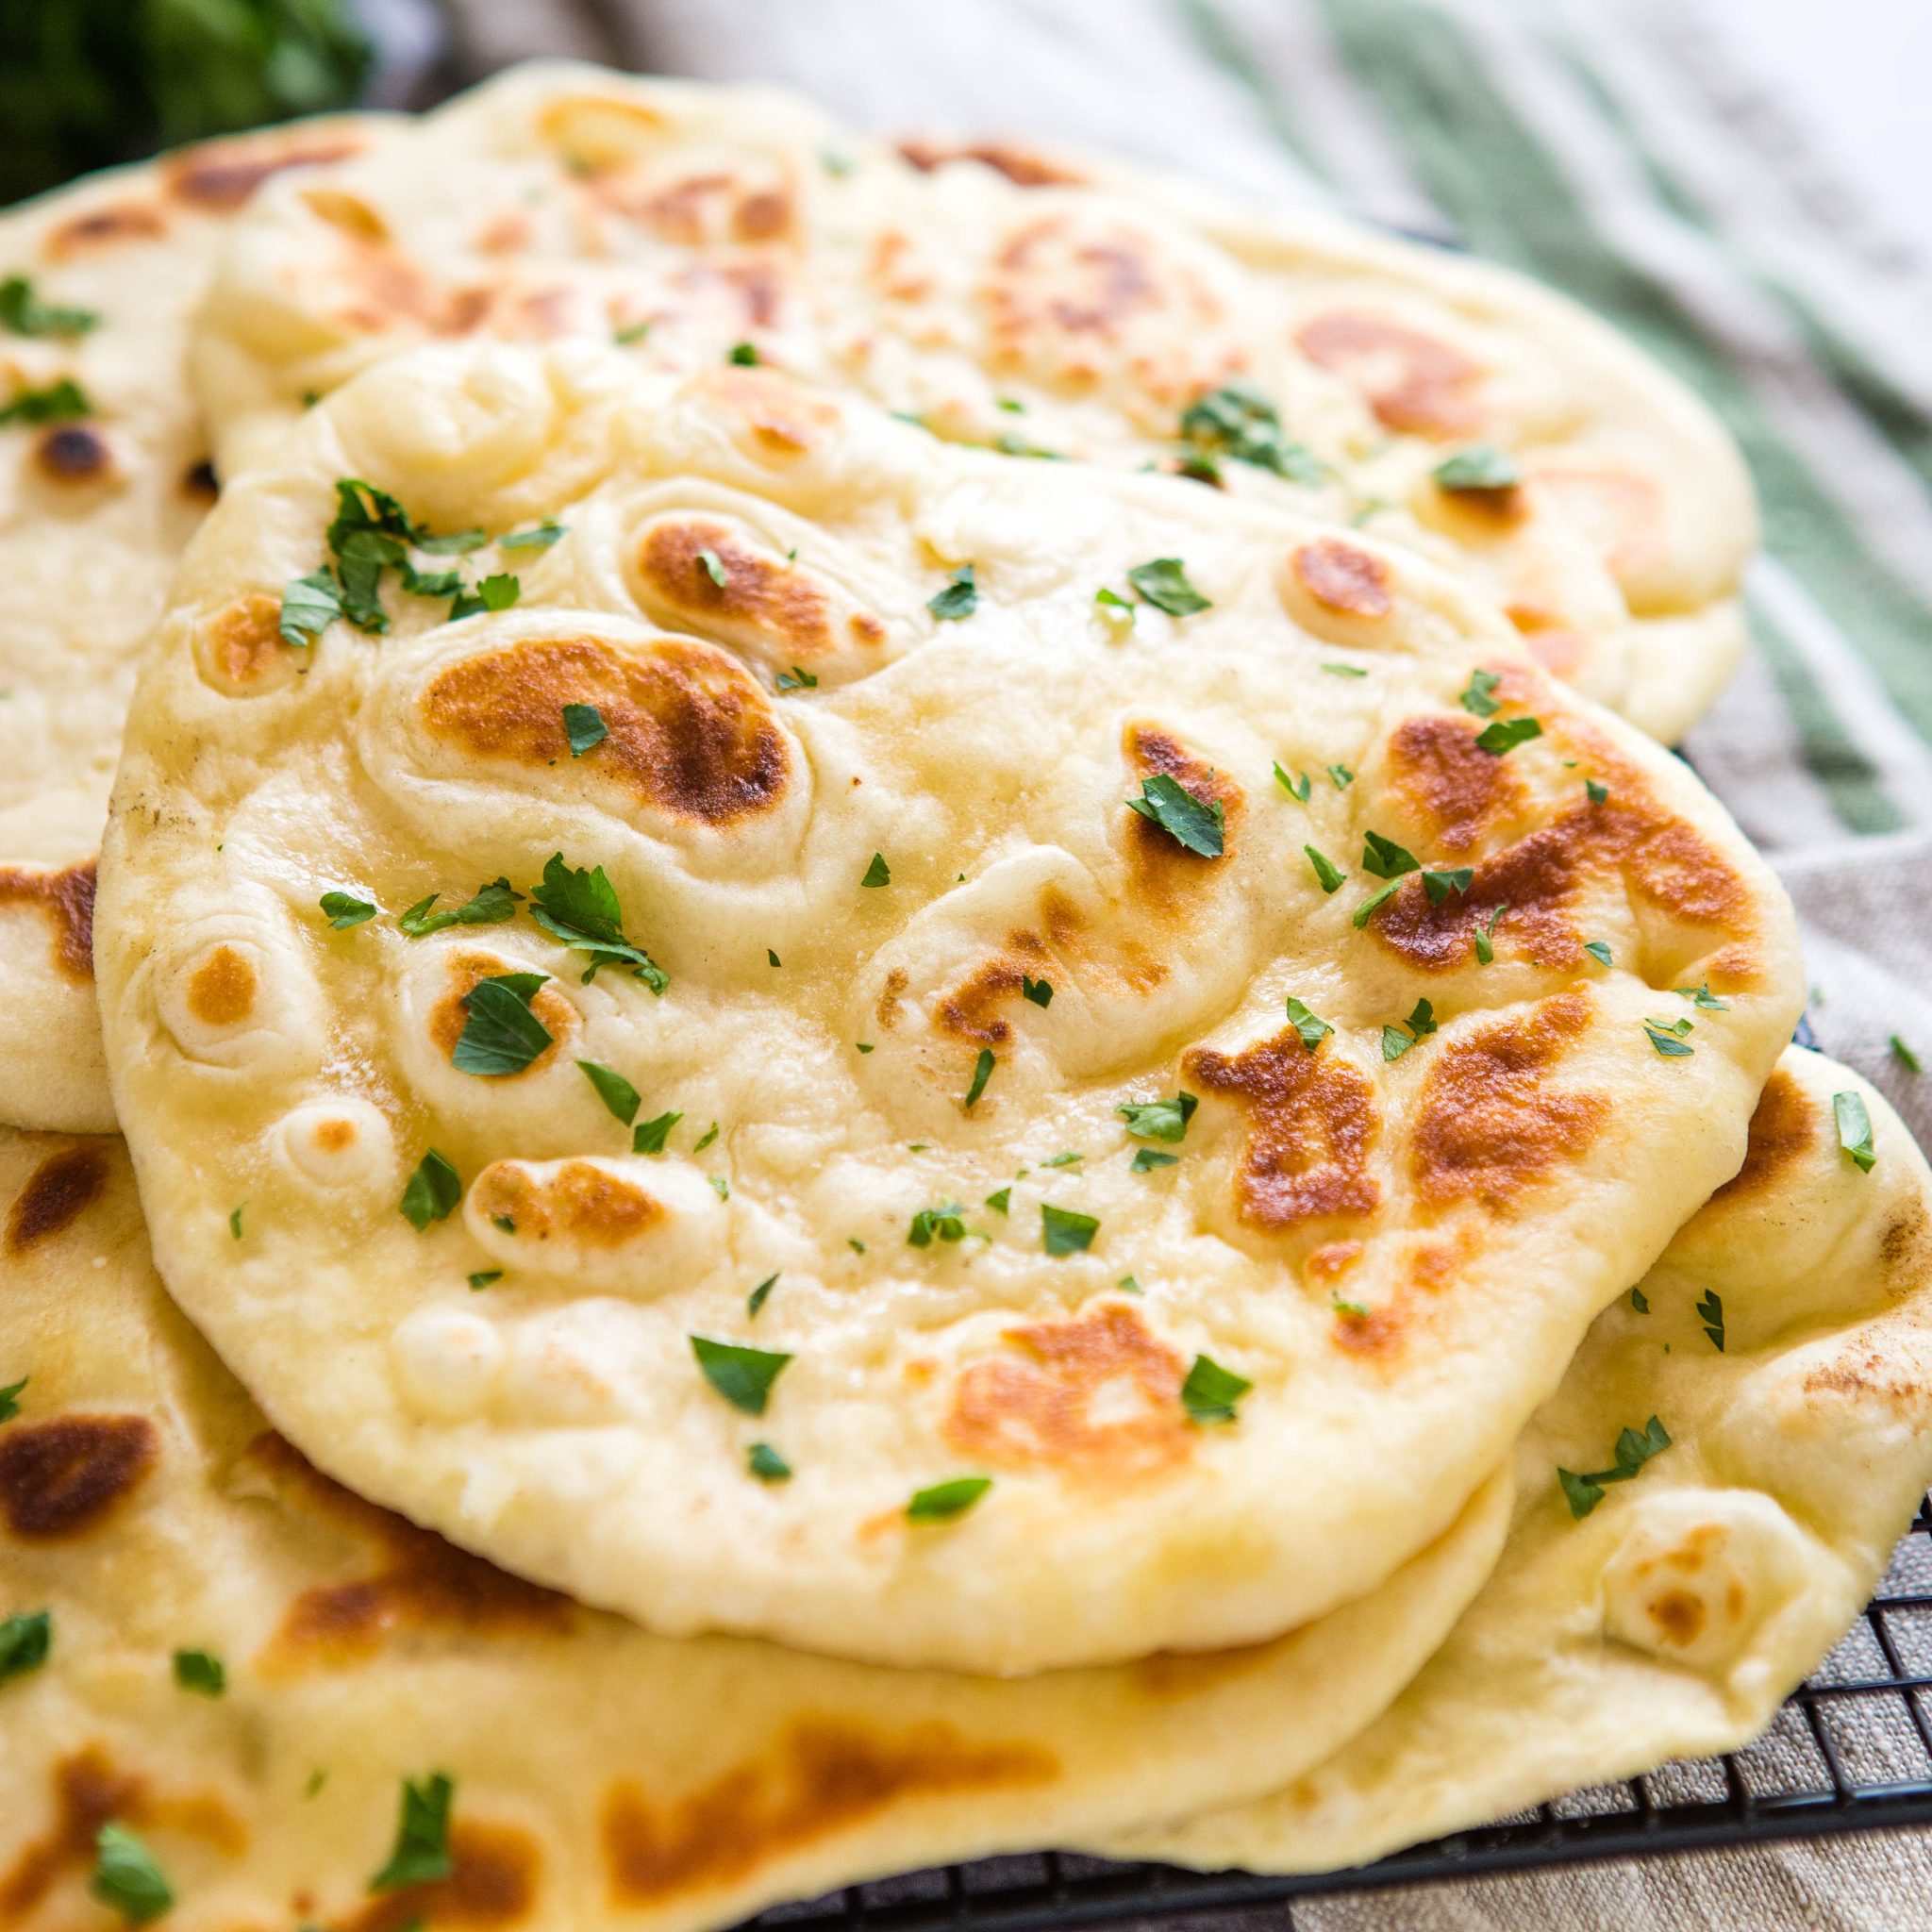
The signature look of Naan bread is bubbles that brown in the pan as the interior of the naan cooks to perfection. Get your pan nice and hot, and then turn it down to medium-high. Use just a little bit of oil (olive oil or avocado oil work great), brushing it onto the bottom of the pan before frying. Adjust the temperature as you fry each piece until you reach a steady medium-high that browns but doesn’t burn the Naan. Cast iron pans work great for homemade Naan bread since they get nice and hot and keep a steady heat distribution throughout the cooking process.
- Pro Tip #6: Brush with garlic butter.
This tip is totally optional, but our family loves enjoying Naan bread fresh from the stove brushed with a little bit of garlic butter! 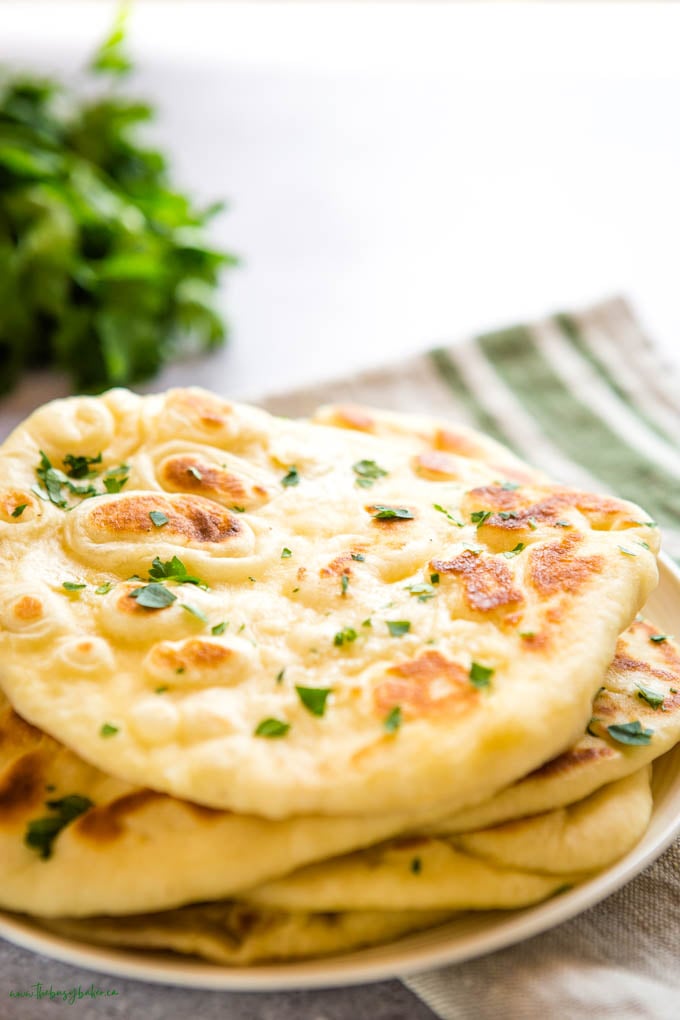
What to serve with Naan Bread
A simple curry recipe, like my One Pan Lentil Daal Curry, is a great choice! We also love this Naan Bread served with Greek food (like my Greek Yogurt Marinated Chicken, this Chicken Souvlaki, and Greek salad).
How is Naan Bread different from Pita Bread?
Naan bread often contains eggs, yogurt, or milk which make the dough softer, more tender and the end result more fluffy than traditional pita bread.
How to reheat Naan Bread
Naan bread is best reheated in the oven on low temperature (try 200 degrees Fahrenheit). Place it in a single layer on a baking sheet and toast it just until warm (this should only take a few minutes). 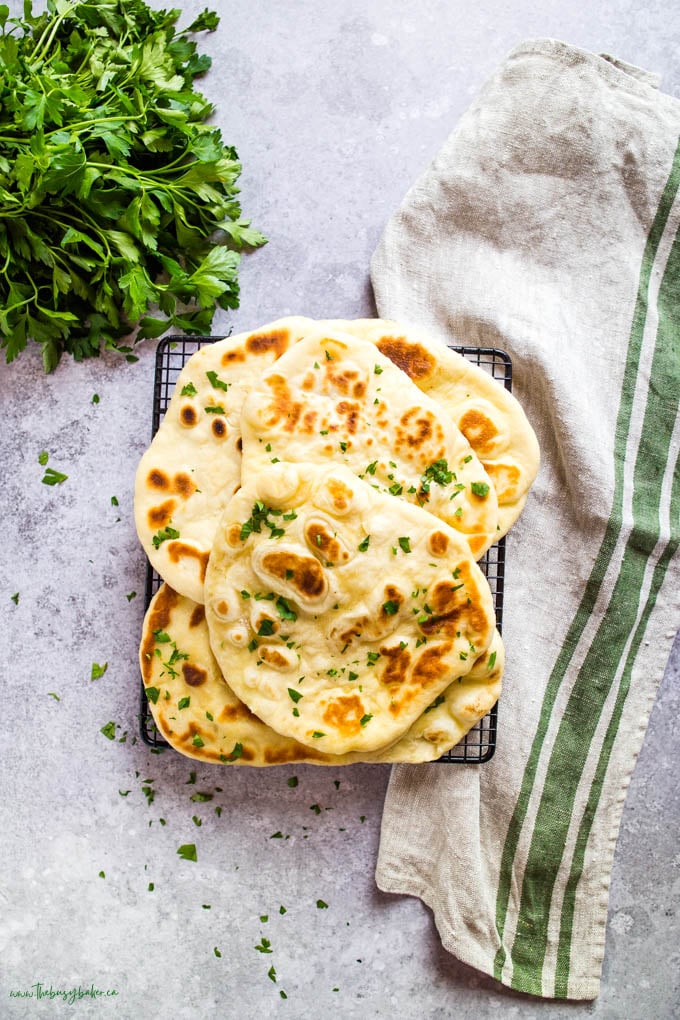
NEVER MISS A POST! FOLLOW ME ON:
FACEBOOK | PINTEREST | INSTAGRAM | TWITTER
 I hope you love this Naan recipe as much as we do! Let me know in the comments below, what’s your favourite curry dish to make at home? I’d love to know!
Kitchen Products I recommend:
Looking for more dishes like this one? You’ll LOVE these:
- One Pan Lentil Daal Curry
- Instant Pot Curry with Lentils
- Coconut Lime Rice Recipe
- One Pan Coconut Curry Shrimp
- Thai Coconut Curry Soup
- Red Lentil Curry Hummus
Easy Homemade Naan Bread Recipe Video
Watch the video below to see exactly how I make this delicious recipe. You can find more delicious recipe videos on my YouTube channel.
If you made this, share a photo!
Are you trying this recipe? Use the comment form below to share your take; now with support for image uploads and comment voting!
Easy Homemade Naan Bread
Recipe: Equipment
- 1 large cast iron skillet
Recipe: Ingredients
- 1/2 cup warm water
- 1 tablespoon liquid honey
- 2 1/4 teaspoons active dry yeast
- 2 3/4 cups all purpose flour use up to 3 cups if necessary
- 1/2 teaspoon sea salt
- 1/2 cup Greek Yogurt
- 2 tablespoons vegetable oil
- 1 large egg
- 3 tablespoons butter
- 2 cloves garlic finely minced
- chopped fresh parsley optional
Recipe: Instructions
- Measure the warm water into a liquid measuring cup and add the honey and yeast. Mix with a fork and set aside.
- Add the flour and salt to the bowl of your stand mixer (or to a large mixing bowl if you're making by hand). Mix them together just until combined.
- Add the Greek yogurt, vegetable oil, and egg to the bowl with the flour and then pour in the yeast mixture after letting it sit for about 3-4 minutes.
- Mix everything together on low speed (or mix by hand) until a dough forms.
- Add an extra 1/4 cup of flour ONLY if necessary, and only one tablespoon at a time, if the dough appears very sticky. It should be tacky and pull away from the sides of the bowl, leaving the sides of the bowl clean.
- Form the dough into a ball with your hands and place back into the bowl (grease the bowl with a touch of oil, if desired) to rise for about 45 minutes or until doubled in size.
- Once the dough has risen, heat a large cast iron skillet over medium-high heat.
- Pour the dough out onto a well-floured work surface and divide it into 10 equally-sized pieces.
- Roll each piece of dough into a ball and roll it out flat (about 1/4 inch thick) with a well floured rolling pin. Roll the pieces one at a time, right before you fry each one. The pieces don't have to be perfectly shaped, just make sure they're an even thickness so they fry evenly.
- Brush the bottom of the hot skillet with a tiny bit of oil and place the rolled dough onto the skillet. Fry for about 3-4 minutes per side, depending on how hot your pan is (watch the first few very carefully so you don't burn them, and adjust the heat for the first few minutes of cooking until you reach a steady medium-high). The naan should be pale in colour with golden brown bubbles.
- Continue brushing the skillet with a small amount of oil after frying each piece, if desired.
- Melt the butter in the microwave and stir in the minced garlic.
- Brush the naan on both sides with the garlic butter AFTER frying.
- Serve with your favourite curry or with some veggies and hummus for dipping.
Recipe: Nutrition
Notice: Nutrition is auto-calculated, using Spoonacular, for your convenience. Where relevant, we recommend using your own nutrition calculations.


This is awesome…made these this morning
I’m so happy you enjoyed it! Thank you for taking the time to leave your feedback!