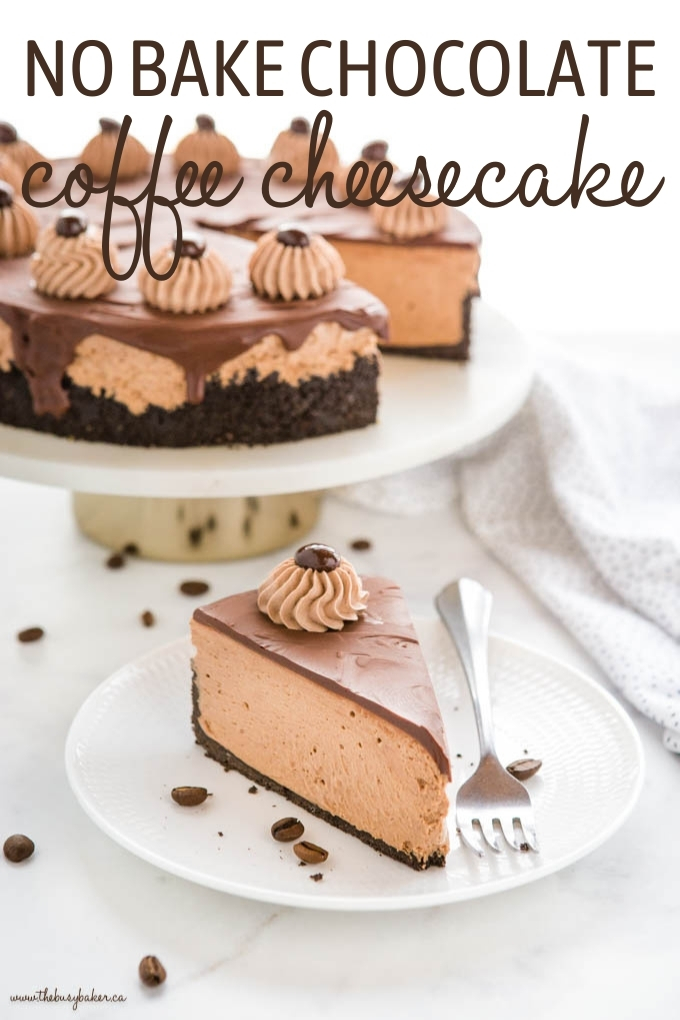
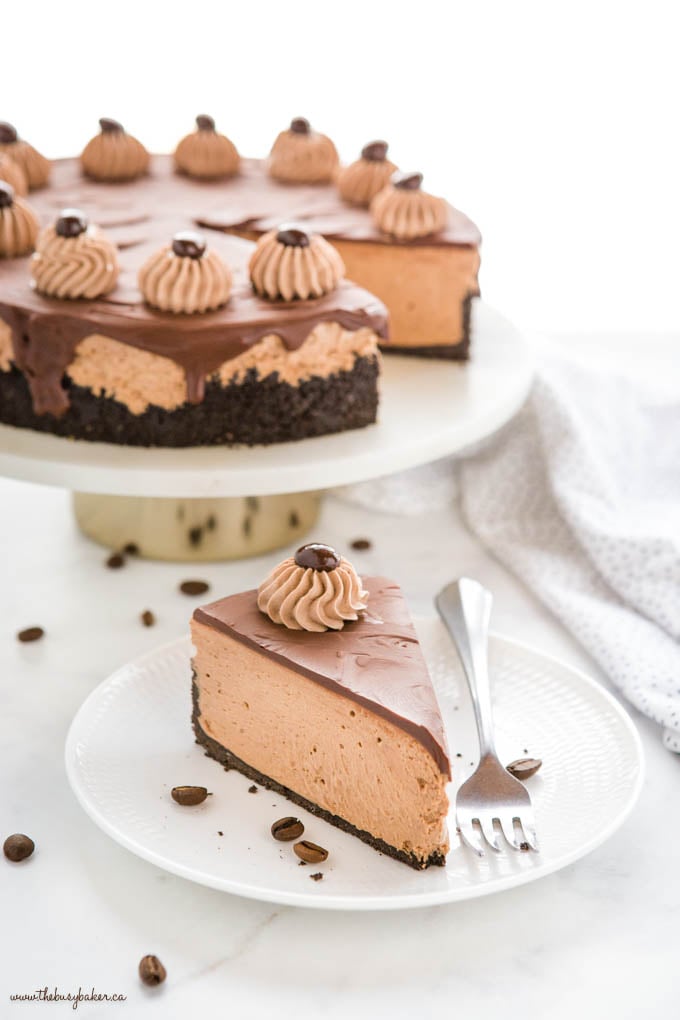
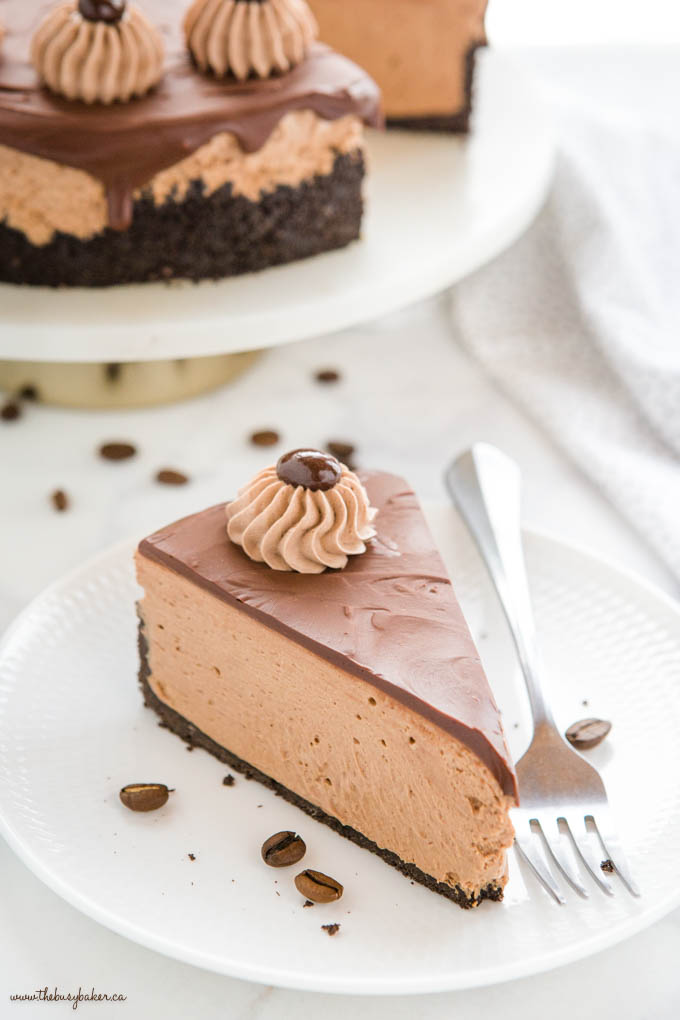
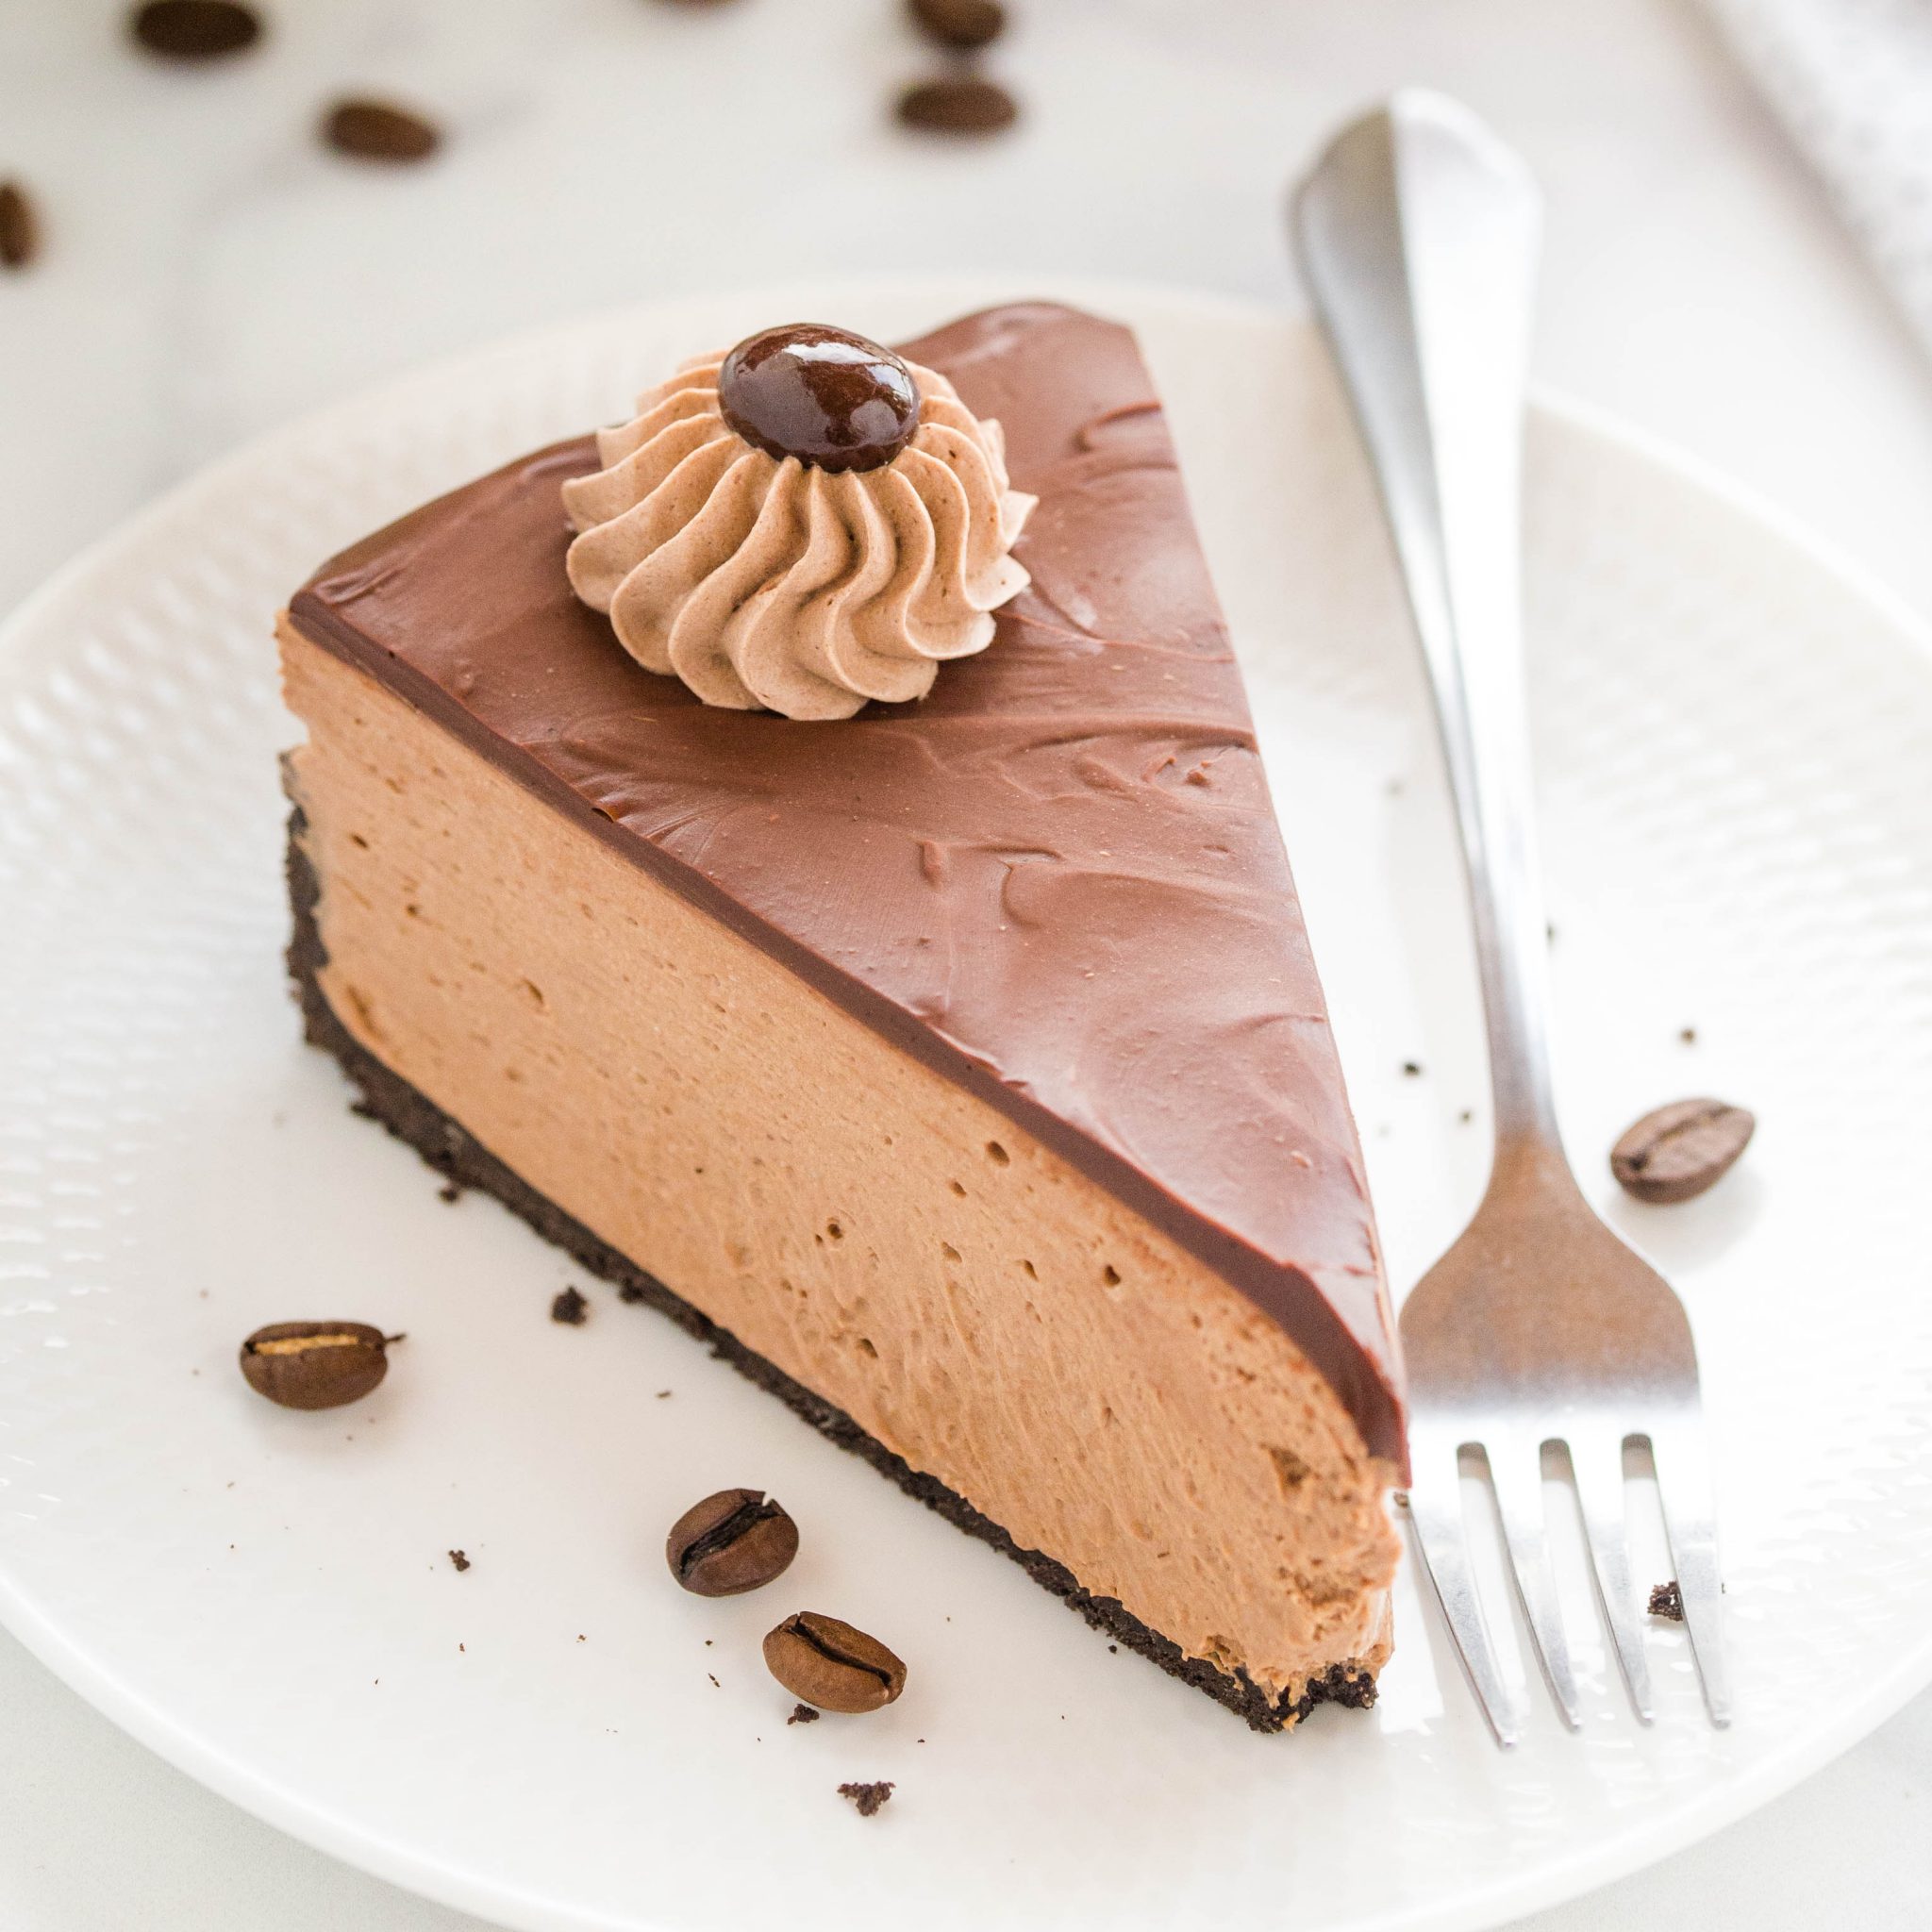
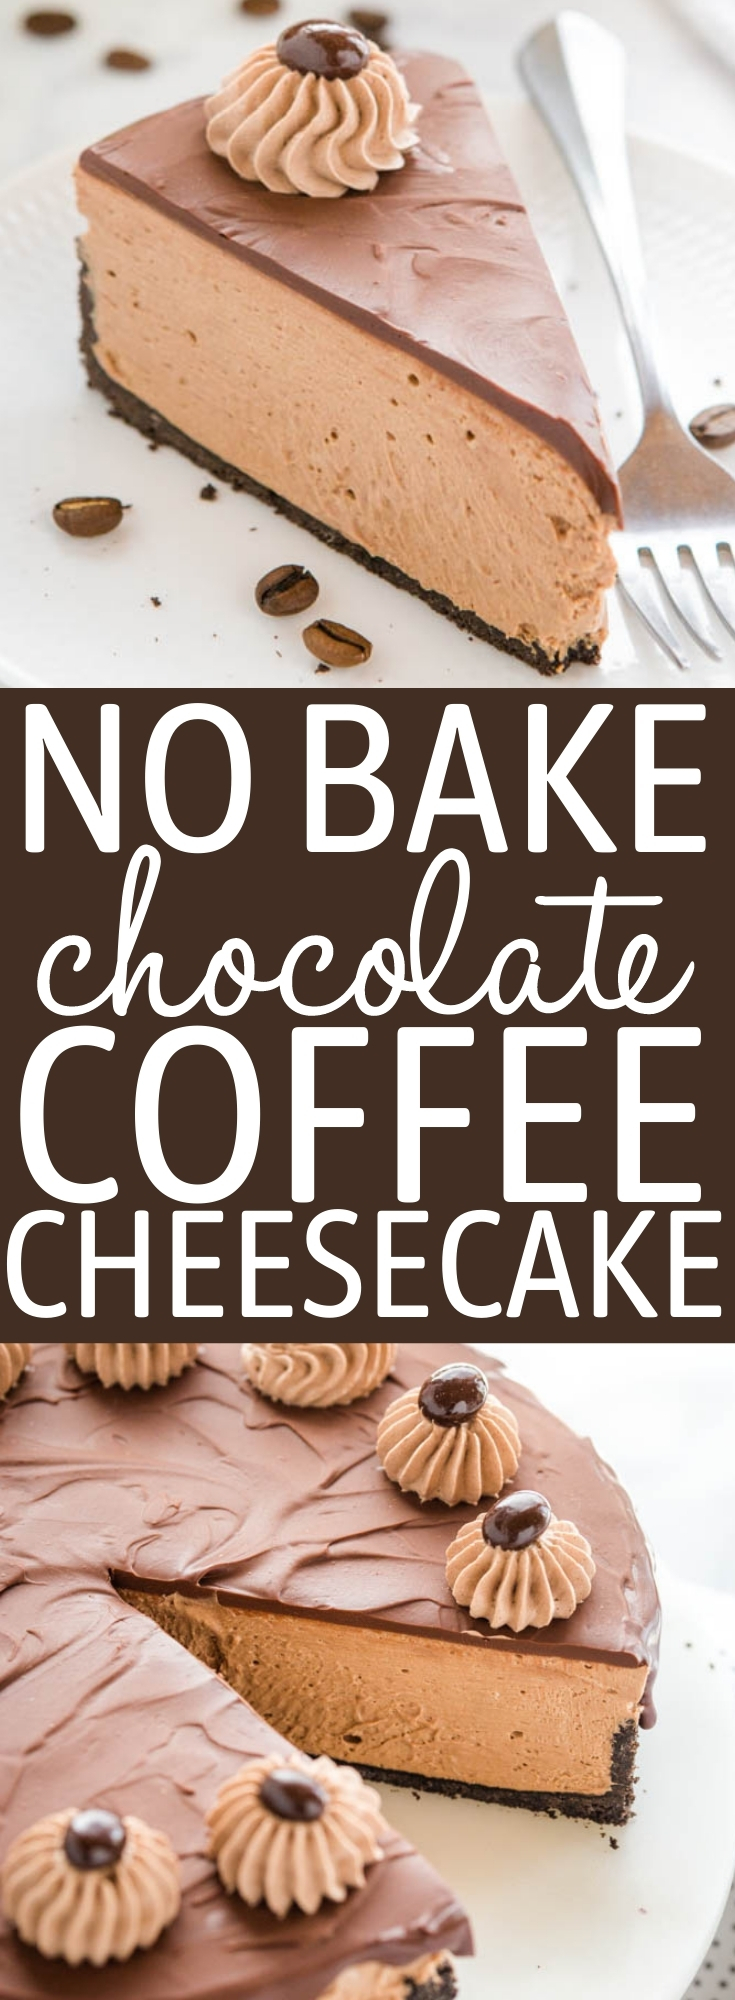
This No Bake Chocolate Coffee Cheesecake is ultra creamy and smooth, packed with espresso and chocolate and topped with a decadent chocolate ganache! No baking required!
NEVER MISS A POST! FOLLOW ME ON:
FACEBOOK | PINTEREST | INSTAGRAM | TWITTER
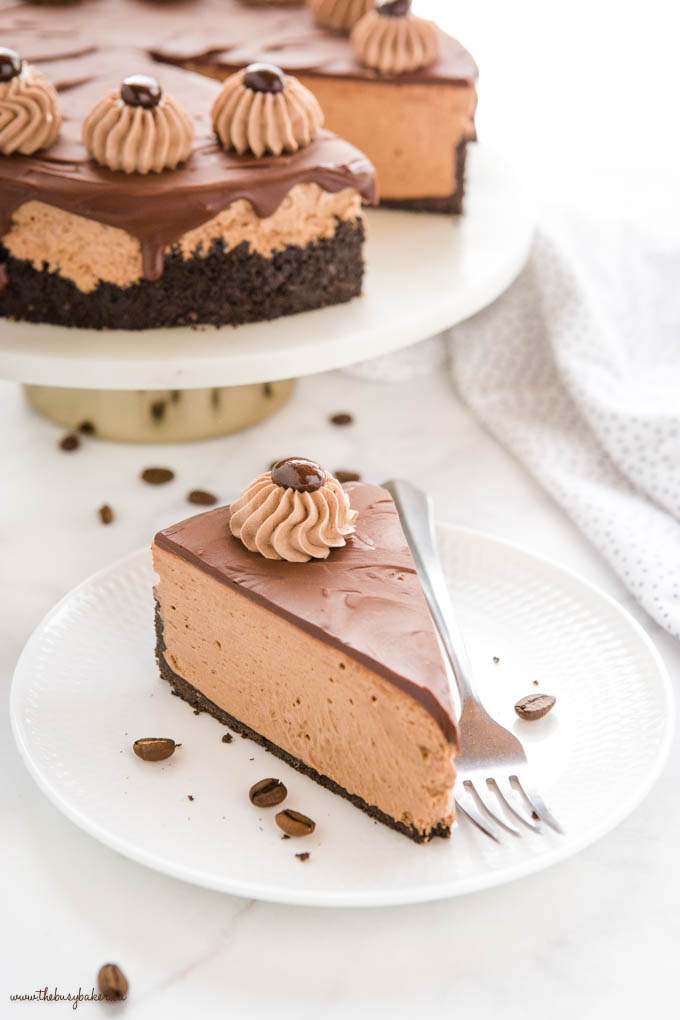
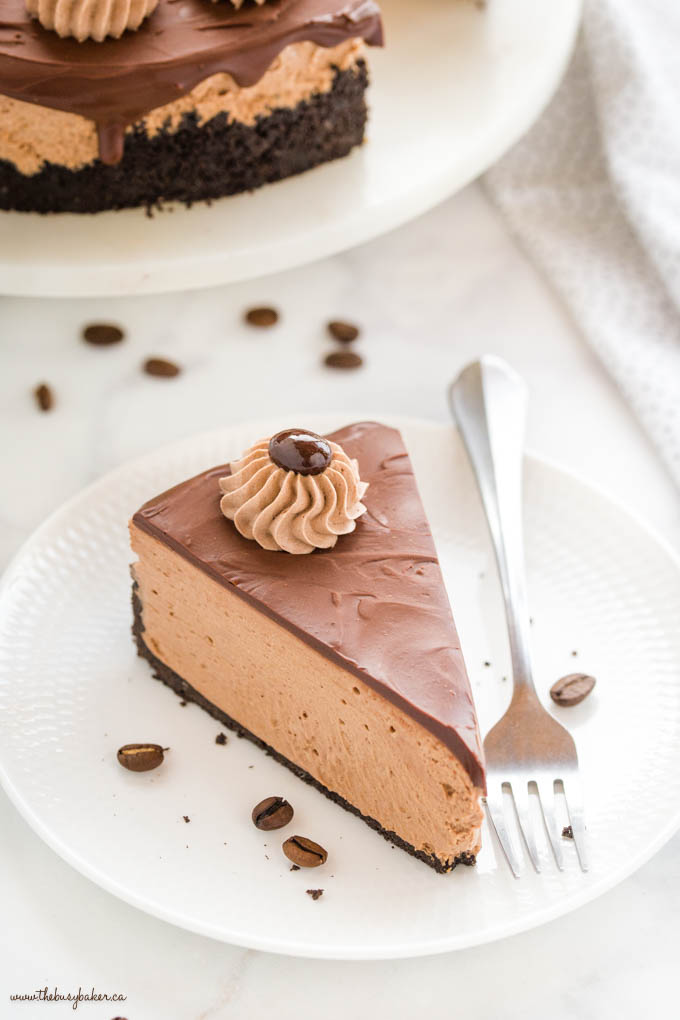
Calling all coffee lovers! If you love a good cup of coffee in the morning (or anytime, really!) then you’re going to LOVE this No Bake Chocolate Coffee Cheesecake! It’s rich and decadent, it’s ultra creamy and smooth, it slices PERFECTLY every time, and it’s packed with delicious chocolate and coffee flavour! Trust me, if you love coffee even a little bit (and I mean, who doesn’t?) then you’re going to LOVE this coffee cheesecake!!
Ingredients for Coffee Cheesecake
To make this coffee cheesecake you’ll need:
- oreo baking crumbs
- melted butter
- full fat cream cheese
- powdered sugar
- espresso powder
- hot water
- melted dark chocolate
- whipped cream
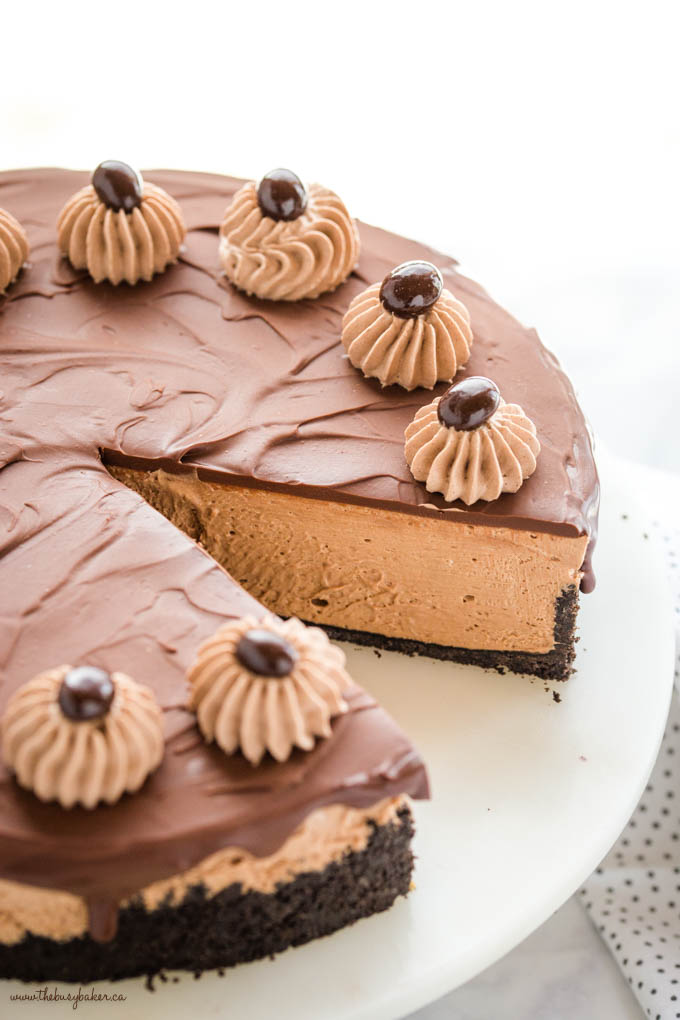
How to Make Coffee Cheesecake
- Use full fat cream cheese. Low fat cream cheese has a higher water content and therefore liquifies more at room temperature than regular full fat cream cheese does. Using full fat cream cheese will help keep your no bake coffee cheesecake firm and help it slice cleanly for serving.
- Use whipped cream or whipped topping whipped to stiff peaks. Under-whipped cream can be too liquid-y and therefore prevent the cheesecake from setting.
- Use melted chocolate. Melted chocolate hardens when it cools which helps give structure to a no-bake cheesecake, helping it firm up for slicing. No gelatine required!
- Add high-quality espresso powder. Choose the best espresso powder you can find – if you enjoy drinking it, it’ll taste great in all your favourite desserts too!
- Set the cheesecake in the fridge first, and then the freezer for best results. My no bake cheesecakes always turn out best when the chill for 6-8 hours in the fridge and then spend 3-4 hours in the freezer to firm up for those gorgeous, clean slices.
LOOKING FOR MORE EASY AND DELICIOUS CHEESECAKE RECIPES AND TIPS?
Get my Easy No-Bake Cheesecakes E-Cookbook!
Looking for more coffee recipes? You’ll love this Easy Homemade Caramel Frappuccino, this Healthy Iced Coffee Recipe, and these Mocha Cheesecake Brownies.
NEVER MISS A POST! FOLLOW ME ON:
FACEBOOK | PINTEREST | INSTAGRAM | TWITTER
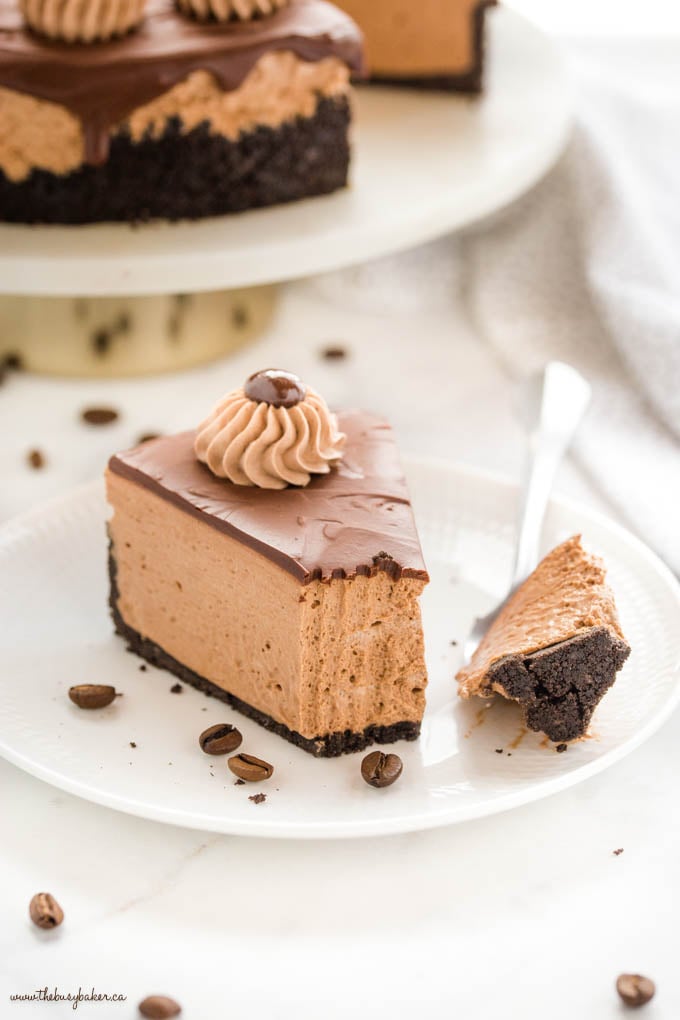
I hope you love this cheesecake recipe as much as we do! Let me know in the comments below, how to you take your coffee? I’d love to know!
KITCHEN PRODUCTS I RECOMMEND:
Looking for more easy no bake desserts? You’ll LOVE these:
- Easy No Bake Peanut Butter Chocolate Cheesecake
- Easy No Bake Chocolate Peanut Butter Cheesecake Pie
- Easy No Bake Strawberry Swirl Cheesecake
- Easy No Bake Orange Creamsicle Cheesecake
- Easy No Bake Chocolate Mousse Vegan Cheesecake
- Easy No Bake Strawberry Cheesecake
- Easy No Bake Classic Tiramisu
- Easy No Bake Chocolate Mocha Tiramisu

LOOKING FOR MORE EASY AND DELICIOUS CHEESECAKE RECIPES AND TIPS?
Get my Easy No-Bake Cheesecakes E-Cookbook!
If you made this, share a photo!
Are you trying this recipe? Use the comment form below to share your take; now with support for image uploads and comment voting!
No Bake Chocolate Coffee Cheesecake
Recipe: Ingredients
For the crust:
- 1 1/2 cup Oreo baking crumbs
- 5 tablespoons melted butter
For the cheesecake filling:
- 1 tablespoon espresso powder use up to 2 tablespoons for a more intense flavour and colour, if desired
- 2 tablespoons hot water
- 800 grams full fat cream cheese at room temperature (approximately 28 ounces)
- 1 1/4 cup powdered sugar sifted to remove lumps
- 200 grams dark or semi-sweet chocolate melted and cooled to just above room temperature (approximately 15 ounces)
- 1 1/2 cups whipped cream OR whipped topping at room temperature
For the ganache:
- 240 grams semi-sweet chocolate
- 1 cup heavy cream
Recipe: Instructions
For the crust:
- In a small bowl, combine the Oreo baking crumbs and the melted butter until the crumbs are completely moistened.
- Press the crumb mixture into the bottom of a 9-inch springform pan and up the sides just slightly, to form a crust. Chill to set.
For the cheesecake filling:
- Dissolve the espresso powder in the hot water and let the mixture cool to room temperature. Set aside.
- Beat the cream cheese on medium speed until very smooth. The cream cheese MUST be at room temperature.
- Add the powdered sugar and beat well until everything is well combined. Add the cooled espresso to the mixture in a steady stream while mixing on low speed until combined.
- Melt the chocolate in the microwave (break it into small pieces first) on 50% power for 30-second increments until the chocolate is just melted.
- Let the chocolate cool slightly to just above room temperature before pouring it into the cream cheese mixture. The cream cheese mixture MUST be at room temperature or it will cause the chocolate to solidify during the mixing process, creating chunks chocolate in the cheesecake batter (the cheesecake will lose its silky smooth texture).
- Beat on medium speed until the chocolate is fully incorporated (scrape down the sides of the bowl well here).
- Fold in the whipped cream or whipped topping gently until fully incorporated.
- Pour the batter into the chilled crust and smooth out the top with a spatula.
- Chill the cheesecake in the fridge overnight, (OR for at least 6 hours plus 1 hour in the freezer) before slicing and serving.
For the ganache:
- About 30 minutes before serving, heat the heavy cream in a small pot on the stove until it just begins to steam (do not boil!).
- Add the semi-sweet chocolate to a bowl in chunks and pour the hot cream over the chocolate.
- Stir well until the hot cream melts the chocolate and the mixture becomes dark and fluid.
- Let the ganache cool until almost to room temperature before pouring it over the chilled cheesecake and letting it drip down the sides.
- Chill the cheesecake for an additional 10 minutes in the fridge to let the ganache firm up for slicing.
- Slice the cheesecake cool from the fridge and top with some additional whipped cream (add a little cocoa powder to the whipped cream, if desired), and garnish each slice with a chocolate covered coffee bean, if desired.
Recipe: Notes
Recipe: Nutrition
Notice: Nutrition is auto-calculated, using Spoonacular, for your convenience. Where relevant, we recommend using your own nutrition calculations.
Thank you for the recipe! It came out well for me. I did do mine a bit different but only slightly. I kept all measurements the same. The only real difference was I made brownies for the crust and I just used instant decaf powder instead of espresso powder. It came out great. There was a little filling left over so my husband and I just snacked on it while we chilled the cake overnight.
We’re so happy you enjoyed our recipe! Thank you for taking the time to leave your feedback!