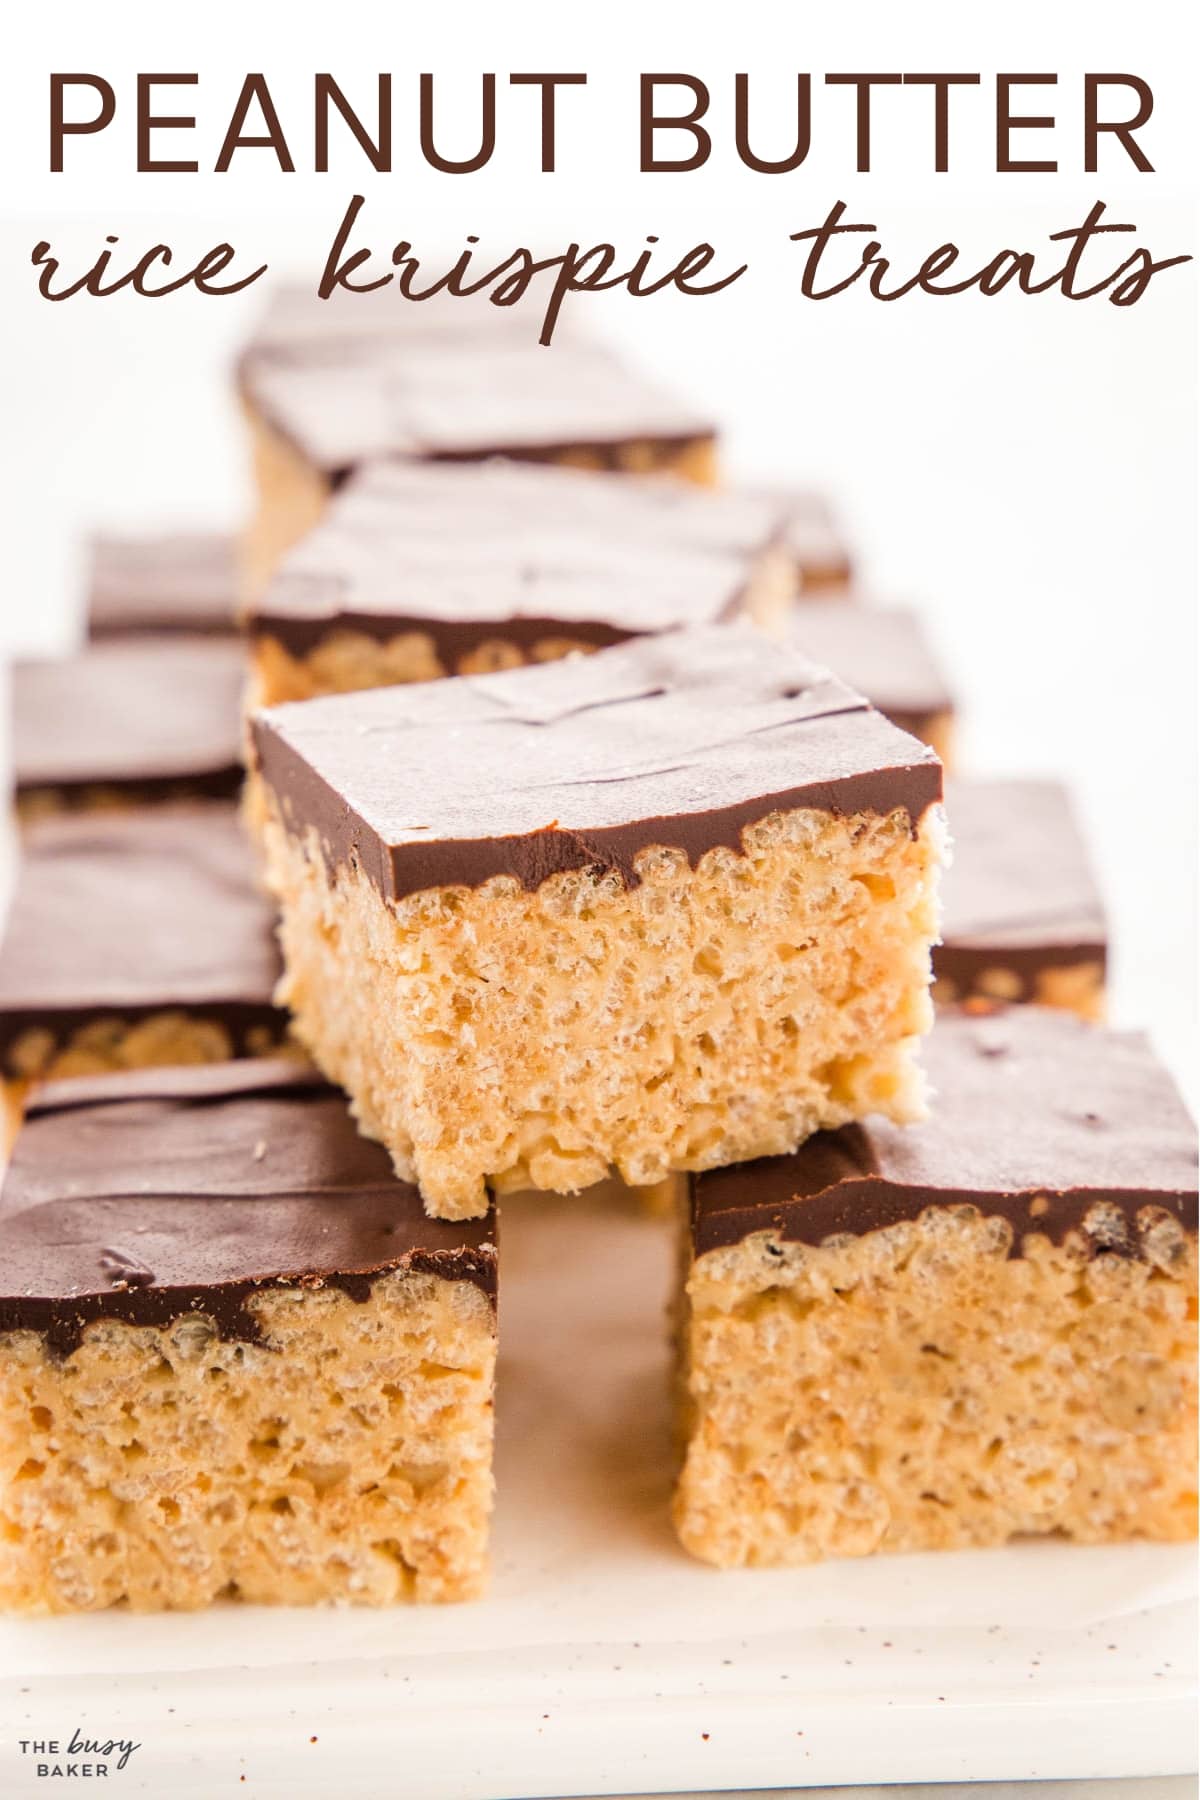
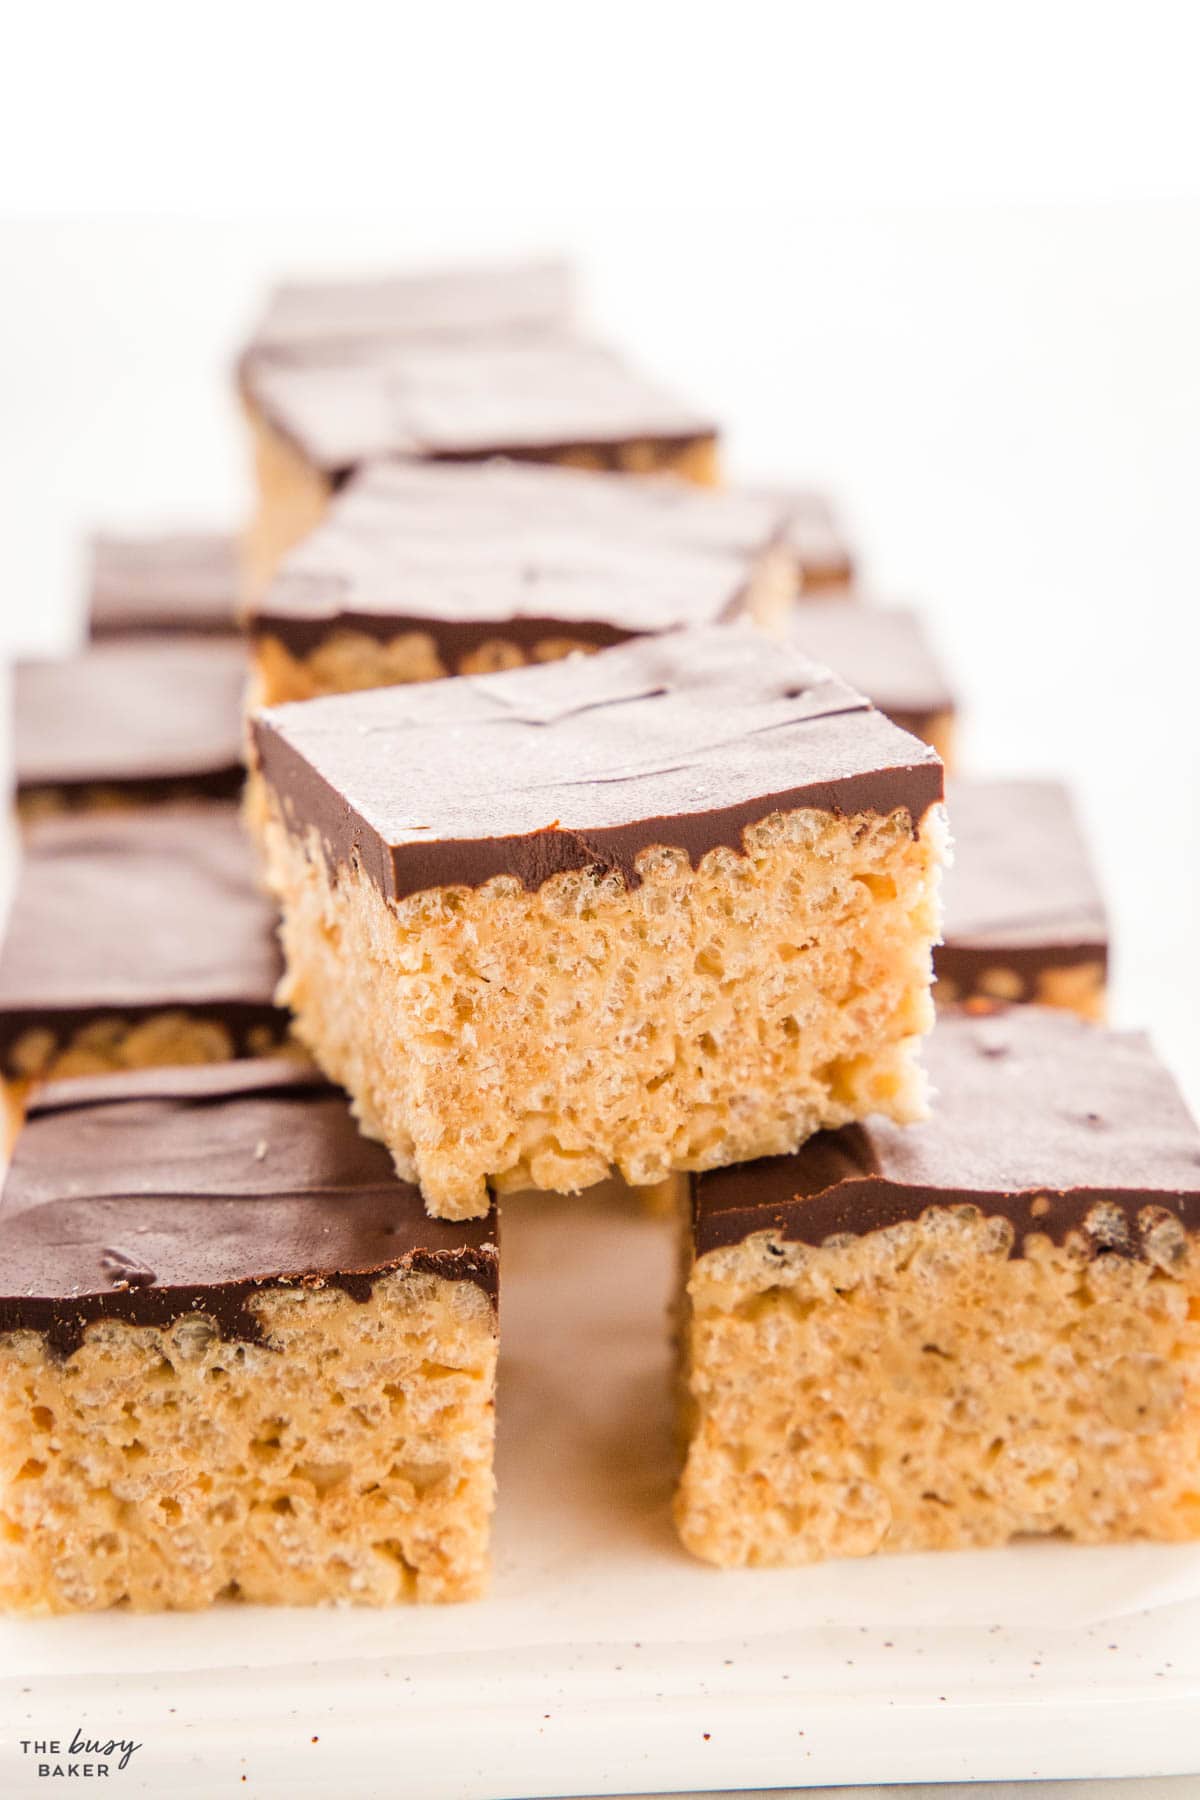
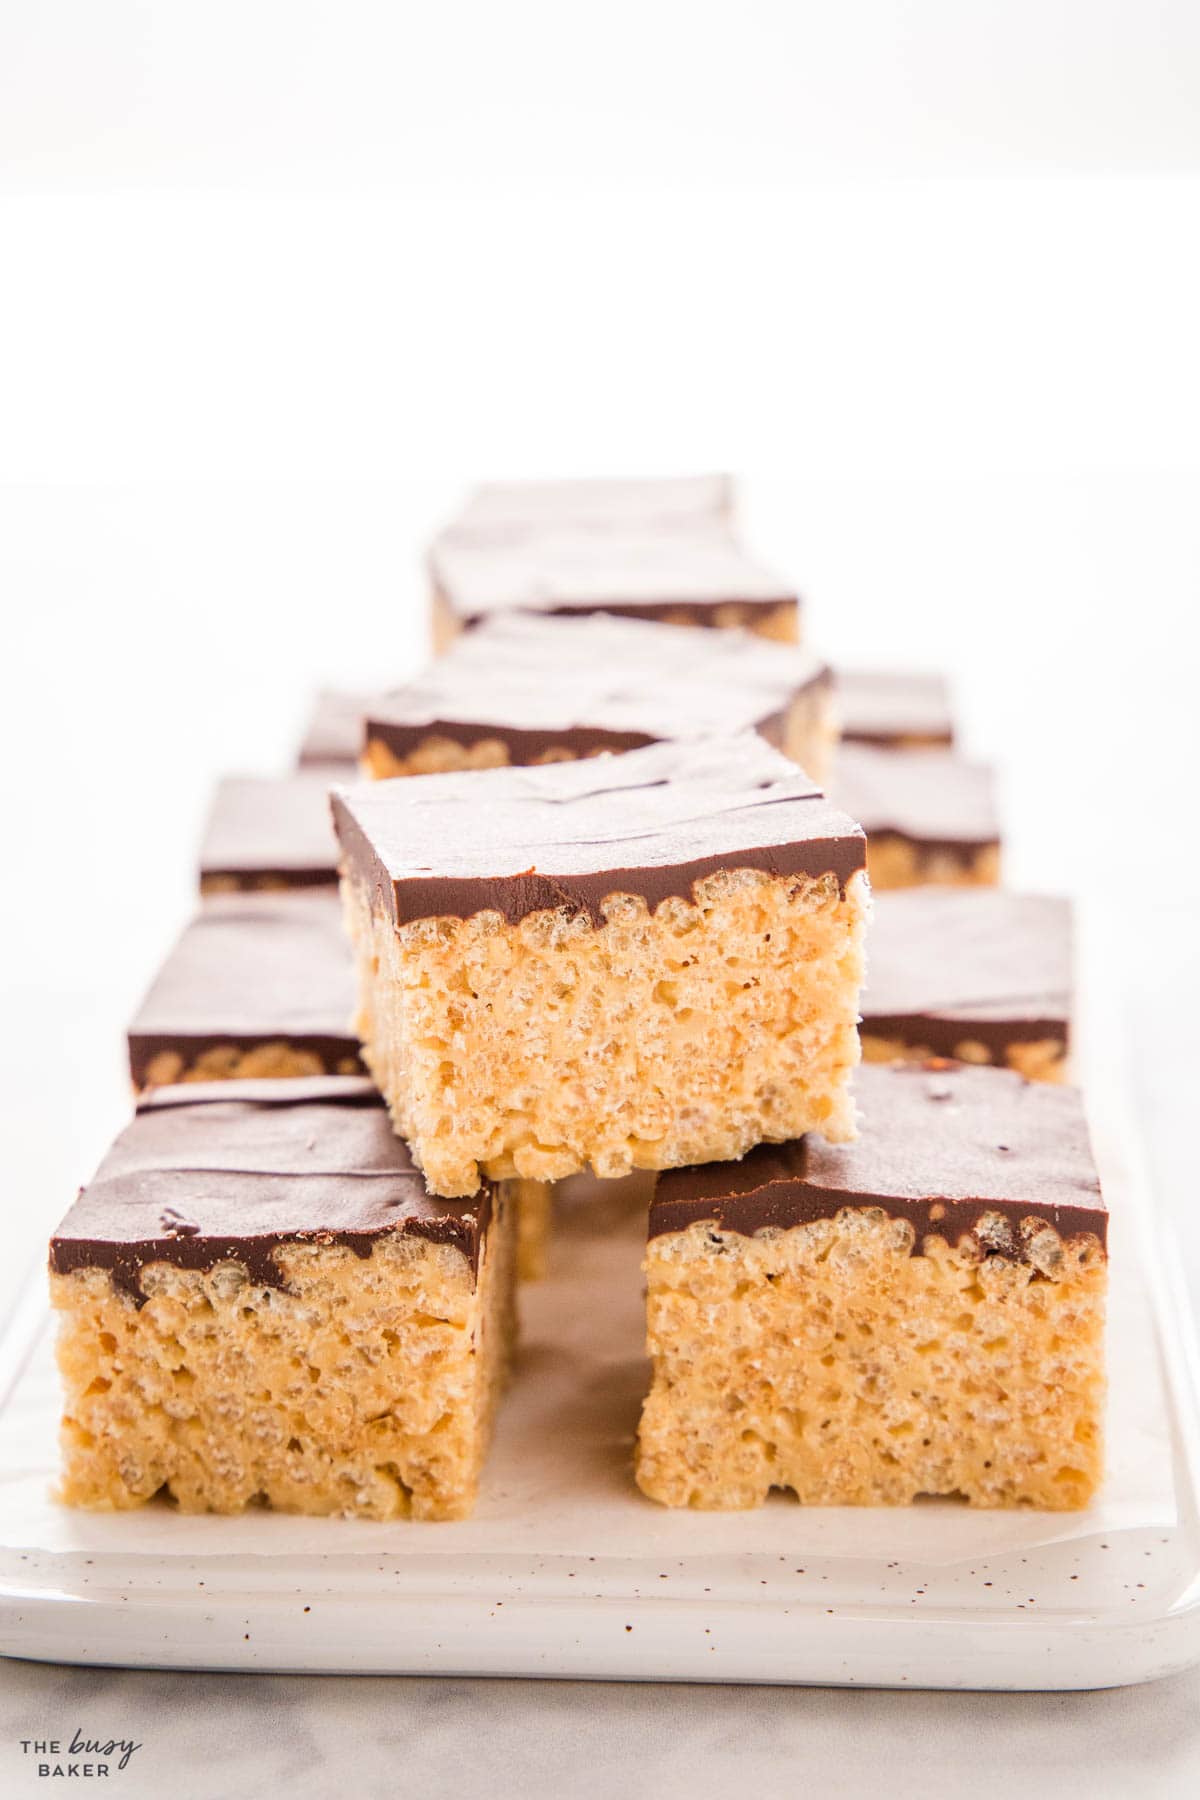
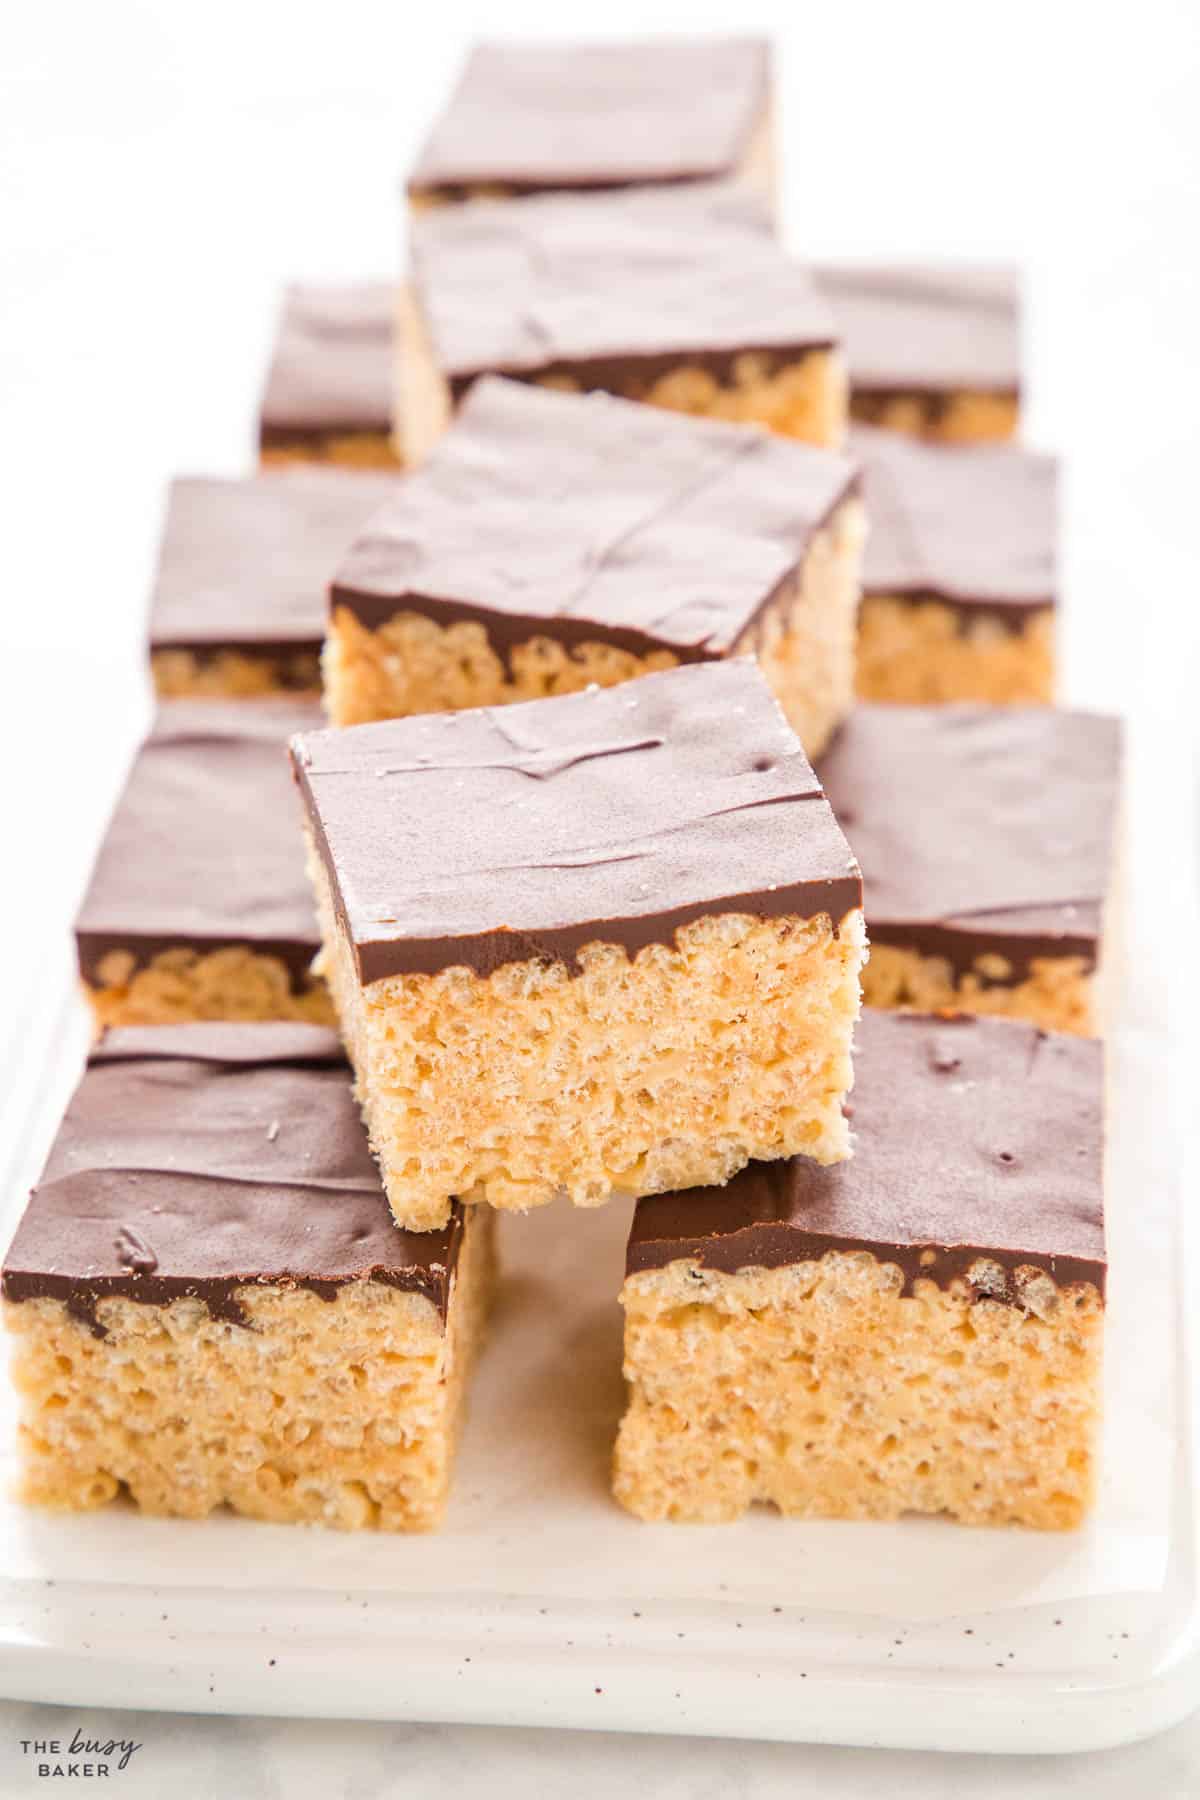
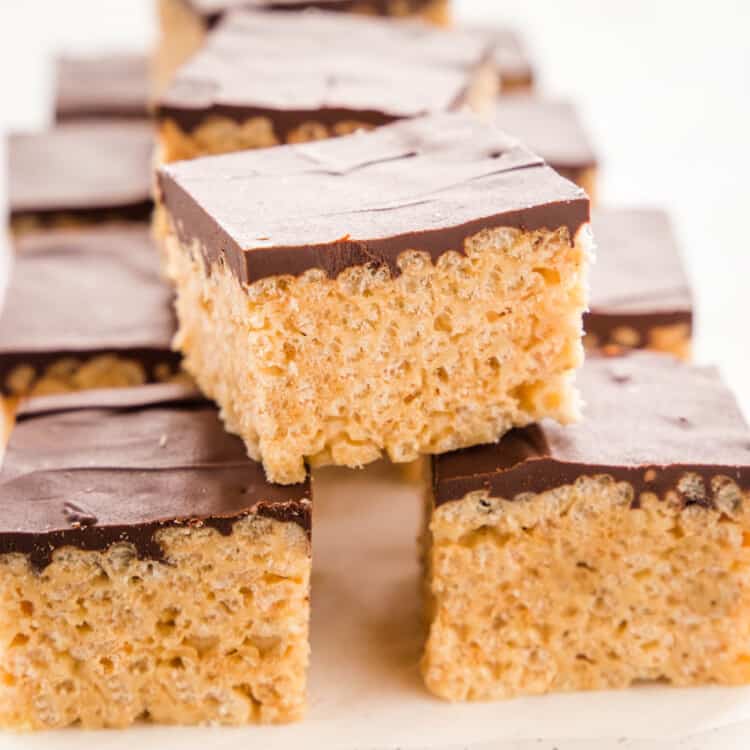
This Peanut Butter Rice Krispie Treats recipe is an easy sweet snack or dessert that’s made with creamy peanut butter, marshmallows, puffed rice cereal and chocolate. A twist on the classic Rice Krispie Treats!
Estimated reading time: 9 minutes
Here at The Busy Baker we love a good treat recipe that’s easy to make and delicious! These Peanut Butter Rice Krispie Treats are a tasty twist on the original, flavoured with savoury peanut butter and topped with sweet chocolate.
This Peanut Butter Rice Krispie Treat recipe is the perfect choice for holiday baking, bake sales, and for a simple sweet snack. We know you’re going to love it as much as we do!
Rice Krispie Treats are a delightful, sweet snack with no baking required. They’re ultra popular across generations because of their simplicity. There are so many ways to make them, from the classic recipe all the way to versions fit for any holiday or occasion with added ingredients like peanut butter, chocolate, nuts, all kinds of candy, mint, and more.
In the classic recipe the marshmallows and butter are melted together, creating a gooey mixture which combines with the puffed rice cereal. This mixture is pressed into a baking pan, left to sit, and then sliced into squares or bars. They’re great for making with kids because of how easy they are to throw together, and they can even be molded into various shapes for themed parties or events.
Their popularity has made Rice Krispie Treats into a culturally nostalgic treat that both kids and adults love!
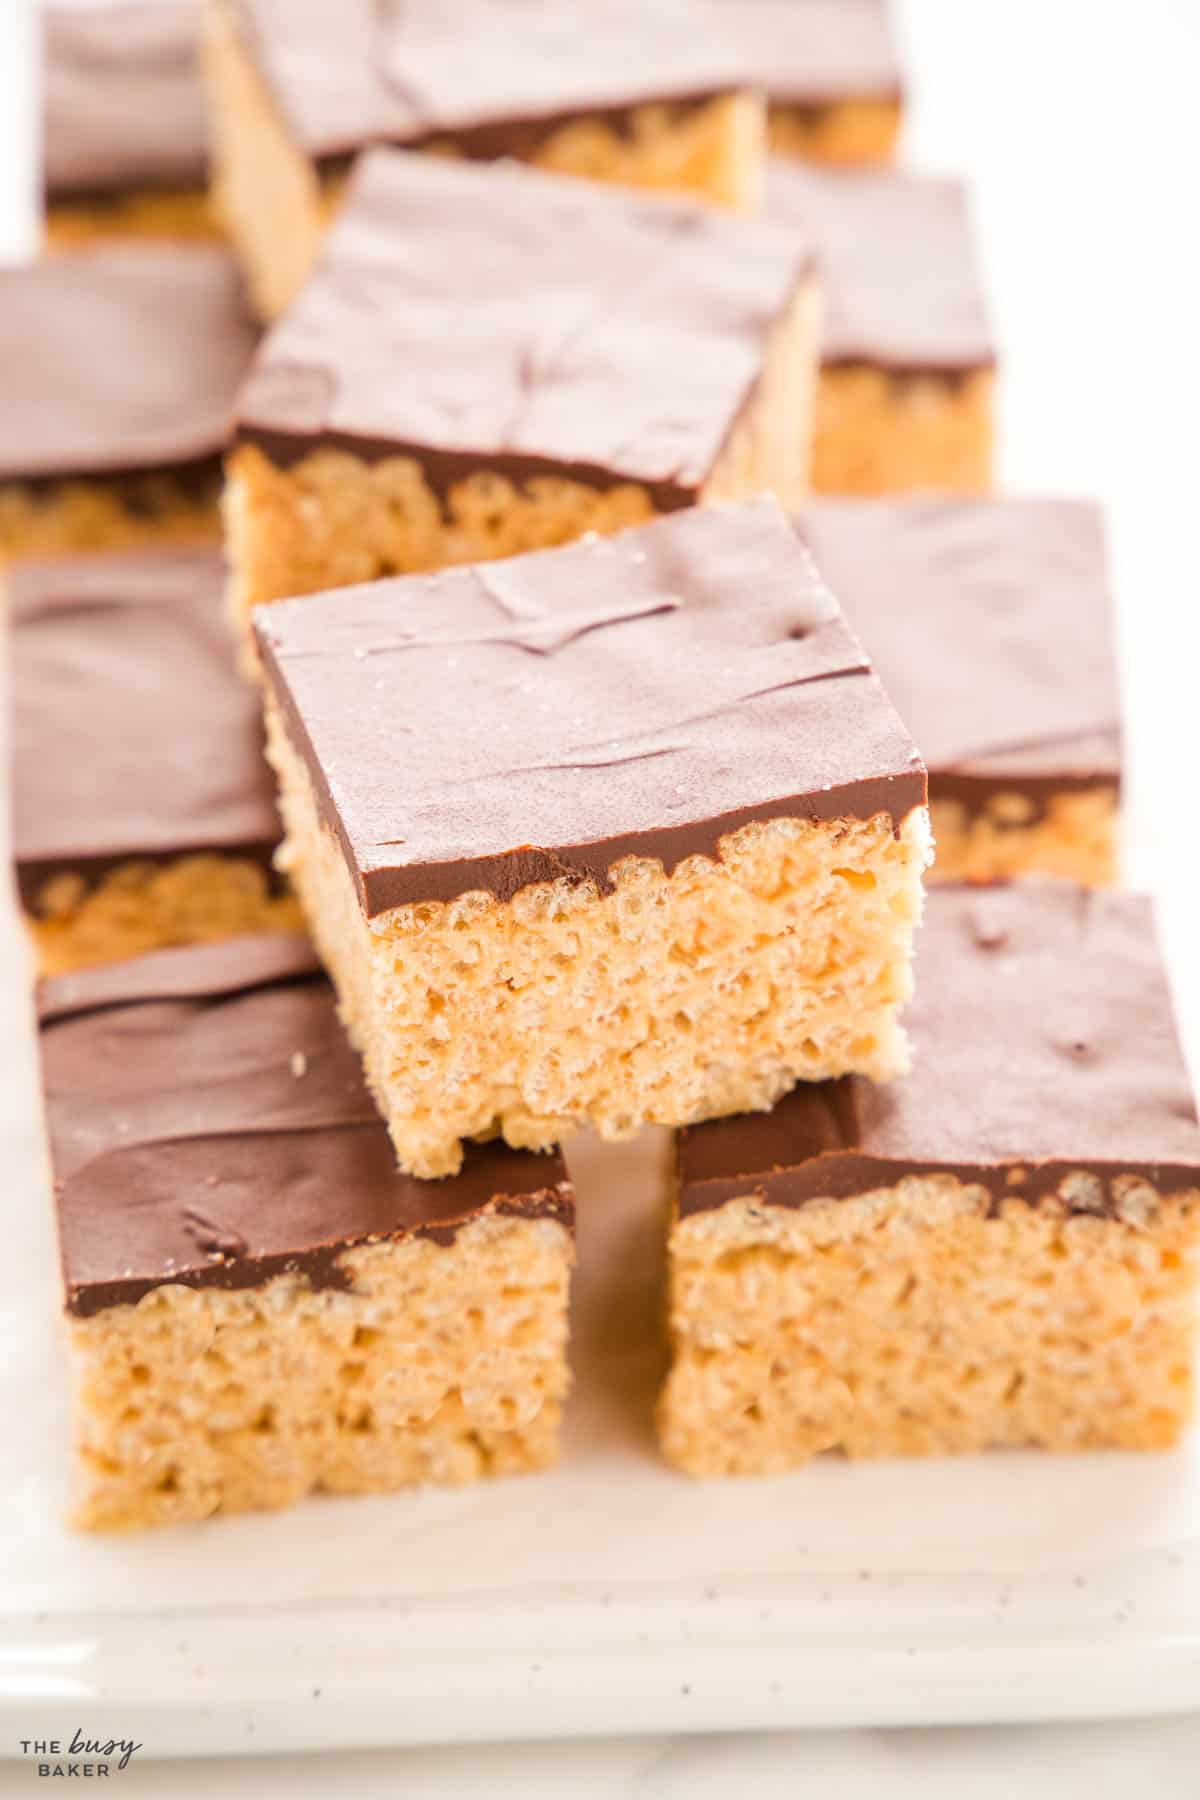
Follow our tips and tricks for the best Rice Krispie Treats you’ve ever made!
Choose smooth peanut butter (not all natural peanut butter) for a smooth marshmallow mixture and opt for semi-sweet baking chocolate that’s meant for melting.
Getting the right proportion of Rice Krispies to marshmallow mixture is crucial. Too many Rice Krispies and your treats will be too crunchy and fall apart; too little, and they’ll be overly sticky. Use a standard measuring cup for precision.
Keep the stove on a low setting when melting the peanut butter and marshmallow mixture. High heat can cause scorching and create a burnt taste in the mixture.
In order to press the sticky Rice Krispie mixture into the pan you’ll need to grease your spatula so it doesn’t stick. Try to even out the top as best you can so it’s flat.
Melt chocolate slowly to prevent it from burning, which can create a bitter taste and a chunky texture. Use a microwave to melt it at 50% power, stirring every 30-45 seconds or so, to achieve a smooth, evenly melted chocolate.
To avoid a chocolate topping that cracks when sliced, add a little bit of peanut butter to the melted chocolate. The added fat from the peanut butter will soften the chocolate just enough to help it slice very easily.
Thoroughly grease your pan with butter or non-stick spray and line it with parchment paper. This ensures your treats won’t stick and makes removal and cutting much easier. Ensure the parchment paper overhangs the sides of the pan for easy lifting.
An uneven chocolate layer can lead to inconsistent taste in each bite. Spread the chocolate gently and evenly for a uniform layer.
The treats should set until they are firm but not rock hard. Over-refrigerating can make them difficult to bite into. Letting them set at room temperature is often the best approach for a chewy, delightful texture, even if it takes a little more time than setting in the fridge.
A sharp, hot knife (dipped in hot water and then dried) cuts through the treats cleanly, preventing them from sticking to the knife and crumbling as you slice them.
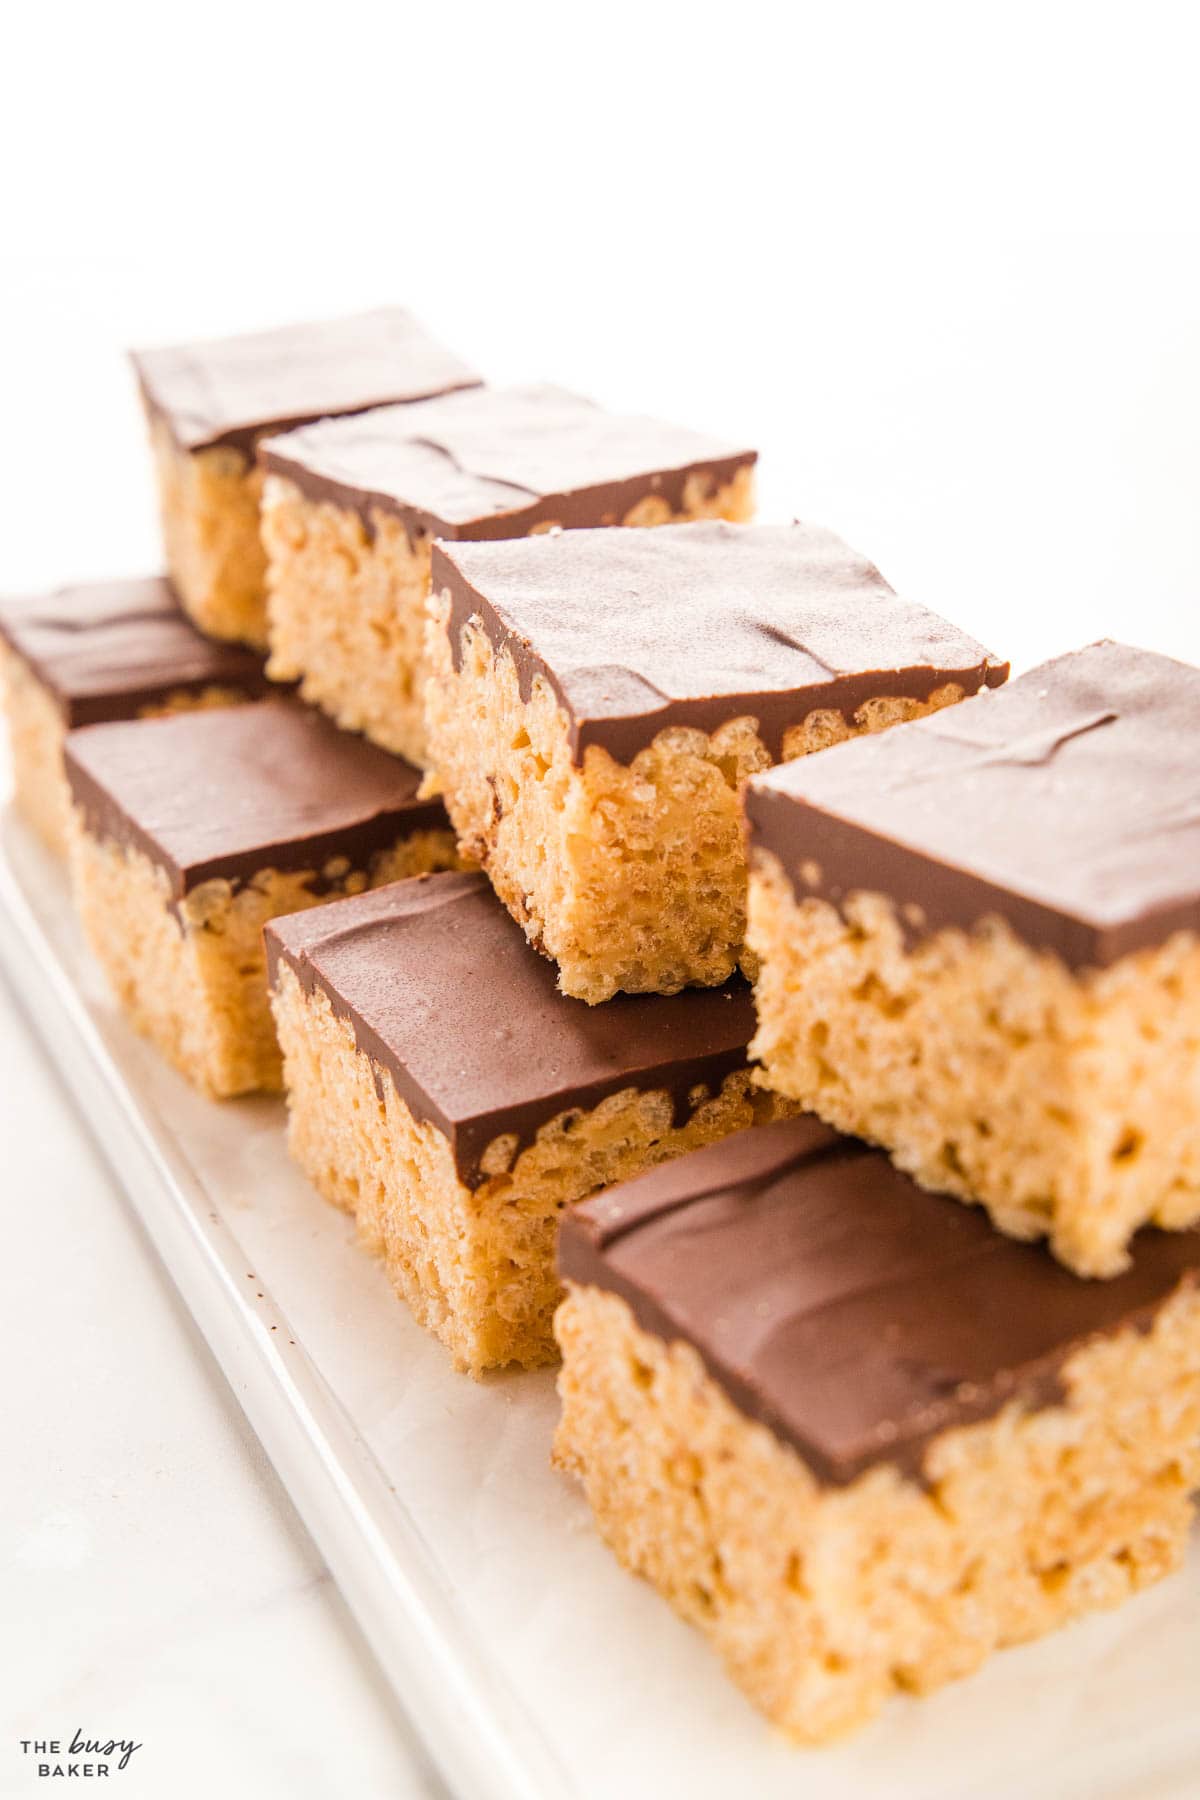
Here’s how to address some common problems you might encounter when making homemade Rice Krispie treats:
If your mixture is excessively sticky, making it hard to work with, lightly coat your hands with butter or cooking spray and press the mixture into the pan with your greased hands. This creates a barrier, preventing the mixture from sticking to your hands as you press it into the pan.
Hardness typically results from overheating the marshmallows or over-refrigerating the treats. To remedy this, briefly warm them in the microwave or let them sit at room temperature covered with plastic wrap for several hours. This softens the marshmallows, returning the treats to their ideal chewy texture.
Grainy chocolate often results from overheating the chocolate. If this happens, start over with a fresh batch, melting the chocolate more cautiously on a lower heat setting.
A crumbly texture usually indicates an imbalance in the marshmallow-to-cereal ratio (too much cereal and not enough marshmallow mixture). Mix in a little more melted marshmallow to achieve the right consistency, which should be sticky but not overly gooey.
Difficulty in setting the chocolate could be due to the fact that your kitchen it too warm. To fix this, place the treats in a cooler spot or in the fridge to firm up.
If you encounter difficulty removing the treats from the pan, it may be due to insufficient greasing or lining. Next time, ensure to generously grease the pan and use a larger piece of parchment paper that overhangs the sides. This not only prevents sticking but also allows for easy removal and cutting.
To remove them from the pan if they’re stuck, add some boiling or very hot water to a larger pan and place the pan with the Rice Krispie treats inside of it so the hot water softens the bottom and sides of the Rice Krispie treats making them easier to remove from the pan.
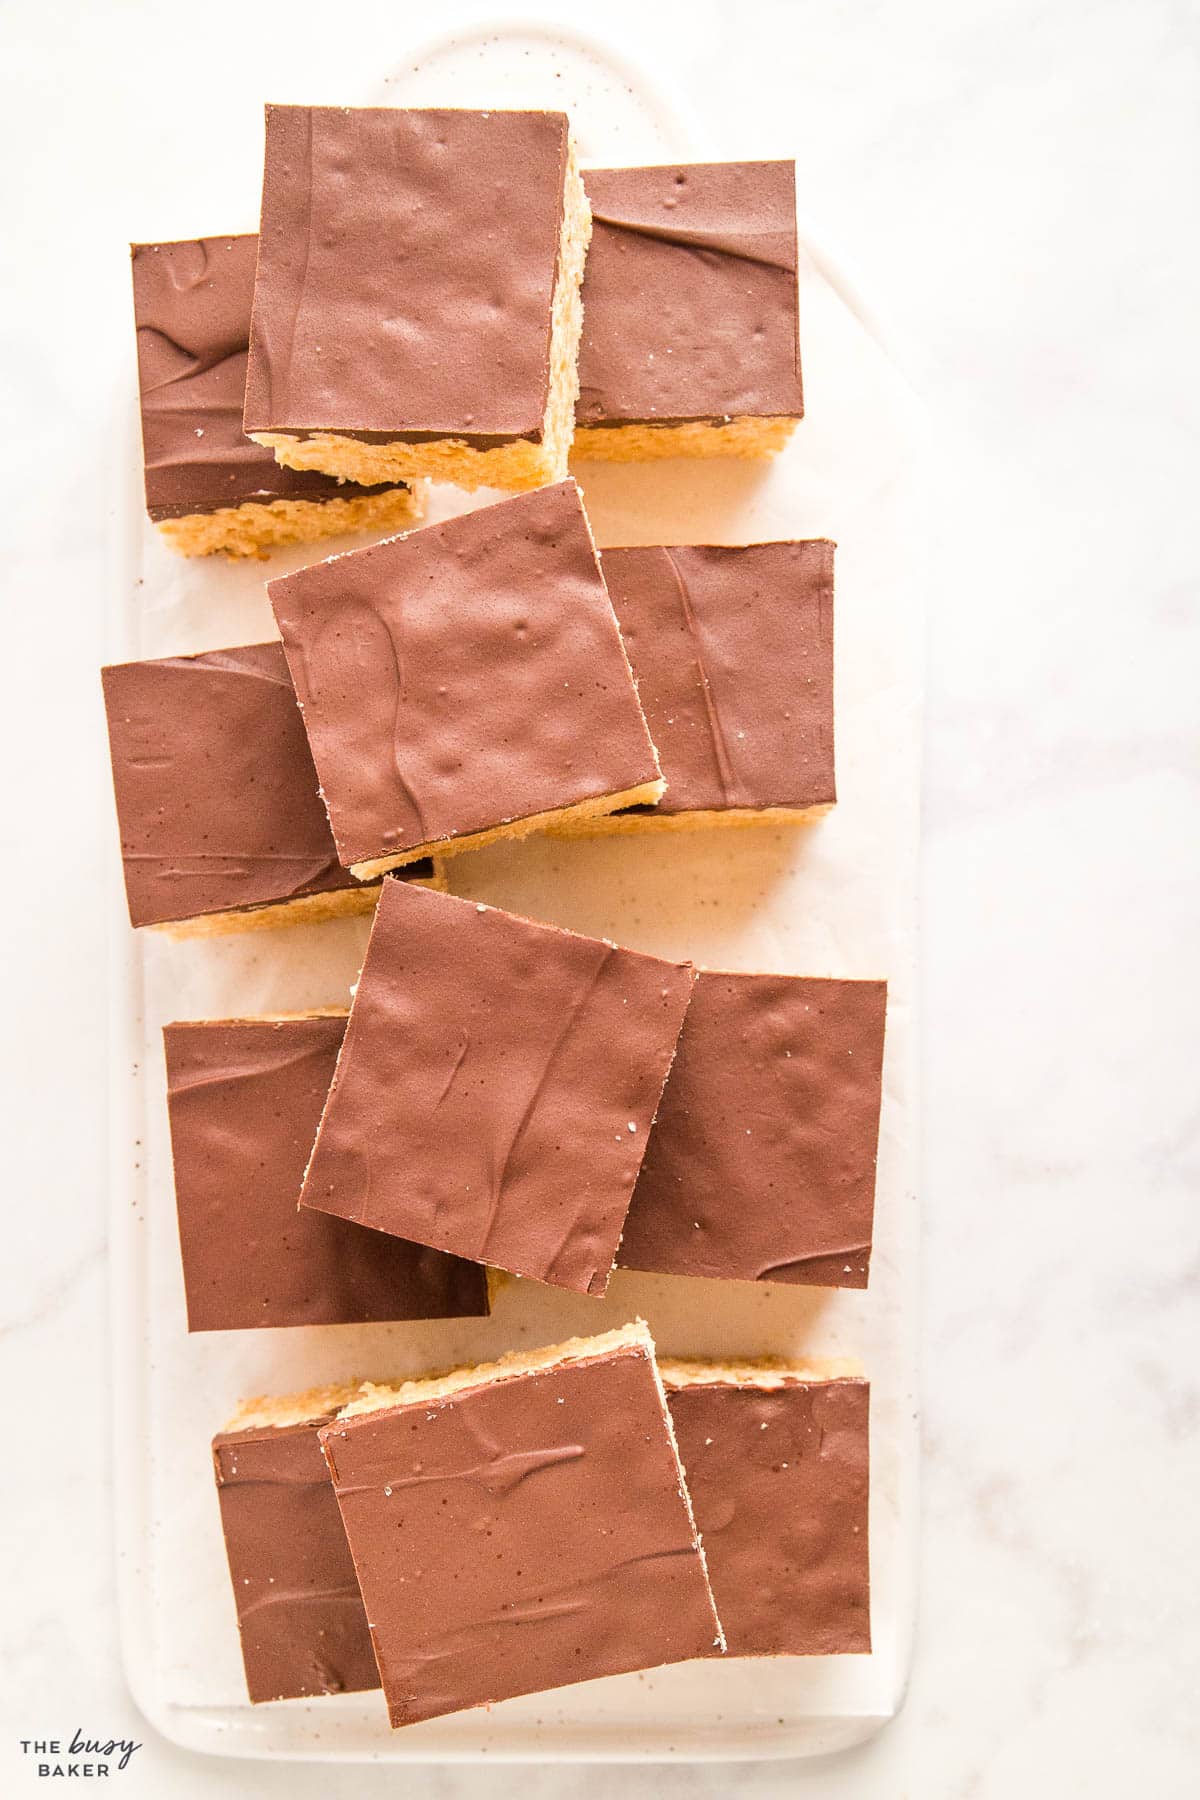
Here’s a list of the basic kitchen equipment you’ll need to make this peanut butter rice krispie treat recipe (paid links):
- a Large Pot
- a microwave safe bowl
- measuring cups and spoons
- a Silicone Spatula
- a rectangular baking dish
- an Offset Spatula
- a Cutting Board
- a large knife
Here’s a list of the ingredients you’ll need to make this Peanut Butter Rice Krispie Treat recipe (paid links):
- 1/4 cup unsalted butter
- 2/3 cup smooth peanut butter
- 6 cups marshmallows
- 8 cups Rice Krispies cereal
- 12 ounces semi-sweet chocolate
- 3 tablespoons smooth peanut butter
Here’s a list of some fun variations on the basic recipe!
- Chocolate Chip: Stir in chocolate chips to the Rice Krispie mixture once the mixture has cooled slightly, ensuring they don’t completely melt.
- Reese’s Pieces: Stir in Reese’s Pieces to the Rice Krispie mixture once the mixture has cooled slightly. Add more on top before the chocolate hardens.
- Nutella: Swirl in Nutella and chopped hazelnuts for a rich, chocolate-hazelnut twist.
- Caramel Sea Salt: Drizzle caramel on top and sprinkle with sea salt for a sweet and salty treat.
- Peanut Butter Cookie: Mix in crushed peanut butter cookies for a nutty cookie variation.
- Almond Joy: Replace the peanut butter with almond butter, incorporate shredded coconut, almonds, and chocolate chips for a taste reminiscent of an Almond Joy candy bar.
- Peanut Butter Cup Rice Krispie Treats: Add chopped peanut butter cups to the Rice Krispie mixture and even more on top.
Time needed: 1 hour and 15 minutes
Follow these steps to make this Peanut Butter Rice Krispie Treat recipe in your kitchen!
- Prepare your pan.
Grease your baking pan and line it with parchment paper for easy removal.
- Melt the peanut butter and marshmallows.
Use medium-low heat and melt the butter, peanut butter, and marshmallows.
- Stir in the cereal.
Add the cereal and stir until coated.
- Press the mixture into the pan.
Press it into the pan with a greased spatula and even out the top.
- Melt the chocolate.
Melt the chocolate in the microwave on 50% power and add a little peanut butter to soften the chocolate.
- Let them set.
Set at room temperature or speed it up in the fridge for 15-30 minutes.
- Slice and serve.
Slice with a warm knife for clean slices.
Why are my Rice Krispie Treats too hard?
This can happen if the marshmallow and butter mixture is overcooked or if the mixture doesn’t contain enough butter. Melt the marshmallows only until they’re smooth.
Why did my treats turn out too sticky?
This might be because there wasn’t enough Rice Krispie cereal used (you might have mis-measured) or the mixture wasn’t set long enough.
Can I use a different type of cereal?
Yes, you can substitute Rice Krispies with other puffed grain cereals, though the texture and taste may be different.
Should you refrigerate Rice Krispie Treats?
It’s not necessary to refrigerate them and it’s best to allow them to cool and set at room temperature, but if you’re in a hurry, a short time in the fridge is fine.
Can I use crunchy peanut butter instead of smooth?
Yes! For a crunchy version, melt crunchy peanut butter instead of smooth with the marshmallow mixture and follow the rest of the recipe as directed.
Can I freeze Peanut Butter Rice Krispie Treats?
Yes, slice before freezing and freeze in an airtight container for up to 3 months. Defrost before serving at room temperature.
Can I make this recipe dairy free?
Yes! Use coconut oil in place of the butter and use dairy-free chocolate for a dairy-free version of this recipe.
Can I make this recipe gluten free?
Yes! Use gluten-free crisp rice cereal and gluten-free marshmallows for a gluten-free version of this recipe.
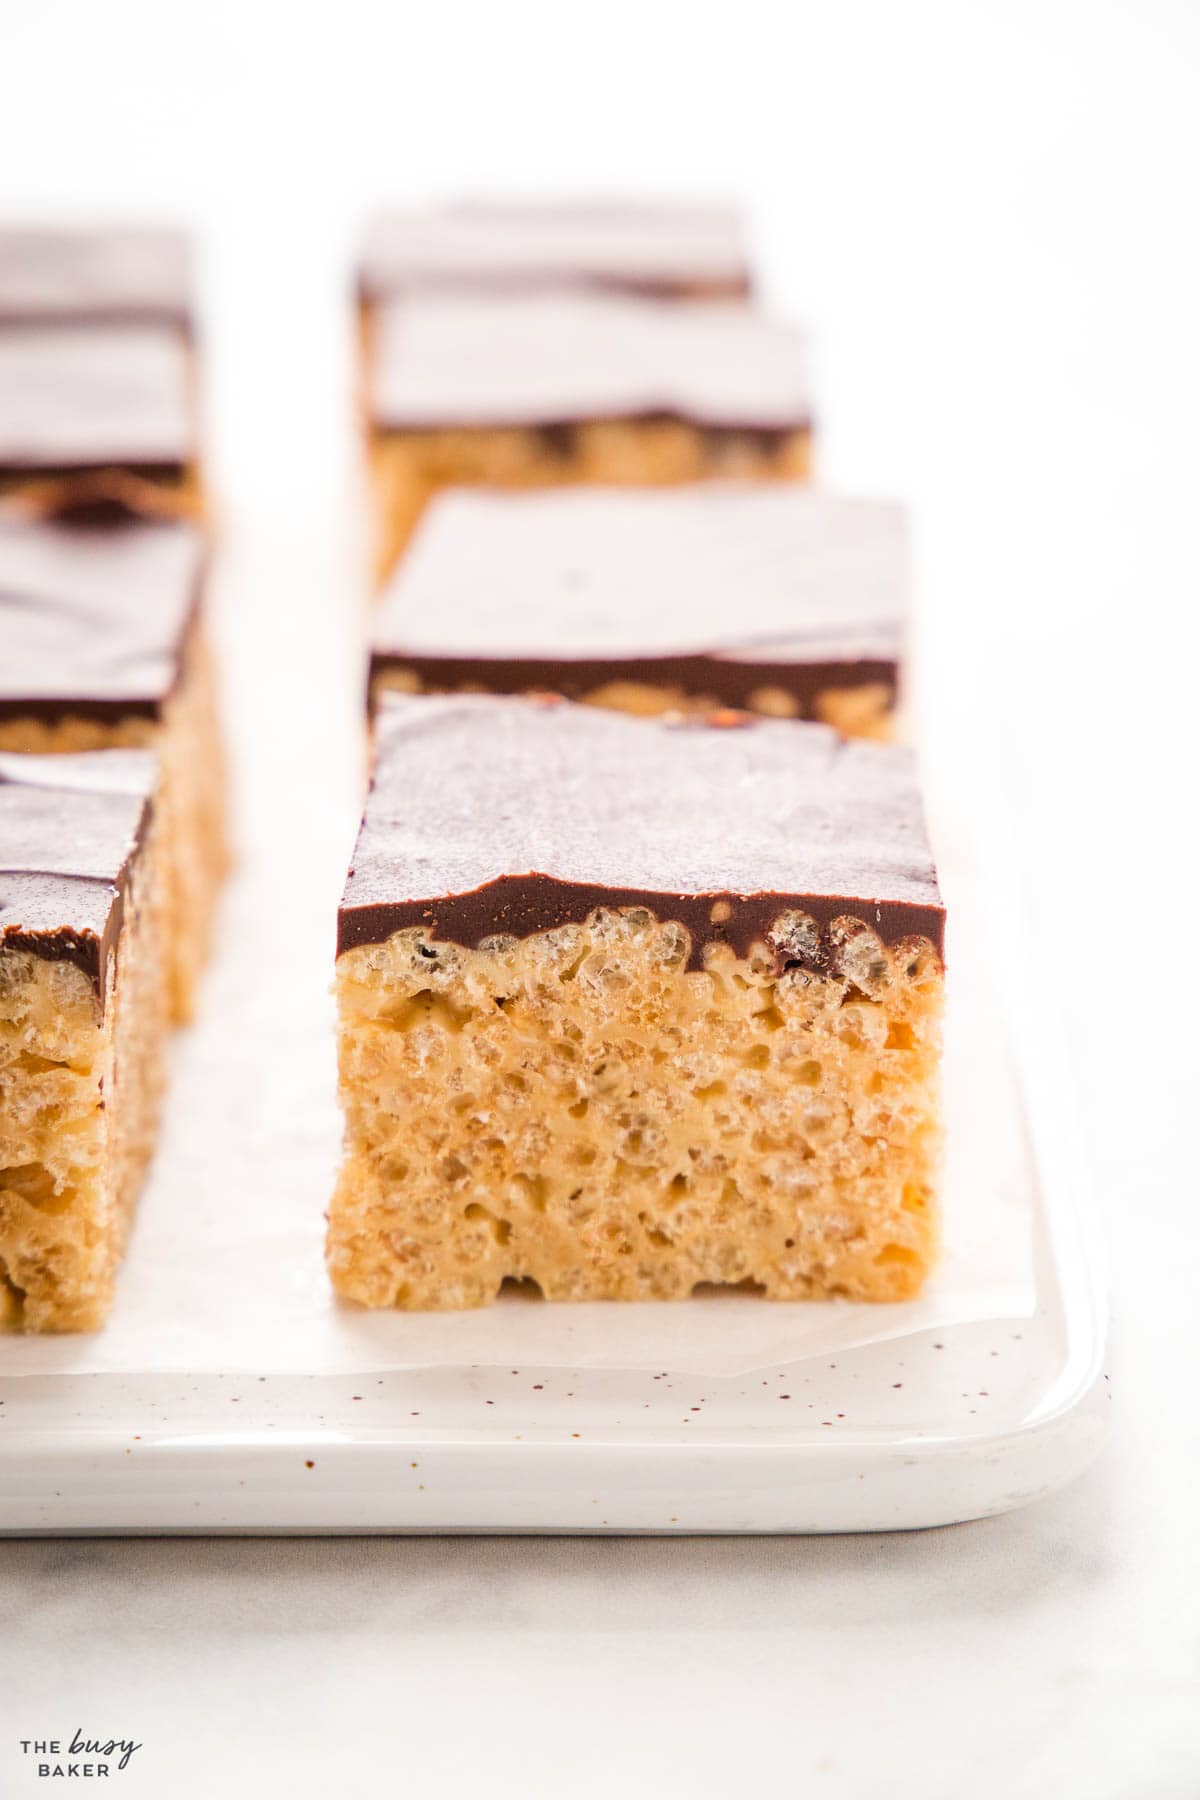
We hope you love this Peanut Butter Rice Krispie Treat recipe as much as we do! Let us know in the comments below, what’s your favourite easy homemade treat recipe? We’d love to know!
If you made this, share a photo!
Are you trying this recipe? Use the comment form below to share your take; now with support for image uploads and comment voting!
Peanut Butter Rice Krispie Treats
Recipe: Equipment
Recipe: Ingredients
- 1/4 cup unsalted butter
- 2/3 cup smooth peanut butter
- 6 cups marshmallows
- 8 cups Rice Krispies cereal
Topping:
- 12 ounces semi-sweet chocolate
- 3 tablespoons smooth peanut butter
Recipe: Instructions
- Prepare a large rectangular baking pan by greasing it with butter or baking spray and lining it with parchment paper. Set it aside.
- Heat a large pot over medium-low heat and add the butter. Once the butter begins to melt, add the peanut butter. The peanut butter will melt with the butter and you'll be able to stir it together.
- Add the marshmallows and let them melt in the hot peanut butter mixture. Use a silicone spatula to stir gently until the mixture is smooth and no marshmallow pieces remain.
- Remove the pot from the heat and add the Rice Krispies cereal, stirring it into the hot marshmallow mixture immediately. Stir until the cereal is all coated.
- Grease the spatula and pour the mixture into the prepared pan, pressing the mixture into the pan and smoothing out the top so it's even.
For the topping:
- Chop the chocolate into small pieces and add it to a microwave safe bowl.
- Melt the chocolate in the microwave on 50% power for 30-second increments until fully melted. Be sure to stir every 30 seconds or so.
- Add the peanut butter to the melted chocolate and stir until combined.
- Spread the melted chocolate over the Rice Krispie treats using an offset spatula or a knife, and smooth it out as best you can.
- Let the pan sit at room temperature for 1-2 hours until the chocolate is set.
- To set more quickly, place the pan in the fridge to set for about 30 minutes.
- Slice and serve.
Recipe: Notes
Storage Instructions
Store covered at room temperature for up to 3 days, or in the fridge for up to 5 days. If storing in the fridge, let sit at room temperature for about 45 minutes before slicing and serving.Freezer Instructions
We recommend freezing these treats after they’ve been sliced. Place the pieces in an airtight container with parchment paper between the layers and freeze for up to 3 months. Defrost at room temperature.Recipe: Nutrition
Notice: Nutrition is auto-calculated, using Spoonacular, for your convenience. Where relevant, we recommend using your own nutrition calculations.

TRY OUR MEAL PLANS!
Let us do the work for you with 7 days of deliciously easy family dinners, grocery lists, meal prep guides and MORE!
Buy 2, save 20%!
Buy 3, save 30%!
Buy 4 or more, save 40%!
