NEVER MISS A POST! FOLLOW ME ON:
FACEBOOK | PINTEREST | INSTAGRAM | TWITTER
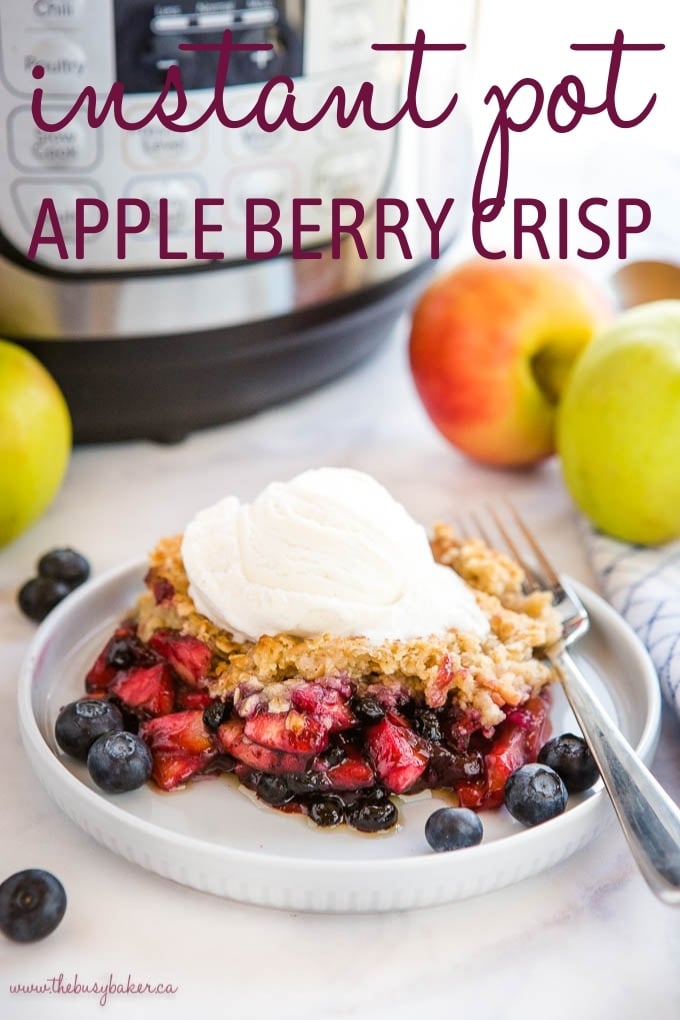
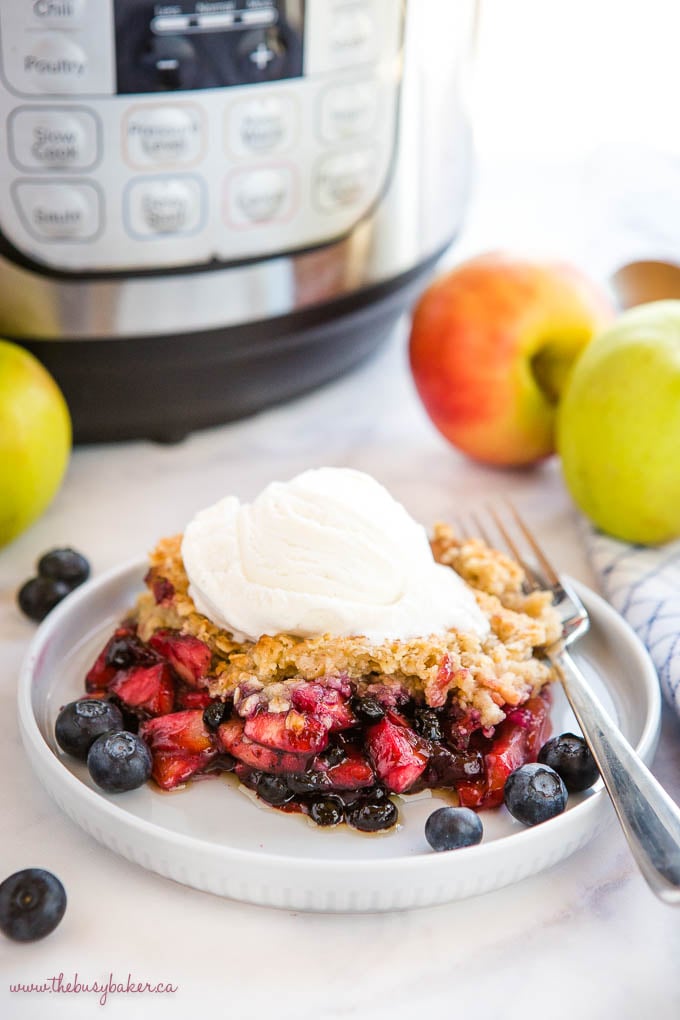
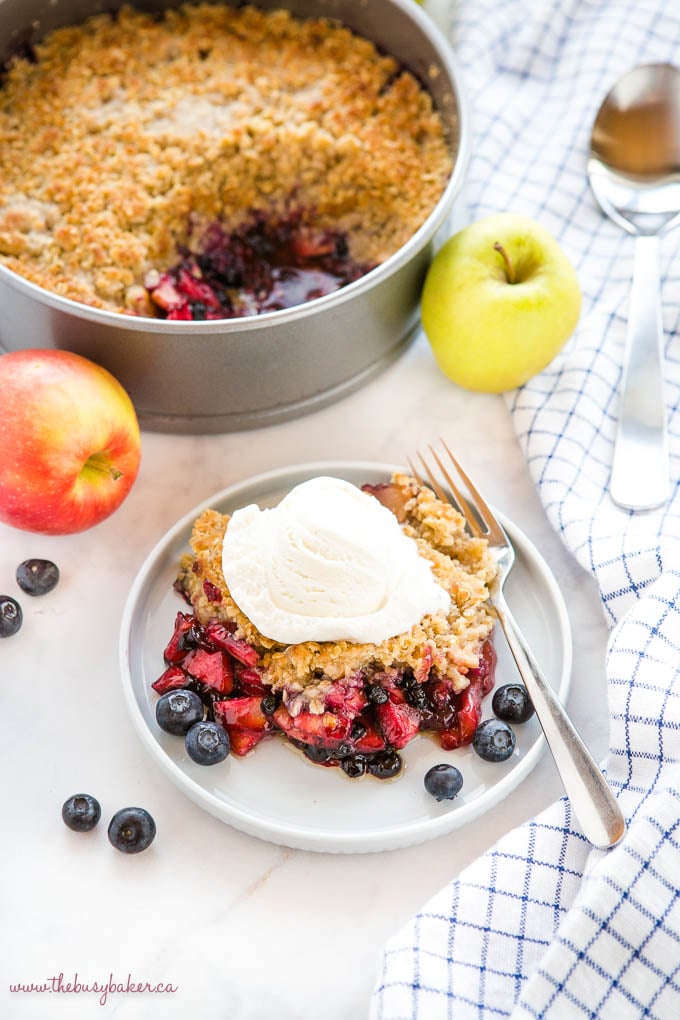 One of our family’s favourite desserts of all time is apple crisp. True story – I made this Instant Pot Apple Crisp with Berries the other day and my husband ate the ENTIRE PAN by himself in a matter of two days. Our kids were a little perturbed to say the least, since he didn’t leave any for them, but thankfully it’s berry season so I was able to whip up another one pretty quickly for the whole family to enjoy!
I’ve already shared many of our favourite fruit dessert recipes with you, like this Slow Cooker Apple Crisp and this Apple Blackberry Crumble, but this Instant Pot Apple Crisp with Berries is SO perfect for summer; there’s no need to heat up the oven and you can enjoy a delicious homemade apple crisp in a matter of minutes!
Tips for Homemade Apple Crisp
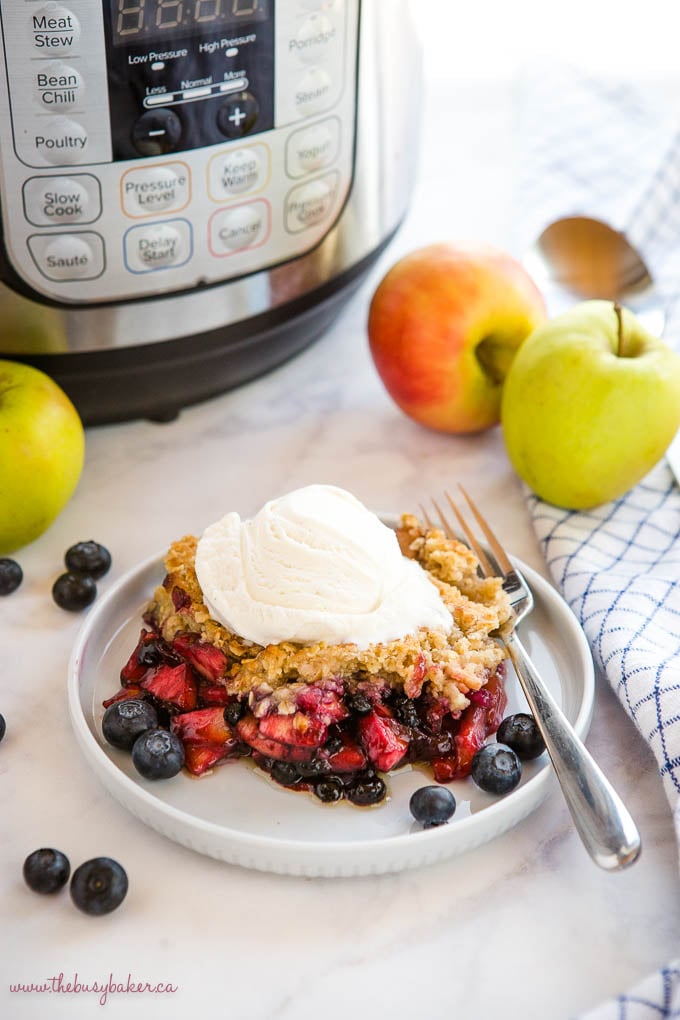
If you want to take your homemade apple crisp to the next level, try my FIVE tips in your own kitchen:- Be sure to add a bit of cornstarch to the filling!! It helps create a velvety smooth sauce as the fruit cooks and releases its juices and prevents the topping from getting soggy.
- Use at least some fruit that holds its shape while baking. Berries tend to completely fall apart when baked but apples usually hold their shape pretty well. If you’re wanting a fruit crisp that’s full of berries, add some apples along with them.
- Grease your pan generously! Nobody likes burnt-on fruit, so use a generous amount of butter, margarine, or any other dairy-free butter you’d like and grease that pan!
- Don’t forget the spices! Ground cinnamon, ground nutmeg, ground cloves, and even ground ginger are good choices and they can take a boring old fruit dessert to something spectacular!
- Use cold butter. Mixing cold butter into the other topping ingredients makes for a sweet, crispy topping that’s the perfect compliment to the juicy filling.

Looking for more?
EASY NO-BAKE CHEESECAKE RECIPES & TIPS
Get my easy no bake cheesecakes e-cookbook!
How to Make Instant Pot Apple Crisp – No Fail Tips!
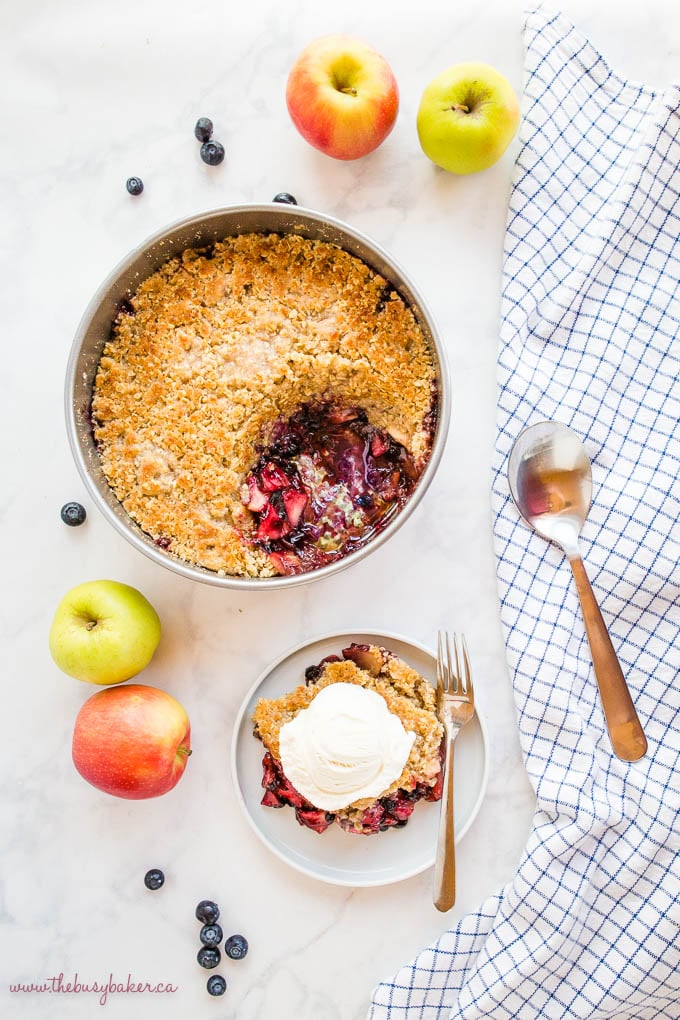
Making Apple Crisp in the Instant Pot is so easy! Follow these tips for best results!- Use a cake pan. I can’t stress this enough – don’t try making this apple crisp directly on the bottom of the Instant Pot (without a cake pan). You’ll get that dreaded burn notice and your dessert will burn to the bottom of the pot.
- Cover the pan well. Use two layers of aluminum foil and create a firm seal around the edges of the pan with the foil. This will keep the apple crisp moist, but prevent excess moisture from entering the pan and making the crisp topping wet and soggy.
- Keep the pan off the bottom of the Instant Pot. If you don’t have a trivet, make a sling out of aluminum foil and place it under the pan for easy removal. When you add the pan to the pot, place a heat-safe bowl upside down on the bottom of the pot and place the pan with the sling on top of the bowl to elevate it off the bottom of the pot. OR you can use a metal trivet, or this OXO Pressure Cooker Sling (affiliate link) – an inexpensive little kitchen gadget that works perfectly for recipes like this. If your Instant Pot didn’t come with a metal trivet I’d HIGHLY recommend it!
- Add water to the bottom of the Instant Pot. This will prevent that dreaded burn notice and keep the apple crisp nice and moist as it bakes.
- Remove the foil immediately after baking. Removing the foil from the top of the apple crisp immediately after baking will prevent any liquid from dripping off the foil and onto the topping as it cools. This will prevent the topping from becoming soggy.
NEVER MISS A POST! FOLLOW ME ON:
FACEBOOK | PINTEREST | INSTAGRAM | TWITTER
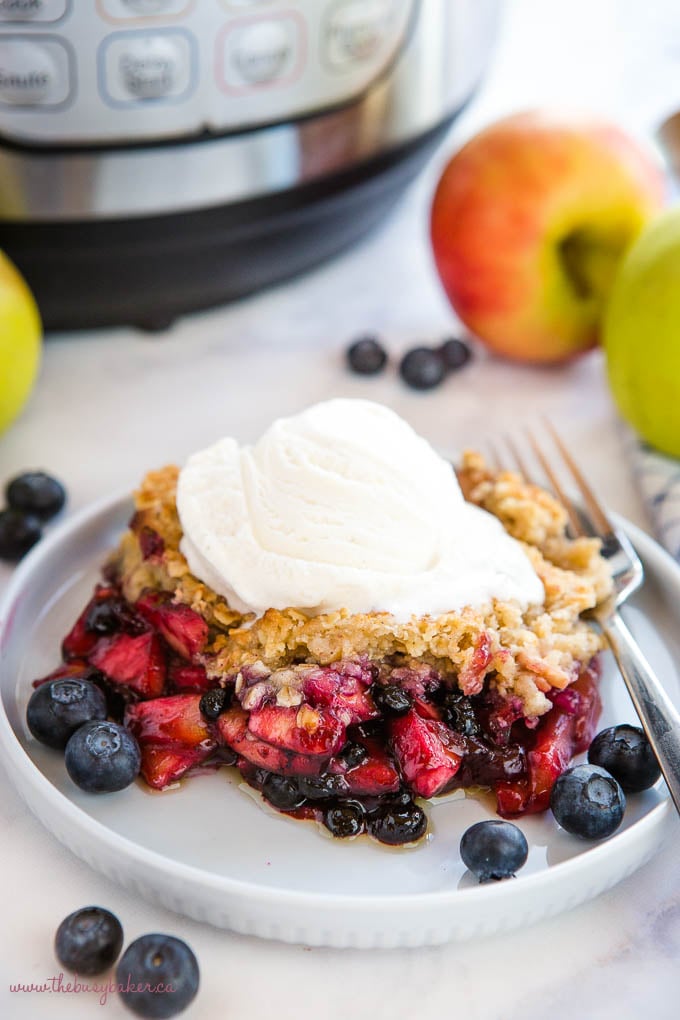 I hope you love this Instant Pot Apple Crisp with Berries as much as we do! Let me know in the comments below, what’s your favourite Instant Pot dessert? I’d love to know!
KITCHEN PRODUCTS I RECOMMEND:
Looking for even more deliciously decadent desserts? Before you grab this recipe check out these recipes!!
- Best Ever Vegan Peppermint Chocolate Tart
- Best Ever No Bake Chocolate Cheesecake
- Easy No Bake Triple Chocolate Cheesecake
- Easy No Bake After Eight Cheesecake
- Classic No Bake Cheesecake
- Easy No Bake Oreo Cheesecake
- Easy No Bake Bailey’s Irish Cream Cheesecake
- Easy No Bake Snickers Cheesecake
- No Bake Mint Chocolate Chip Cheesecake

Looking for more?
EASY NO-BAKE CHEESECAKE RECIPES & TIPS
Get my easy no bake cheesecakes e-cookbook!
If you made this, share a photo!
Are you trying this recipe? Use the comment form below to share your take; now with support for image uploads and comment voting!
Instant Pot Apple Crisp with Berries
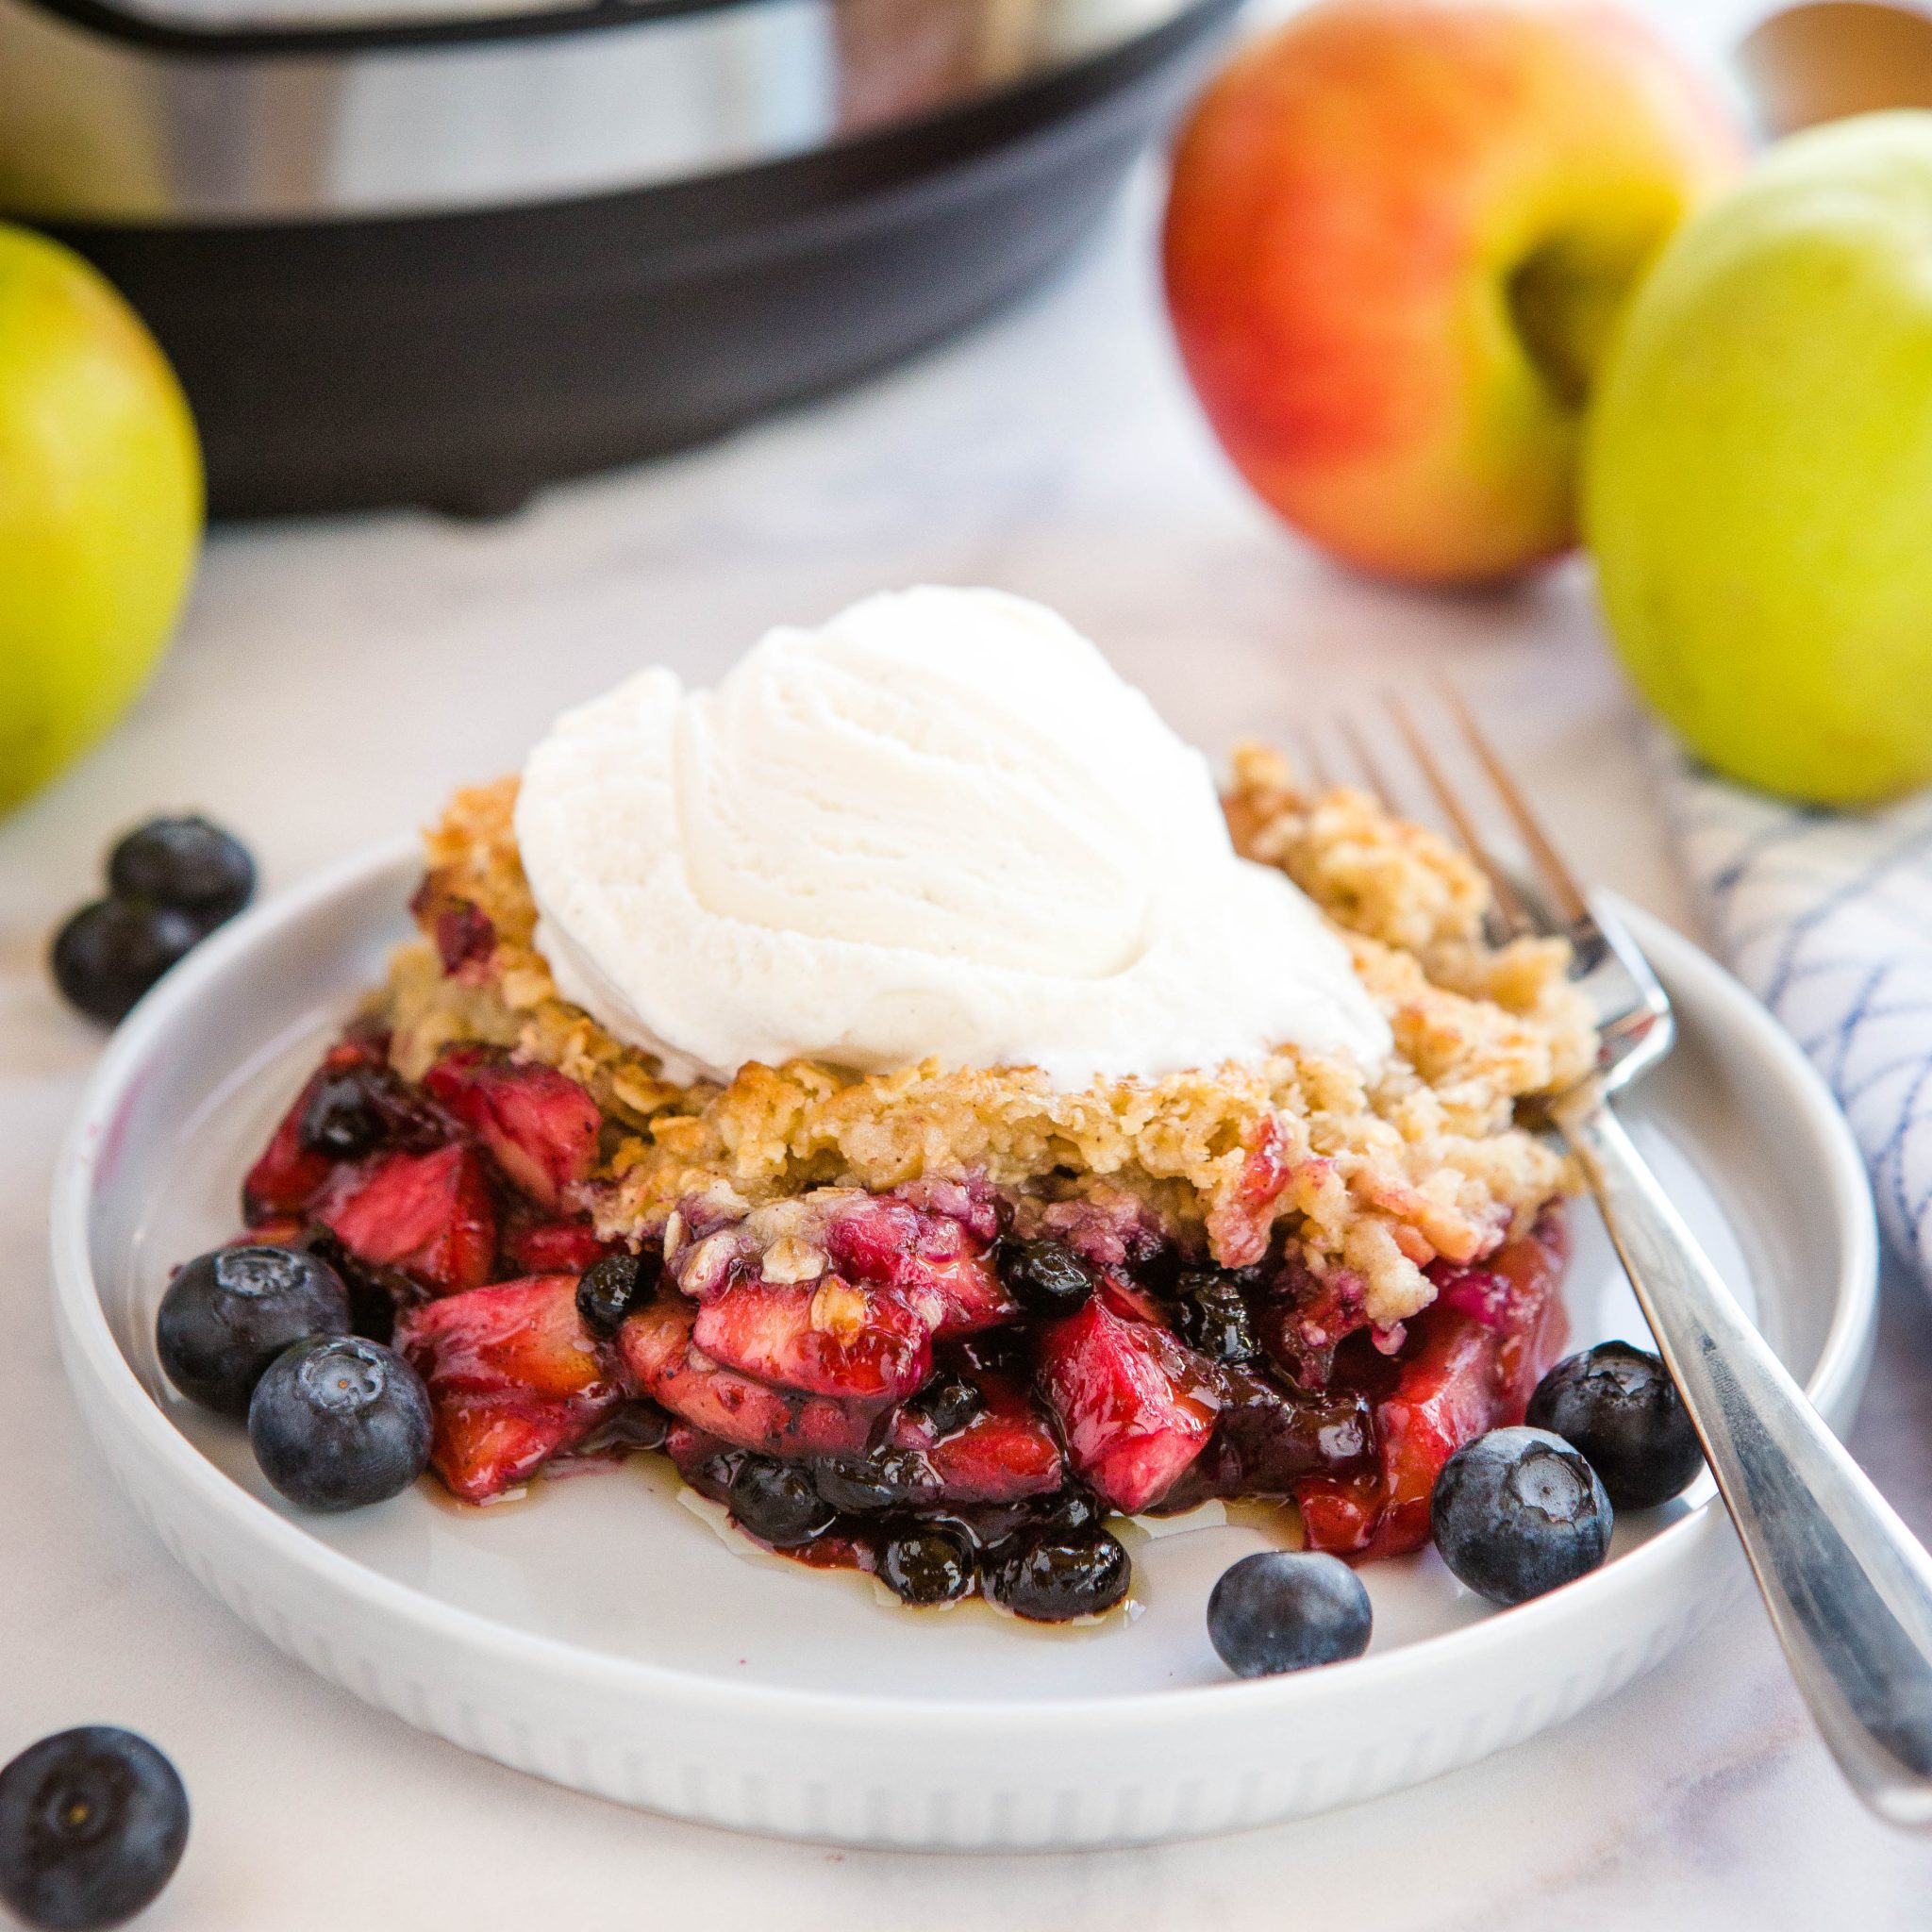
This Instant Pot Apple Crisp with Berries is the perfect simple dessert made with fresh apples, berries, and basic pantry ingredients!
Recipe: Equipment
- 7 or 8-inch spring form pan OR 7 or 8-inch round cake pan with high sides
- Instant Pot (8 quart or 6 quart)
Recipe: Ingredients
For the fruit filling:
- 4 cups chopped apples
- 2 cups fresh blueberries (fresh blackberries or raspberries also work)
- 2 tablespoons lemon juice
- 4 tablespoons cornstarch
- 3/4 cup granulated sugar
- 1 teaspoon vanilla extract
- 1/2 teaspoon ground cinnamon
For the topping:
- 1 cup all purpose flour (use gluten-free all purpose flour to make it gluten-free)
- 1 cup rolled oats
- 2/3 cup granulated sugar
- 1 teaspoon ground cinnamon
- 1/4 teaspoon salt
- 3/4 cup cold butter (cut into cubes)
Recipe: Instructions
For the fruit filling:
- Grease an 7 or 8-inch spring form pan with butter, and line the bottom with a circle of parchment paper. Set it aside.
- In a large bowl add the fruit, lemon juice, cornstarch, sugar, vanilla and cinnamon.
- Toss everything together well until the fruit is coated in the sugar and cornstarch.
- Pour the fruit mixture into the prepared pan and smooth out the top a little bit to make it even.
For the topping:
- Add the flour, oats, sugar, cinnamon and salt to a bowl and mix together with a fork until combined.
- Using your hands, add the butter to the dry ingredients and crumble the oat mixture together with the butter until the mixture resembles coarse crumbs.
- Add the topping over the fruit mixture in the pan, making sure it covers the fruit mixture evenly.
- Cover the pan with a double layer of aluminum foil, folding the sides of the foil tightly around the edge of the pan to form a seal.
- Pour 3/4 cup of water into the bottom of the Instant Pot, place the pan on a trivet and lower it into the Instant Pot. Close the lid and turn the valve to sealing, setting the Instant Pot to cook on high pressure for 17 minutes.
- Once the 17 minutes is up, release the pressure manually (quick release) then remove the pan from the Instant Pot. Remove the foil lid immediately and let the apple crisp cool in its pan on a wire cooling rack for about 10-15 minutes before serving warm with a scoop of vanilla ice cream.
Recipe: Notes
This apple crisp keeps well in an airtight container for up to 2 days after baking.
The apple crisp baked for this blog post was baked in an 8-quart Instant Pot Duo in an 8-inch springform cake pan.
It's possible to make this apple crisp in a 7-inch round pan if you have a smaller Instant Pot (6 quart) and an 8-inch pan won't fit in your Instant Pot. You shouldn't have to adjust the pressure cooking time at all.
I recommend using a spring form pan for this recipe because they have higher sides than most regular cake pans.
Recipe: Nutrition
Nutrition Facts
Instant Pot Apple Crisp with Berries
Amount Per Serving (0.75 cup)
Calories 305
Calories from Fat 108
% Daily Value*
Fat 12g18%
Saturated Fat 7g44%
Trans Fat 1g
Cholesterol 31mg10%
Sodium 152mg7%
Potassium 107mg3%
Carbohydrates 48g16%
Fiber 3g13%
Sugar 31g34%
Protein 2g4%
Vitamin A 391IU8%
Vitamin C 5mg6%
Calcium 15mg2%
Iron 1mg6%
* Percent Daily Values are based on a 2000 calorie diet.
Notice: Nutrition is auto-calculated, using Spoonacular, for your convenience. Where relevant, we recommend using your own nutrition calculations.
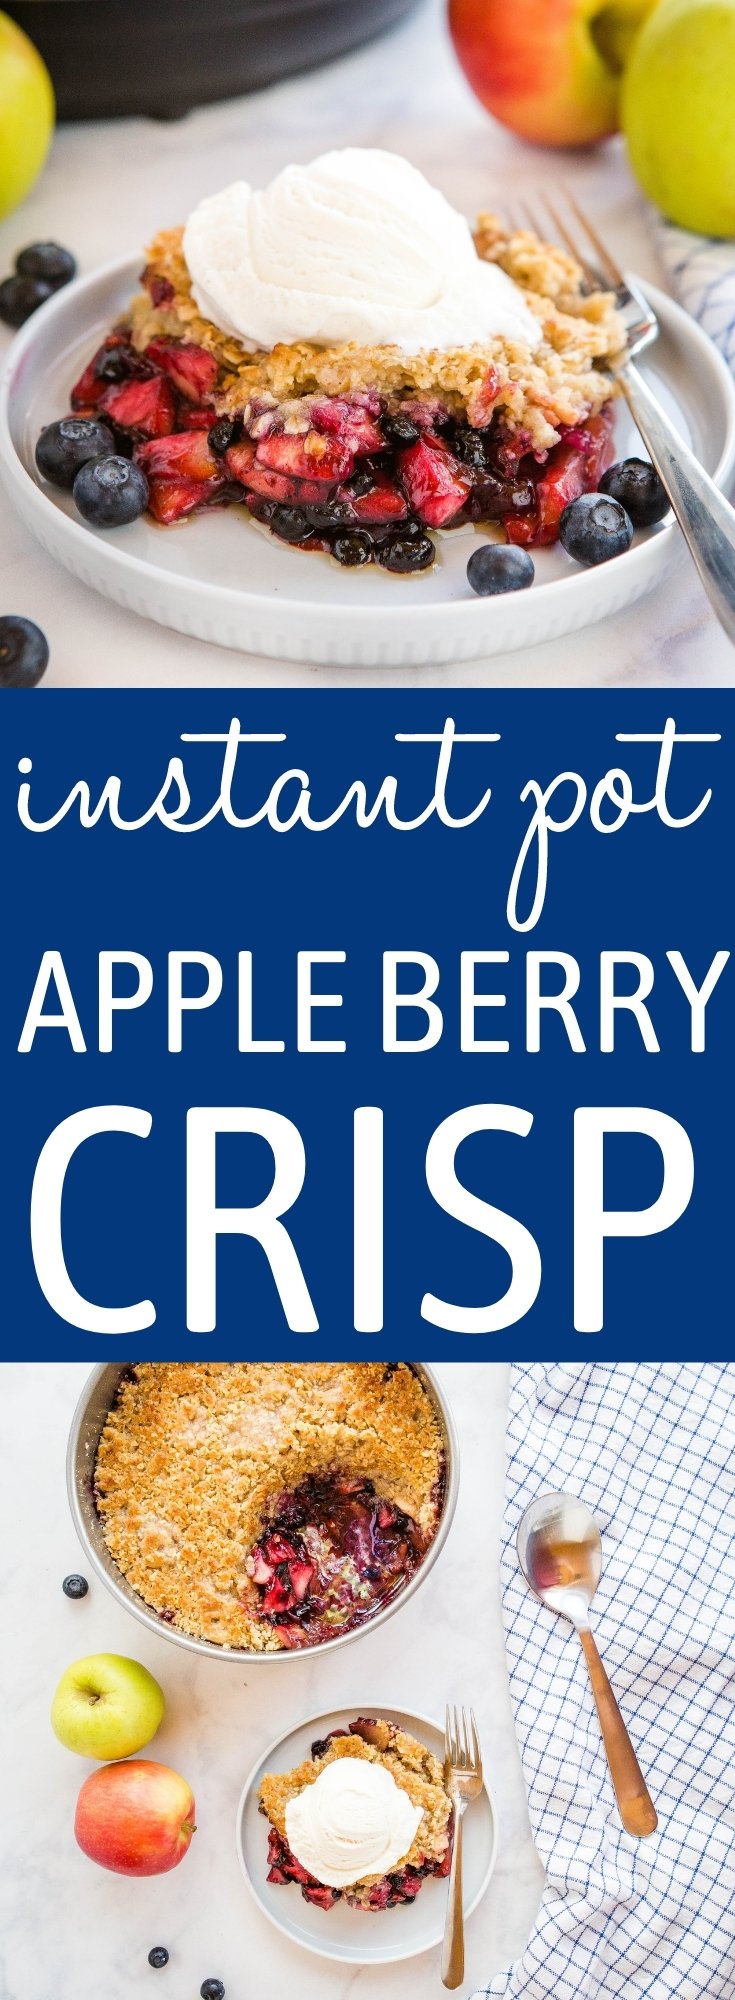 This Instant Pot Apple Crisp with Berries is the perfect simple dessert made with fresh apples, berries, and a few basic pantry ingredients – made quick and easy in the Instant Pot!
That looks so good. Another reason to think about getting a instant pot.
Exactly!! Thanks Jacqueline!
Such a flavorful dessert! I love how easily it comes together in the instant pot. The apples sound especially incredible paired with those fresh berries.
They really are! Thanks Tara!🙂
oh, how delicious this sounds What great instructions! thanks so much!
You’re welcome Claudia!!
This is the summer dessert I’ve been waiting for! I can’t wait until it’s berry season so I can make this delicious crisp. My family is going to love this so much!
And it’s so easy to make!!🙂Thanks Jamie!
This looks hearty enough to be breakfast, right?! 🙂 Deliciousness!!
😄