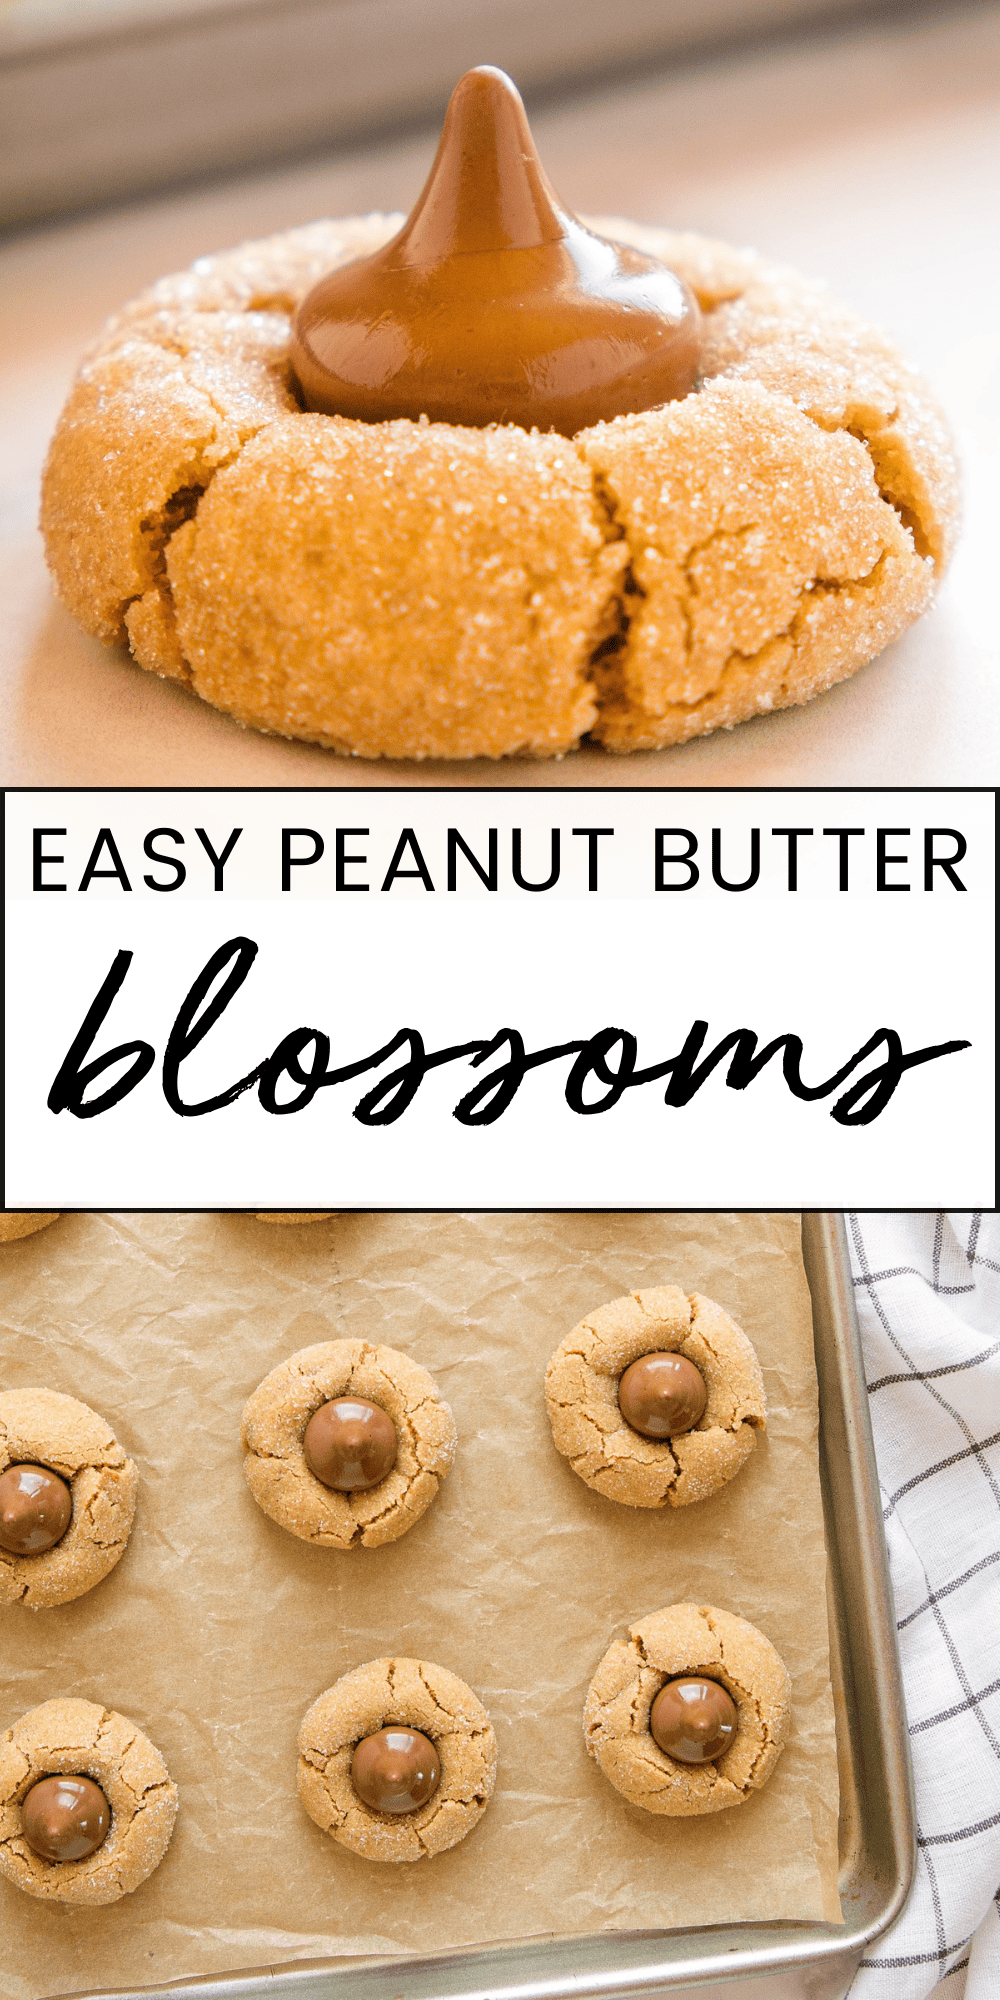
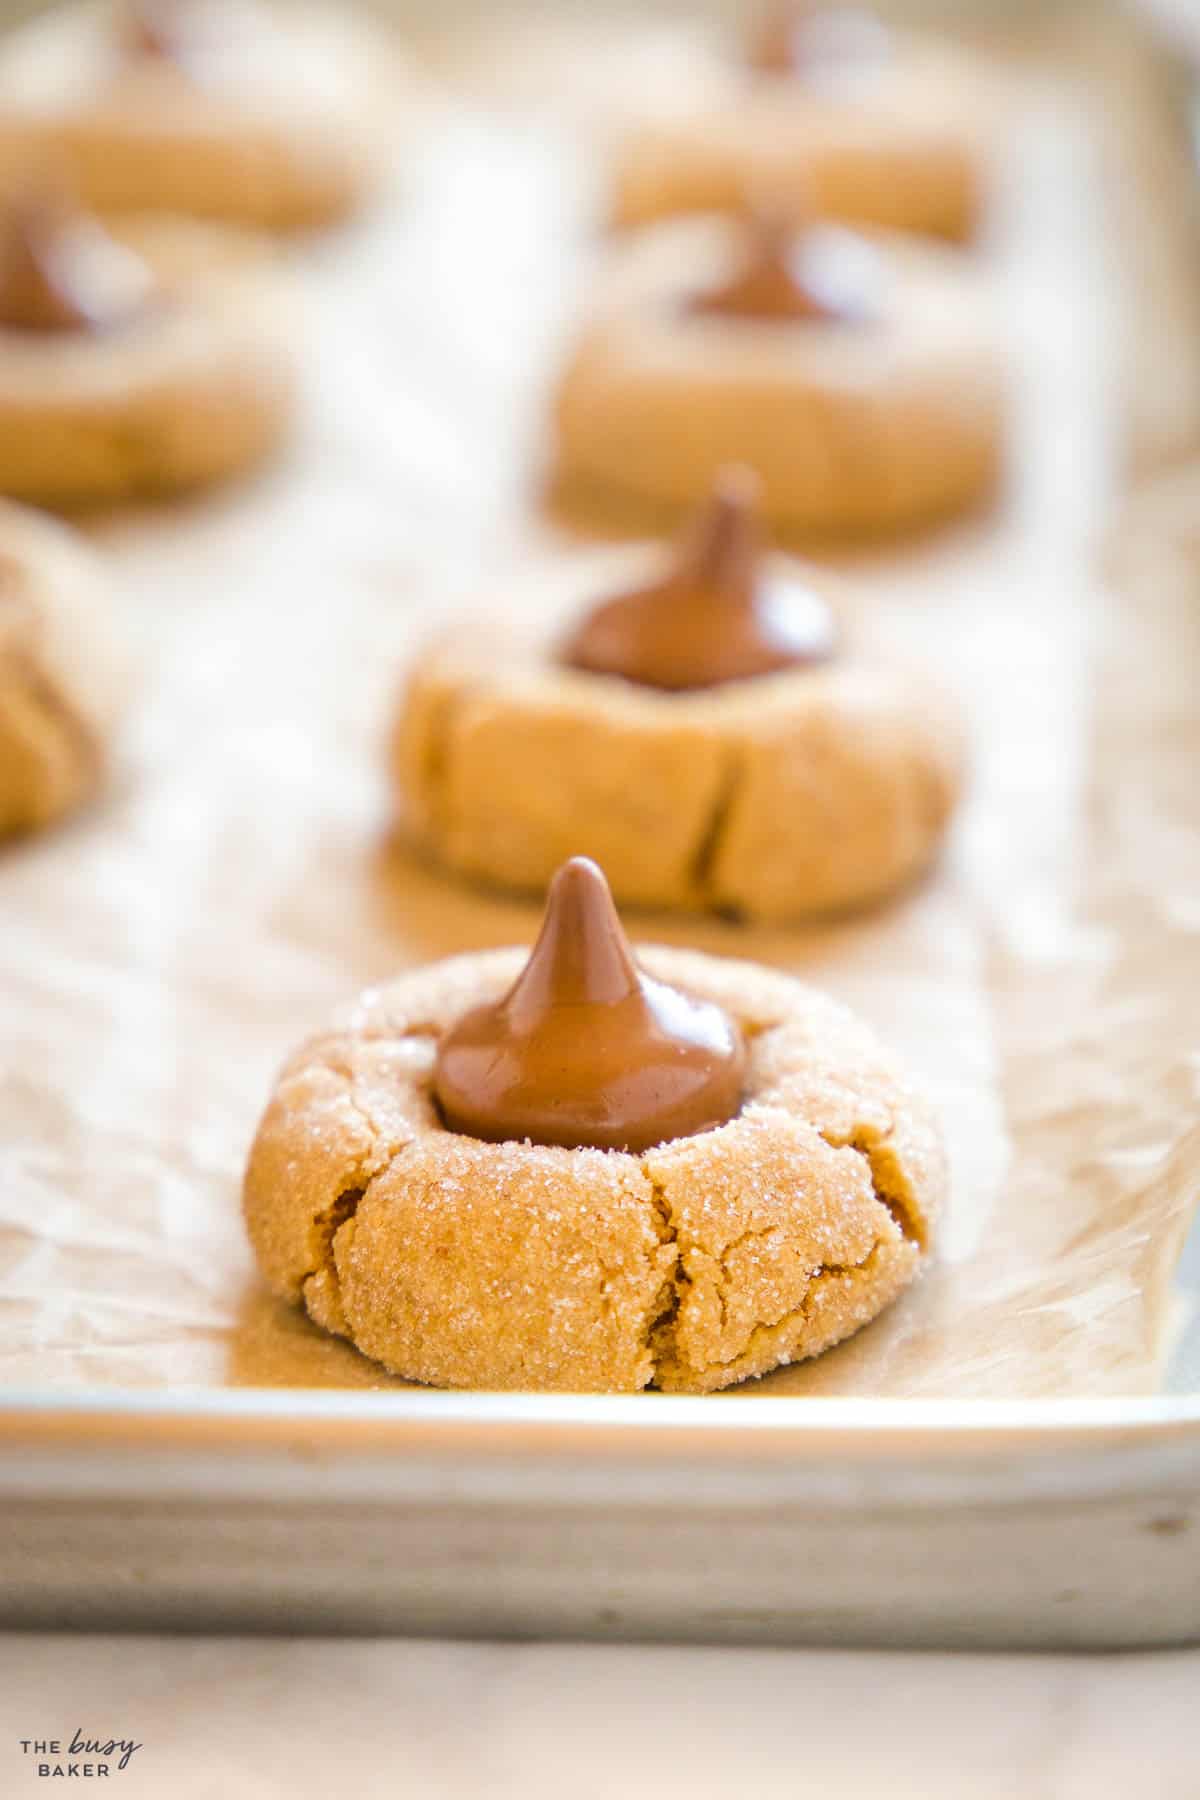
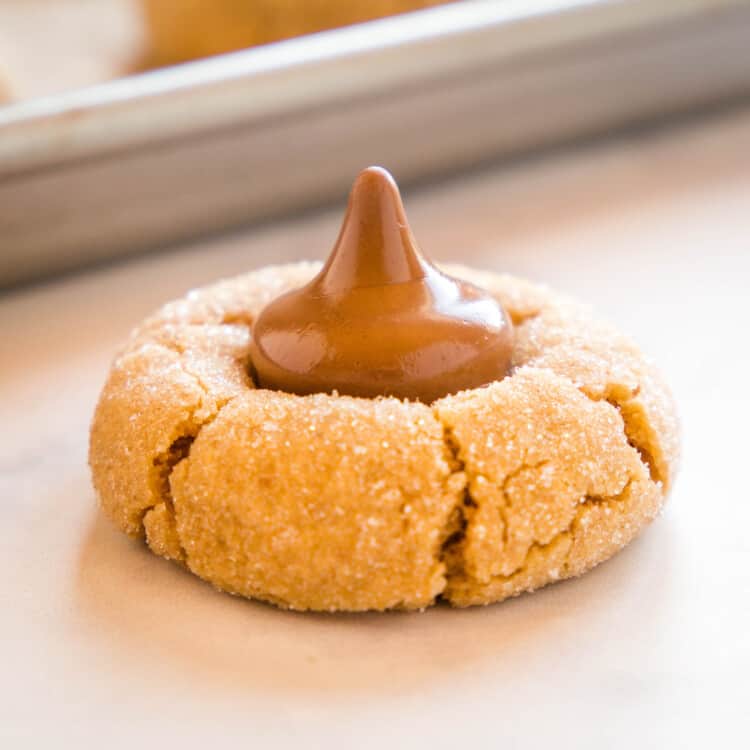
This Peanut Butter Blossoms recipe makes the best classic Christmas cookies! Soft and chewy peanut butter cookies, dipped in sugar, baked to perfection, and topped with milk chocolate. Follow our holiday baking tips for the perfect peanut butter blossom cookies!
Estimated reading time: 10 minutes
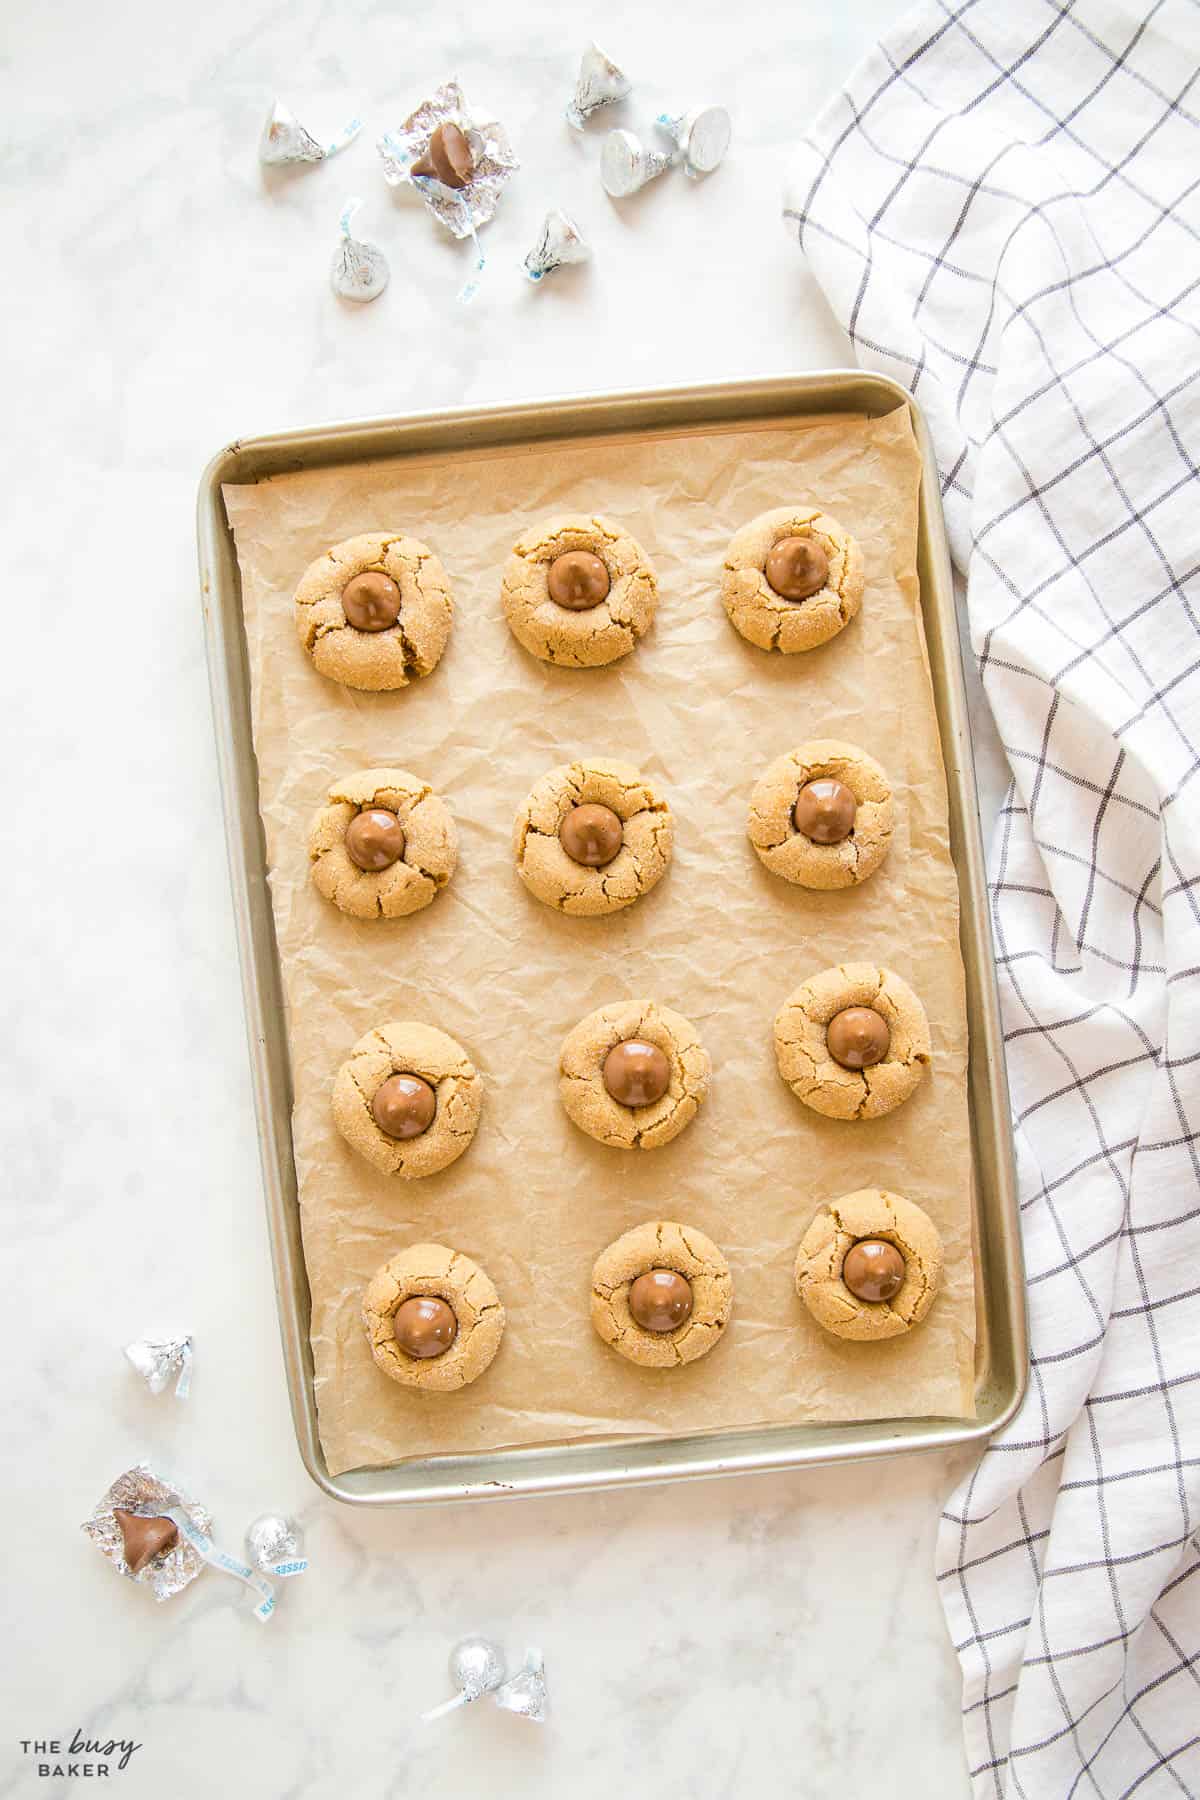
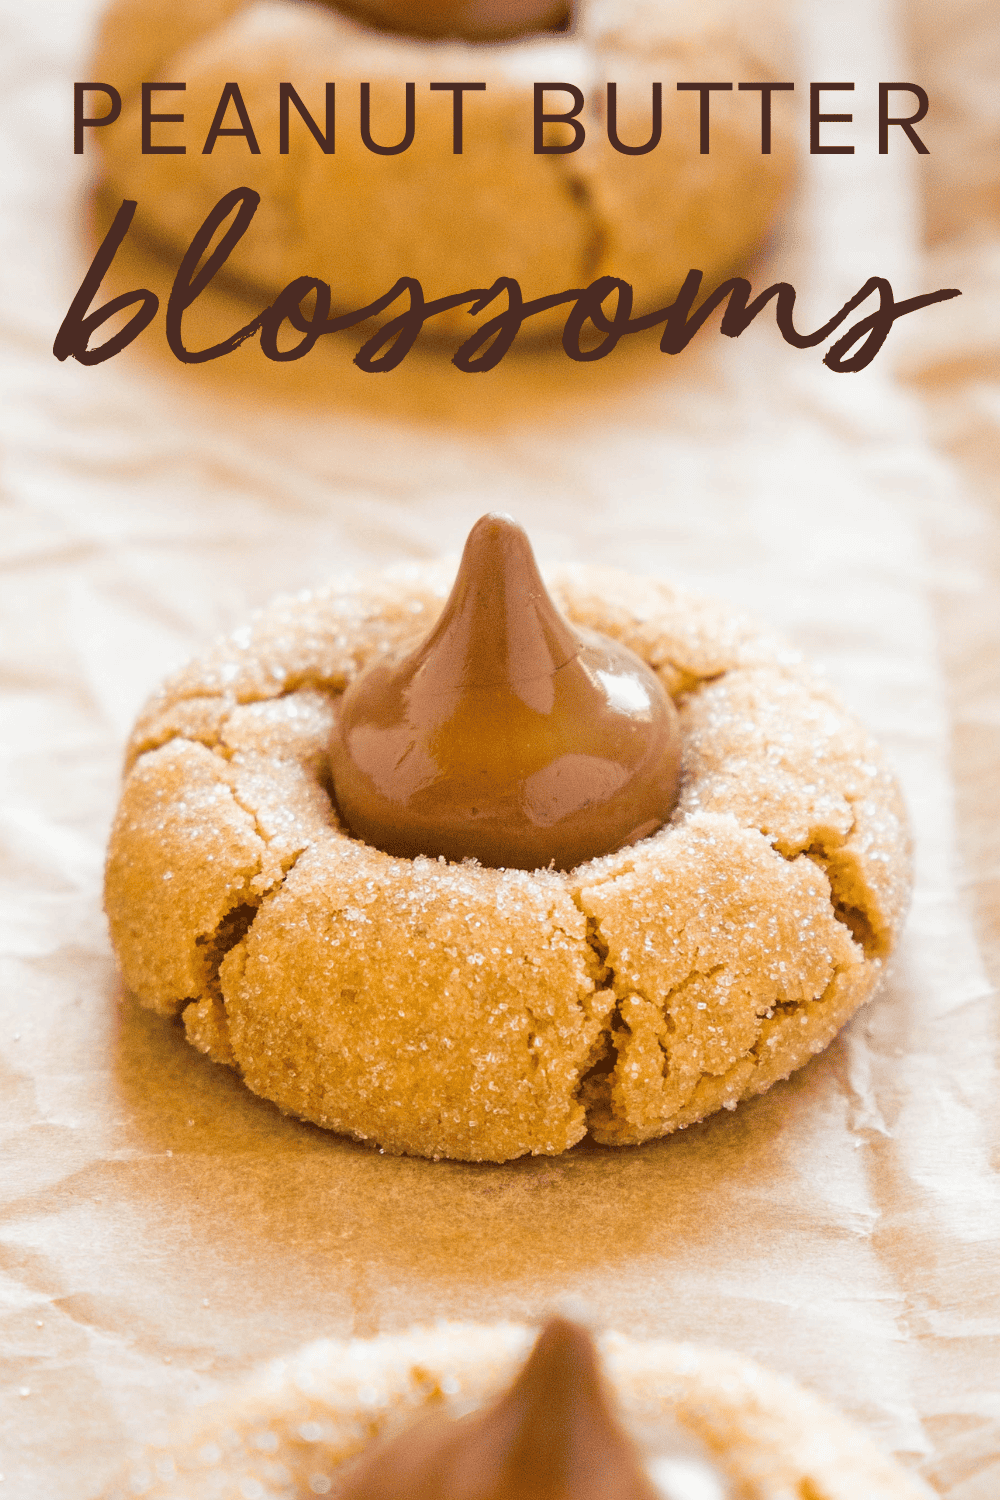
It’s almost time for holiday baking and we are here for it! We have so many favourite holiday baking recipes, but these Peanut Butter Blossoms might just take the cake…or the cookie – whichever you prefer. They’re soft and chewy peanut butter cookies rolled in sugar and baked to crackly perfection. And if that weren’t enough, pushing a milk chocolate candy (we love using Hershey’s Kisses!) into the warm cookies straight from the oven just takes these Peanut Butter Blossom Cookies over the top!
There are so many classic holiday cookies that make their way onto holiday baking trays year after year – you know, those recipes that Christmas just wouldn’t be the same without? These Peanut Butter Blossom Cookies have been around for decades and they’re incredibly popular!
If you’re looking for a great Peanut Butter Blossom cookie recipe that’s old-school and classic, perfectly soft and chewy – just like grandma used to make!
Here at The Busy Baker when the holiday season comes around you know where you’ll find us: busy baking, of course! We love a good Christmas cookie recipe and we’ve shared SO many of our favourite holiday treats with you already over the years. Here’s a list of the BEST holiday treats we make every single year to serve at holiday gatherings and to give away to neighbours, friends, and teachers as an edible gift!
- These Whipped Shortbread Holiday Cookies make the perfect melt-in-your-mouth shortbread cookies!
- We LOVE these Peppermint Chocolate Snowball Truffles – they’re an old family recipe with a secret ingredient!
- Try these Chocolate Caramel Shortbread Bars (Homemade Twix Bars) for an indulgent homemade treat!
- These Chocolate Crinkle Cookies are a classic holiday recipe you’ll love!
- No need for a candy thermometer, this easy Oreo Fudge is ready in minutes!
- These Best Ever Ginger Molasses Cookies are one of our favourite cookie recipes of all time and they’re perfect for the holidays!
- These Soft and Chewy Red Velvet Sugar Cookies are perfectly festive!
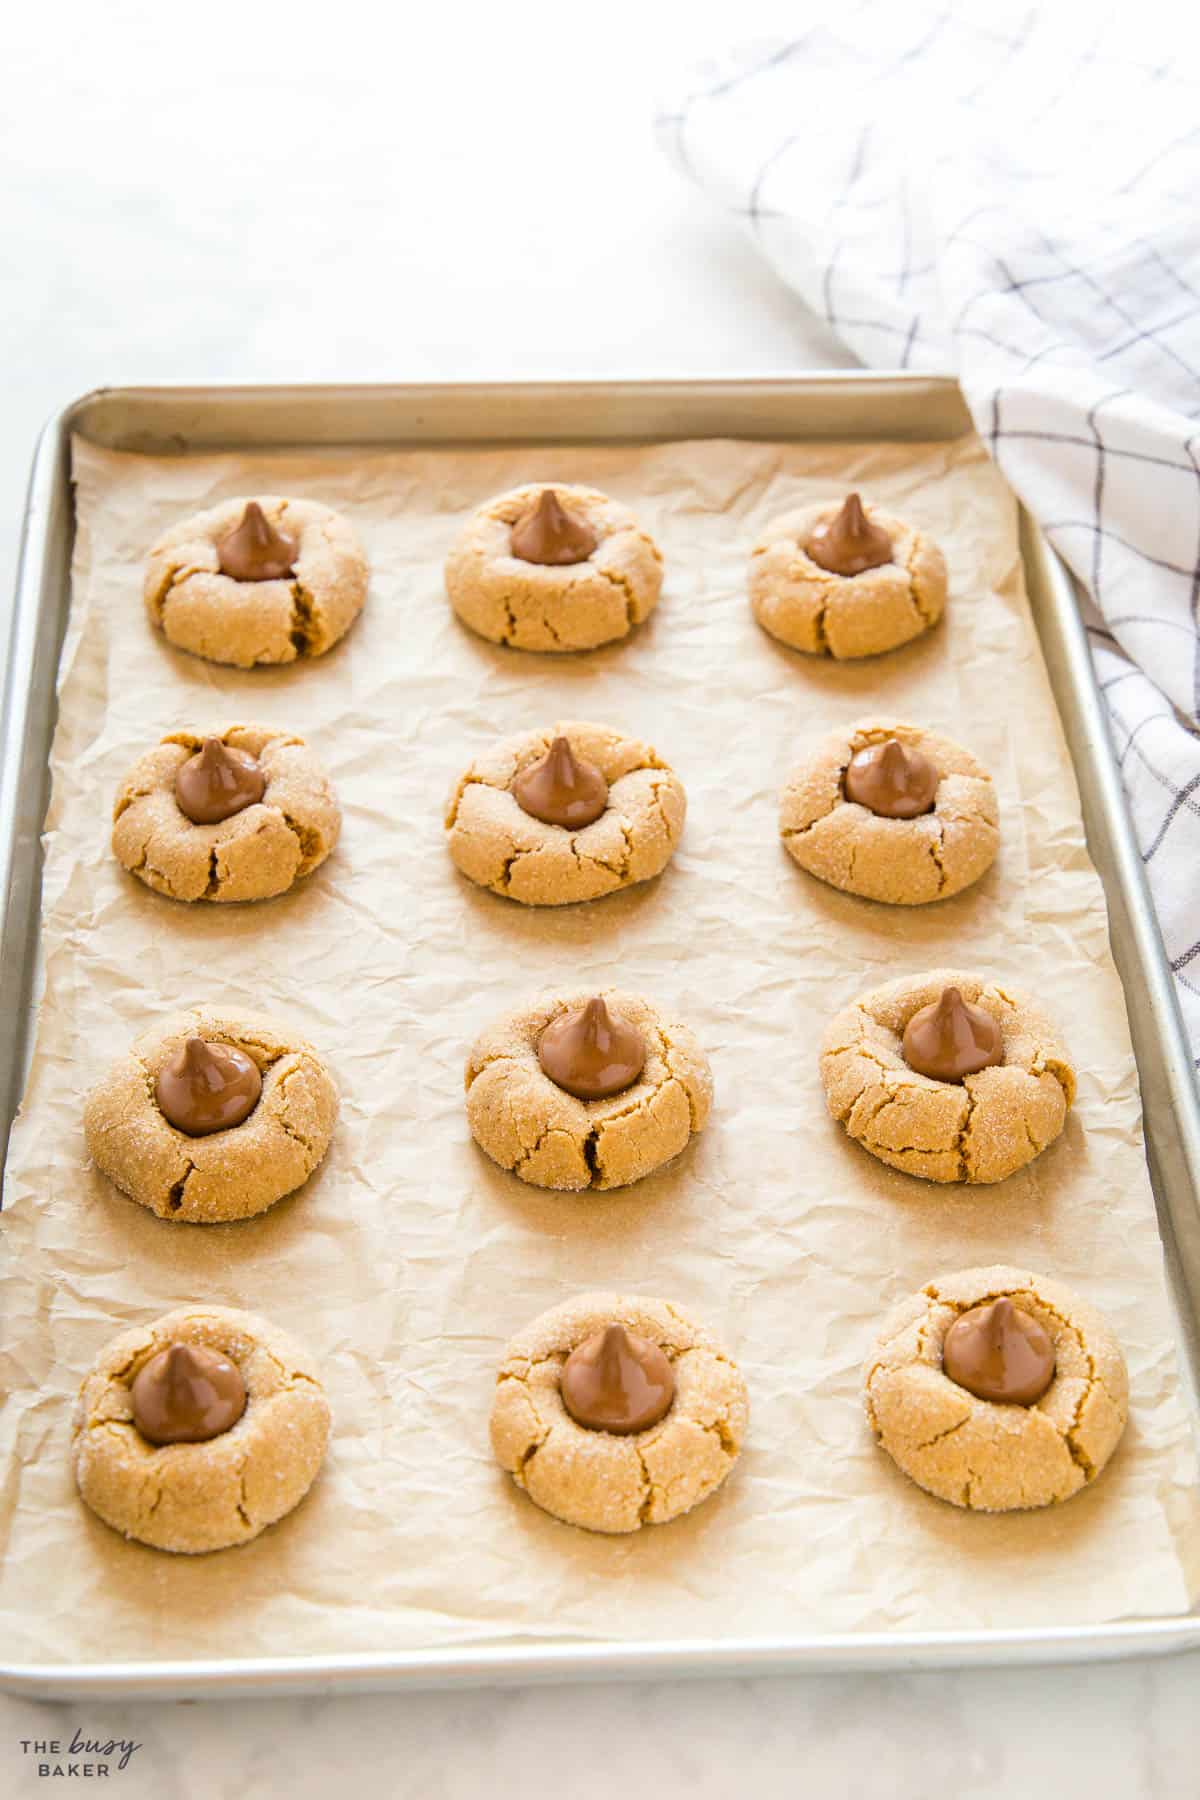
When it comes to baking Peanut Butter Blossoms for the holidays there are certain baking tips and strategies that can make all the difference between the perfect cookie and a total flop. Let us simplify your holiday baking with all our favourite cookie-baking tips and tricks for the perfect holiday cookies every time!
- The Right Consistency of Dough for the Best Texture: Achieving the right dough consistency is very important. Your dough should be firm enough to hold its shape when rolled into balls but soft enough to be slightly pliable. If the dough is too dry, your cookies might crumble. If the dough is too wet, the dough will be too sticky and difficult to roll, and they will probably spread too much during baking. A good trick is to refrigerate the dough for about 30 minutes before baking. This ensures the butter solidifies in the dough, which means it will be easier to work with and will bake up perfectly in the oven.
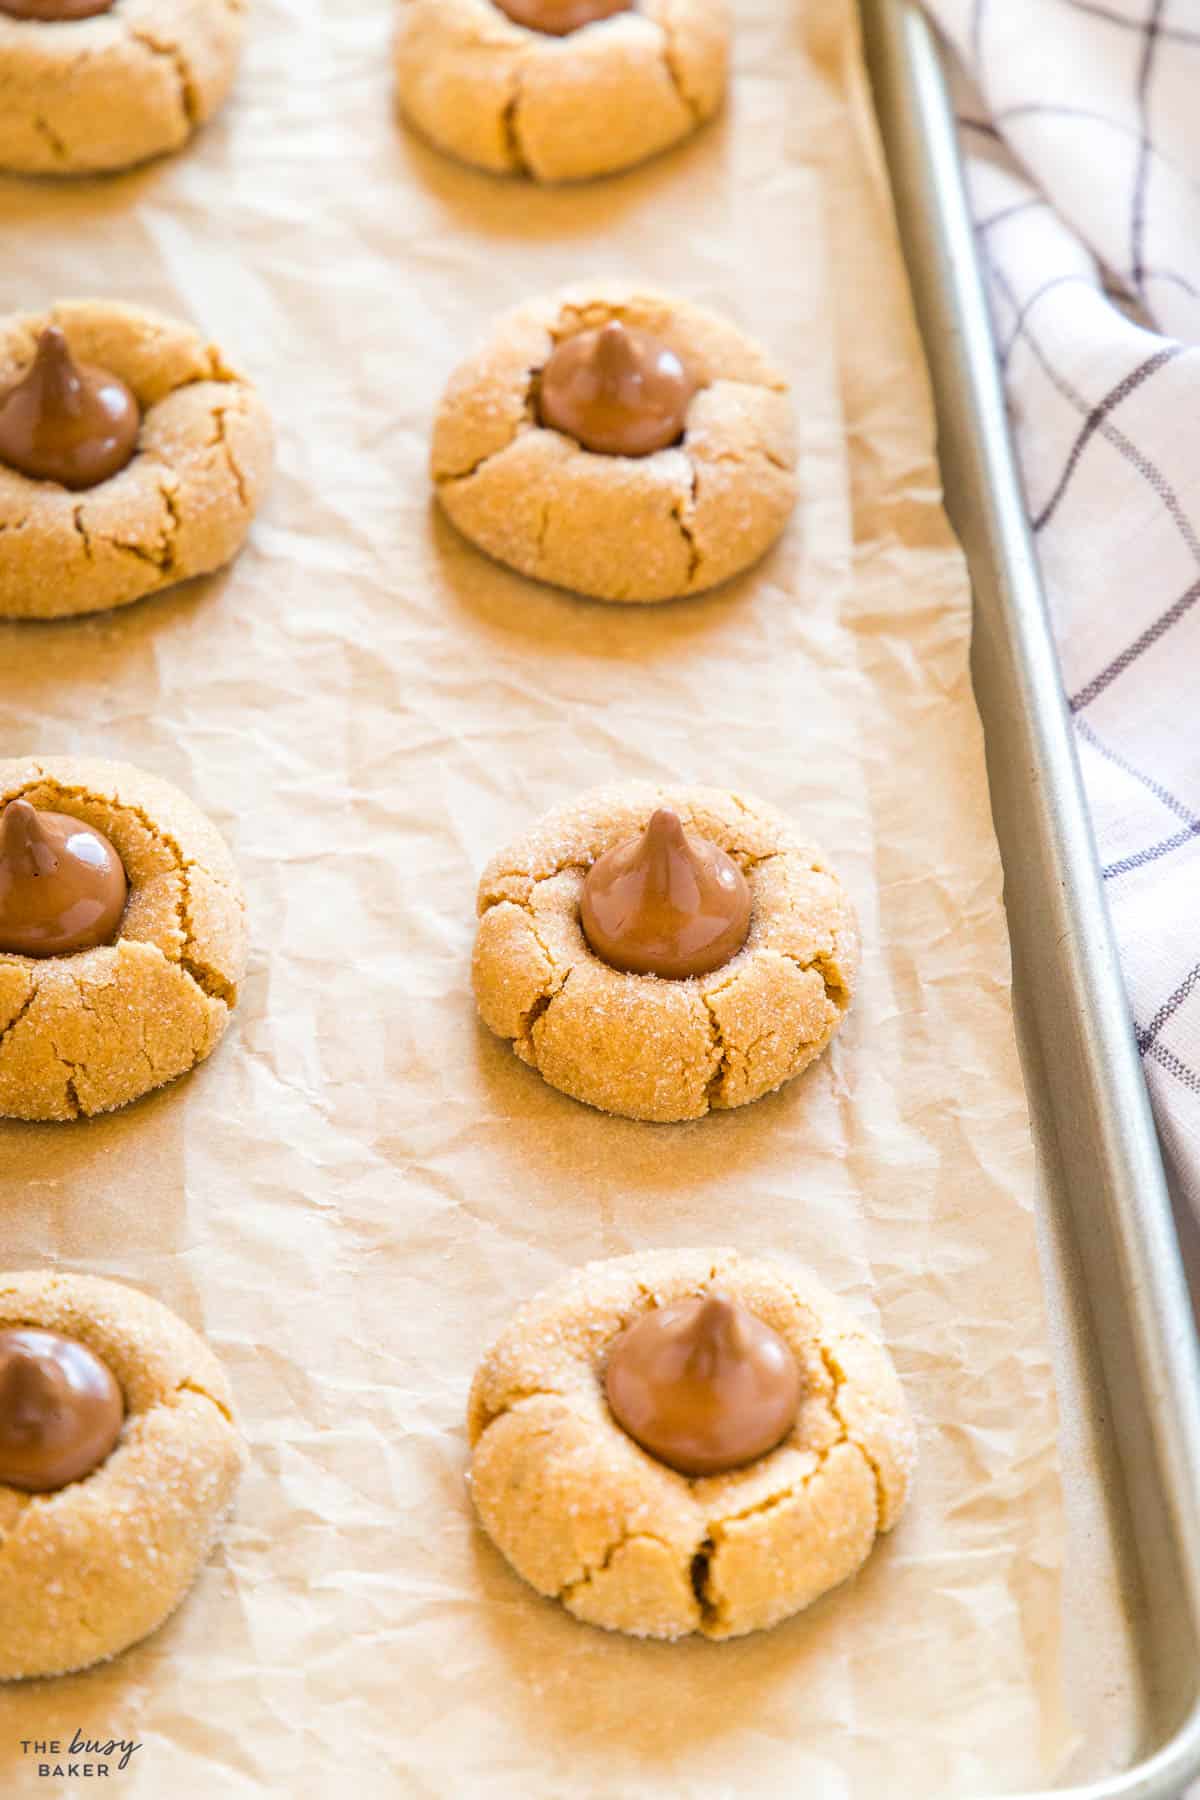
- Proper Spacing on the Baking Sheet to Avoid Merging Cookies: No one wants a mega-cookie formed by smaller cookies merging together. Ensure that you space your dough balls at least 2 inches apart on the baking sheet. This gives each cookie ample space to spread without interfering with the other cookies.
- The Best Time to Place the Hershey’s Kiss on the Cookie: Timing is important! If you add the Hershey’s Kisses to the cookies before baking you’ll end up with a melty mess and burned chocolate. Ideally, you’ll want to press the Hershey’s kiss into the cookie soon after it comes out of the oven, ideally within 1-2 minutes. The cookie will still be soft after baking, allowing the chocolate to set slightly into the cookie without melting completely. Pressing the Hershey’s Kisses into the cookies after baking will also cause the cookies to crinkle in such a beautiful, creating the classic look of peanut butter blossom cookies.
- Achieving the Perfect Cookie Size: Uniformity is key for even baking. Using a cookie scoop (paid link) is our favourite trick for uniform cookies, the easy way! It helps ensure that each cookie is roughly the same size, which leads to consistent baking times and textures.
- Rolling in Sugar: Rolling your cookie balls in sugar before baking gives them a delightful crunch and a sparkling appearance, perfect for the holidays. To do this, simply pour granulated sugar into a bowl, roll the dough balls in it, ensuring they’re fully coated, and then place them on your baking sheet.
- Optimal Baking Temperature and Time to Achieve the Desired Cookie Texture: Most recipes recommend baking at around 350°F (175°C). However, oven temperatures can vary, so keep a close eye on your first batch to judge the perfect baking time for your oven. One of our most important baking tips is to use an oven thermometer (paid link)! Most home bakers don’t have one, but it’s a CRITICAL kitchen tool that allows you to know whether or not your oven temperature is accurate! This will help you adjust baking times and the temperature of your oven and will prevent you from burning or under-baking your holiday treats!
- Over-baking: Signs to watch out for and prevention: Over-baked cookies can be dry and hard. To prevent this, look for edges that are just turning golden brown. If the edges start to darken significantly, they’re likely overdone. Using an oven thermometer to help ensure your oven’s temperature is accurate can prevent over-baking. Don’t forget to set a timer when baking!
- Preventing the cookies from falling apart: Letting your cookies cool on the pan is the best way to ensure they keep their shape after baking. Cookies continue baking and set in the middle after they’ve been removed from the oven. The cooling process is a critical step to achieving the perfect cookies! Be sure to cool them most of the way before removing them gently and carefully to a cooling rack to cool completely.
- Ensuring Your cookies don’t crumble, break or spread : If your dough is too dry, your cookies might crumble. If the dough is too wet, the cookies might spread. Ensure you’ve measured your ingredients accurately and used ingredients at the right temperature – your eggs and butter should be at room temperature, and your ingredients can be weighed for accuracy (use grams) or measured carefully (be sure to fluff and scoop your flour so it’s not packed too tightly).
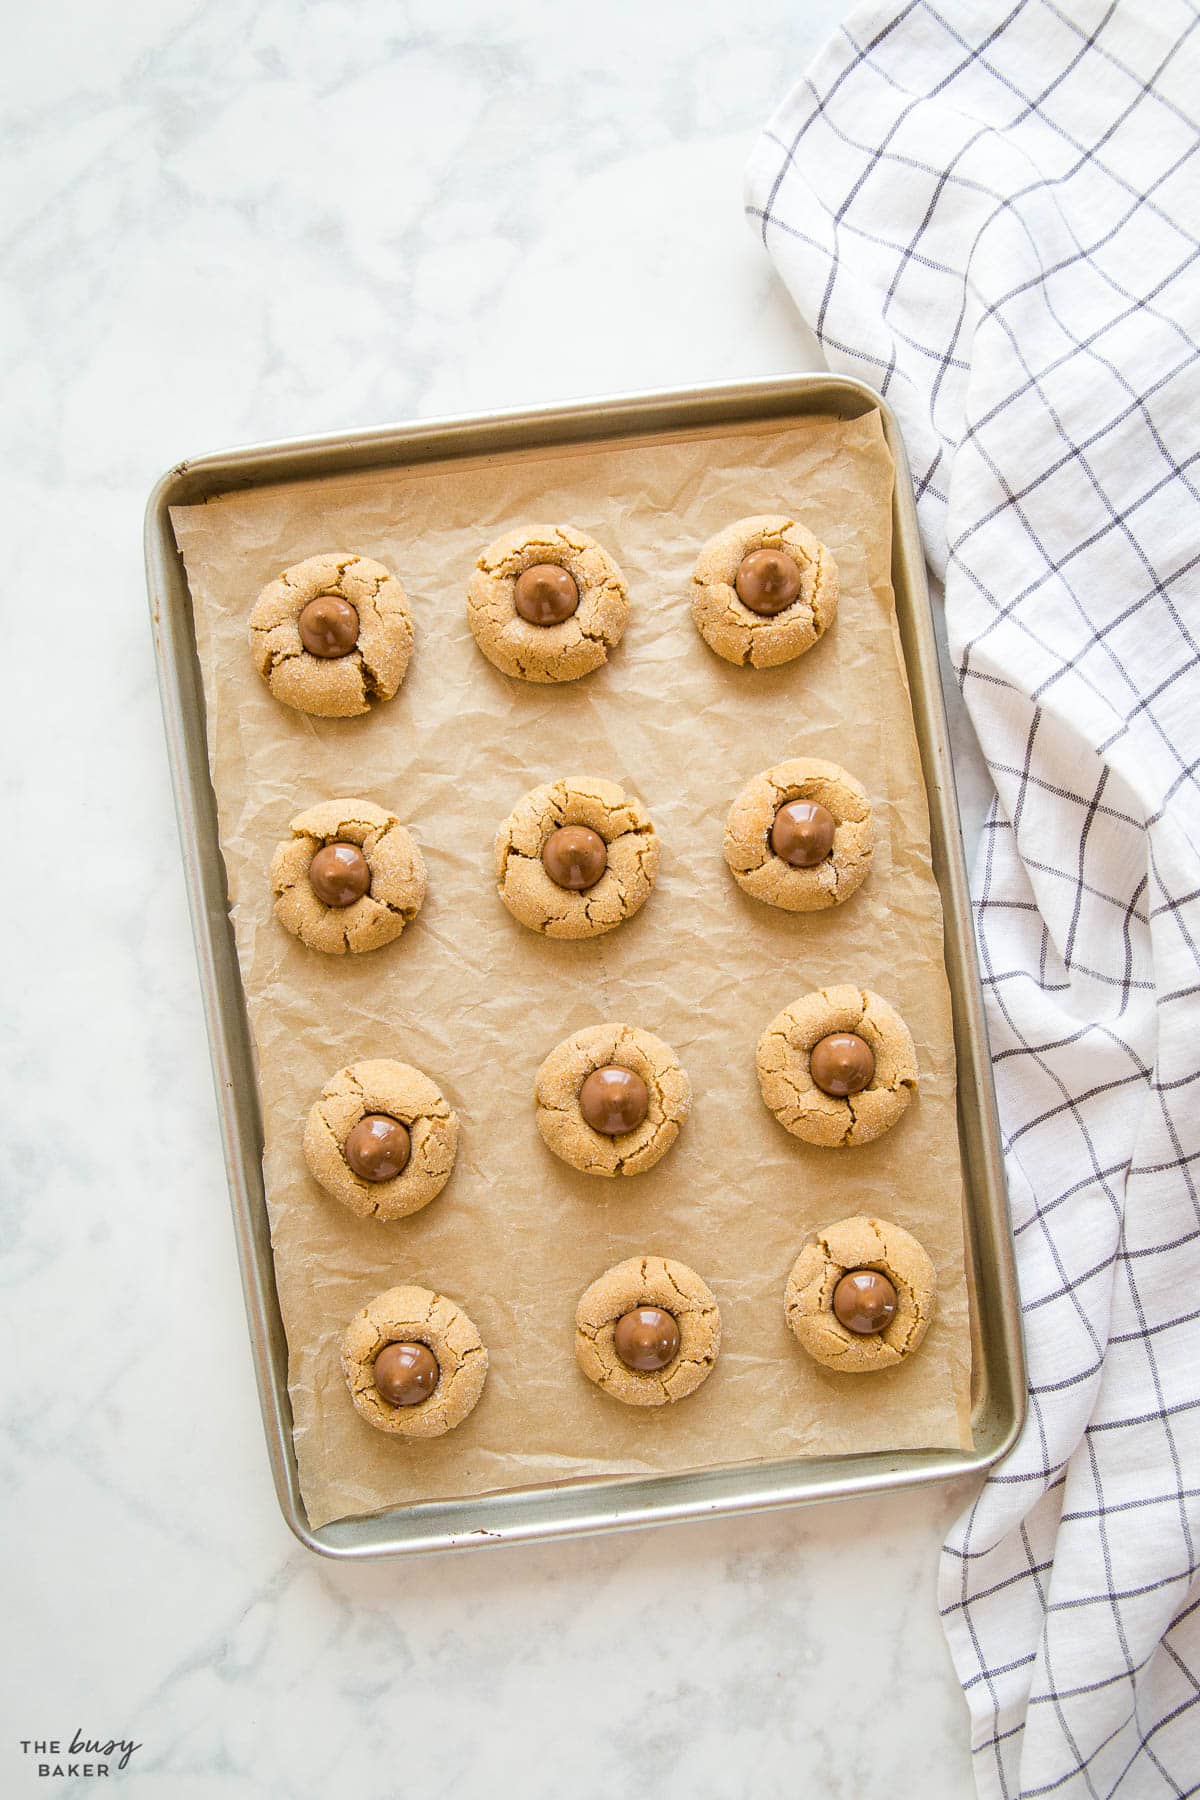
If you bake for the holidays every year, you’ll already know the challenge of baking multiple recipes in a short period of time. Over the years we’ve developed a pretty great system for taking the stress out of holiday baking by stretching out the recipes over the course of several weeks. Here’s how we do it!
- Start with the complicated recipes first. We start our holiday baking at the end of October when the stress of the holiday season is still a long way off! Block off a Saturday morning and plan to bake one or maybe two more complicated holiday treats, like these Chocolate Caramel Shortbread Bars, for example, that have 2 or more steps. Once they’re done you can freeze them for later and save the easy and simple holiday recipes for baking closer to the holidays when your schedule is busier and you have less time.
- Be sure your have good storage containers on hand. If you’re planning a lot of holiday baking, you need to be sure you have good quality airtight storage containers on hand where you can store your homemade treats. We have some that we reserve for freezing baked goods throughout the year, like muffins for easy breakfasts and cookies to pull out when unexpected guests drop by. These containers are the ones we love to use (paid link) for freezing all our baking all year round.
- Use parchment paper or wax paper between the layers. There’s nothing worse than spending time and money on holiday treats that get ruined and stuck together when you freeze them. Be sure to place parchment paper or wax paper (paid link) between the layers of your holiday cookies so they thaw beautifully without losing their appearance.
- Make room in your freezer. When the holidays are on their way, we always make sure to leave space in the freezer for all the holiday treats we’re going to make. Take some time in September or October to clean out your freezer and use up all the leftovers and ingredients you’ve stashed in there throughout the rest of the year and throw out anything that’s past the use-by date.
- Label your containers. To keep your holiday baking organized always label the containers with the name of the recipe stored in the container, the number of items, and most importantly the date they were baked. This will help you make sure your holiday baking is fresh and served while it’s still good.
- Make a variety of treats. We like preparing about 6-8 different holiday cookies and treats. This makes preparing holiday baking trays for events and gatherings easy as you’ve got a variety of treats on hand.
- Pick out your favourite festive tins. Head to the local dollar store and choose some inexpensive tins you can use for giving away your holiday baking as edible gifts for friends, neighbours and even as teacher gifts. The thrift store can also be a great place to find festive tins – even vintage ones! Give them a good wash in hot soapy water and line them with parchment paper or wax paper before filling them with your creations!
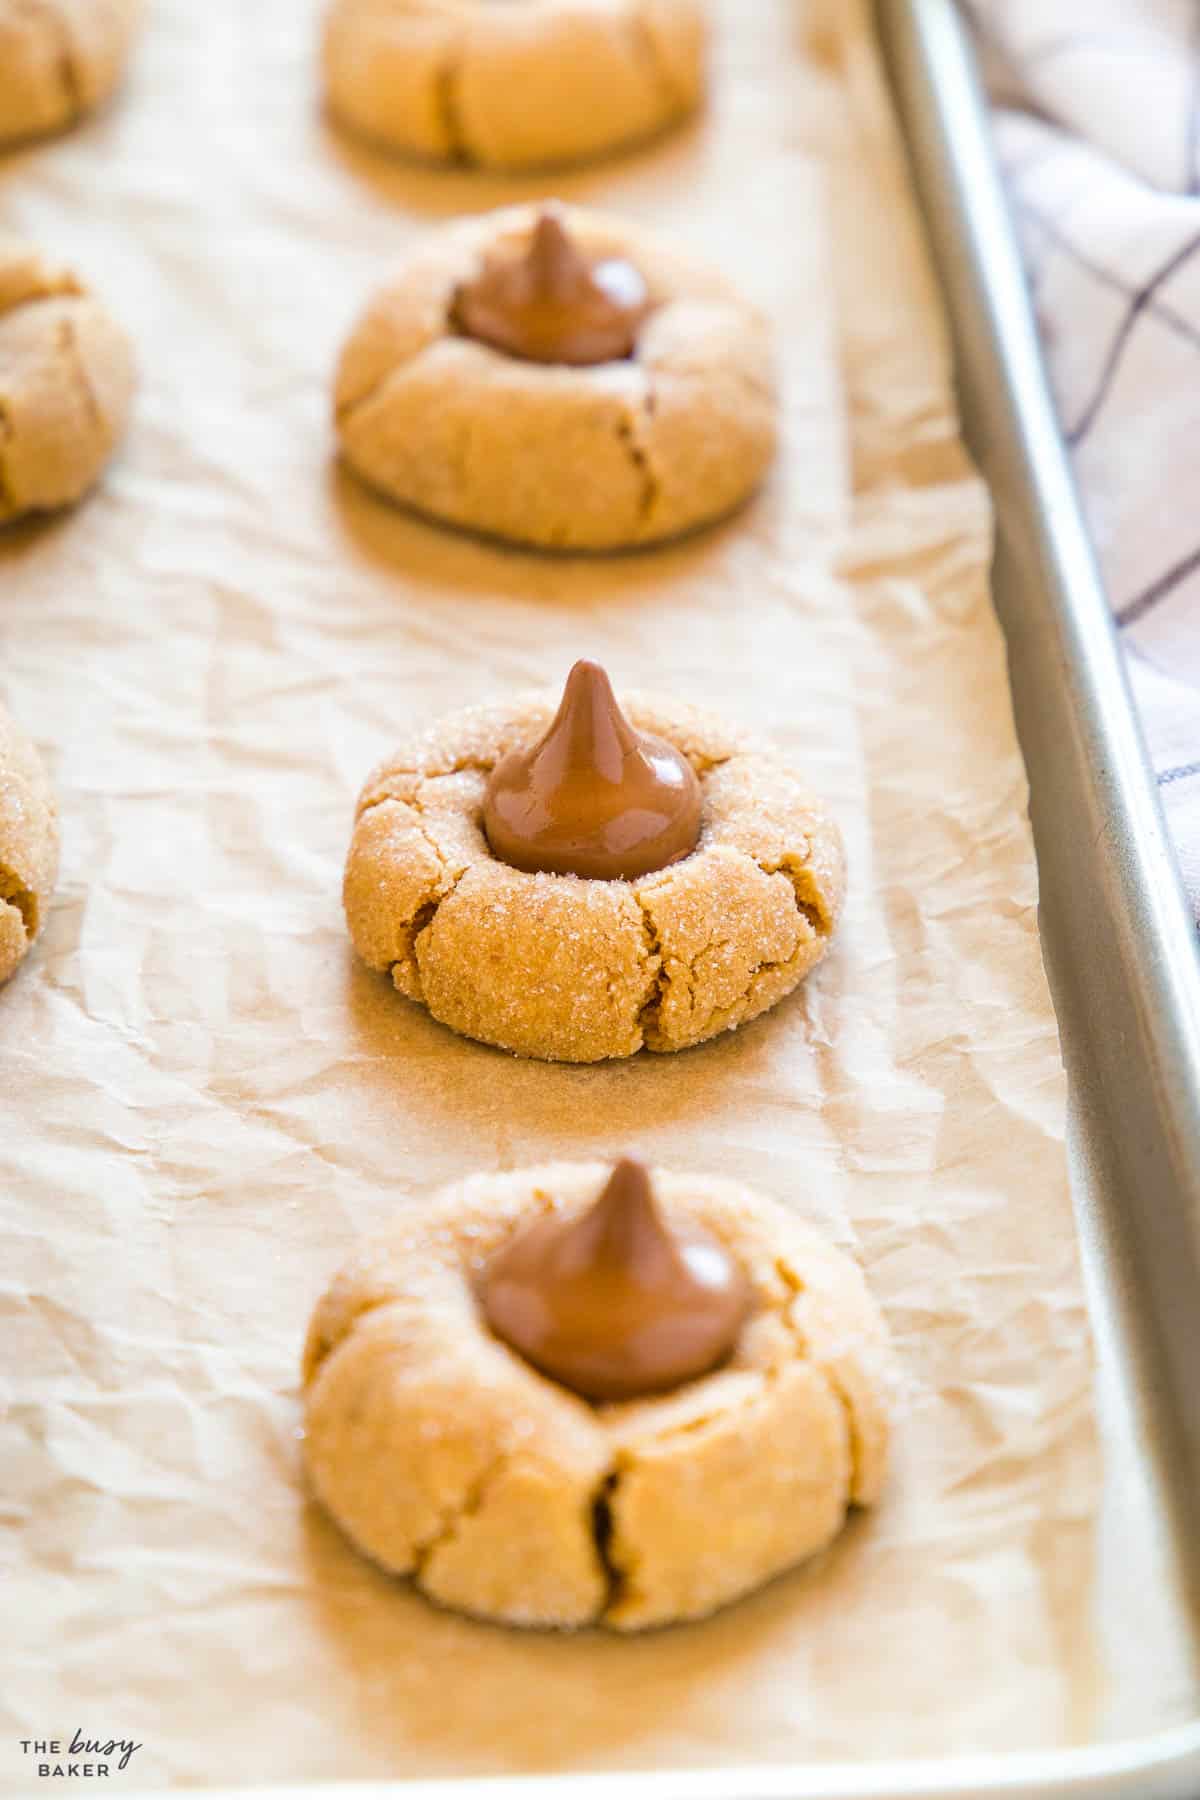
Holiday baking requires that you have some basic kitchen equipment on hand. Here’s a list of our favourite kitchen items for baking during the holiday season (paid links):
- A Stand Mixer. A stand mixer is one of our favourite pieces of kitchen equipment, especially for holiday baking. It makes whipping up cookie dough or dough for cinnamon buns an absolute breeze, and whipping cream or egg whites takes almost no effort at all with a stand mixer. This KitchenAid stand mixer is one we’ve used for almost 20 years and we love it!
- A Hand Mixer. A good quality hand mixer is a great substitute for a stand mixer if you don’t have one and a stand mixer isn’t a good fit for your budget. We love our KitchenAid hand mixer and use it all the time in The Busy Baker kitchen!
- Good Quality Mixing Bowls. Having a set of good mixing bowls is critical for holiday baking. Whether you’re melting chocolate or whipping up cookie dough, these stainless steel mixing bowls do a great job!
- Measuring Cups and Spoons. Measuring your ingredients properly is an important part of baking. Here’s a set of measuring cups and spoons for dry ingredients we recommend.
- Liquid Measuring Cups. When measuring liquid ingredients it’s important to use measuring cups that are meant for measuring liquids. These liquid measuring cups are our favourite ones.
- A Kitchen Scale. If you’re preparing a more difficult recipe that requires that your ingredient amounts be precise, a kitchen scale is great because you can accurately measure your ingredients in grams or ounces. Here’s our favourite kitchen scale we use almost daily.
- A Whisk. A whisk is an important tool for blending dry ingredients, making glazes or sauces, and so many other uses! Here’s our favourite whisk to use for baking.
- A Silicone Spatula. A silicone spatula is great for scraping down the bowl when baking, and incorporating ingredients together without adding air into your batter. It’s always a bonus when your silicone spatulas are heat safe for making caramel on the stovetop. Check out our favourite silicone spatulas for baking!
- Microwave Safe Bowls. Because you can’t put metal in the microwave, having a good set of glass or pyrex bowls is important for tasks like melting chocolate in the microwave. Here’s our favourite set of pyrex bowls for baking.
- Baking Sheets. What kind of baking sheets you use will depend on the size of your oven, but these Nordic Ware Baking Sheets and these Wilton Baking Sheets are our top 2 favourite baking sheets for all our baking needs.
- Parchment Paper. We always stock up on parchment paper before the holidays because it’s the best way to keep your baking sheets from becoming stained, it prevents your cookies from sticking when baking, and it helps keep your holiday treats looking beautiful when they’re packed and stored in the freezer.
- A Cookie Scoop. We love our cookie scoop and use it every single time we bake cookies! It creates cookies that are uniform in size and shape which helps them not only look beautiful but also bake evenly!
- A Silicone Turner. Removing your cookies from the baking sheet with precision requires a turner that easily slips underneath the cookies. Here’s our favourite silicone turner for this job!
- Cooling Racks. Cooling your holiday baking before before storing is absolutely critical, so having a set of cooling racks on hand is essential!
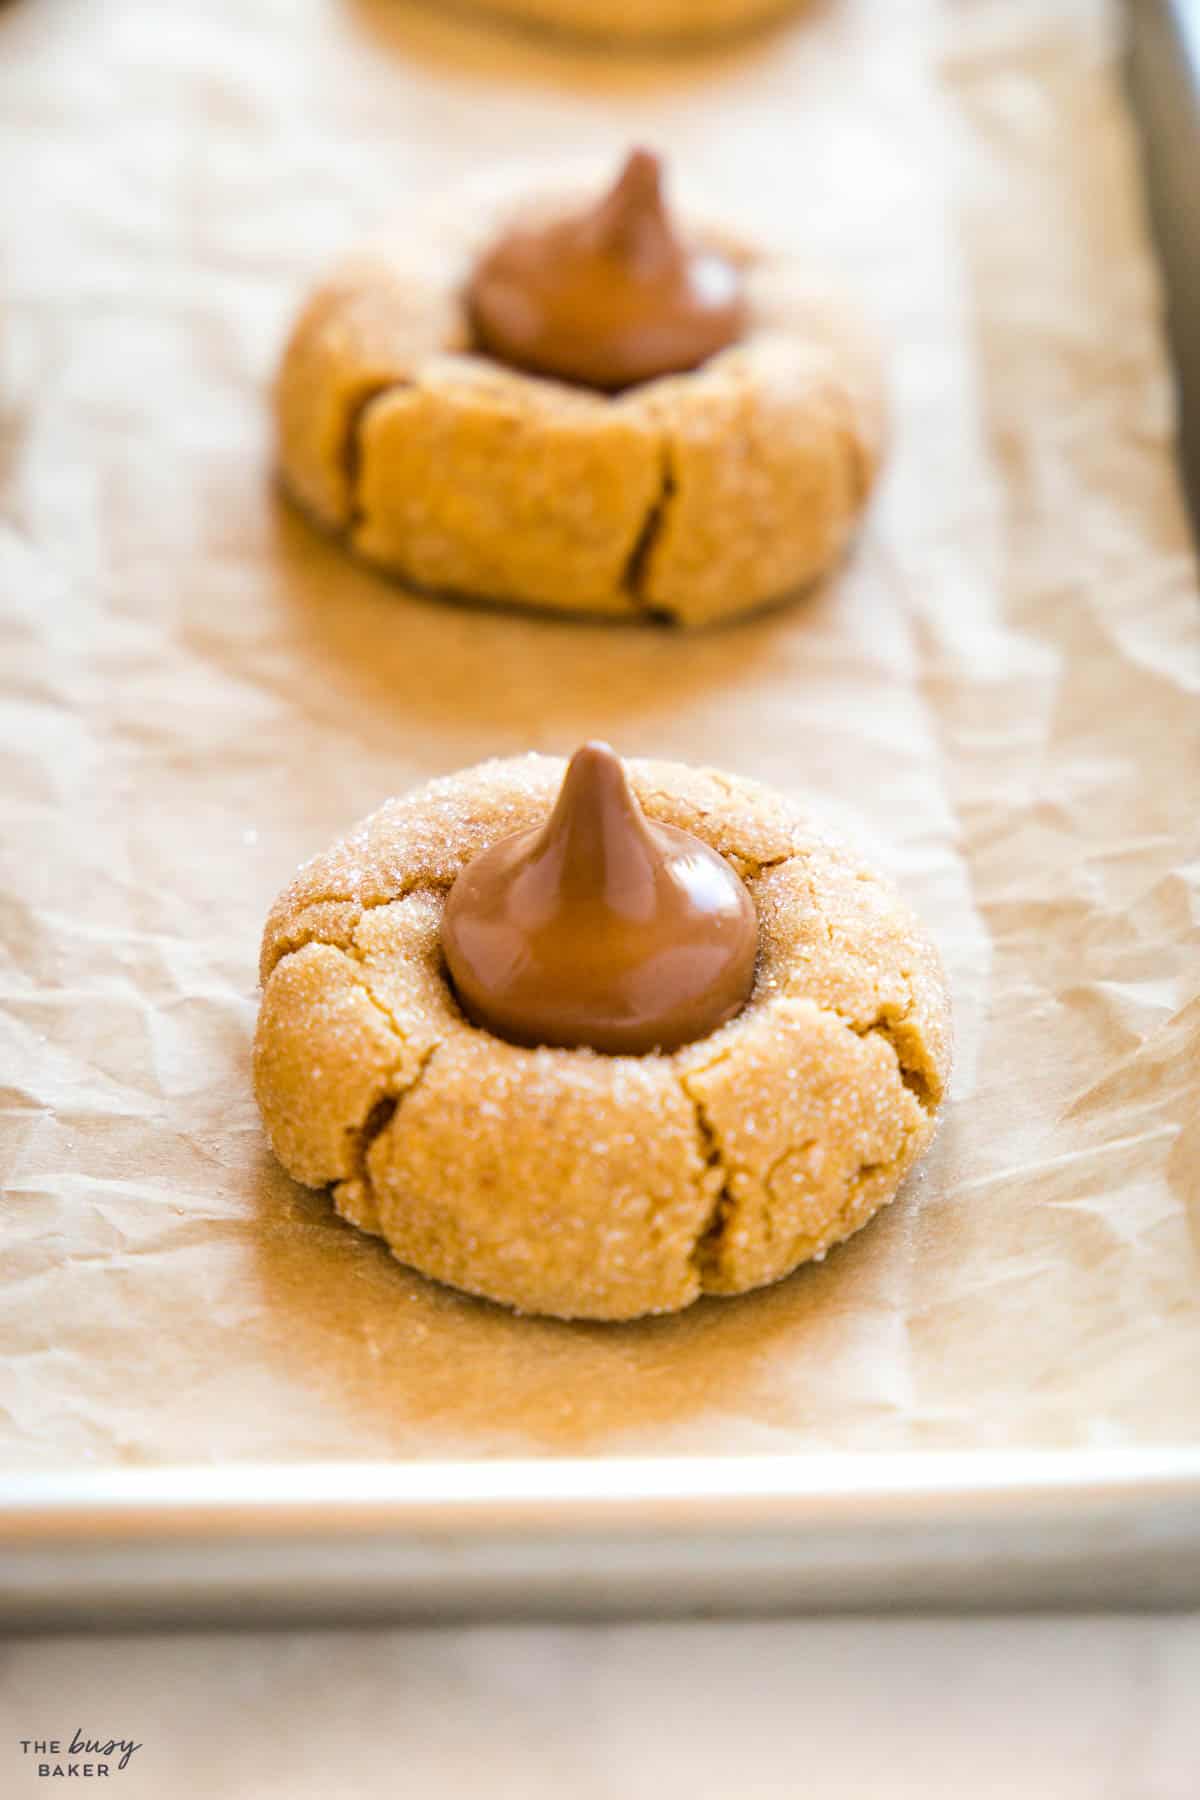
Here’s a list of the ingredients you’ll need to make these Peanut Butter Blossoms (paid links):
- 1/2 cup butter
- 1/2 cup granulated sugar
- 1/2 cup brown sugar
- 2/3 cup smooth peanut butter
- 1 teaspoon vanilla extract
- 1 large egg
- 1 1/2 cup all purpose flour
- 3/4 teaspoon baking soda
- 1/2 teaspoon salt
- 4 tablespoons granulated sugar for rolling
- 24 milk chocolate candies for decorating after baking
Time needed: 45 minutes
Follow these steps for the perfect Peanut Butter Blossom Cookies!
- Prepare for baking.
Preheat your oven to 350 ℉ or 175 ℃. Prepare two baking sheets by lining them with parchment paper.
- Start with room temperature ingredients.
Start with room temperature butter and eggs for this recipe. The dough will form much more easily this way and the cookies will have a better shape when baked.
- Cream the butter and sugar.
In a large bowl with a hand mixer or in the bowl of your stand mixer, cream the butter and sugar together on medium-high speed until the mixture is creamy and smooth (for several minutes). Add the peanut butter and mix well on medium speed until well combined, scraping down the sides of the bowl to make sure it’s all incorporated. Add the egg and vanilla and mix well.
- Add the dry ingredients.
Add the flour, baking soda and salt and mix on low speed until combined and no there are no more streaks of flour.
- Roll in sugar.
Using a cookie scoop or a tablespoon, portion the cookie dough and roll into 24 balls. Roll each ball in the granulated sugar and place them on the baking sheets spaced apart.
- Bake.
Bake for 8-10 minutes or until the cookies are crackly on top and the centres are soft but set.
- Add the chocolate on top.
Cool on the pans for about 2 minutes before pressing a milk chocolate candy into the top of each of the warm cookies. It’s critical to do this while the cookies are very warm.
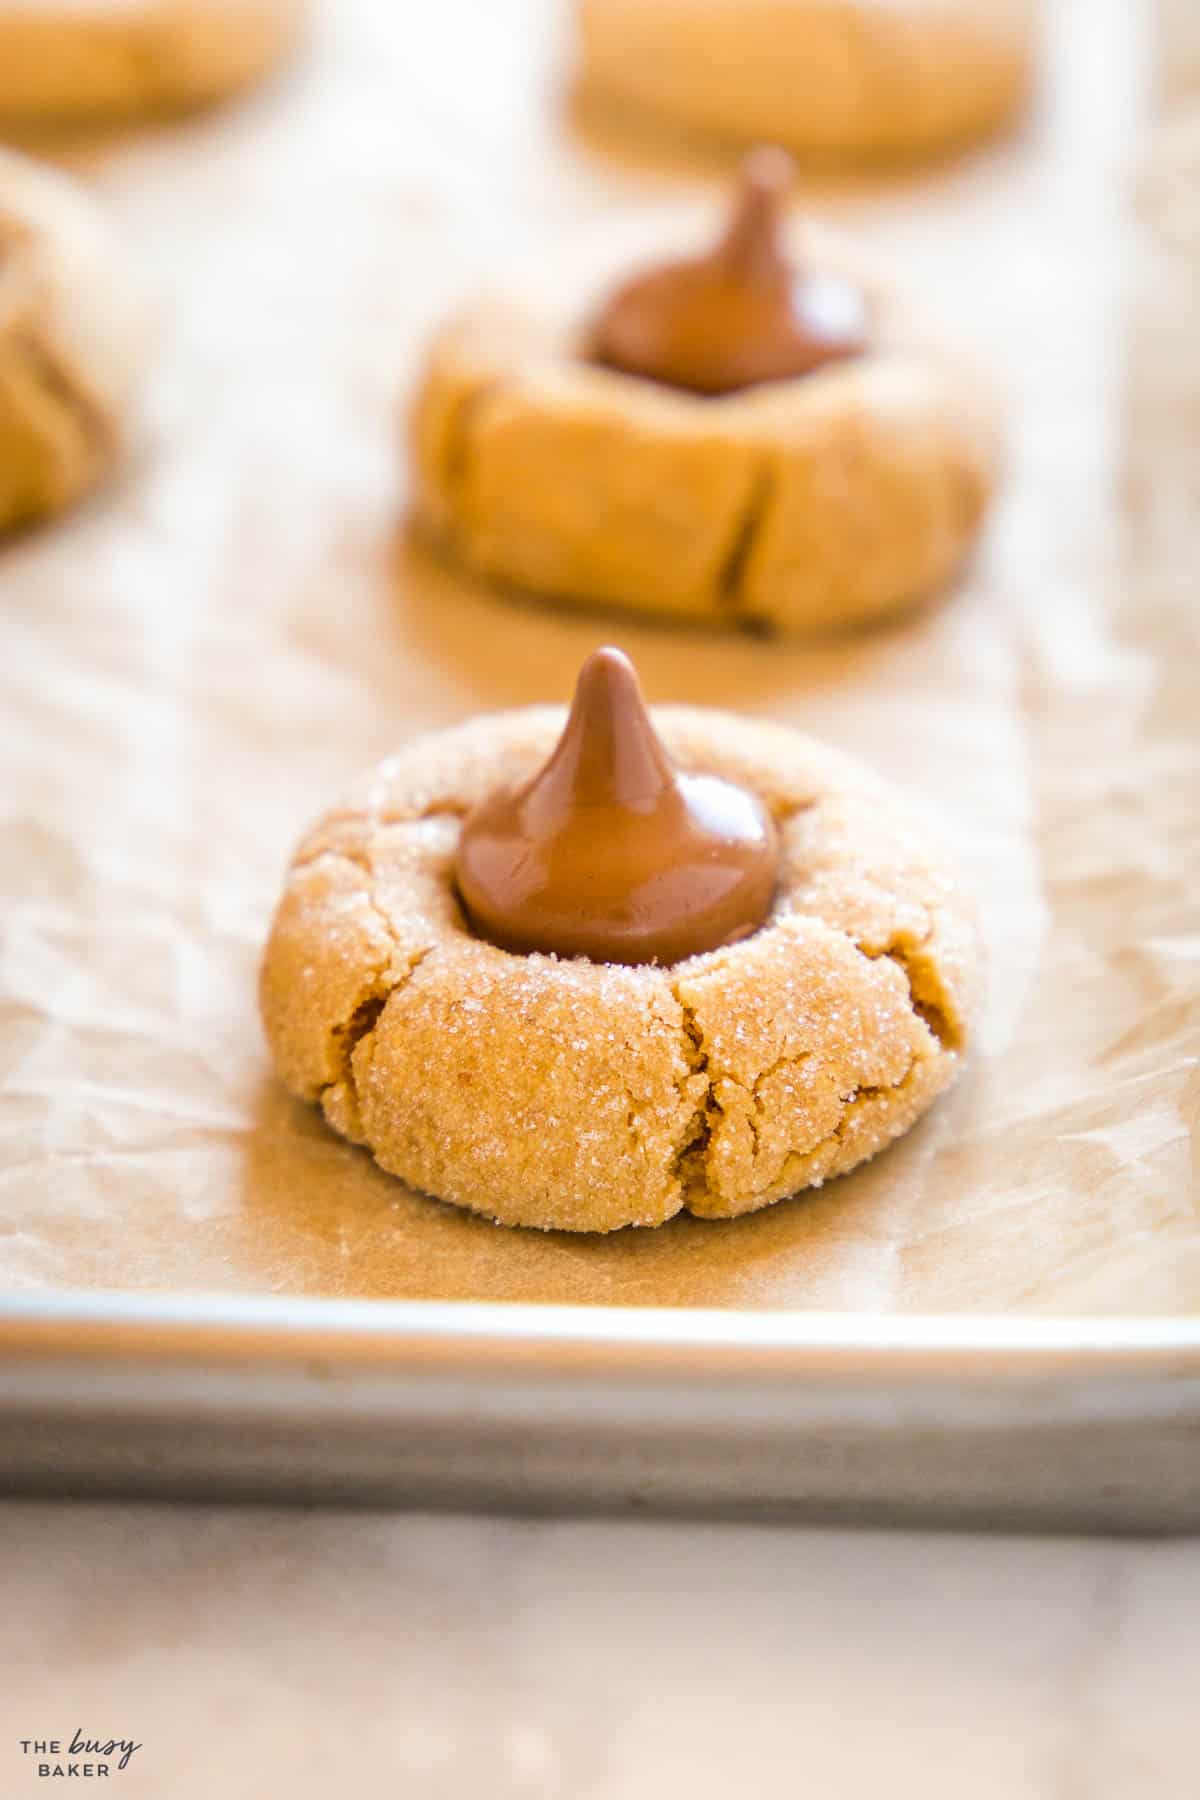
If your cookies didn’t keep their shape when baking it’s likely because the dough was too soft, either because you added too much butter, butter that was too soft, or not enough flour. Chilling the dough for 30 minutes before baking can prevent the cookies from spreading and turning out flat.
Can I use natural peanut butter in this recipe?
We don’t recommend using natural peanut butter because it has a high oil content which can cause the cookies to spread too much when baked.
Yes! Store the cookie dough in the fridge for up to 3 days before baking.
Can I use other chocolates or candies instead of Hershey’s Kisses?
Yes, feel free to press a square of your favourite chocolate or candy bar into the top of these cookies after baking.
Store these cookies in an airtight container at room temperature for up to 3-4 days for optimum freshness. You can also freeze them in an airtight container for up to 3 months.
Why are my peanut butter blossoms dry?
If your dough is dry and crumbly you likely added too much flour or not enough butter. Be sure to measure your ingredients correctly so the dough has the correct consistency before baking.
How many calories are in one peanut butter blossom?
Each cookie has about 170 calories.
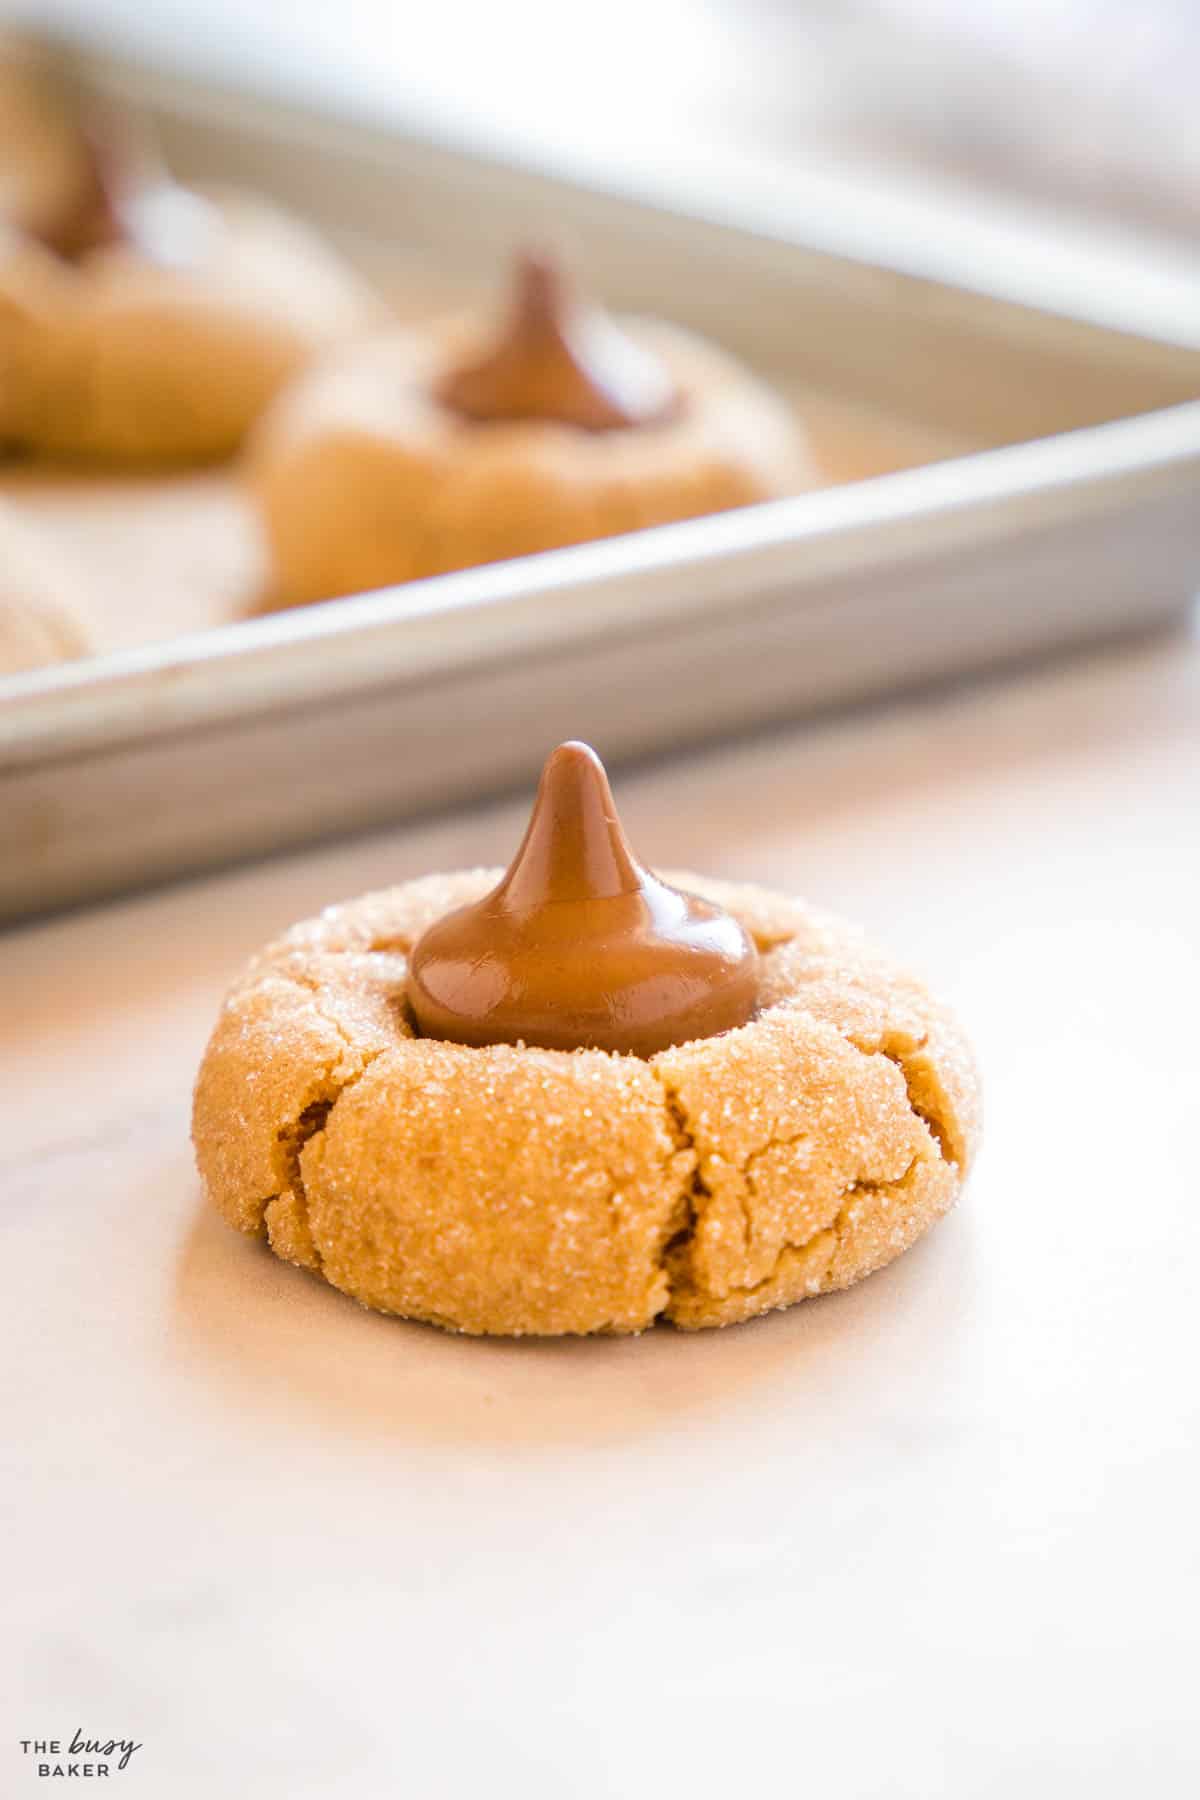
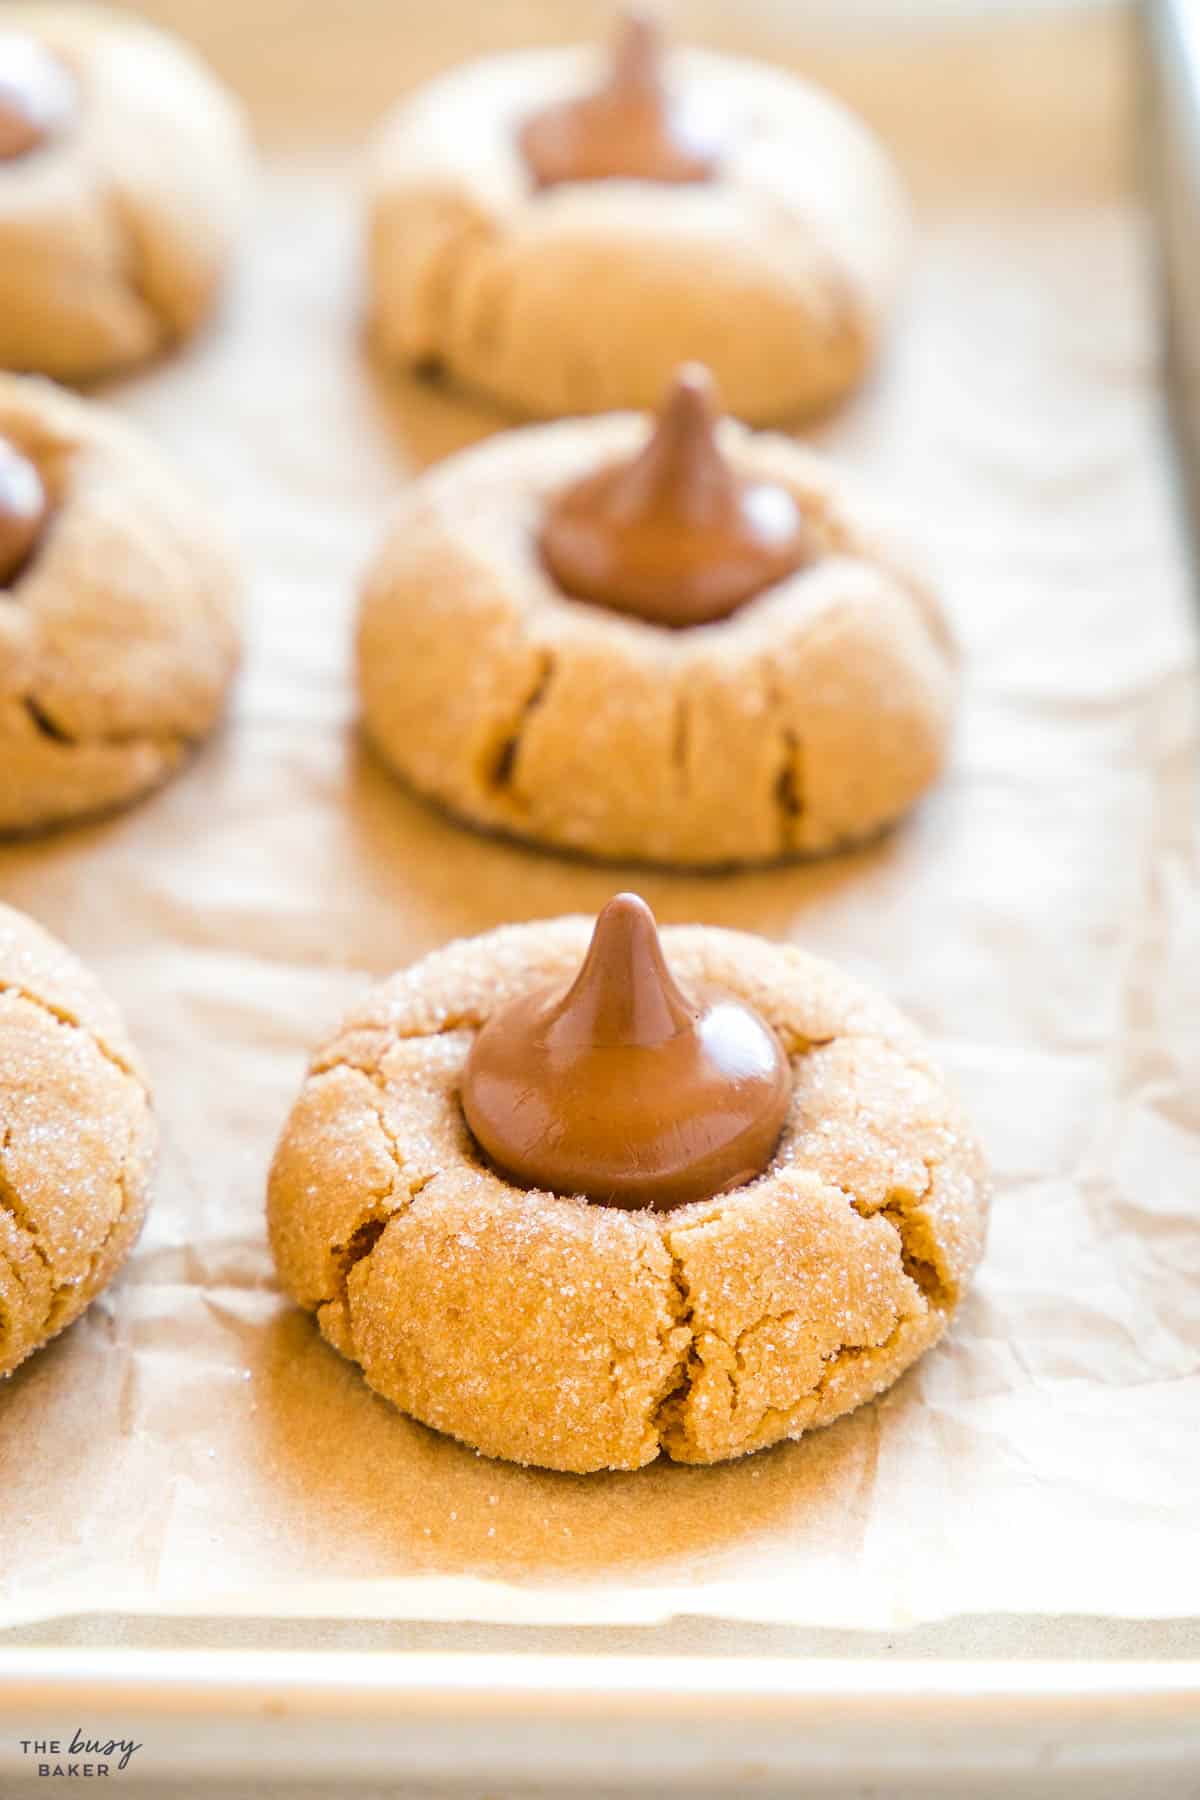
We hope you love this holiday cookie recipe as much as we do! Let us know in the comments below, what’s your favourite homemade holiday treat? We’d love to know!
If you made this, share a photo!
Are you trying this recipe? Use the comment form below to share your take; now with support for image uploads and comment voting!
Peanut Butter Blossoms
Recipe: Equipment
Recipe: Ingredients
- 1/2 cup butter at room temperature
- 1/2 cup granulated sugar
- 1/2 cup brown sugar
- 2/3 cup smooth peanut butter
- 1 teaspoon vanilla extract
- 1 large egg
- 1 1/2 cup all purpose flour
- 3/4 teaspoon baking soda
- 1/2 teaspoon salt
For rolling and decorating:
- 4 tablespoons granulated sugar
- 24 milk chocolate candies We prefer Hershey's Kisses
Recipe: Instructions
- Preheat your oven to 350 ℉ or 175 ℃. Prepare two baking sheets by lining them with parchment paper.
- In a large bowl with a hand mixer or in the bowl of your stand mixer, cream the butter and sugar together on medium-high speed until the mixture is creamy and smooth (for several minutes).
- Add the peanut butter and mix well on medium speed until well combined, scraping down the sides of the bowl to make sure it's all incorporated.
- Add the egg and vanilla and mix well. Scrape down the sides of the bowl.
- Add the flour, baking soda and salt and mix on low speed until combined and there are no more streaks of flour.
- Using a cookie scoop or a tablespoon, portion the cookie dough and roll into 24 balls. Roll each ball in the granulated sugar and place them on the baking sheets spaced apart.
- Bake for 8-10 minutes or until the cookies are crackly on top and the centres are soft but set.
- Cool on the pans for about 2 minutes before pressing a milk chocolate candy into the top of each of the warm cookies. It's critical to do this while the cookies are very warm.
- Let the cookies cool on their pans for 20 minutes before moving them to a cooling rack to cool completely,
Recipe: Notes
Storage Instructions
Store these cookies in an airtight container at room temperature for up to 3-4 days. Place parchment paper between the layers of cookies to prevent them from sticking together.Make-Ahead Instructions
It’s possible to make these cookies ahead of time in several ways. First, prepare the dough and freeze it before baking, either as one piece in a freezer bag or after rolling in individual balls. The dough can also be stored in the fridge for up to 3 days before baking in an airtight container or bag.Freezer Instructions
These cookies can be frozen in an airtight container for up to 3 months before enjoying. Be sure to follow the instructions in this blog post for freezing cookies.Recipe: Nutrition
Notice: Nutrition is auto-calculated, using Spoonacular, for your convenience. Where relevant, we recommend using your own nutrition calculations.

EASY NO-FAIL HOLIDAY RECIPES AND COOKING & BAKING TIPS
Get my easy no-fail holiday meals e-cookbook!
