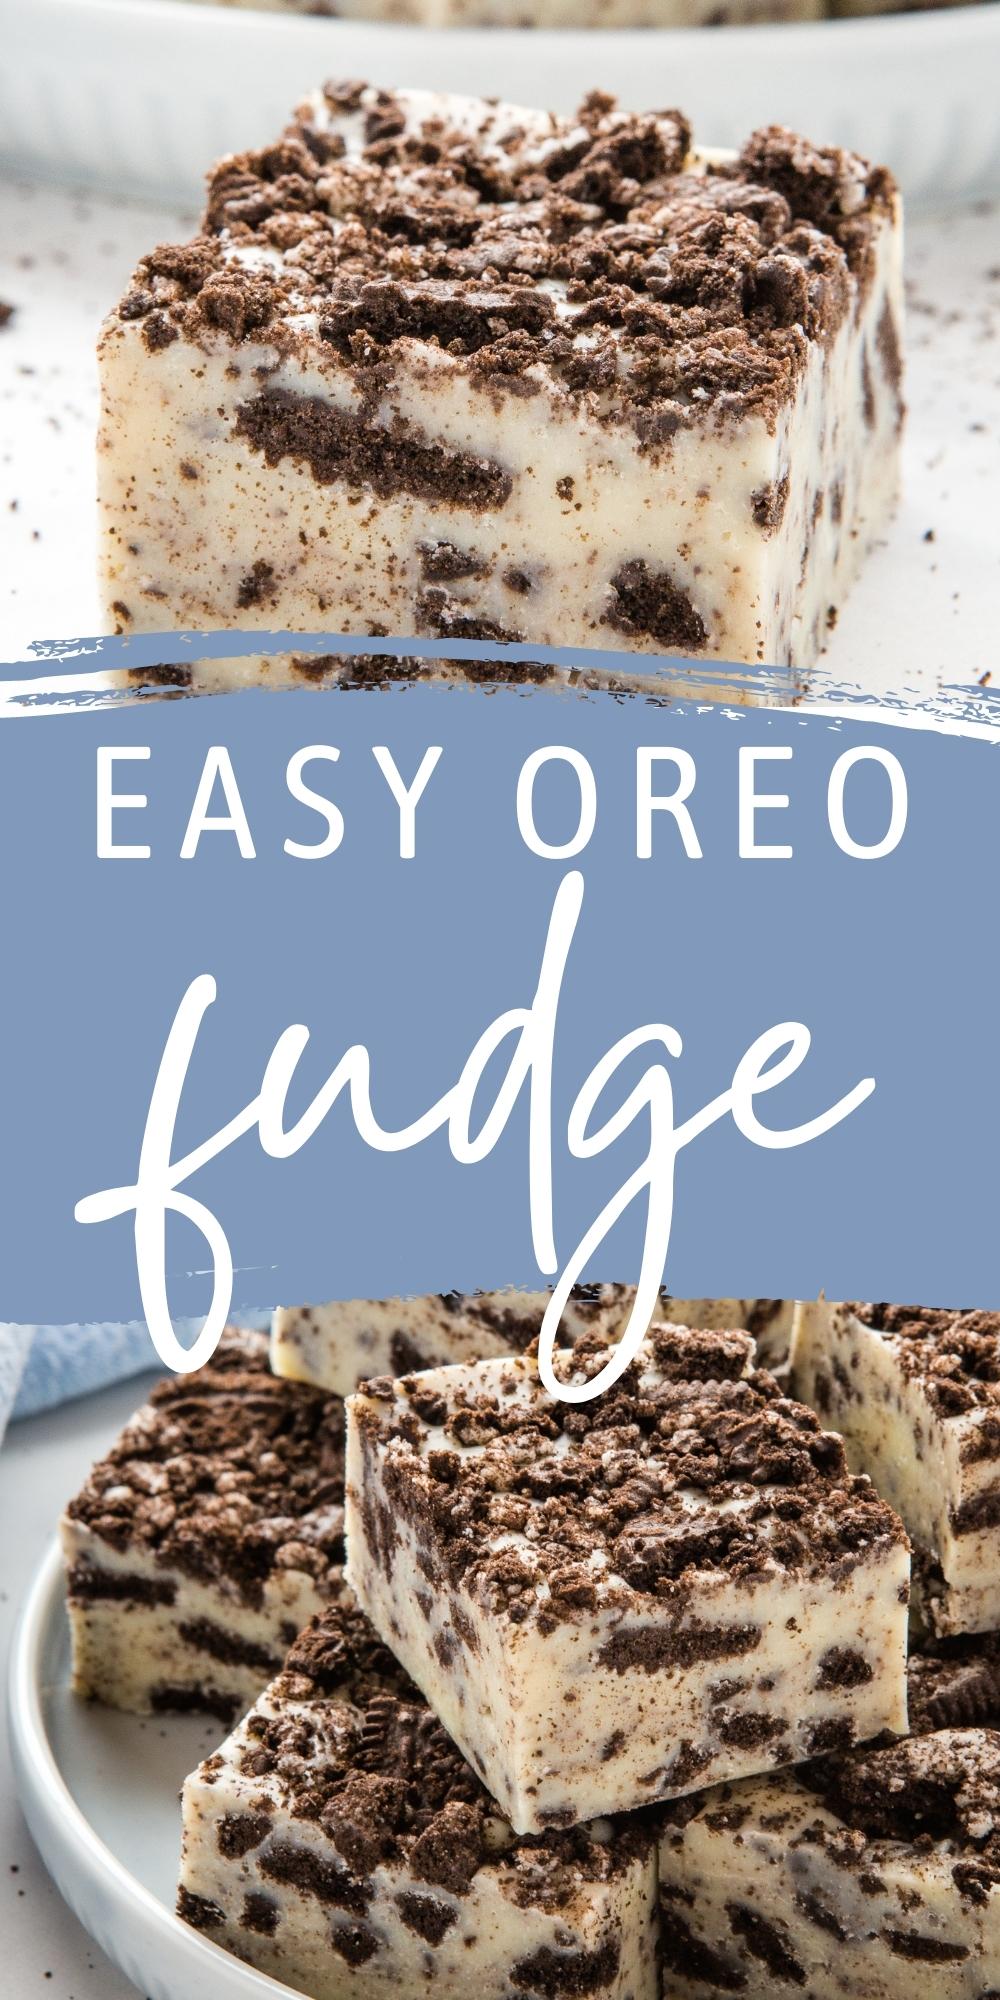
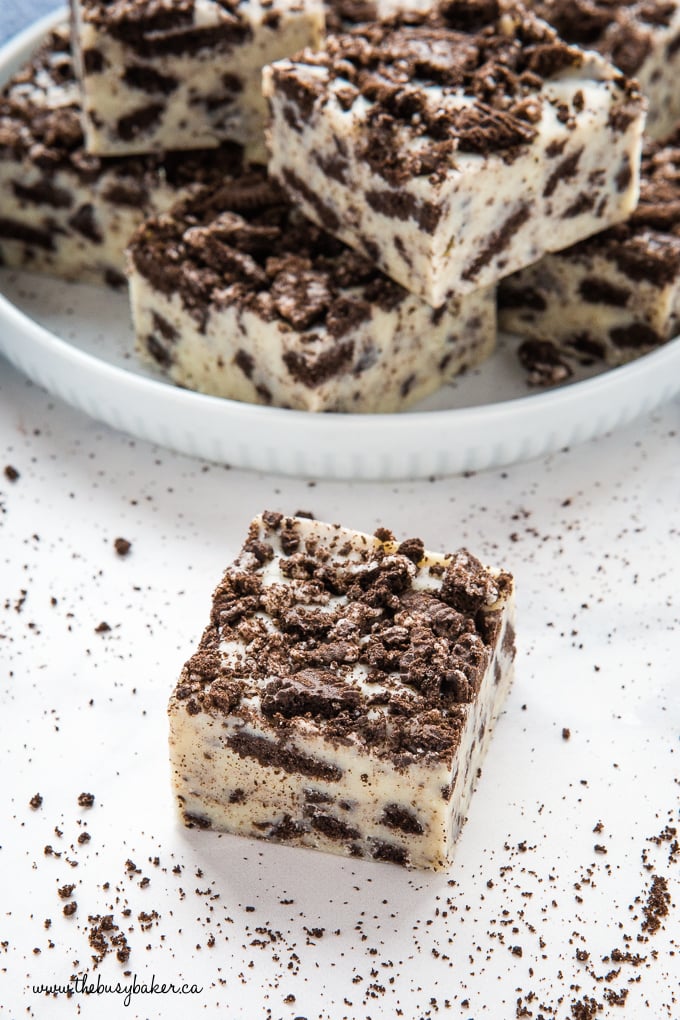
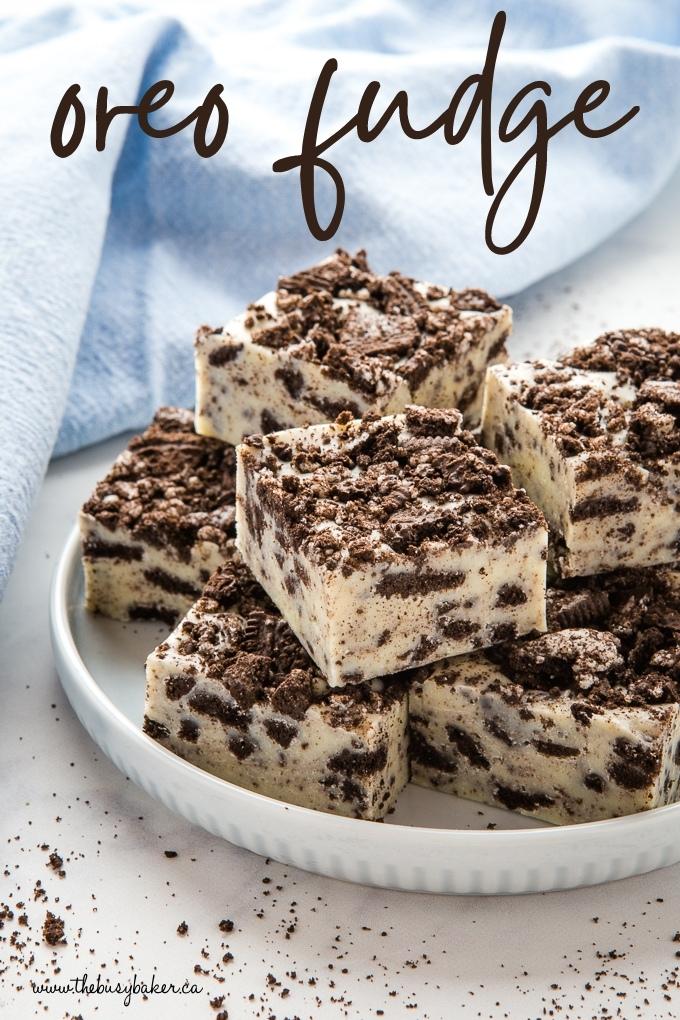
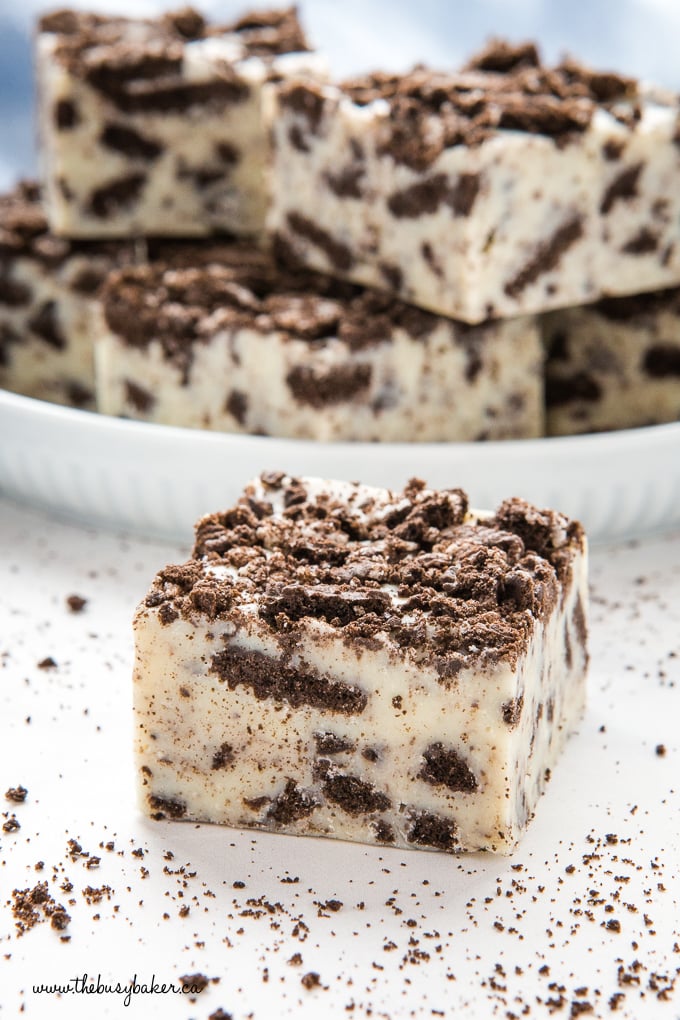
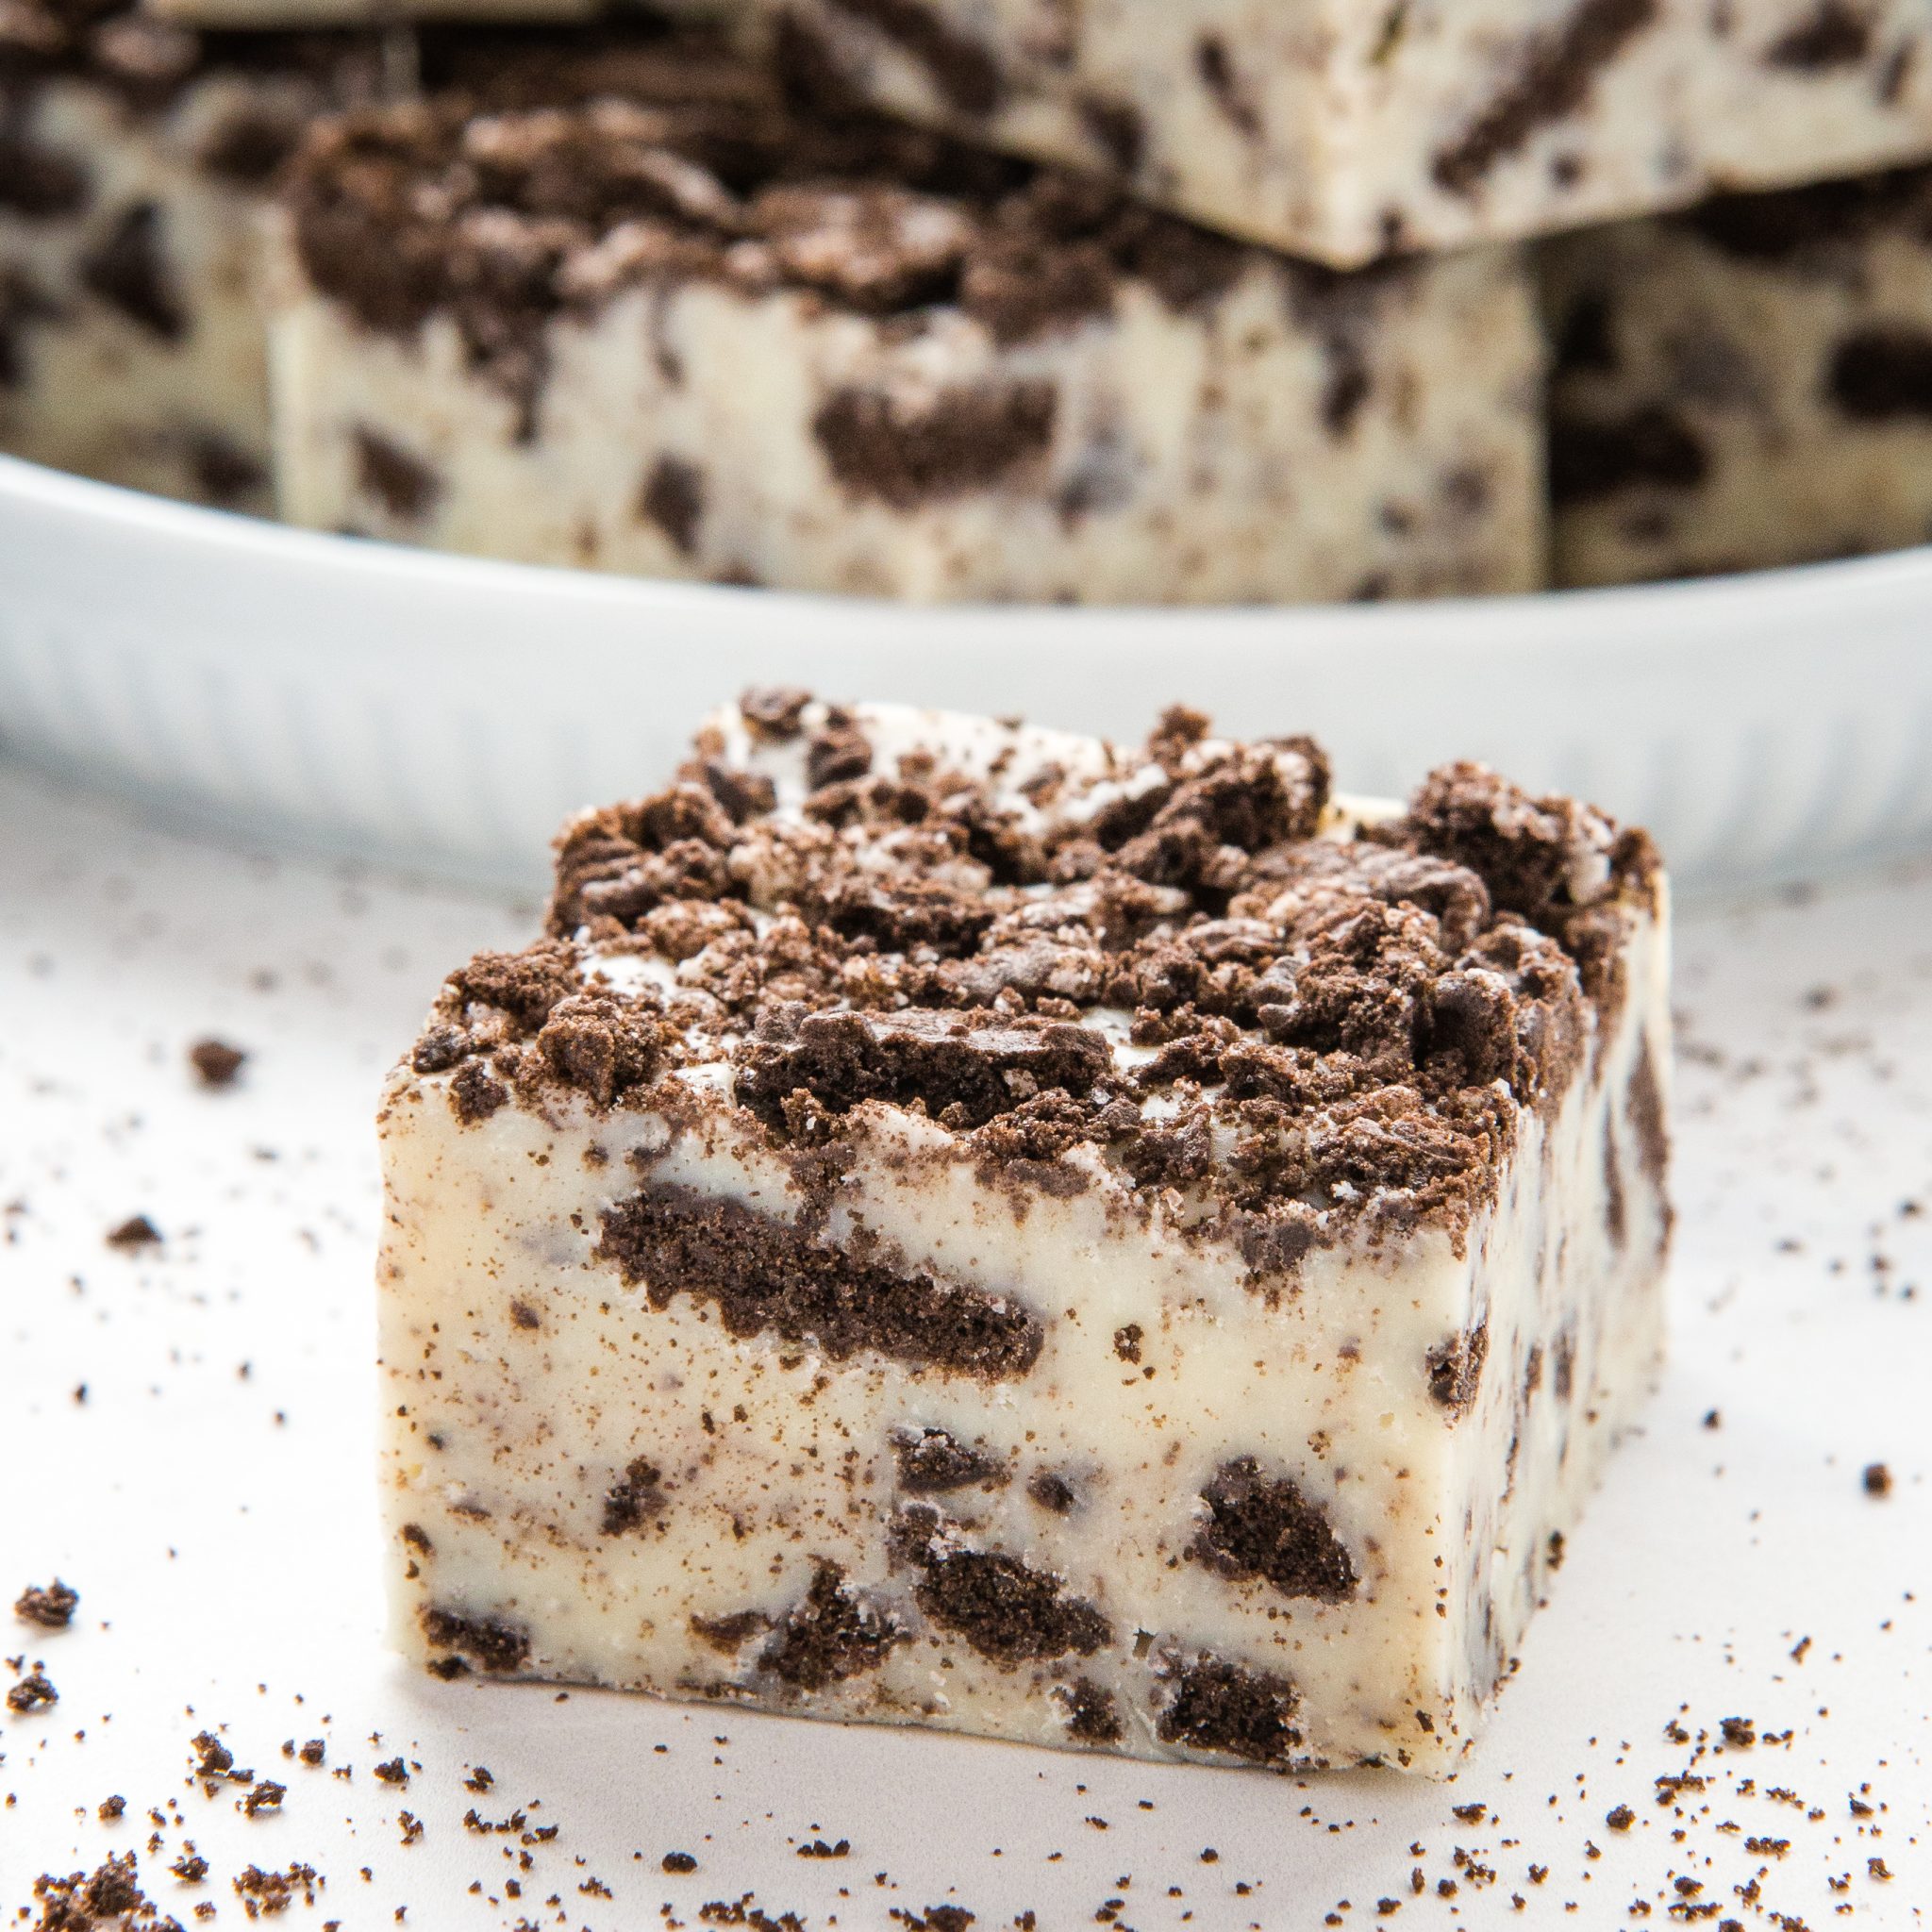
This Oreo Fudge recipe is the perfect easy-to-make treat that’s ready in minutes and made with only 3 simple pantry ingredients! A quick microwave fudge recipe – no candy thermometer required!
Estimated reading time: 6 minutes
It’s almost December again and you know what that means – it’s time to start Christmas baking! We love making homemade treats for our friends, family and neighbours during the holidays, and edible gifts are ALWAYS a good idea. This Oreo Fudge recipe makes the perfect holiday treat and edible gift – trust us, you’re going to love it!
Of course, this Oreo Fudge is not traditional fudge. You won’t need a candy thermometer and you definitely won’t need to make your own sugar syrup or anything complicated like that! This super easy Oreo Fudge is made with just 3 simple ingredients you probably already have in your pantry. It couldn’t be easier to make!
Unlike most complicated fudge recipes that need to be boiled and measured with a candy thermometer, making fudge with sweetened condensed milk lets you cut through all the complicated steps and make delicious fudge in minutes with almost no effort at all! Simply heat the condensed milk and add in the other ingredients. The chocolate will melt in the hot milk as you mix very gently.
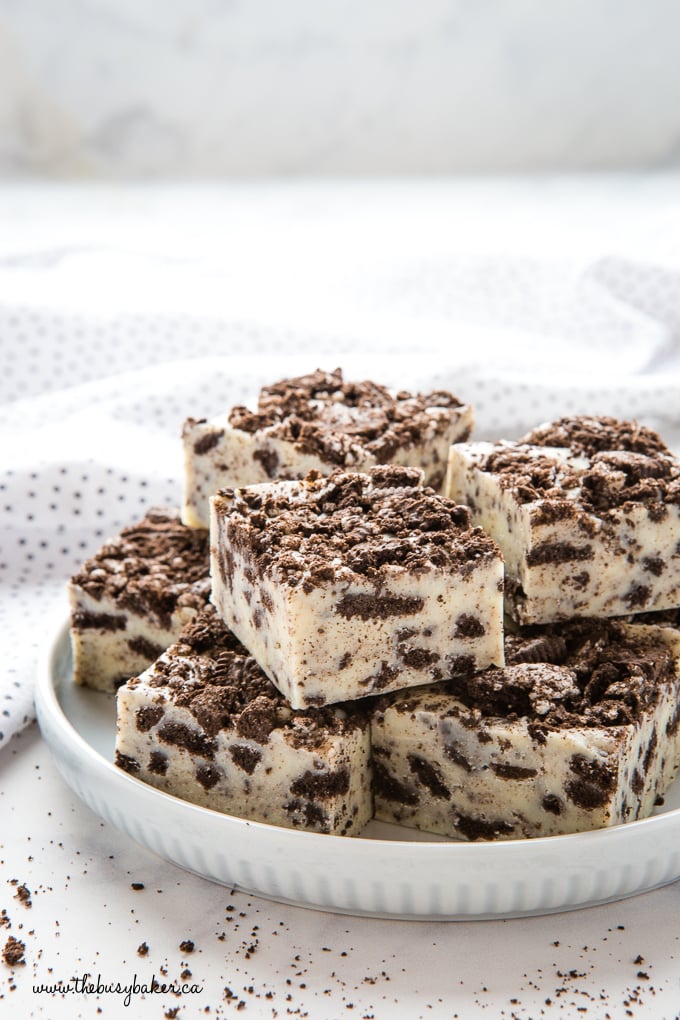
Start with high-quality chocolate and real canned sweetened condensed milk. The better the ingredients, the tastier your fudge will be and the more easily it will come together. Avoid chocolate or sweetened condensed milk with a lot of additives and a long ingredients list. These added ingredients can cause the fudge to separate and can prevent it from having the perfect texture.
Finely chopping the chocolate allows for quicker and more even melting, whether you’re using the microwave or stovetop. Be sure to use baking chocolate that you chop yourself or baking chocolate discs meant for baking and melting. Avoid using chocolate chips.
Consistent heat is key. If you’re using a microwave, heat the mixture in short bursts at medium to low temperature and stir frequently to prevent overheating or hot spots. On the stovetop, a low and steady heat and using a non-stick saucepan will prevent the bottom from scorching.
Patience pays off! When mixing the hot sweetened condensed milk with your chocolate, do it gently with a silicone spatula, not a whisk, and mix patiently until the mixture is smooth and all the chocolate is melted.
Line your pan with parchment paper for easy removal. Leave an overhang to lift the fudge out once it’s set for easy slicing.
Setting time is crucial. Refrigerate your fudge until it’s completely set, which can take a couple of hours. Rushing this process can result in a fudgy, sticky mess and pieces of fudge that don’t keep their shape.
Here’s a trick for cutting cleanly: Dip your knife in hot water and wipe it clean between cuts for the neatest, cleanest squares.
This often happens if the sugar in the condensed milk recrystallizes. To avoid this, make sure to stir the mixture just enough to blend the ingredients, but not too much as to introduce excess sugar crystals.
If your fudge hasn’t set properly, it might need more time in the fridge. However, if it’s still soft after adequate chilling, it may be due to under-measured chocolate or over-measured condensed milk.
This can be the result of overcooking the chocolate and condensed milk mixture or using too much chocolate. Remember, gentle heat and accurate measurements are your friends.
If the fats seem to separate from the mixture, it can be due to overheating, overmixing, or using poor quality ingredients. Next time, reduce the heat and heat slowly. Be sure to mix until just combined.
Be sure your condensed milk is not past its expiry date as it can affect how the fudge sets. Also, check that you’ve used the correct ratio of ingredients.
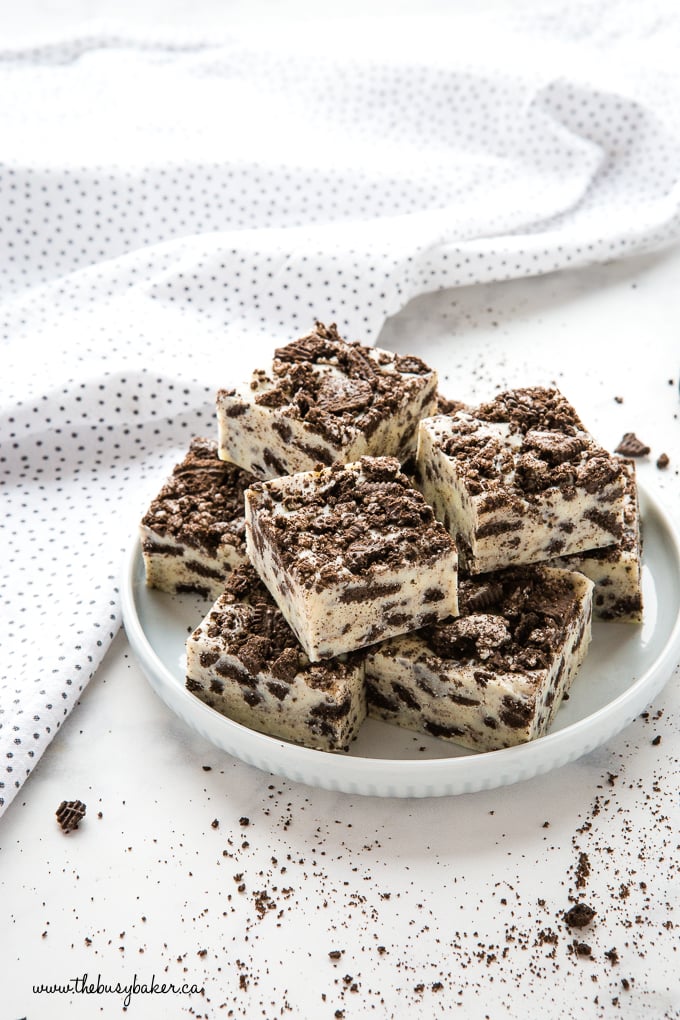
When it comes to holiday baking fudge is a classic treat! We’ve shared so many holiday sweets and treats with you here on The Busy Baker – here are our readers’ favourites:
- Whipped Shortbread Holiday Cookies (Christmas)
- Peanut Butter Fudge
- Earl Grey Cookies with Lemon Glaze (Shortbread Recipe)
- Peppermint White Chocolate Shortbread Cookies
- Chocolate Crinkle Cookies
- Chocolate Caramel Shortbread Bars (Homemade Twix Bars)
- Easy 3-Ingredient Chocolate Orange Fudge
And if you’re looking for more delicious holiday recipes, we have a FREE Guide to surviving the holidays with all the best tips, tricks and recipes for simple holiday meals. Sign up for FREE below:
And there’s more where that came from! Our Easy No Fail Holiday Meals Guide is available now in The Busy Baker Shop!

EASY NO-FAIL HOLIDAY RECIPES AND COOKING & BAKING TIPS
Get my easy no-fail holiday meals e-cookbook!
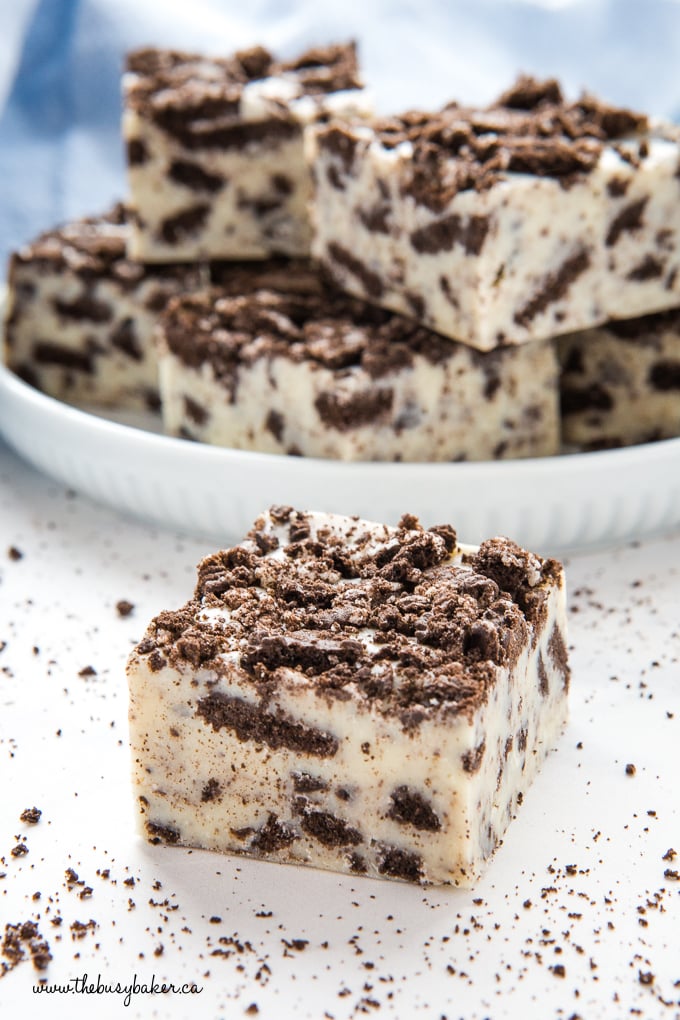
Here’s a list of the basic kitchen equipment you’ll need to make this delicious stovetop or microwave Oreo fudge recipe (paid links):
- a medium-sized pot, bonus if it’s non-stick
- measuring cups
- a chopping board
- a good knife for chopping
- a silicone spatula
- an 8-inch by 8-inch square baking pan
- parchment paper
- a microwave (optional, for the microwave version)
- a microwave-safe mixing bowl (optional, for the microwave version)
Holiday baking requires that you have some basic kitchen equipment on hand. Here’s a list of our favourite kitchen items for baking during the holiday season (paid links):
- A Stand Mixer. A stand mixer is one of our favourite pieces of kitchen equipment, especially for holiday baking. It makes whipping up cookie dough or dough for cinnamon buns an absolute breeze, and whipping cream or egg whites takes almost no effort at all with a stand mixer. This KitchenAid stand mixer is one we’ve used for almost 20 years and we love it!
- A Hand Mixer. A good quality hand mixer is a great substitute for a stand mixer if you don’t have one and a stand mixer isn’t a good fit for your budget. We love our KitchenAid hand mixer and use it all the time in The Busy Baker kitchen!
- Good Quality Mixing Bowls. Having a set of good mixing bowls is critical for holiday baking. Whether you’re melting chocolate or whipping up cookie dough, these stainless steel mixing bowls do a great job!
- Measuring Cups and Spoons. Measuring your ingredients properly is an important part of baking. Here’s a set of measuring cups and spoons for dry ingredients we recommend.
- Liquid Measuring Cups. When measuring liquid ingredients it’s important to use measuring cups that are meant for measuring liquids. These liquid measuring cups are our favourite ones.
- A Kitchen Scale. If you’re preparing a more difficult recipe that requires that your ingredient amounts be precise, a kitchen scale is great because you can accurately measure your ingredients in grams or ounces. Here’s our favourite kitchen scale we use almost daily.
- A Whisk. A whisk is an important tool for blending dry ingredients, making glazes or sauces, and so many other uses! Here’s our favourite whisk to use for baking.
- A Silicone Spatula. A silicone spatula is great for scraping down the bowl when baking, and incorporating ingredients together without adding air into your batter. It’s always a bonus when your silicone spatulas are heat safe for making caramel on the stovetop. Check out our favourite silicone spatulas for baking!
- Microwave Safe Bowls. Because you can’t put metal in the microwave, having a good set of glass or pyrex bowls is important for tasks like melting chocolate in the microwave. Here’s our favourite set of pyrex bowls for baking.
- Baking Sheets. What kind of baking sheets you use will depend on the size of your oven, but these Nordic Ware Baking Sheets and these Wilton Baking Sheets are our top 2 favourite baking sheets for all our baking needs.
- Parchment Paper. We always stock up on parchment paper before the holidays because it’s the best way to keep your baking sheets from becoming stained, it prevents your cookies from sticking when baking, and it helps keep your holiday treats looking beautiful when they’re packed and stored in the freezer.
- A Cookie Scoop. We love our cookie scoop and use it every single time we bake cookies! It creates cookies that are uniform in size and shape which helps them not only look beautiful but also bake evenly!
- A Silicone Turner. Removing your cookies from the baking sheet with precision requires a turner that easily slips underneath the cookies. Here’s our favourite silicone turner for this job!
- Cooling Racks. Cooling your holiday baking before before storing is absolutely critical, so having a set of cooling racks on hand is essential!
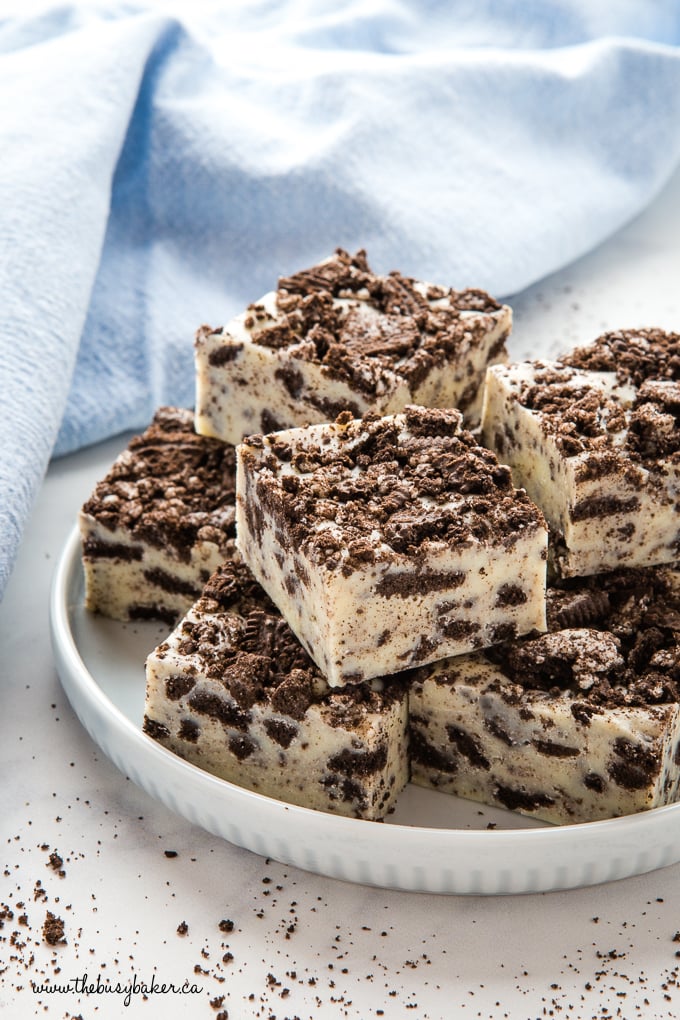
Here’s a list of the ingredients you’ll need to make this homemade Oreo Fudge recipe (paid links):
- 15-18 Oreo Cookies
- 400 grams white chocolate approximately 14 ounces
- 1 small can sweetened condensed milk approximately 14 ounces or 397 grams
- 1/2 teaspoon vanilla extract optional
Time needed: 2 hours and 10 minutes
Follow these steps to make this Oreo fudge recipe!
- Choose high quality chocolate.
White chocolate that’s made for baking is the best kind to choose, instead of conventional white chocolate found in the candy bar section of your grocery store. White couverture chocolate is the best since it’s pre-tempered and creates a nice texture.
- Heat the condensed milk slowly.
Simply melt the chocolate in the microwave in 20 or 30-second increments, on the lowest heat setting. Stir every 20-30 seconds just until melted.
- Melt the chocolate slowly.
Incorporate the chopped chocolate and let it melt in the hot condensed milk. This will help the mixture stay smooth and help it not to harden too quickly.
- Crush the Oreo cookies.
Don’t crush the cookies too finely – medium-sized chunks are best for this fudge.
- Refrigerate to set.
Let the fudge harden a little bit in the fridge, just until you’re able to slice it.
To make this recipe even easier, here’s how to make this Fudge recipe in the microwave:
- Add the sweetened condensed milk to a microwave-safe bowl. Chop the chocolate into very small pieces and set it aside.
- Microwave the sweetened condensed milk in 30 to 45 second increments at 50% power until it’s hot and very liquid. It should become very fluid.
- Add the chopped chocolate to the hot sweetened condensed milk and stir gently with a silicone spatula. Try not to incorporate any air into the mixture – you simply want the chocolate to melt in the warm liquid.
- Once the chocolate has melted completely and you’ve added the crushed Oreos, pour it into the prepared pan and refrigerate to set.
What is in homemade fudge?
This recipe contains only 3 ingredients: sweetened condensed milk, white chocolate, and Oreos.
What is the secret to good fudge?
The secret to good fudge is high-quality chocolate. Be sure to use chocolate meant for melting and baking for best results.
Can I make fudge without using a candy thermometer?
Yes! Our 3-ingredient recipe doesn’t require one. Just be sure to follow the cooking times and instructions closely.
How long does homemade fudge last?
Homemade fudge can last up to 2-3 weeks when stored in an airtight container in the refrigerator. It can be stored longer if frozen.
Why did my homemade fudge separate?
If it separated, it’s likely because the mixture cooled too quickly, probably because the sweetened condensed milk wasn’t hot enough. It could also be that the chocolate used had additives or preservatives that prevent it from mixing well. Be sure to use high-quality chocolate so your fudge is smooth.
Should I add salt to homemade fudge?
Adding salt to homemade fudge is optional but adding a pinch or two of salt can enhance the flavour.
We hope you enjoy this Oreo fudge recipe as much as we do! Let us know in the comments below, what’s your favourite holiday treat? We’d love to know!
If you made this, share a photo!
Are you trying this recipe? Use the comment form below to share your take; now with support for image uploads and comment voting!
Oreo Fudge
Recipe: Ingredients
- 15-18 Oreo Cookies
- 400 grams high-quality white chocolate (use baking chocolate, not white chocolate chips), approximately 14 ounces
- 1 small can sweetened condensed milk approximately 14 ounces or 397 grams
- 1/2 teaspoon vanilla extract optional
Recipe: Instructions
- Crush the Oreo Cookies in a Ziploc bag until the cookies are in small to medium chunks. Set aside.
- Chop the white chocolate or break it into small chunks (or use white couverture chocolate drops).
- Add the sweetened condensed milk to a microwave safe bowl and heat in the microwave on 30-50% power for 20 to 30-second increments, stirring well after each increment, until hot.
- To make it on the stovetop, add the sweetened condensed milk to a non-stick saucepan and heat it until very warm but not boiling. Remove it from the heat.
- Add the chopped chocolate to the hot milk and stir gently with a silicone spatula, just until the chocolate is melted and everything is combined.
- Add about 2/3 of the Oreo Cookie crumbs into the mixture and stir to distribute them throughout the mixture.
- Press the fudge mixture into an 8-inch by 8-inch square baking pan lined with parchment paper.
- Sprinkle the remaining Oreo Cookie crumbs onto the top of the fudge and press them into the top lightly.
- Refrigerate for at least 2 hours or overnight before slicing.
- Store in the fridge in an airtight container until ready to serve.
Recipe: Notes
Storage Instructions
Store the fudge after it’s been sliced in an airtight container in the fridge.Make-Ahead and Freezer Instructions
The fudge can also be made in advance and stored in the freezer in an airtight container for up to a month.Recipe: Nutrition
Notice: Nutrition is auto-calculated, using Spoonacular, for your convenience. Where relevant, we recommend using your own nutrition calculations.
