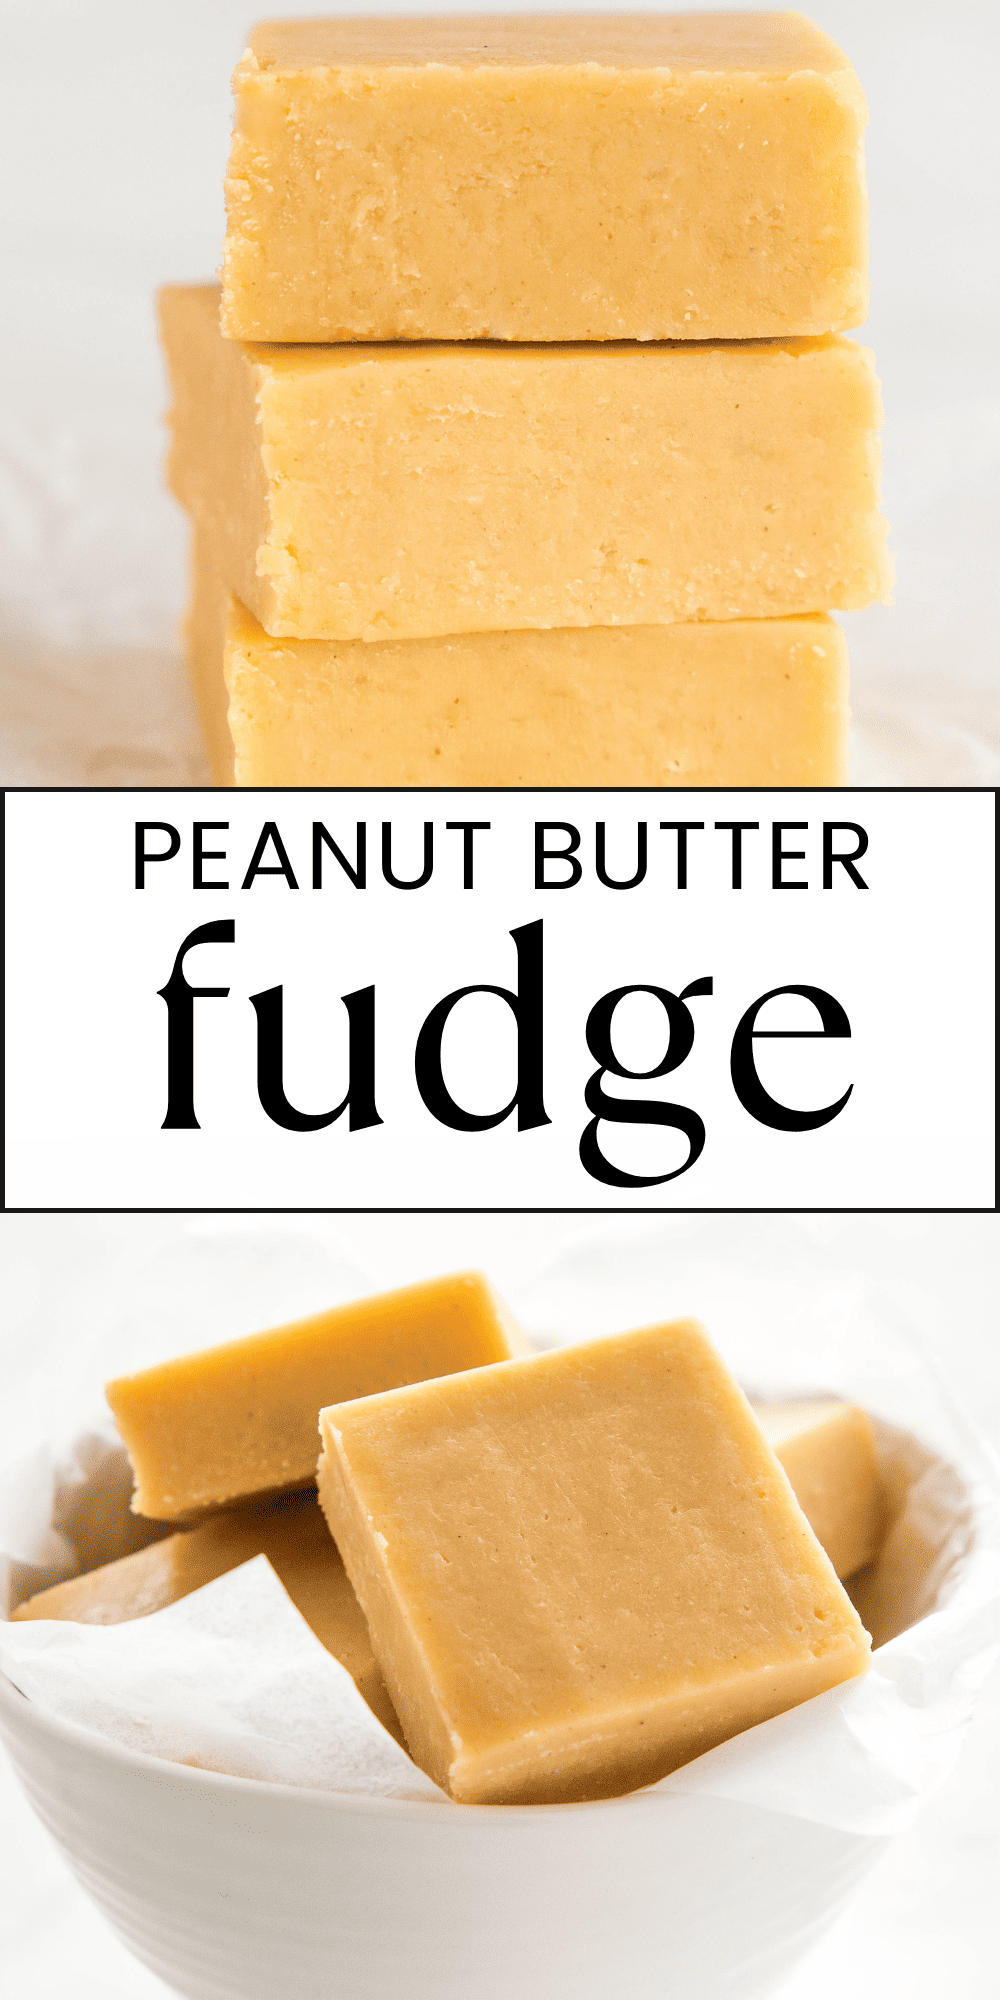
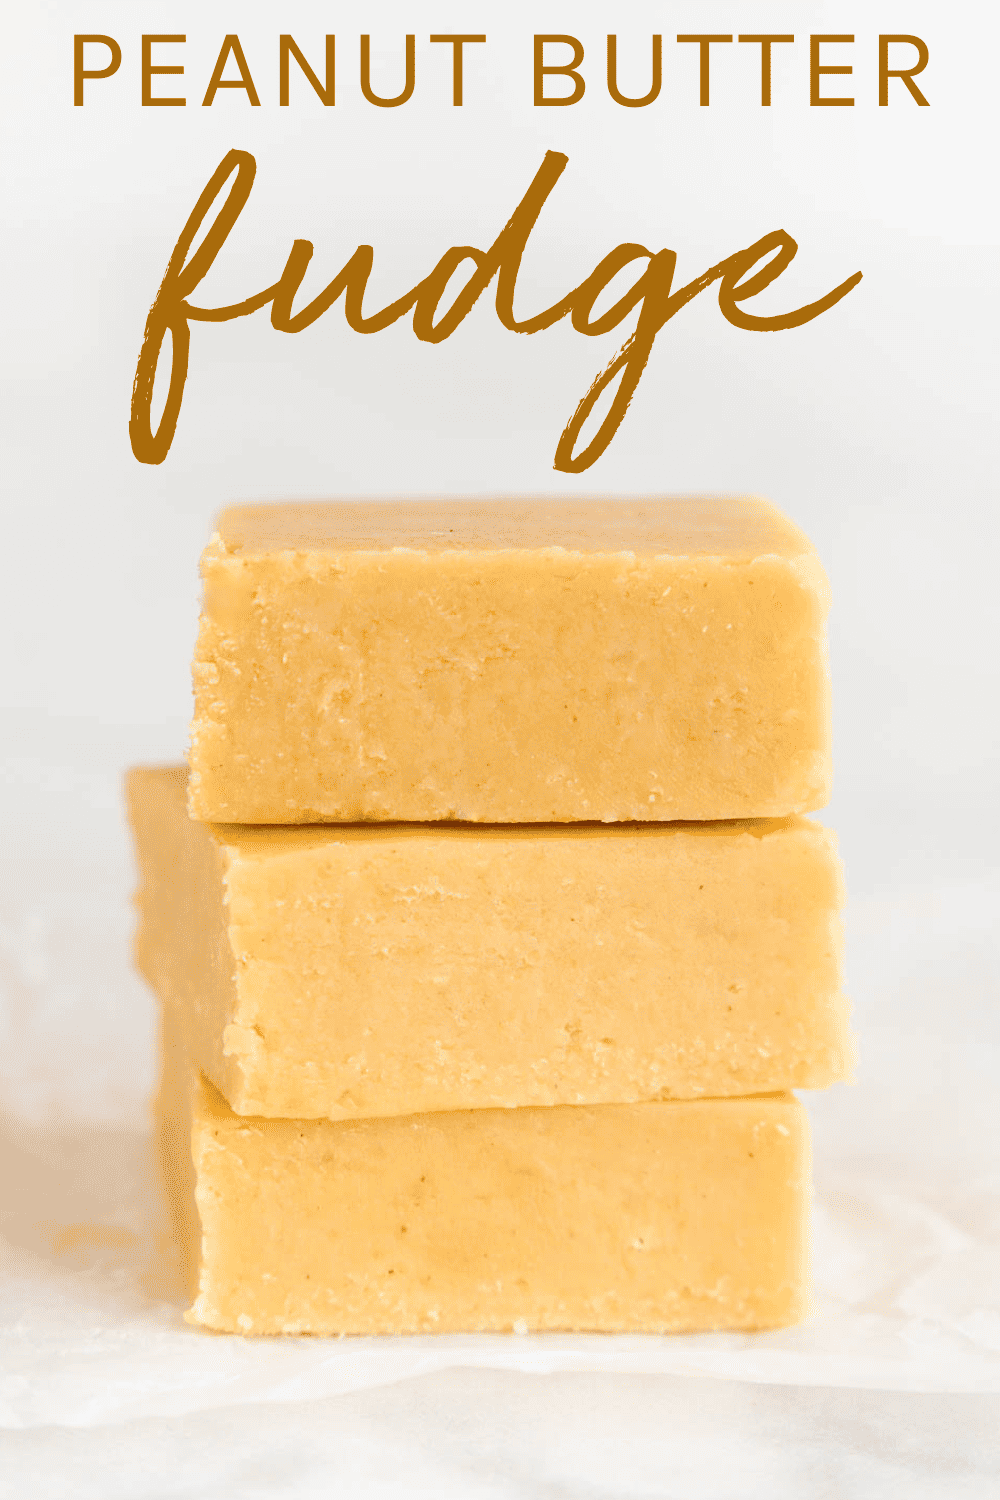
This Peanut Butter Fudge Recipe is the perfect easy-to-make treat that’s ready in minutes and made with only 3 ingredients! Quick stove-top or microwave peanut butter fudge – no candy thermometer required!
Estimated reading time: 9 minutes
Fudge is one of the most classic and iconic homemade candy recipes, and it’s a staple on holiday baking lists everywhere! This Peanut Butter Fudge recipe is one of our favourite recipes to make for holiday baking trays and cookie swaps. It makes the perfect edible gift at Christmas and believe it or not, it’s one of the easiest holiday treats you’ll ever make!
Unlike most complicated fudge recipes that need to be boiled and measured with a candy thermometer, making fudge with sweetened condensed milk let you cut through all the complicated steps and make delicious fudge in minutes with almost no effort at all!
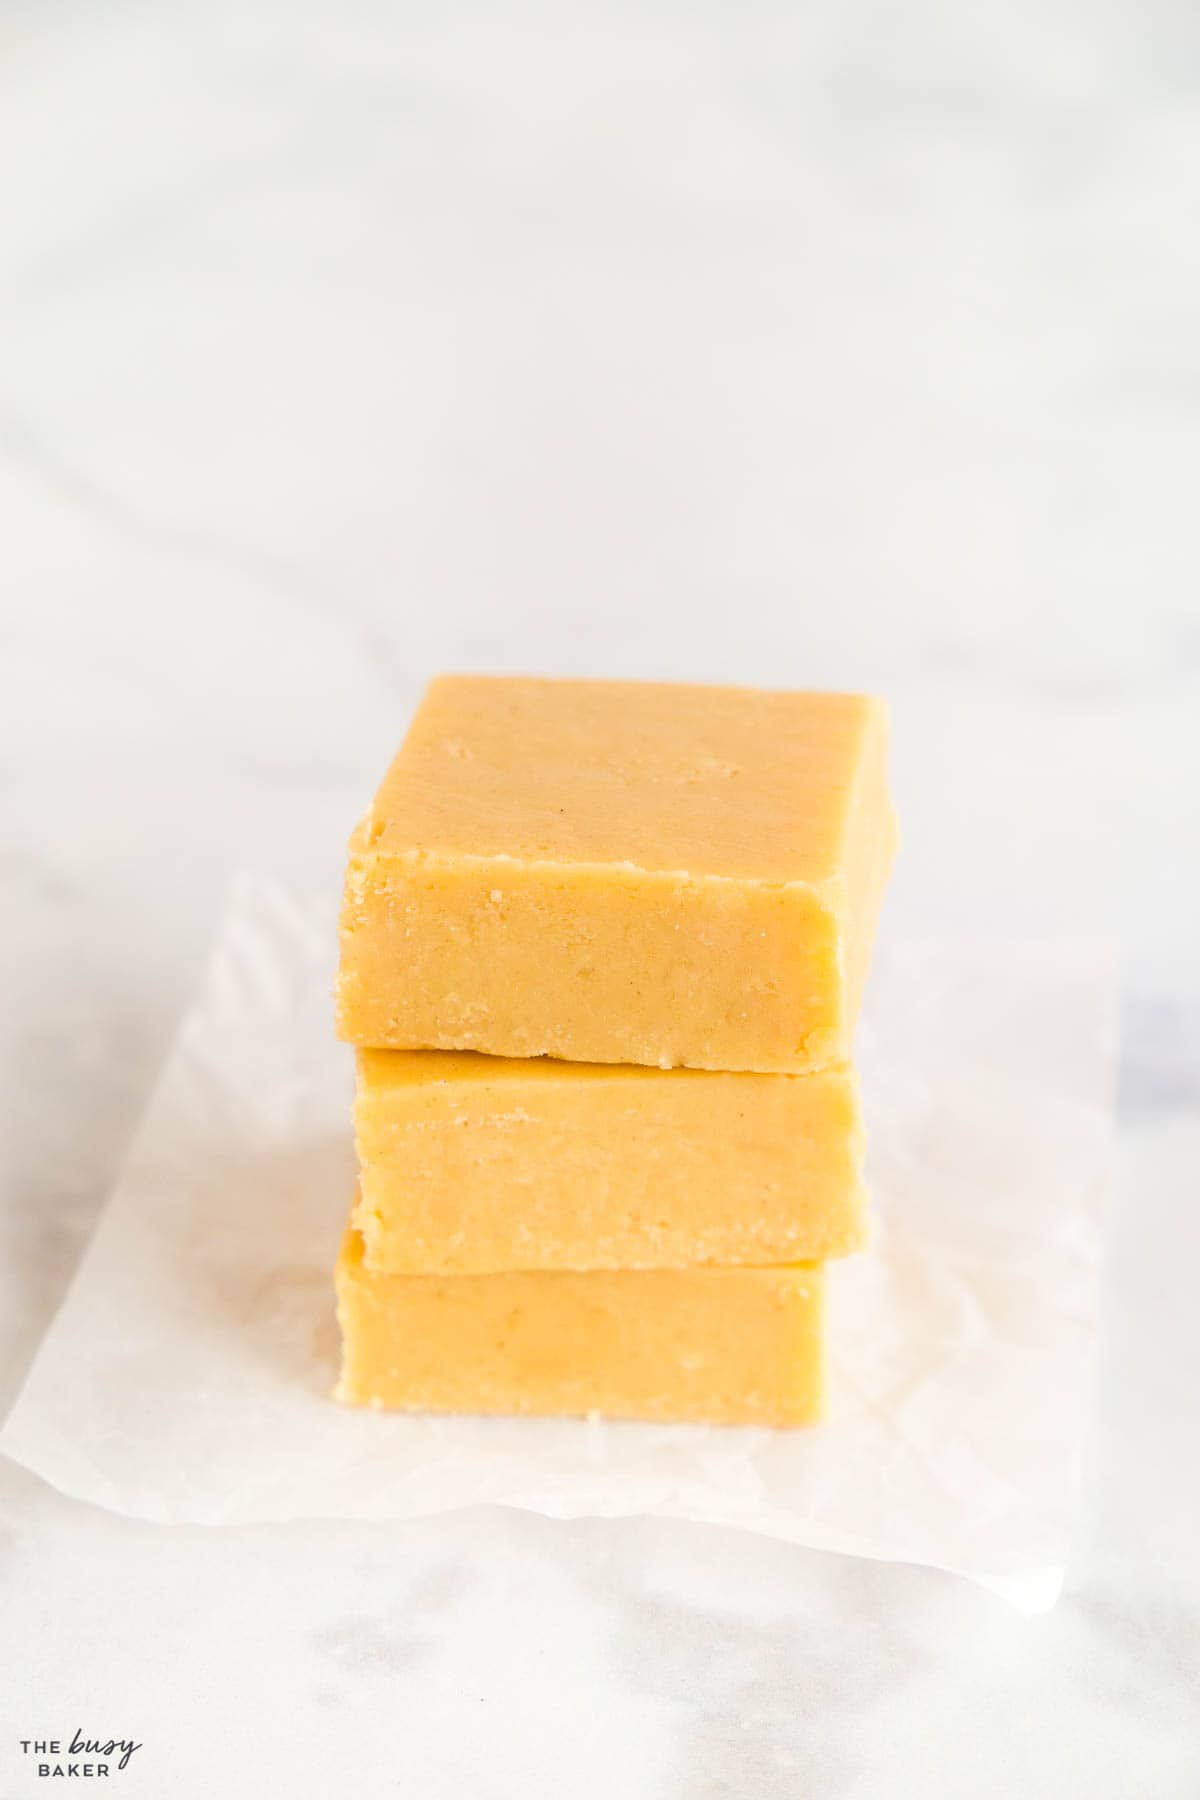
Start with high-quality chocolate and real canned sweetened condensed milk. The better the ingredients, the tastier your fudge will be and the more easily it will come together. Avoid chocolate or sweetened condensed milk with a lot of additives and a long ingredients list. These added ingredients can cause the fudge to separate and can prevent it from having the perfect texture.
Finely chopping the chocolate allows for quicker and more even melting, whether you’re using the microwave or stovetop. Be sure to use baking chocolate that you chop yourself, or baking chocolate discs meant for baking and melting. Avoid using chocolate chips.
Consistent Heat is Key – If you’re using a microwave, heat the mixture in short bursts at medium to low temperature and stir frequently to prevent overheating or hot spots. On the stovetop, a low and steady heat and using a non-stick saucepan will prevent the bottom from scorching.
Patience pays off! When mixing the hot sweetened condensed milk with your chocolate, do it gently with a silicone spatula, not a whisk, and mix patiently until the mixture is smooth and all the chocolate is melted.
Line your pan with parchment paper to line your pan for easy removal. Leave an overhang to lift the fudge out once it’s set for easy slicing.
Setting Time is Crucial. Refrigerate your fudge until it’s completely set, which can take a couple of hours. Rushing this process can result in a fudgy, sticky mess and pieces of fudge that don’t keep their shape.
Here’s a trick for cutting cleanly: Dip your knife in hot water and wipe it clean between cuts for the neatest, cleanest squares.
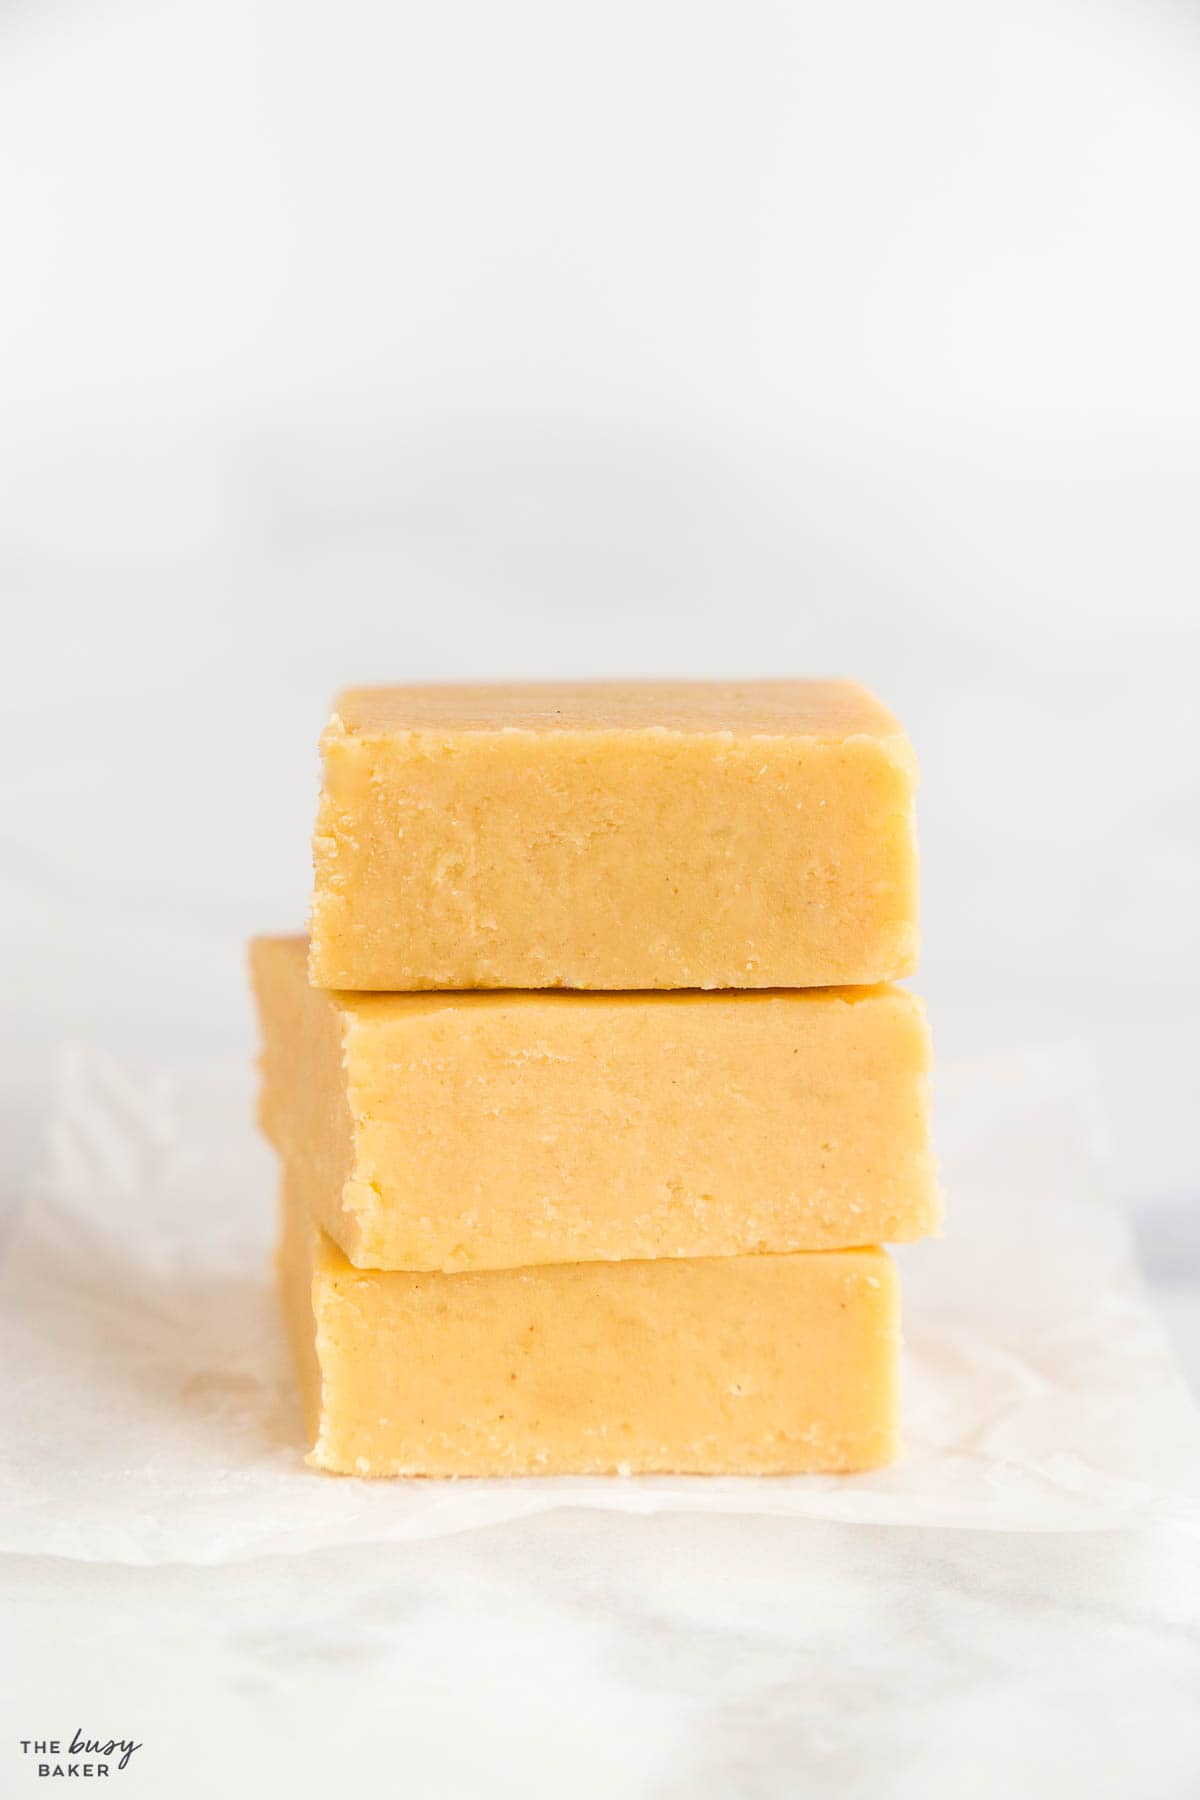
This often happens if the sugar in the condensed milk recrystallizes. To avoid this, make sure to stir the mixture just enough to blend the ingredients, but not too much as to introduce excess sugar crystals.
If your fudge hasn’t set properly, it might need more time in the fridge. However, if it’s still soft after adequate chilling, it may be due to under-measured chocolate or over-measured condensed milk.
This can be the result of overcooking the chocolate and condensed milk mixture or using too much chocolate. Remember, gentle heat and accurate measurements are your friends.
If the fats seem to separate from the mixture, it can be due to overheating, overmixing, or using poor quality ingredients. Next time, reduce the heat and heat slowly. Be sure to mix until just combined.
Be sure your condensed milk is not past its expiry date as it can affect how the fudge sets. Also, check that you’ve used the correct ratio of ingredients.
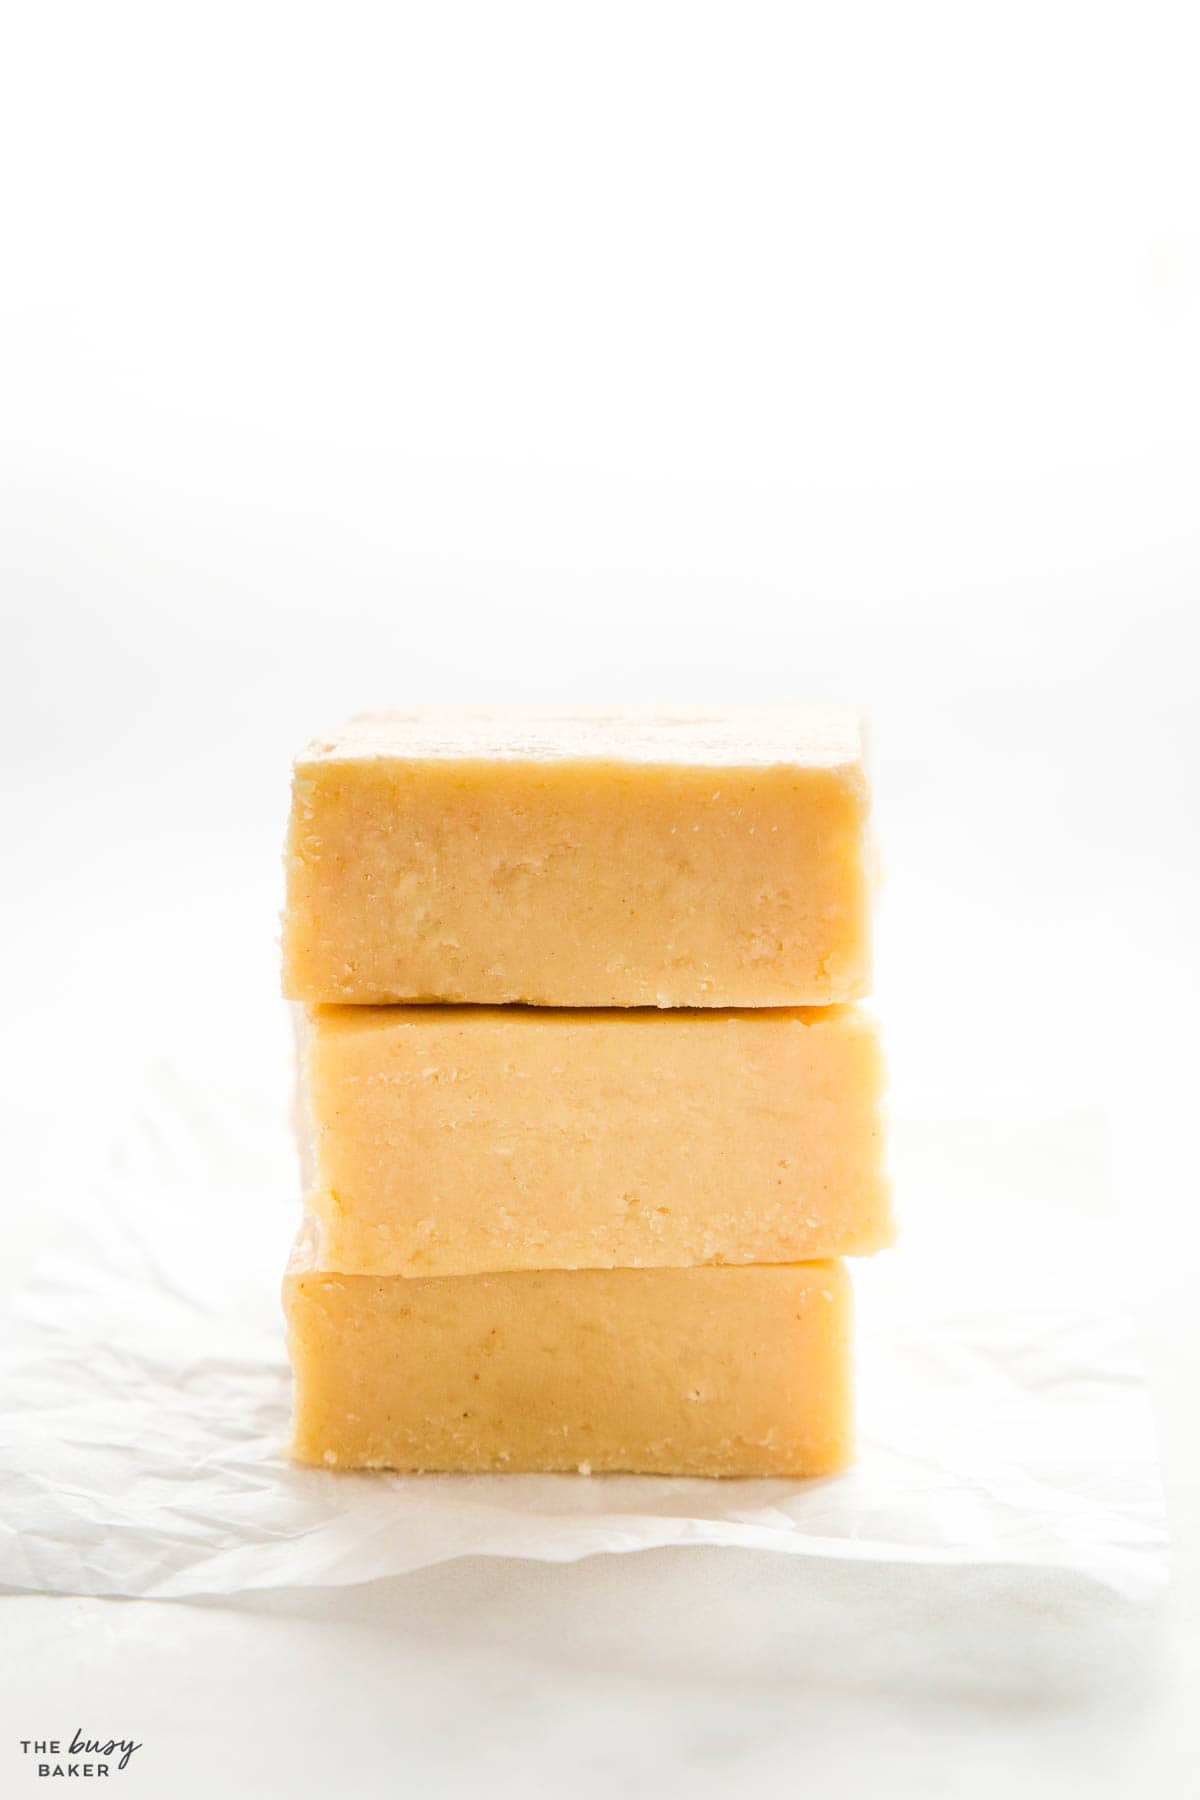
When it comes to holiday baking fudge is a classic treat! We’ve shared so many holiday sweets and treats with you here on The Busy Baker – here are our readers’ favourites:
- Whipped Shortbread Holiday Cookies (Christmas)
- Earl Grey Cookies with Lemon Glaze (Shortbread Recipe)
- Oreo Fudge
- Peppermint White Chocolate Shortbread Cookies
- Chocolate Crinkle Cookies
- Chocolate Caramel Shortbread Bars (Homemade Twix Bars)
- Easy 3-Ingredient Chocolate Orange Fudge
And if you’re looking for more delicious holiday recipes, we have a FREE Guide to surviving the holidays with all the best tips, tricks and recipes for simple holiday meals. Sign up for FREE below:
And there’s more where that came from! Our Easy No Fail Holiday Meals Guide is available now in The Busy Baker Shop!

EASY NO-FAIL HOLIDAY RECIPES AND COOKING & BAKING TIPS
Get my easy no-fail holiday meals e-cookbook!
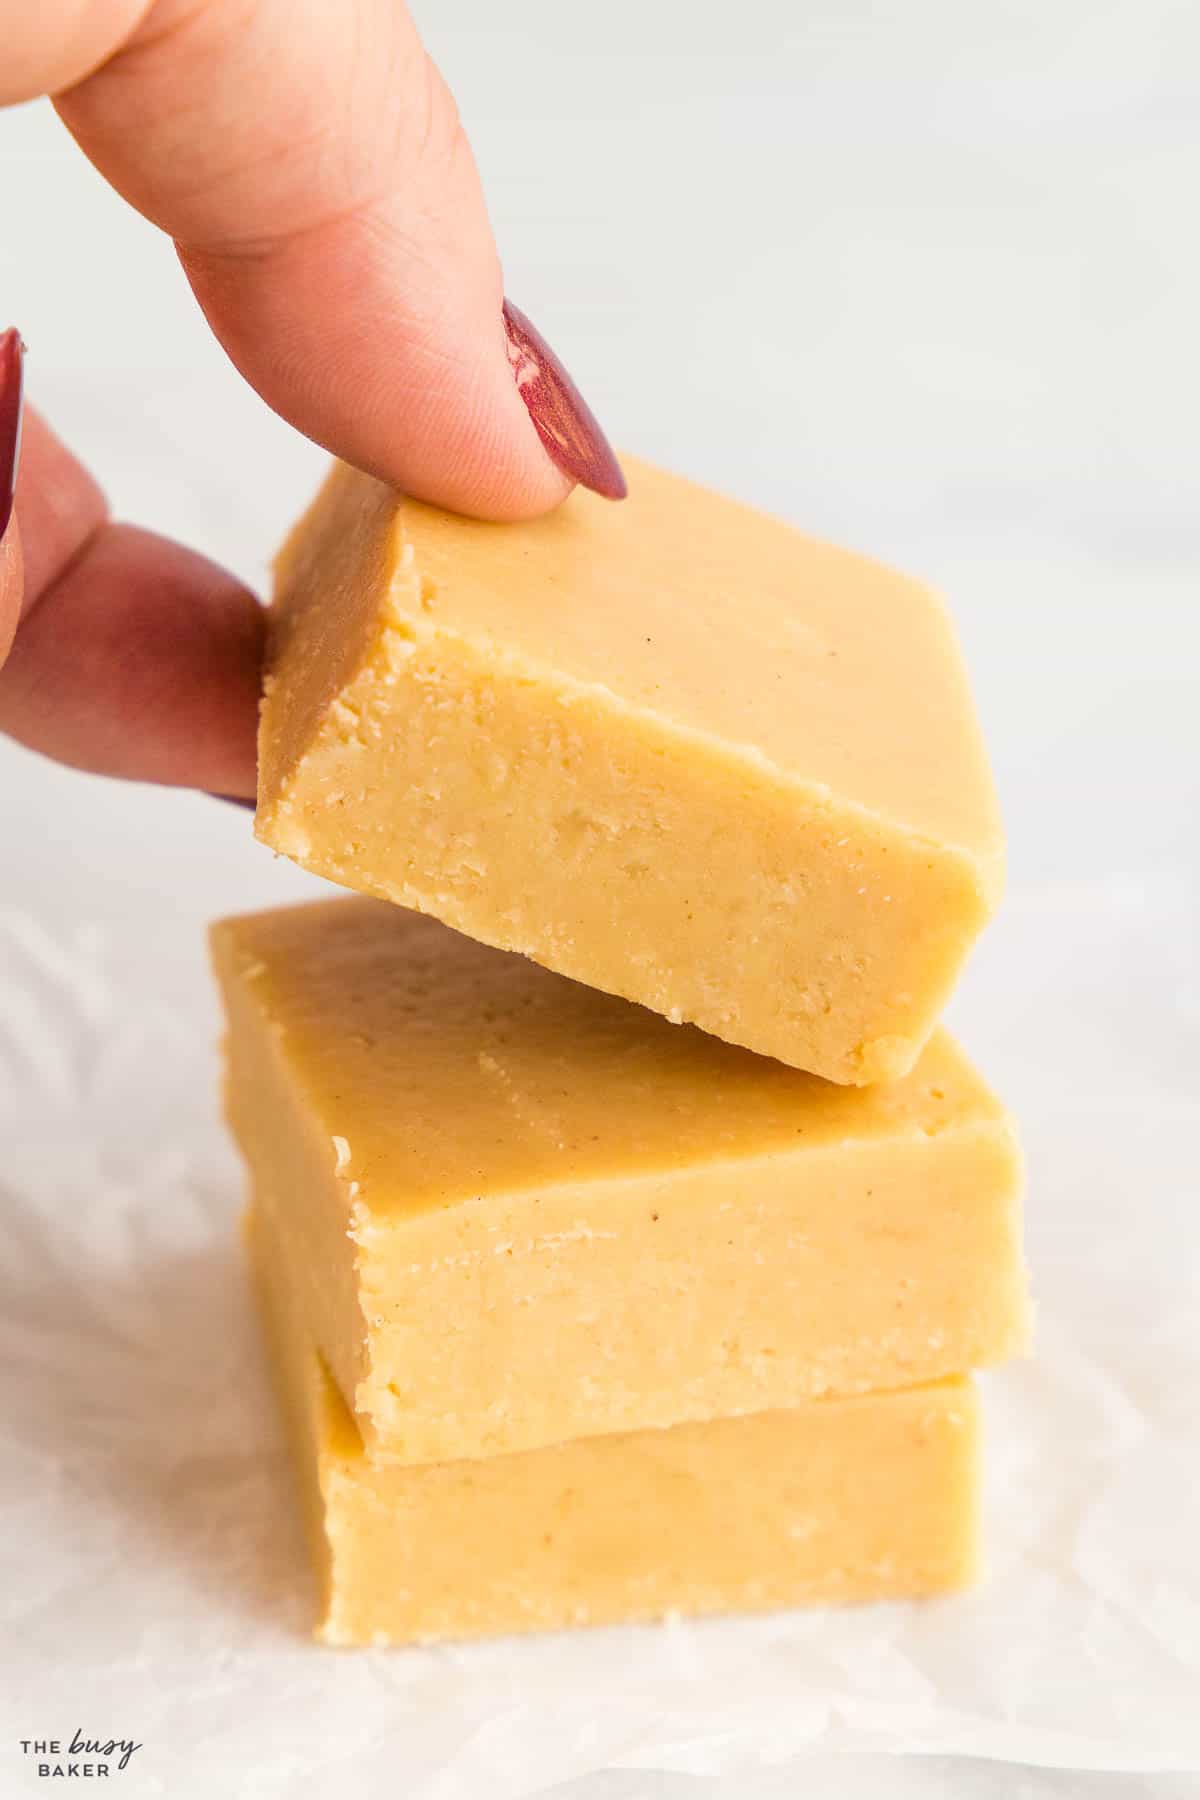
Here’s a list of the basic kitchen equipment you’ll need to make this delicious stovetop or microwave peanut butter fudge recipe (paid links):
- a medium-sized pot, bonus if it’s non-stick
- measuring cups
- a chopping board
- a good knife for chopping
- a silicone spatula
- an 8-inch by 8-inch square baking pan
- parchment paper
- a microwave (optional, for the microwave version)
- a microwave-safe mixing bowl (optional, for the microwave version)
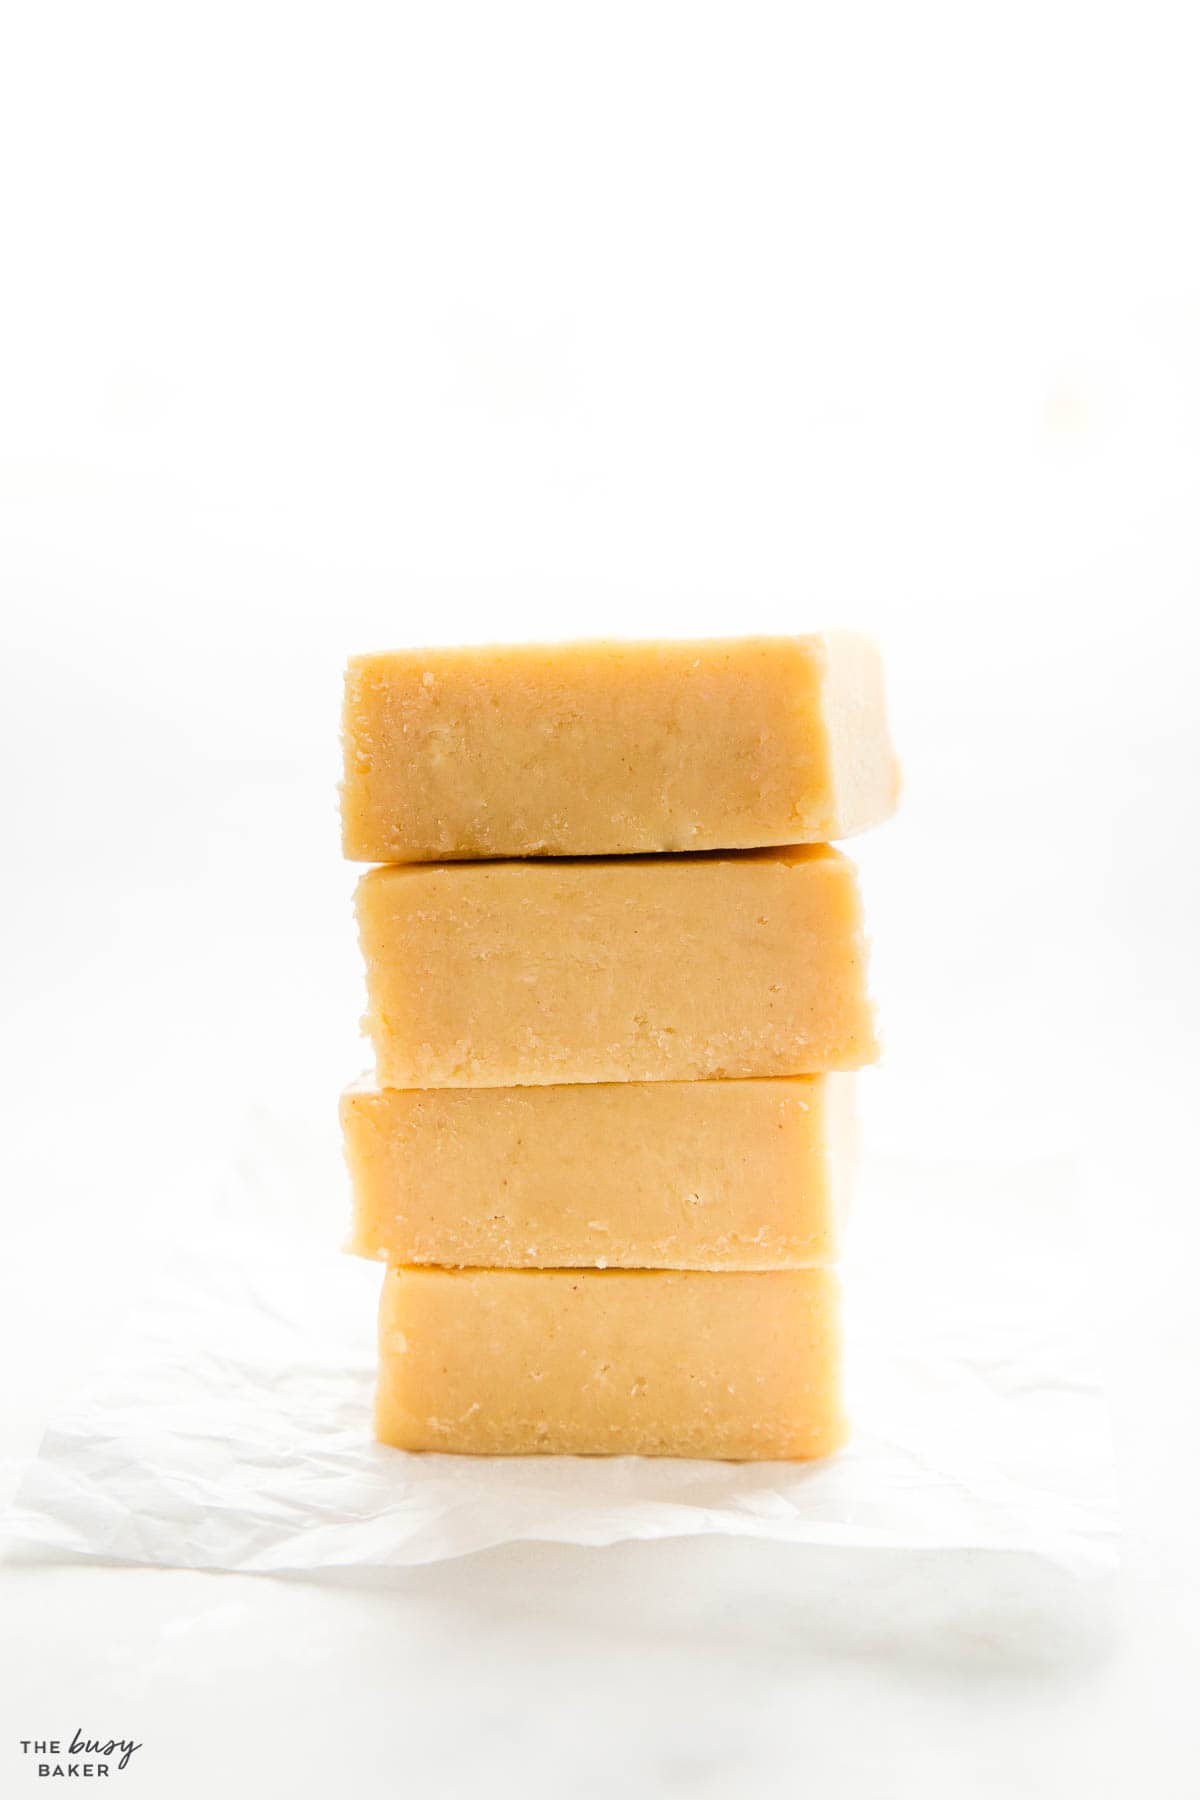
Here’s a list of the ingredients you’ll need to make this stovetop or microwave peanut butter fudge recipe (paid links):
- Chocolate: Add melted chocolate instead of white chocolate for a delicious chocolate and peanut butter combination.
- Peanut Butter and Jelly: Incorporate fruit jam or jelly into the fudge mixture to mimic the classic peanut butter and jelly sandwich flavour.
- Chunky Peanut Butter: Add coarsely chopped peanuts or use crunch peanut butter to add a crunchy texture.
- Snickers: Combine chopped Snickers or other peanut and caramel candy bars into the fudge mixture for a candy bar-inspired treat.
- Peanut Butter Cup: Add chopped peanut butter cups (like Reese’s) to your fudge for a delightful peanut butter and chocolate combo.
- Salted Caramel: Drizzle salted caramel sauce over the peanut butter fudge before it sets to create a sweet and salty contrast.
- Maple: Add several tablespoons of maple syrup to the mixture for a maple-infused fudge.
- Oreo: Crushed Oreo cookies mixed into the fudge provide both texture and a cookies-and-cream taste.
- Mocha: Mix in instant coffee or espresso powder for a coffee flavoured twist.
- Pretzel: Add crushed pretzels to the fudge mixture to incorporate a salty and crunchy element.
- Almond: Substitute the peanut butter for almond butter and add sliced almonds on top.
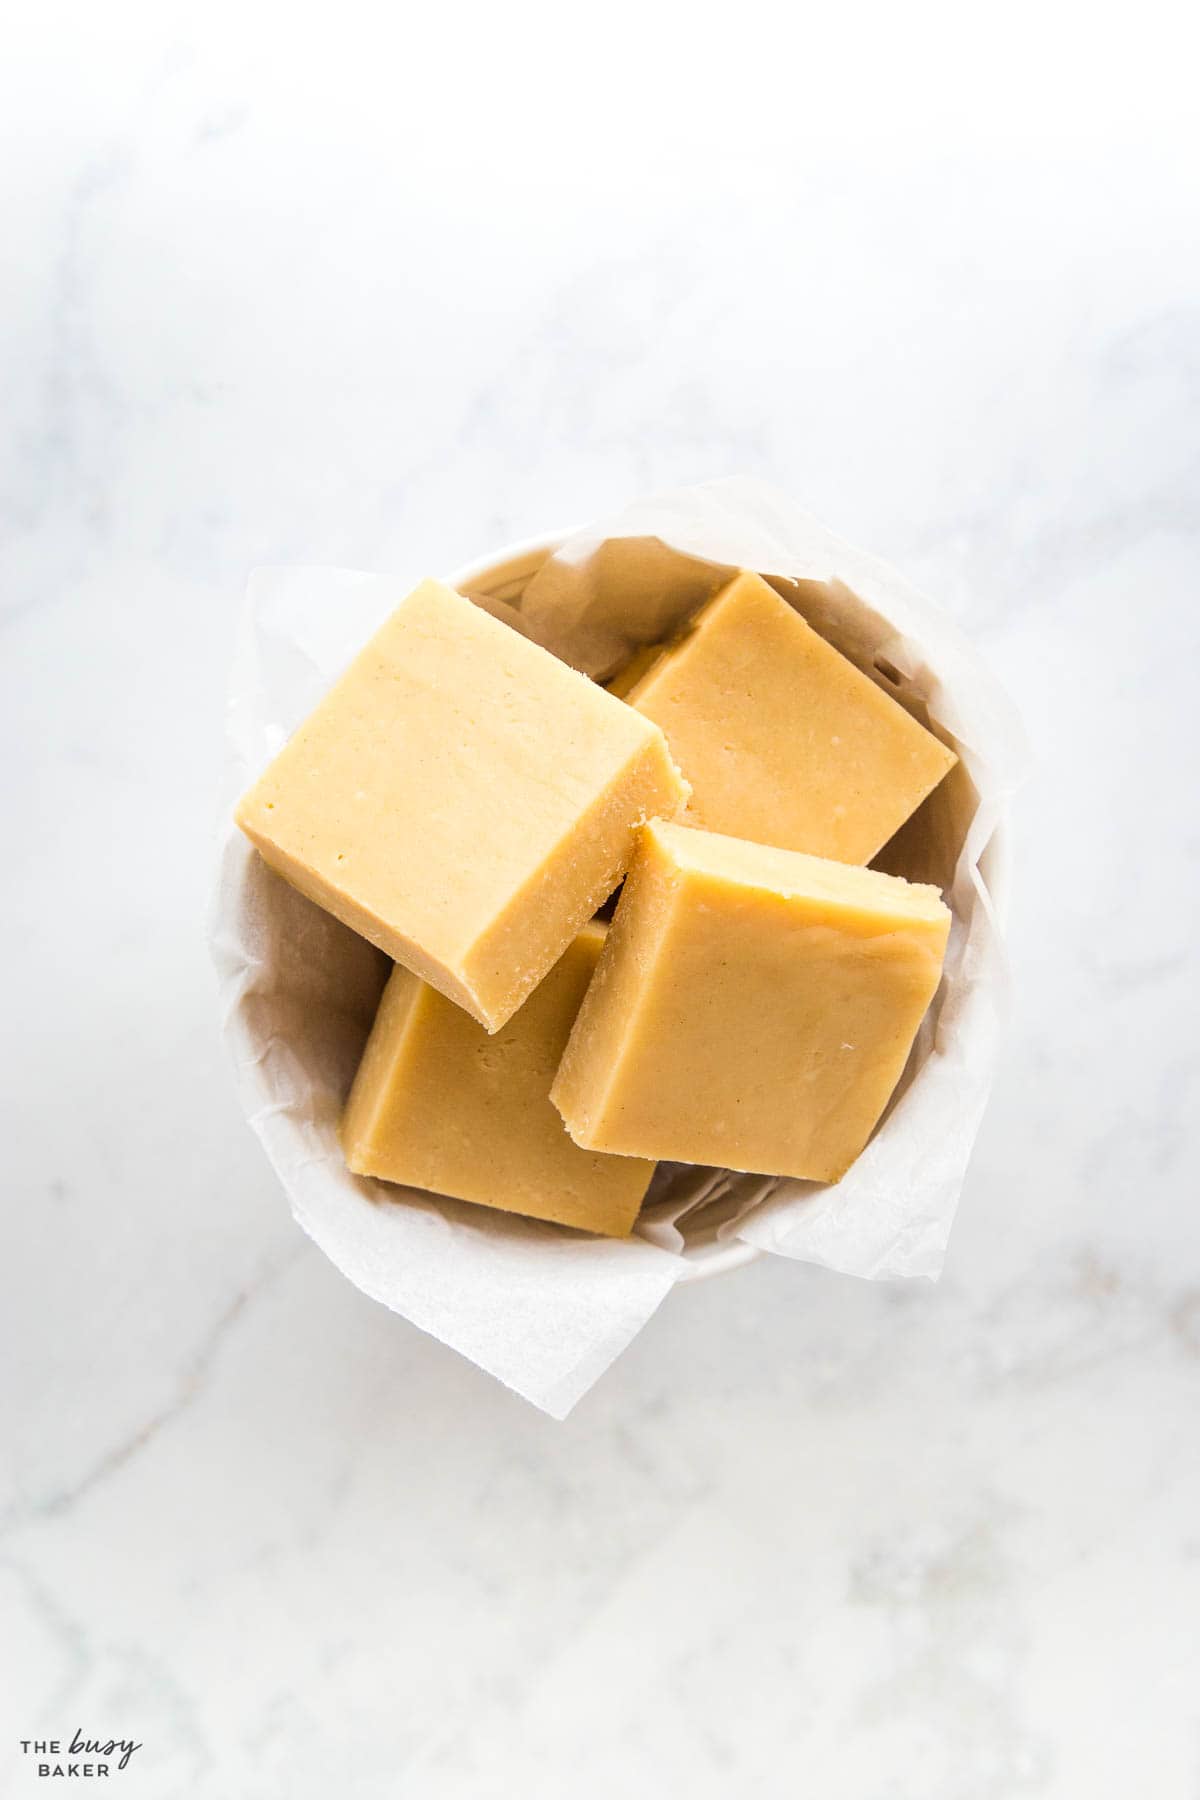
Time needed: 2 hours and 10 minutes
Follow these steps to make easy peanut butter fudge!
- Prepare your pan.
Spray your square pan lightly and line it with parchment paper for easy removal.
- Use medium-low heat.
In order to achieve the right texture, be sure to use medium low or low heat.
- Stir gently.
Whisking the mixture will create air bubbles inside the fudge which will appear when you slice it. To avoid this, stir gently with a silicone spatula.
- Use high-quality chocolate.
The quality of your fudge largely depends on the quality of the chocolate you use. Choose a high-quality white chocolate meant for baking, like baking chocolate or couverture chocolate, for best results.
- Refrigerate to set.
Set your fudge in the refrigerator for about 2 hours or until set.
- Slice it into small pieces.
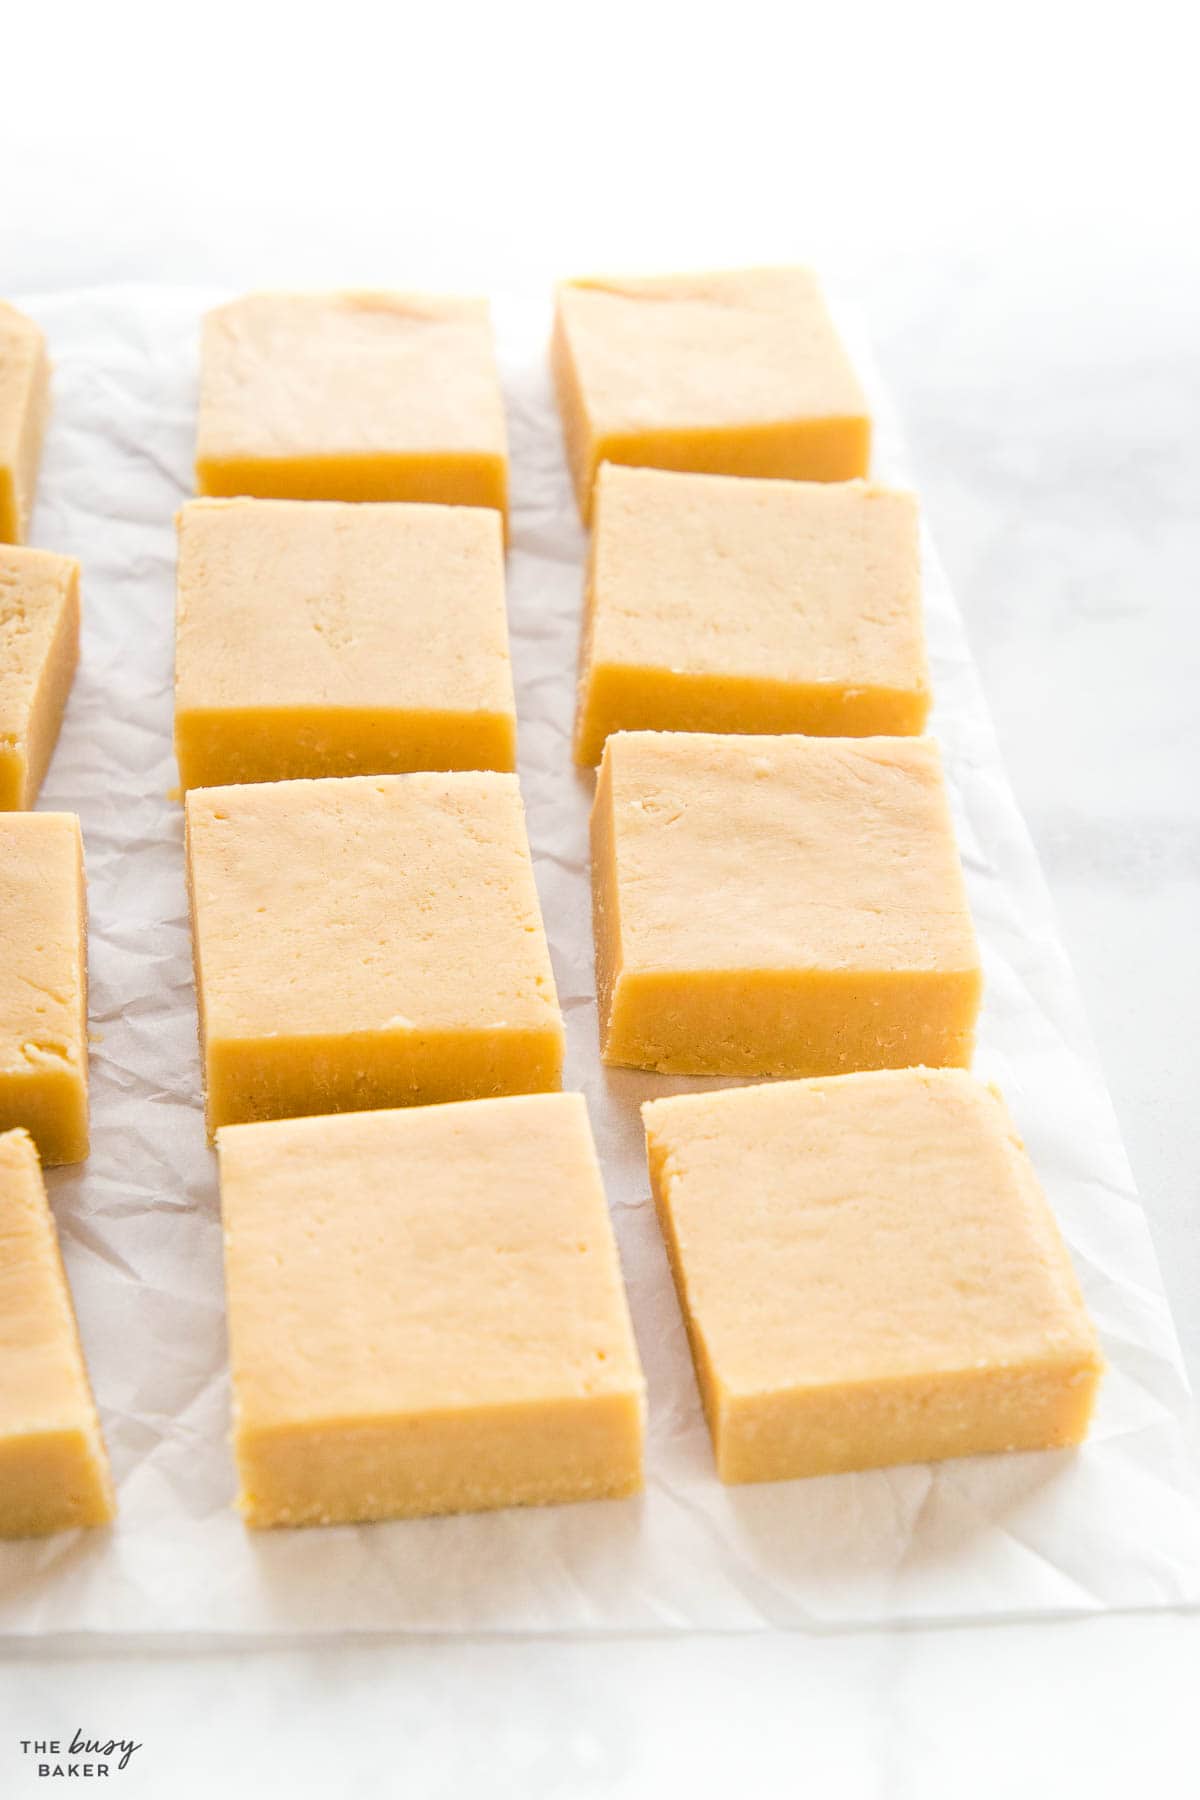
Fudge is a rich and indulgent treat so slice it into very small slices (a small square pan will give you 16 slices or more). Store the fudge in the fridge until ready to serve.
To make this recipe even easier, here’s how to make this Peanut Butter Fudge in the microwave:
- Add the peanut butter and sweetened condensed milk to a microwave-safe bowl. Chop the chocolate into very small pieces and set it aside.
- Microwave the sweetened condensed milk and peanut butter in 30 to 45 second increments at 50% power until they’re hot and melted. The mixture should become very liquidy and you should be able to mix it easily.
- Add the chopped chocolate to the hot peanut butter and sweetened condensed milk mixture and stir gently with a silicone spatula. Try not to incorporate any air into the mixture – you simply want the chocolate to melt in the warm liquid.
- Once the chocolate has melted completely, pour it into the prepared pan and refrigerate to set.
What is in peanut butter fudge?
This recipe contains only 3 ingredients: peanut butter, sweetened condensed milk and white chocolate.
What is the secret to good fudge?
The secret to good fudge is high-quality chocolate. Be sure to use chocolate meant for melting and baking for best results.
Can I make peanut butter fudge without using a candy thermometer?
Yes! Our 3-ingredients recipe doesn’t require one. Just be sure to follow the cooking times and instructions closely.
Can I make peanut butter fudge with natural peanut butter?
Yes, you can use natural peanut butter to make peanut butter fudge, although it will have a slightly more rustic appearance. Just make sure to stir it well before measuring, as natural peanut butter can separate.
How long does peanut butter fudge last?
Homemade peanut butter fudge can last up to 2-3 weeks when stored in an airtight container in the refrigerator. It can be stored longer if frozen.
Why did my peanut butter fudge separate?
If it separated, it’s likely because the mixture cooled too quickly, probably because the peanut butter and sweetened condensed milk mixture wasn’t hot enough.
Should I add salt to homemade fudge?
Adding salt to peanut butter fudge is optional because peanut butter usually contains salt. If you’re making this recipe with unsalted peanut butter, add a pinch or two of salt to the fudge mixture for flavour.
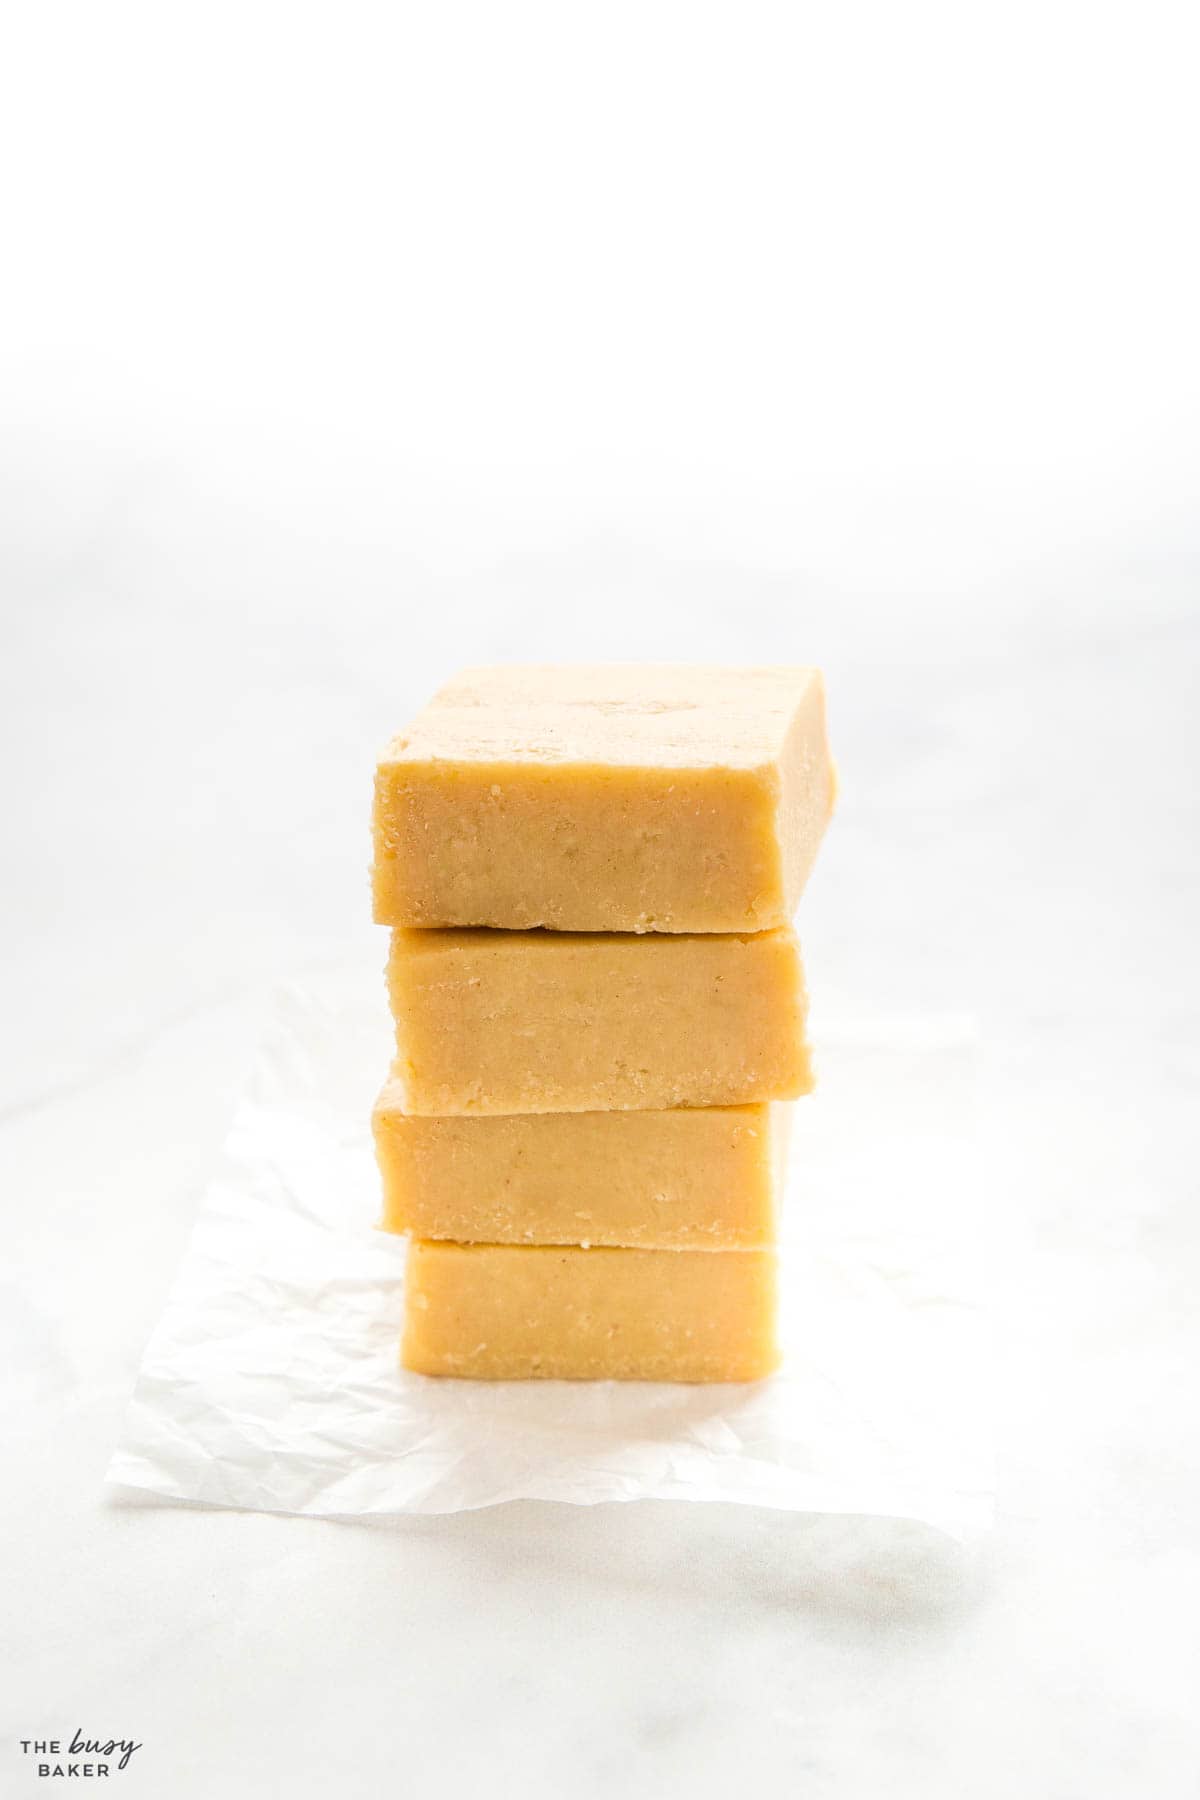
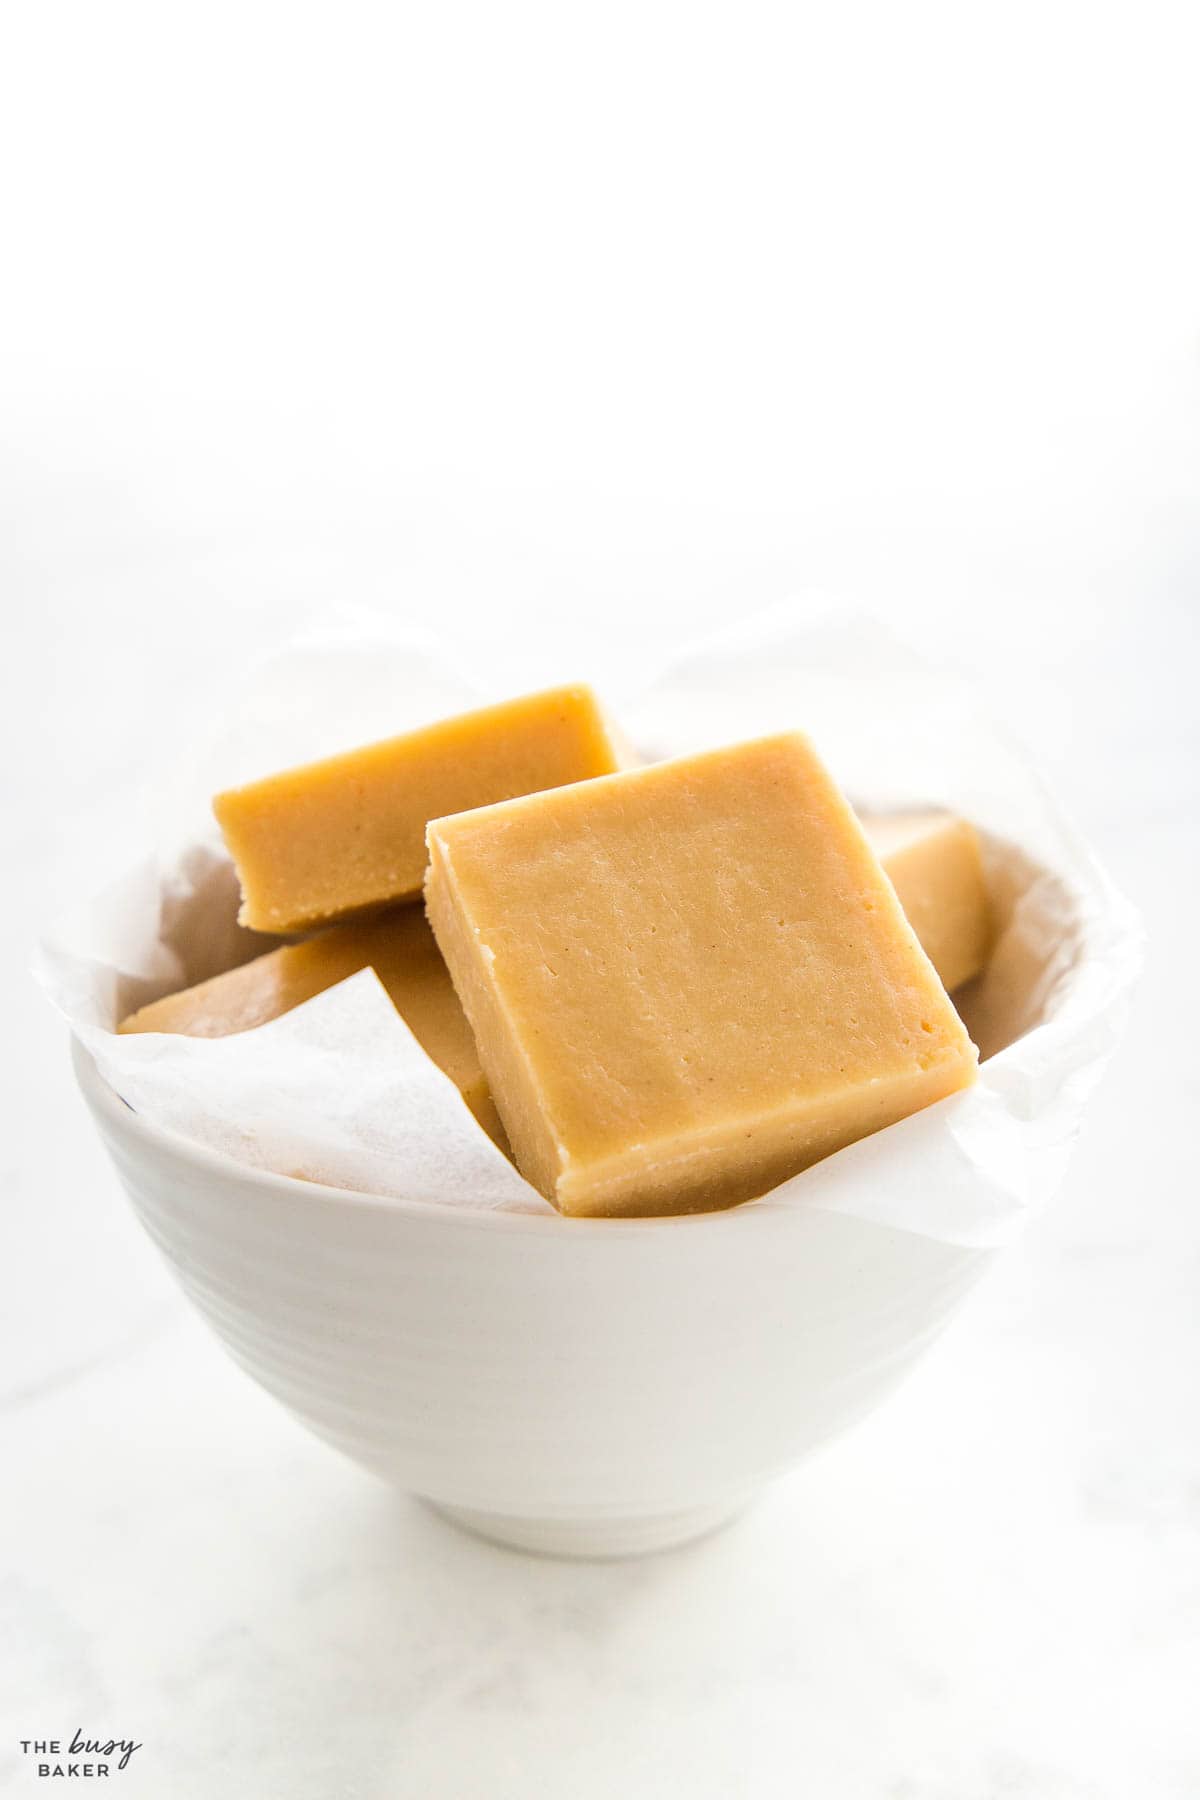
We hope you love this easy recipe as much as we do! Let us know in the comments below, what’s your favourite holiday treat? We’d love to know!
Watch the video below to see exactly how we make this recipe. You can find many more deliciously simple recipe videos on our YouTube channel!
If you made this, share a photo!
Are you trying this recipe? Use the comment form below to share your take; now with support for image uploads and comment voting!
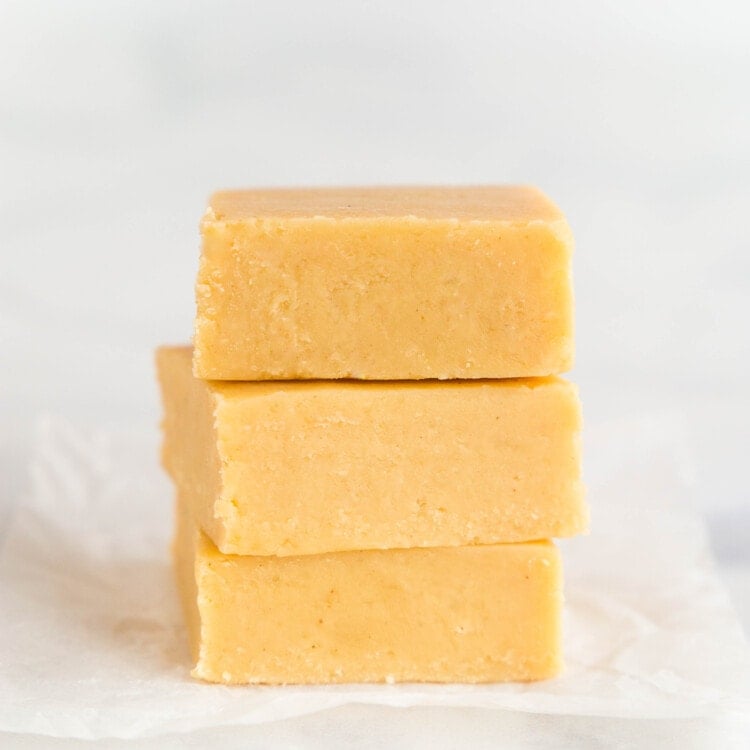
Peanut Butter Fudge
Recipe: Ingredients
- 1/2 cup smooth peanut butter
- 14 ounce can sweetened condensed milk
- 12 ounces high-quality white chocolate use baking chocolate, not white chocolate chips
Optional:
- crushed peanuts, crushed Reese's Pieces, or crushed Peanut Butter M&Ms for topping
Recipe: Instructions
- Prepare an 8-inch by 8-inch square baking pan or equivalent by spraying it with baking spray or cooking spray and lining it with parchment paper. Set aside.
- Add the peanut butter and sweetened condensed milk to a medium pot over medium-low heat. Stir them together gently with a heat-safe silicone spatula, and let them heat up until very warm (not boiling).
- Chop the white chocolate or break it into very small chunks (or use white couverture chocolate drops).
- Take the peanut butter mixture off the heat and add the white chocolate, stirring the mixture very gently and slowly with a silicone spatula. The chocolate will melt slowly in the hot mixture.
- Once all the chocolate pieces have disappeared and the mixture is smooth, scrape it into the prepared pan.
- Press the fudge mixture down gently into the pan, smoothing out the top with the spatula.
- Optional: If you want, top the fudge with some crushed peanuts, crushed M&Ms or crushed Reese's Pieces.
- Refrigerate for about 2 hours to set (or overnight).
- Slice into 16 small pieces and store in an airtight container in the fridge or freezer until ready to serve.
Recipe: Notes
Storage Instructions
Store the fudge after it’s been sliced in an airtight container in the fridge.Freezer Instructions
The fudge can also be made in advance and stored in the freezer in an airtight container for up to 3 months.Recipe: Nutrition
Notice: Nutrition is auto-calculated, using Spoonacular, for your convenience. Where relevant, we recommend using your own nutrition calculations.

EASY NO-FAIL HOLIDAY RECIPES AND COOKING & BAKING TIPS
Get my easy no-fail holiday meals e-cookbook!
