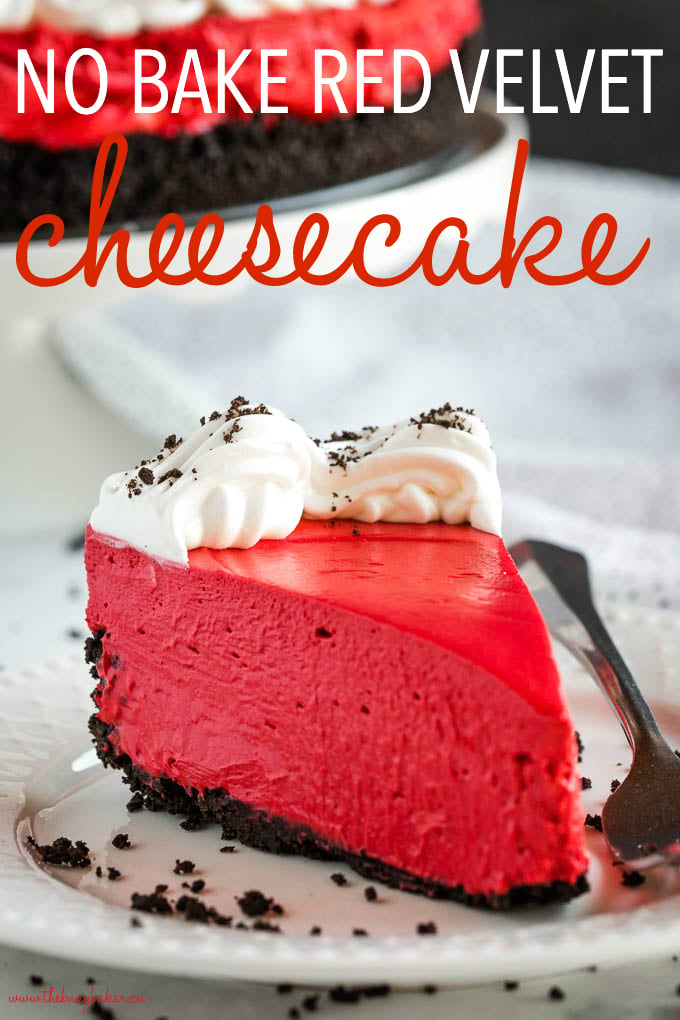
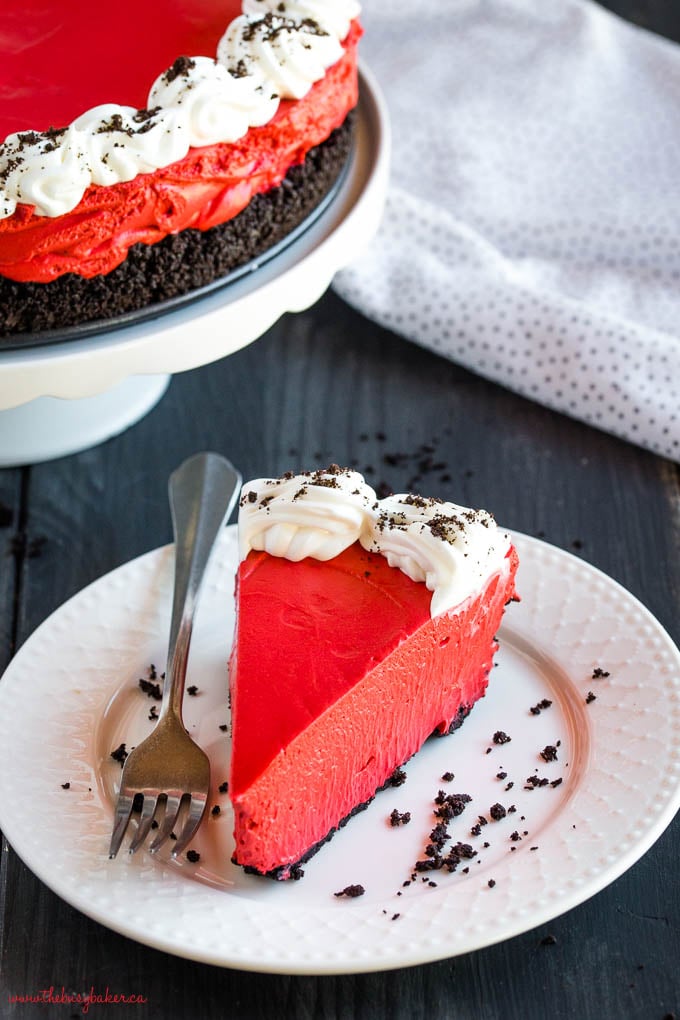
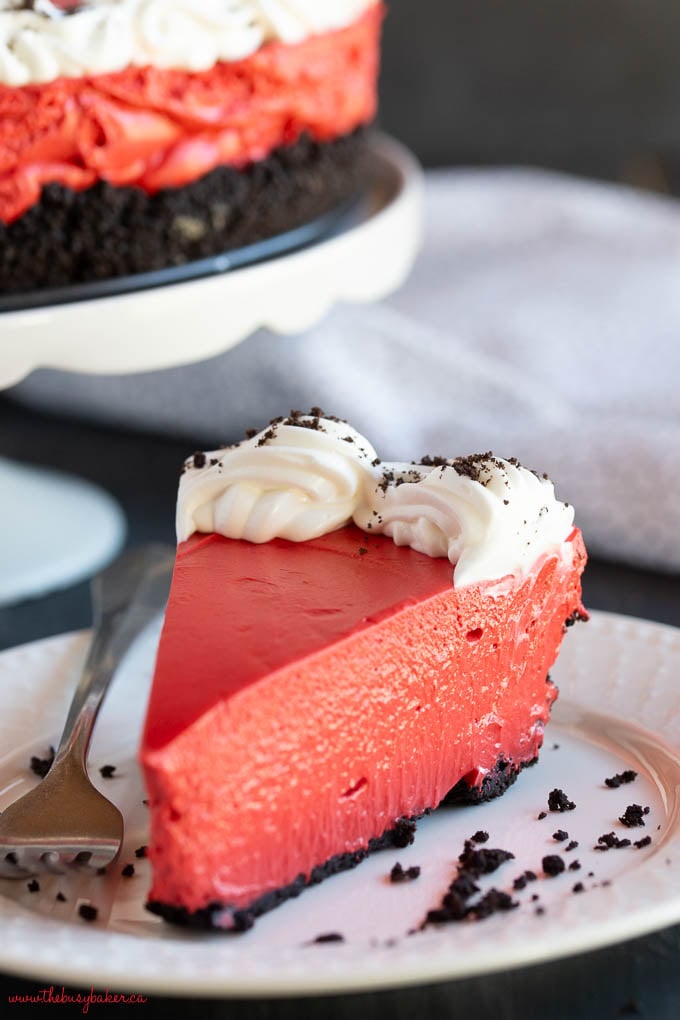
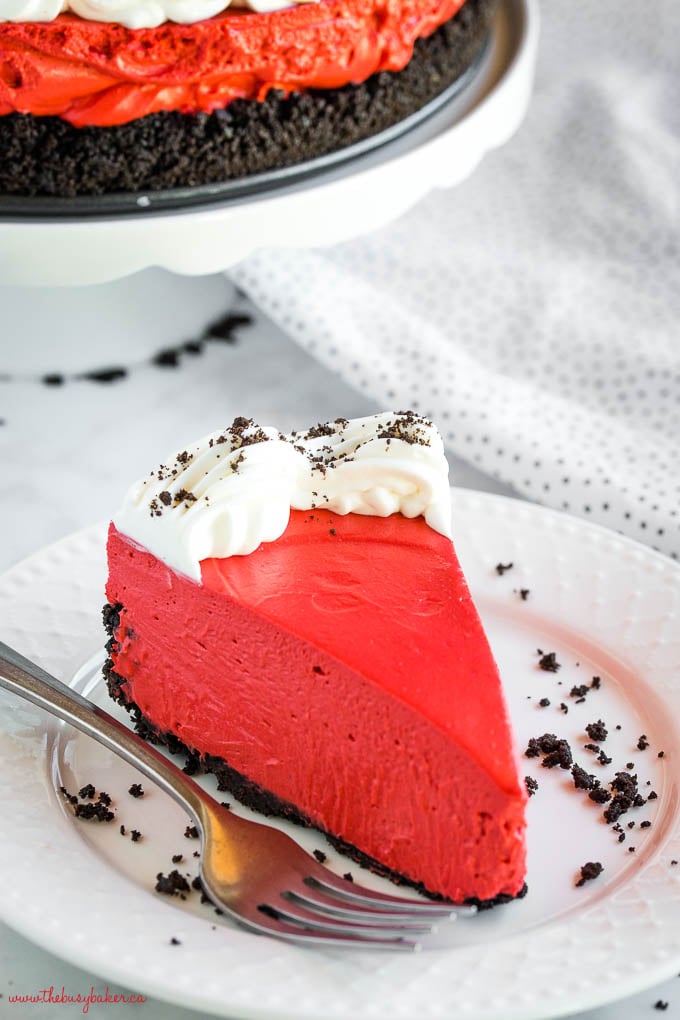
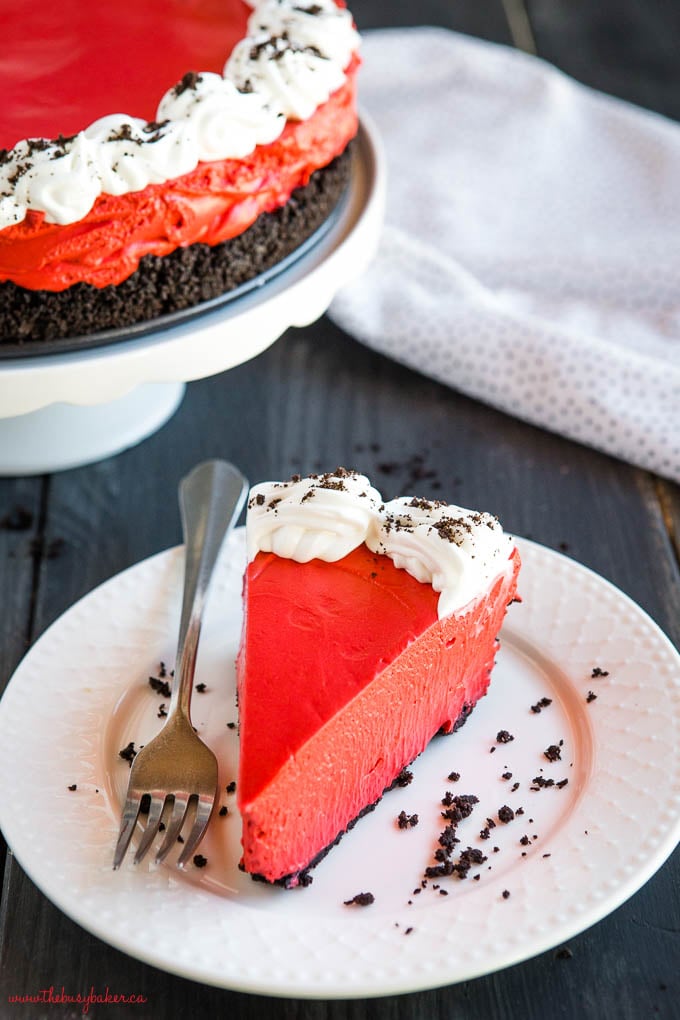
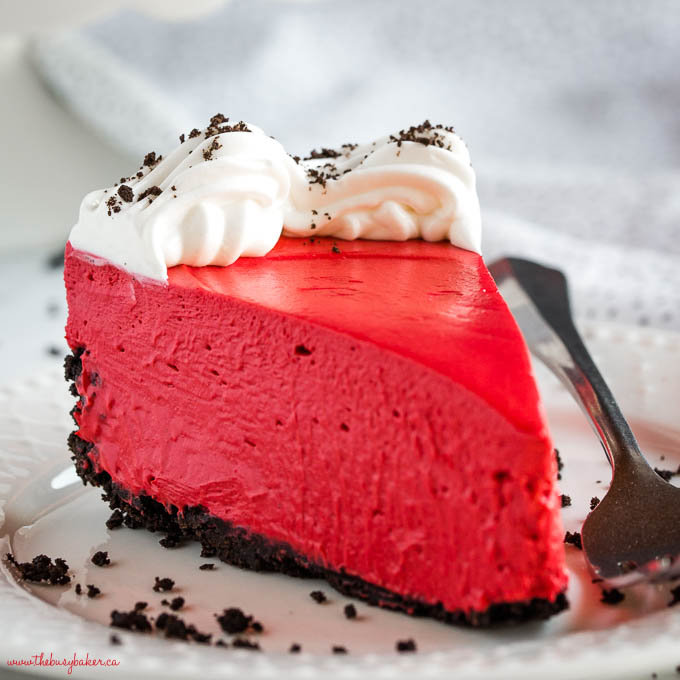
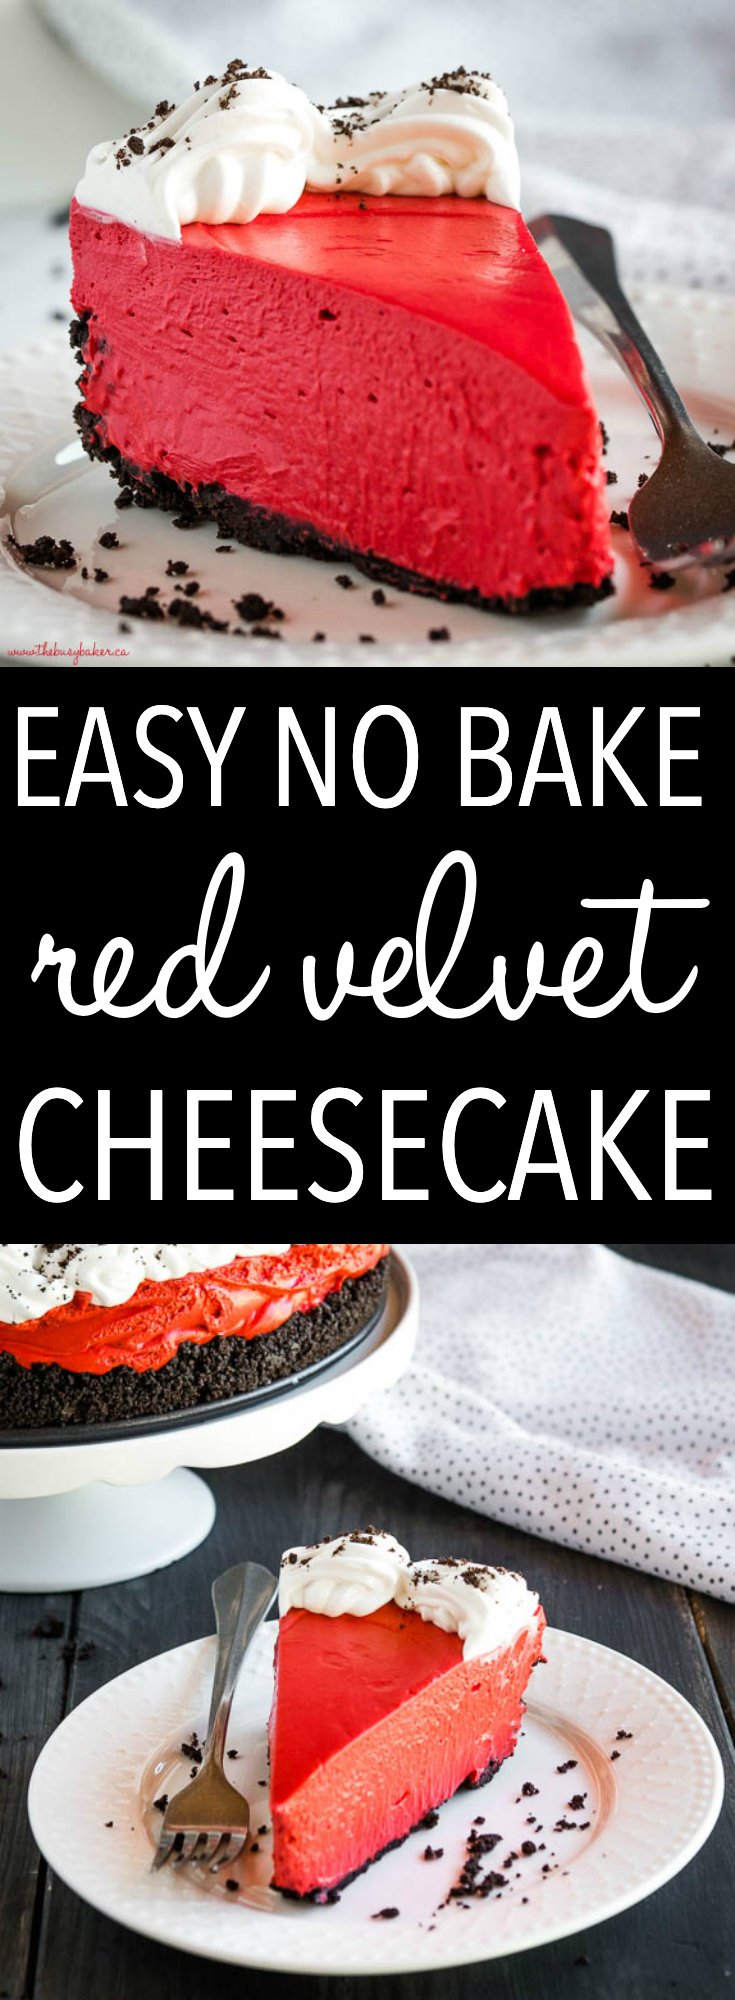
Red Velvet Cheesecake is the perfect easy no bake cheesecake recipe for Valentine’s Day! It’s creamy and smooth, with a hint of chocolate and a classic red velvet flavour.
Estimated reading time: 9 minutes
We love red velvet desserts and this is the perfect time of year to enjoy them – Valentine’s Day! As we’ve told you before, we don’t go crazy for holidays like this, but since red velvet is SO easy to make we just can’t help it! This red velvet cheesecake recipe is the perfect easy dessert to make for your Valentine’s Day celebration, and if you’re a lover of anything red velvet, you’ll LOVE it!
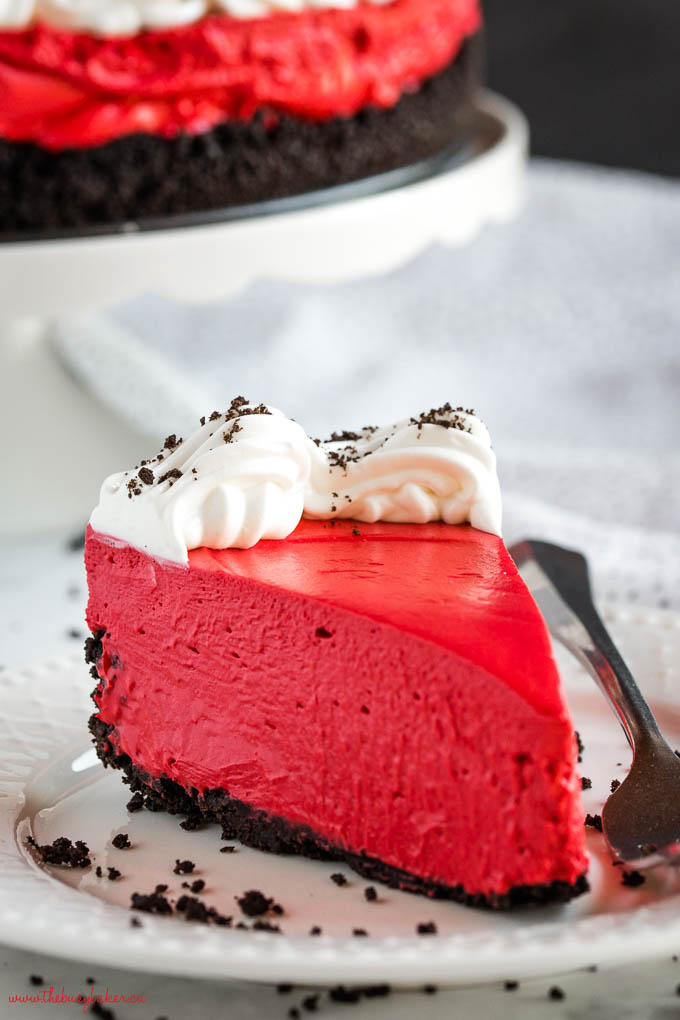
The best no bake cheesecakes are ones with a little bit of melted chocolate added to them, and this easy no bake cheesecake recipe calls for both white and semi-sweet melted chocolate. It really gives the cheesecake that classic chocolatey flavour that makes red velvet desserts so unique. Plus, it creates the perfect smooth texture and clean slices that take any no bake cheesecake over the top. It’s our favourite ingredient to add to many of our no bake cheesecakes! We use melted chocolate in our Easy No Bake Strawberry Cheesecake as well as our Best Ever No Bake Chocolate Cheesecake.
If you’re a lover of red velvet like us, this Easy One Bowl Red Velvet Cake is also a must-try recipe for Valentine’s Day. It’s the perfect classic red velvet cake recipe, with the fluffiest cream cheese frosting. And if you’re looking for something even easier, try these Soft and Chewy Red Velvet Sugar Cookies!!
It’s a really good idea to use gel or paste food colouring for this recipe instead of liquid food colouring drops. Paste or gel food colouring is more concentrated. So, as a result, you’ll end up needing less food colouring. This is important because adding too much food colouring can affect the taste and texture of the cheesecake and cause it not to set properly. Our favourite red food colouring for this recipe is Wilton’s No Taste Red Food Colouring Gel (paid link). It creates a gorgeous red colour that red velvet desserts are known for. Plus, it has no taste, making it perfect for this recipe.
Read the recipe fully before you begin to make sure you have the right ingredients. You could also measure out the ingredients before you start.
Use either a hand mixer or stand mixer to make the filling. The mixer gives the filling the smooth and creamy texture that you want.
It is important to have room temperature ingredients so they combine properly without lumps. If chocolate is used in cheesecake the cream cheese has to be at room temperature or the chocolate will solidify during the mixing process. It creates hard chunks causing the cheesecake to lose its silky smooth texture.
Low fat cream cheese has a high water content and liquifies much more easily at room temperature than full fat cream cheese does. Using full fat cream cheese will help your no bake cheesecakes stay firm and help them slice cleanly for serving. And it’ll make them extra creamy!
Make sure that when you add the whipping cream to the cream cheese mixture, you are adding the whipped measurement, not the liquid. As a rule of thumb, the liquid measurement will double when whipped.
Under-whipped cream can be too liquid-y and therefore prevent the cheesecake from setting. Make sure you fold it in carefully to the filling.
Too many chunks of chocolate, fruit, cookies, or sprinkles, or any other add-ins can prevent the cheesecake from setting properly and make it more difficult to slice cleanly. Be sure to use only what the recipe calls for, or none at all!
Make sure the cream cheese is softened before mixing. If the cheesecake is too runny after the recommended time, add more time in the fridge until it is set.
Over-mixing the ingredients can cause the crust to crumble. Make sure to mix just until it is combined to avoid incorporating too much air.
Make sure to press the cookie mixture firmly into the pan (a spoon is helpful to make it uniform). If it is still too crumbly, add in some extra butter.
Make sure that your cream cheese is at room temperature before mixing. Lumps can also be avoided by beating the cream cheese until smooth before adding the other ingredients. Use a spatula to scrape down the sides of the bowl to avoid chunks.
Over-mixing can lead to a dense texture. Mix only until the ingredients are combined to maintain a light and fluffy consistency.
Adjust the sweetness by adding more or less sugar according to your tastes and preferences. Taste the mixture before chilling and make adjustments accordingly.
You’ll need these kitchen items on hand to make this No Bake Red Velvet Cheesecake recipe (paid links):
- a springform pan
- large mixing bowl
- a spatula
- a hand mixer (or stand mixer)
- measuring cups and spoons
You’ll need these ingredients to make this no bake red velvet cheesecake recipe (paid links):
- Oreo baking crumbs
- melted butter
- cream cheese (about 32 ounces)
- powdered sugar
- red food colouring paste
- white chocolate melted (8 ounces)
- semi-sweet chocolate melted (3 ounces)
- whipped cream or whipped topping
Here’s a few fun variations on the classic Red Velvet Cheesecake!
- White Chocolate – Add white mini chocolate chips into the filling or melt the chocolate to drizzle over the cheesecake as a garnish.
- Raspberry or Strawberry – Add a layer of raspberry compote or strawberry jam between the crust and the filling.
- Brownie – Use a brownie base or crumble the brownies into the batter.
Time needed: 4 hours and 20 minutes
Follow these steps to make the BEST no bake red velvet cheesecake!
- Make the Crust.
Combine the Oreo baking crumbs and melted butter until moistened and crumbly.
- Use a Spoon.
Press the crust mixture into the bottom of a 9-inch springform pan and refrigerate to set.
- Combine.
Mix the cream cheese and powdered sugar in a large bowl, mixing with a hand mixer on medium speed (or in your stand mixer) until smooth.
- Red Food Colouring.
Add the red food colouring paste and mix well, scraping down the sides of the bowl to ensure everything is incorporated and the colour is distributed evenly.
- Mix the Melted Chocolate.
Add the melted white and semi sweet chocolate in a steady stream while the mixer is running on low speed, until completely incorporated. Scrape down the sides of the bowl to be sure everything is incorporated.
- Fold in the Whipped Cream.
Fold in the whipped cream or whipped topping by hand until the mixture is fluffy and creamy and there are no streaks of white in the batter.
- Add the Filling.
Pour the cheesecake mixture into the prepared crust and smooth out the top with a rubber spatula.
- Set the Cheesecake.
Refrigerate to set for 6 hours or overnight, or set in the fridge for 2-3 hours and then in the freezer for 2-3 hours before serving. OR, set in the freezer only for 3-4 hours.
- Garnish and Serve.
Top with whipped cream or whipped topping and some Oreo crumbs for garnish (optional).
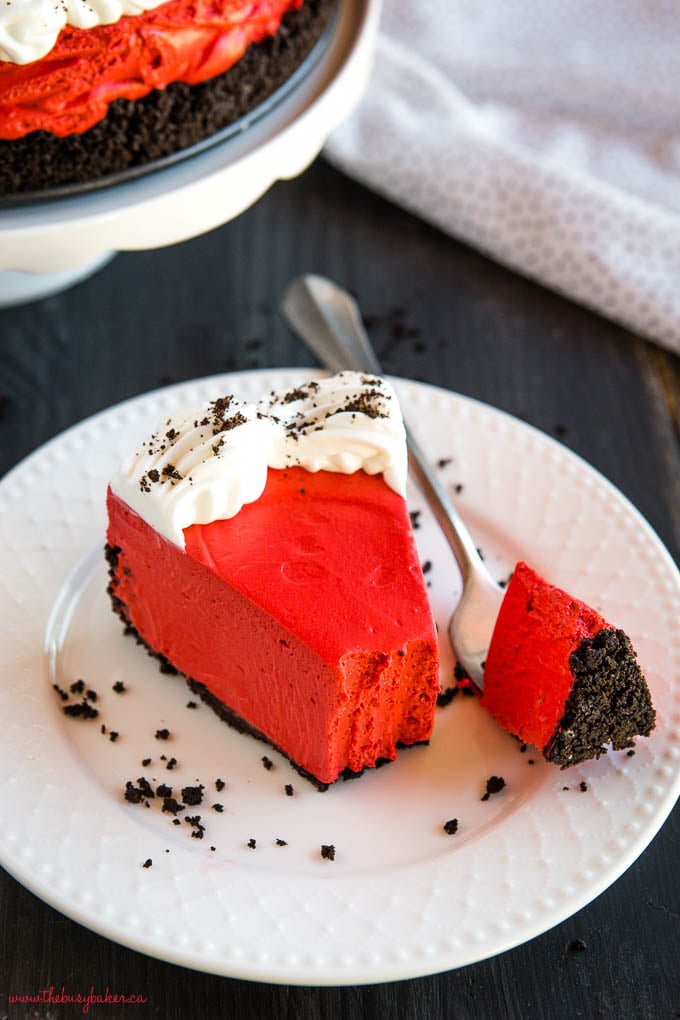
Other cookie options are graham crackers or chocolate wafers. Using different crust base will change the flavours. It depends on your tastes preferences.
Is there a natural option for making the cake red instead of using red food gel?
If you make it without food colouring it won’t have the classic red colour. A natural alternative would be beet juice or pomegranate, though the colour may vary. Add a little at a time until you get the colour desired.
Can I make this cheesecake ahead of time?
This red velvet cheesecake can be made two days ahead of time. Store in the fridge in an airtight container until ready to serve.
How long does it take for the cheesecake to set?
Refrigerate to set for 6 hours or overnight, or set in the fridge for 2-3 hours and then in the freezer for 2-3 hours before serving. OR, set in the freezer only for 3-4 hours.
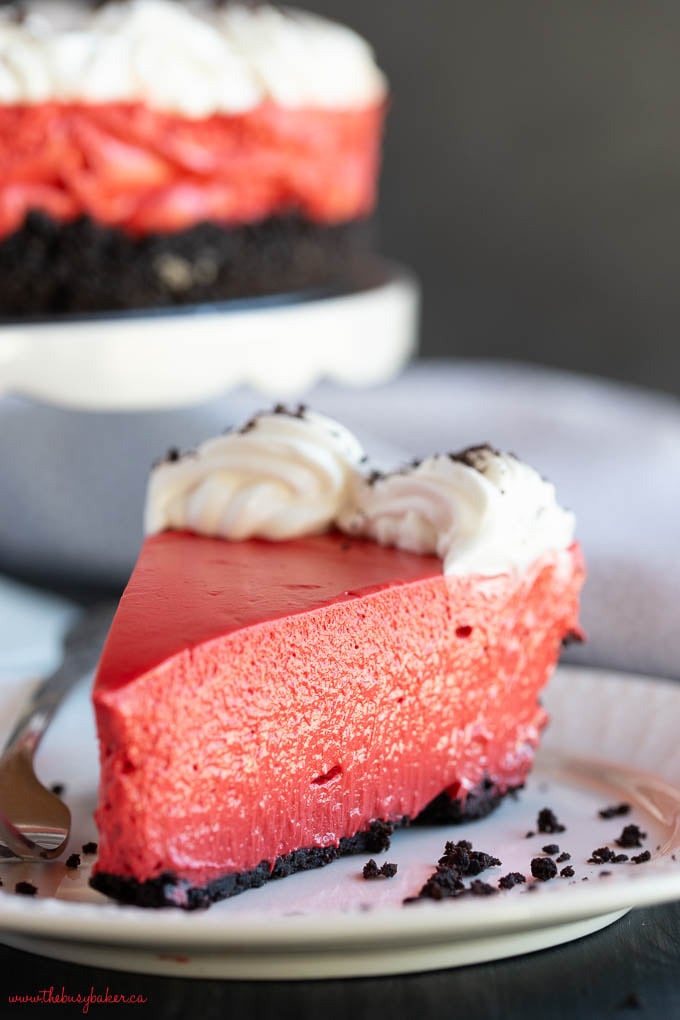
We hope you like this easy no bake cheesecake recipe as much as we do! Let us know in the comments below, what’s your favourite Valentine’s Day dessert? We’d love to know!
If you made this, share a photo!
Are you trying this recipe? Use the comment form below to share your take; now with support for image uploads and comment voting!
No Bake Red Velvet Cheesecake
Recipe: Equipment
Recipe: Ingredients
- 1 1/2 cups Oreo baking crumbs
- 5 tablespoons melted butter
- 900 grams cream cheese (about 32 ounces) at room temperature
- 1 cup powdered sugar
- 2 teaspoons red food colouring paste
- 200 grams white chocolate melted (8 ounces)
- 75 grams semi-sweet chocolate melted (3 ounces)
- 1 cup whipped cream or whipped topping
For decorating:
- whipped topping or whipped cream, and Oreo crumbs for garnish (optional)
Recipe: Instructions
- Combine the Oreo baking crumbs and melted butter until moist and crumbly.
- Press the mixture into the bottom of a 9-inch springform pan and refrigerate to set.
- Melt the white and semi-sweet chocolate in the microwave (break it into small pieces first) on 50% power for 30-second increments until the chocolate is just melted. Set it aside to cool slightly to just above room temperature.
- Combine the room temperature cream cheese and powdered sugar in a large bowl, mixing with a hand mixer on medium speed (or in your stand mixer) until smooth.
- Add the red food colouring paste and mix well, scraping down the sides of the bowl to ensure everything is incorporated and the colour is distributed evenly.
- Add the melted white and semi-sweet chocolate in a steady stream while the mixer is running on low speed, until completely incorporated. Scrape down the sides of the bowl to be sure everything is incorporated. (Be sure that your cream cheese is at room temperature, otherwise the chocolate could solidify while mixing.)
- Fold in the whipped cream or whipped topping by hand until the mixture is fluffy and creamy and there are no streaks of white in the batter.
- Pour the cheesecake mixture into the prepared crust and smooth out the top with a rubber spatula or offset spatula.
- Refrigerate to set for 6 hours or overnight, or set in the fridge for 2-3 hours and then in the freezer for 2-3 hours before serving. OR, set in the freezer only for 3-4 hours.
For serving:
- Top with whipped cream or whipped topping and some Oreo crumbs for garnish (optional).
Recipe: Notes
Storage Instructions
Make this cheesecake up to 2 days ahead of serving. Simply store in the fridge in an airtight container.Freezer Instructions
It can also be frozen for up to 2 weeks and defrosted in the fridge before serving. For BEST results, make only one day ahead and chill in the fridge to set.Ingredient Substitutions
It is not recommended to use low fat or fat free cream cheese or whipped topping for this recipe. Low fat products have a higher water content which will prevent the cheesecake from setting in the fridge.Recipe: Nutrition
Notice: Nutrition is auto-calculated, using Spoonacular, for your convenience. Where relevant, we recommend using your own nutrition calculations.

EASY NO-BAKE CHEESECAKE RECIPES & TIPS
Get my easy no bake cheesecakes e-cookbook!
The color is so pretty! And you can never go wrong with a no-bake dessert. <3
This Easy No Bake Red Velvet Cheesecake is seriously making me hungry!
OH my, this is such a fabulous cheesecake!! Perfect for Valentine’s Day!
Thanks so much!!
This is totally irresistible! Such an amazing Valentine’s Day treat!
What a beautiful dessert! This will be the highlight of our Valentine’s dinner! Delish!
When two of my favorite desserts collide! I can’t wait to make this soon and enjoy it with my family. That is if I will be able to share.