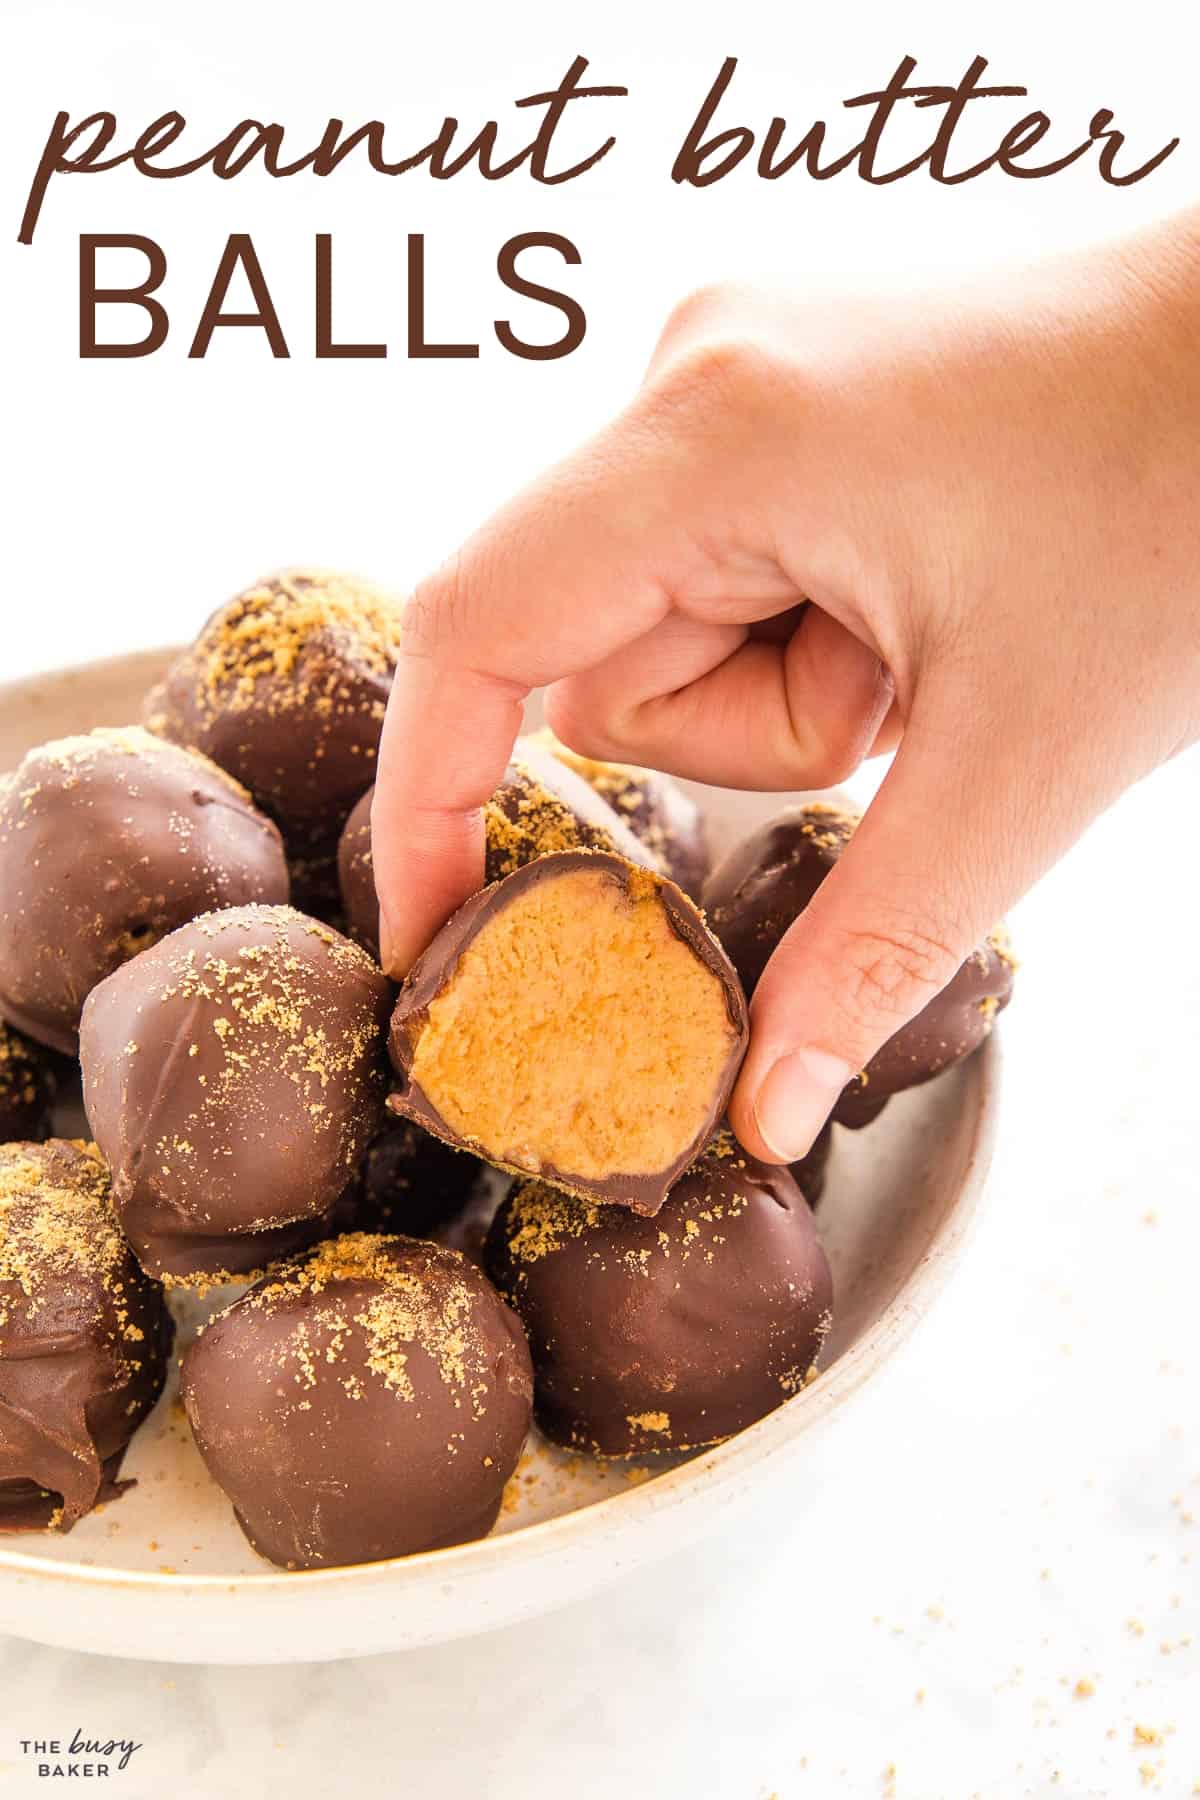
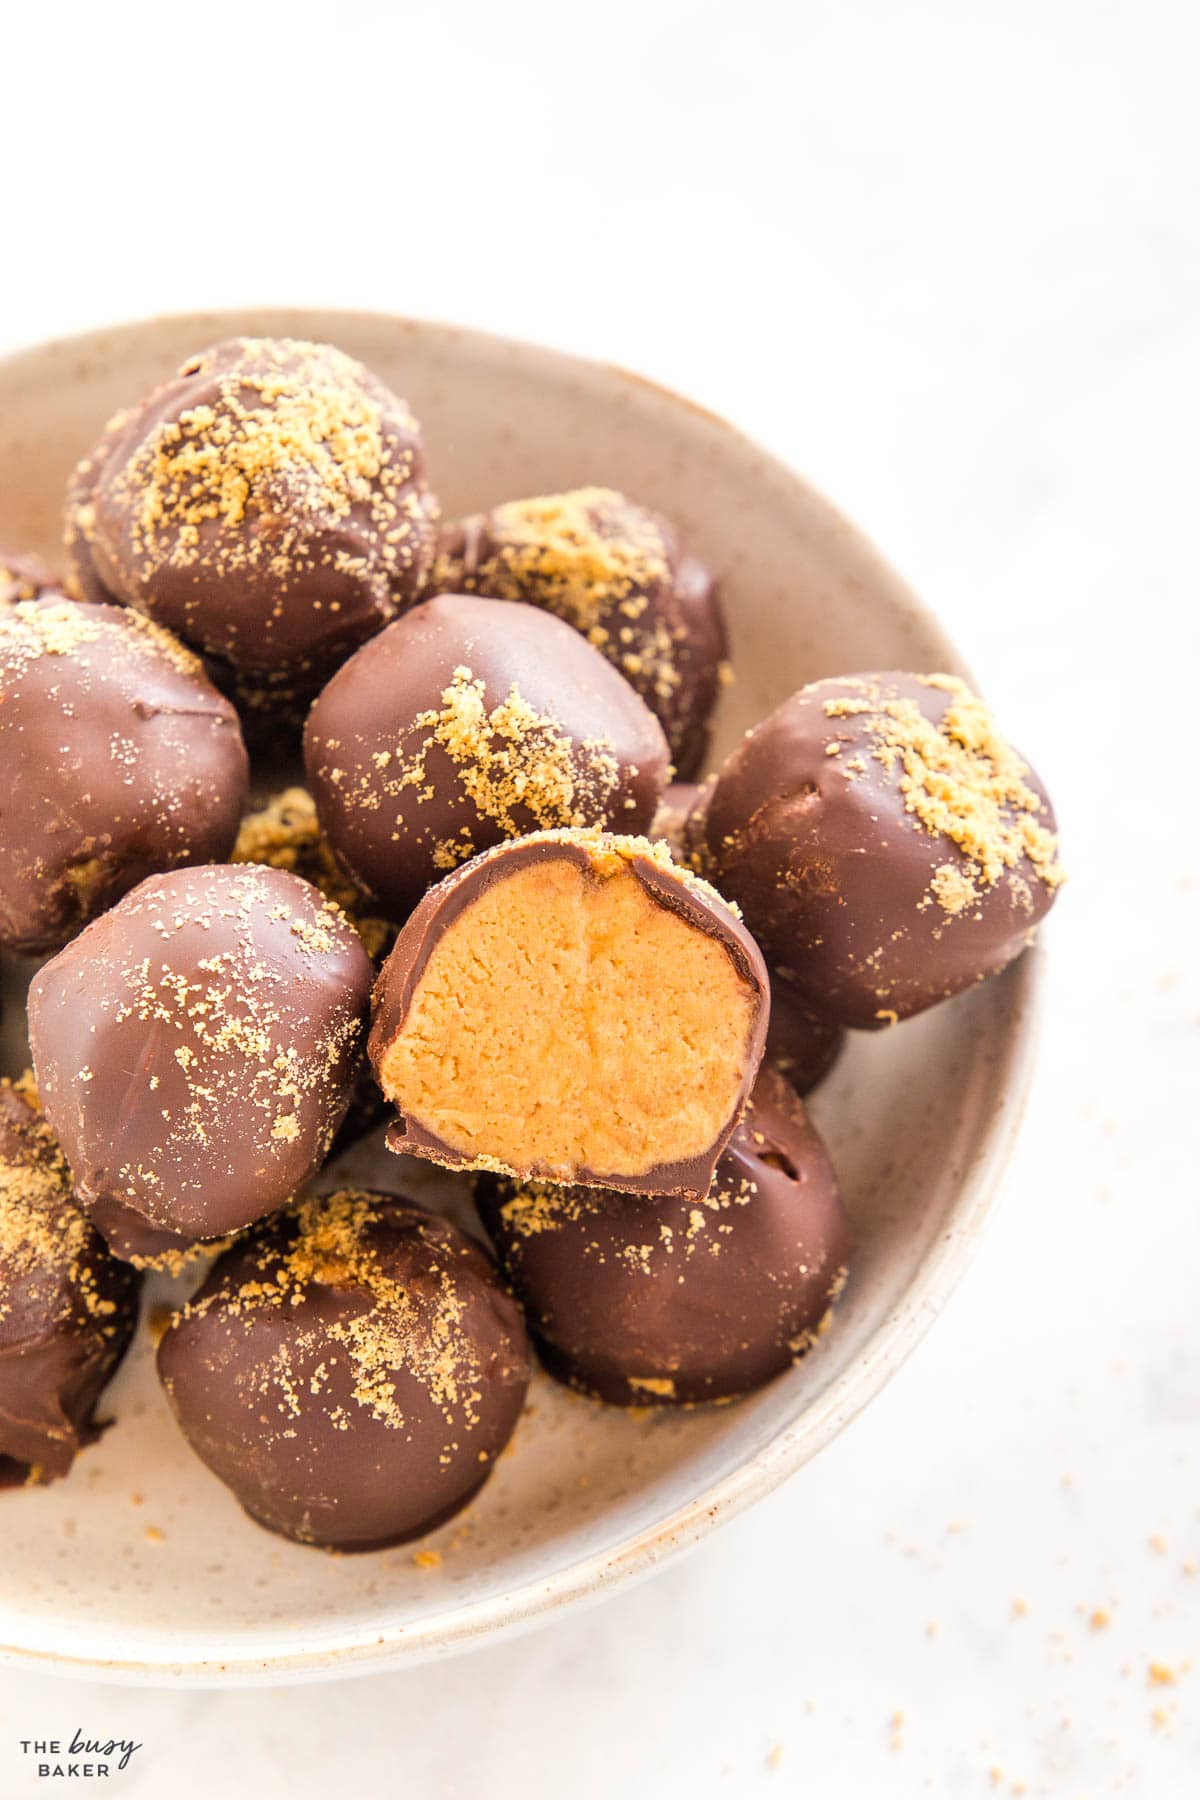
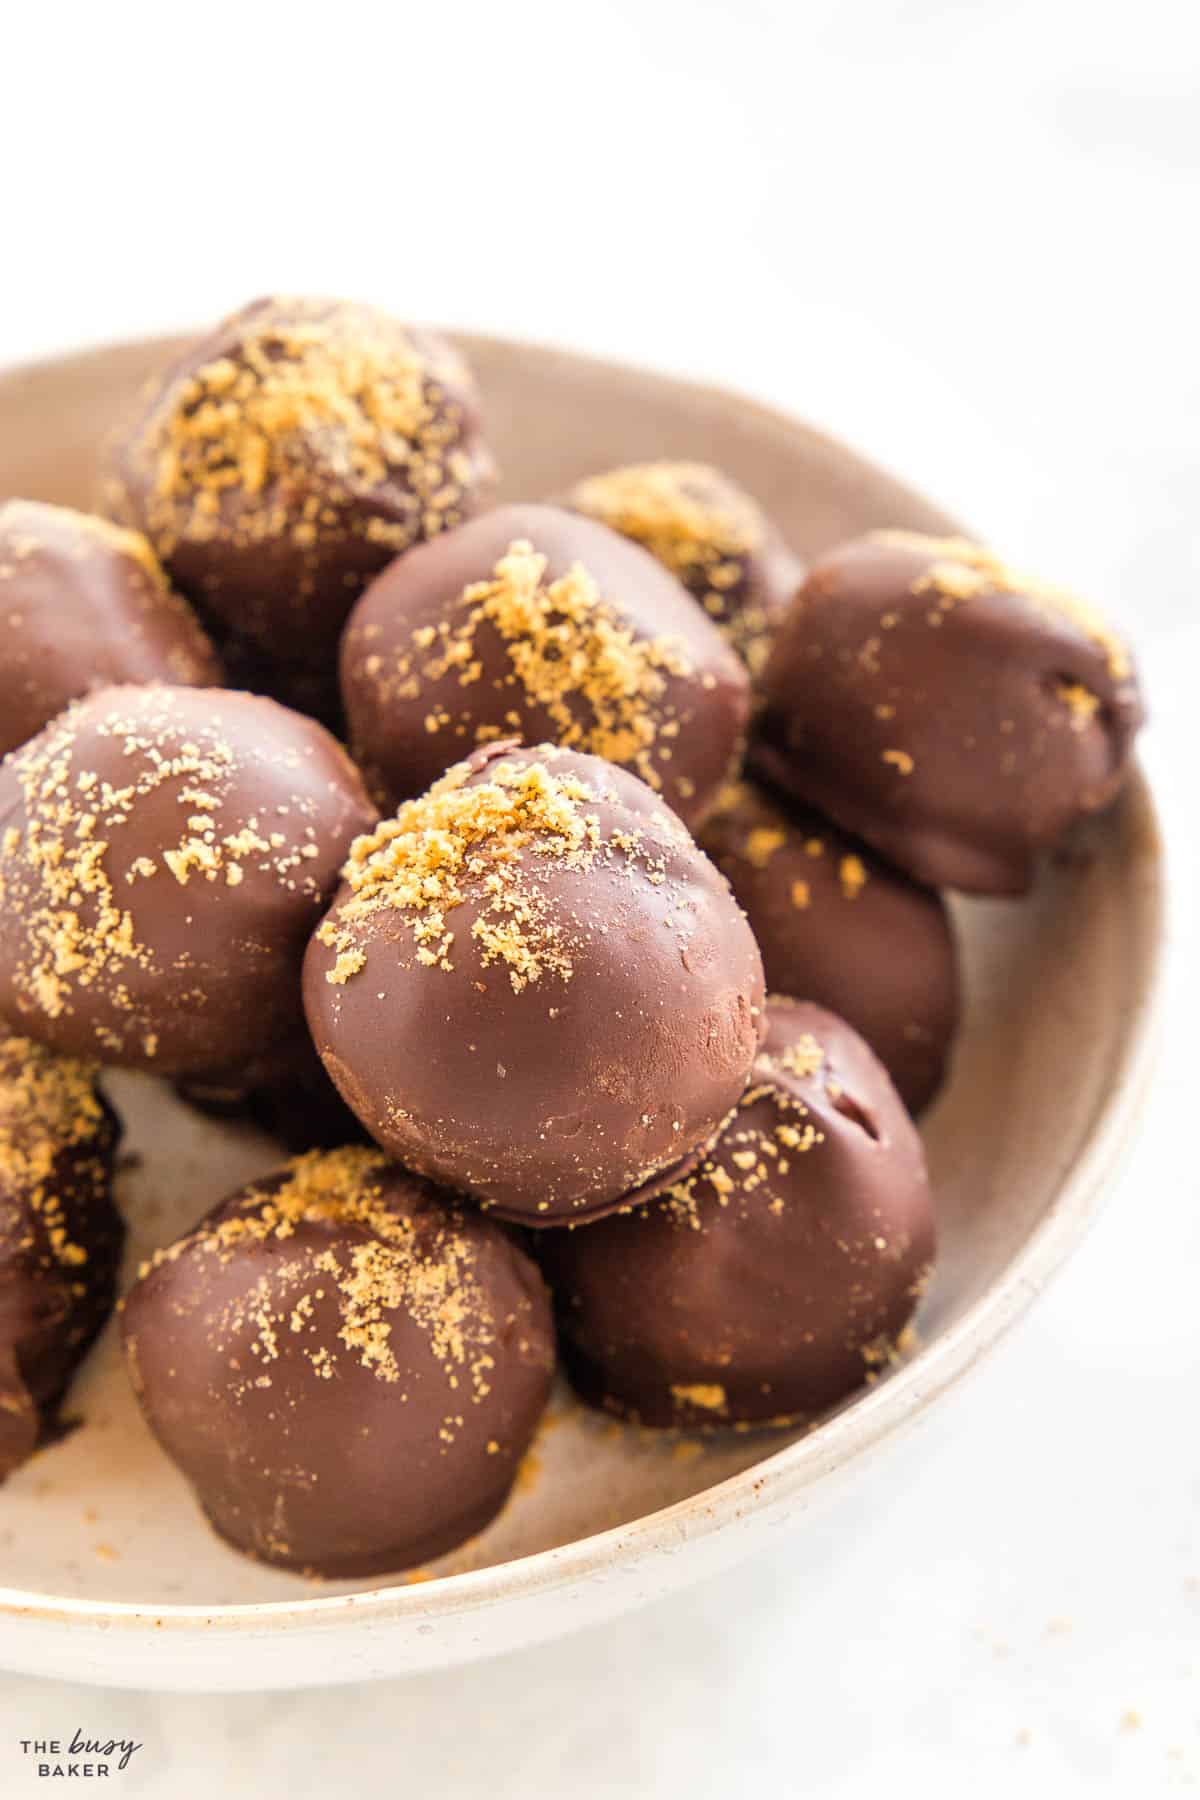
This No Bake Peanut Butter Balls recipe is an easy classic holiday treat recipe made with a sweet & creamy peanut butter filling and dipped in melted chocolate!
Estimated reading time: 11 minutes
When it comes to holiday treats we LOVE variety! We’ve shared many of our favourite Christmas treats with you over the years – everything from shortbread to cheesecake bites, ginger cookies, chocolate crinkle cookies, and SO many more. These Peanut Butter Balls have been making an appearance on our holiday baking trays for years, and we’re thrilled to be sharing the recipe with you today!
This Chocolate Peanut Butter Balls recipe is no-bake, so it’s easy to make for beginners or even with kids! The filling comes together in minutes and chills in the fridge, making the balls easy to roll, and then they’re dipped in semi-sweet chocolate and decorated any way you like! Be sure to follow all our tips and tricks for the best chocolate peanut butter balls you’ll ever try!
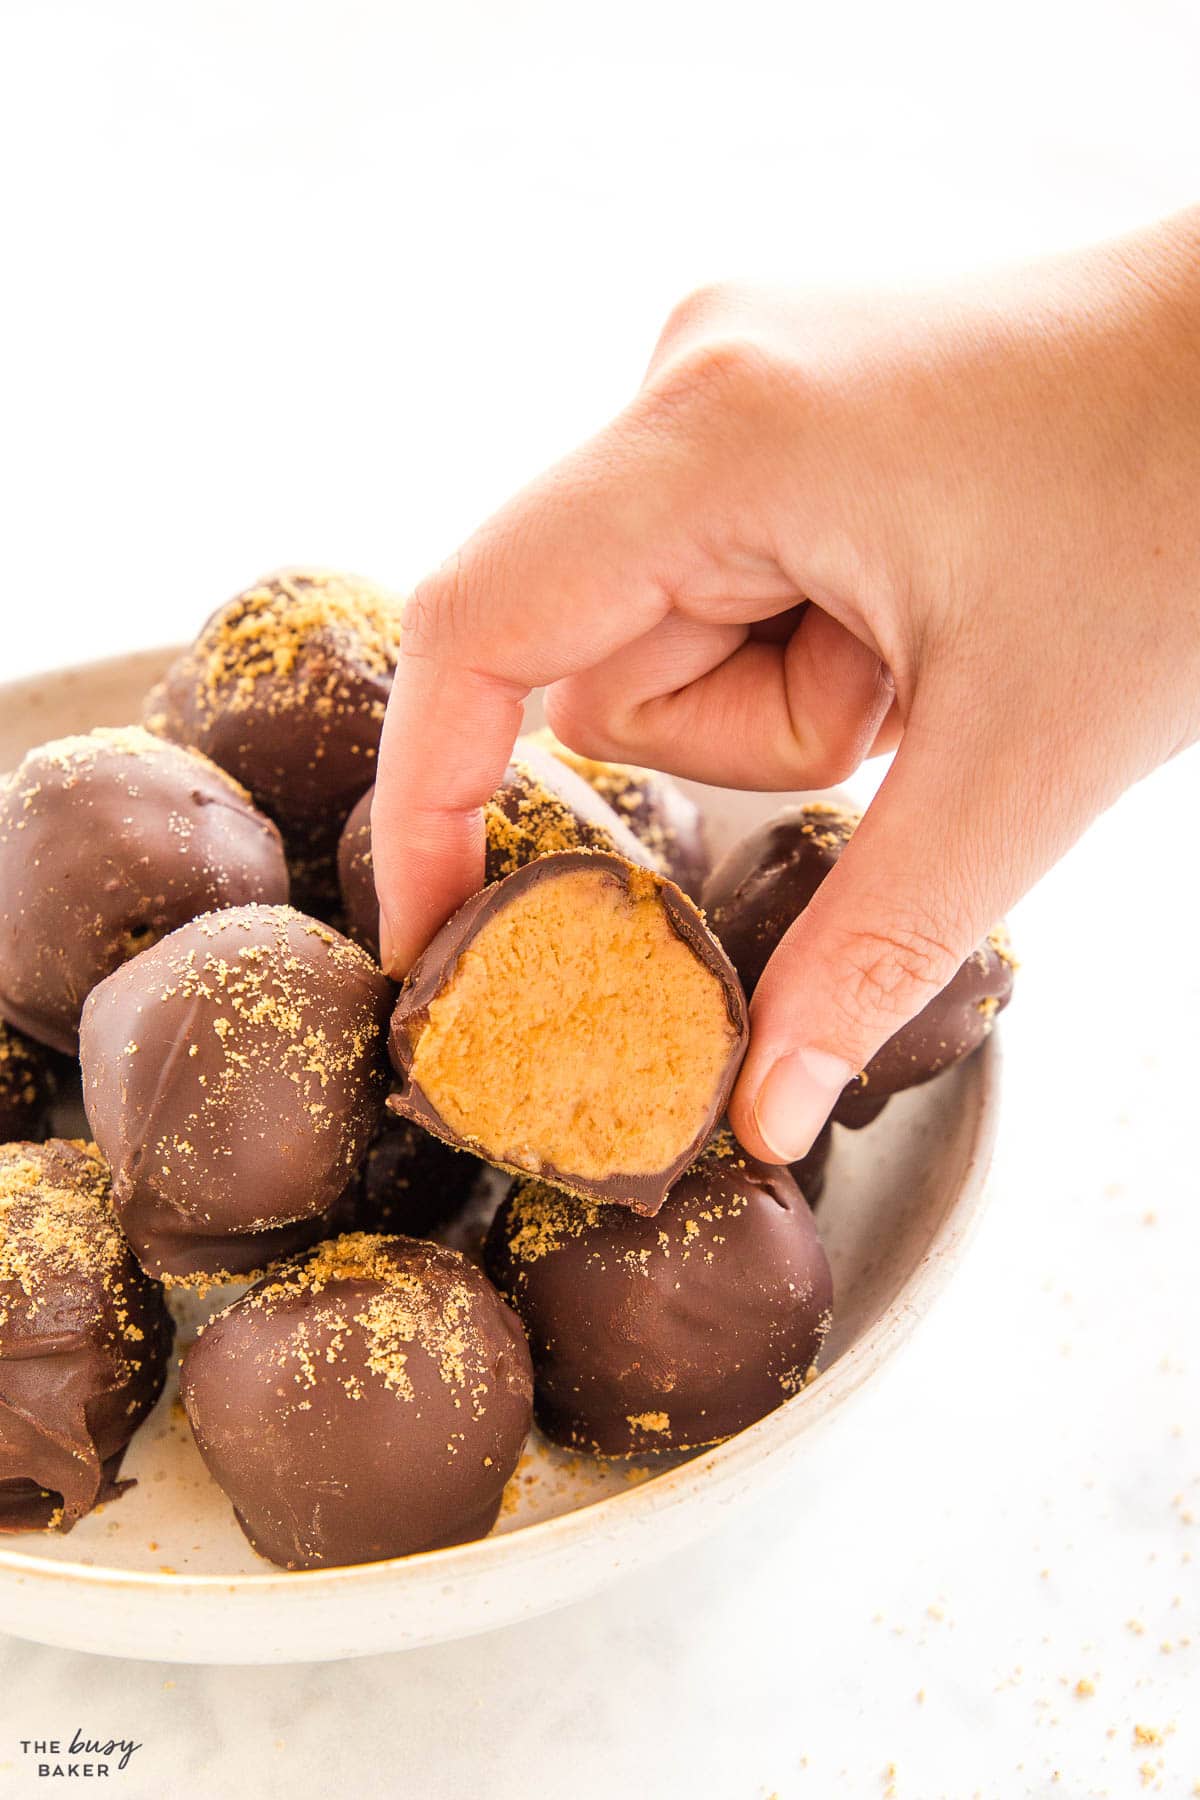
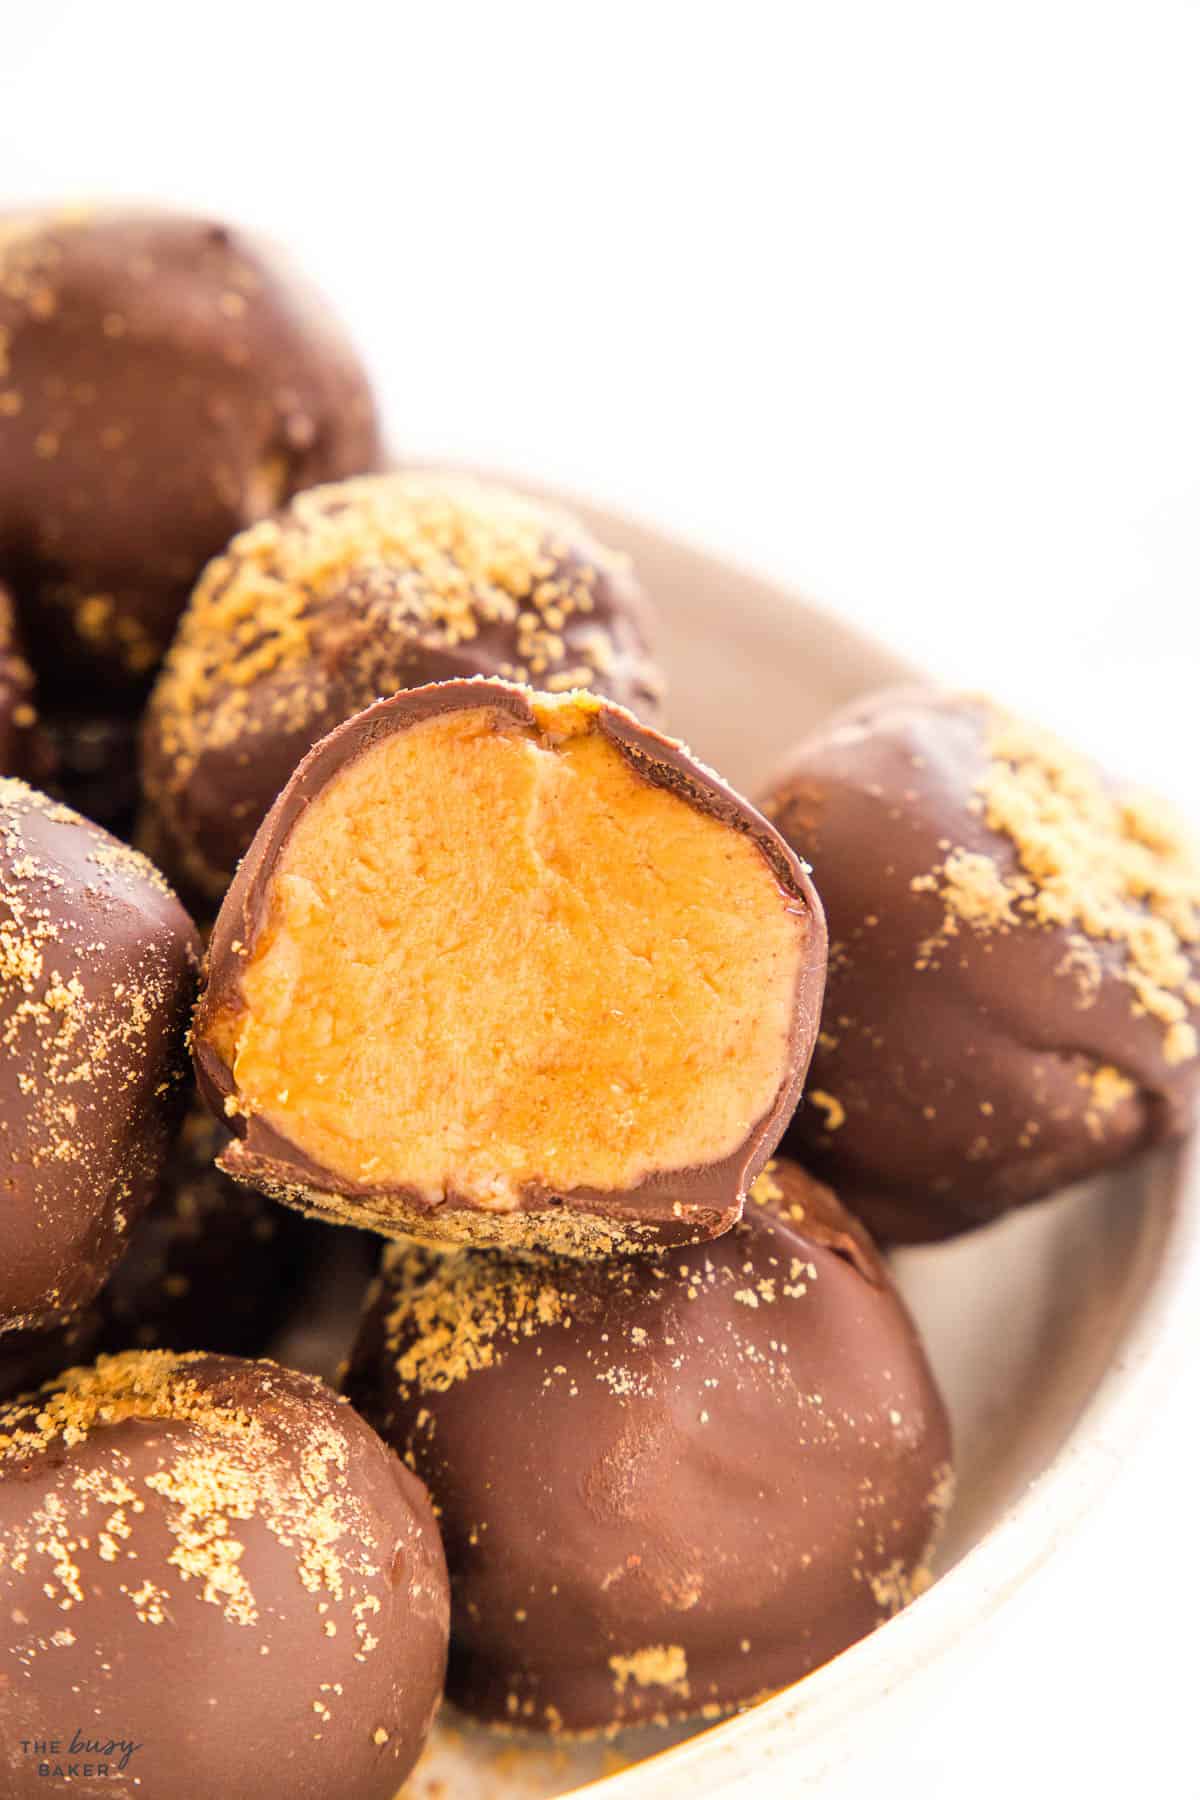
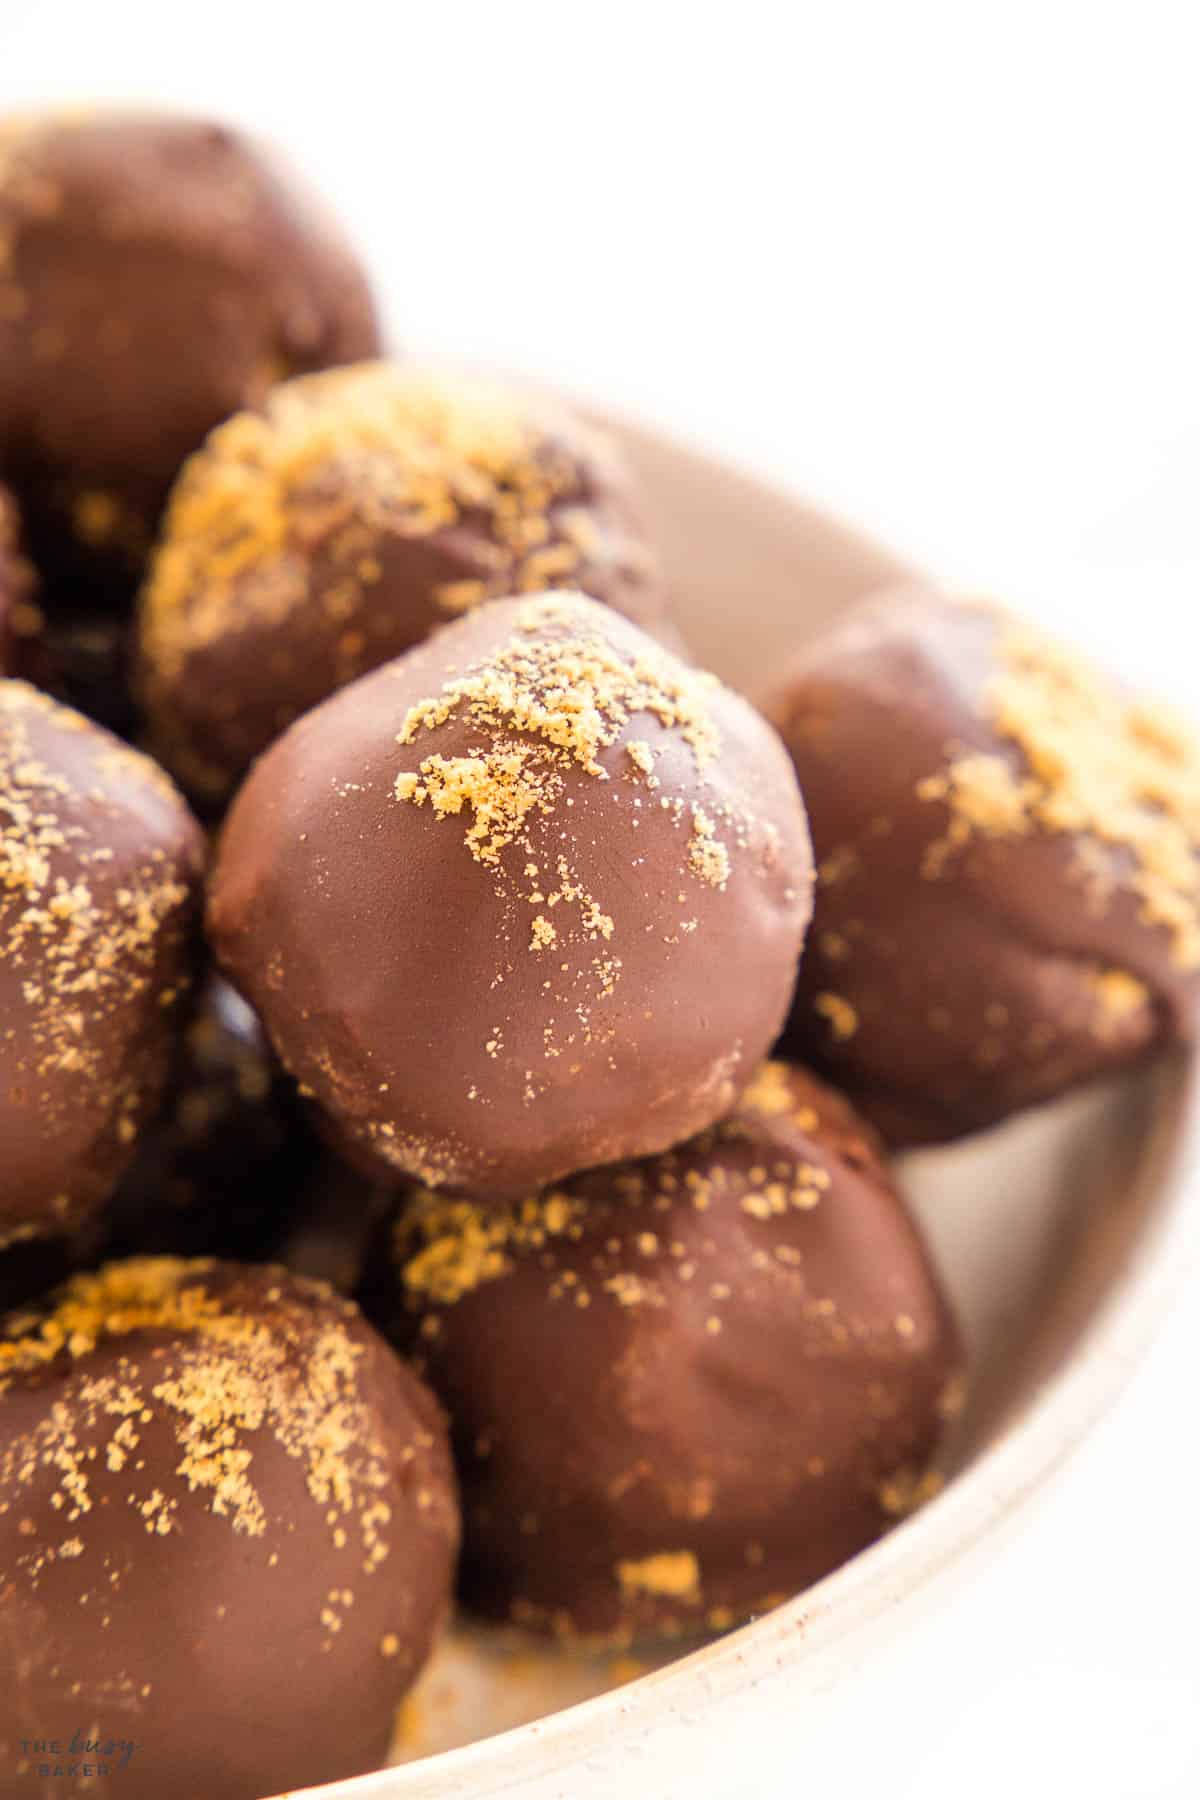
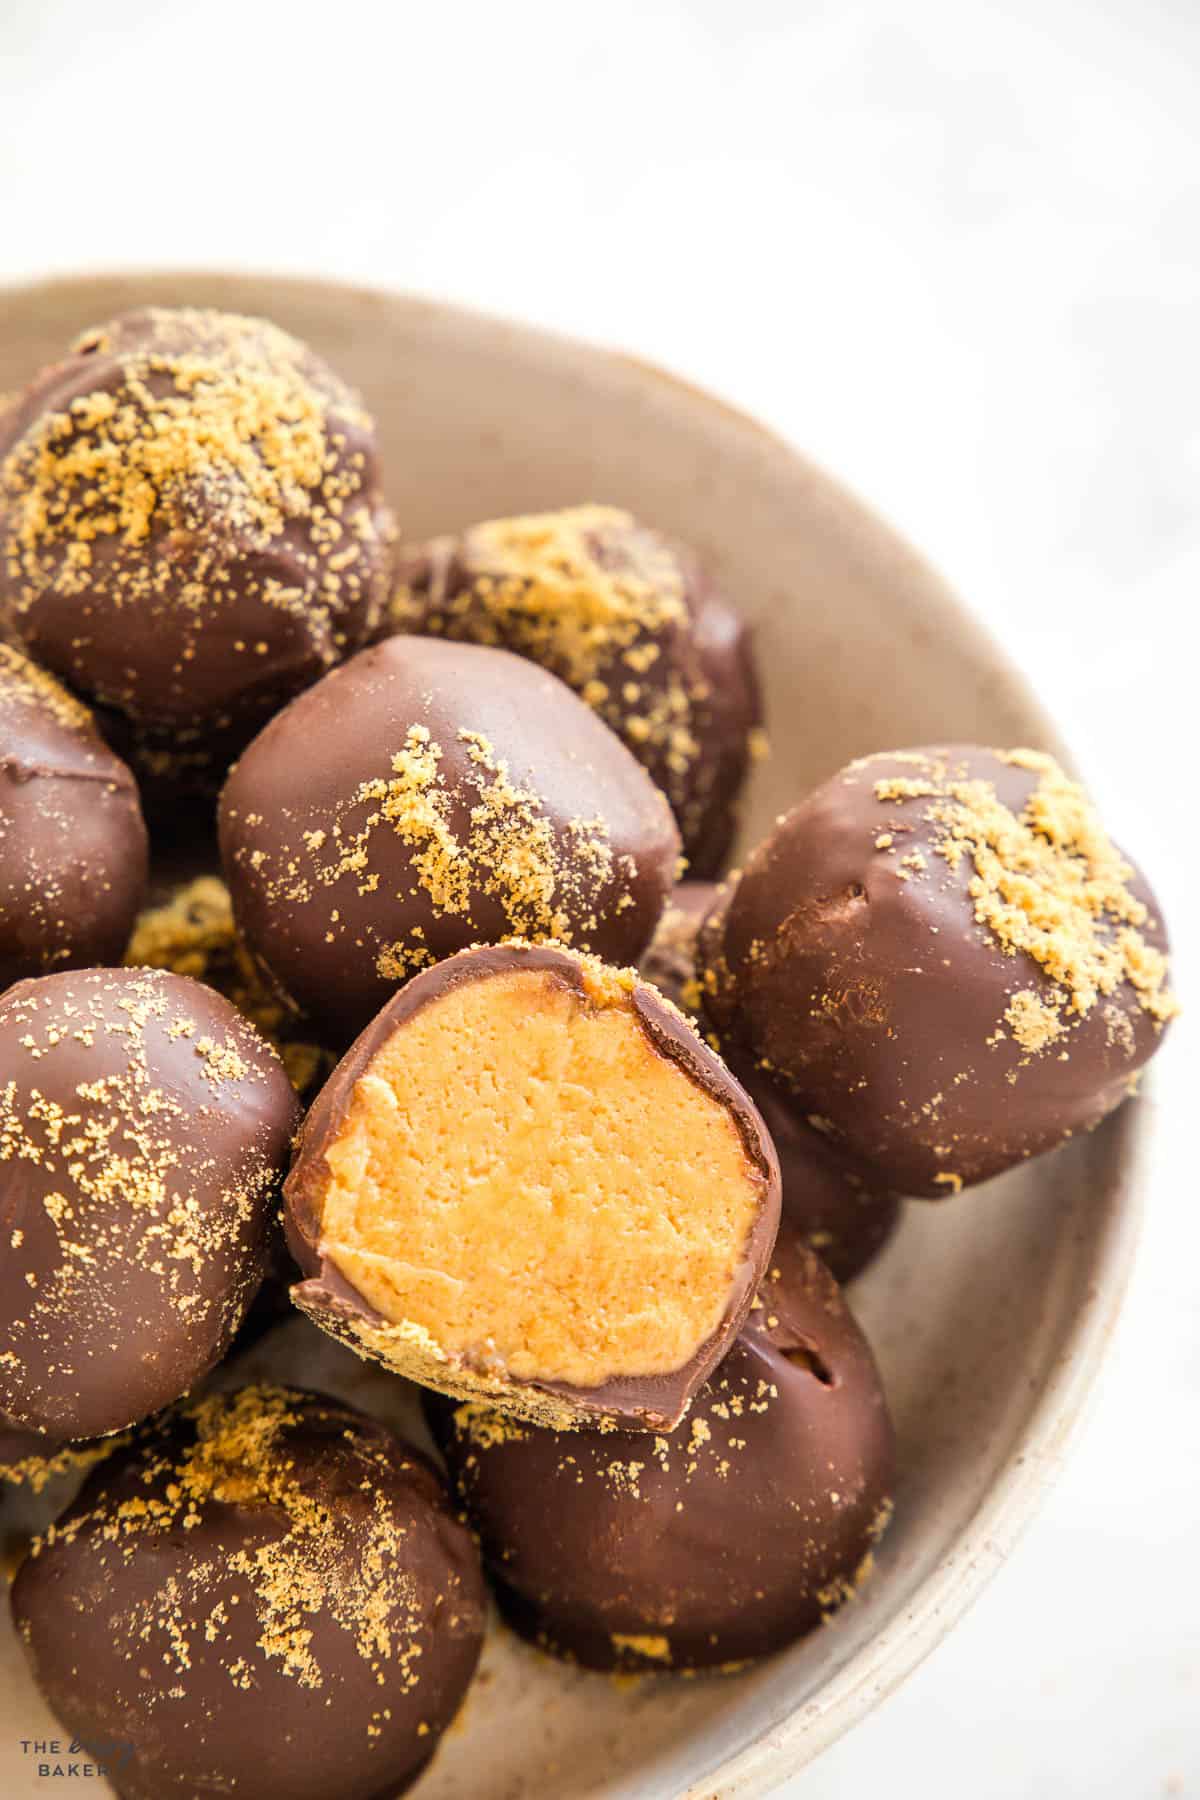
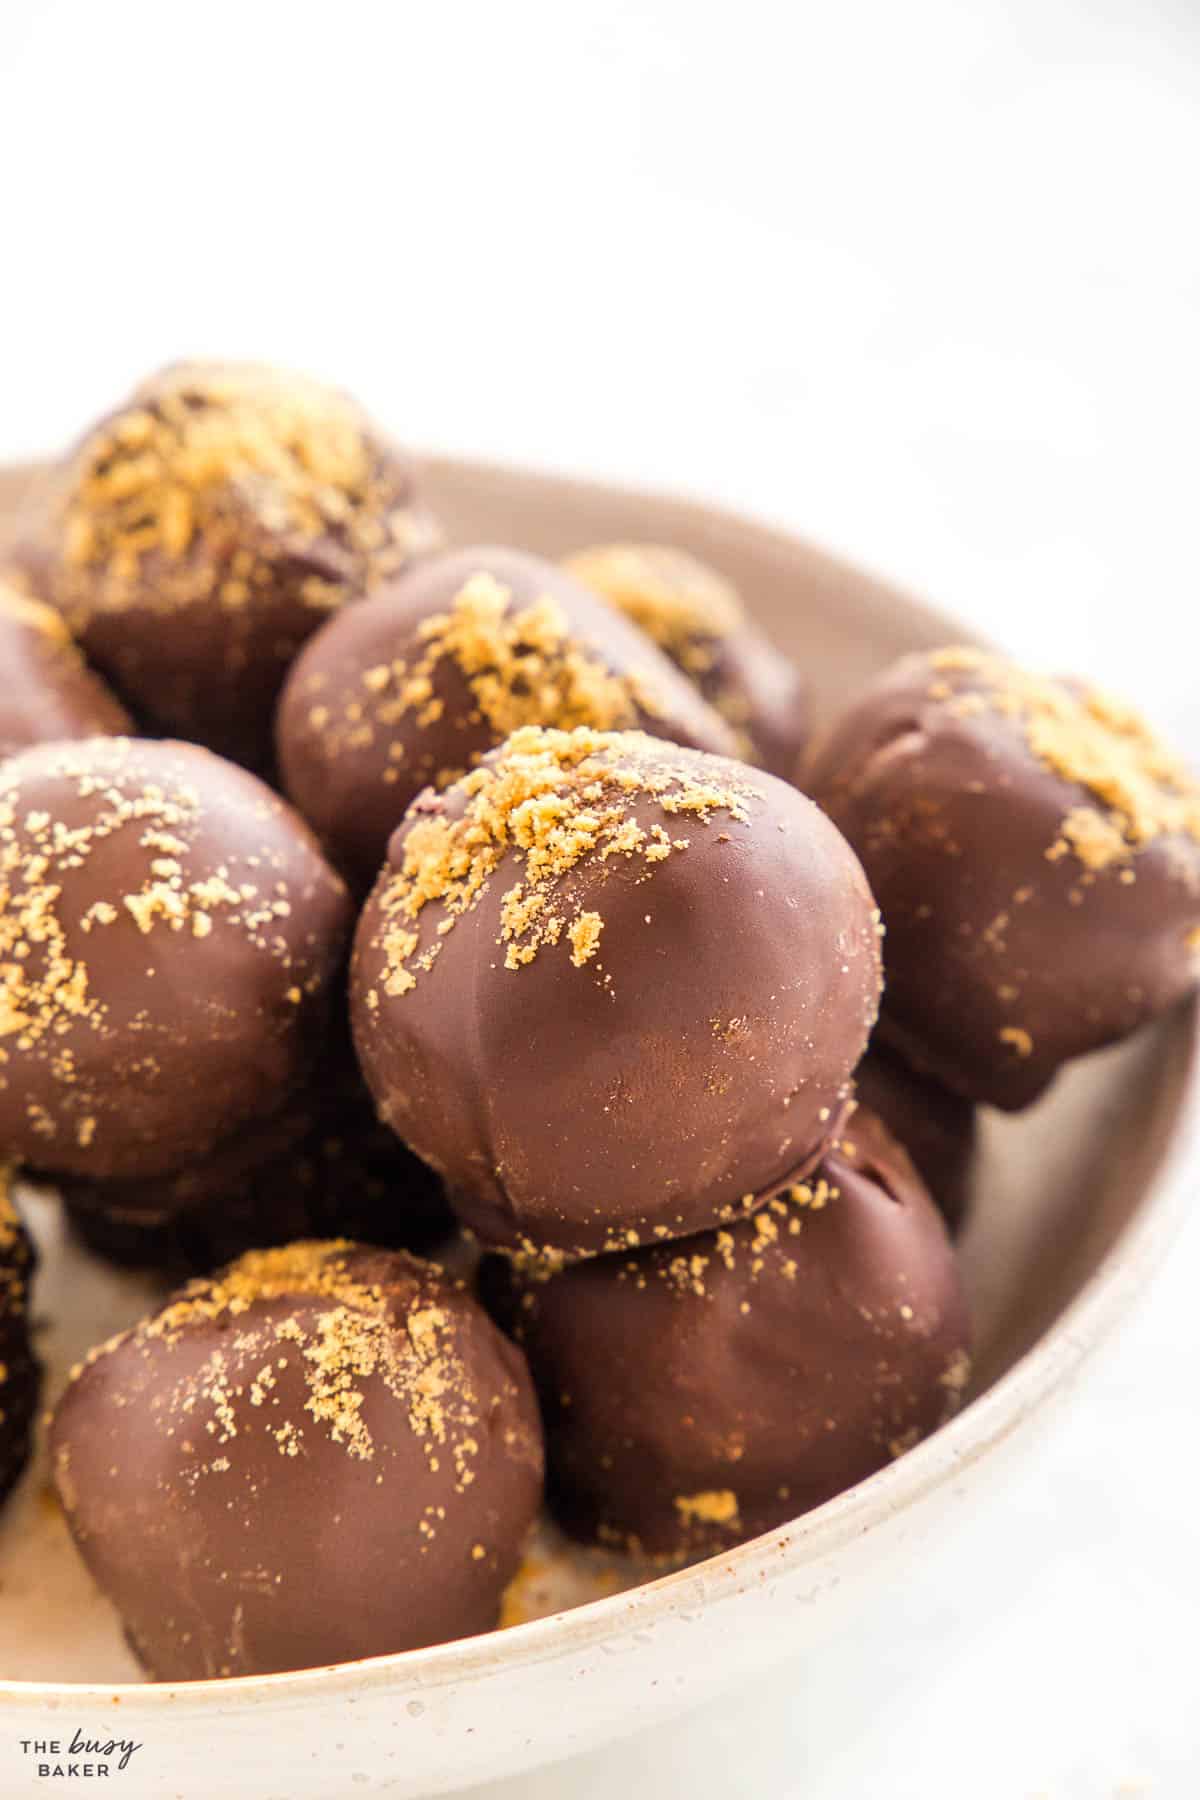
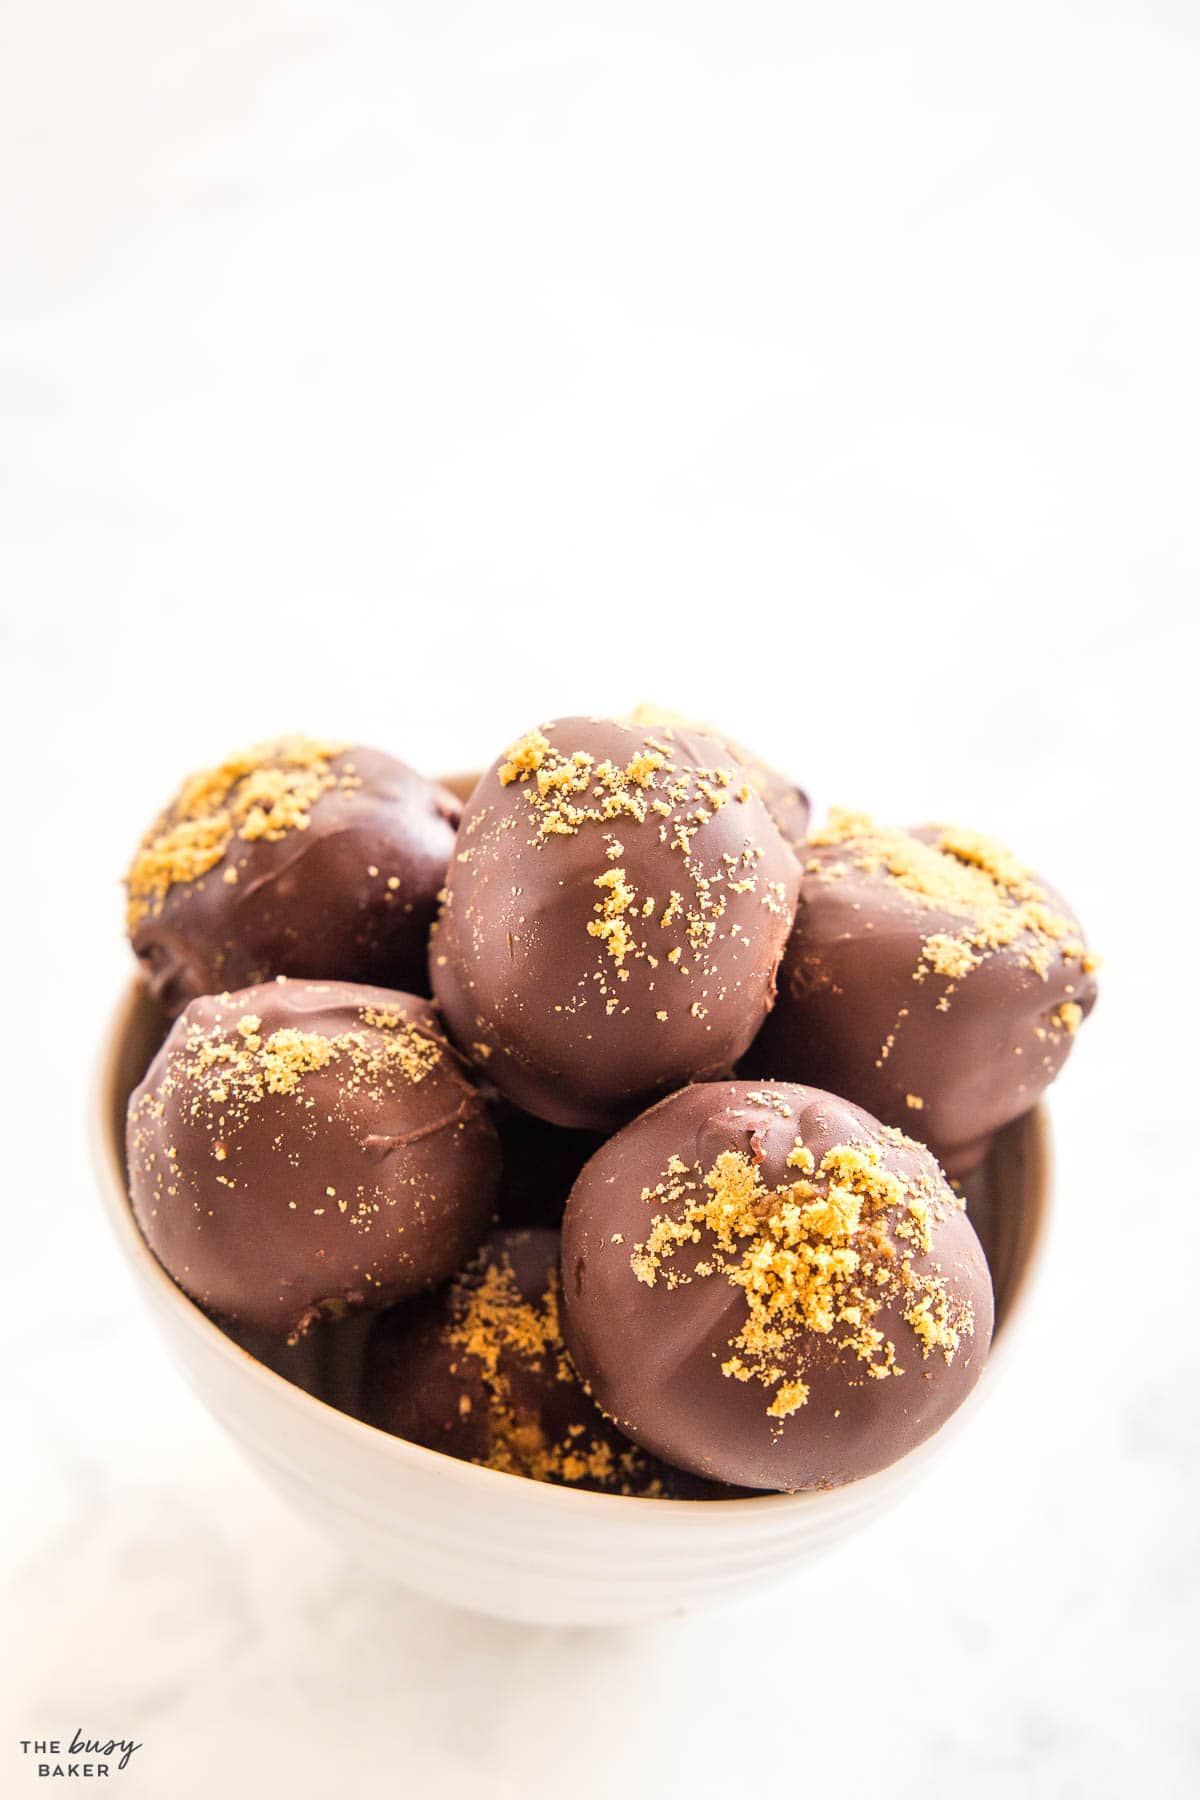
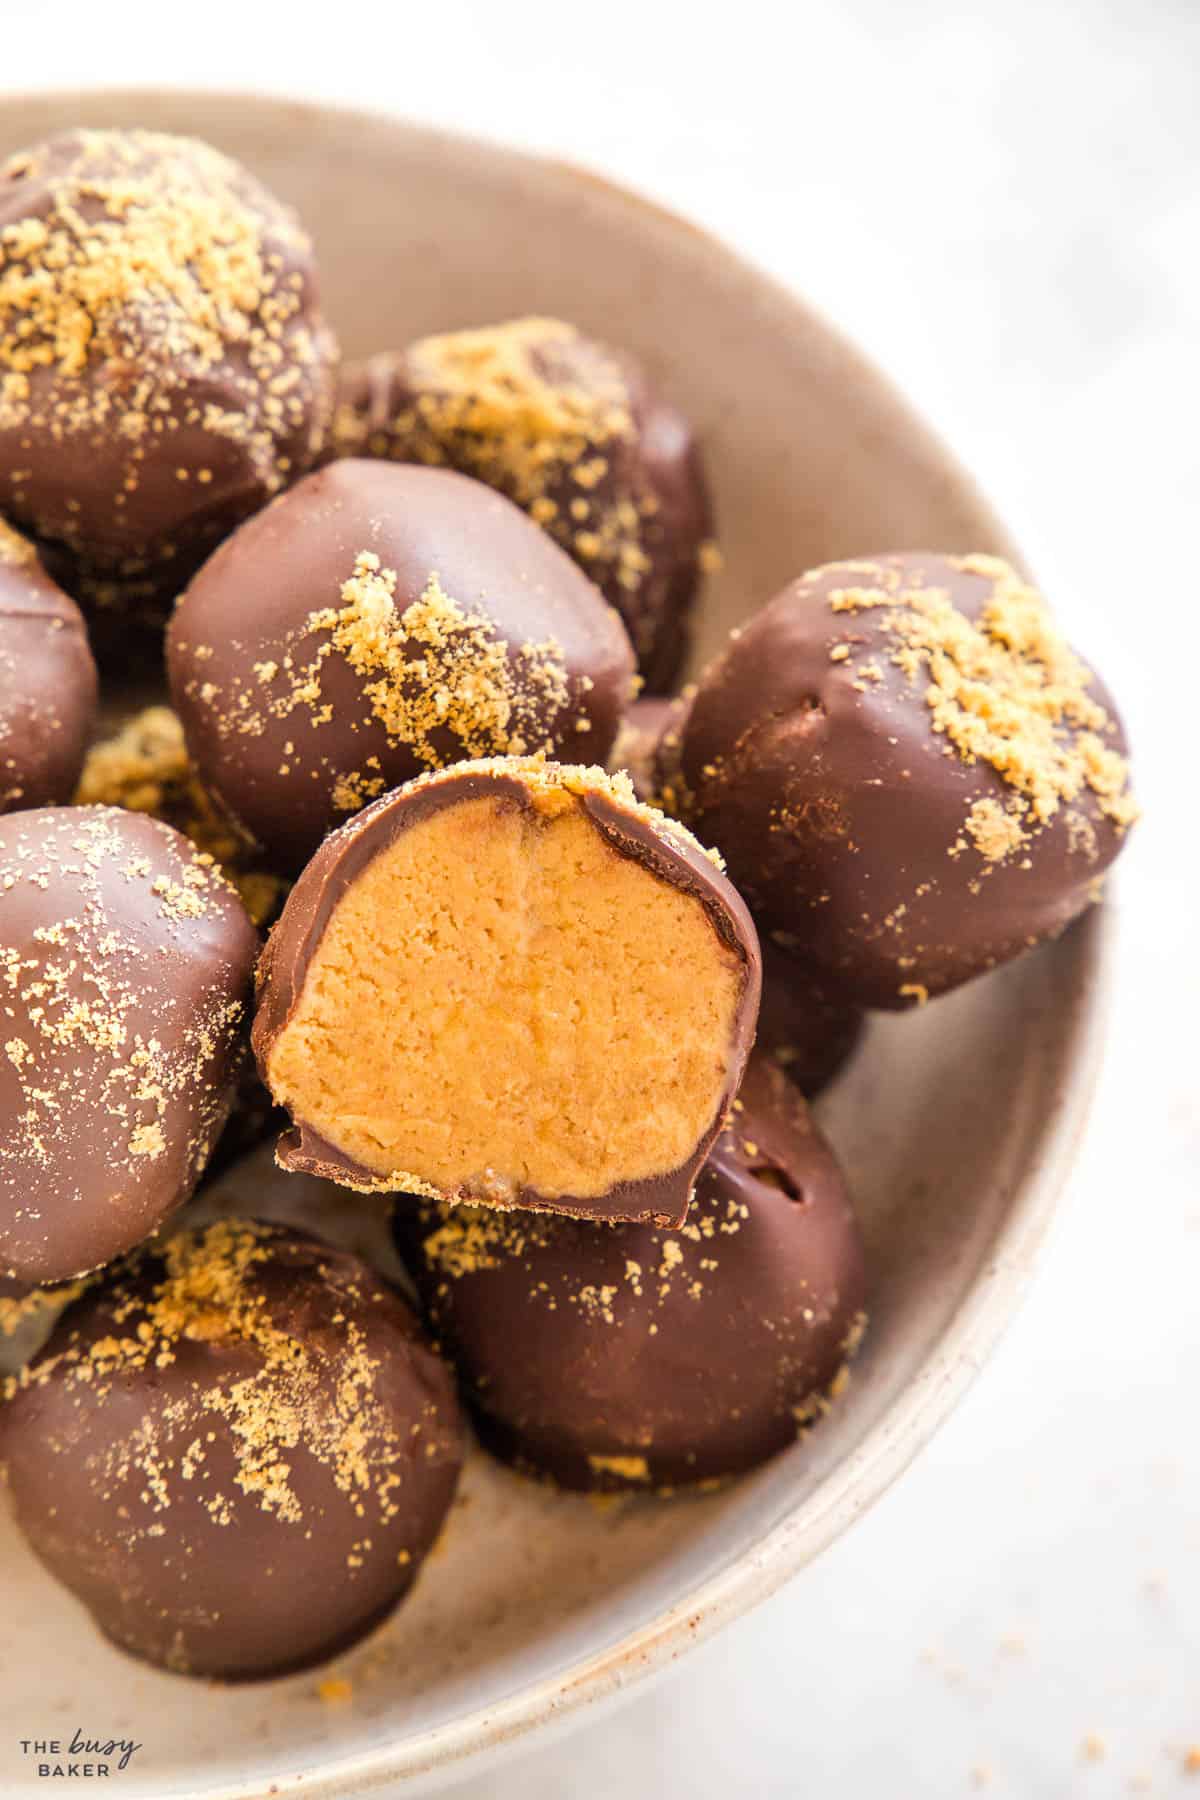
Peanut butter balls are an easy-to-make no-bake treat that have become a staple in many kitchens, especially during the holiday season. The filling features the creamy richness of peanut butter with the texture of crumbled peanut butter cookies and the sweetness of powdered sugar. After rolling the filling into balls, they’re dipped in melted semi-sweet chocolate. We love topping them with a little bit of crumbled peanut butter cookie for presentation. What could be better!?!?
They are simple, versatile, and SO easy to make – even for beginners in the kitchen! For peanut butter lovers, chocolate lovers, and kids of all ages, they’re a delightful treat that deserves a place on your holiday baking list this year!
If you bake for the holidays every year, you’ll already know the challenge of baking multiple recipes in a short period of time. Over the years we’ve developed a pretty great system for taking the stress out of holiday baking by stretching out the recipes over the course of several weeks. Here’s how we do it!
- Start with the complicated recipes first. We start our holiday baking at the end of October when the stress of the holiday season is still a long way off! Block off a Saturday morning and plan to bake one or maybe two more complicated holiday treats, like these Chocolate Caramel Shortbread Bars, for example, that have 2 or more steps. Once they’re done you can freeze them for later and save the easy and simple holiday recipes for baking closer to the holidays when your schedule is busier and you have less time.
- Be sure your have good storage containers on hand. If you’re planning a lot of holiday baking, you need to be sure you have good quality airtight storage containers on hand where you can store your homemade treats. We have some that we reserve for freezing baked goods throughout the year, like muffins for easy breakfasts and cookies to pull out when unexpected guests drop by. These containers are the ones we love to use (paid link) for freezing all our baking all year round.
- Use parchment paper or wax paper between the layers. There’s nothing worse than spending time and money on holiday treats that get ruined and stuck together when you freeze them. Be sure to place parchment paper or wax paper (paid link) between the layers of your holiday cookies so they thaw beautifully without losing their appearance.
- Make room in your freezer. When the holidays are on their way, we always make sure to leave space in the freezer for all the holiday treats we’re going to make. Take some time in September or October to clean out your freezer and use up all the leftovers and ingredients you’ve stashed in there throughout the rest of the year and throw out anything that’s past the use-by date.
- Label your containers. To keep your holiday baking organized always label the containers with the name of the recipe stored in the container, the number of items, and most importantly the date they were baked. This will help you make sure your holiday baking is fresh and served while it’s still good.
- Make a variety of treats. We like preparing about 6-8 different holiday cookies and treats. This makes preparing holiday baking trays for events and gatherings easy as you’ve got a variety of treats on hand.
- Pick out your favourite festive tins. Head to the local dollar store and choose some inexpensive tins you can use for giving away your holiday baking as edible gifts for friends, neighbours and even as teacher gifts. The thrift store can also be a great place to find festive tins – even vintage ones! Give them a good wash in hot soapy water and line them with parchment paper or wax paper before filling them with your creations!
When it comes to how to make no bake peanut butter balls, there are several tips and tricks you can use to make sure the end result is peanut butter ball perfection!
Natural peanut butters, while tasty and a healthier choice, don’t work well in this recipe because they contain a lot of oil which gives the peanut butter a more liquid consistency. Conventional smooth peanut butter varieties, with their added sugar and stabilizers, will give you the best peanut butter ball result.
Butter is superior to margarine here – the high fat content in butter helps stabilize the peanut butter balls, helping them achieve the right texture to roll and dip in chocolate. Margarine contains more water than butter, so if you use margarine your peanut butter balls won’t keep their shape quite as well.
Many peanut butter ball recipes call for crushed graham crackers, but we love using finely crumbled peanut butter cookies instead because they add to the overall peanut butter flavour. Of course you can use graham cracker crumbs instead, if that’s all you have on hand. Both work the same in the recipe in terms of texture.
The best way to portion the peanut butter balls is by using a cookie scoop. This will help the balls begin to take a round shape and it will help make sure the balls are the same size.
In order to roll the balls into the right shape, you’ll have to chill the filling well. 2 hours in the fridge should do it, but we recommend leaving it overnight to be sure it’s nice and firm. This will make rolling the balls so much easier.
We also recommend chilling the balls once they’ve been rolled, before dipping them in chocolate.
The heat from your hands will soften the filling as you roll it, so roll the balls quickly and handle the filling as little as possible so the balls keep their shape after you roll them.
The best kind of chocolate to use for this recipe is chocolate meant for baking: couverture chocolate or baking chocolate, not chocolate chips. Chocolate that’s meant for baking is meant for melting, so it melts evenly and is much easier to work with, especially for dipping.
We recommend melting the chocolate in the microwave on 50% power for 30-second increments until it’s melted. Stir every 30-seconds or so to prevent it from burning.
Here are some common issues you might encounter when making these peanut butter balls and suggestions on how to fix them!
- They are Too Sticky: Add more powdered sugar if the mixture is overly sticky. Chill in the fridge to firm it up before rolling into balls.
- They are Too Dry or Crumbly: Mix in a bit more peanut butter or melted butter to achieve a smoother consistency.
- Difficulty in Shaping Them: If the balls are not holding their shape, refrigerate the mixture a little longer or pop it in the freezer. A firmer mixture is easier to handle and shape.
- They are Unevenly Sized: Use a cookie scoop (paid link) for uniformity. Consistent size ensures even chilling and coating.
- The Chocolate Seized: If chocolate becomes gritty or clumpy due to overheating or because some moisture has gotten in, gently warm it while adding a teaspoon or so of peanut butter to soften it up.
- The Chocolate is Too Thick: To thin out chocolate, add a few drops of heavy cream or a teaspoon of melted peanut butter until you reach the desired consistency.
- Uneven Chocolate Coating: Dip using a fork or wooden skewer for a more even coating of chocolate. Tap off excess chocolate very gently before placing on the parchment paper.
- The Chocolate Not Setting: If the chocolate coating doesn’t set, it may be too warm in your kitchen. Chill the balls in the fridge until the chocolate hardens to the touch.
- The Peanut Butter Balls are Flattening: To prevent flattening at the base, chill the balls of filling thoroughly before dipping in chocolate and place them on a flat surface in the fridge.
- The Taste has Changed After Storage: Store in an airtight container in the fridge to maintain freshness. If the taste seems off, they may have been stored too long or at an incorrect temperature. Storing uncovered for too long in the fridge can cause them to absorb other flavours.
- The Texture has Changed: Humidity can affect the texture. Store in a cool, dry place, and avoid moisture exposure.
- Cracked or Broken Peanut Butter Balls: If they crack while you try to move them, wait a little longer. The filling and the chocolate should be at the same temperature before you move them to prevent breakage.
- Serving Suggestions: Store in the fridge and leave them at room temperature for about 20 minutes before serving.
Here’s a list of the basic kitchen equipment you’ll need to make this easy no bake peanut butter balls recipe (paid links):
- a few microwave safe bowls
- measuring cups and spoons
- a Silicone Spatula or two
- a Cutting Board
- a large knife
- a cookie scoop
- Plastic Wrap
- Parchment Paper
Holiday baking requires that you have some basic kitchen equipment on hand. Here’s a list of our favourite kitchen items for baking during the holiday season (paid links):
- A Stand Mixer. A stand mixer is one of our favourite pieces of kitchen equipment, especially for holiday baking. It makes whipping up cookie dough or dough for cinnamon buns an absolute breeze, and whipping cream or egg whites takes almost no effort at all with a stand mixer. This KitchenAid stand mixer is one we’ve used for almost 20 years and we love it!
- A Hand Mixer. A good quality hand mixer is a great substitute for a stand mixer if you don’t have one and a stand mixer isn’t a good fit for your budget. We love our KitchenAid hand mixer and use it all the time in The Busy Baker kitchen!
- Good Quality Mixing Bowls. Having a set of good mixing bowls is critical for holiday baking. Whether you’re melting chocolate or whipping up cookie dough, these stainless steel mixing bowls do a great job!
- Measuring Cups and Spoons. Measuring your ingredients properly is an important part of baking. Here’s a set of measuring cups and spoons for dry ingredients we recommend.
- Liquid Measuring Cups. When measuring liquid ingredients it’s important to use measuring cups that are meant for measuring liquids. These liquid measuring cups are our favourite ones.
- A Kitchen Scale. If you’re preparing a more difficult recipe that requires that your ingredient amounts be precise, a kitchen scale is great because you can accurately measure your ingredients in grams or ounces. Here’s our favourite kitchen scale we use almost daily.
- A Whisk. A whisk is an important tool for blending dry ingredients, making glazes or sauces, and so many other uses! Here’s our favourite whisk to use for baking.
- A Silicone Spatula. A silicone spatula is great for scraping down the bowl when baking, and incorporating ingredients together without adding air into your batter. It’s always a bonus when your silicone spatulas are heat safe for making caramel on the stovetop. Check out our favourite silicone spatulas for baking!
- Microwave Safe Bowls. Because you can’t put metal in the microwave, having a good set of glass or pyrex bowls is important for tasks like melting chocolate in the microwave. Here’s our favourite set of pyrex bowls for baking.
- Baking Sheets. What kind of baking sheets you use will depend on the size of your oven, but these Nordic Ware Baking Sheets and these Wilton Baking Sheets are our top 2 favourite baking sheets for all our baking needs.
- Parchment Paper. We always stock up on parchment paper before the holidays because it’s the best way to keep your baking sheets from becoming stained, it prevents your cookies from sticking when baking, and it helps keep your holiday treats looking beautiful when they’re packed and stored in the freezer.
- A Cookie Scoop. We love our cookie scoop and use it every single time we bake cookies! It creates cookies that are uniform in size and shape which helps them not only look beautiful but also bake evenly!
- A Silicone Turner. Removing your cookies from the baking sheet with precision requires a turner that easily slips underneath the cookies. Here’s our favourite silicone turner for this job!
- Cooling Racks. Cooling your holiday baking before before storing is absolutely critical, so having a set of cooling racks on hand is essential!
Here’s a list of the ingredients you’ll need to make this Chocolate Peanut Butter Balls recipe (paid links):
- 1 cup peanut butter cookies finely crumbled, or use graham cracker crumbs
- 1 cup smooth peanut butter
- 3/4 cup powdered sugar
- 1 teaspoon vanilla extract
- 1/3 cup melted butter
- 1/2 teaspoon salt
- 12 ounces semi-sweet chocolate chopped
Looking to switch things up? Here’s a list of fun variations on the basic chocolate peanut butter balls recipe!
- Chocolate: Use different types of chocolate for coating, such as white chocolate or dark chocolate. Drizzle melted chocolate over the chocolate-coated balls for extra flavour and a pretty presentation.
- Nuts: Incorporate chopped nuts like almonds, pecans, or walnuts into the peanut butter mixture for added crunch. Roll the balls in crushed nuts after dipping in chocolate.
- Crunch: Stir in crispy rice cereal to the peanut butter mixture for a delightful crunch. Add mini chocolate chips or toffee bits to the mixture for a varied texture, and add some on top as well for presentation.
- Caramel: Before forming the balls, place a small piece of caramel in the centre of each ball for a sweet surprise.
- Holiday: For festive occasions, top the balls with coloured sugar or holiday sprinkles.
- Vegan: Use plant-based butter and dairy-free chocolate for a vegan-friendly version.
Time needed: 2 hours and 30 minutes
Follow these steps for the perfect chocolate peanut butter balls!
- Make the filling.
Stir together the filling ingredients until they’re well combined.
- Chill in the freezer to save time.
We suggest chilling the filling in the freezer to help it firm up quickly!
- Roll the balls.
Use a cookie scoop to portion the filling evenly and roll it into about 20 balls.
- Chill again after rolling.
After you’ve rolled them into balls, chill them again just to firm them up before dipping in melted chocolate.
- Melt your chocolate slowly.
Chop the chocolate, then melt it in the microwave slowly at 50% power. This will prevent it from burning or seizing up.
- Dip the balls and let them set.
Dip the peanut butter balls in the chocolate and leave them on the parchment paper lined plate or baking sheet to set.
- Add crumbled cookies for garnish.
We like to add some crumbled peanut butter cookie to the top before the chocolate sets.
- Serve and enjoy!
Serve as soon as the chocolate sets or store them in the fridge or freezer until ready to serve!
Can I use natural peanut butter to make peanut butter balls?
We don’t recommend this as natural peanut butter often contains more oil, making the filling more fluid and harder to roll.
What type of chocolate is best for dipping?
We recommend semi-sweet chocolate for dipping because of its flavour and texture, but always use chocolate that’s meant for baking and melting, like baking chocolate or couverture chocolate. Conventional chocolate bars, candy bars, or chocolate chips can be difficult to melt successfully as they contain a lot of additional ingredients that can affect the texture.
How do I melt chocolate without burning it?
Chop the chocolate first, then add it to a microwave-safe bowl and microwave it at 50% power for 30-second increments
How should I store peanut butter balls?
Store them in the fridge or freezer in an airtight container with parchment paper between the layers to prevent sticking.
Can I freeze peanut butter balls?
Yes! Freeze them in an airtight container with parchment paper between the layers for up to 3 months.
How long can I store peanut butter balls?
Store them in an airtight container in the fridge for up to one week and in the freezer for up to 3 months.
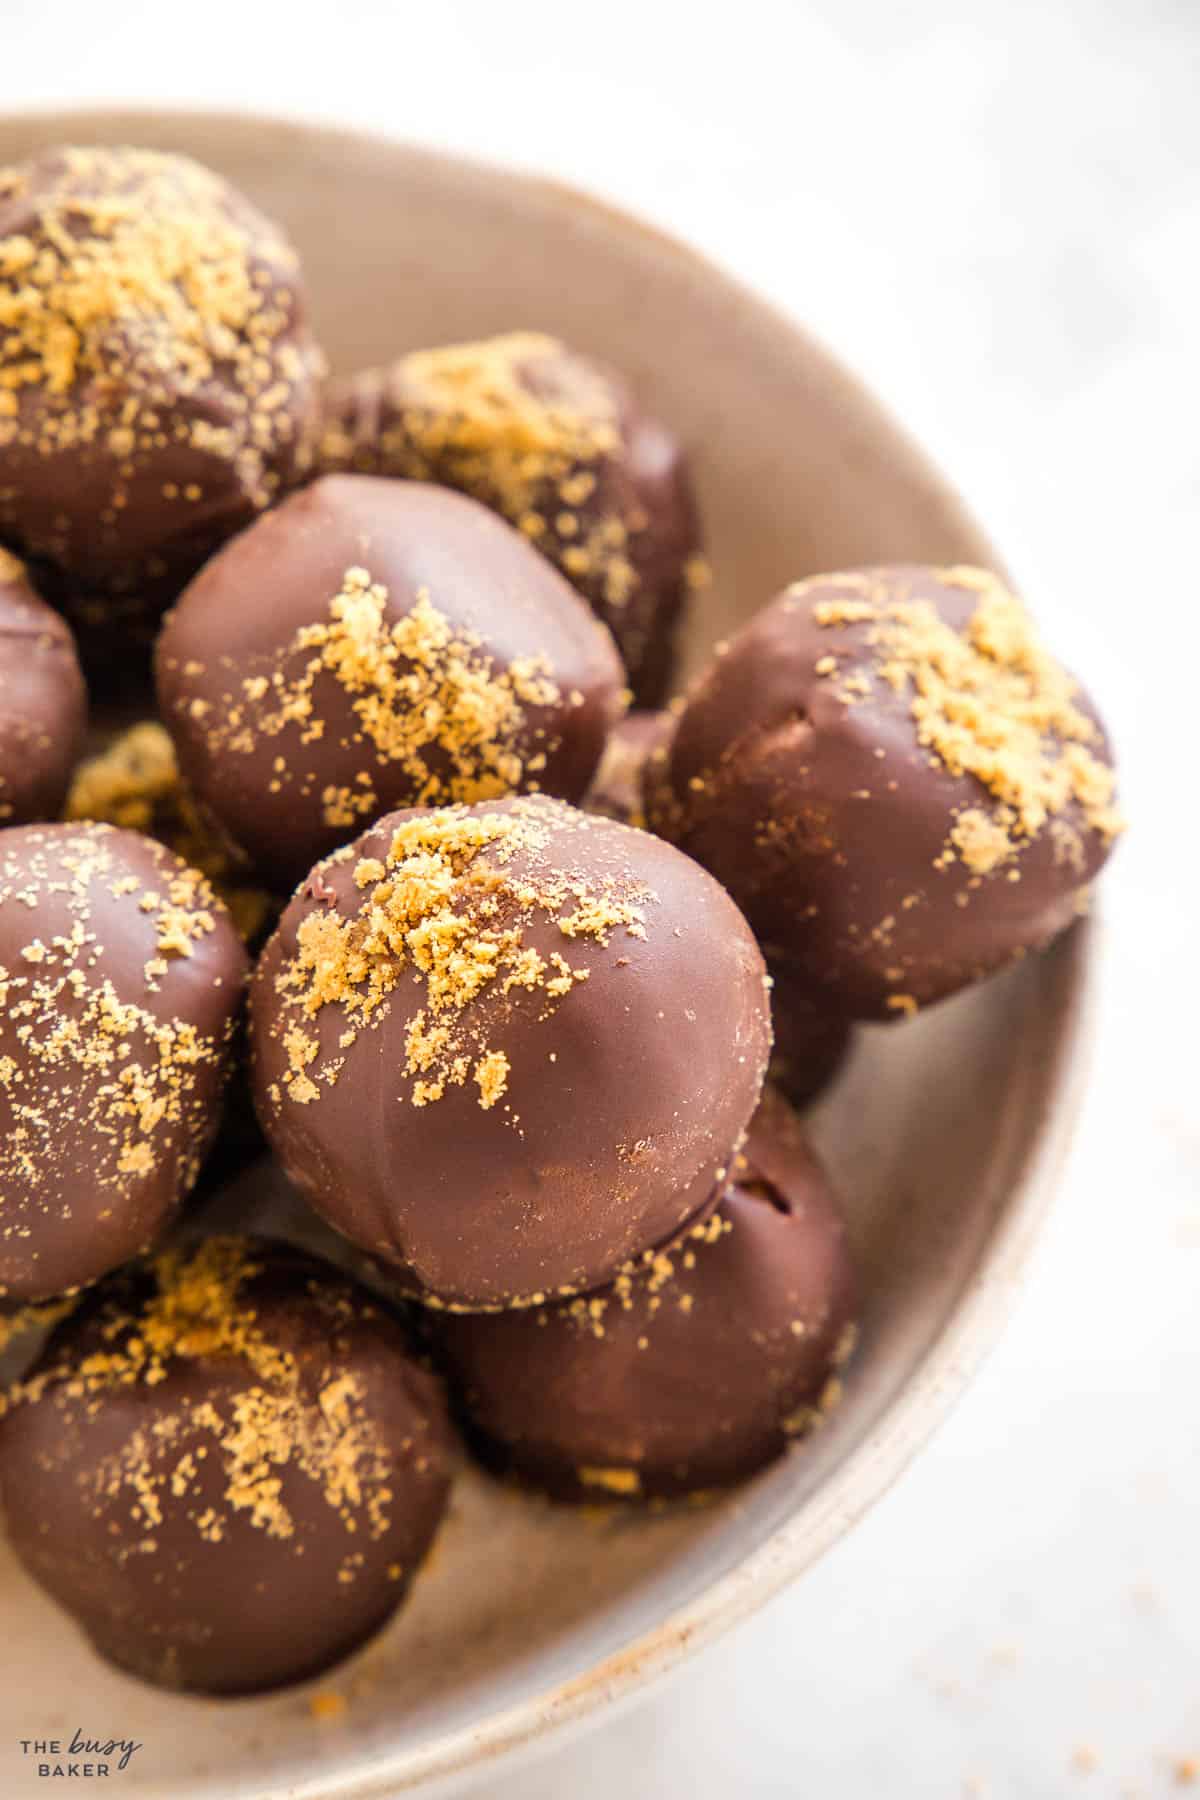
We hope you love this no bake peanut butter balls recipe as much as we do! Let us know in the comments below, what’s your favourite no bake treat to make for the holidays? We’d love to know!
If you made this, share a photo!
Are you trying this recipe? Use the comment form below to share your take; now with support for image uploads and comment voting!
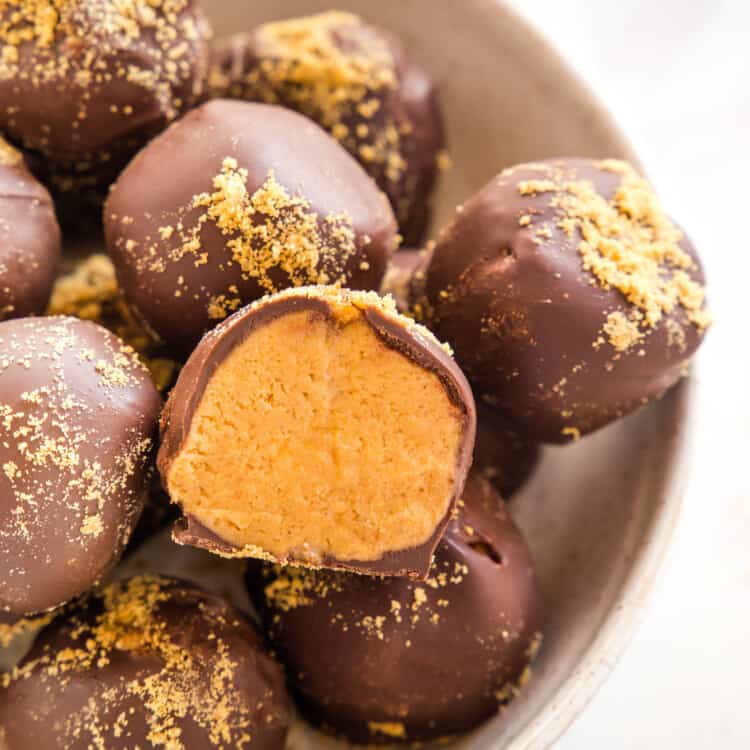
Peanut Butter Balls
Recipe: Equipment
Recipe: Ingredients
- 1/3 cup melted butter
- 1 cup smooth peanut butter
- 3/4 cup powdered sugar
- 1 teaspoon vanilla extract
- 1/4 teaspoon salt
- 1 cup peanut butter cookies finely crumbled, or use graham cracker crumbs
- 12 ounces semi-sweet chocolate chopped
Recipe: Instructions
- Add the melted butter and peanut butter to a bowl along with the powdered sugar, vanilla, salt and finely crumbled cookies. Mix well until blended.
- Add the bowl to the freezer for about 30 minutes or chill in the fridge for about 1-2 hours.
- Use a cookie scoop and form into balls about 1 to 1 1/2 tablespoons in size.
- Once the balls have been rolled, place them on a small baking tray or plate lined with parchment paper. Refrigerate again for about 20 minutes or chill in the freezer for 10 minutes.
- Chop the chocolate and add it to a microwave safe bowl. Melt the chocolate in the microwave at 50% power for 30-second increments until completely melted.
- Dip the chilled balls in the melted chocolate and place back on the parchment lined sheet or plate. Add a dusting of crumbled peanut butter cookies on top of each ball while the chocolate is wet.
- Chill the peanut butter balls until the chocolate is set, or let the chocolate harden at room temperature.
Recipe: Notes
Storage Instructions
Store them in the fridge in an airtight container for up to one week, storing them with parchment paper between the layers to prevent sticking and breakage.Freezer Instructions
Store them in the freezer in an airtight container for up to 3 months, storing them with parchment paper between the layers to prevent sticking and breakage.Recipe: Nutrition
Notice: Nutrition is auto-calculated, using Spoonacular, for your convenience. Where relevant, we recommend using your own nutrition calculations.

EASY NO-FAIL HOLIDAY RECIPES AND COOKING & BAKING TIPS
Get my easy no-fail holiday meals e-cookbook!
