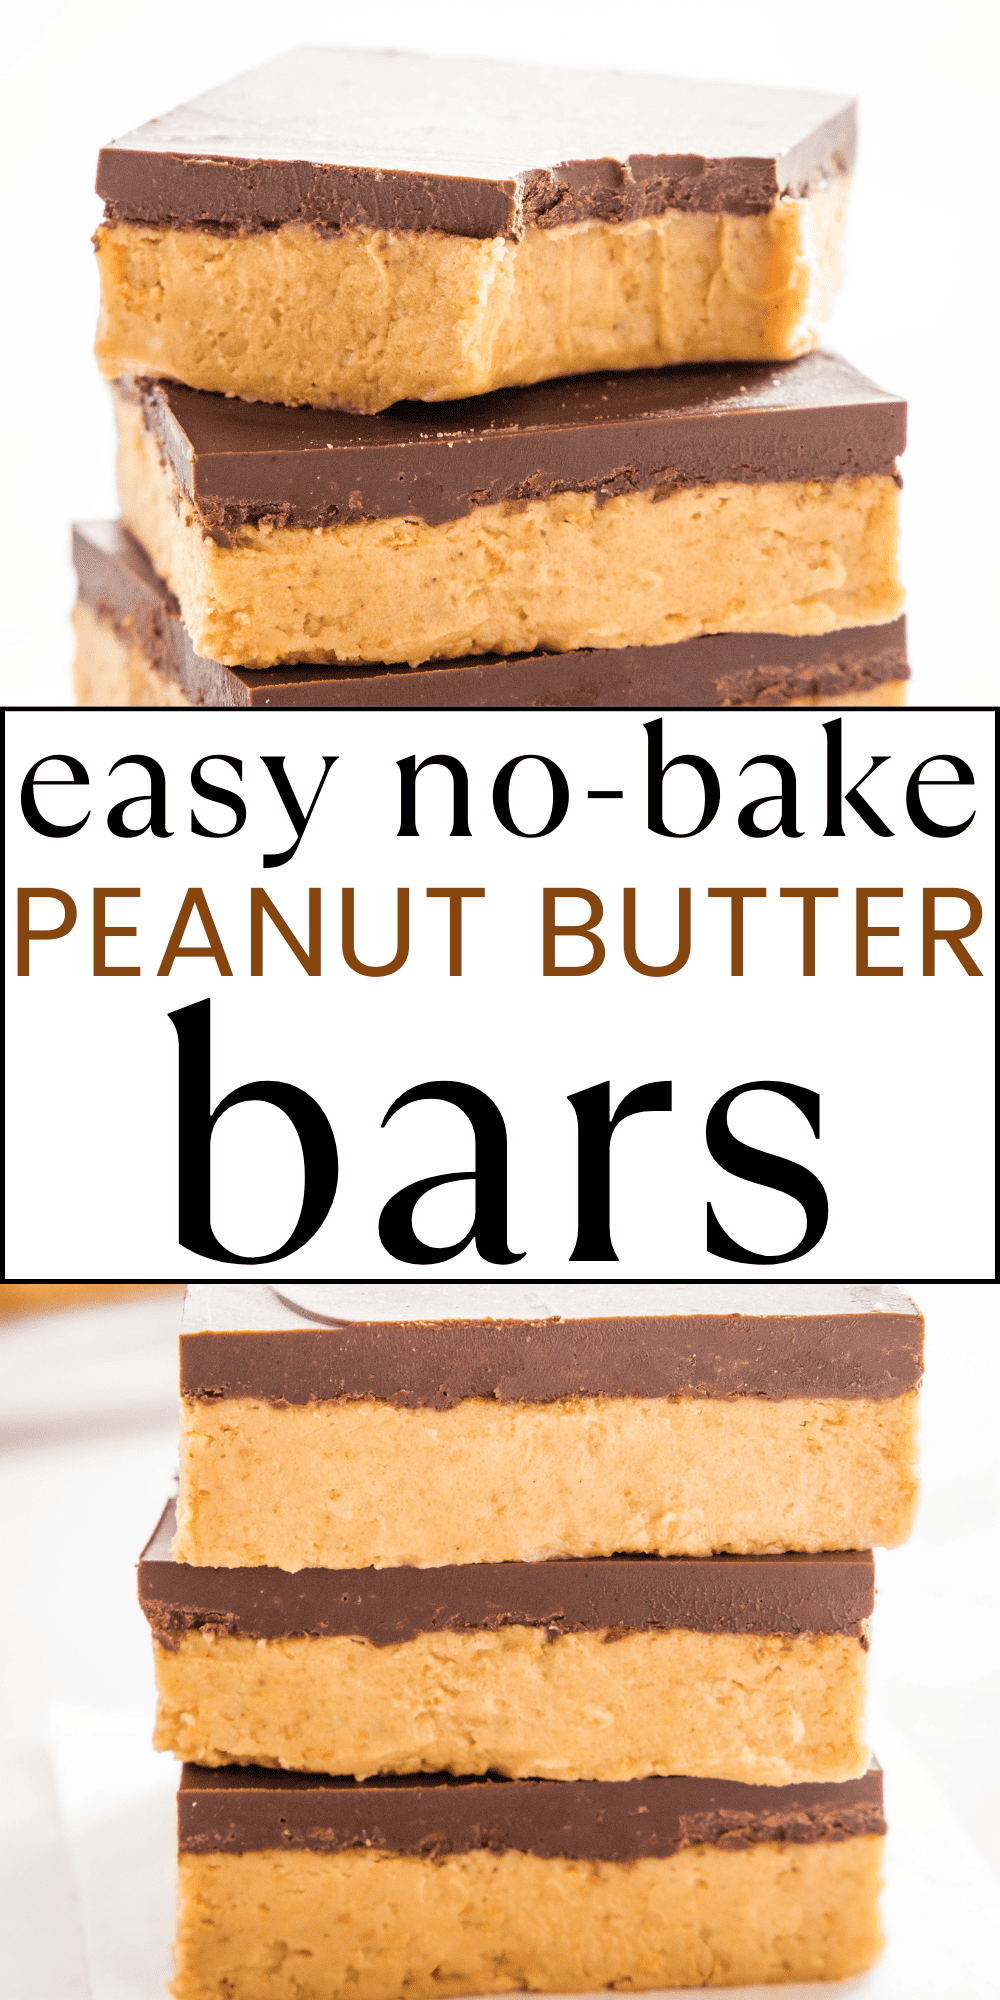
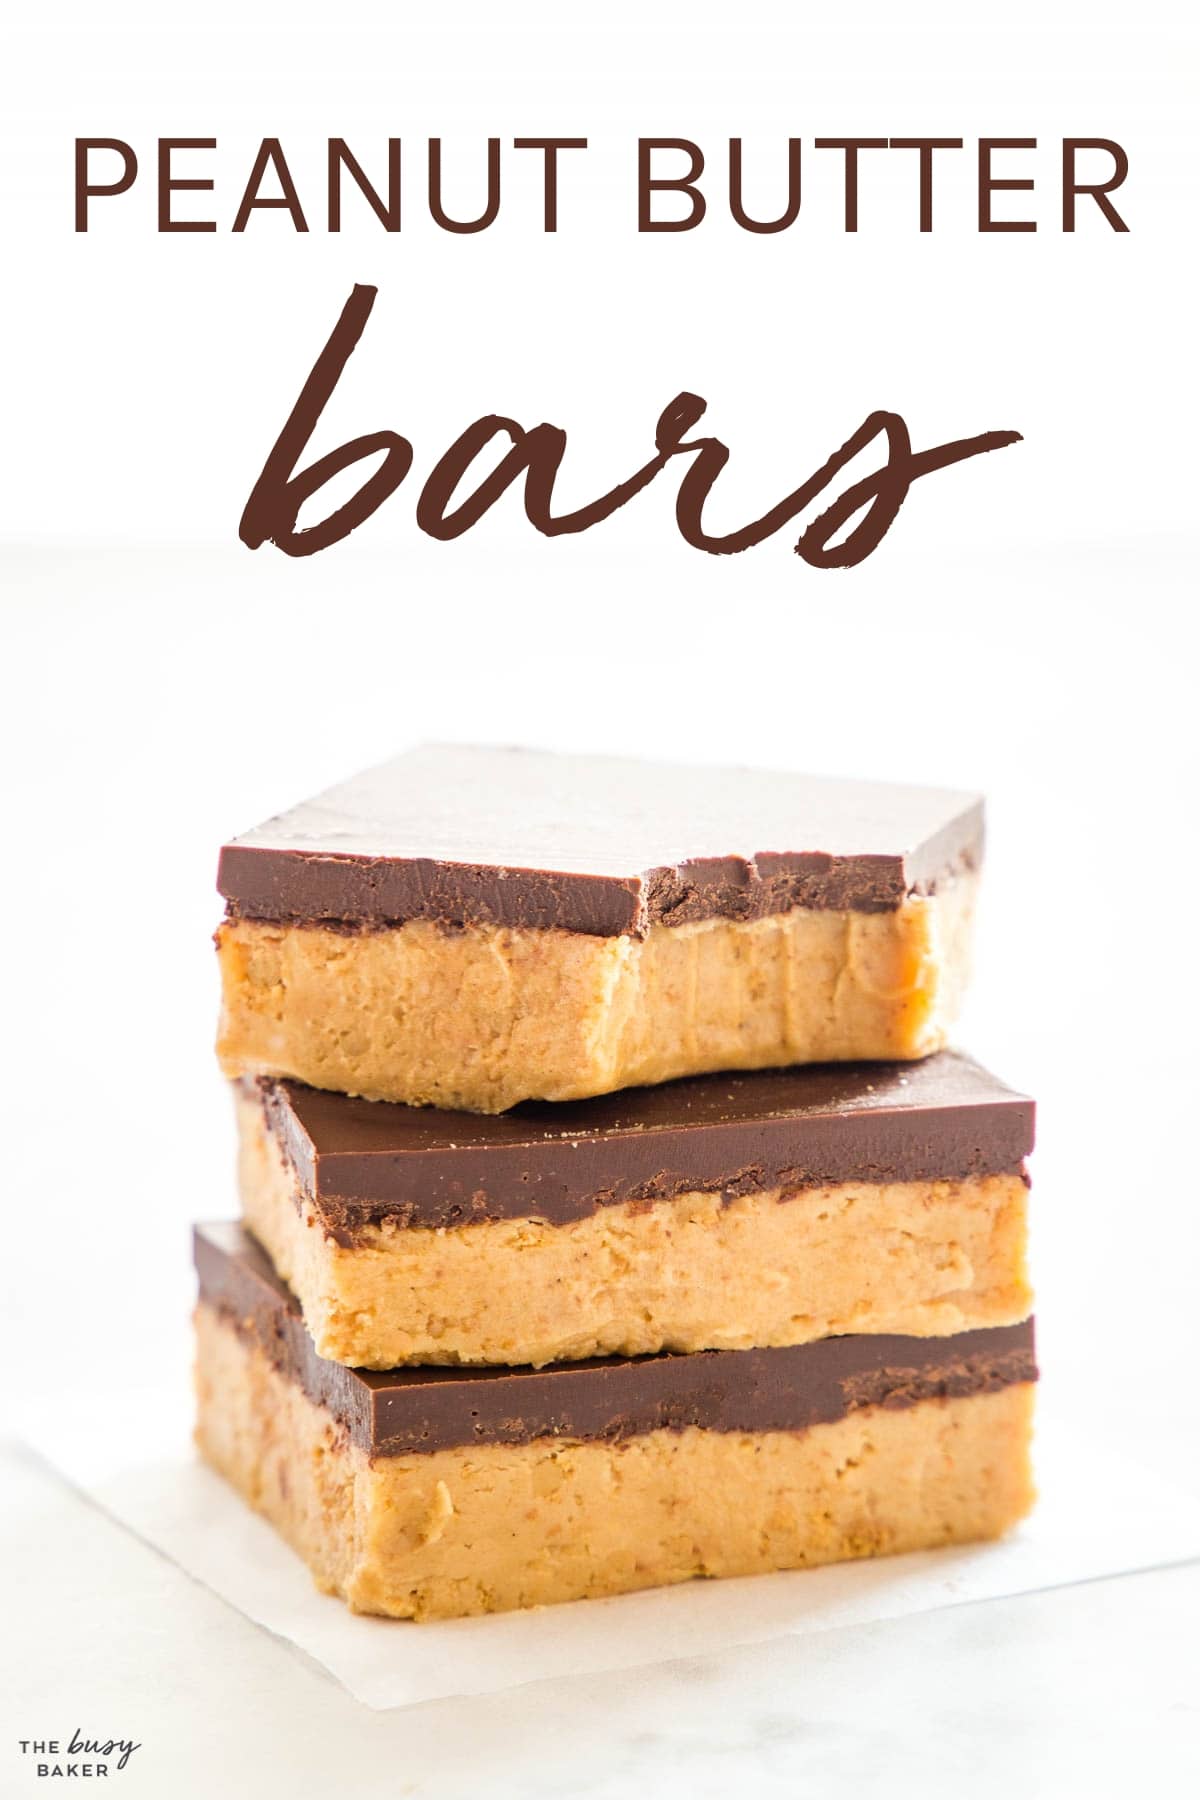
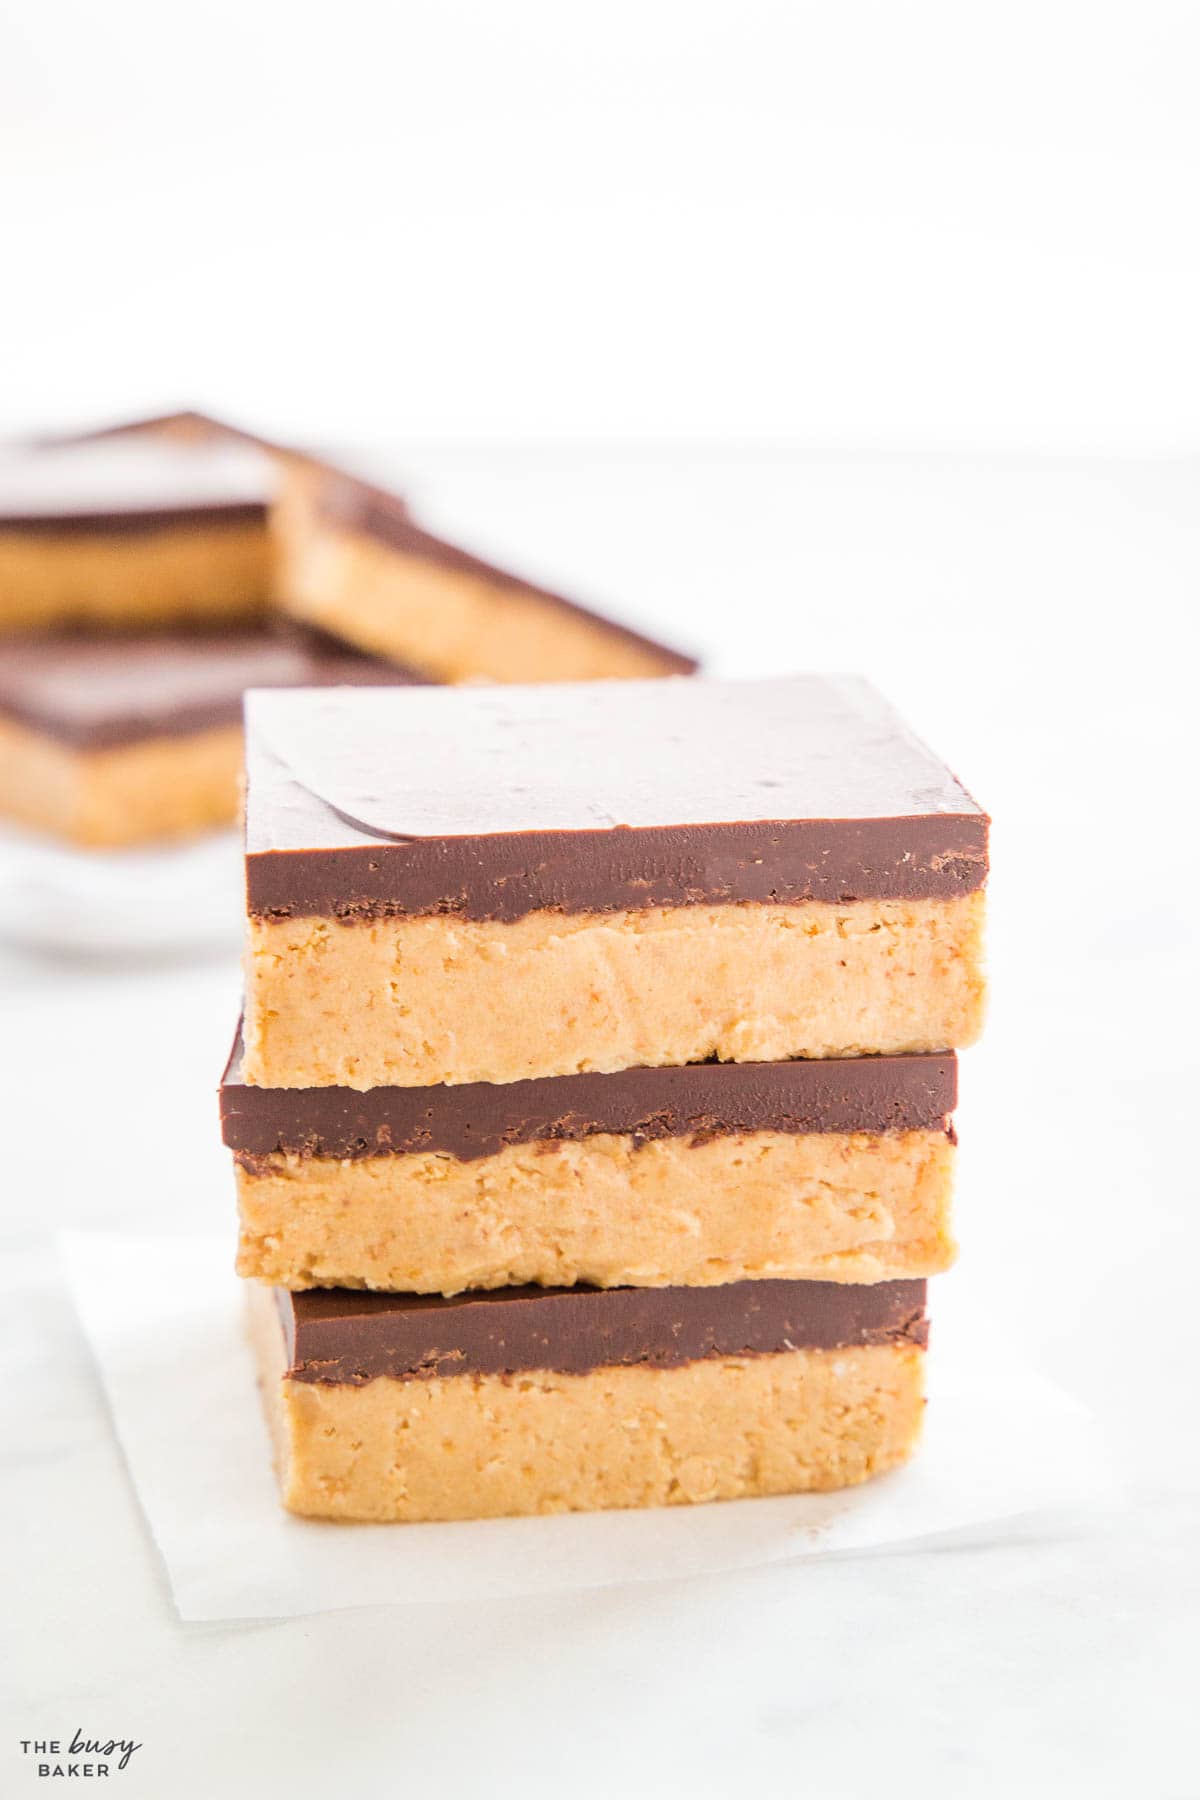
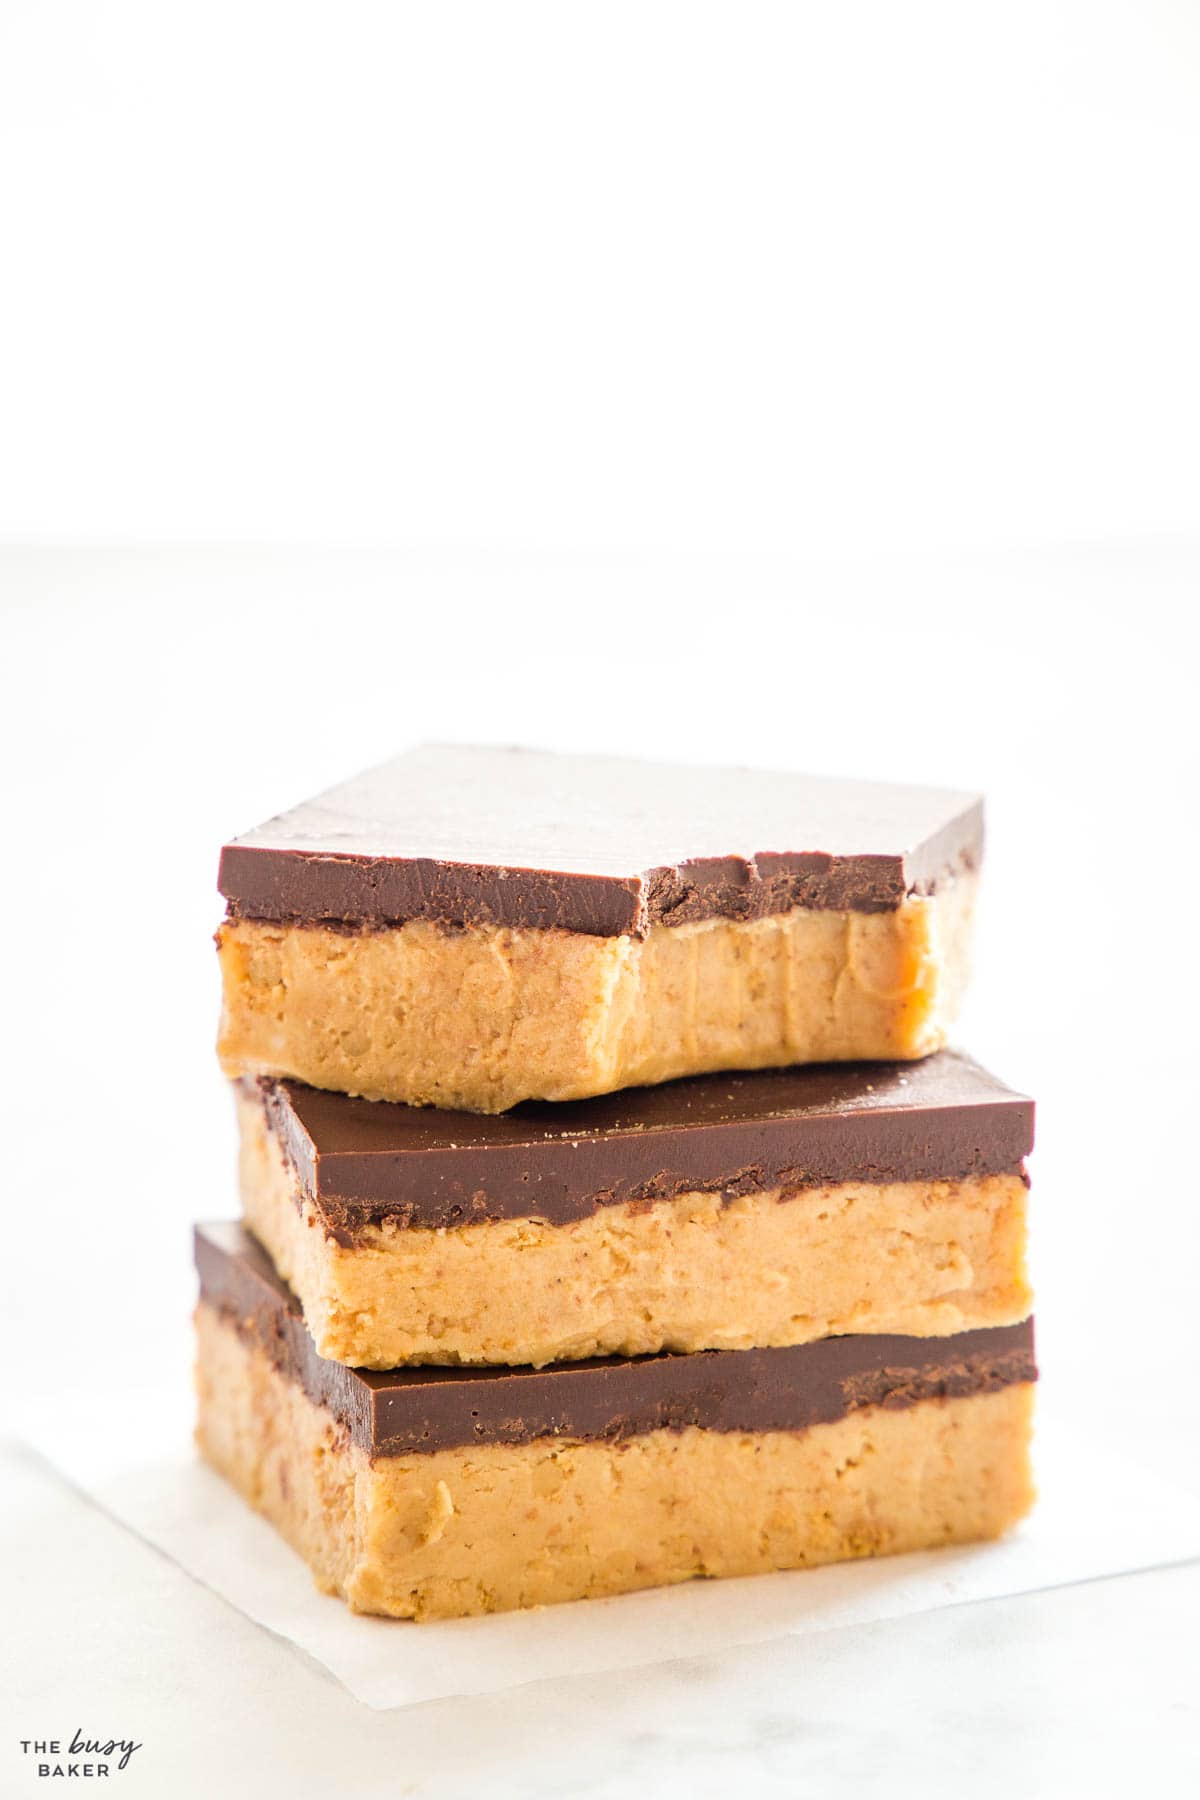
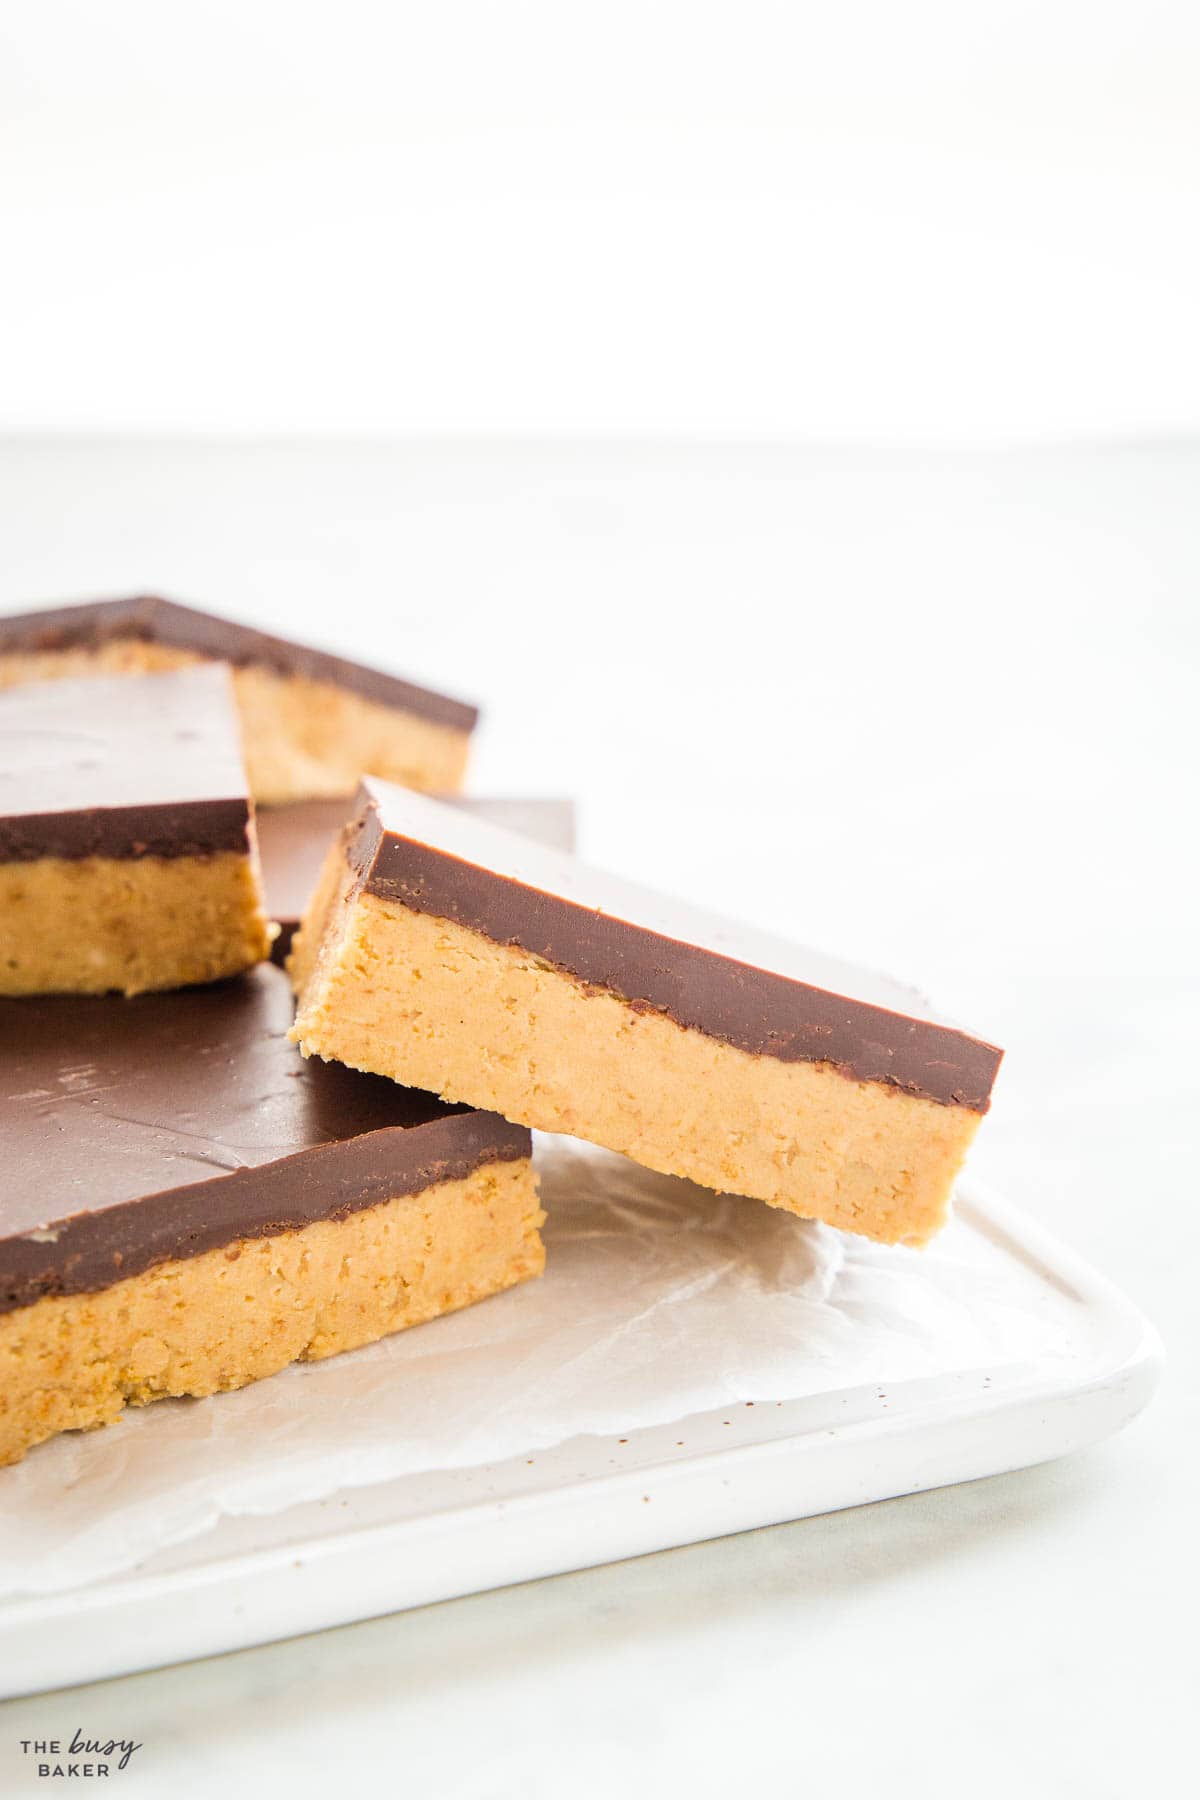
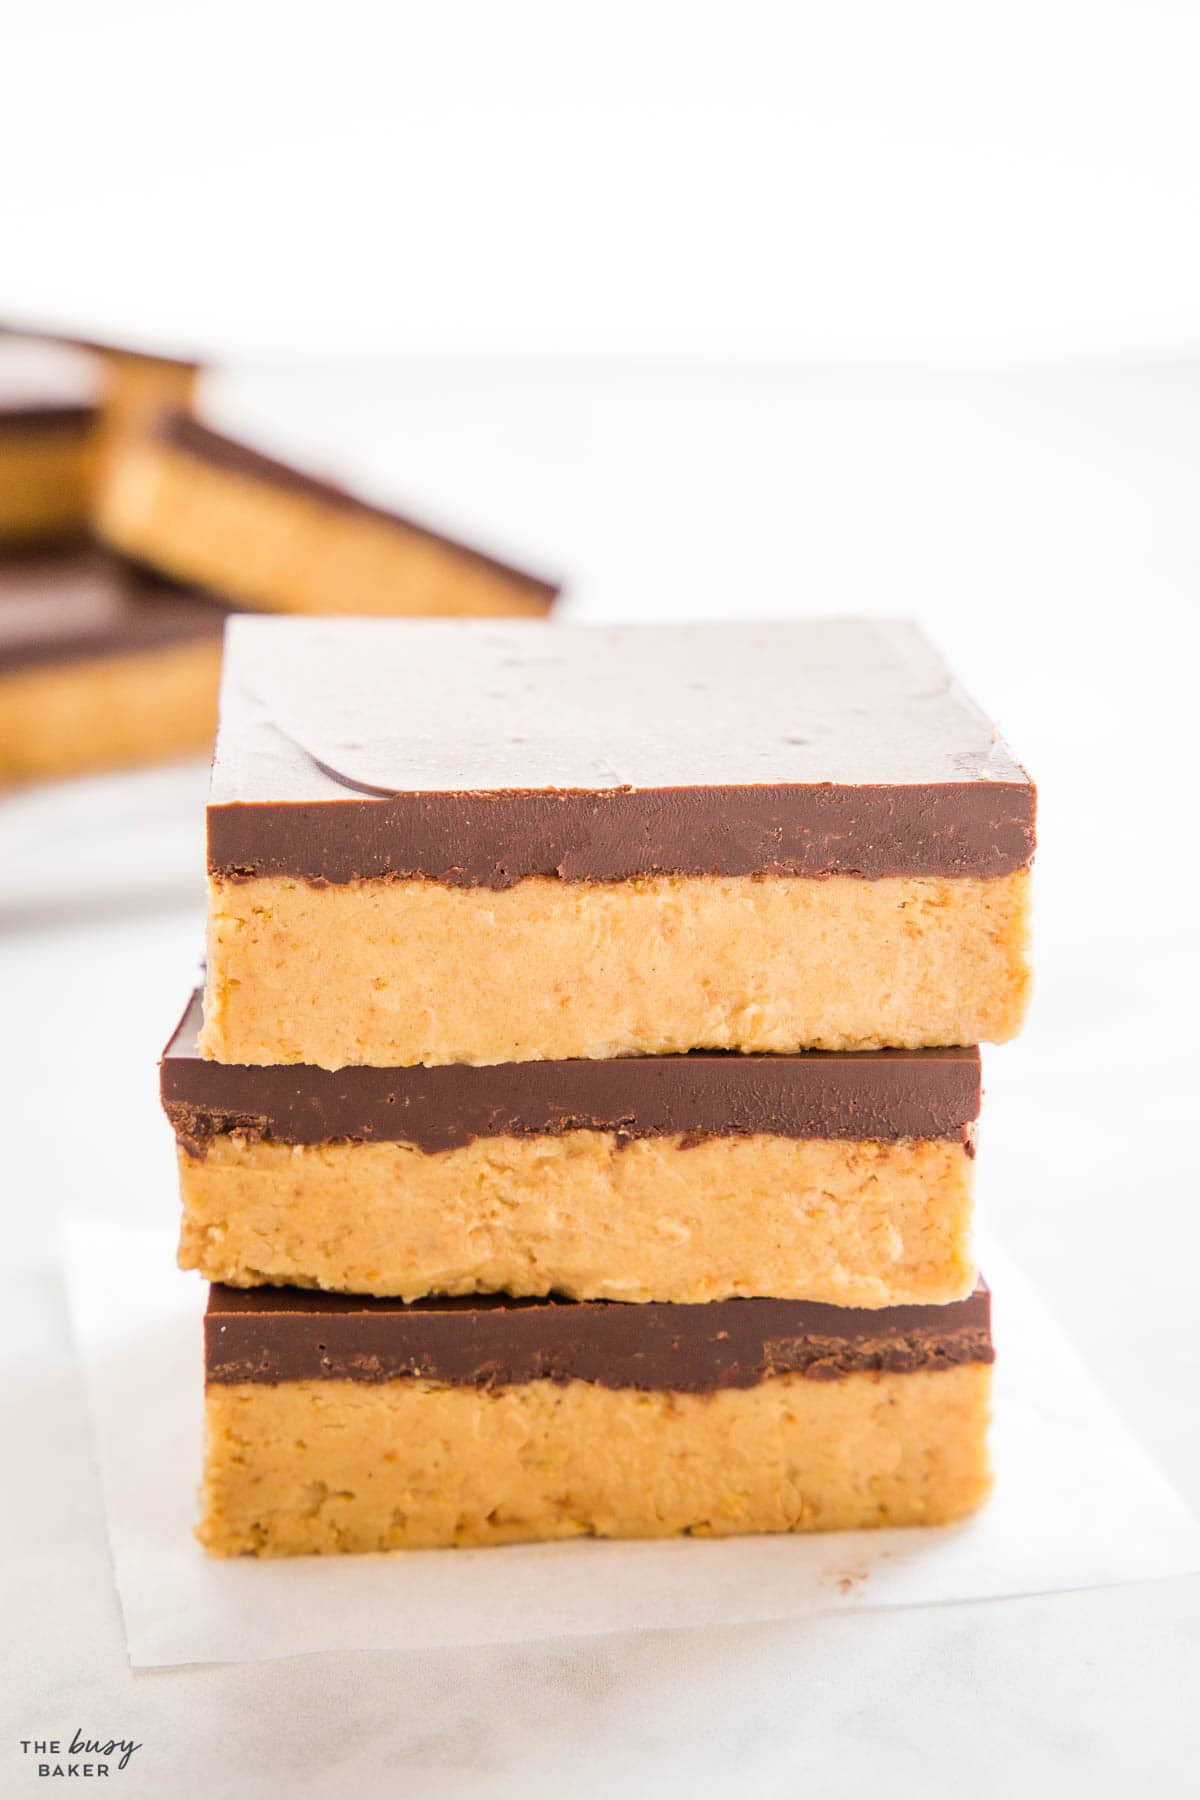
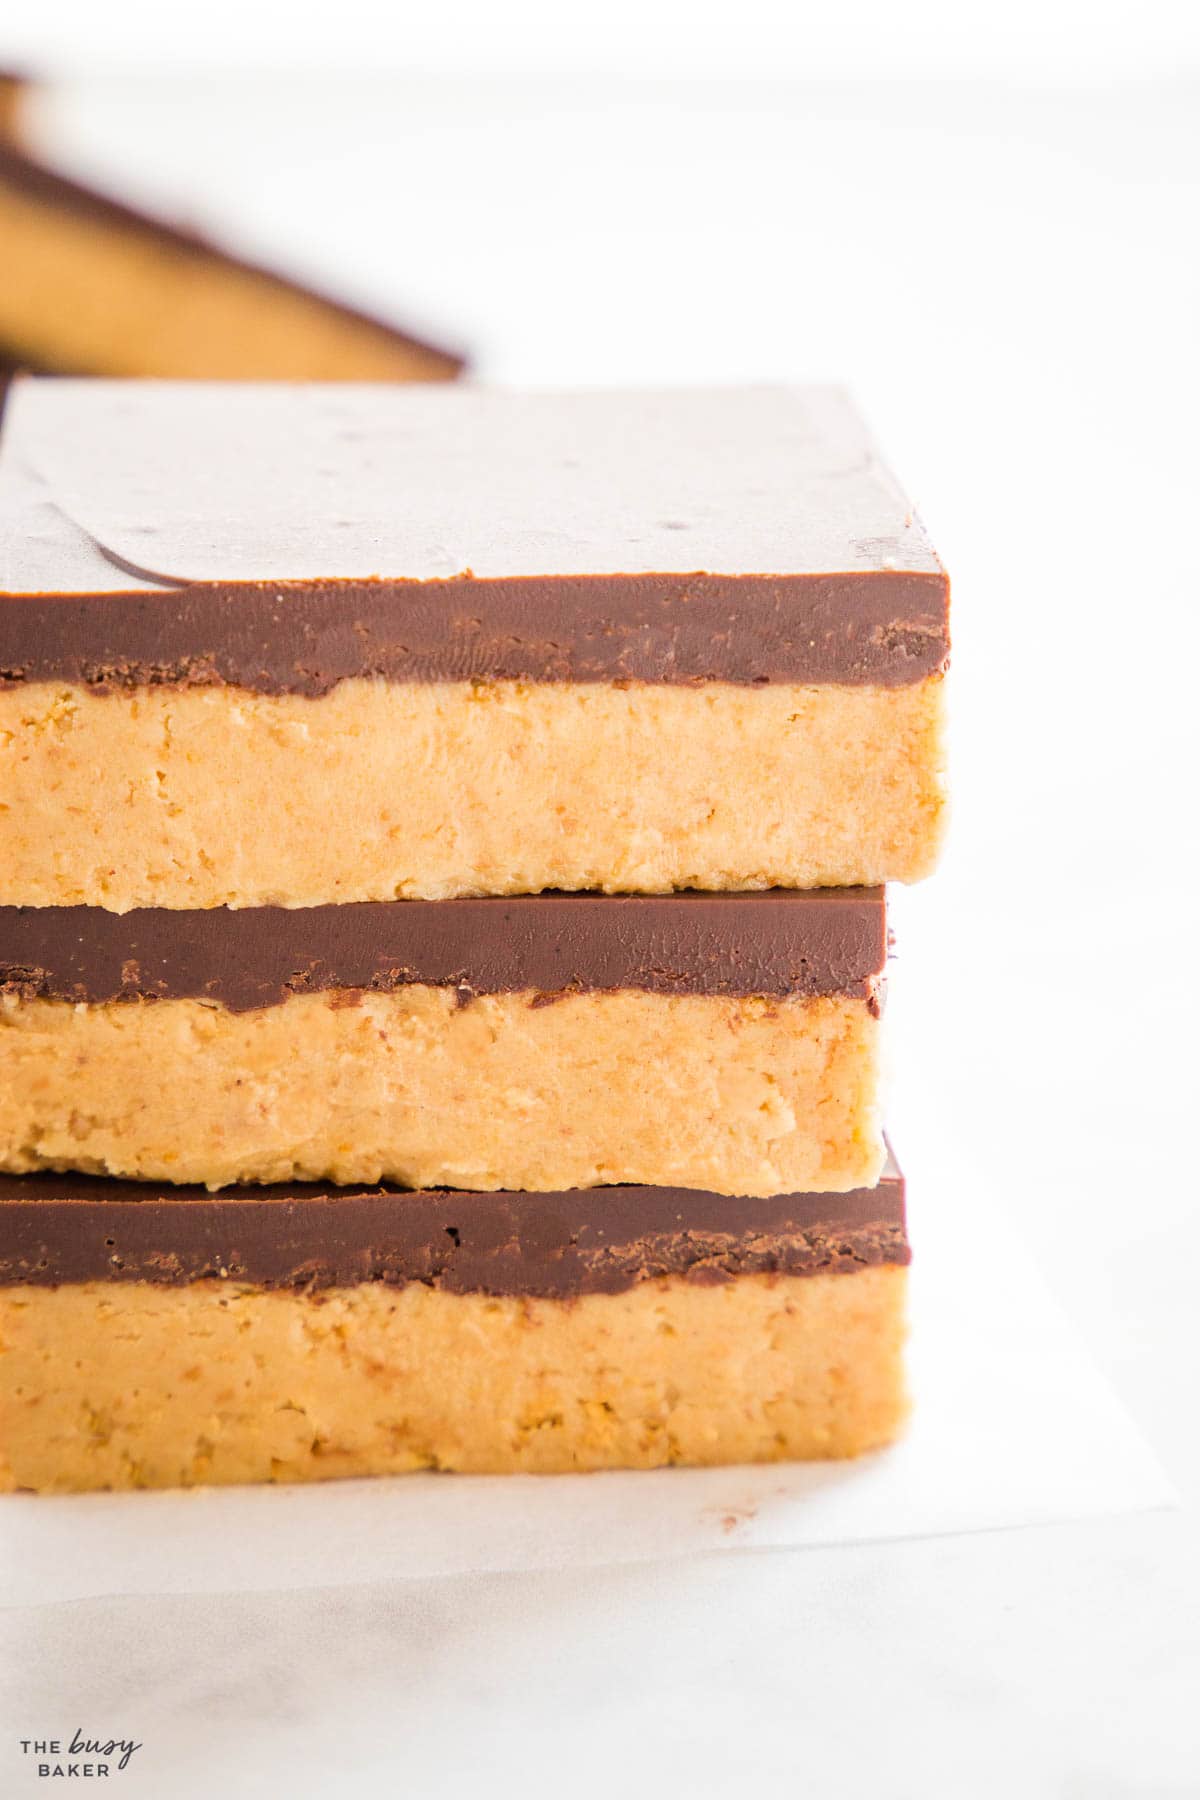
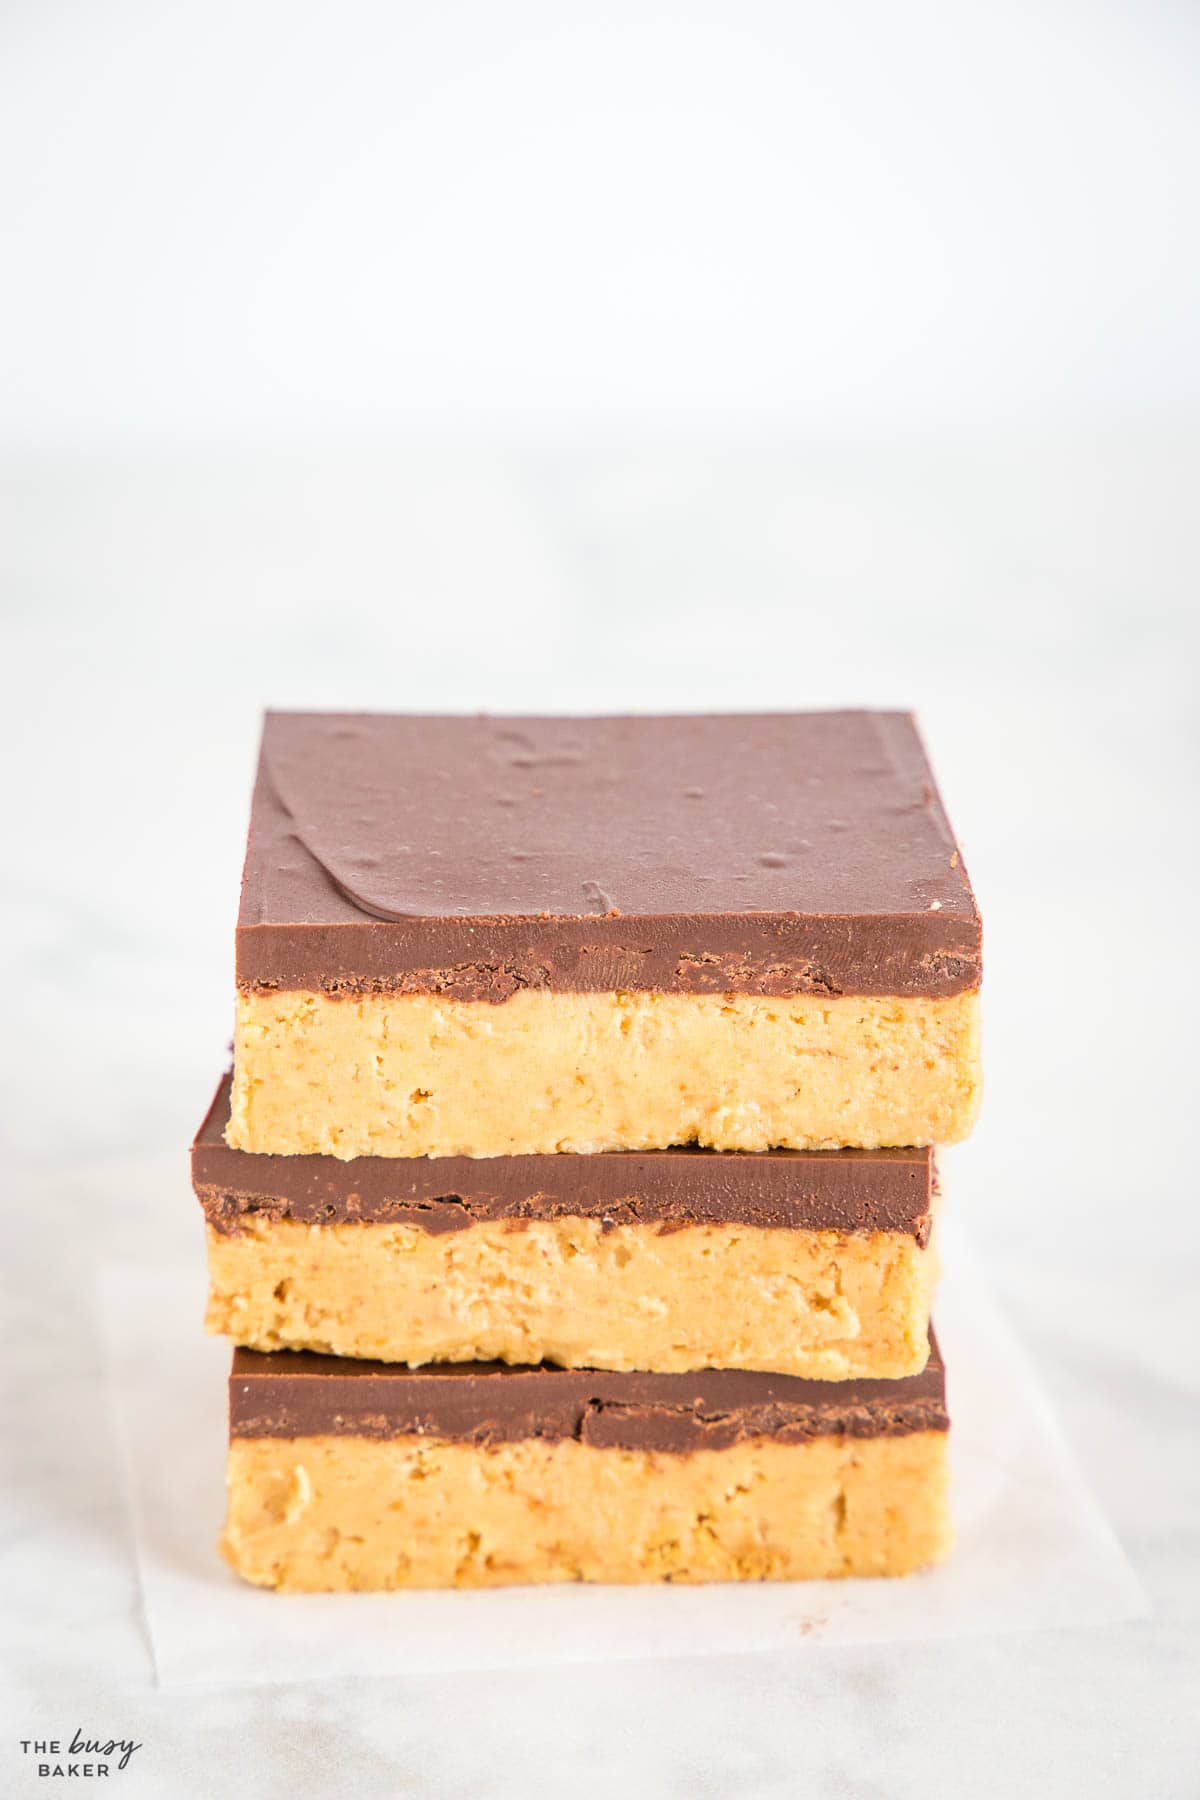
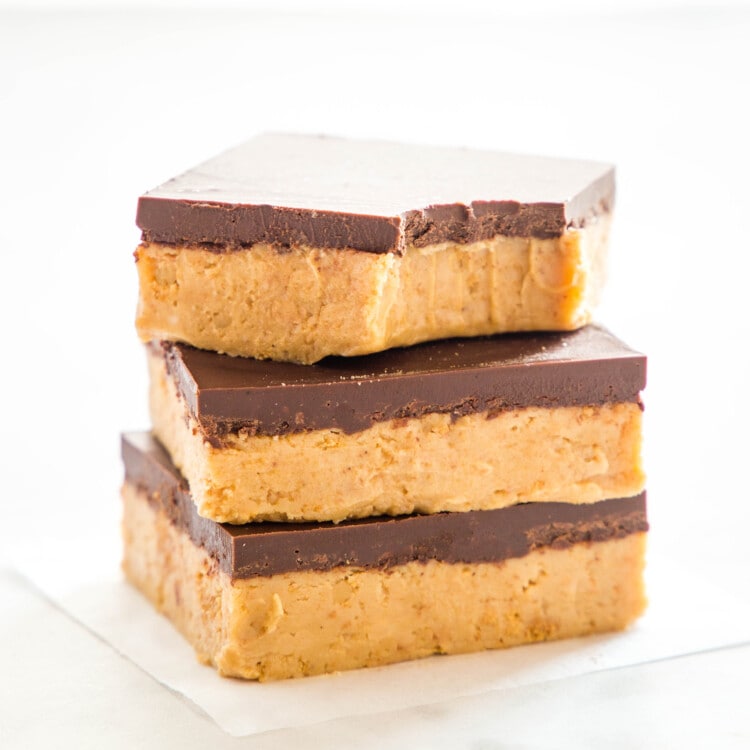
This Peanut Butter Bars recipe is the BEST no bake dessert made with a creamy peanut butter filling and topped with a layer of chocolate. A quick and easy dessert recipe with the flavour of Reese’s peanut butter cups.
Estimated reading time: 9 minutes
Everybody loves the combination of peanut butter and chocolate, and whether it’s the marriage of sweet and salty or the popularity of Reese’s peanut butter cups, this no bake Peanut Butter Bars recipe is the best of the best! We love making this easy dessert recipe for a sweet treat and it’s a recipe our friends and family beg us to make on the regular.
If you love chocolate peanut butter treats as much as we do, here’s our guide to ensure your bars come out perfectly every single time. If you encounter any of these issues when making this no bake peanut butter bars recipe, let us help you fix them!
- The Filling Isn’t Binding Together:
- Cause: The mixture might be too dry, possibly due to too the kind of peanut butter you’re using (some smooth peanut butter is more fluid than others)
- Solution: Add the peanut butter to the microwave and melt it slightly so it becomes more fluid. The filling will come together much more easily this way.
- Chocolate Topping is Too Hard:
- Cause: You skipped the extra peanut butter added to the melted chocolate, or the melted chocolate cooled too much before trying to spread it.
- Solution: Always ensure you measure out the correct amount of peanut butter for the topping. If it’s already too hard, place the chocolate layer in a warm environment or melt it a little more in the microwave for a few minutes to soften it slightly.
- Bars Aren’t Setting Properly in the Fridge:
- Cause: The mixture might be too warm.
- Solution: Make sure the mixture has cooled to room temperature before placing it in the fridge. If they’re still not setting after several hours, try placing them in the freezer for 30 minutes to an hour.
- Base Layer is Crumbling:
- Cause: Peanut butter is too dry or you’ve added too many graham cracker crumbs.
- Solution: If you haven’t set the bars yet, mix in a little more peanut butter or melted butter. For next time, ensure to measure ingredients carefully and mix thoroughly until you achieve a firm but moist texture.
- Difficulty in Slicing Bars:
- Cause: Chocolate is too hard or the bars are too cold.
- Solution: Let the bars sit out for about 10-15 minutes before cutting. Using a warm knife (dipped in hot water and wiped dry) can also make slicing easier.
- Uneven Chocolate Layer:
- Cause: The chocolate-peanut butter mixture was not spread evenly.
- Solution: Use an offset spatula or the back of a spatula to spread the mixture smoothly and ensure it covers the entire surface of the base layer.
- Gritty Texture:
- Cause: The powdered sugar wasn’t sifted or the graham cracker crumbs are too coarse. It could also be that the ingredients weren’t mixed well enough.
- Solution: Try sifting the powdered sugar before using to avoid lumps. Ensure all ingredients are mixed until smooth.
Here at The Busy Baker, easy desserts are the name of our game! Here’s a roundup of our favourite easy desserts and no bake desserts you’ll LOVE!
- Fruit Salad
- Soft and Chewy Sugar Cookie Bars
- Easy Brownies
- Best Ever Blueberry Crumb Bars
- Easy No Bake Lemon Cheesecake Cups
- Peanut Butter Fudge
- Oreo Fudge
- Easy No Bake Key Lime Pie
- No Bake Pumpkin Tiramisu
- No Bake Lemon Tart
- Best Ever Vegan Peppermint Chocolate Tart
- Easy No Bake Cookies and Cream Oreo Icebox Cake
- No Bake Chocolate Peanut Butter Oat Bars
- No Bake Blueberry Cheesecake
- Easy No Bake Lemon Cheesecake Cups
- No Bake Blackberry Cheesecake
- Easy No Bake Baileys Irish Cream Cheesecake
- No Bake Chocolate Coffee Cheesecake
- No Bake Matcha Cheesecake
- Classic No Bake Cheesecake
- Easy No Bake Pumpkin Cheesecake
To make this Chocolate Peanut Butter Bars recipe you’ll need this basic kitchen equipment (paid links):
- microwave-safe mixing bowls
- silicone spatulas
- measuring cups and spoons
- liquid measuring cups
- a cutting board and a chef’s knife for chopping the chocolate
- an 8-inch by 8-inch square baking pan
- parchment paper
Here’s a list of ingredients you’ll need to make this easy dessert recipe (paid links):
- 1 cup creamy peanut butter
- 2/3 cup melted butter
- 1 1/3 cups powdered sugar
- 1 1/3 cups graham cracker crumbs
- 10 ounces semi-sweet chocolate melted
- 3 tablespoons creamy peanut butter
Time needed: 2 hours and 15 minutes
Follow these steps for the perfect chocolate peanut butter bars every time!
- Prepare the pan.
Grease an 8-inch by 8-inch square pan and line it with parchment paper.
- Use the microwave.
Melt the butter in the microwave, and if the peanut butter is on the harder side, feel free to melt that a little bit too. It will help the filling come together.
- Mix the filling.
Add the powdered sugar and graham cracker crumbs and mix well. Press the filling into the prepared pan.
- Melt the chocolate.
Melt the chocolate in the microwave in 30-second increments, along with the peanut butter. Spread it over the filling in the pan.
- Refrigerate to set.
Refrigerate for 2 hours or set in the freezer for 30-45 minutes until ready to slice and serve.
How long do no bake peanut butter bars last in the fridge?
Stored in an airtight container, no bake peanut butter bars typically last 5-7 days in the refrigerator, but they’re best consumed within 3 days for optimum freshness and flavour.
Can you freeze no bake peanut butter bars?
Yes, you can. Wrap individual bars or the whole batch in plastic wrap, then place them in an airtight container or freezer bag. They can be frozen for up to 3 months. Just thaw in the fridge before serving. If you slice them first, we recommend storing with parchment paper between the layers to prevent sticking.
Why are my peanut butter bars not setting?
It’s possible you might have not used the right proportions of wet to dry ingredients in the filling, or they might need more time in the refrigerator or freezer to set properly. Ensure the mixture has cooled to room temperature before refrigerating.
Can I use crunchy peanut butter instead of creamy?
Yes, you can use crunchy peanut butter for added texture. However, the consistency might be slightly different, and the bars may be a bit crumblier. We don’t recommend using crunchy peanut butter in the chocolate topping.
Do I have to include the peanut butter in the chocolate topping?
Yes, the peanut butter added to the melted chocolate topping helps keep the chocolate slightly softer once it’s set. This will help the bars slice neatly and it will give a clean appearance.
How do I store peanut butter bars?
Store the bars in an airtight container in the refrigerator. You can place parchment or wax paper between layers to prevent sticking.
Can I use a substitute for graham cracker crumbs?
Yes, alternatives like crushed pretzels, digestive biscuits, or Oreo crumbs can be used, but each will provide a different flavour and texture.
Can I make gluten free peanut butter bars?
Yes! Opt for gluten-free graham cracker crumbs or any gluten-free cookie or biscuit of your choice for the base. Also, ensure all other ingredients used, like peanut butter and chocolate, are gluten-free.
Can I add other ingredients to the bars?
Absolutely! Popular add-ins include chocolate chips, M&Ms, chopped nuts, coconut flakes, or dried fruit.
Why is my chocolate topping cracking when I cut the bars?
If you add a little bit of peanut butter to the melted chocolate, this won’t happen! The added fat from the peanut butter keeps the chocolate layer soft enough to slice cleanly. You can also allow the bars to sit at room temperature for about 10-15 minutes before cutting or use a warm knife.
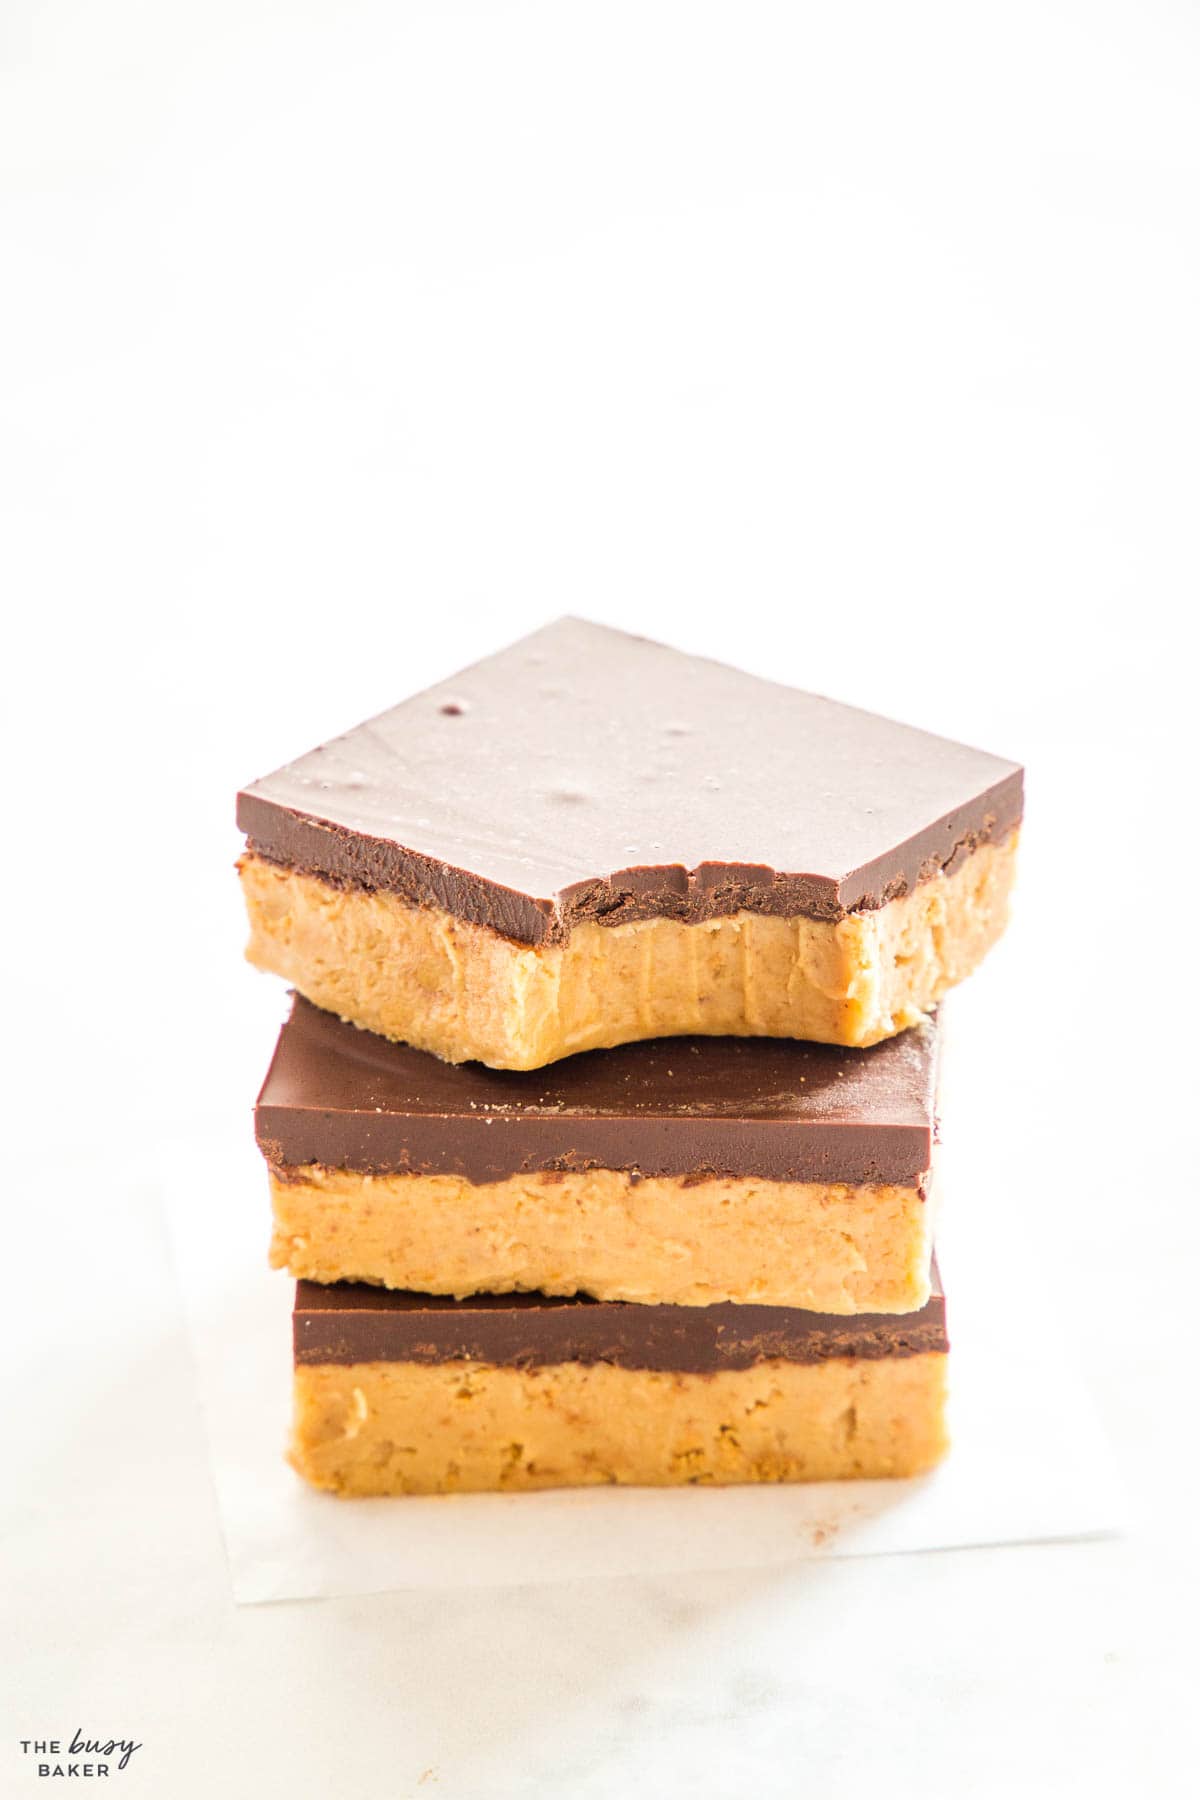
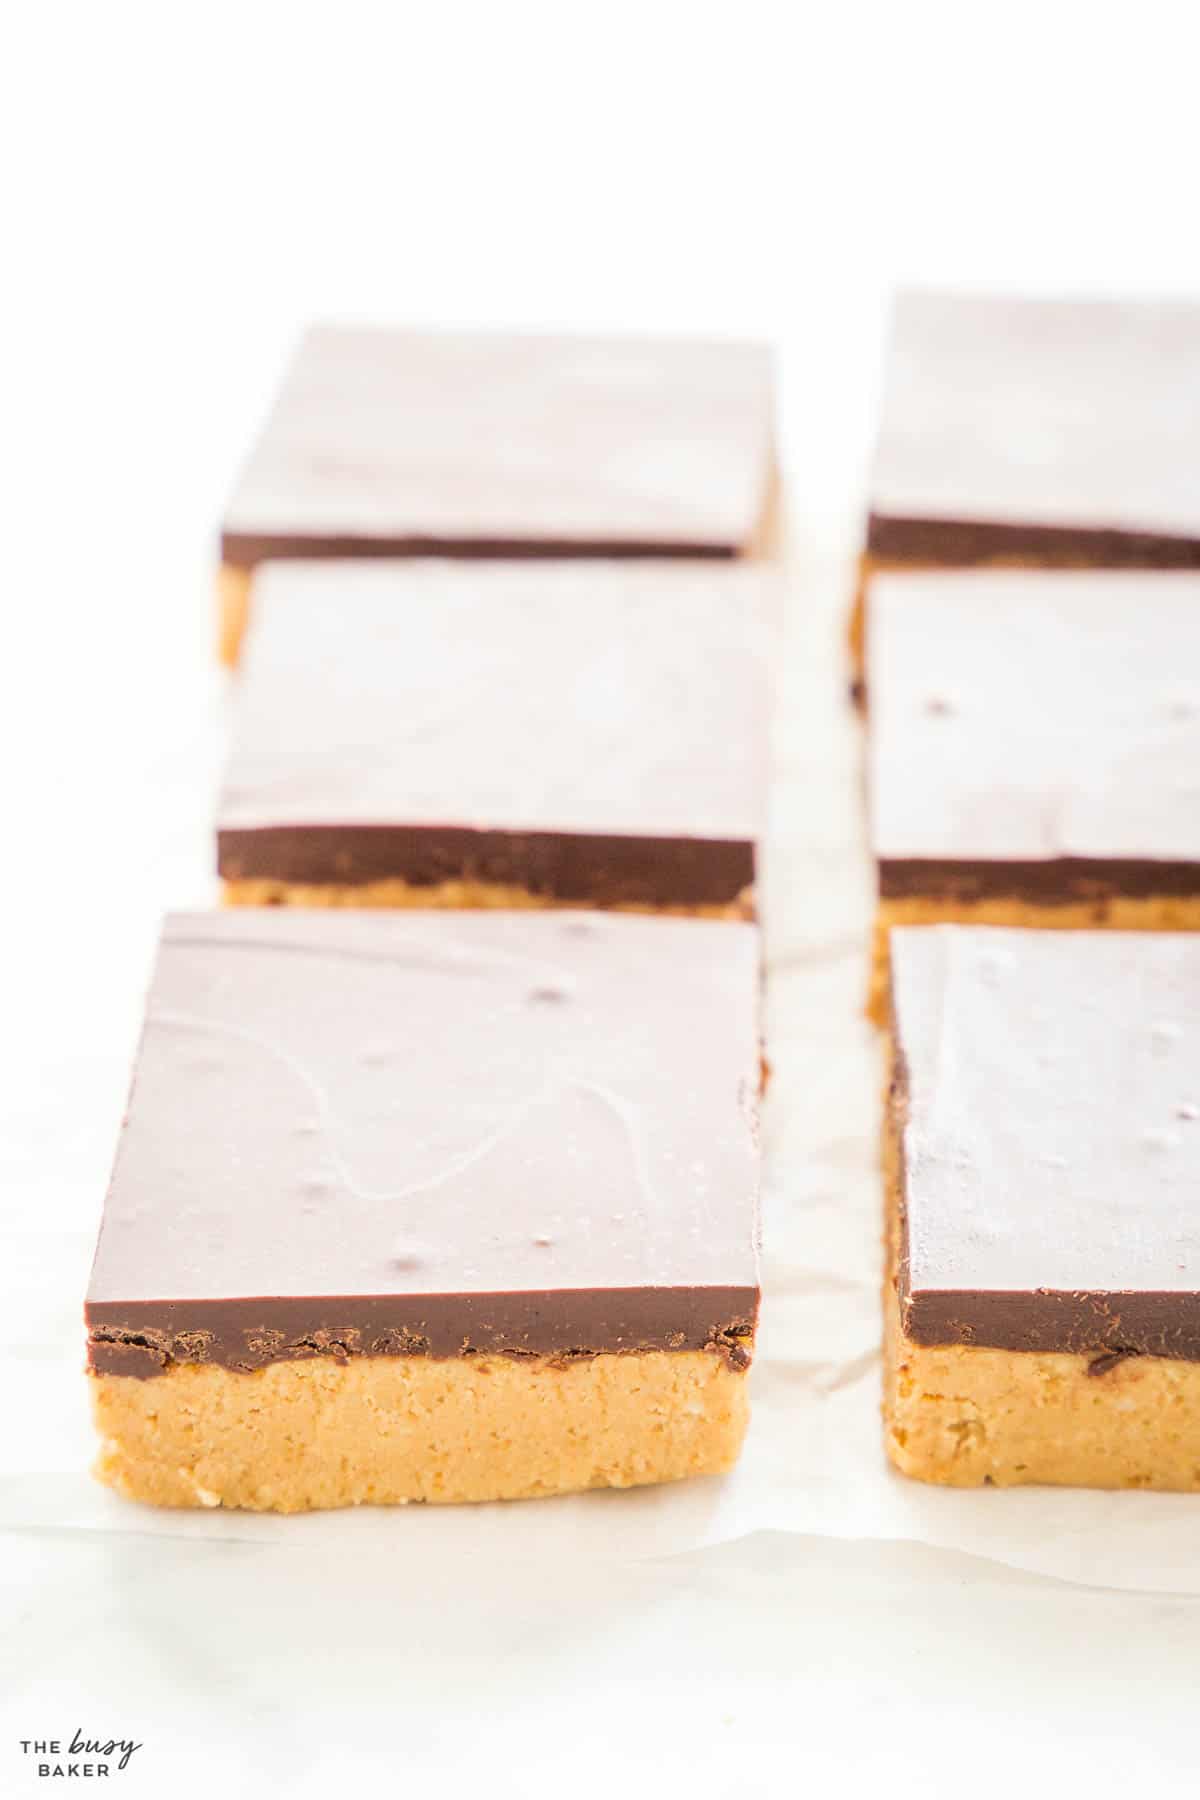
We hope you love this recipe as much as we do! Let us know in the comments below, what’s your favourite sweet treat to make at home? We’d love to know!
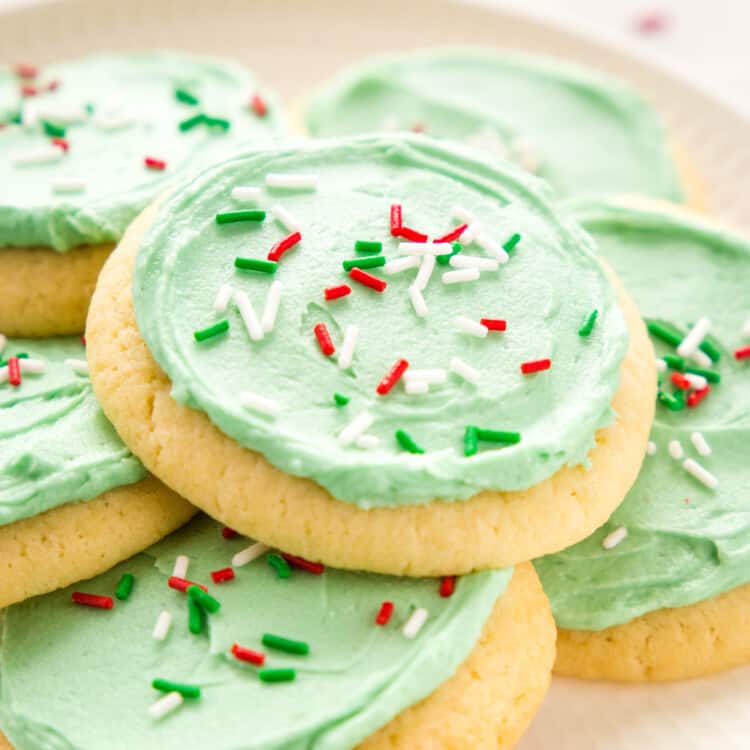
Join the Holiday Baking Challenge!
Simply join our Facebook Community, make this Easy Sugar Cookies recipe, and post a photo for a chance to win a $100 Amazon Gift Card!
Watch the video below to see exactly how we make this recipe. You can find many more deliciously simple recipe videos on our YouTube channel!
If you made this, share a photo!
Are you trying this recipe? Use the comment form below to share your take; now with support for image uploads and comment voting!
Peanut Butter Bars
Recipe: Equipment
Recipe: Ingredients
- 1 cup creamy peanut butter
- 2/3 cup melted butter
- 1 1/3 cups powdered sugar
- 1 1/3 cups graham cracker crumbs
- 10 ounces semi-sweet chocolate melted
- 3 tablespoons creamy peanut butter
Recipe: Instructions
- Prepare an 8-inch by 8-inch square baking pan (or one of a similar size) by greasing it with a little bit of cooking spray and lining it with parchment paper. Set it aside.
- Add the peanut butter to a mixing bowl along with the melted butter, powdered sugar and graham cracker crumbs. Mix everything together very well until combined.
- Press the peanut butter mixture into the prepared pan and smooth out the top as much as possible.
- Chop the chocolate and add it to a separate microwave-safe bowl along with the 3 tablespoons of peanut butter. Microwave on medium power for 30-second increments, stirring every 30 seconds. Continue until melted.
- Stir the chocolate and peanut butter together well but gently. Pour the melted chocolate mixture over the peanut butter mixture in the baking pan and smooth out the top.
- Refrigerate for 2 hours or pop it in the freezer for about 30 minutes to set.
- Once set, use the parchment paper to lift the bars out of the pan, place it on a cutting board and slice into 16 squares.
Recipe: Notes
Storage Instructions
Store these peanut butter bars sliced in an airtight container in the fridge for up to 3 days until ready to serve.Freezer Instructions
To freeze these peanut butter bars, slice and place in an airtight container with parchment paper between the layers to prevent sticking. To set these bars in the freezer instead of the fridge to save time, add them to the freezer for 30-45 minutes to set right after assembling.Recipe: Nutrition
Notice: Nutrition is auto-calculated, using Spoonacular, for your convenience. Where relevant, we recommend using your own nutrition calculations.
FREE Baking Bootcamp
All the best tips, tricks, recipes and tutorials you need to become a successful home baker! If you’ve ever wanted to learn how to bake the BEST muffins, bread, cookies, cakes, buns and MORE, this Baking Bootcamp is for YOU!
